Overview
Explaining what happens when changing settings so you don’t have rebuild a lot when using the bee2 death fizzler object. Mainly for my use so I don’t forget, but made it into a guide for you. This is my first guide so sorry if it doesn’t meet your standards :)also I made it way to complicated
Explaination
This is split into 2 parts, each part is quite short because there is not much changes:
Start enabled
Start disabled
In each entry, there will be 3 deterministics.
Start reversed: (Is this setting in game active?)
Type in game before activation: # ( 1 2 3 )
When activated:
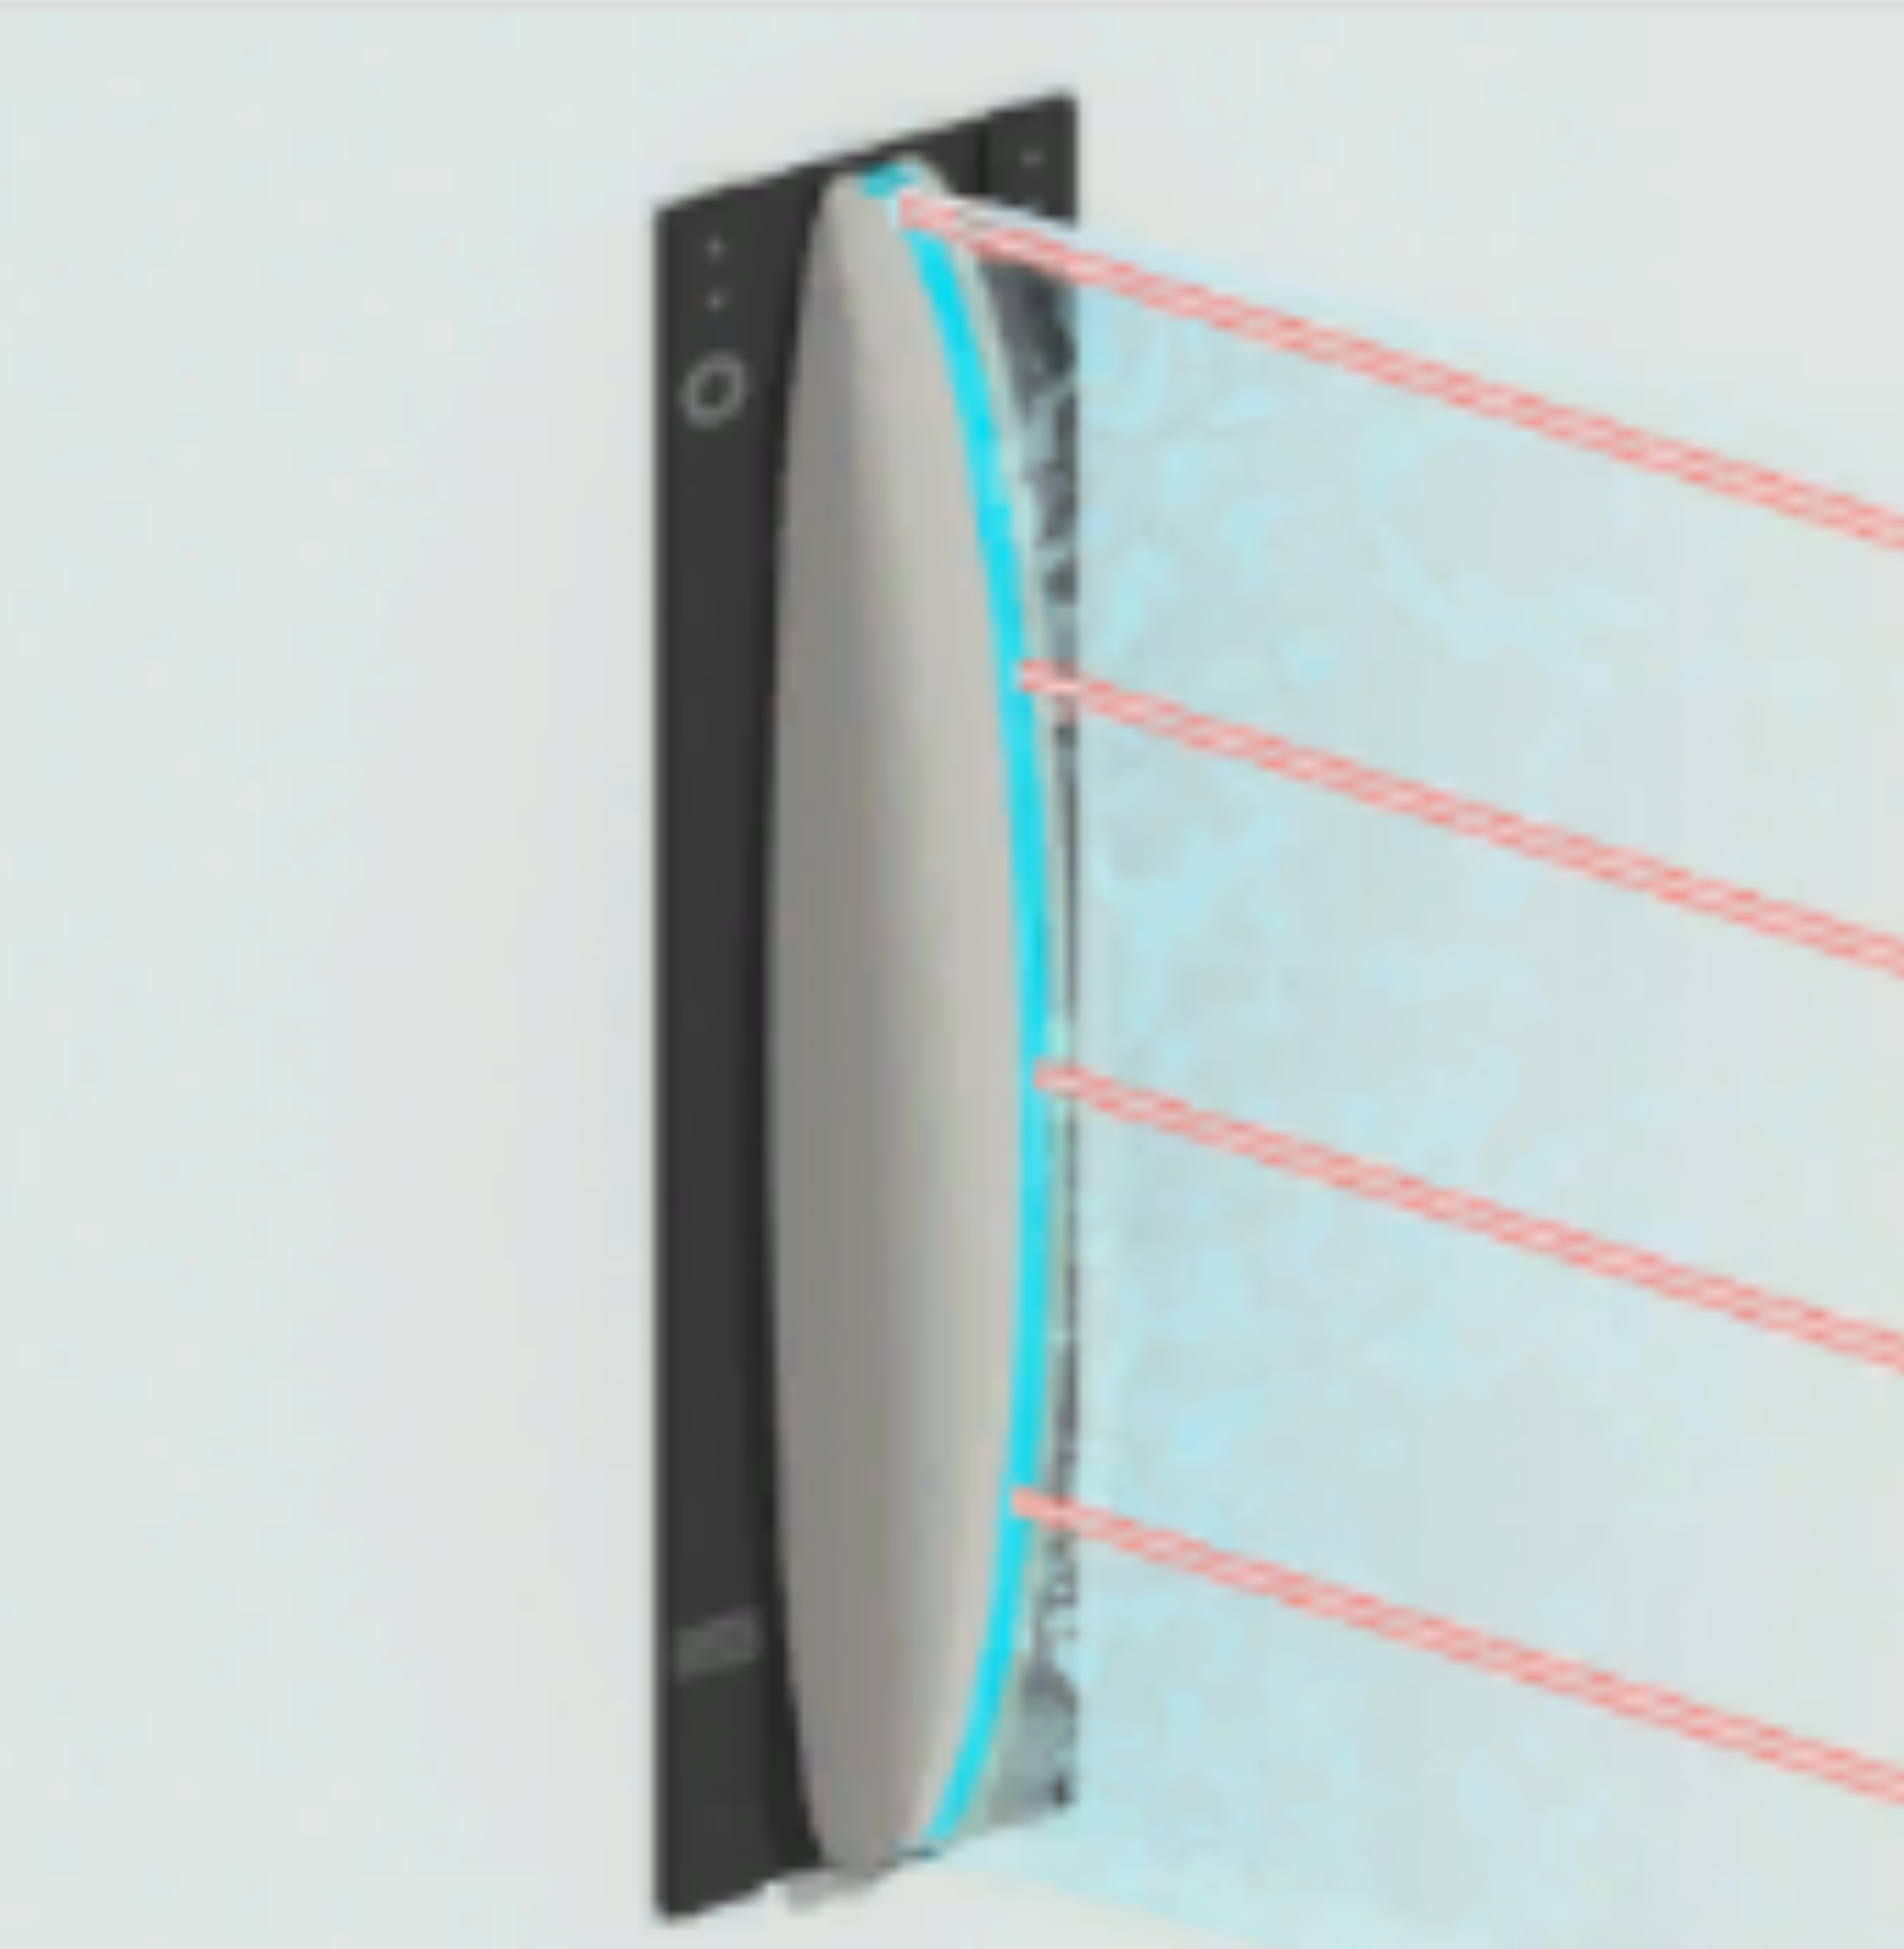
1 means a normal fizzler, 2 means the laserfield, and 3 is that mix of the two which you might know from portal stories mel.
Start enabled
Start reversed: Yes
Type in game before activation: 3
When activated: Turns off completely
Start reversed: No
Type in game before activation: 1
When activated: Turns into 2
Start disabled
Start reversed: Yes
Type in game before activation: Na
When activated: 3
Start reversed: No
Type in game before activation: 2
When activated: Turns into 1
The end
Please give suggestions for new guides, I made this spreadsheet for properties of every fizzler so idk if you want it : [link]
Hope you enjoyed! Goodbye. 😀