Overview
I could not find anything listing the icons of the world settings and what they mean, so now that I’v deciphered the vanilla (non-Reign of Giants) ones, I want to share them for whoever else may otherwise be spending hours upon hours trying to find something like just this.
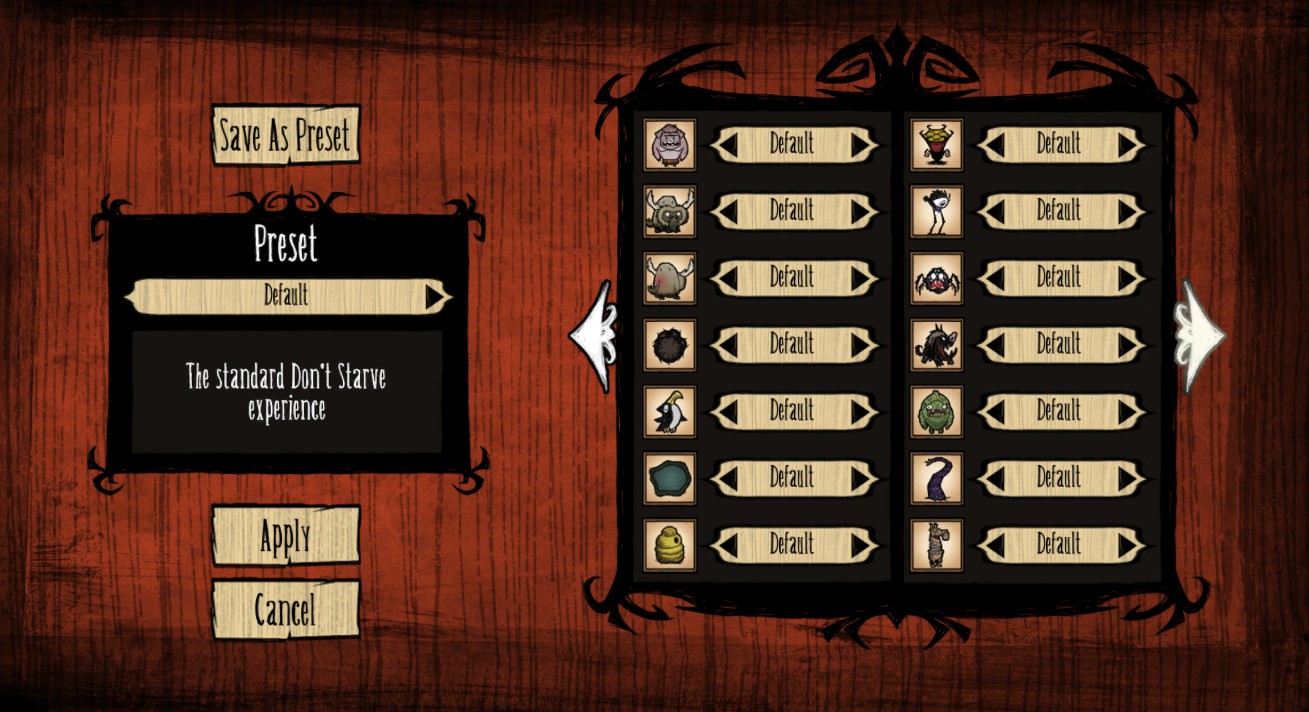
Introduction.
I will post a screenshot of the pages in the game, then add what might interest a new player like me most (for example if it has loot or is dangerous, for example), without spoiling much.
Following that will be a link to the Don’t Stave wikia that has more information.
Unless otherwise stated, the creatures don’t attack, and either run away or only counter-attack if you do. Those that are mentioned to be DANGEROUS attack when you are close enough, or even approach you on their own and start chasing you.
Vanilla (non-Reign of Giants)
For the ones I was puzzling most about (and you might), scroll to the last two screenshots.

A few icons are explained here: [link]
but that didn’t really help me much, while a number of others are obvious:
World size – If anyone can tell me how big Default is, I’d appreciate it.
Land branching – Not sure what that means.
Nichdel suggests it is related to the amount of empty space in the world that can separate areas.
Land Loop – Again, the explanation on the above linked page leaves me with questions.
Also found this: [link]
Seasons, Season start, Day, Rain, and Lightning seem Obvious.
Sinkhole. Leads to Caves or Ruins. Starts plugged, will regularly spawn a certain monster when unplugged. You may want to visit Caves when you used up some stuff that won’t respawn (or if you like going into strange new territory that might hold who knows what). Ruins are entered from Sinkholes in Caves, and I assume are even worse. 🙂
[link]
[link]
[link]
Pig heads. Some loot when destroyed.
[link]
Skeleton. Might have loot beside them.
[link]
Flowers. Important item with various uses.
[link]
Grass Tuft. Yields important item with various uses.
[link]
Sapling. Yields important item that can be used for all sorts of stuff.
[link]

Spiky Bush. Like Sapling, but also grows in winter and does some damage when picked.
[link]
Reeds. You may want to find some of them eventually.
[link]
Trees. Yields very needed resources with various uses.
For example: [link]
Flint. Really needed resource.
[link]
Rocks. Needed resource.
[link]
Boulder. Yields needed resources.
[link]
Berry Bush. Yields fruit with misc uses beyond just eating it.
[link]
—- Right page —-
Carrot. Vegetable with misc uses beyond just eating it.
[link]
Mushroom. You may want some later in the game.
[link]
Mandrake. Funny little thing that may provide a few very neat benefits.
[link]
Rabbits. Possible source of food early on. A nifty use later.
[link]
Butterflies. Useful resource (possibly later in the game).
[link]
Birds. Provide various useful things.
[link]
Gobbler. Source of food (requires some effort to get).
[link]
Pigman. Entertaining and useful!
[link]
Beefalo. Supplies some useful resources.
[link]
Beefalo in heat (is my guess what the icon means). DANGEROUS. But I assume necessary to make new Beefalos if you plan to go killing Beefalos.
For the link, see above.
I think the icon is a footprint (I found some looking like that in-game), leading to the Koalefant. Provides a unique resource you might want.
[link]
Pengull. Provides some resources you might want.
[link]
Pond. Possible source of food. The ones near my home spawned Frogs, which always attacked me when I was too close. Frogs are a possible food source.
[link]
[link]
Beehive. Possible food source.
[link]
—- Right Page —-
Killer Bee Hive. DANGEROUS. When destroyed, provides some resources you might want.
[link]
A big thanks to RatherUncreativeName for identifying this icon!
Tallbird. DANGEROUS. Mostly just that, though there’s something you might want from it.
[link]
Spider. DANGEROUS. When killed, it provides much needed resources once you have all the basic stuff.
[link]
Hound. DANGEROUS. When killed, it provides resources you may want later on.
[link]
Merm. DANGEROUS. (Attack if too close.) When killed, it drops food items.
[link]
Tentacle. DANGEROUS. When killed, it drops stuff you may want later on.
[link]
Clockwork Knight. DANGEROUS. When killed, it drops stuff you may want later on.
[link]

Starting with icons on right side:
Lureplant. Various uses (you can get creative finding them, or just read wiki 🙂 ).
[link]
Walrus (I assume). DANGEROUS. When killed, it may drop items you might want later on.
[link]
Treeguard. DANGEROUS. When killed, it drops items you might want later on.
[link]
Krampus. Dangerous in a different way. Mostly highly annoying I guess (not seen one, just read wiki). When killed, drops some not that rare stuff and a small chance for a unique item.
[link]
Deerclops. DANGEROUS. Wiki says Boss monster! When killed, may drop stuff you might want later on.
[link]
That’s it.
That’s it for now. I plan to add Reign of Giants icons once I dare try that and deciphered the icons.
Comments are welcome.
If you know any icons from Reign of Giants, please tell me! (You’ll of course be mentioned as helping to decipher them.)
I’m also still puzzled by World size (how big they each are), Land Branching, and Land Loop.