
Overview
This is a guide to successful completion of The Long Dark Challenge: The Hunted: Part 1. The recommendations in this guide focus on a 3 day/2 night journey, with arrival at the Trapper’s Cabin around early afternoon on Day 3, which should be doable regardless of weather conditions (with the exception of constant blizzards – but I’ve never had that happen). My best run is 1 Day, 8 hours, 59 minutes – I had a lucky run with good weather conditions and was able to push through on Day 2 and reach the Trapper’s Cabin with around 4 hours of daylight to spare. Barely (my fatigue bar was a wreck through most of Mystery Lake and I was out of distress pistol shells by the end). I’ve completed the Challenge many times, and failed it a number of times as well. This guide will hopefully give you the framework for a solid attempt.
Setting the stage before we get started…

There he is. Your adversary. “The Old Bear.” We’re going to call him Smokey (because I’m not particularly original). We’re in a footrace to the death with Smokey, and we’re going to beat him. But first, let’s talk a little bit about the Challenge itself (I will always capitalize Challenge, out of respect – this IS a Challenge), so we’re all starting on the same page.
Parameters of the Challenge: This Challenge is tuned for Stalker difficulty. For our purposes, this means that resources are more scarce, bars deplete more quickly, and wildlife (i.e. wolves) spawn more frequently. However, the journey is always the same. You will always spawn outside a burnt out cabin on Skeeter’s Ridge in Pleasant Valley (PV) and must journey to the Trapper’s Cabin in Mystery Lake (ML). That’s it – you just have to get there alive. The Challenge ends as soon as you enter the Trapper’s Cabin. The game is otherwise set up normally for you as far as locations, the environment, etc., with one catch – there are no projectile weapons except a Distress Pistol with 5 rounds (which you’ll acquire almost immediately). I’ve been told you can find a rifle, but no ammo (and I’ve never even found a rifle, personally, let alone a bow). But that’s no big deal, right? In fact, it kinda sounds easy, doesn’t it? It’s not, mostly because of…
Smokey: Smokey, as you hopefully know, is a bear. He’s similar to most of the bears you’re used to encountering in The Long Dark (TLD), with 2 primary differences. First – he’s unkillable. Second, in addition to the normal bear modes Smokey has an additional mode – RELENTLESSLY, REMORSELESSLY, COMING TO KILL YOU. We’re going to call this “heatseeker” mode. Essentially, whenever you go outdoors, you’ll get around an hour of peace and then Smokey will spawn in somewhere behind you in heatseeker mode. He will charge at you from a distance at a full run until he gets within a certain range (it’s hard to describe distances in TLD but you’ll get a sense for it. I’d describe it as uncomfortably close, but not quite in your face yet). At that point he basically adopts the behavior of a stalking wolf. Bears, of course, normally don’t behave this way in TLD. He’ll sometimes run at you, he’ll sometimes stalk you, and he’ll sometimes rear up on his hind legs. He continues heatseeker behavior until you (a) lose him (b) drive him off, or (c) he gets you. Option (c) is obviously very bad and, in fact, probably fatal in this Challenge. The good news, though, is that once he’s mauled you he’ll resume normal bear behavior for a while and you can get away (if you’re in a condition to do so). We’ll talk more about dealing with Smokey in the body of the guide.
Assumption and Recommendations: This guide assumes you’re familar with and, in fact, fairly comfortable with the basic and advanced mechanics of TLD. This is called a “Challenge” for reason. It’s designed as exactly that – something to test your abilities against once you’re familiar with the vanilla game. Do NOT even attempt this Challenge as an introductory experience – you’ll just get frustrated. You need to know what you’re doing and, in particular, be familiar with how to manage your bars.
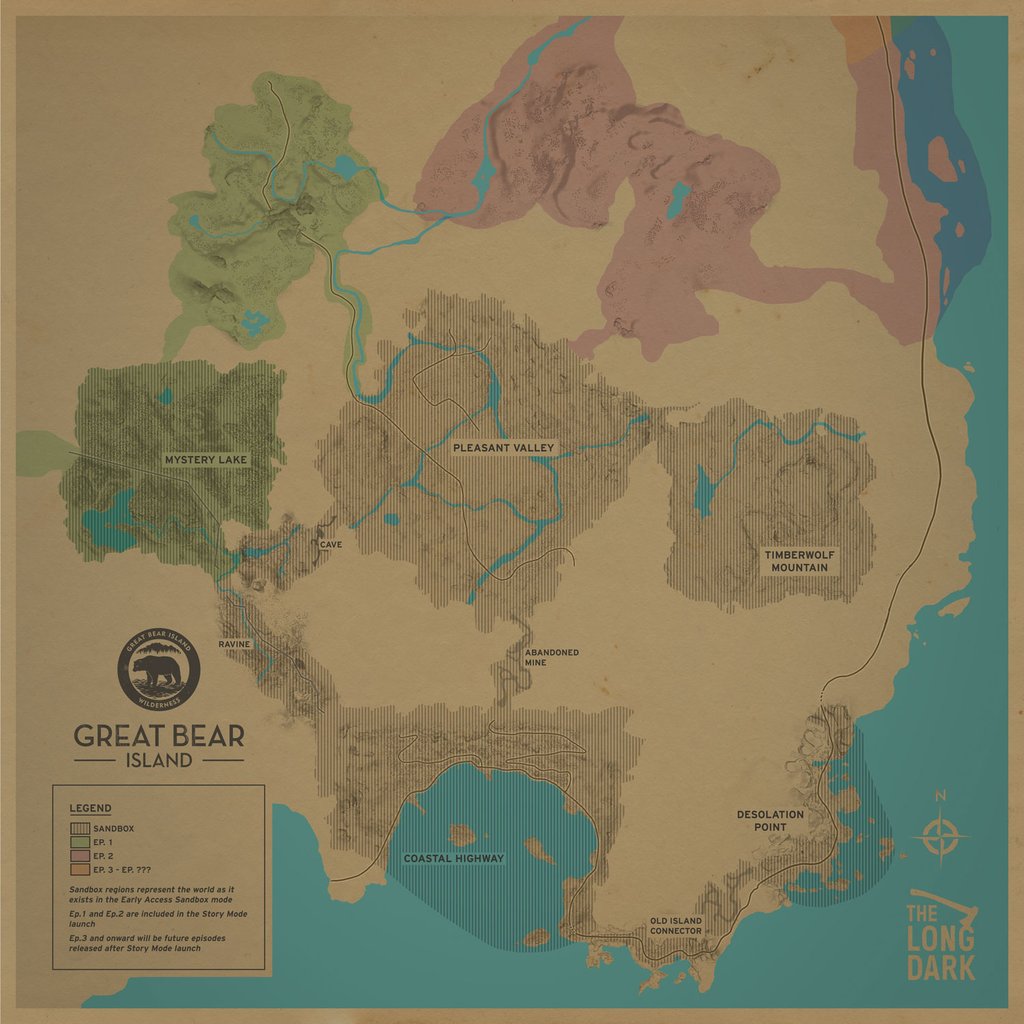
The journey itself is fairly straightforward, and I’m going to provide specific directions for the PV part of the trip, but you absolutely need to be familiar with the areas we’re traversing – PV, the cave which links PV and Winding River (WR), WR itself, Carter Hydro Dam (CHD), and ML. When you’re outdoors you’re going to need to move as quickly as possible in PV and ML (you’ll get a break in the middle since Smokey doesn’t appear in the cave, WR or CHD) but getting lost in PV or ML will result in a swift death.
OK, let’s get started. We’ve got a date with a mauling.
Day 1, Part 1 – “Well, this all sucks.”
Initial Spawn: The Challenge always begins the same way. You will spawn in to a mauling by Smokey. After he’s had his way with you, you’ll get up and your condition will be between 8% and 10%. You hunger bar will be at around 75%, your thirst bar will be mostly full, but your fatigue bar will be completely depleted and your temperature bar will be almost completely depleted. Oh, and you’ll also be bleeding and have a risk of infection. As far as possessions, you don’t have much. It’s slightly randomized, but you generally start with 5 pieces of clothing in the light to medium category – an inside chest piece (a sweater, usually), an inside leg piece (thermal underwear, usually), an outside leg piece (jeans, usually), socks (wool, usually), and shoes (sneakers, usually). You’ll have no food, water, first aid supplies, or tools, other than a sleeping mat (usually in good condition), a book of matches, and an antiseptic bandage. You’re in deep trouble, in other words. The good news is that Smokey, having now satisfied his bloodlust, is out of heatseeker mode and is wandering off away from you. Behind you is one of the two burned out buildings on Skeeter’s Ridge, with a set of doors leading down into a basement. You’ll be going there shortly. You’ll have about 10-11 hours until dark.
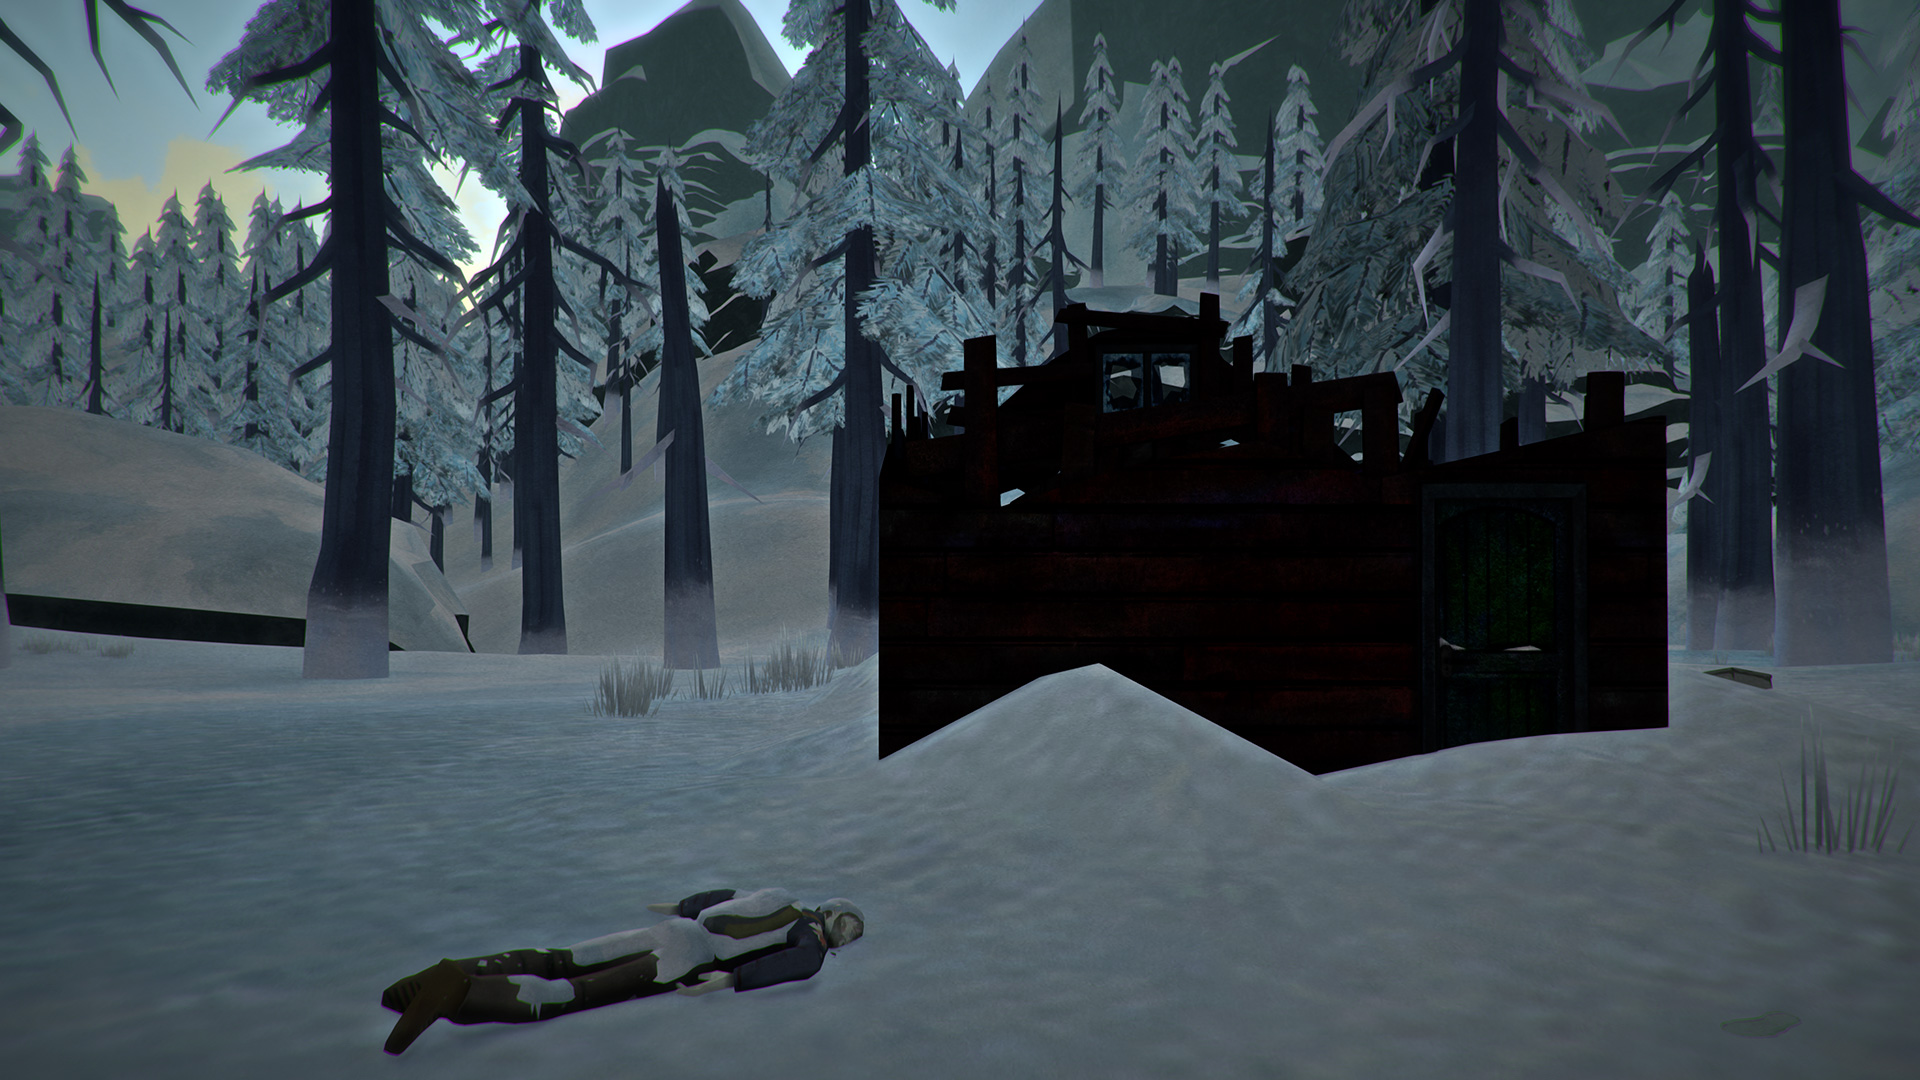
First Steps: You’ve got a few minutes of (relative safety). First off, open your wheel, select First Aid, and use the antiseptic bandage. You’ve got no choice here (and this is certainly what the devs intended). You need to stop the bleeding or you’re going to die in about 60 seconds. With that taken care of, you’ve got a few precious minutes to quickly search the building exteriors. There’s usually 2 Rose Hip bushes next to you – ignore them. There’s sometimes a box or some supplies lying on the ground near the corner of the building. Loot that. Now shuffle over to the other burned out building near the ledge. There’s usually a body and some supplies in the snow around the building. Grab everything. At this point, Smokey is probably loping back towards you (but not in heatseeker mode). Give him his space and head into the basement. Grab any small sticks on the way back.
The Basement: Again, almost certainly by design, you have to go down here. Trying to go anywhere else would be suicide. Your condition is probably around 8%. We’re going to quickly try and do some things. However, when your condition gets to 5%, you’re done and it’s time to sleep. Don’t push yourself further than that. The basement is pretty bare (there’s no place to make a fire, no bed and no crafting table) but it always spawns with a couple items:
- A distress pistol with five shells in a case on a shelf;
- An emergency stim on the shelf next to the pistol case;
- a sleeping mat next to the shelves (usually next to a backpack);
- 3 pieces of fir/cedar firewood next to the boiler;
- A flare on the ground on the far side of the basement next to some boxes;
- A piece of outside chest clothing on the washer/dryer (it’s always been a down vest or insulated vest for me – never anything better than that).
You need to go ahead and loot pretty much everything. You can leave behind tool kits, scrap metal, and the extra sleeping mat, You’ll find some food, drinks, and usually some other clothing in the washer/dryer. Once you’ve looted everything, check your clothing tab. Now this is a little tricky, because a lot of your starter clothing is in poor condition, but you need to compare slot pieces and swap out anything that is an upgrade. KEEP IN MIND that because of condition differences an inferior piece of clothing may temporarily provide an upgrade because its condition is better. That’s fine – swap them out for now. Do NOT get rid of any clothing pieces that are superior if repaired, however. We’re going to do that in a bit. Your food and thirst bars should be OK – both well above 50%. I like to spend an hour or so shredding crap clothing for cloth. Again, don’t shred anything that is eventually going to be “best in slot” for you when repaired. Probably around this time you’ve got about 8-9 hours until dark and/or you’re at 5% condition. Time to sleep. Lay down your sleeping mat and sleep for about 5 hours. You’re shooting to wake up with 3 hours of daylight left. Wake up and top off your hunger and thirst with what you’ve found. If you haven’t found a knife or can opener, avoid smashing open cans if you’re able – it’s a waste. You don’t need to completely fill your bars, but get them above 75% if you can. OK – if you’ve done everything right your temperature should be full, your fatigue bar will probably be around 40-50% and your hunger/thirst bars between 75-100%. Your condition should have regenerated to around 25-30%. Press “2” to ready the distress pistol and “R” to load a shell. You’re as ready as your gonna get. Time to head out.
Journey to the Farmstead: We’re now going to quickly journey to the Farmstead. This is the most dangerous part of the Challenge, especially if the weather is bad, but 3 hours should be more than enough time. Our first goal is the Draft Dodger’s Cabin, which is in the valley to the east of us. We’re going to follow a very specific route. As noted previously, you’re going to have about an hour of grace before Smokey comes looking for you.
Exiting the basement, head towards the other burned out building behind you. Veer to the left of the building and go around behind the rocks. Follow the ridgeline keeping the rocks to your left and you should quickly come to a “rope rock” (where you could normally descend if you had a rope). To the left of this there will be a break in the cliff where there is a snowy slope you can descend. Go down CAREFULLY – I’ve found it helps if you walk at an angle downwards. Spraining an ankle would be very bad. You’ll come to a shelf where there is another rope rock. Again, a bit to the left there will be another snowy path you can carefully go down. This will put you on the floor of the valley.
Sprint and Drift: Your movement at this point should shift into a pattern I call “sprint and drift.” Going forward, you need to sprint until your bar is around 50% depleted. Then shift back to walking until your bar gets some “charge” back. Never sprint your bar below 50% unless you’re running from Smokey (that’s the idea here – you’re keeping a reserve for when you need it but otherwise moving at your best speed). This depletes your fatigue bar at an increased rate but you’ve got no choice. You have to minimize the time you’re outside and vulnerable to Smokey.
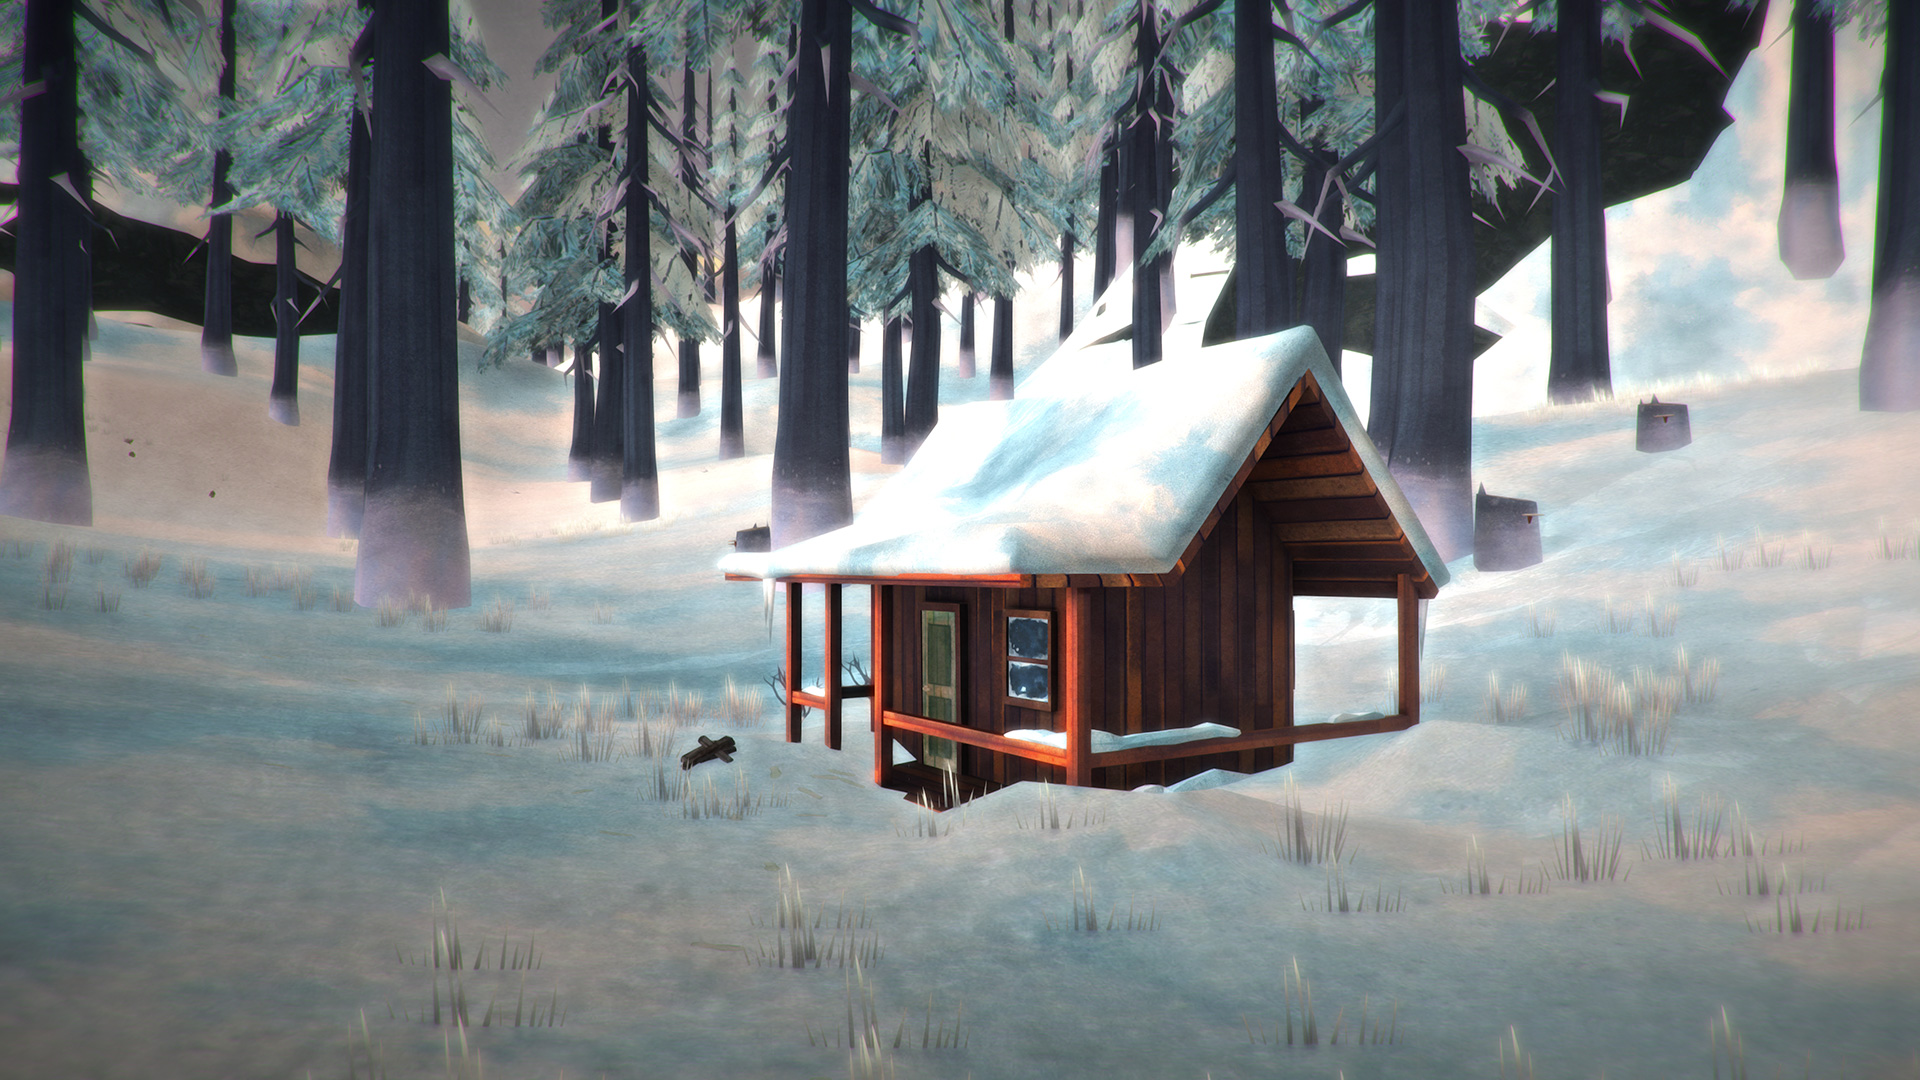
Make a right and follow the valley and you’ll shortly see the Draft Dodger Cabin ahead of you (it looks like the picture above this section). Keep an eye out for small sticks from here on out and grab any in your path. Head in to the Cabin and quickly loot it – there won’t be much but you may find a piece of clothing in the chest of drawers and a couple food/drink items.
Don’t dawdle. Head out the front door and go straight forward. You’ll need to go over a slight rise and then you’ll descend down to the river. When you hit the river, make a right, walking/sprinting along the left side. You’re looking for a group of boulders and rocks on the left where the river branches off to the left from the main course that you’re on. It can be a bit difficult to see but it’s there. Around the time you hit the river, depending on weather, your fatigue and temperature bars will probably be hurting, possibly badly, but you have to push on. Unfortunately, shortly after you get on the river is usually where Smokey shows up behind you in heatseeker mode. We’ll talk about dealing with Smokey, and finishing our trip to the Farmstead, in Part 2…
Day 1, Part 2 – “I really hate that bear.”
Dealing with Smokey: This is more of an art than a science, because Smokey – once he’s in range – behaves a bit unpredicatably. You’ll develop a feel for walking backwards for a bit and keeping an eye on his range, and then sprinting away from him. Listen closely – you’ll hear him if he’s getting close. As mentioned in the introduction, Smokey generally behaves like a wolf once he gets in range. He’ll stalk you at a distance, he may charge you, or he may rear up on his hind legs. If he starts a sprint at close range (again, you just have to get a feel for this) you need to shoot him with the distress pistol. You don’t have to hit him, but that’s what you should try for – wait until he’s relatively close. That will cause him to run off (hopefully away from you). You need to take advantage and put as much distance between him and you as possible – sprint away until you can’t sprint anymore.

A couple other comments about Smokey’s general behavior. It is definitely possible to lose him, particularly if you’ve got some boulders or geography you can put between you and him – he seems to get hung up on those sometimes. At this moment in the guide, if you’re able to make it to the boulders surrounding the branch of the river where you’re going I almost always lose him there (but you may not be able to make it – you’ve just got to keep an eye on him and make the call as best you can). Another important point – Smokey is afraid of fire. I’ve never tried to drive him off with a fire brand so I don’t know if that’s possible, but if you’ve built a fire outdoors it seems to have the same effect as a distress pistol shell once he gets close – he runs away in a panic. So if you’re by a fire and Smokey comes at you you’re going to be OK – he’ll run once he gets close – but you should probably take that opportunity to run for it.
Getting mauled by Smokey at any point from here on out is probably a death sentence. Right now it will practically kill you outright but at any point in the future it will beat down your condition to the point where you probably won’t be able to make it to shelter (and that’s assuming you’ve found bandages and antiseptic and can stop the bleed effect and infection risk). You CANNOT let him get you.
OK, back to our trip. You’re almost there. Follow the river forward under the bridge. After the bridge, the rocks will eventually open up to your right and you can climb the bank in the snow. Go ahead and do this, angling to the left. You should see the farmstead and silo ahead of you. Be very careful of the dead orchard stright ahead and to the right of you – there is usually a wolfpack in there and you don’t want to trigger one of them. If you made it this far – great work! Your odds of surviving the Challenge just increased significantly.

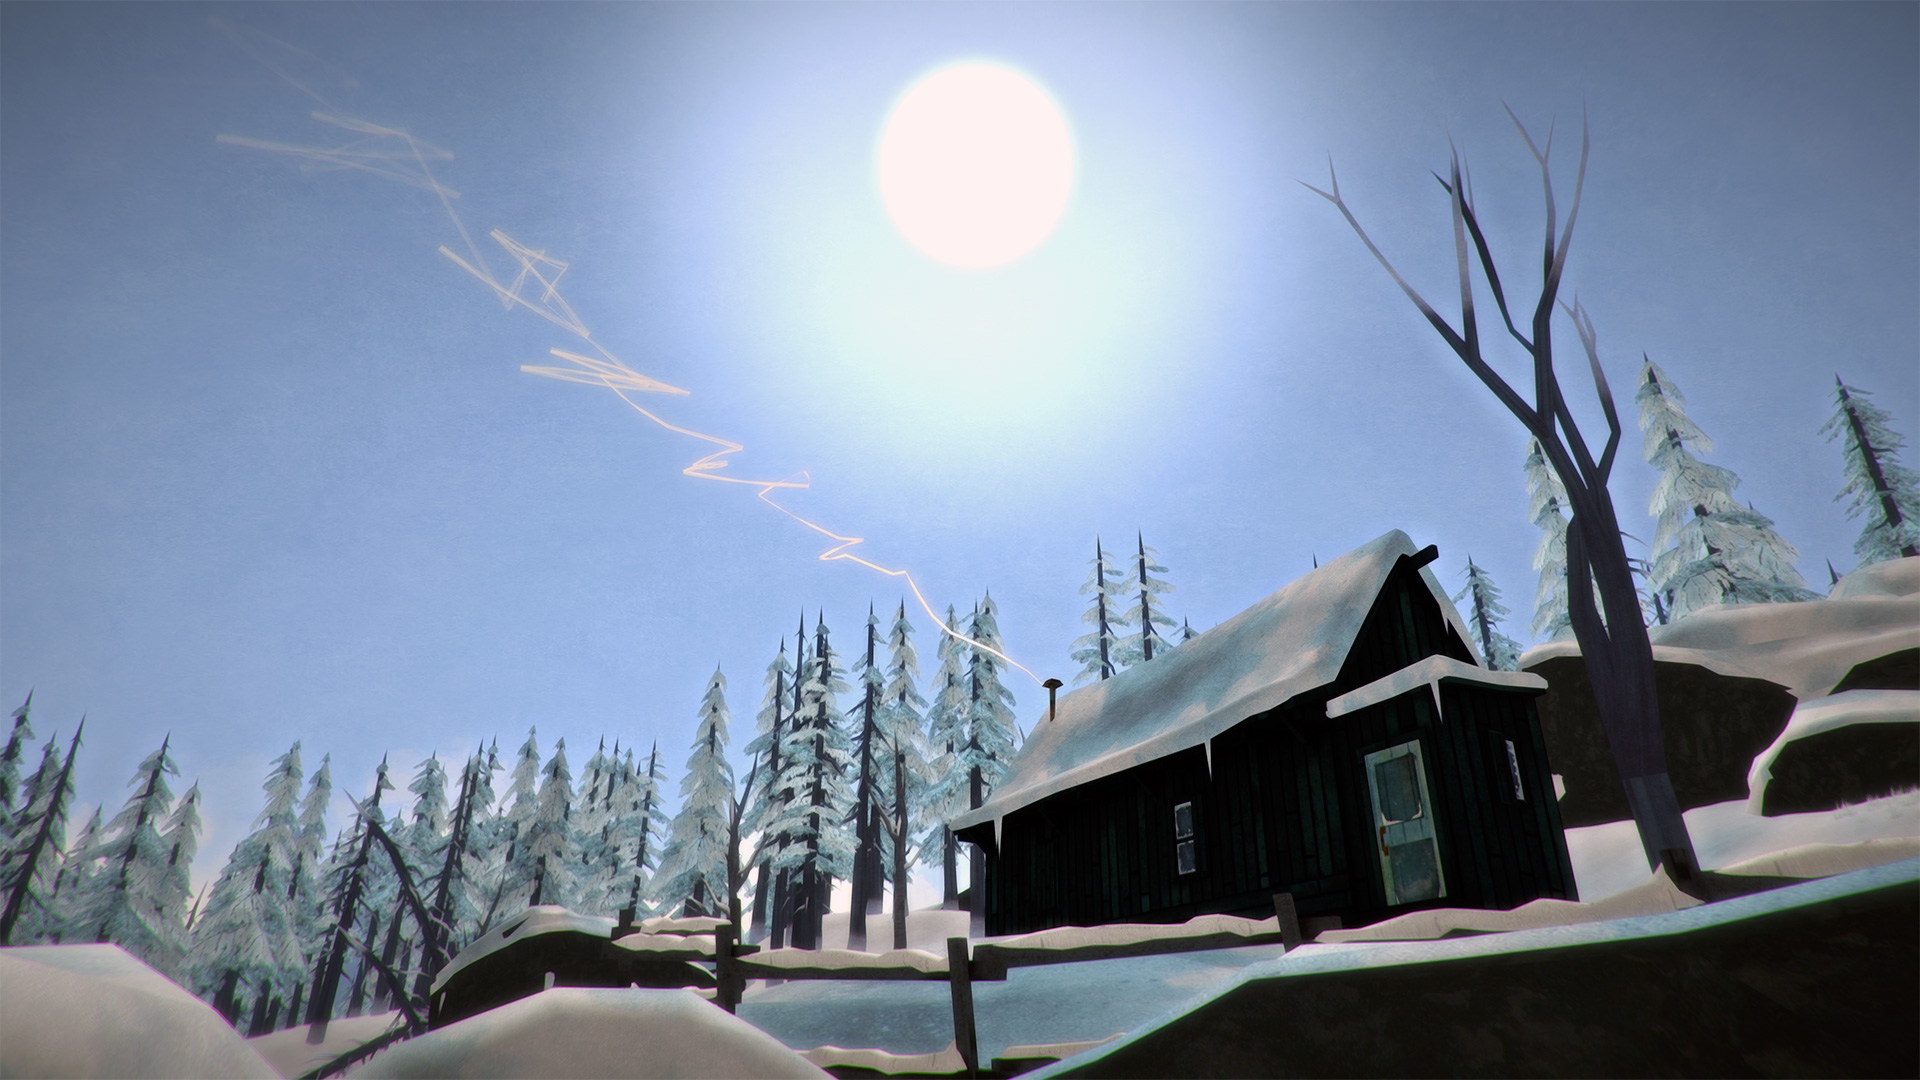
At the Farmstead: You’re probably in pretty bad shape at this point, with an hour or so before dark. If you can push yourself a bit, go ahead and clean out the basement under the farmstead before heading inside and then loot the house if you can. This takes some time but I like to try and complete looting the Farmstead before I crash for the night. Your hunger and thirst bars probably need some help. Remember that the upstairs and downstairs toilets have safe, drinkable water – you’ll usually get around 3L between them. Top off your bars. You can go ahead and make a small fire in the stove (you only need one or two sticks) and make a cup of coffee if you have some (more on coffee in a second). When looting the house, there are three specific things you’re hoping to find (if you haven’t already):
- A sewing kit;
- A hunting knife, hatchet or can opener;
- Coffee.
Why these things? You need to repair your clothing in the morning (hence the sewing kit). You need a way to open cans (the can opener can do this, but the knife and hatchet have the additional utility of being able to cut wood, harvest cloth, or to defend yourself). Coffee (just like in real life) is a wonder drink. A hot cup of coffee satisfies thirst, provides some calories, gives an immediate 10% refill on your fatigue bar, and buffs your fatigue and warmth bars so that they drain more slowly. Not finding these three things is going to make your life more difficult going forward.
OK. Do one more top off of your bars (especially thirst – you want to make sure your condition regenerates as much as possible while sleeping and don’t want to get dehydrated). Go ahead and crash in the upstairs bed for 11 hours. You should wake up around daybreak. We’ll pick up with Day 2 in the next section.
Day 2, Part 1 – “Do I HAVE to go back out there?”
Good morning! Nice job yesterday. I wish I could tell you to sleep in, take a day off, and enjoy yourself but that’s not happening. Smokey is still out there, and he wants to kill you. Let’s outline our plans for today. First, we need to get our clothing shipshape. Then we need to give our inventory a once over and make sure we’re carrying what we need and leaving behind anything we don’t. Our goal today is to make it to the small cave in the Winding River valley below CHD. For your sake I hope you don’t hear the wind whistling outside when you wake up (but you’re probably not that lucky). There is some good news, though. You’re only in danger from Smokey in the PV leg of today’s trip. He does not come into the caves that connect PV and WR, nor does he show up in WR itself (or CHD). Once you reach the connecting caves it’s smooth sailing until you exit CHD into ML. OK, let’s get to it.
Gearing up: Top off your bars as you normally would. You may be low on beverages – that’s OK, we’ll take care of that in a bit. All of your bars should be full or nearly full, which is great, and your condition should also be almost fully restored. Let’s look at clothing. You almost certainly found a bunch of articles when you were looting last night. Go ahead and go through them by slot, selecting the best in slot available (if you’re not familiar with the clothing types off the top of your head there is a Steam guide that covers them, or you can look online). Once you’ve got your slots filled with the best available options, go ahead and repair them so they’re above 75%. If you need more cloth, break down some of your extra items. The only hitch will be shoes since you need cured leather to repair those. Hopefully you’ve got an extra pair of shoes you can harvest for that. I’m usually able to end up with at least 7 of the 9 clothing slots filled, and sometimes all 9 of them.
You’re not in a huge hurry this morning. 6 hours is absolutely enough time to get where we’re going with some cushion to spare, and you can do it in 4 if the weather cooperates and you don’t waste time. In fact, in my best run of this Challenge, I’ve been able to make it all the way from the Farmhouse to the TRAPPER’S CABIN with a couple hours of daylight left (but we won’t be doing that in this guide). Take your time getting your clothes situation sorted out. Then drop all clothing related items that you’re not actively wearing and any extra cloth.
Make a fire and go ahead and throw some logs and sticks in there. You want a fire that’s going to go for about 3 hours. Melt and boil 4L of water. This will take 2 hours. Then go ahead and open and heat up some cans of food (pinnacle peaches, pork and beans, tomato soup) and cook any raw meat you’ve got. This will all save some time later. You can scale back on the size of the fire and the amount of water you’re making if you’ve found a lot of sodas but 4L will absolutely be sufficient to get you through the rest of the Challenge. Make a cup of coffee for all the reasons discussed above and top off your food/thirst bars.
Last thing before we head out, go ahead and give your inventory a once-over and leave behind anything that’s useless or redundant. We already talked about clothing and cloth, but things like rifle cleaning kits, scrap metal, fishing lines, extra sleeping mats, extra tools (keep a crowbar if you’ve found one – you may need it in CHD – but you only need one crowbar, or one can opener, or one knife, or whatever). The main things you want to keep on you are food, water, the clothes you’re wearing, and one of each tool type you’ve found. KEEP AT LEAST ONE FLARE (but no more than three). Keep any firewood and maybe a book or two (books are heavy – you don’t need more than two). Keep a lamp if you found one – it’ll come in handy later.
Alright, we’re as ready as we’re gonna be. Let’s go for it. Again, your goal is to have a minimum of 6 hours before darkness to work with – 8 if the weather sounds bad out there.
Journey to Winding River: Hopefully you’ve made this run before, but I’m going to give you the path I usually follow to the cave that connects PV and WR – it’s got good landmarks and can be followed even in a blizzard. Head east across the dead orchard toward the main road (you’ll be heading in this direction if you walk out the door next to the fridge downstairs). You’ll see a car on the road. Don’t waste time with it unless you’ve been unlucky and your food/water supplies are low. After crossing the road, angle down to your left towards the river and follow the river on the bank. Remember – feel free to pick up any sticks in your path while you are sprinting and drifting but no stopping. You’ll come up on the waterfall ahead – you want to climb the snowy slope ahead of you on the right side of the river. This is usually right around where Smokey decides to make his first appearance of the day for me.

You’ve got two options here. If your temperature situation is OK (I’d say above about 1/3 full) run up the hill and try to evade Smokey normally. I usually end up using my first distress pistol shell here. However, if the weather is really cold and your clothing situation didn’t work out very well, your temperature could be reaching dangerous levels. When that happens I usually make a fire up against some of the boulders in this area. Warm up for an hour (don’t use a sleeping mat, just wait it out). If your coffee buff has expired, feel free to have another cup once you’re about 45 minutes in to your fire. Smokey will probably wander up but the fire will chase him away. Once your fire is getting low, get ready to run.
Continue up the hill and then continue forward, keeping the river to your left. You’ll come to the road. Turn right and follow the road for a short distance.You’re looking for a large broken tree on the left side of the road that almost looks like an arch. Veer off the road through the arch. Often, if I’ve been successful at previously avoiding Smokey he’ll reappear behind me at this point. Ahead of you, on the other side of the arch, you’ll see the rock wall ahead of you with the cave entrance higher up. You can actually climb a path up to the cave entrance on either side – left or right – but the path on the right is a bit easier to find and follow. If Smokey’s on your trail, go for broke. Once you get up in the rocks he won’t follow you. Enter the cave – you made it.
OK, things get a lot easier from here on out. You should immediately start warming up in the cave and Smokey is out of the picture for a while. Top off your hunger/thirst bars. If you haven’t found a lamp, or if your temperature situation is dire, go ahead make a fire here at the entrance. Feel free to heat up some of the canned food you thoughtfully already opened to speed up your temperature recovery and have a cup of coffee if your supplies are adequate. A one hour fire should be more than enough. If you don’t have a lamp, grab a firebrand before the fire goes out (for light). Hopfully you’re familiar with the layout of these caves and the path down to the exit to WR. There are a couple dead ends, but it’s hard to get too lost. Three areas you want to check before you exit to WR are the area under the wooden “bridge” (there’s usually a backpack and some other items here), the dead end near the exit to WR (there’s usually a flare and some firewood), and the exit to WR itself (just before you exit if you turn around there is usually a piece of firewood there). Heading out to WR, you should have a couple hours before dark and the only bar that should be a concern is fatigue. That’s OK – we’re almost there. We’ll finish up in Part 2…

Day 2, Part 2 – “I ain’t afraid of no bear.”
OK. Last leg of today’s journey. WR is a safe zone – no Smokey and no wolves unless you go right up to the area at the foot of the dam (which we won’t be doing). Go ahead and follow the path up, down and around through WR. Feel free to grab some cattails along the way (they’re free tinder). There’s not much else to find until you exit out onto the main river where it leads up to the foot of the dam. Cross the river here and follow the slight slope up and to the right to the cave. There’s usually a lot of small sticks, larger sticks, and branches here. Depending on your condition, feel free to grab some, especially if you’ve still got a couple hours before dark (which is entirely possible). Head into the cave – there are usually a couple items on the ground. You’re camping here for the night. When it gets dark, top off your bars and sleep.

Tomorrow will be the final day, one way or another…
Day 3 – The long and winding (rail)road
Almost done. We’ll be at Trapper’s Cabin this afternoon. Or in Smokey’s stomach. One way or another. You know the drill at this point – top off your bars, make a small fire and have a cup of coffee to properly prepare yourself. Our gameplan is to get up to CHD, travel through it QUICKLY (avoiding Fluffy), and then to exit out to the rail line in ML. We’ll follow the rail line all the way to the end of the line (the Tunnel Collapse), veer to the right, and follow the mountains at the southern edge of the map right to Trapper’s Cabin. If you’ve played any significant amount of TLD, you should be able to make this part of the trip in your sleep. The bad news – Smokey’s back once we enter ML. Hopefully you’ve got at least three shells left, and a flare.
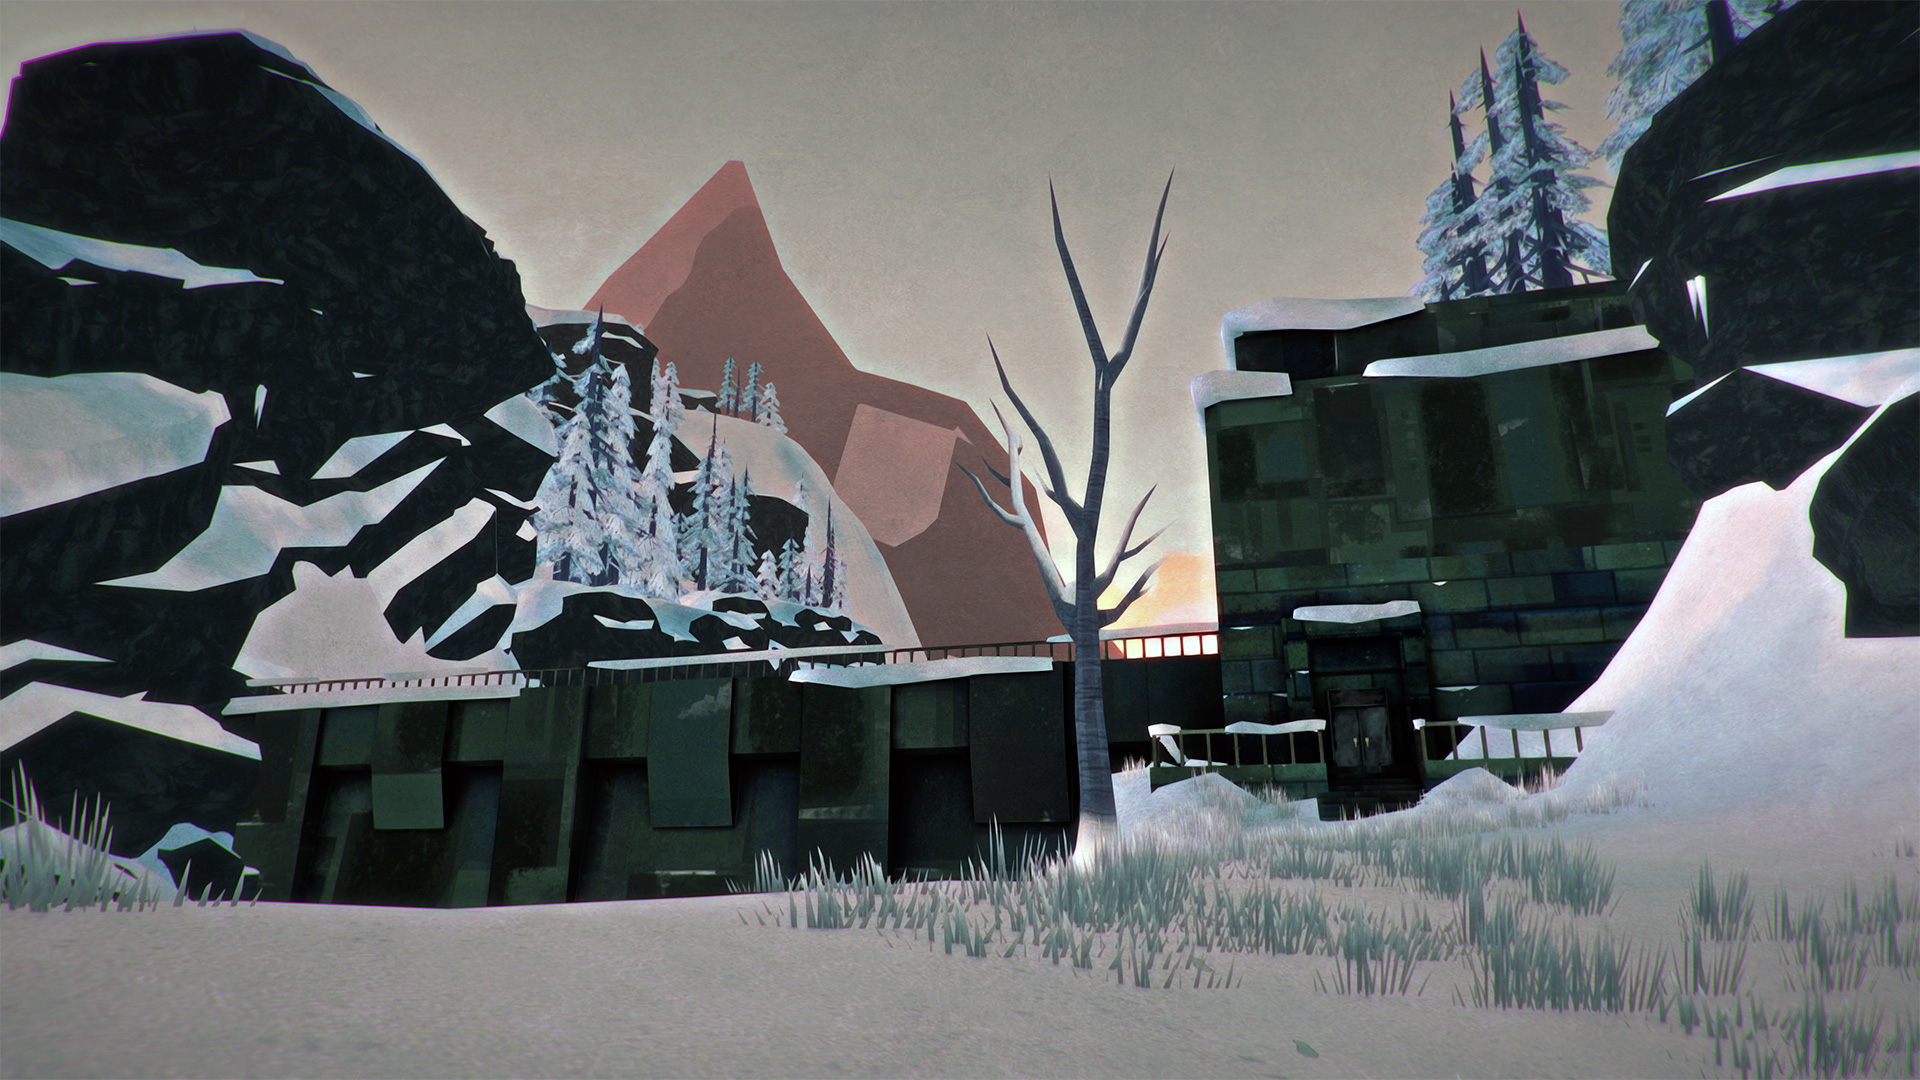
Journey through CHD: Head out the cave and back down to the river. I’m assuming at this point you know how to follow the path to the left up the rocks and then along the edge of the cliff to the broken fence leading into the back of CHD. If not, this would be an EXCELLENT time to figure it out by looking at another guide, or a map. Cross the top of the dam CAREFULLY (you’ll feel really, really dumb if you went through all this just to fall off the dam to your death – I know I did the one time it happened).
You should be familiar with how CHD works. Fluffy is in there (even in this Challenge). She USUALLY spawns on the ML side in the generator room. I’m not sure if that ALWAYS happens in this Challenge but I’ve yet to have her spawn on the WR side (where you’re about to enter) for whatever that’s worth. I’d be curious to hear in the comments if anyone has had a WR-side spawn. But let’s be better safe than sorry. Ready a flare and enter the window.
Go ahead and light the flare. We’re not wasting any time looting in here – we need to just get through CHD and you should have more than adequate food and water to get you through the next couple hours. If you run into Fluffy on this side, congratulations – you’ve seen something I never have. Hopefully you’re able to brandish your flare and chase him off. Sprint for the metal door that connects to the ML side. If you haven’t seen Fluffy, you know the deal – he’s probably on the other side of the door in the generator room (I usually have him spawn in the middle of the room). Run in with the flare at the ready (if your worried about your flare going out, light another but try to save a flare if you can). Brandish at him if needed, but your goal is to charge through here and get out of CHD. Grappling with Fluffy is a bad idea – you probably don’t have bandages and antiseptic and if you get a bleed you’re gonna die. There’s no reason to tangle with Fluffy – again, you shouldn’t need anything in here.
Journey to Trapper’s Cabin: Now it comes down to it. The last leg. You know the drill at this point. Make a small fire and have a quick cup of coffee – you’ll need it. All your bars should be in good shape. Head to the rail bridge and start following the rail line.
If you’re sprinting and drifting, Smokey will usually show up between the Train Loading Area and the Derailment. You’ll have to improvise a bit here because I ALWAYS end up with a trio of wolves just ahead of the Derailment (before you get to the Camp Office). Here’s a couple recommendations. If you’ve got at least 4 shells left for the distress pistol just shoot Smokey with a flare shell and veer to the left and shoot at a wolf with a flare shell to chase him off if he charges you (you don’t need to hit him – just scare him away). If you’ve got three shells and a flare, shoot Smokey and ward off the wolf with a flare, if needed. If you’ve got 3 shells and NO flare, I’ve had some success trying to lure the wolf AND Smokey in behind me and scaring them BOTH with a flare shell (a lot of risk in this strategy, though). If you’ve only got two flare shells you’re in trouble. Your best bet is to try and run for it and hug the left side and hope Smokey loses interest – make for the Camp Office and wait there an hour until the wolf (hopefully) loses interest. Smokey will disappear once you go inside – he won’t linger outside. Head out after an hour and resume your run. If you haven’t picked up on it, the idea is to have 2 flare shells left for this last leg.
It seems like Smokey gets a bit more aggressive at this point. Head to the Tunnel Collapse – I usually get another appearance from Smokey right around the time I get there. No reason to save flare shells now – blast him. You probably need to top off hunger/thirst – go ahead and do that. Follow the mountain to the right all the way to the Trapper’s Cabin. I usually get one more appearance from Smokey shortly before I get there. Play it safe and blast him if you’ve got a flare shell left. If not, you can build a fire to scare him away and give you the last bit of breathing room you need.
Enter the Trapper’s Cabin and you’re done! Give yourself a pat on the back.
I hope this guide was helpful to you. Feedback is welcome and I’m interested in other people’s experiences or alternate methods for beating this one. If you found this guide helpful, please rate it to help promote it to others!
BONUS SECTION – The two day run
It IS absolutely possible to complete the Challenge in 2 days. As I mentioned above, my best run finished with about 4 hours of daylight left on day 2. Time isn’t your primary limiting factor – fatigue and temperature are. The run follows the exact same path outlined above but instead of spending a few hours in the Farmhouse before heading out on Day 2, you pretty much just repair your clothing and go, pushing through all the way. Here are a few tips:

Weather: The wild card that makes or breaks a 2 day run is the weather (and whatever random clothing you’ve found). You need the “feels like” temperature when you exit the Farmstead on Day 2, and when you get to ML, to be warmer than -10 degrees. The problem is that the weather in ML operates independently of PV, so just because the weather cooperated in PV doesn’t mean it will in ML. You’ll be stopping here and there to make fires, and you’ll naturally warm up a bit in the cave between PV and WR and in CHD, but if you get hypothermic you’re in trouble – it’s an added drain on fatigue which you can’t have.
Supplies: You pretty much have to have coffee to make this work. It’s the secret “trick.” Pretty much you want to keep the coffee “buff” going at all times on Day 2. Whenever it drops you need to stop, make a small fire and heat up a cup. Then push on. Food and water are less of a concern – you only need a days’ worth. Foods that also top off thirst (e.g. condensed milk, sardines, pinnacle peaches) are great.
Fatigue: This is the REAL monster you’ll fight for most of Day 2. The problem with fatigue is that it drops your effective carry weight when it gets low (and it will). What I usually end up doing is shedding gear as I go to keep myself under the current encumbrance limit (since running heavy amplifies your fatigue drain and slows you down). Being slowed down is a problem, since it will frustrate your ability to evade Smokey.
The point of no return: Pretty much when you exit out to ML you have to make the call on whether you’re going to try to push all the way through. Again, weather will be the biggest determining factor. In favorable conditions it will take you around 3-4 hours to get from CHD to the Trapper’s Cabin if you’re sprinting and drifting. If I make the decision to go for it, I drop my sleeping mat (since you won’t be needing it), lantern, and basically anything that isn’t clothes, food, water (and you can probably pare those down as well), or basic firemaking materials. If you decide you can’t make it, your best “bail out” option is the Camp Office. Get there, crash for the night, and resume in the morning. Remember that you do have that Emergency Stim. If you’re bailing to the Camp Office, it may help to use the Stim once you get past the Derailment to help you sprint past the wolves and cover the last bit of ground to the Camp Office.
Good luck!