Overview
The reason I made this guide, not only being my learning process, is that this game is far deeper than anything I have played and this is a perfect example of what you can do for perfection.
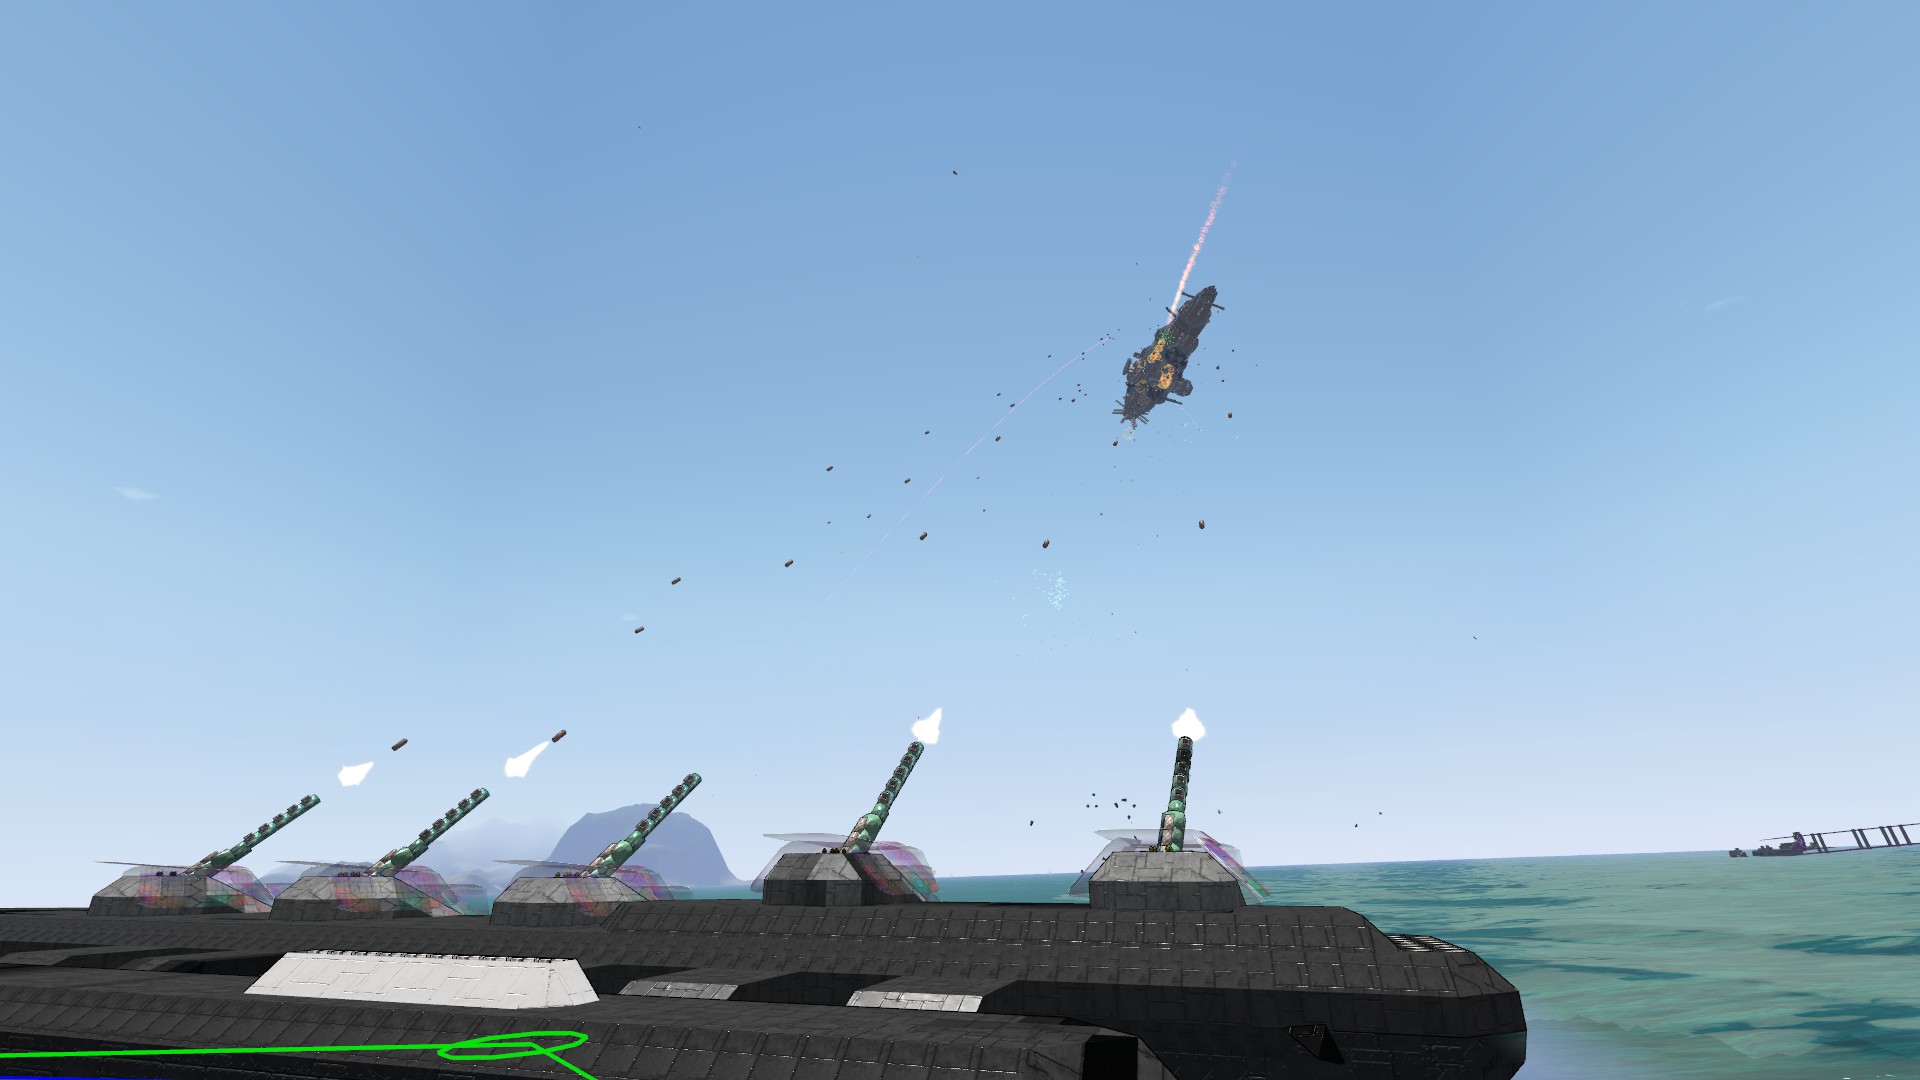
Preview
NO, one AI controlling all weapon and the default prioritization card setting is just fine.
This guide is for slightly increase weapon efficiency by forcing your weapons to engaging the appropriate target.
Before you read this guide, you should make sure that you know how to build a proper AI controlled ship, and have a basic understanding of what does each AI card to in gameplay, so that you won’t be disorientated by the content of this guide. Recommend at least 20 hours of game play time before detailed reading.
This guide is not completely finished yet (about 90%?!), but it’s good enough for publication and should inspire you to make some changes for your AI.
Game Mechanism Explain
Let’s say there are few enemy: Target Alpha, a large, slow battleship with lots of weapons attached at 1000m away; target Beta, a small, fast bomber 500m away at 300m altitude; target Charlie, medium size a laser platform 1000m away at 500m altitude.
You have a large battleship with high gauge cannon, low AP laser, and 10 frag missile.
Situation 1: Only have one AI to control all weapon.
- Firstly, your AI will identify enemy target, and run all targets through target prioritization card for assessment list.
- Secondly, AI send the assessment to each Local Weapon Controller through wireless transmitter.
- Thirdly, local weapon controller aim at the possible engaging target with the highest assessment on the list.
- Fourthly, fire the weapon.
As show in the flow chart.
This is indeed a good mechanism. However, there is one problem: all local weapon controller received the same assessment list, therefore all weapon will fire at same target if possible. Both low AP laser and missile are not good against battleship, but they aimed at battleship anyway, making them inefficient.

Situation 2: Three AI to control each weapon independently. Each prioritization card setup with different value, and each local weapon control setup with different parameter.
- Firstly, your AI will identify enemy target as usual, and run all targets through target prioritization card for assessment list. But this time, three prioritization card give three different list.
- Secondly, each AI send the assessment to corresponding Local Weapon Controller through wireless transmitter of different channel.
- Thirdly, local weapon controller aim at the possible engaging target with the highest assessment on the list.
- Fourthly, fire the weapon.
As show in the flow chart.
This time, as you can see, all the weapon are firing at the target they handle the best. By setup each target prioritization card, you no longer have to wait for your ship to should down one last flying bugger for battle to be over. And by setup some weapon shooting down not from the biggest ship but rather the smaller ones, you can demolish those repair minion even before the main battleship go down, which significantly increase combat efficiency and save ammo.

AI Target Prioritization Card has the following editable feature and default setting.
This is not ideal for all weapon but it can get the job done.
(Haven’t complete the study on value of each block yet. Loads of data required to complete this section. GOD!!! THIS IS BORING)
OK, now you know what target AI will prioritize, but occasionally there are enemy that are so that so insanely good that they have high assessment but weapon doesn’t engage them very will (such as using High Gauge Turret Cannon to attack a Huge High Speed High Maneuverability Jet Bomber, again turning speed is a killer), therefore we need to make some constrain on the weapon itself to actively give up attacking some enemy.
Local Weapon Controller has the following editable feature and default setting.
If anyone condition is not meet for current target, local weapon controller will give up attacking this target.
However, it is important to note that we do want to limit the weapon to favor its pros and cons in weapon behavior, but we do not want to setup every aspect of which target engage and give up. So we should not change more than 4 settings in local weapon controller to ensure this weapon is not setup to attack one and one enemy only.
Setup: Target Prioritization Card
The following setup are merely for suggestion, exact setting can be vary by specific design of each weapon.
Primary weapon are usually used for engaging large enemy. Ideally close, slow and heavy target.
Weapons can be classified into this category and suggested values are:
Secondary Weapon are usually setup to attack aerial enemy. Ideally small and fast, which primary weapon would have trouble engaging.
Weapons can be classified into this category and suggested values are:
Tertiary weapon are usually compensating for blind angle of secondary weapon, or adding additional firepower to primary or secondary weapon. In either case, tertiary weapon can share same assessment list from primary or secondary weapon with maybe some small changes.
There are endless example of tertiary weapon, so I won’t list their exact value, but you can always use the value from table above or make up your own values.
There are some example of tertiary weapon to inspire your build:
- Sideway Hull Cannon
- Vertical Hull Cannon
- Front facing Hull Laser
- Sideway Hull Laser
- Vertical Hull Laser
- Vertical Downward Smart Bomb Drop System
- Smart Bomb Ejecting System
- Dedicated EMP missile
Setup: Local Weapon Controller
Cannons has the following pros and cons.
Pros:
- AP and AOE Damage (Radius depends on number of explosive barrow)
- Local Weapon Controller can recognize attack radius of each cannon.
Cons:
- More gauge then slower turning speed due to increased weight of barrow.
- Does not rise or lower barrow position until turret base lined up with the target.
- Delayed Damage (Around 15s to reach 1000m target has equal altitude)
- High gauge turret cannot track high speed target and does not have enough rate of fire to ensure an impact. Whereas low gauge turret can track high speed target but does not have enough accuracy and firepower to ensure one deadly strike.
- Inaccurate against small target.
- Bullets deflect on water surface if projectile is too flat.
Judging from the above pros and cons, we can draw the conclusion for the following setting for local weapon controller of cannon (Blanks are for left as default).
As you can see, the above parameter can insure that turret give up on things that it’s not good at, including jets and subs.
Laser has the following pros and cons.
Pros:
- AP damage.
- Extremely accurate.
- Pulse laser has extremely large attack radius.
- Local Weapon Controller can recognize attack radius of each laser.
- High turning speed.
- Good against small target.
Cons:
- High engine power consumption.
- 45 degree of elevation vertical to turret placing direction with 6 steering optics.
- Continuous laser has low attack range.
- No AOE damage.
Judging from the above pros and cons, we can draw the conclusion for the following setting for local weapon controller of laser. (Blanks are for left as default)
There is not much to change for laser weapon because laser weapon is very good balanced.
Limiting the rate of fire on pulse laser, which I do quite often on my current builds, is purely insure that laser system is charged up properly.
I think we all can admitted that we thought leaser weapon is the best at some point during the game LOL.
Missile is a nightmare to discuss because behavior of each missile is determined by their component and each missile can be different from one another.
I’m currently at a stage which I hate missile and only uses them as a tertiary weapon to compensate the blind angle of AA turret cannon or AA turret laser. And they cause some serious lag in large battles.
Pros:
- Customizable.
- AOE damage.
- Good against small target.
Cons:
- High ammo consumption.
- Local Weapon Controller CANNOT recognize attack radius of missile. Meaning it will attack any enemy in sight despite its distance
- Range limited by fuel
- Turning speed limited by fin.
- Speed limited by thruster/propeller.
- Delayed damage.
Judging from the above pros and cons, we can draw the conclusion for the following setting for local weapon controller of missile/torpedo. (Blanks are for left as default)
It is extremely important to setup the range of missile, or otherwise you will be wasting ammo for nothing.
Log and Q&A
Update (July 1, 2015): Added feature of Local Weapon Controller.
A lot!
The following screen shoots are from a combat between Salamisi Battlecruiser and strength 98 Steel Striders.


- No time wasted by primary weapon trying to hit a small target.
- All repairing minions are destroyed during first 2 min. Therefore no ship showed “Too damaged but sustained by repair”
- Did not give any time for construction ship (such as “Greyhound”, listed as first target by secondary weapon) to spawn any minions, which saved lots of time.
At least two. One set of primary weapon for maximum firepower at engagement range, and another set of weapon to compensate the blind angle of primary weapon.
For example, high gauge cannon are good at engaging large slow enemy due to its firepower, but it will have trouble engaging small fast enemy due to its slow truing speed. So a second set of fast turning weapon (such as low gauge AA turret, laser, and double fin missile) would be helpful for to cover the enemy which high gauge cannon would have trouble shooting.
Tertiary weapon and quaternary weapon are always well come if you can find space for them to fit and enough ammo and engine power to run them properly.
Depends on how many assessment list do you need. Sometimes different weapon system could share the same assessment list for even greater damage firepower.
For example, high gauge cannon and pulse laser works great together for destroying enemy: pulse laser takeout all critical component and high gauge cannon annihilate the enemy. Therefore it’s unnecessary to make two AI for each weapon, they can share the assessment list by operating on the same channel.
You should always determine each weapon are good against what before you decide how many AI you need, and assign each weapon with appropriate AI for assessment list with most efficient potential firepower.
If you have question or suggestion, please leave a comment below.
If you like this guide, please rate up, share, and favorite on top.
Thank you.