Overview
A small guide on how to get the skin of hl2 models, edit and replace it
1. What you need
GCFScape – to open Source Engine Archives
VTFEdit – to open .vtf files which store the textures
GIMP or another graphics editor
2. Get the textures
The textures are stored inside archives of the .vpk format, which can be opened using GCFScape.
Open GCFScape and click File > Open, then go to located in C:Program Files (x86)SteamsteamappscommonHalf-Life 2hl2 which is where the texture vpk is stored in. Inside is a file called hl2_textures_dir.vpk. Open it.
When you open it, the files inside the vpk will appear. Now you need to find the model you want to edit the texture for. For example most character models are in ../materials/models Please remember the folder structure, as you will needed for the installation of the new texture.
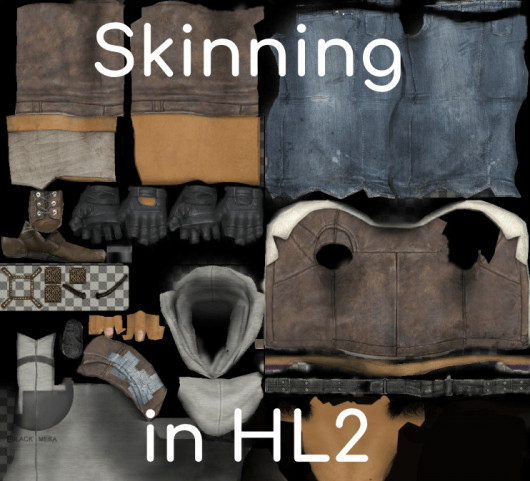
For the tutorial, I’ll edit Alyx’s body texture, that is in the ../materials/models/alyx folder and named alyx_sheet.vtf. In here we will find the .vtf files, which on double click open up VTFEdit we installed earlier. It will look like this image
But you can’t edit it yet. You need to export it to PNG. You can do that by clicking File > Export and selecting PNG in the type select
2. Edit it
Now you can open the exported file with a graphics editor, I’m using Photoshop. Let your creativity run wild! As an example I created this:

3. Replacing the texture in-game
Now that you have your texture saved into a PNG, you can’t just place it back into the vpk. First you’ll need to make it back into a VTF. Open VTFEdit and click File > Import and select your PNG texture. When a dialog box opens, just click OK.
When the texture succesfully loads, select File > Save as and save the file with the same name as the VPK file from which you have gotten the texture. For example because my texture is from alyx_sheet.vtf I need to name this one alyx_sheet.vtf.
To make the texture appear in game, you need to make a folder named custom inside your ../common/Half-Life 2/hl2 folder. Inside the custom folder, make a folder with some random name. Inside it make the same folder structure like the one inside the original .vpk file from which you got the .vtf file. For example here is my file structure:

4. Test
Now you just need to test it! Launch Half-Life 2 and get playing!


