
Overview
Teaches you how to easily insert custom BGM into SRW V.
Info
Well…here we are…SRW for PC. Quite a shame that the Custom BGM function is not on the PC port. there is still a easy way to put the BGMs you want into the game though.
What you need
- Eternity Audio Tools: download [animegamemods.freeforums.net]
- Audacity: download [www.audacityteam.org]
- Your replacement custom BGMs
- Wavosaur(optional): download [www.wavosaur.com]
Step 1: Prepare your custom BGMs
From what i know, the BGMs should be in the WAV format and 48000 Hz. You are gonna use Audacity to do that.
First Open up Audacity. Then go to file and open up your BGM.
This is what you should see. From here you can do some basic editing to your BGM. To delete a portion of the BGM just highlight it and press DEL. you can also play and preview the BGM in the software as well. The area circled in black you can use it to adjust the volume of the BGM. For the area circled in red, open it up and chose 48000 Hz.
Once you are done, click on file. If you want to edit the BGM again without starting over, save it as a audacity project, its circled in black. The one you want to do is to press export Audio,circled in red. This will export your BGM into a new soundtrack file.

Chose WAV format and save your BGM in a convenient location. Then the software will ask you to input in meta data. this is just mainly for the music folder and music player’s functions so you can leave it blank if you want. There. your BGM is ready now.

Step 2: BGM replacement
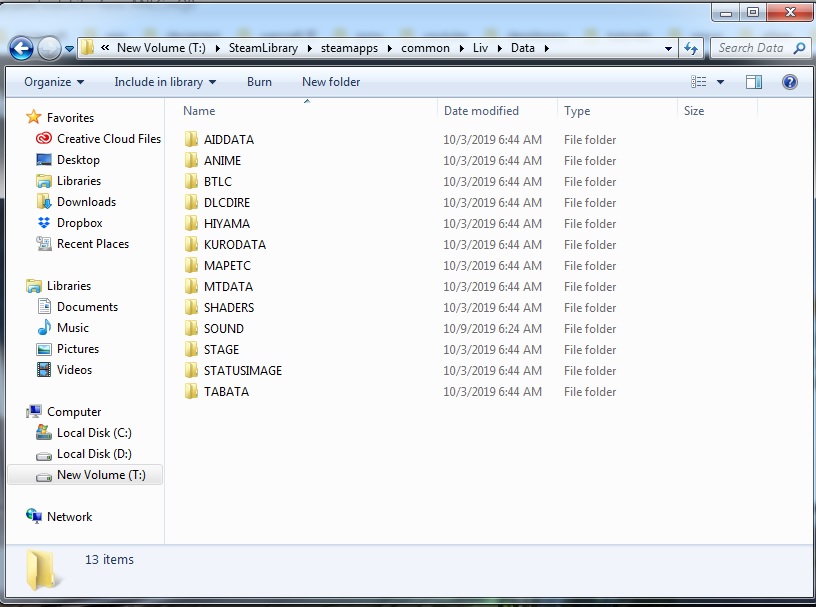
Alright. Here comes the fun part. Now you need to navigate to your SRW V install folder. its usually in
steam library/steamapps/common/liv . Or you could just right click the game in your steam library, click on properties, go to the local files tab and click on browse local files.
now just click on data in the liv folder and you should see this. all of the good stuff is in the SOUND folder. click on it.
Now all of the good stuff is contained within these two files. Now we are gonna use the Eternity Audio Tools to access these files. Backup these two files somewhere before editing them.

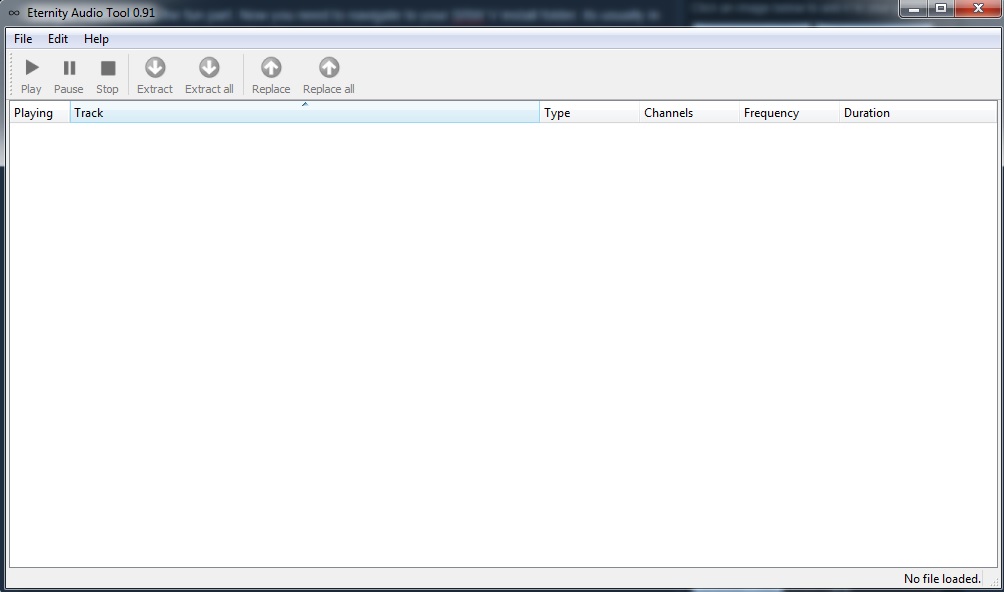
Here is the software. Click on file and navigate to the SOUND folder. open up BGM_002.
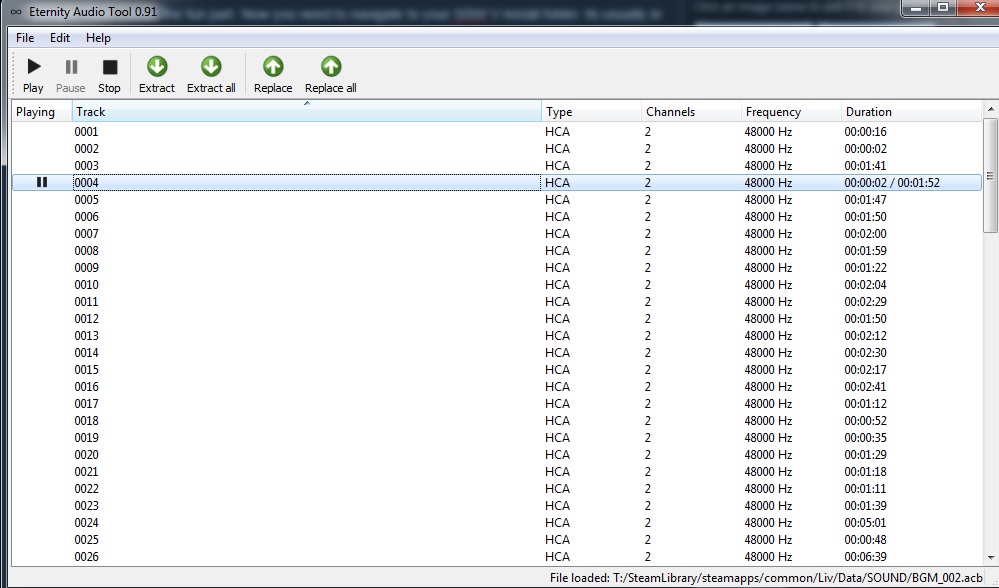
You should see this. Now the BGMs are not named. you will need to listen to them using the inbuilt player to chose which BGM to replace.i might make a list of what BGMs are what later on. You may notice the files are in HCA format. well don’t worry the software will convert it into HCA for you. once you chose a BGM to replace, click on it and click replace. chose your BGM that you edited in step 1.
This box will pop up. leave the box ticked and press ok. there. you replaced the BGM with your custom one. After you finish replacing the BGMs, go to file and save and you’re done.

Step 3(optional): Adding loop points
If you done the above steps and listened to the BGMs ingame, you might notice the BGM does not loop like the ingame BGMs. thats because all of the ingame BGMs have a thing called loop points.
The above image is the cross ange theme “Forbidden Resistance” opened in wavosaur. as you can see, there are loop points set on the BGM. now what are loop points? well basically its the point of the BGM where the game will loop the BGM from after the first time its played, so instead of the BGM looping from the beginning, it begins looping from a set point instead. this is why when you listen to set SRW BGMs you don’t hear the beginning portion of the BGM once the BGM starts looping.

Its pretty simple to set the loop points actually. just open your custom BGM in wavosaur and press “L” on your keyboard to turn on loop points for your BGM. you can use your mouse to drag the line left of right to set where the loop starts and ends. Now heres the hard part…getting it perfect. if you don’t put the loop start point at a exact position at the BGM, when the BGM starts looping ingame, it might sound like the BGM just looped abruptly. So the process of applying loop points will take a lot of trial and error if you decide to do it.
When you use the eternity audio tools to put the BGM in, be sure to tick the box to make sure the loop points are turned on.