100% Achievement Guide [Amnesia: The Dark Descent] 💯✅
Introduction:
![Wallpaper (1).png]](https://images.steamusercontent.com/ugc/2062132621122773756/D9A78D830D44C278F01A4EC400B84A3BAC4A81C8/)
Total Achievements: (18)
100% completion time: ~4-10 hours (Varies).
- Base Game: 2-4 hours per playthrough
- Expansion: ~40 minutes per playthrough
- Normal
- Hard
Missables: Yes
Mode: Single-player, horror
Achievement Types:
1) Story Related: (10)
2) Missable: (2)
3) Collectable: (1)
Expansion:
1) Story Related: (3)
2) Collectable: (2)
We will complete this game in achieving 100% by doing two walkthroughs on story mode and hard mode while the last playthroughs are three times on the Expansion. Follow what you like such as the hub area where you pick first where you want to clear but make sure to explore carefully as though there are not so hard to find collectables you need to be wary of conserving fuels despite having enough to later survive with no frustrations starting close to Act III. Do not worry about dying unless in hard, where you will respawn to the previous save. Dying in normal as an example during the Choir may have enemies despawn if you get killed by them.
You could speedrun the game technically under 1 hour but that might be pressuring you to not read the story so maybe 4 hours per playthrough is good enough I mean it's a story worth experiencing although for me I wrote the guide several hours and embracing the atmosphere not to mention some idling hours while pausing and working on my guide while watching the video down below. Justine on the other hand no matter what is under 40 minutes per playthrough. Hard Mode however should take less time because you already got most achievements on normal so only one remains for base game. By no means is my calculated time estimate accurate hence you could take 10 hours to 100% the game but at the same time not worrying about speedrunning time. Those are a different mindset to think about but at least better to add something.
This is a walkthrough guide also, all nooks and crannies. Thanks to all information shown in the past I was able to include miscellaneous items not related to achievements, the reason is the need to but I did not miss all items after all. If you wanna feel "safe" well this is it for you. In my opinion, this is why I can enjoy this game as I get immersed while working on this guide.
Tips:
- Lantern oil mentioned in the maps are all oil potions or oil barrels but the oil barrels are rare and will give a small oil to refill.
- You can juke the monsters like the Grunts but it's too risky and needs more space to maneuver.
- Progressing somehow to a new level sometimes gives you sanity to regain, this is fine on normal but enemies have increased speed.
- Try to exit out levels or if possible stay to the other side to trigger a despawn against monsters, ensuring this is a breeze through hard mode.
- Having enough fuel and tinderboxes even when you don't use them is better than less.
Story/Enemy encounter:
There are non-missables on story-related but there are numerous missables on collectables assuming you forgot to grab tinderboxes and notes as well as the endings. This is why you play normal mode otherwise hard mode reduces all tinderboxes you can grab.As for Hard, you can only use 4 tinderboxes to save, optimising routes to follow and many more like save points is the best way to do which is why this is two playthroughs. Some areas can kill your sanity. I provided someone's video if you want to get this completed as early as possible at this point.
On the other hand, monsters will spawn and despawn after a certain amount of time has passed or if you die, what you also do is get items earlier so follow the numbered monster encounter plus re-entering areas will despawn monsters if you want it, mostly you hide also and they disappear.
Expansion:
The expansion is very straightforward only taking less than 1 hour but make sure to not miss those prisoners you will be interacting with, save or kill your choice. It has achievements so a good treat, especially that reference. There are no difficulty-related achievements for the Expansion so play normally and enjoy the short expansion.Collectable:
There are a total of 151 tinderboxes and 49 notes according to the video. It is worth mentioning that you may explore a lot of times and get them well. However, you may not notice some right away so I want to put this spoiler guide for you to read. No, there is nothing related to collecting diaries (just collect them regardless don't worry about small details), metallic cylinders, oils, and laudanums to get the achievements, only the Diaries and Tinderboxes are related and will be needed but I included them here because they are there for various reasons. However, keep in mind we won't get all notes yet in the base game because only we get that on Expansion so it makes sense in that way.I listed all areas here thanks to the video above. This may be as well a translated video-to-text guide. Additionally, all maps and images before the collectable is all from the wiki.
https://amnesia.fandom.com/wiki/Amnesia:_The_Dark_Descent
https://www.youtube.com/watch?v=RGhOXX7N69c
Part 1: Act I - Inside the Castle
1) Rainy Hall, Old Archives, Entrance Hall
2) Tinderboxes: 29/151
3) Notes: 1/30
4) Diaries: 0/23
5) Metallic Containers: 0/5
6) Oils: 4/37
7) Landanums: 0/16
8) Achievements: 1/18
-----------------------------------------------------------------------------------------------------
![Rainy Hall.png]](https://images.steamusercontent.com/ugc/2055380258362235798/AD2662B26D969AABEFE1E86983C1B5481DA61FA6/)
![Rainy Hall (2).png]](https://images.steamusercontent.com/ugc/2064383666690595272/FEB995697749141601BFDF9CA68880934671243C/)
![NOPE.jpg]](https://images.steamusercontent.com/ugc/2065508931961899822/08A287947DEF98B45BC5AEA5656156A3CF1B31D0/) –––––––––––––––––––––––––––––––––––––––––––––––––––––––
–––––––––––––––––––––––––––––––––––––––––––––––––––––––
NOPE
Left when things were getting interesting in Amnesia: The Dark Descent.
¯¯¯¯¯¯¯¯¯¯¯¯¯¯¯¯¯¯¯¯¯¯¯¯¯¯¯¯¯¯¯¯
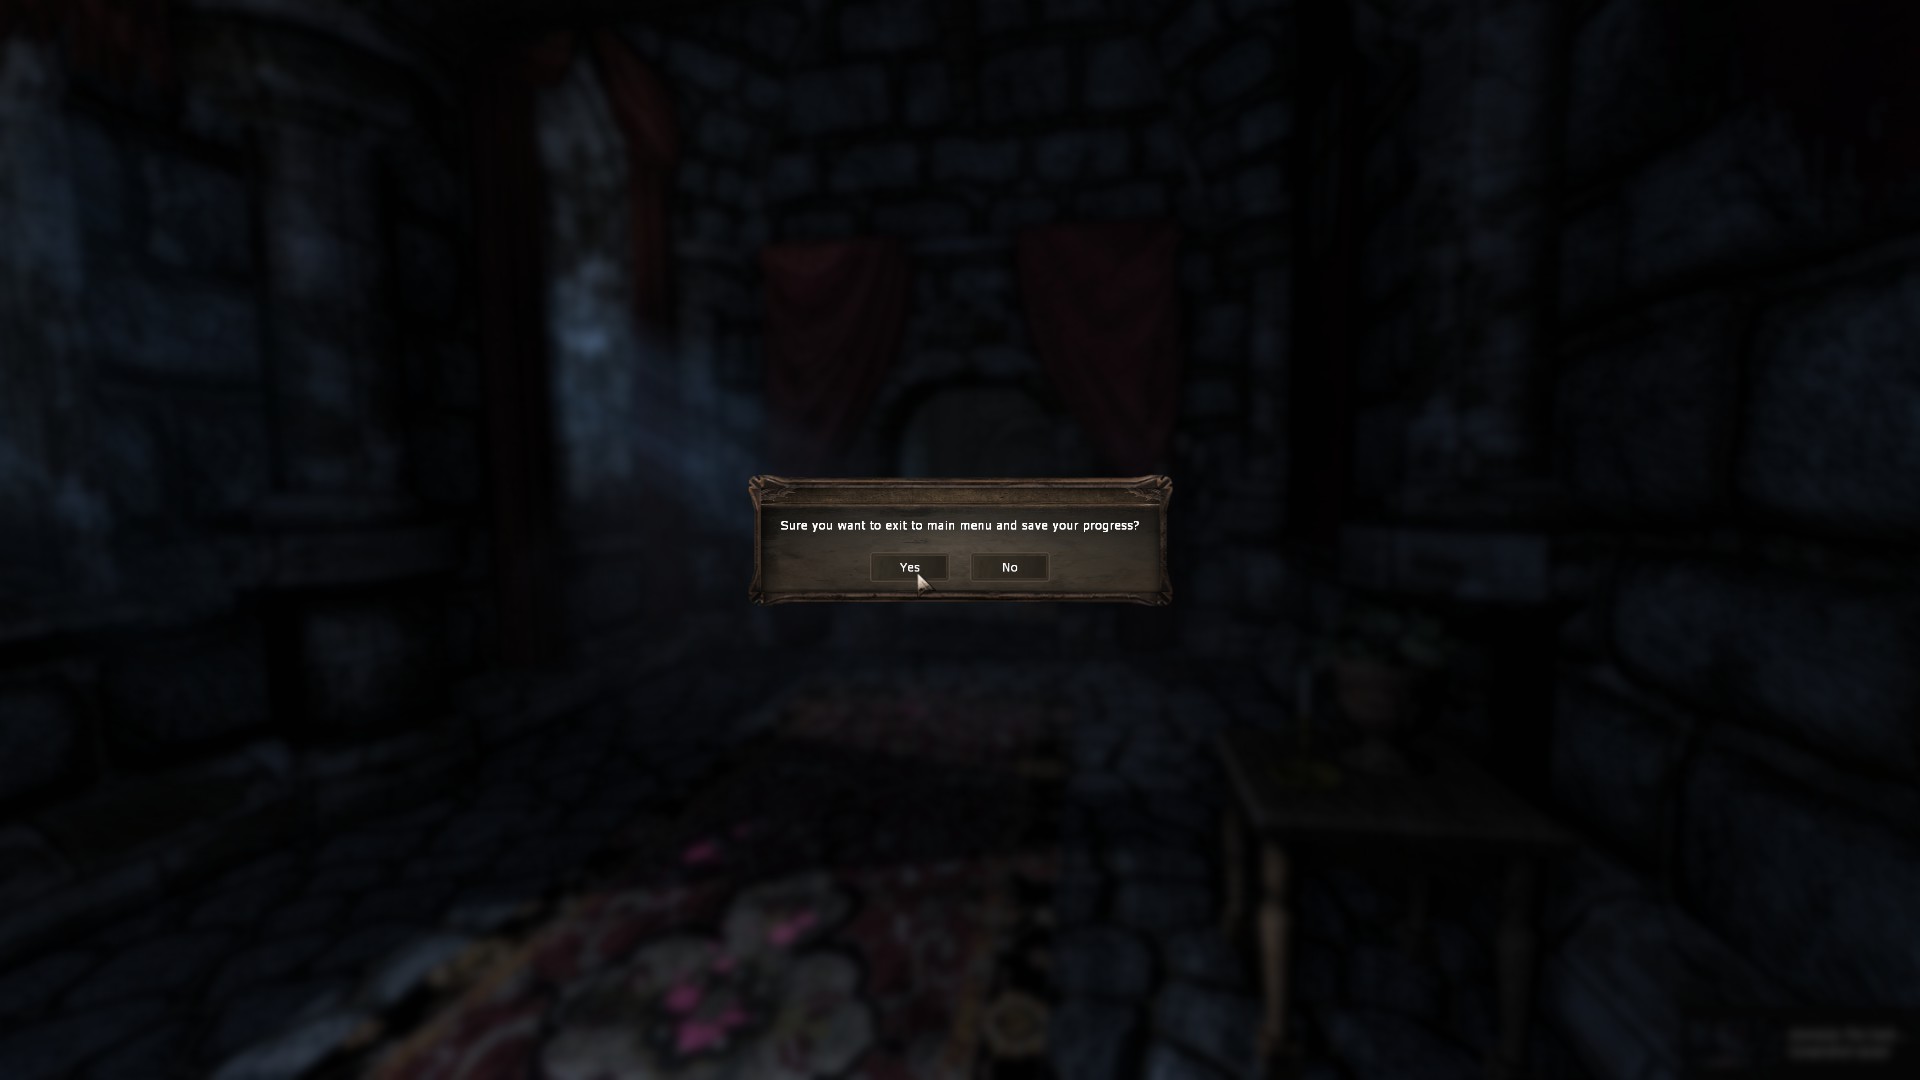
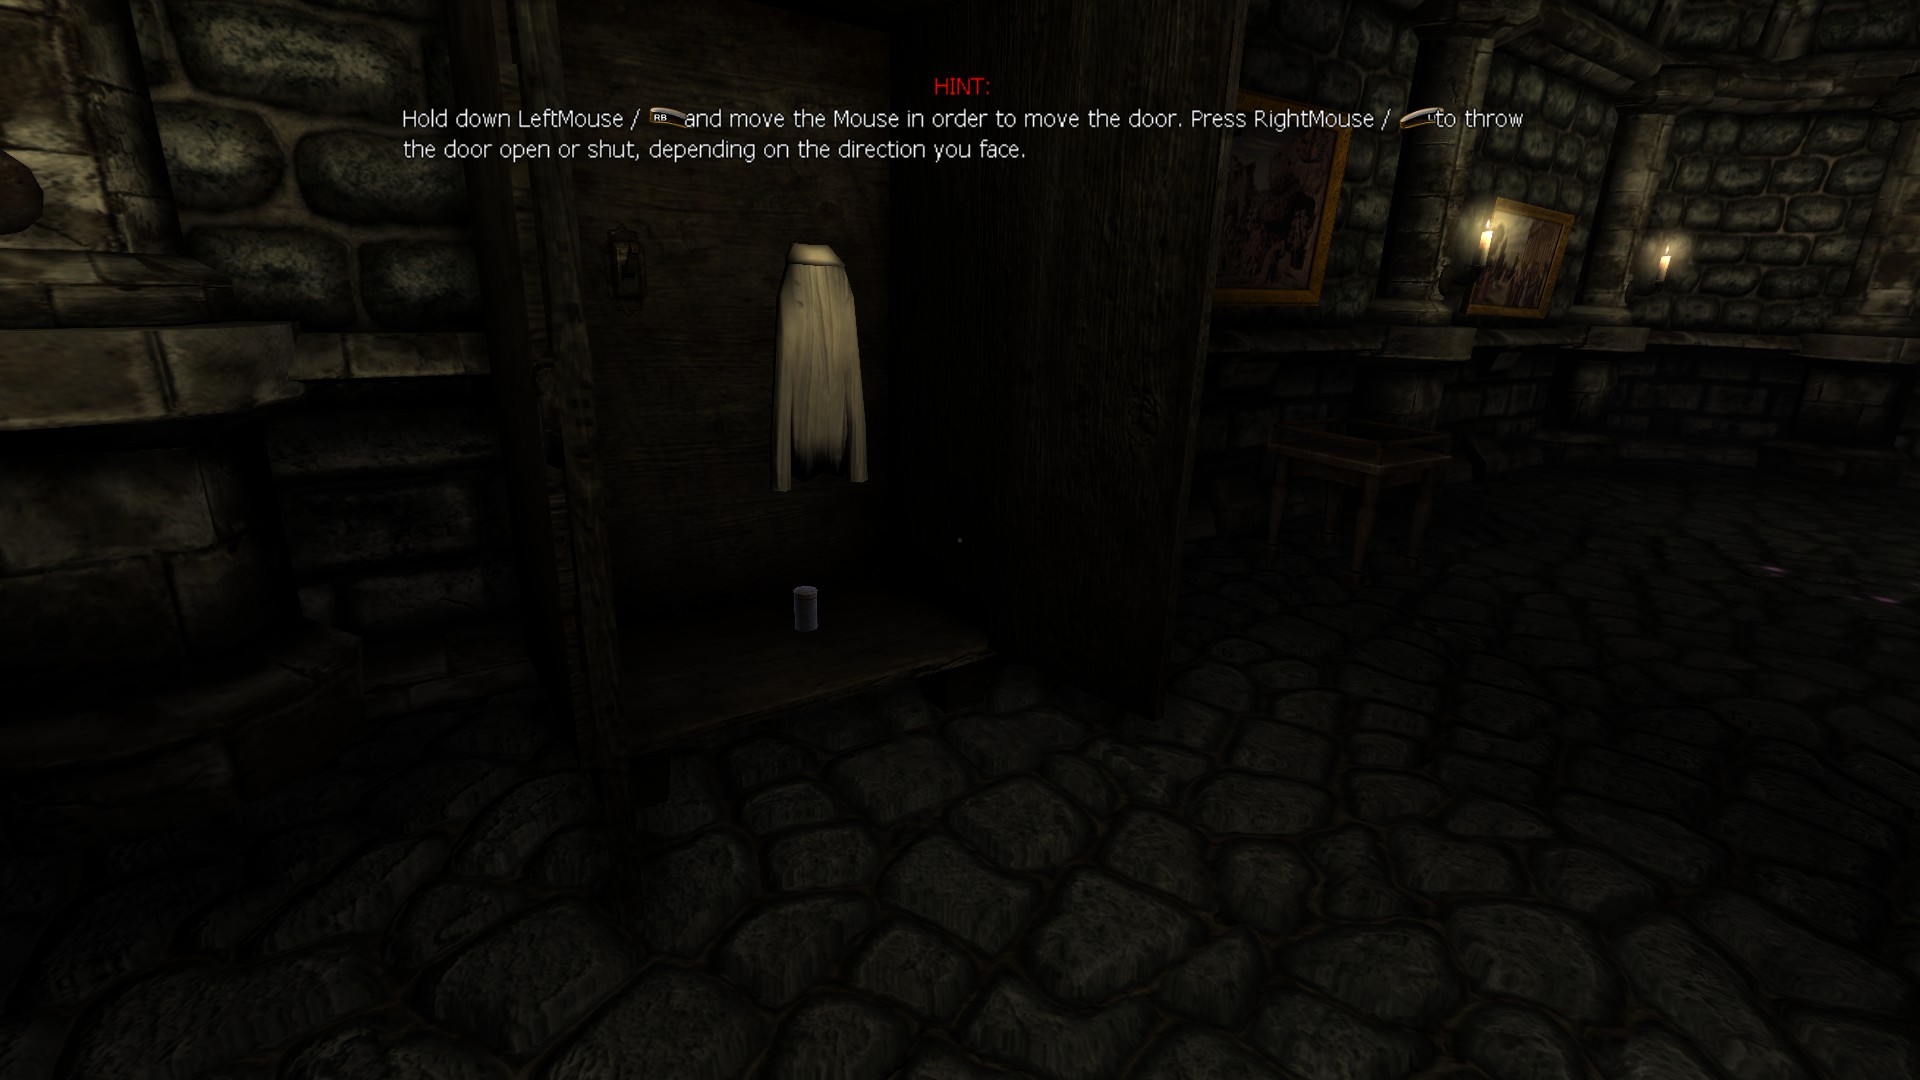
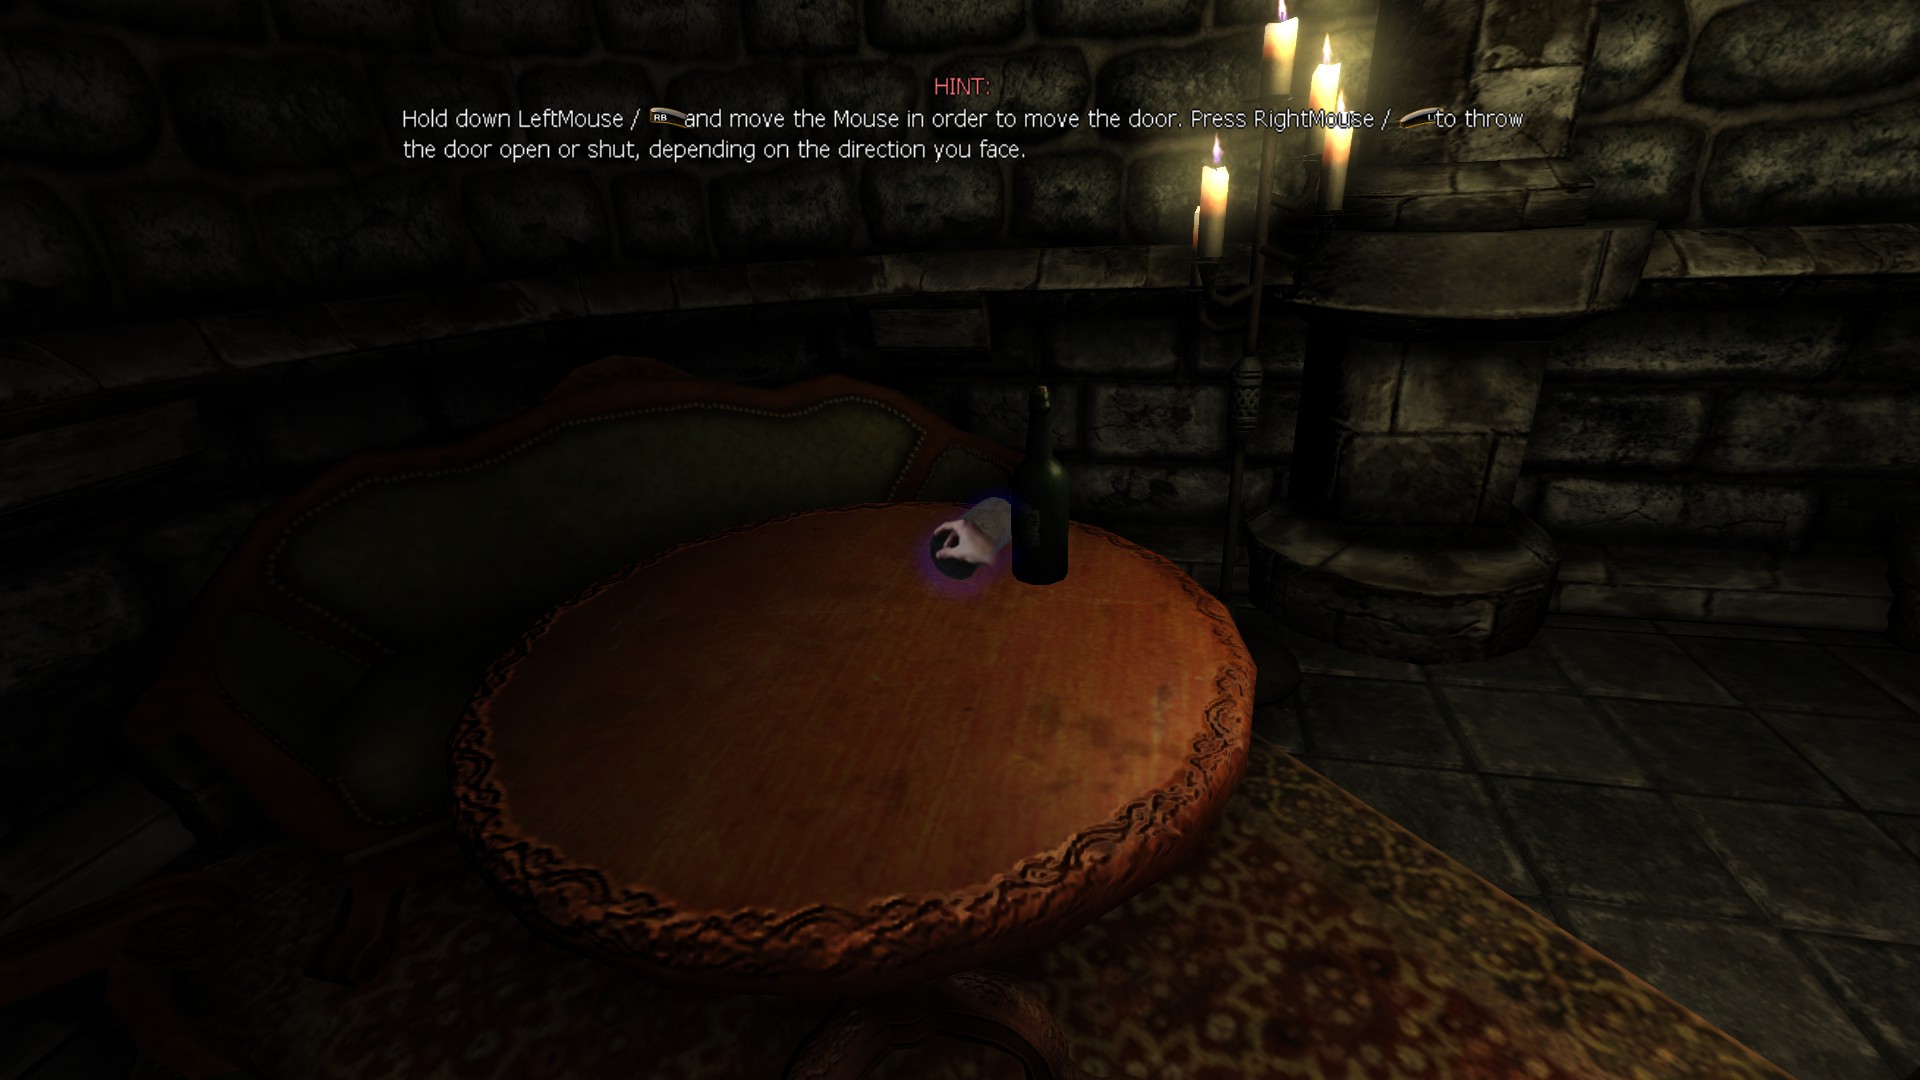
Achievement #1: Quit as soon as you enter control as Daniel, then you can go back to the game.
![Old Archives (1).png]](https://images.steamusercontent.com/ugc/2064383666690677837/A312C17D6E6F0464DEF4FCAAB72D630A52AFDB9B/)
![Old Archives (2).png]](https://images.steamusercontent.com/ugc/2064383666690678003/9B767EB613648262C10E8620841803BCFB88ADBF/)
![Entrance Hall (1).png]](https://images.steamusercontent.com/ugc/2064383666690824531/E9F08F4950F7378C4047B26468DBAB48AD080B47/)
![Entrance Hall (2).png]](https://images.steamusercontent.com/ugc/2064383666690824784/DEA803CF31D4704A1C3AEEB69333C58850E0DA02/)
2) Tinderboxes: 29/151
3) Notes: 1/30
4) Diaries: 0/23
5) Metallic Containers: 0/5
6) Oils: 4/37
7) Landanums: 0/16
8) Achievements: 1/18
-----------------------------------------------------------------------------------------------------
Rainy Hall:
Here is a safe but straightforward level but to get the idea of where to find.–––––––––––––––––––––––––––––––––––––––––––––––––––––––NOPE
Left when things were getting interesting in Amnesia: The Dark Descent.
¯¯¯¯¯¯¯¯¯¯¯¯¯¯¯¯¯¯¯¯¯¯¯¯¯¯¯¯¯¯¯¯
Achievement #1: Quit as soon as you enter control as Daniel, then you can go back to the game.
Location/Walkthrough text
Image
Tinderbox #1: Immediately to your right door
![Rainy Hall (2) (Edit_1).png]](https://images.steamusercontent.com/ugc/2055379004151282093/5515401E3AE2EC4F1770D817D4BAFF17C61335E1/)
Tinderbox #2: By closet on left
![Rainy Hall (2) (Edit_2).png]](https://images.steamusercontent.com/ugc/2055379004151300659/E3FC17BF3718E3E4F0BA1E6A8E2F307EC74069C3/)
Tinderbox #3: On right door
Tinderbox #4: Another closet with tinderbox inside
Tinderbox #5: Go right to dark room after fainting slightly.
![Rainy Hall (2) (Edit_3).png]](https://images.steamusercontent.com/ugc/2055379004151336246/87A7309EFD93EAC70648868500C9170BB3EEDC11/)
Proceed to next level.
Old Archives:
Old Archives is another one safe area but a place to grab your first Lantern for the entirety.Location/Walkthrough text
Image
Tinderbox #6-7: Go right when you see door opened by 'unsettling events'.
![Old Archives (2) (Edit_1).png]](https://images.steamusercontent.com/ugc/2055379004151364624/09FF05091D7E78B22785BB4252E89D1EEEE1E5B7/)
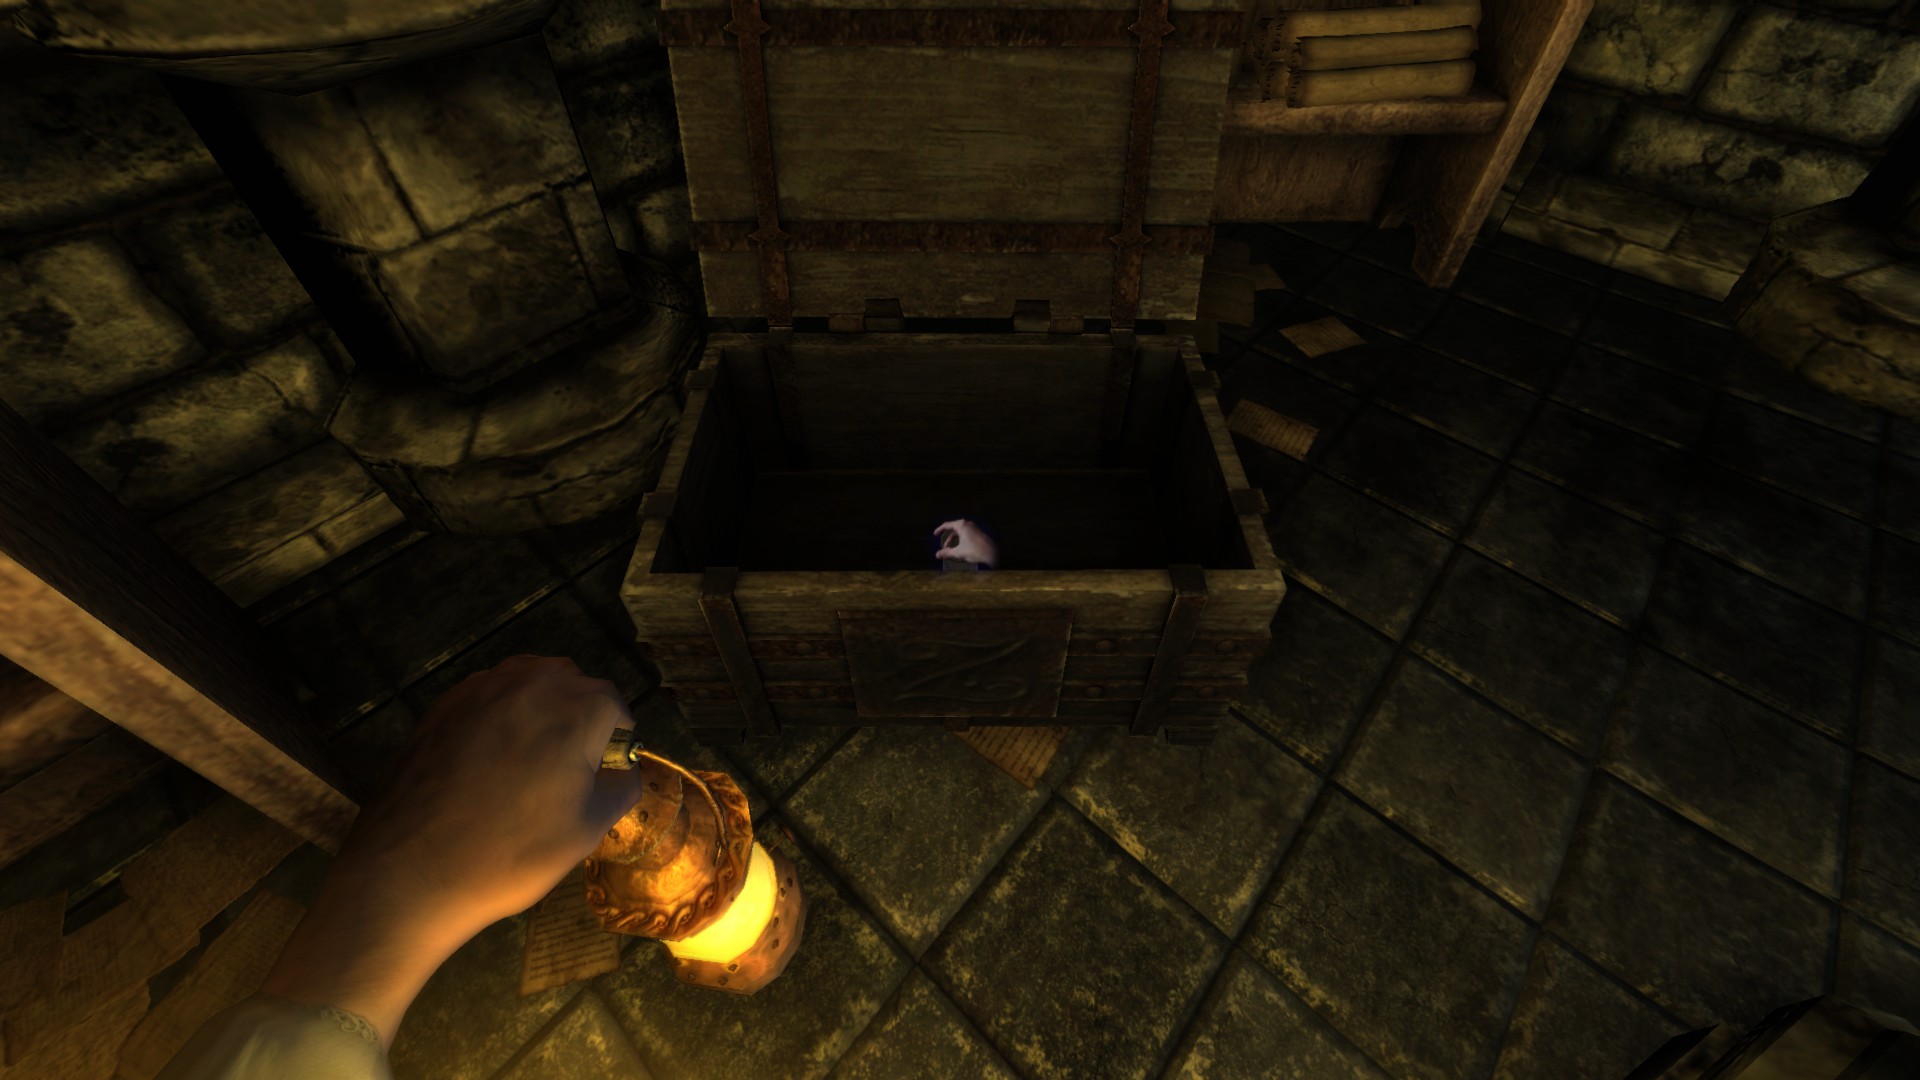
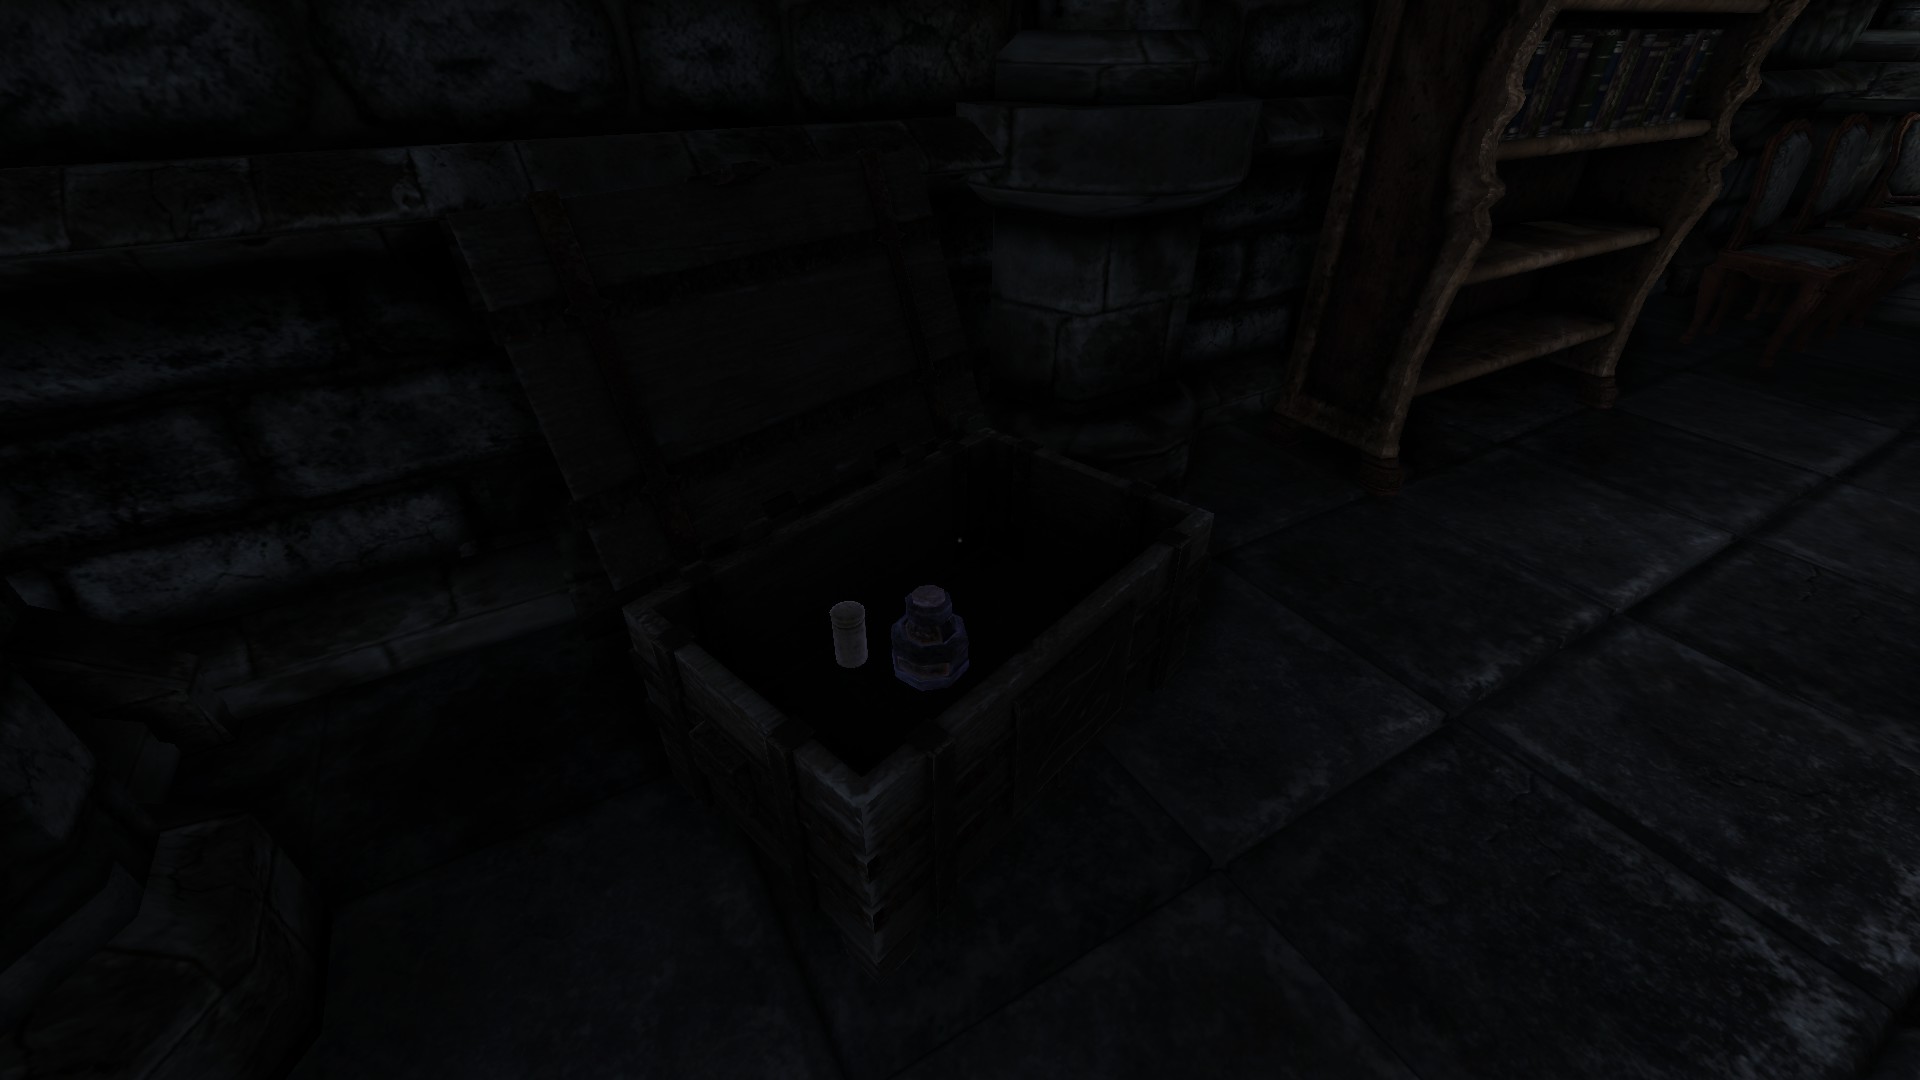
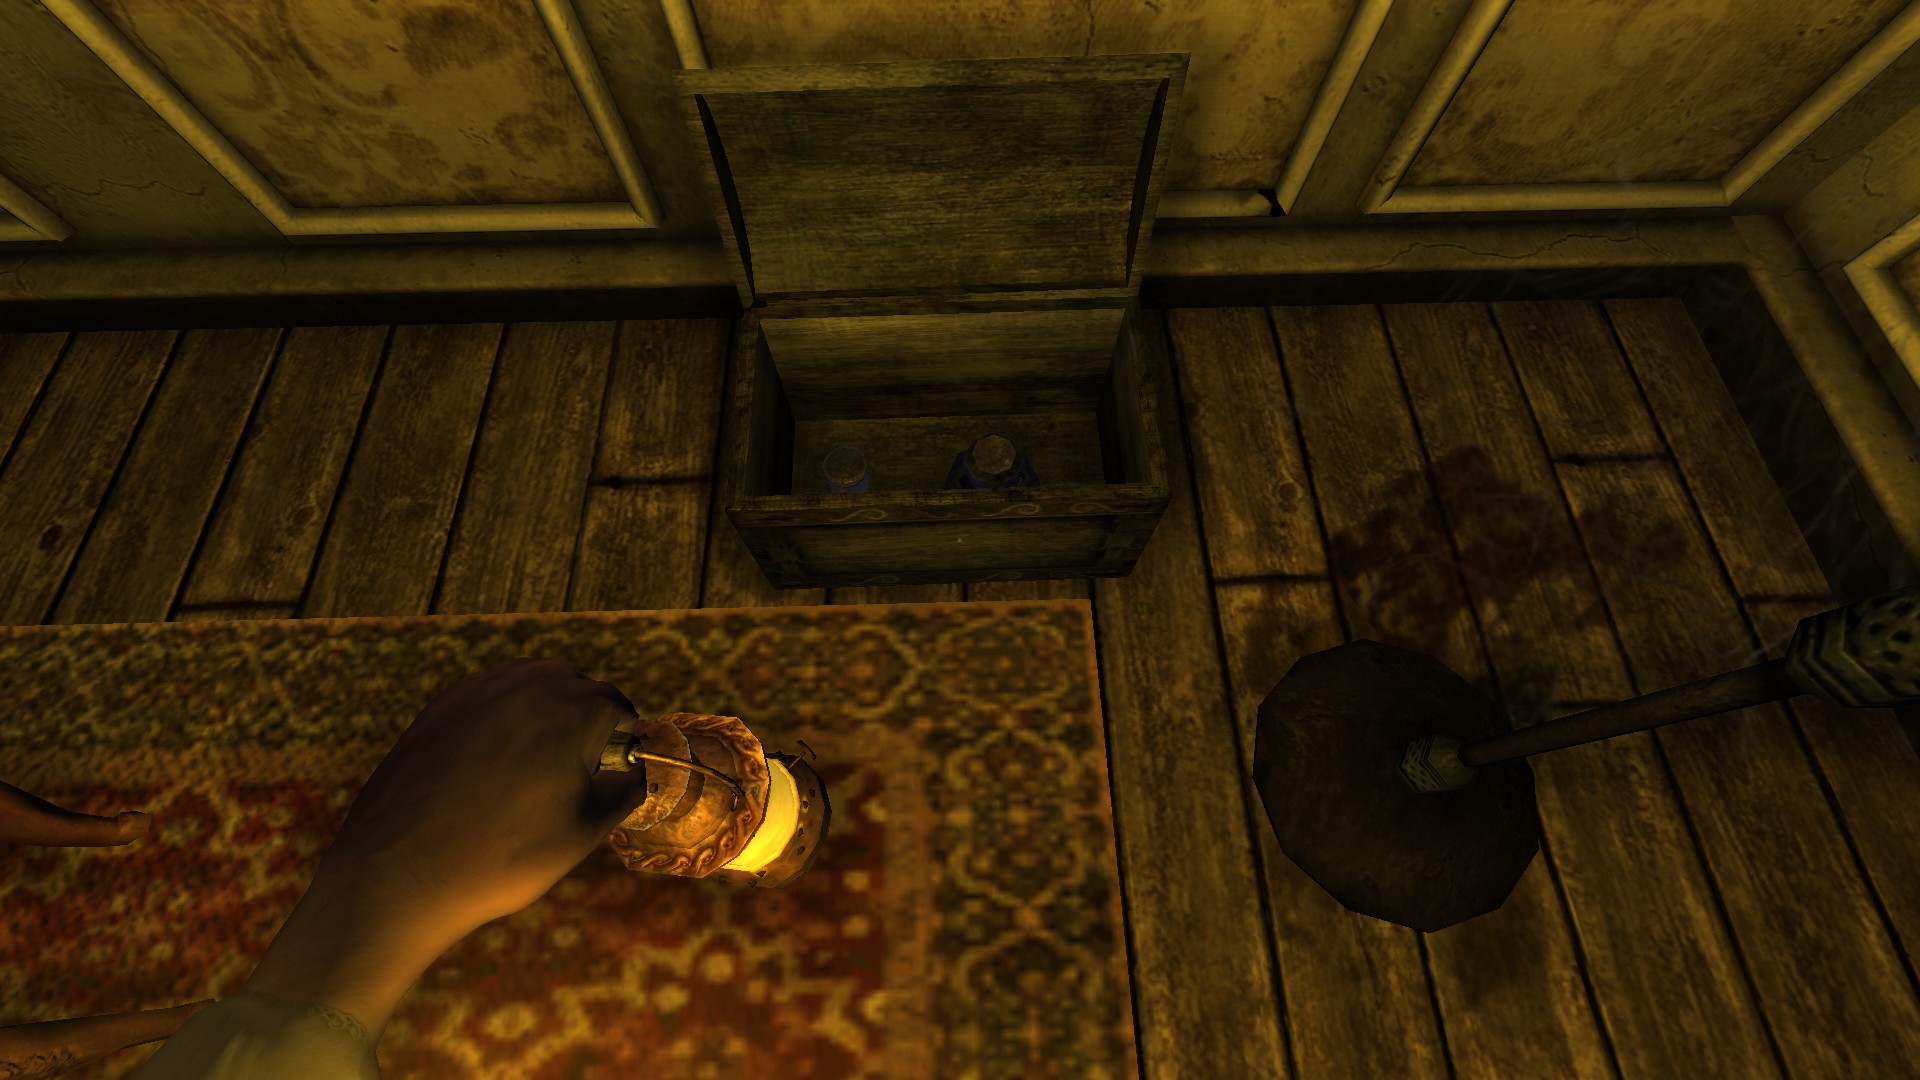
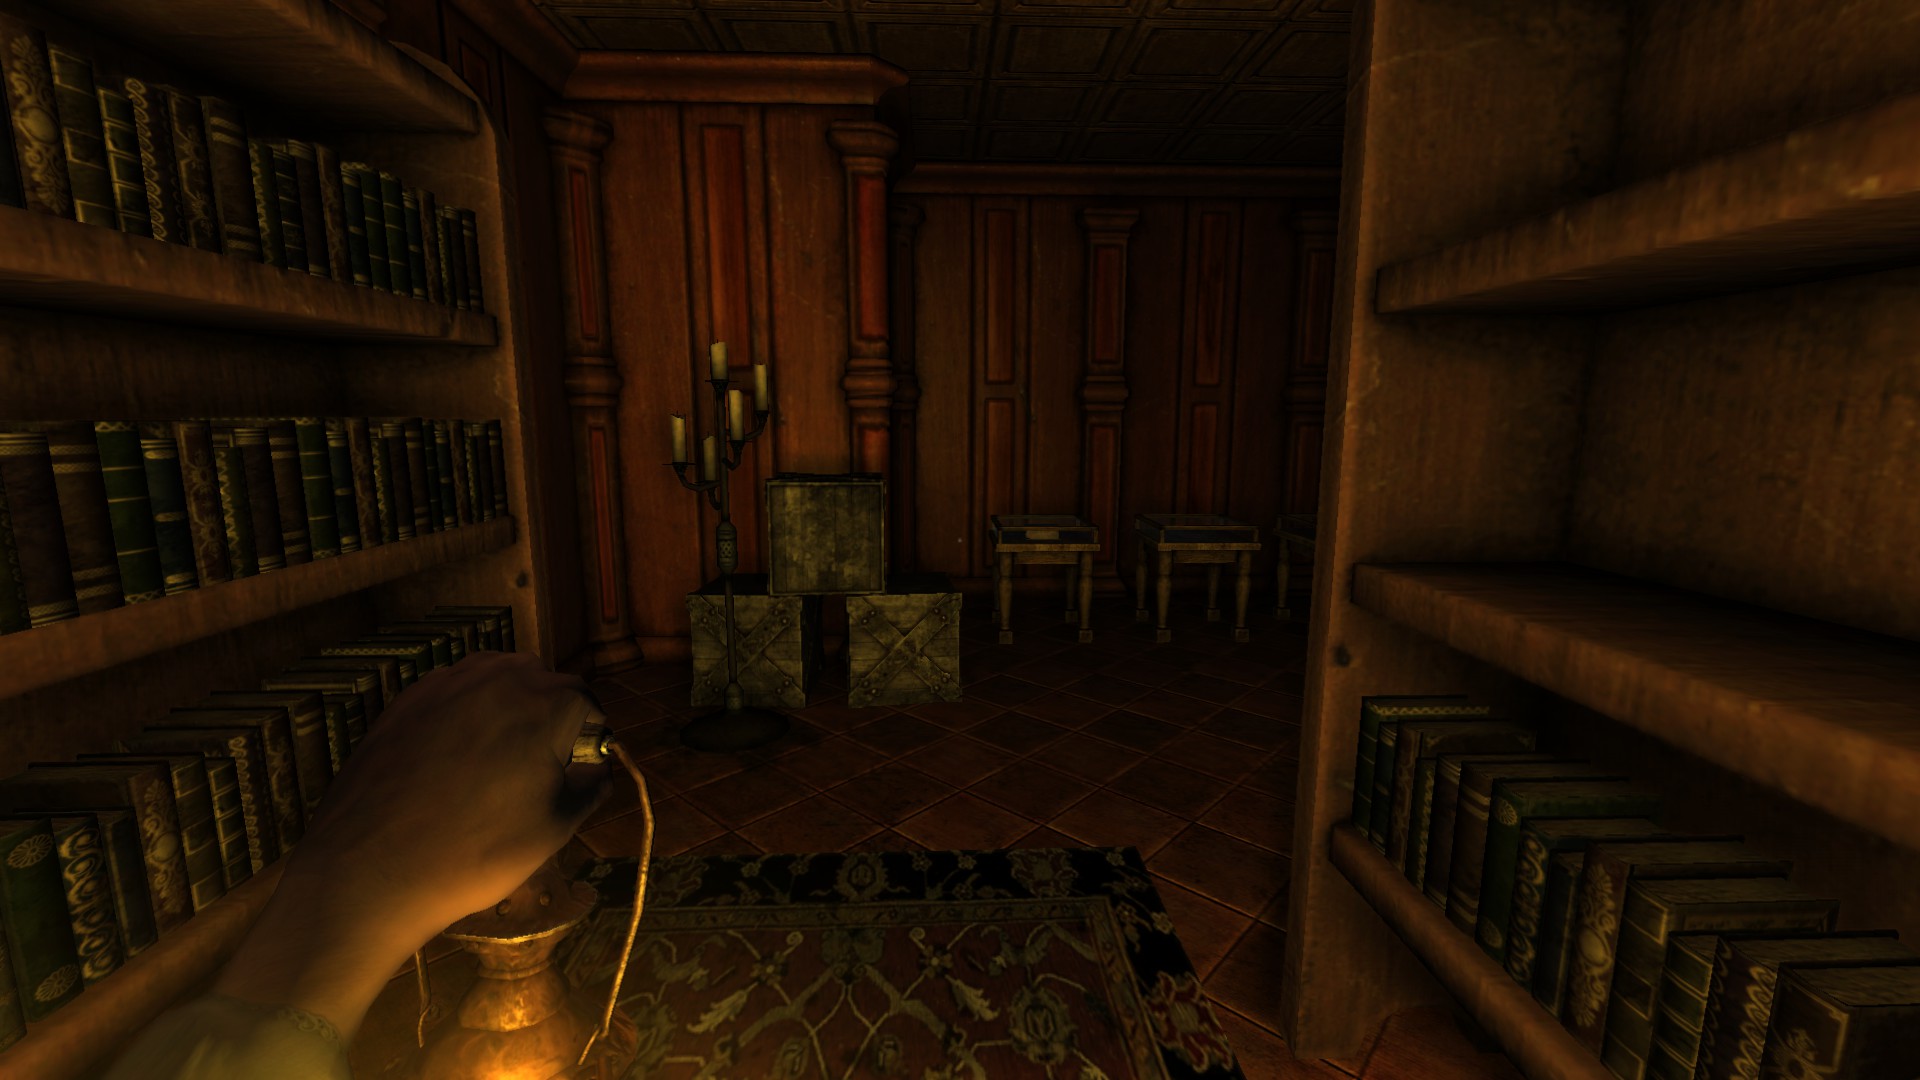
Tinderbox #8: Grab your lantern, no achievement for this but you got light at least. Next to the chest is your tinderbox.
![Old Archives (2) (Edit_2).png]](https://images.steamusercontent.com/ugc/2055379004151376801/03A2BB9117AADCA1B2197FD5C65593099D116891/)
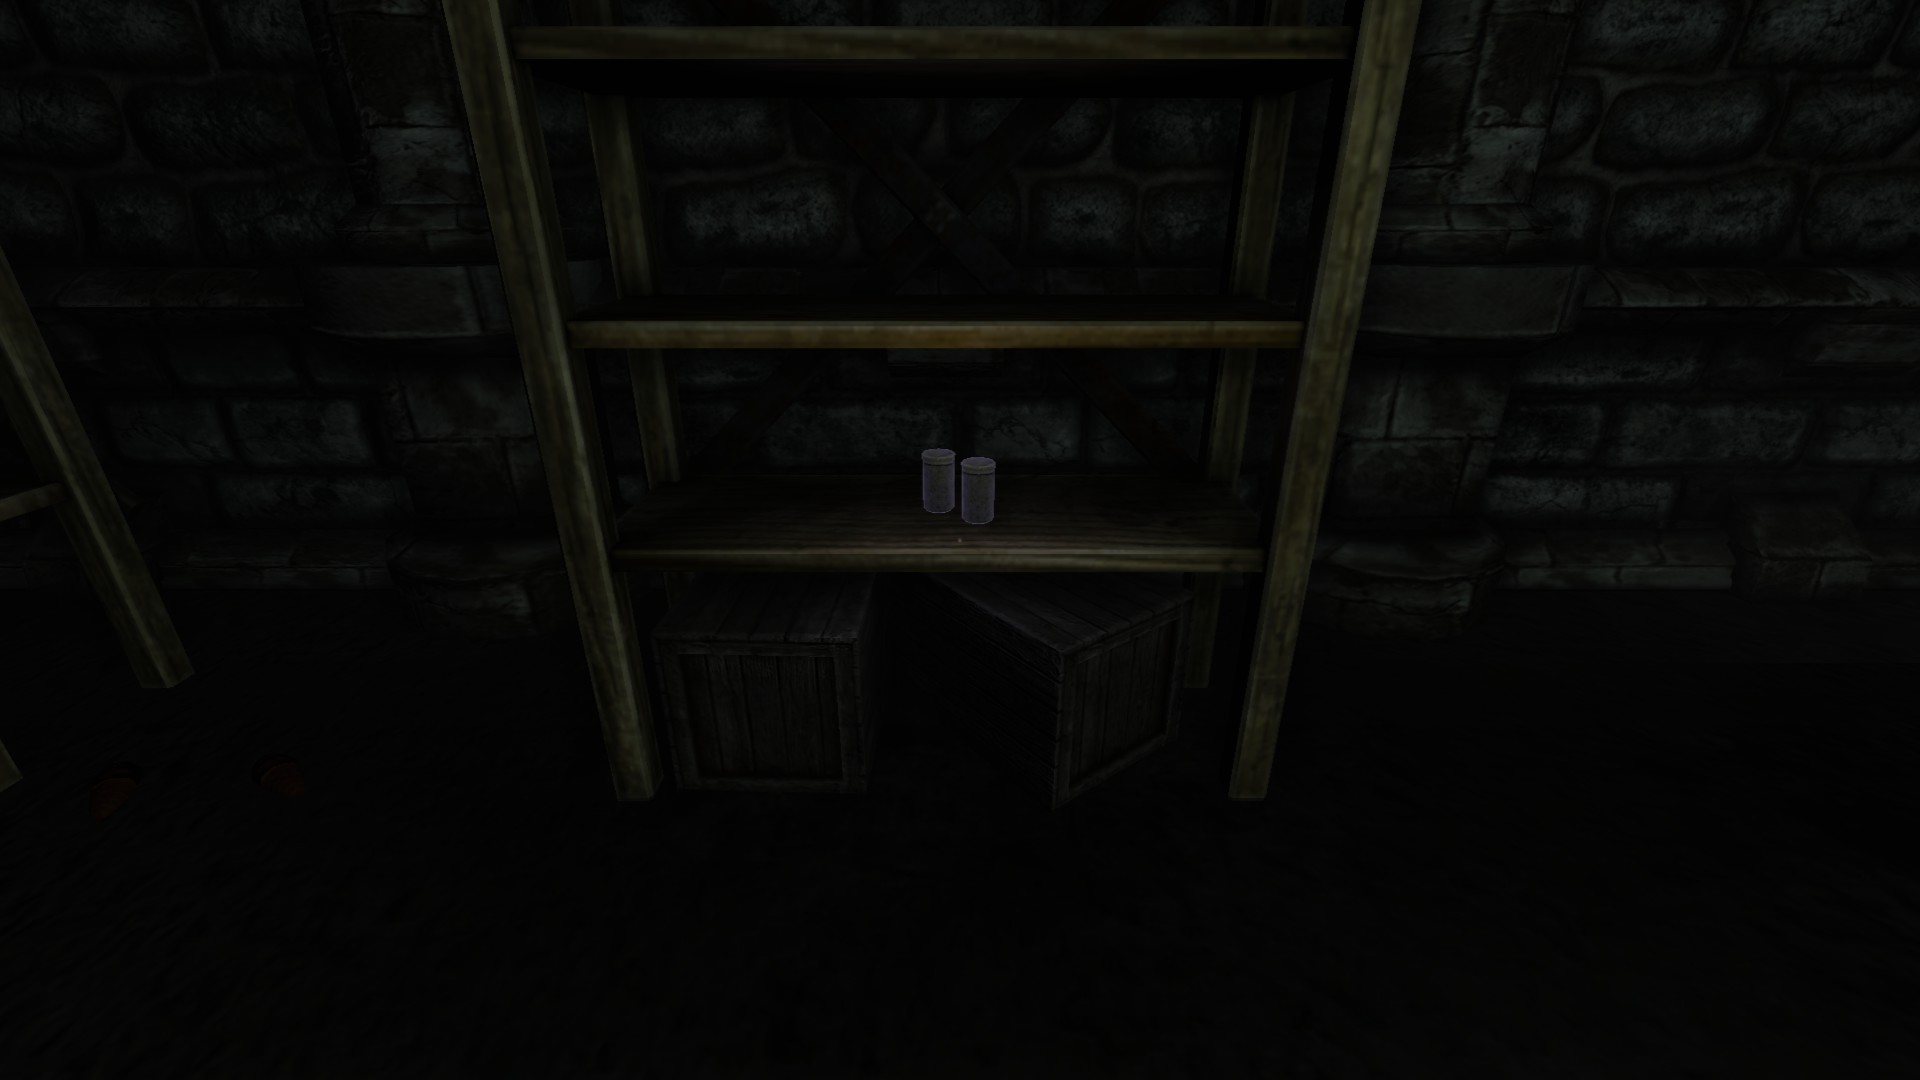
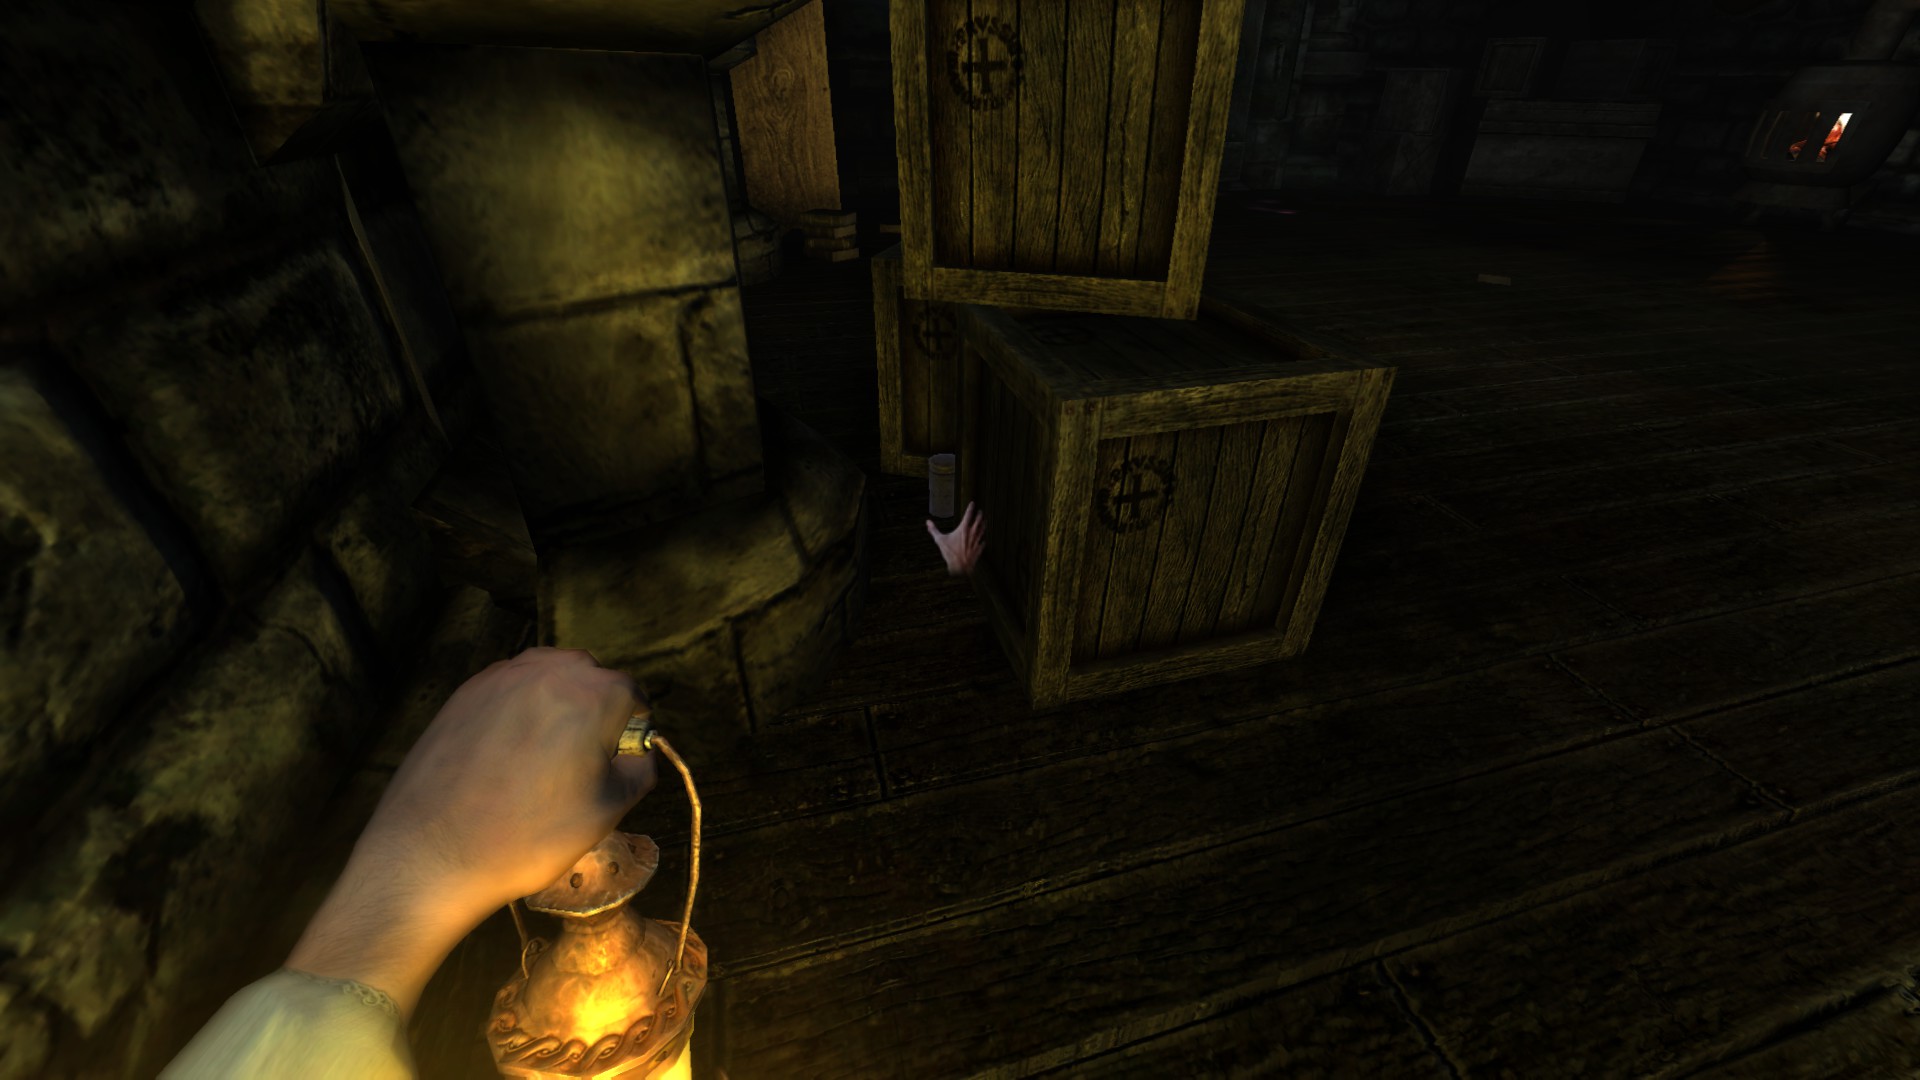
Tinderbox #9: Behind the boxes.
![Old Archives (2) (Edit_3).png]](https://images.steamusercontent.com/ugc/2055379004151382501/534CB1B5B7AD670EC2746BA031347A8CFFE89509/)
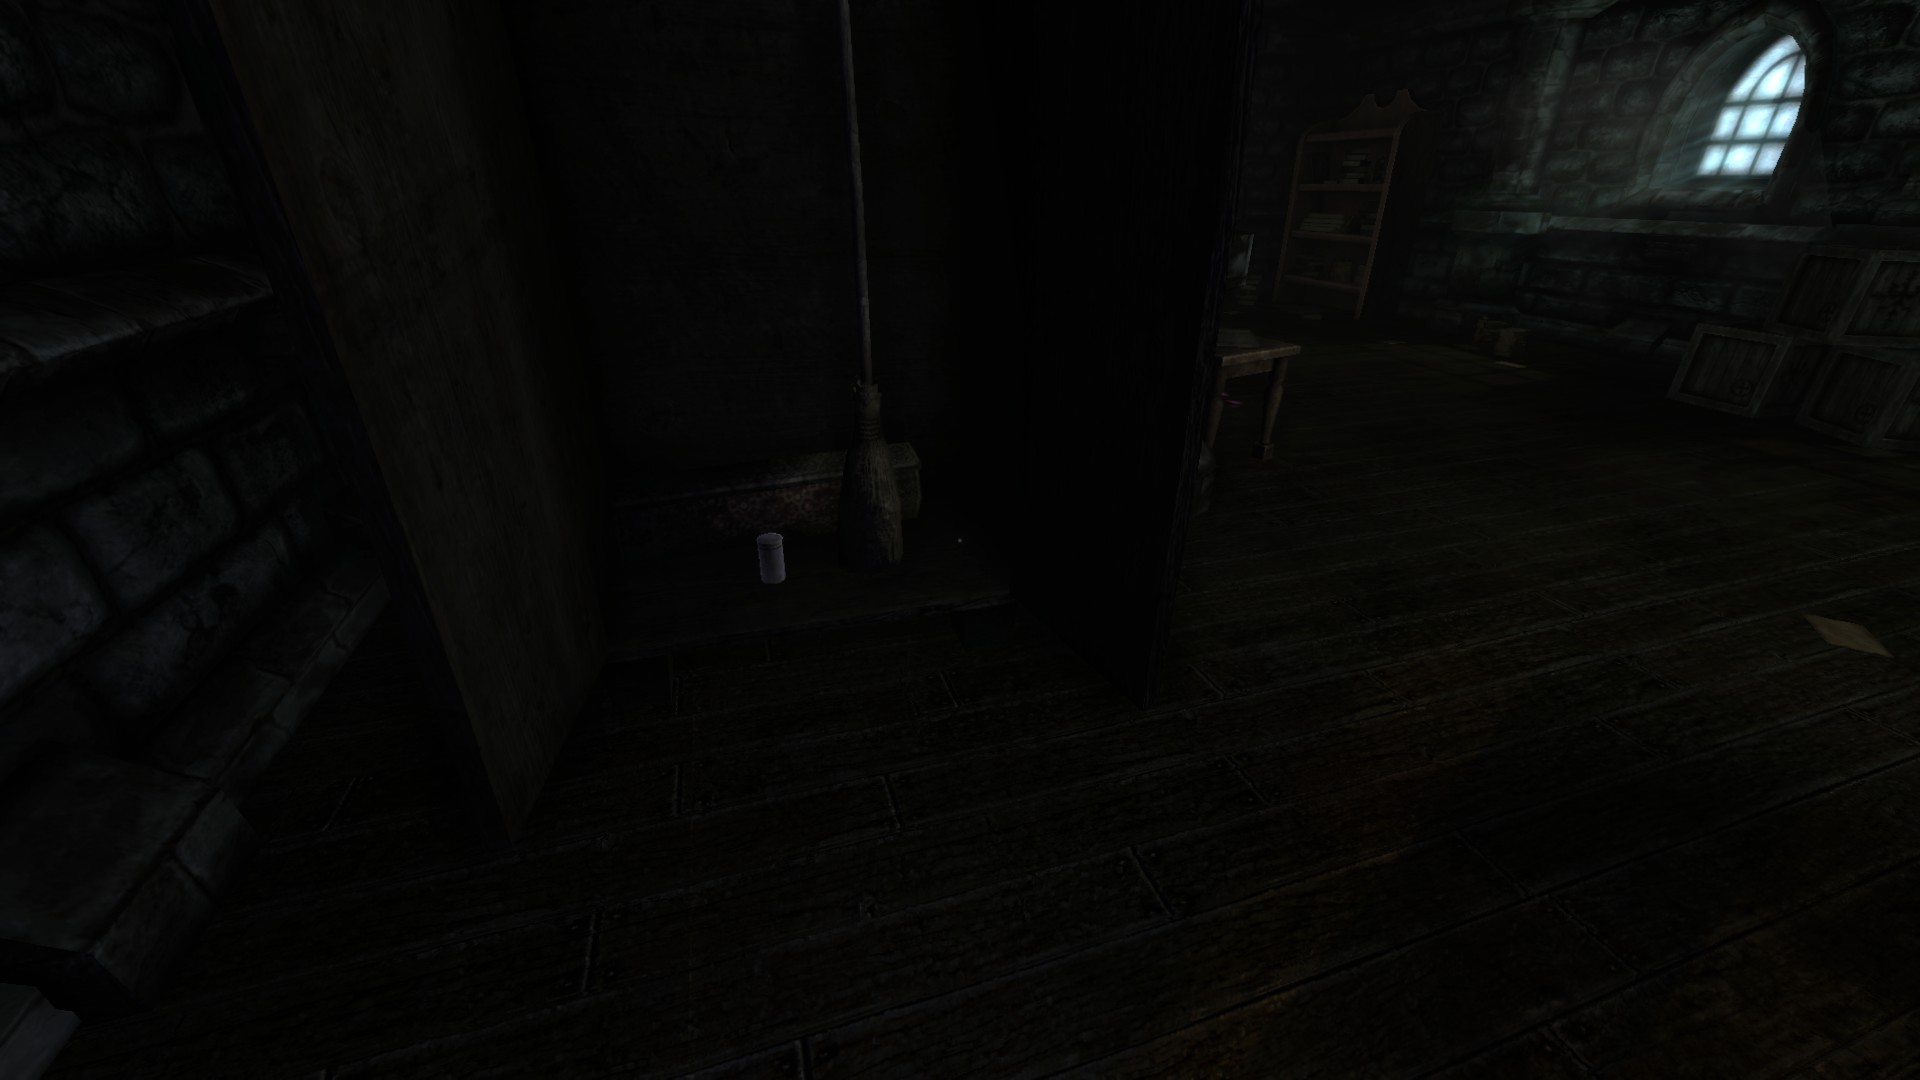
Tinderbox #10: Inside the closet
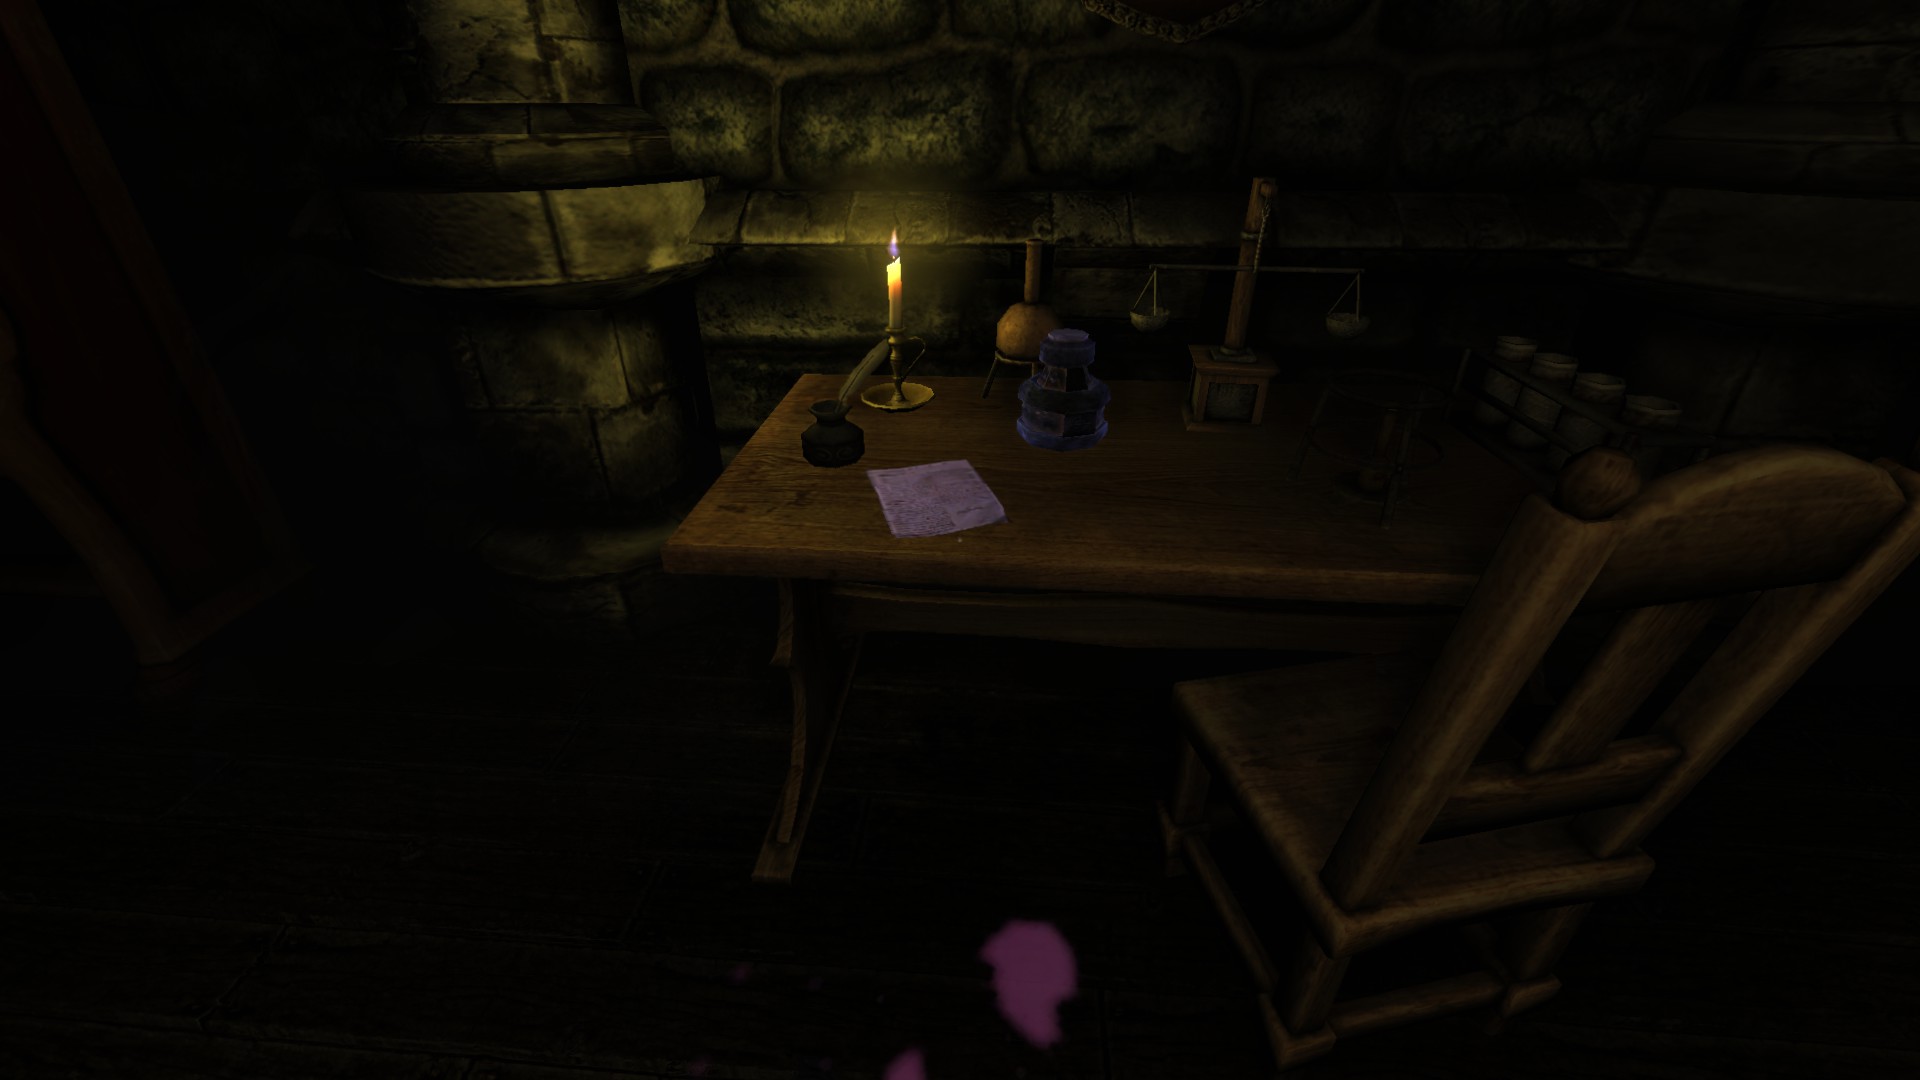
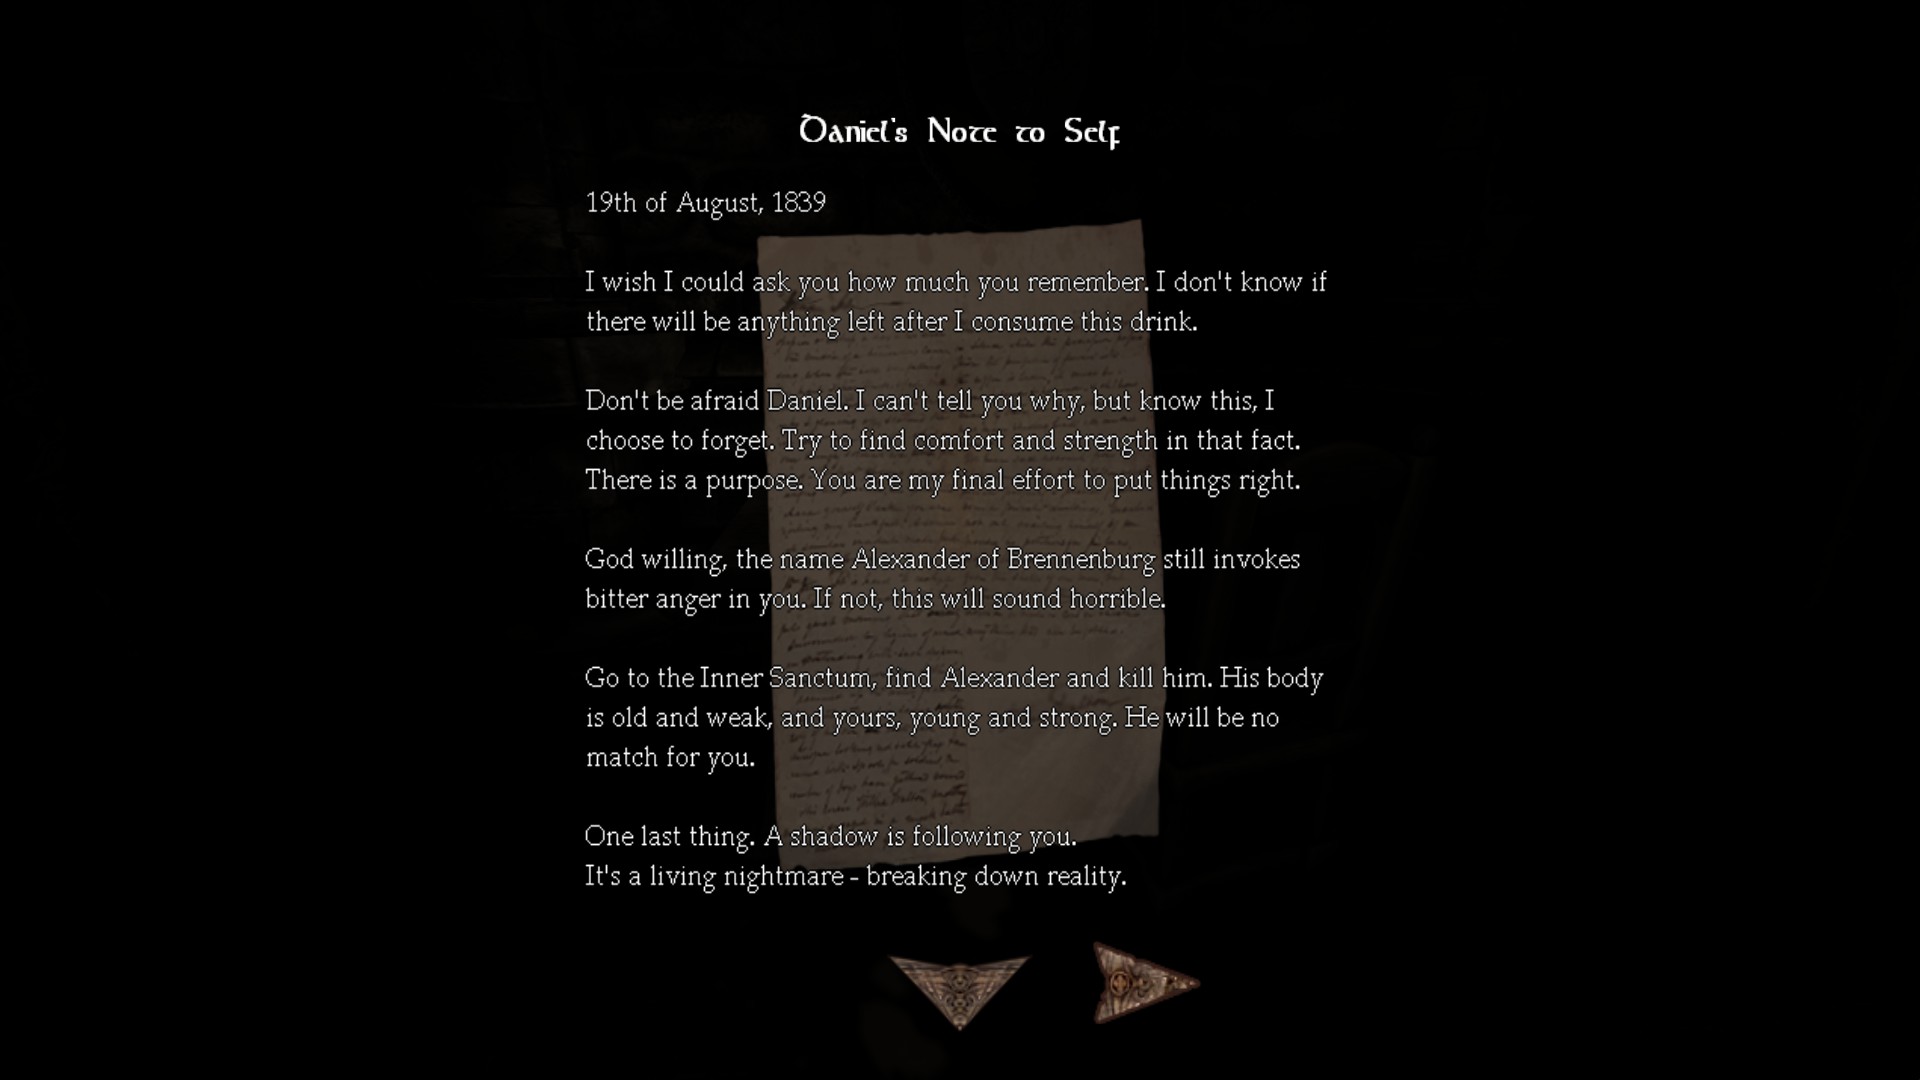
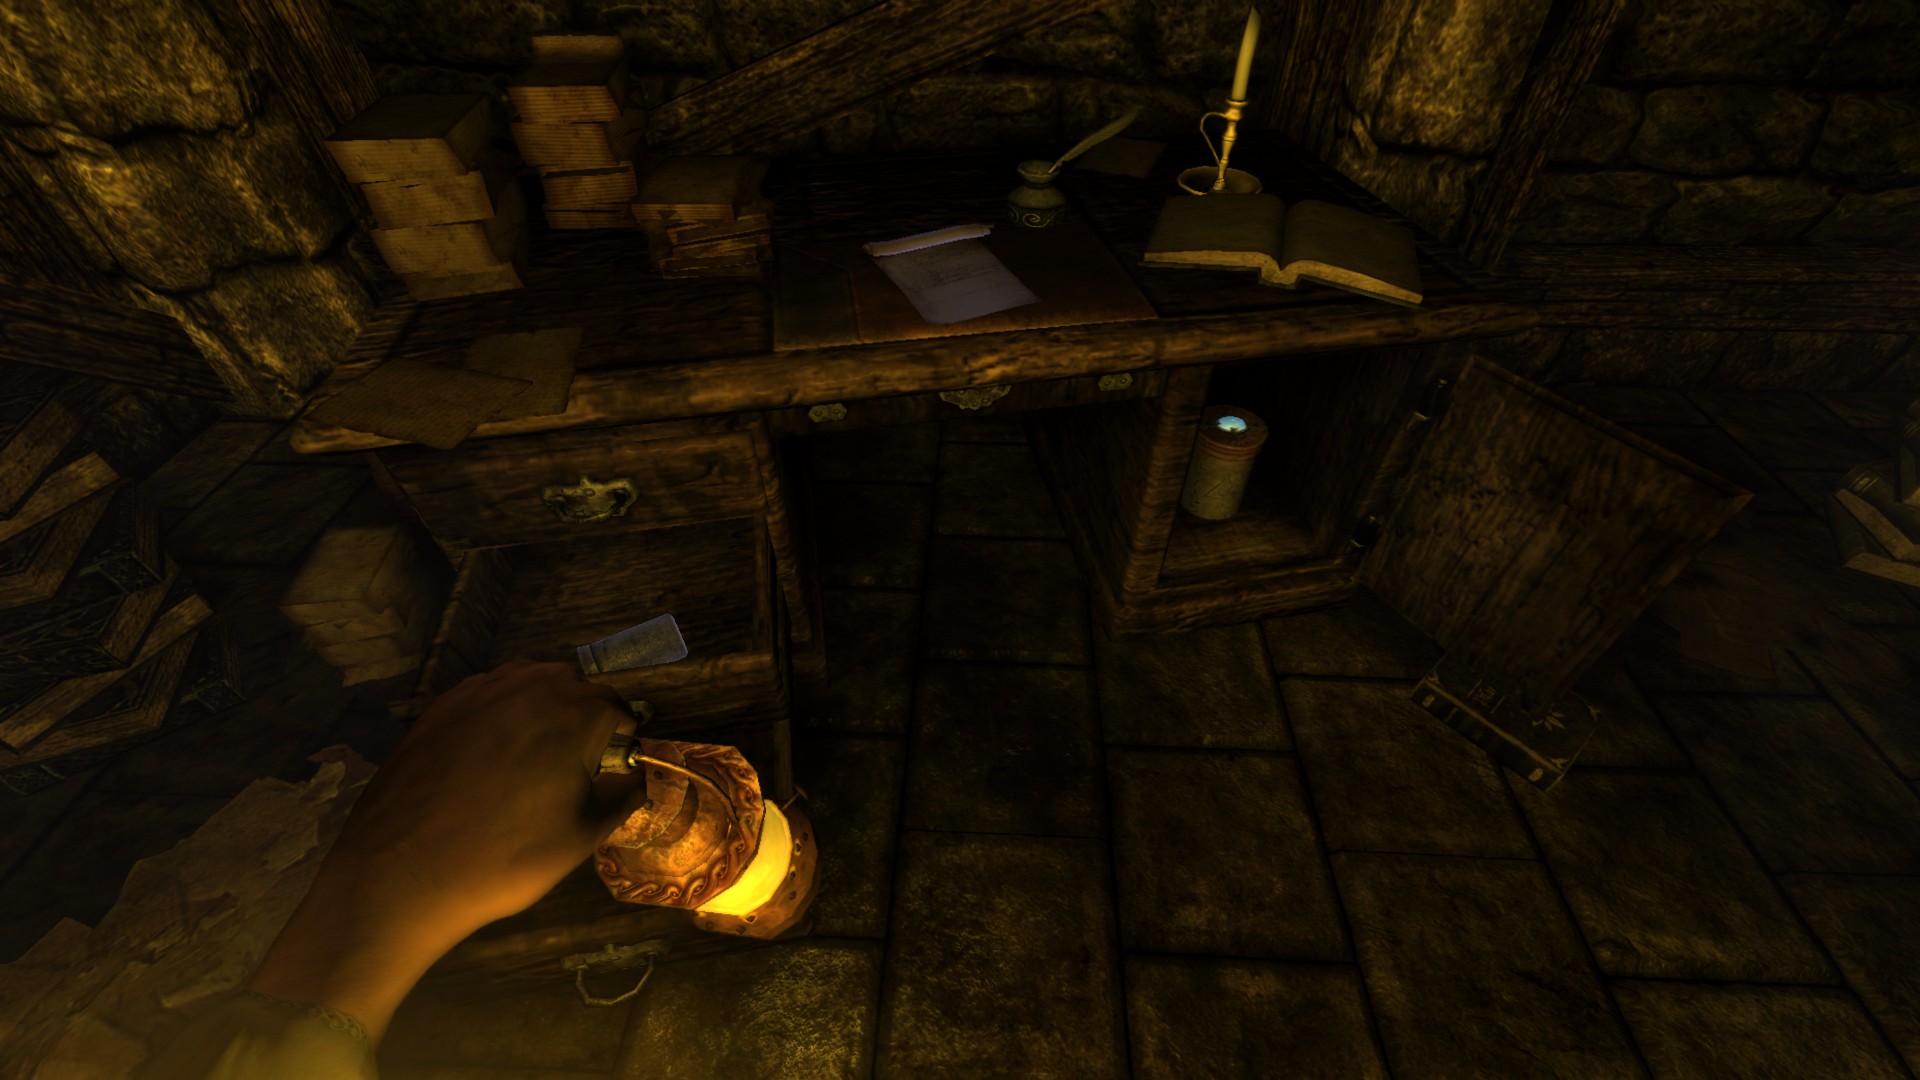
Note #1 - Daniel's Note to Self: On the desk.
![Old Archives (2) (Edit_4).png]](https://images.steamusercontent.com/ugc/2055379004151392224/22B7ABFDFA4336D7C2D4914C0185FF9081087885/)
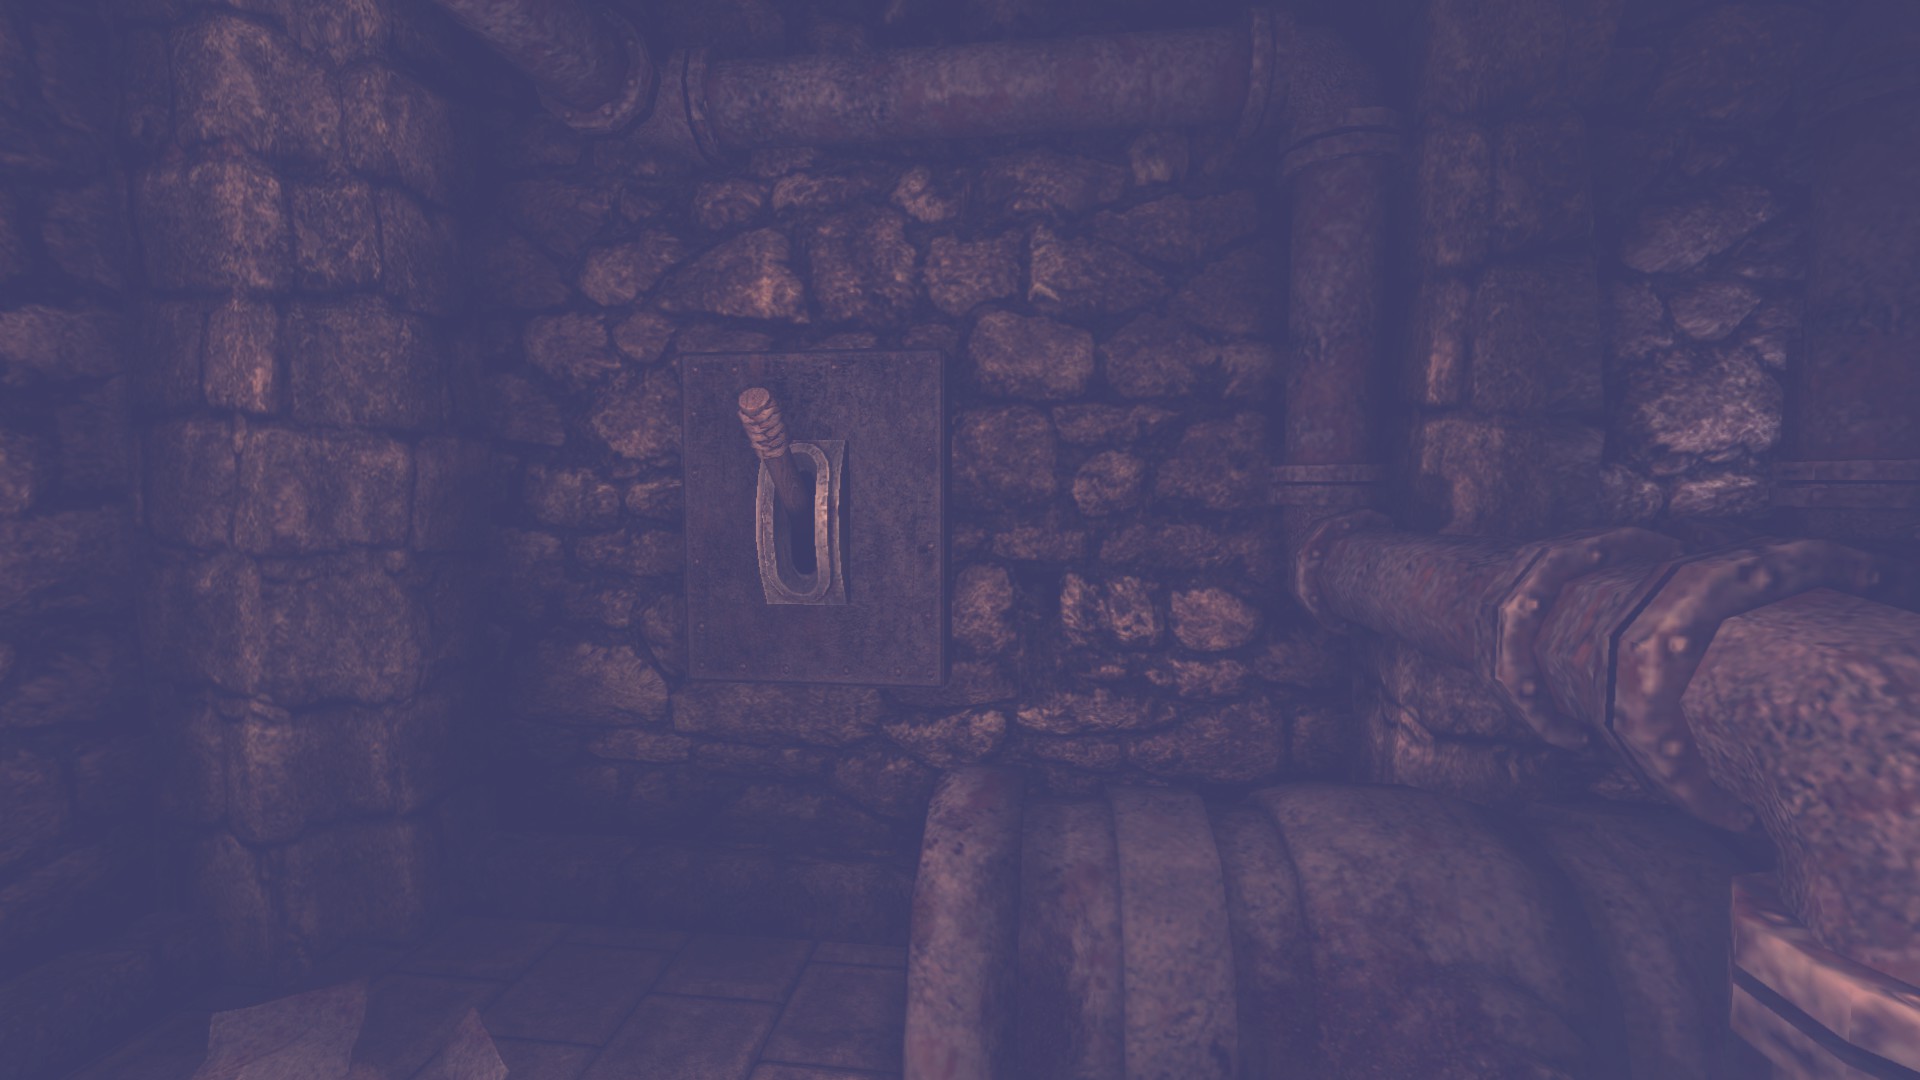
Pick up oil #1 for your lantern. There is a lever to pull to regain sanity.
Proceed to next level.
Entrance Hall:
Entrance Hall is a safe hub, there are many areas to enter. They can be entered at any person's choices but for this order from the video we go from Archives > Wine Cellar > Laboratory = Refinery unlock.Location/Walkthrough text
Image
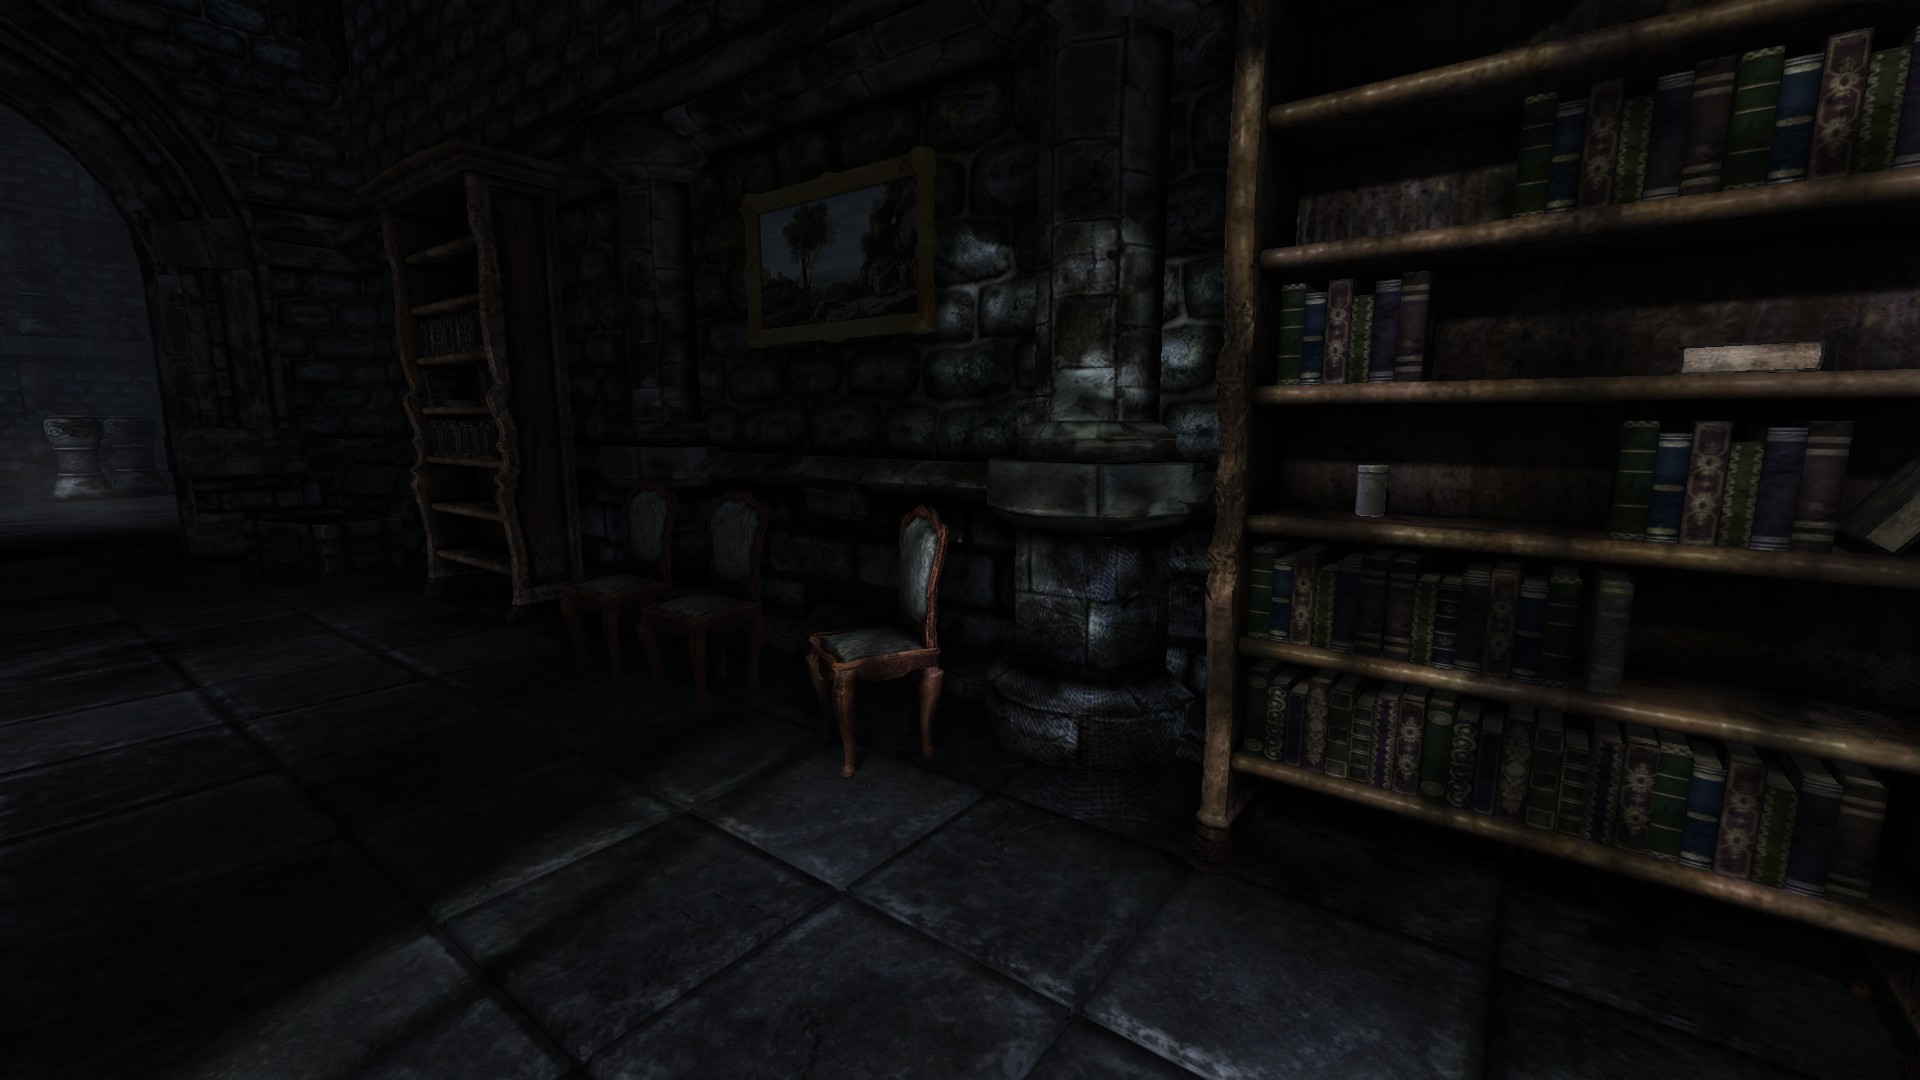
Tinderbox #11-12: When you get to the middle where flashback #1 occurs, after listening to it head to where you are about to turn left for there the chest awaits with 1 tinderbox and oil #2. Another one tinderbox is on the bookshelf along with the oil #3 behind the boxes.
![Entrance Hall (1) (Edit_1).png]](https://images.steamusercontent.com/ugc/2055379004151434080/232D59828F4E46AAC874E317818EEF476006311E/)
Tinderbox #13: Go up the stairs and on your left at the blocked end there is a tinderbox.
![Entrance Hall (1) (Edit_2).png]](https://images.steamusercontent.com/ugc/2055379004151443527/629B3853FA088118865632A1BB8753CAA2A030E6/)
Tinderbox #14: On your way on the door to the Archives, turn right and the tinderbox lies down there.
![Entrance Hall (1) (Edit_3).png]](https://images.steamusercontent.com/ugc/2055379004151444147/DF2333A8D7AF0A2150C75CA9F00CA213E2F3EF29/)
Now as I mentioned with the Archives, enter on it.
Part 2: Key to Wine Cellar
1) Archives, Wine Cellar
2) Tinderboxes: 31/151
3) Notes: 5/30
4) Diaries: 3/23
5) Metallic Container: 0/5
6) Oil: 7/37
7) Landanum: 1/16
8) Achievements: 1/18
-----------------------------------------------------------------------------------------------------
![Archives (1).png]](https://images.steamusercontent.com/ugc/2064383666690929137/2393DD39A0FB4D2D507B30D1AF41AA00828EFDAF/)
![Archives (2).png]](https://images.steamusercontent.com/ugc/2064383666690929148/5200C4FBEBC0B1E66D59313A52BD055A9E3EAEE5/) Note: I added some icons so refer to my cropped images.
Note: I added some icons so refer to my cropped images.
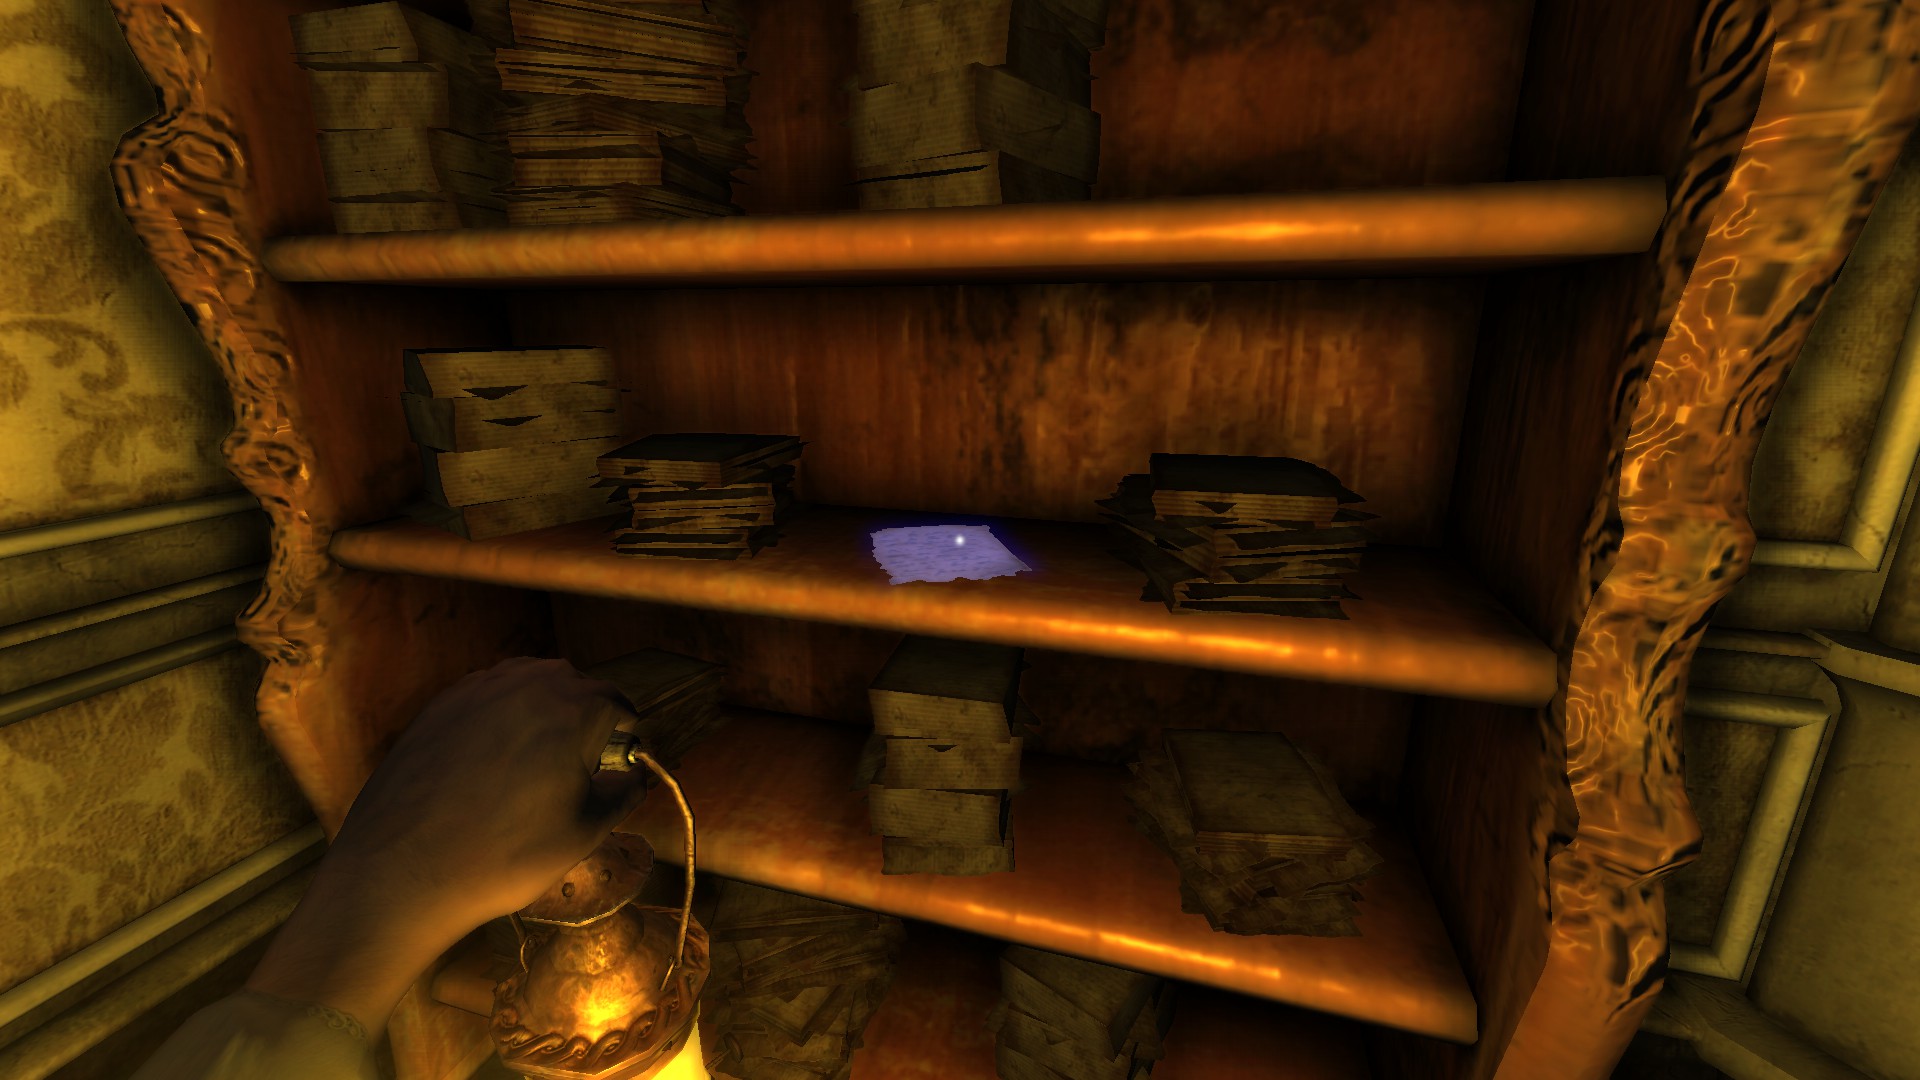
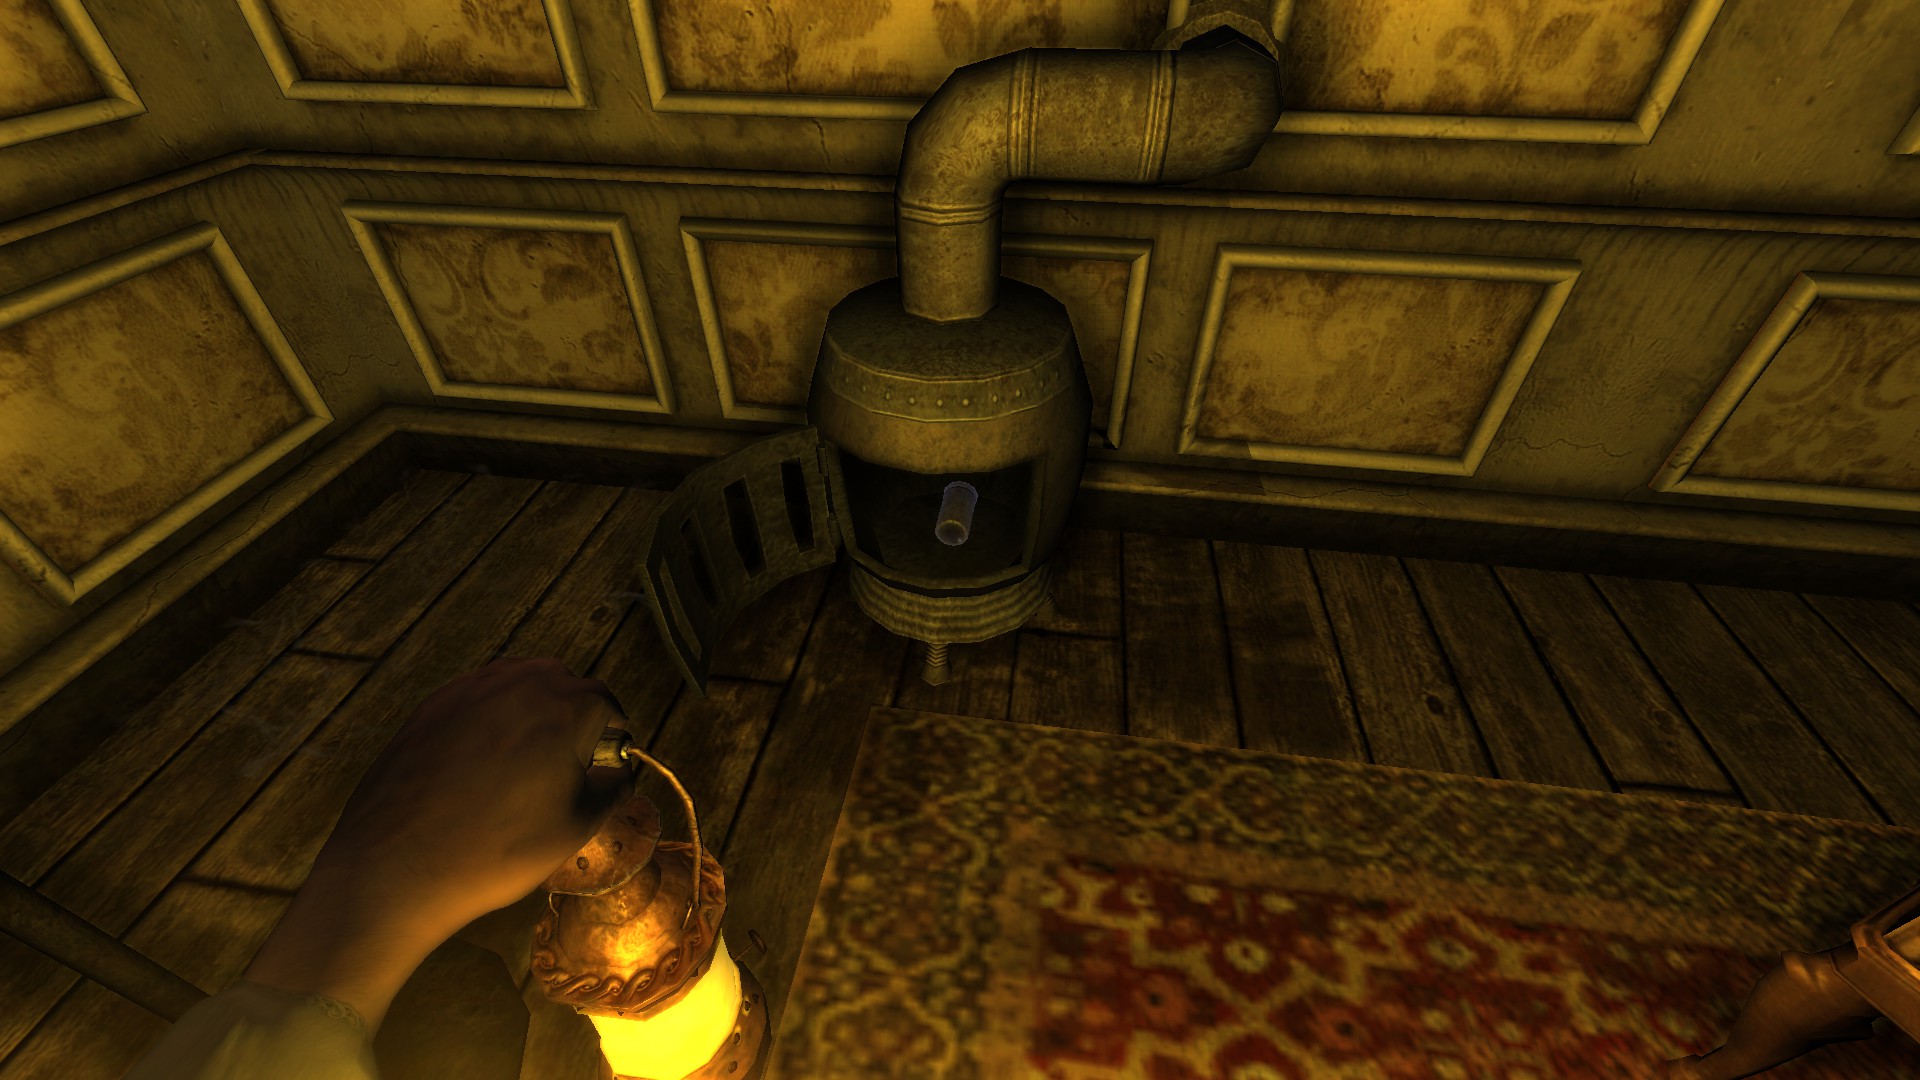
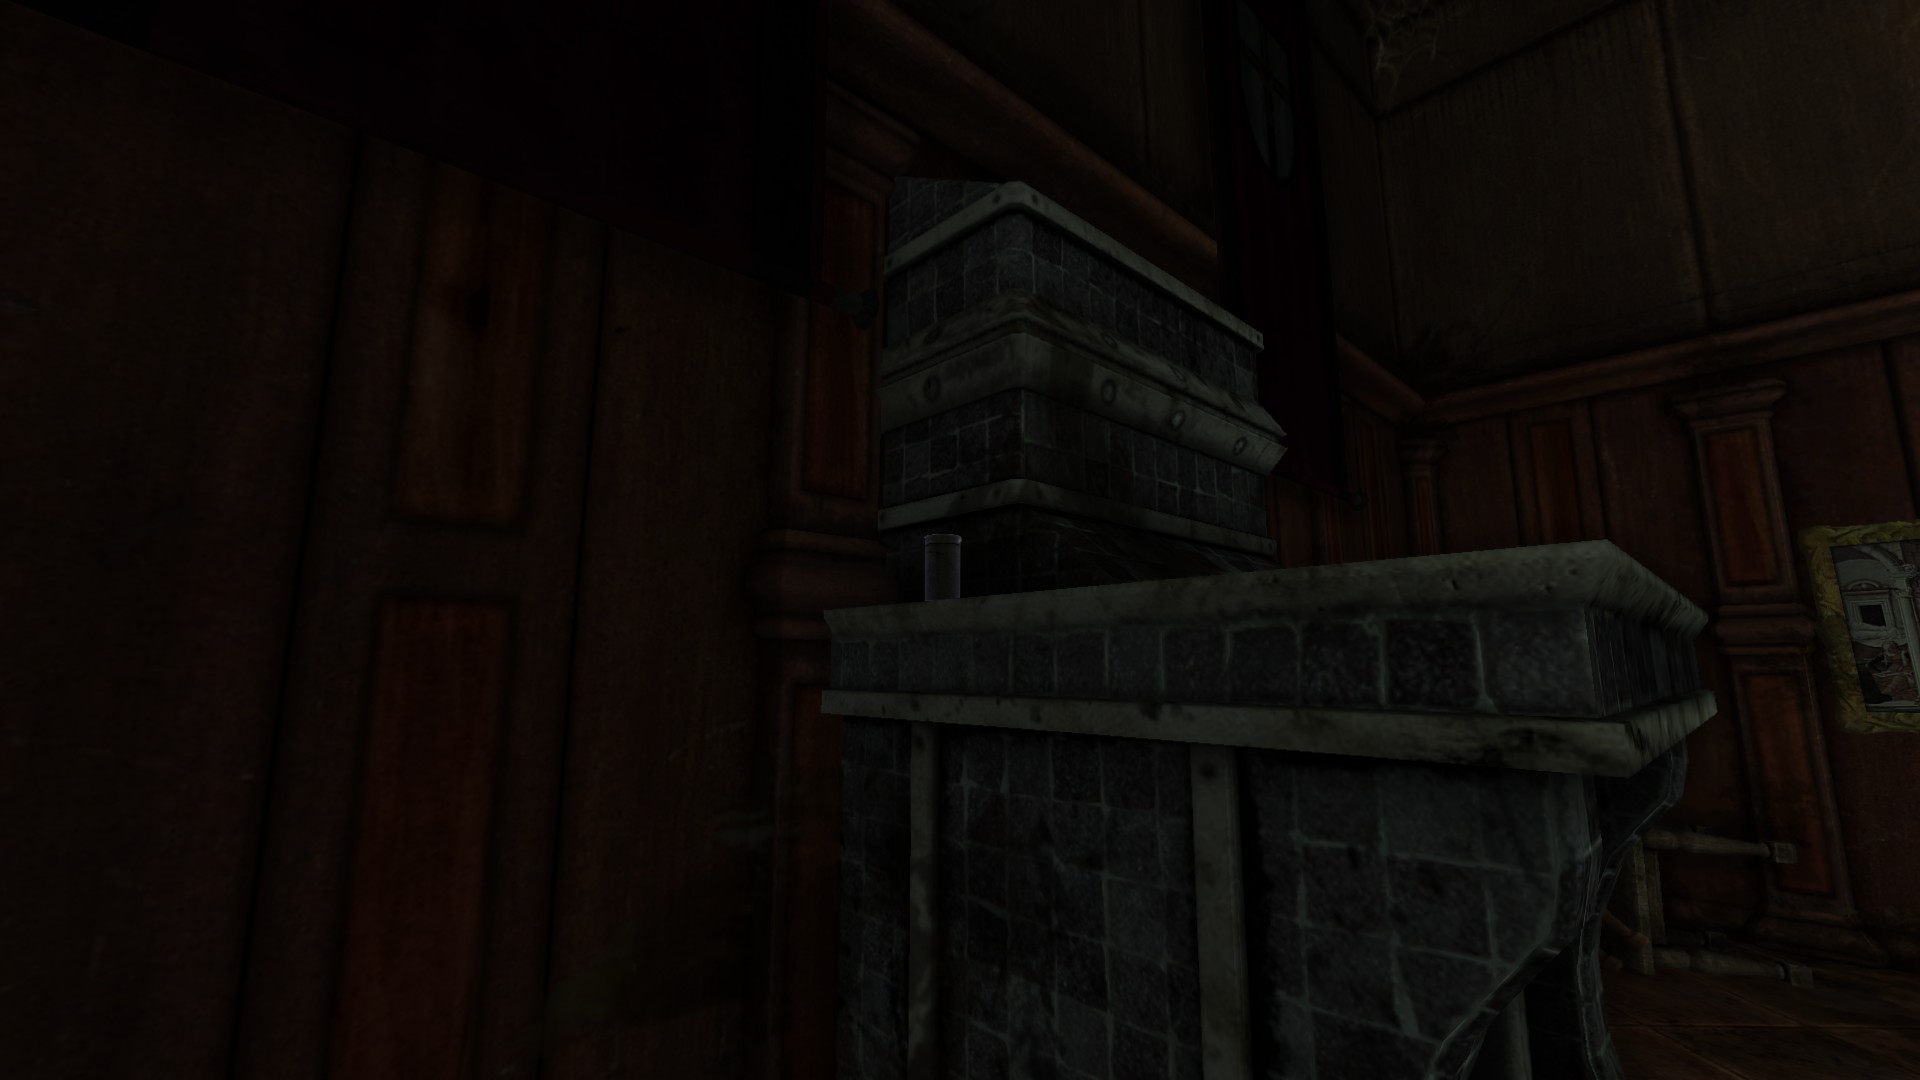
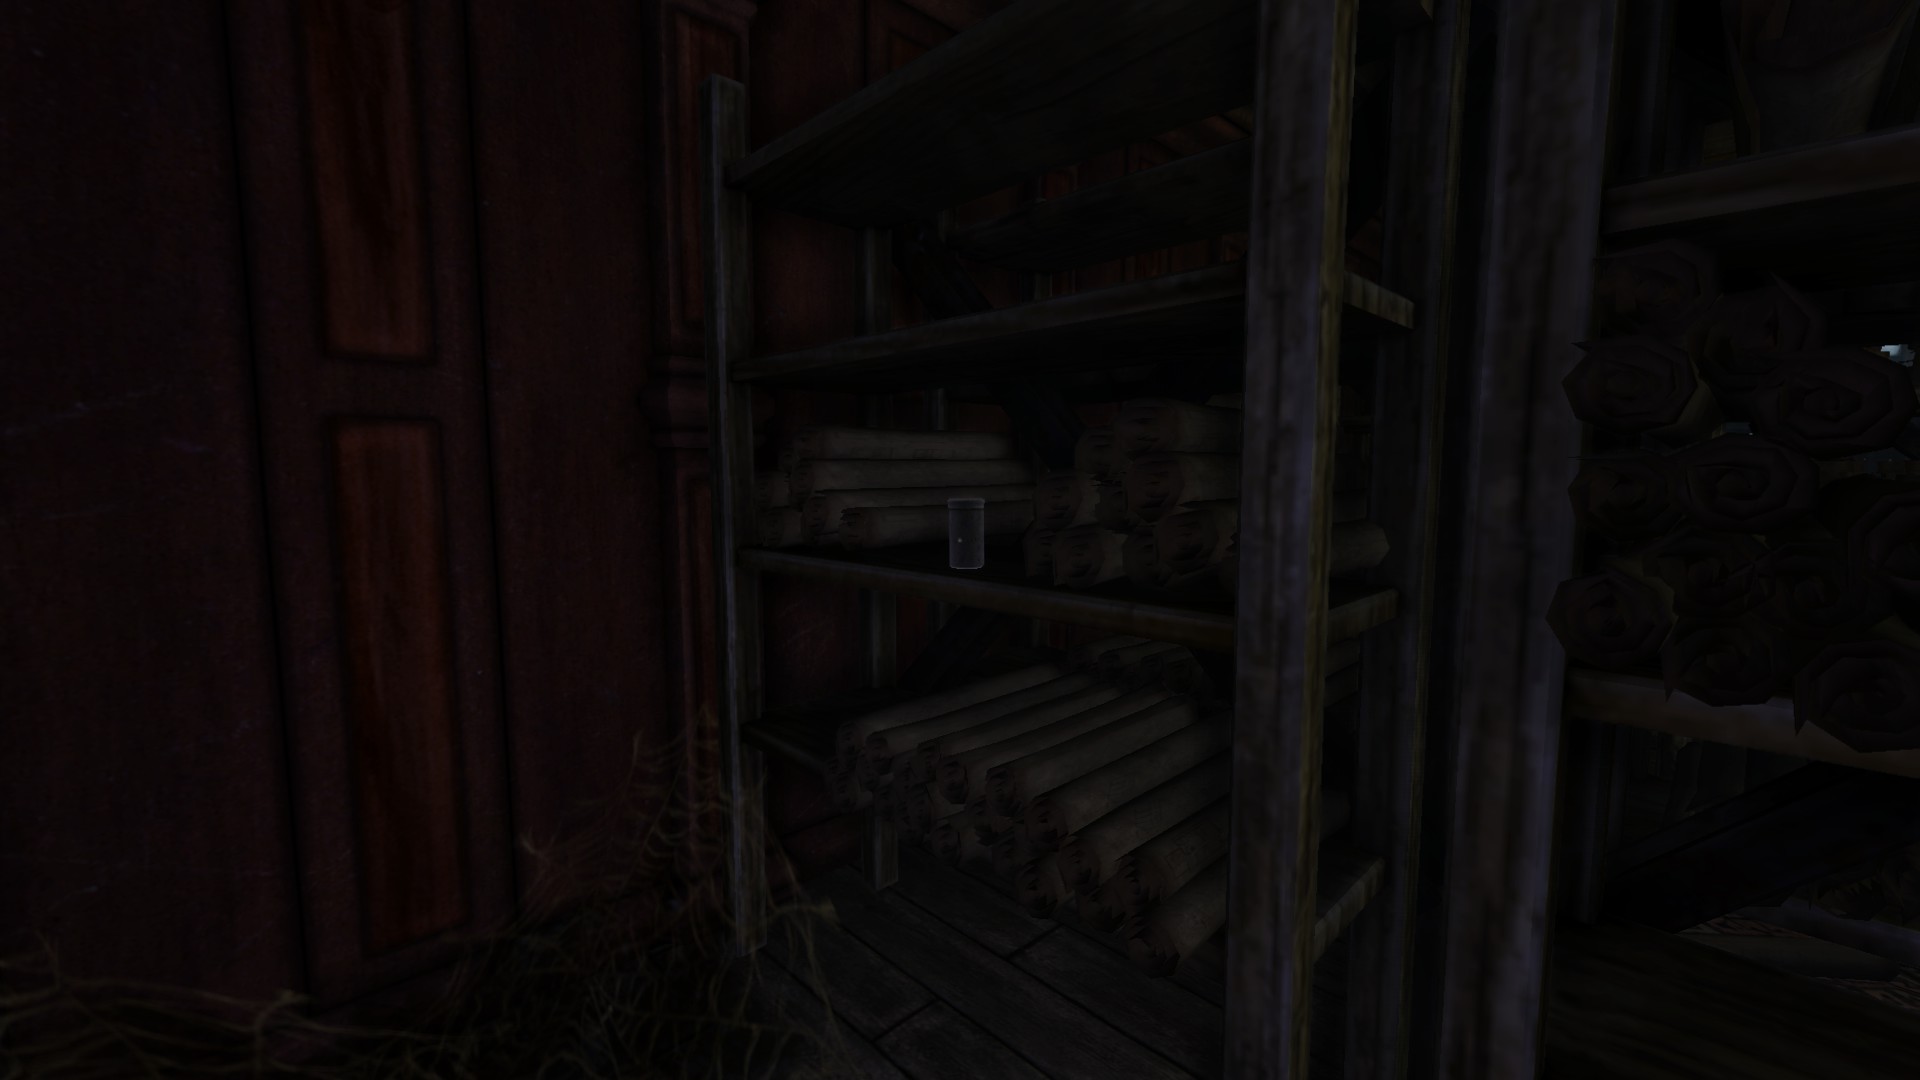
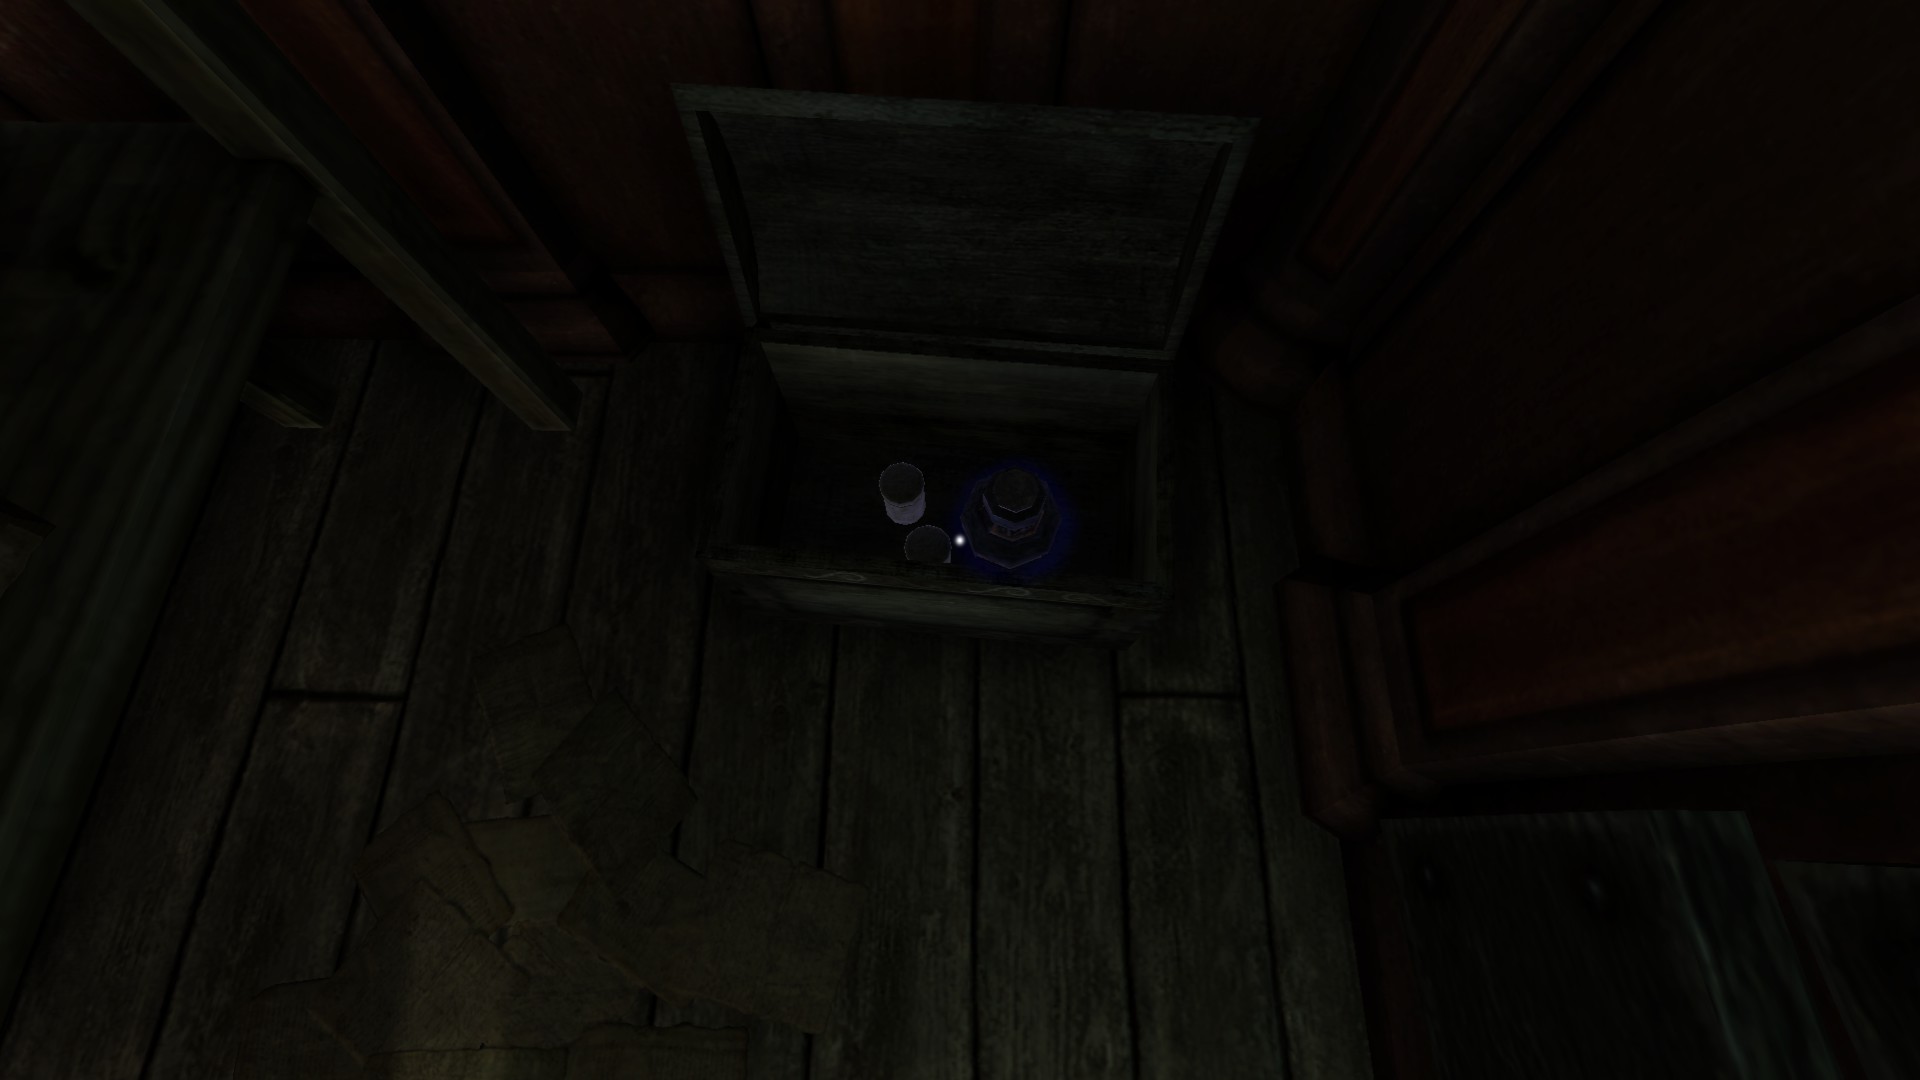
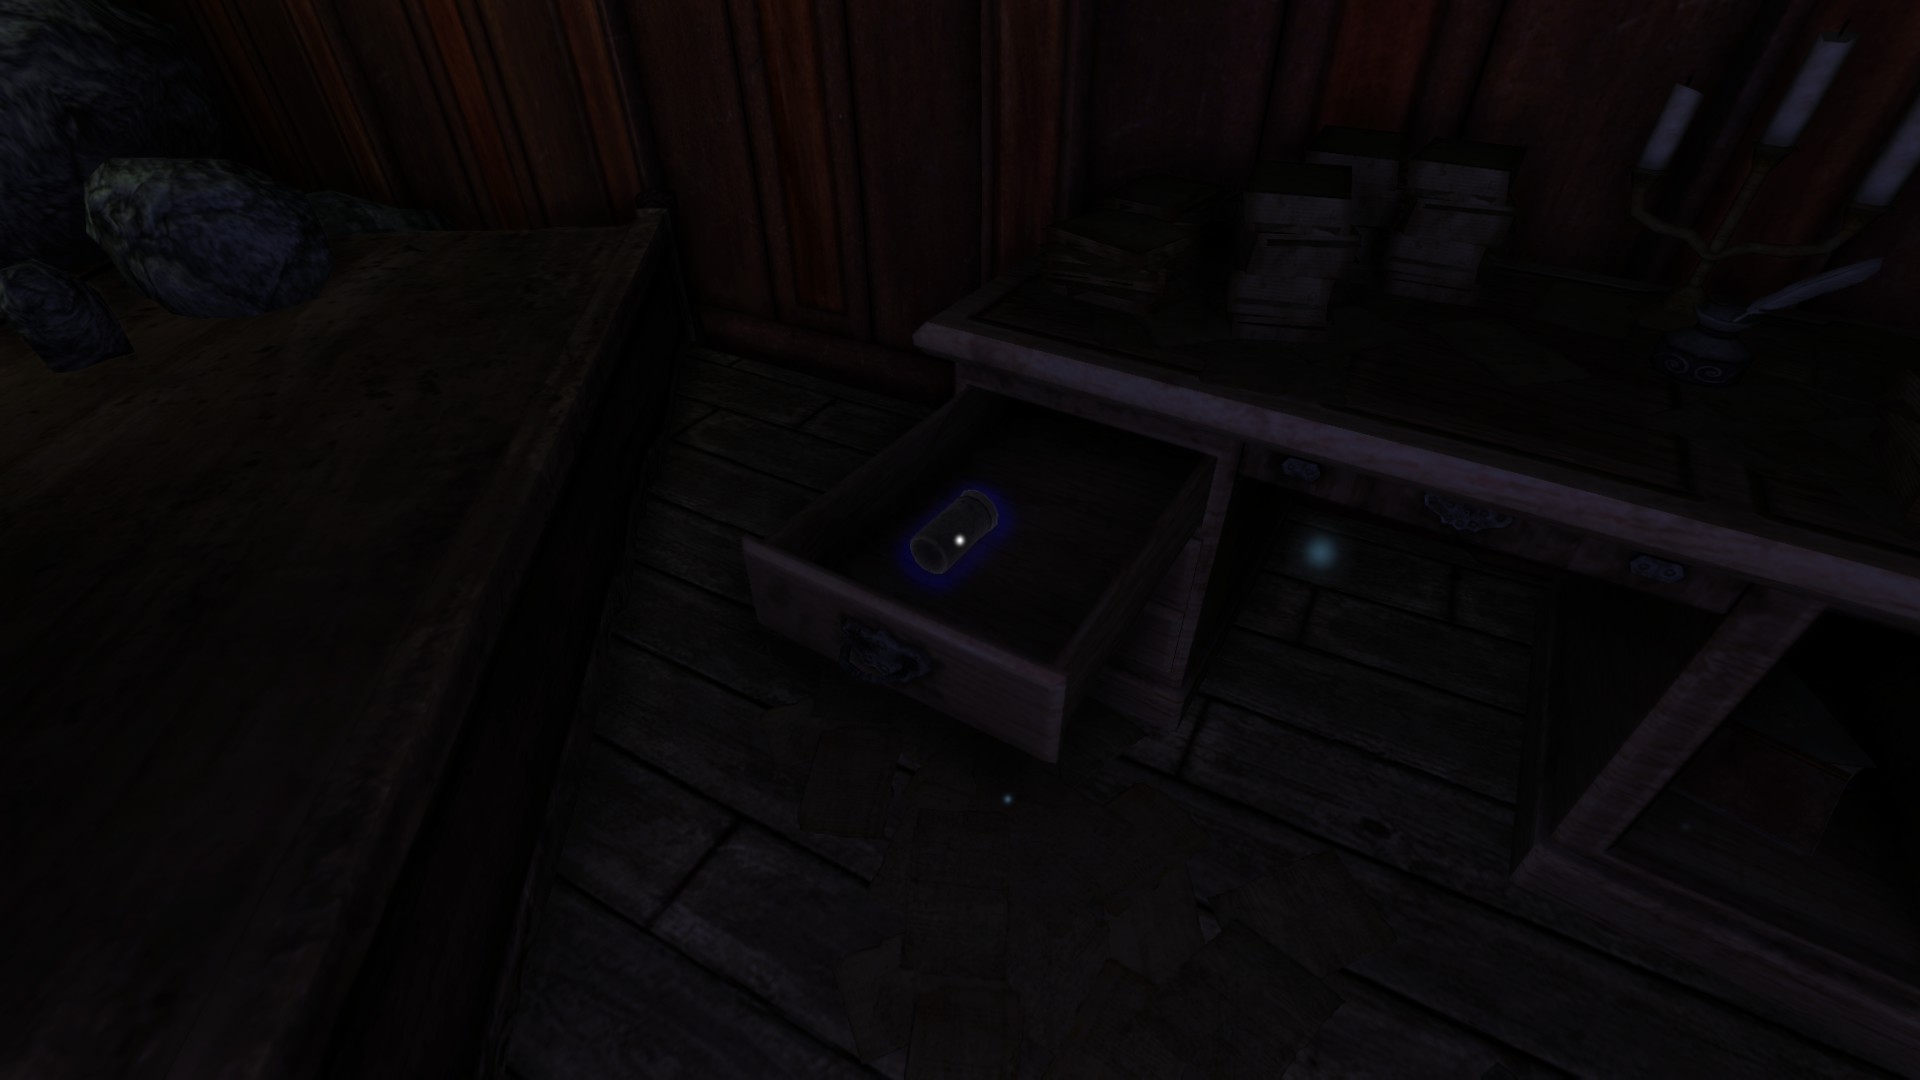
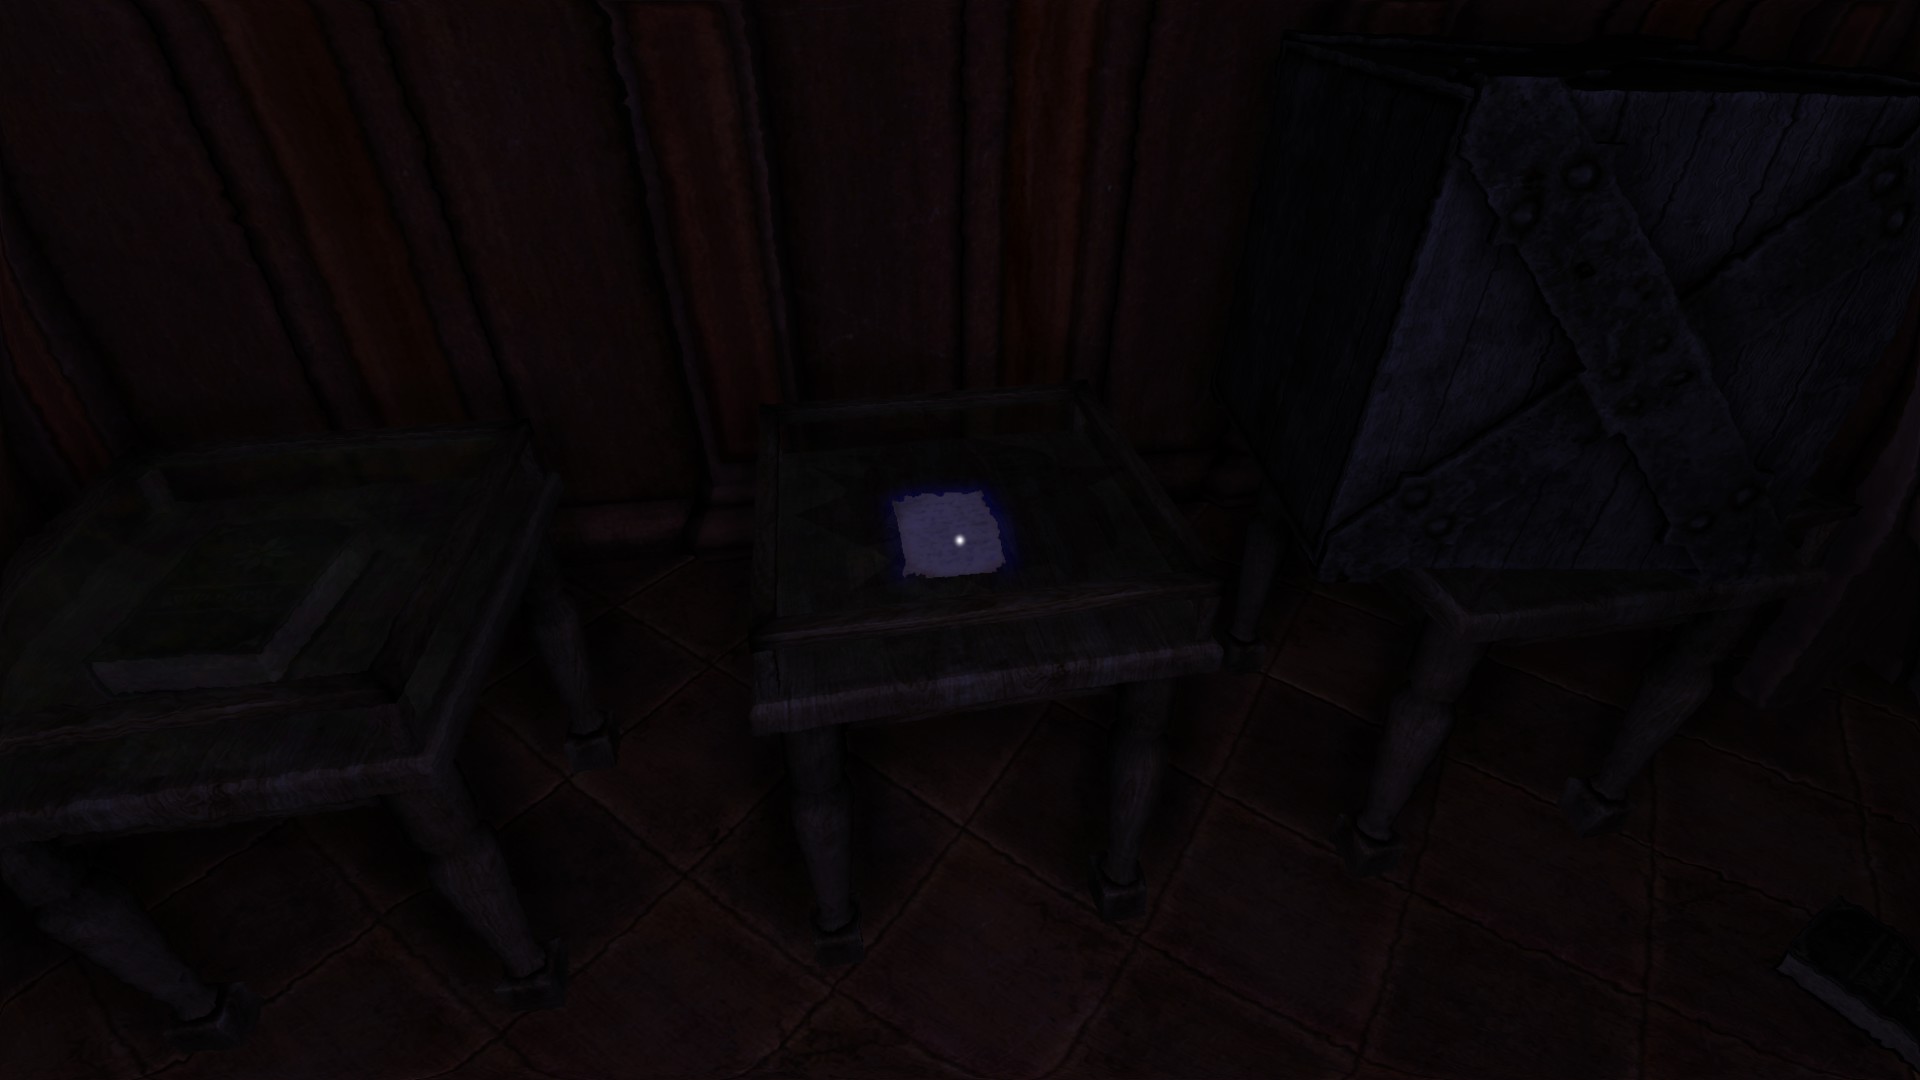
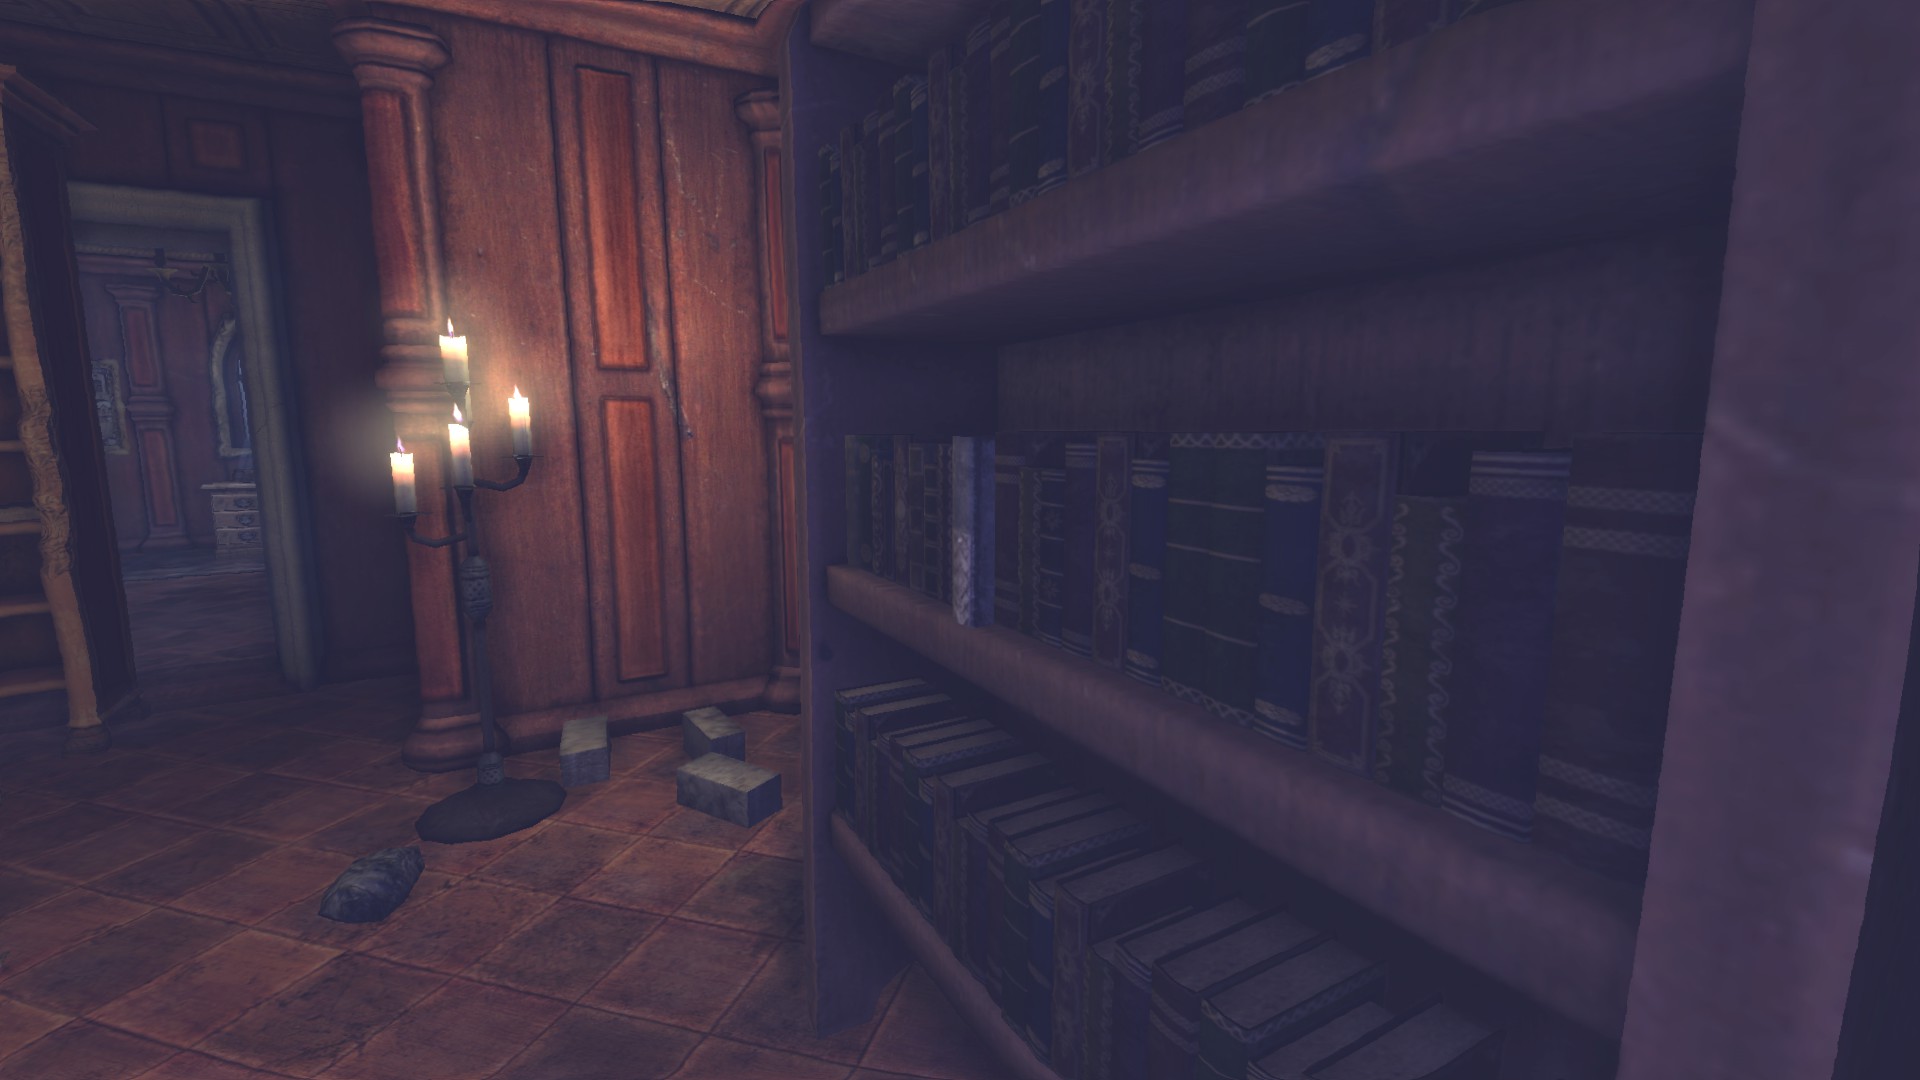
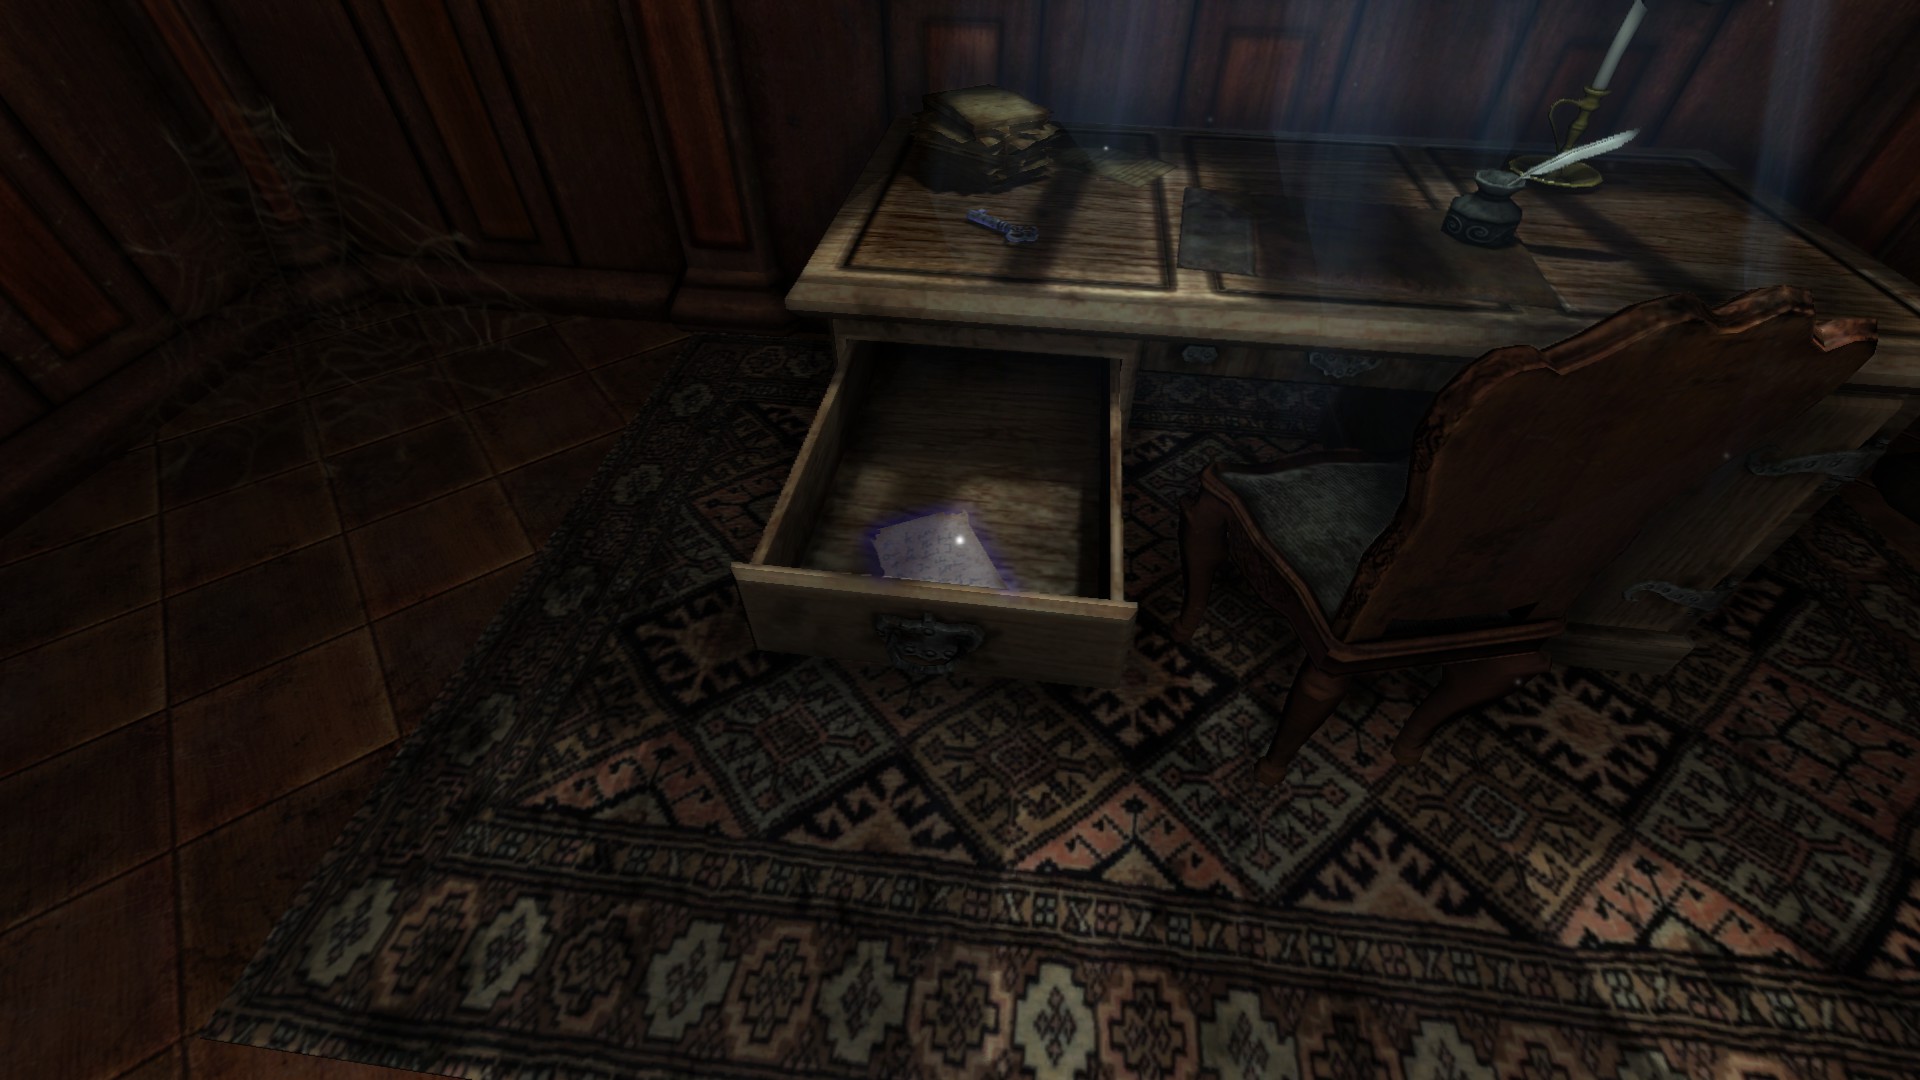
![Wine Cellar (1).png]](https://images.steamusercontent.com/ugc/2064383666691156032/A28947B4097F6D2B862DED7F28024FDBF9163ACA/)
![Wine Cellar (2).png]](https://images.steamusercontent.com/ugc/2064383666691156037/528F7646133C4F19C694E77A8B38A60A8A043AC9/)
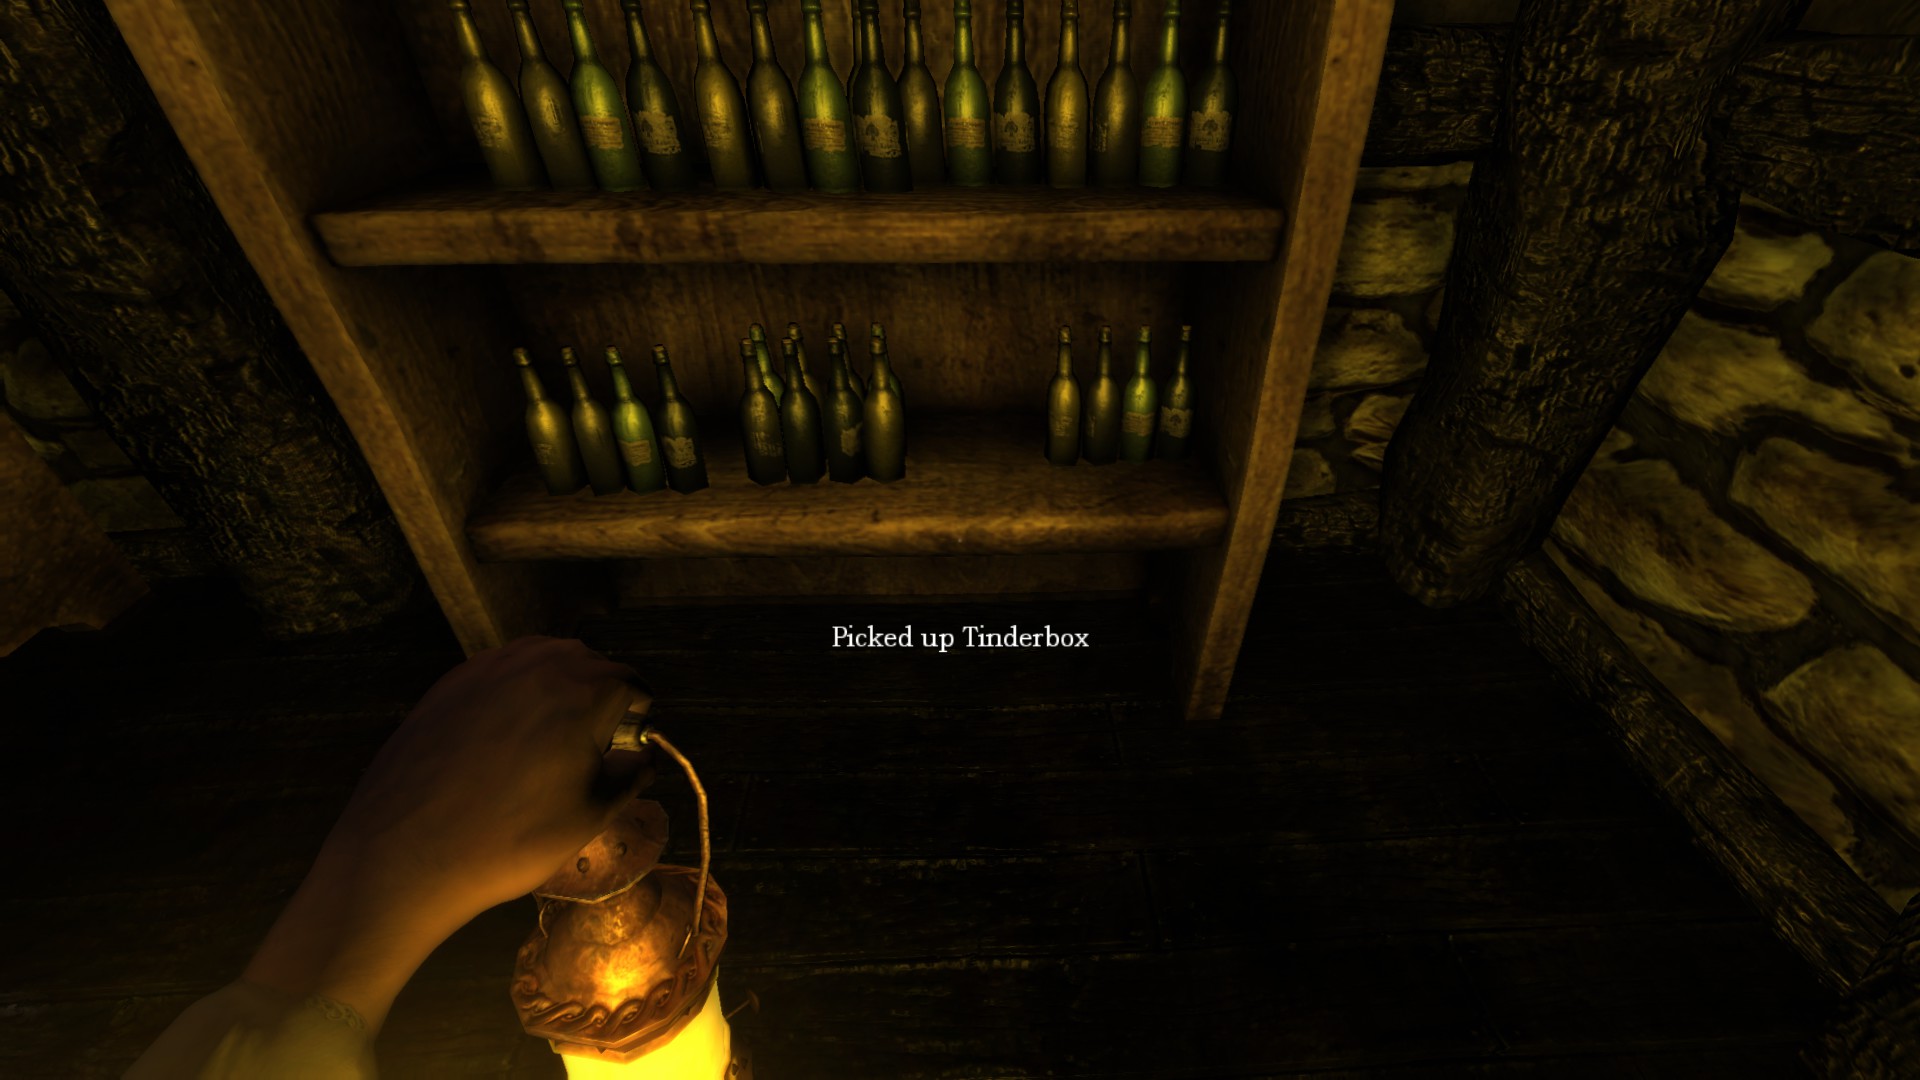
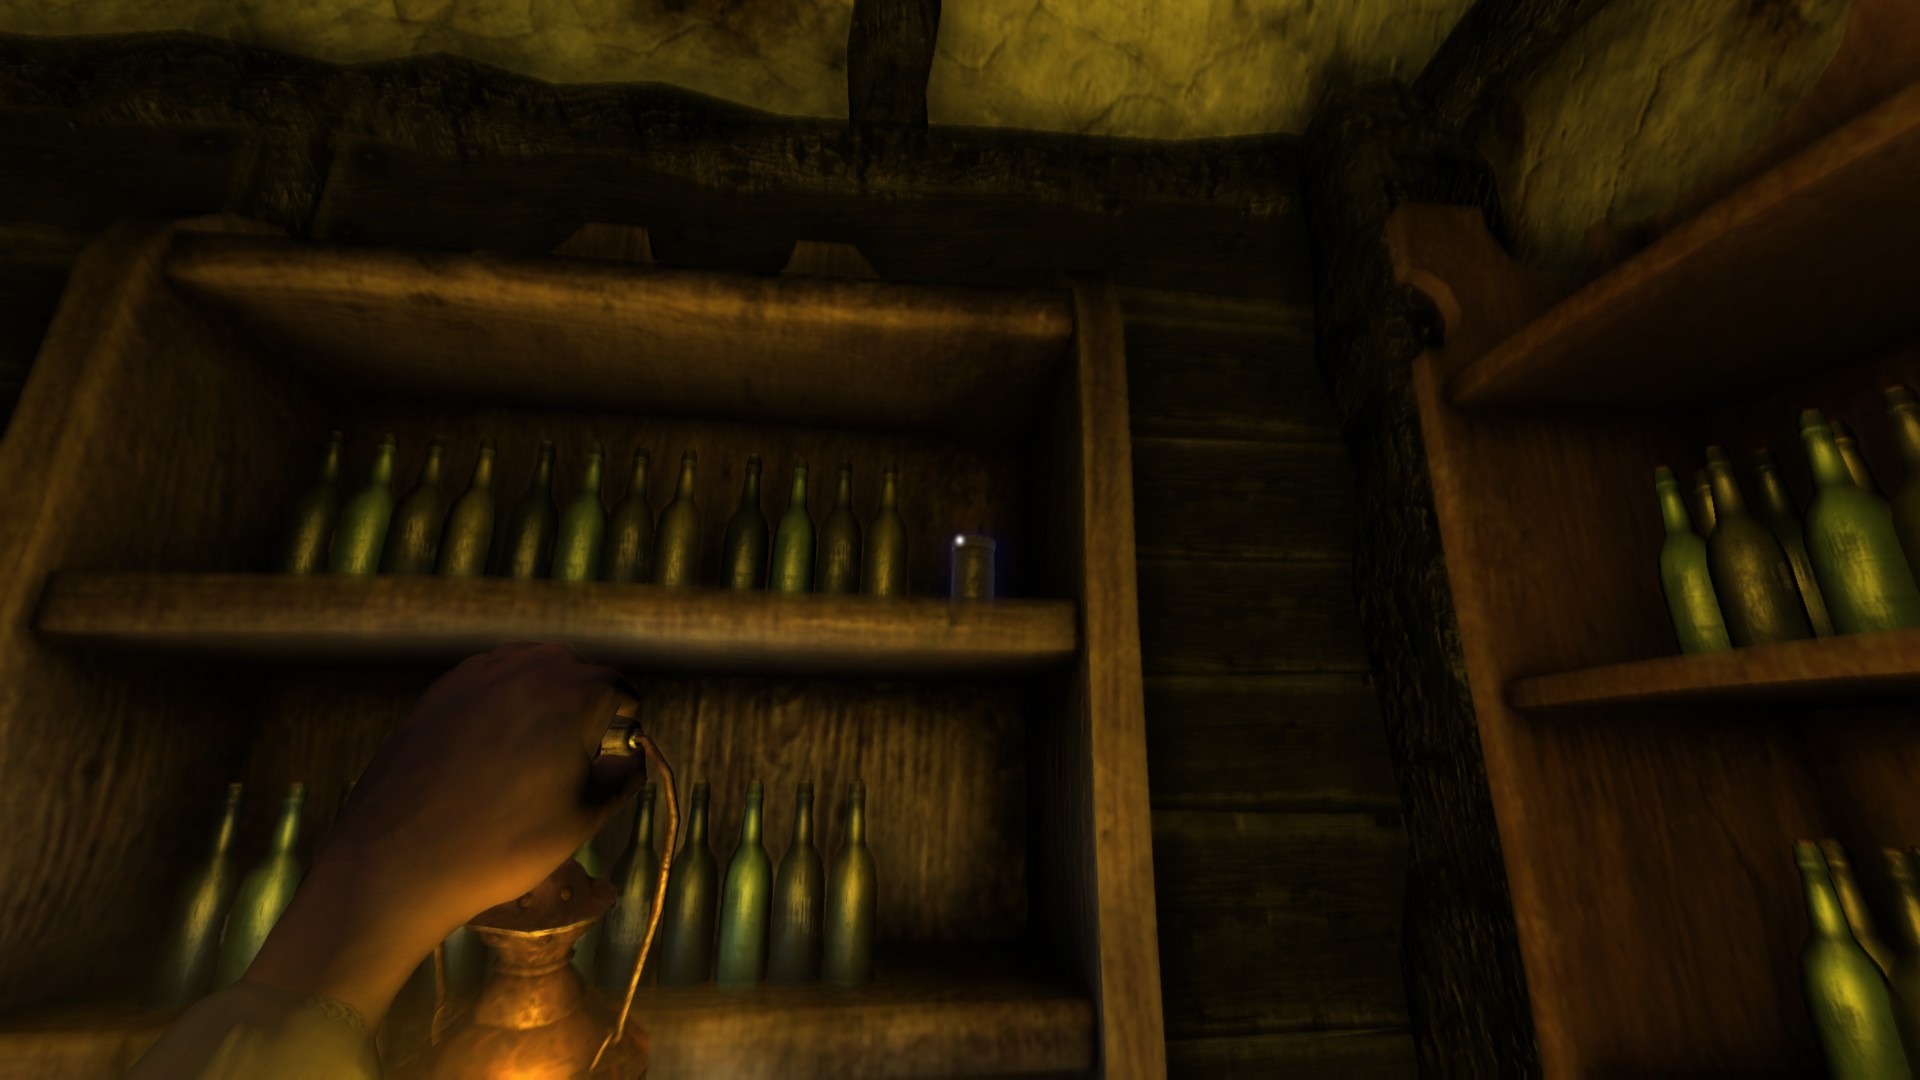
2) Tinderboxes: 31/151
3) Notes: 5/30
4) Diaries: 3/23
5) Metallic Container: 0/5
6) Oil: 7/37
7) Landanum: 1/16
8) Achievements: 1/18
-----------------------------------------------------------------------------------------------------
Archives:
As we begin with our first multiple section areas to enter, this is one to consider. Our goal is finding a key to the wine cellar.Location/Walkthrough text
Image
Diary #1 - Daniel's Diary - Algeria (1/3): Turn right.
![Archives (2) (Edt_1).png]](https://images.steamusercontent.com/ugc/2206261006287031108/4771F82D7BDE7B32954E335F98DC33C505E41091/)
Note #2 - Wilhelm's Contract:
Tinderbox #15: Now go to the "Catalogues" door where you can find one note and a tinderbox.
Tinderbox #15: Now go to the "Catalogues" door where you can find one note and a tinderbox.
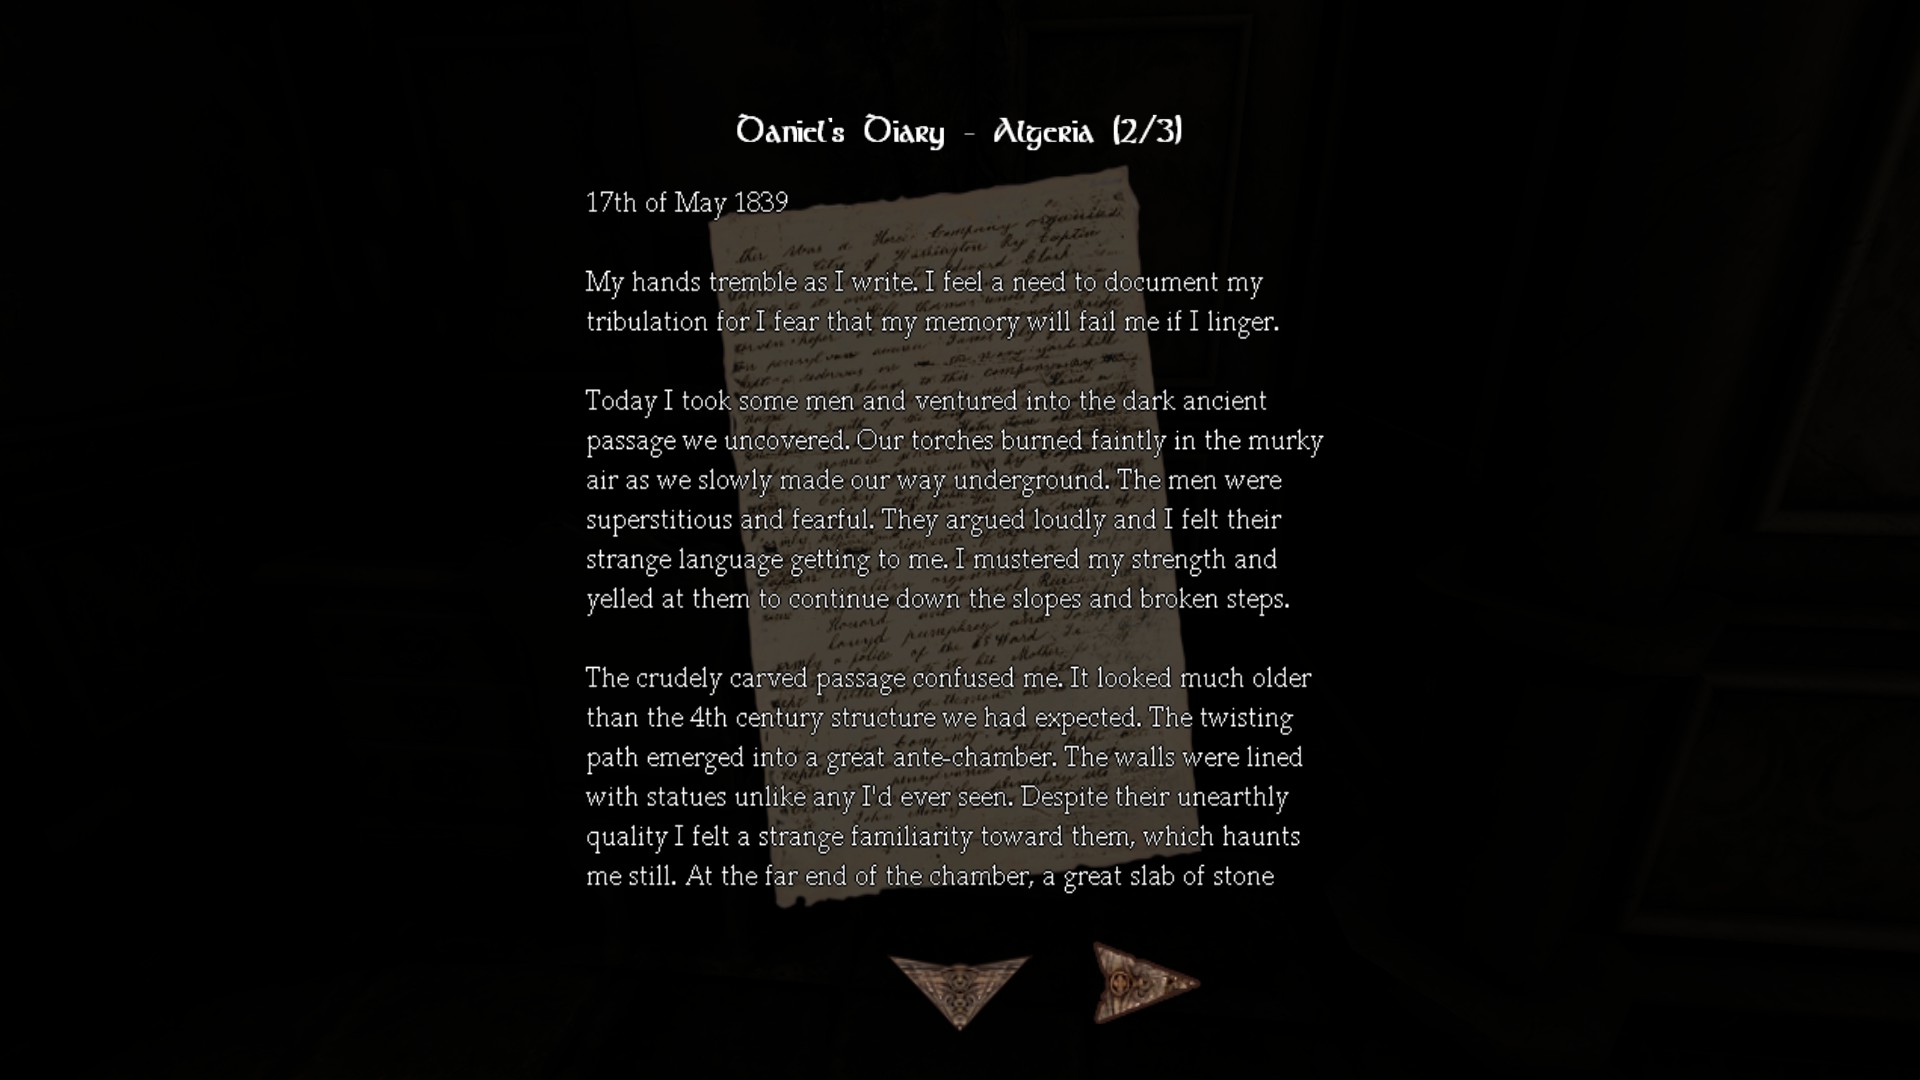
Diary #2 - Daniel's Diary - Algeria (2/3):
Tinderbox #16: On the "Study" room, go to the desk.
![Archives (2) (Edit_2).png]](https://images.steamusercontent.com/ugc/2055379004153477445/7FB1A99C30872B5117FA592897257FAB589C33E3/)
Tinderbox #16: On the "Study" room, go to the desk.
Tinderbox #17-18: At the "Old Tomes" room, there are few items such as the Oil #4 also inside the chest and two tinderboxes.
Tinderbox #19: As you make your way forward.
![Archives (2) (Edit_3).png]](https://images.steamusercontent.com/ugc/2055379004153496289/1F78B1C9F9BD4B236A7156C2BDD3B20D94AC8BB7/)
Move on while grabbing oil #5 on your right. We will find other important key-related events and of course our objective later.
Tinderbox #20-22: Moving forward shortly, turn right where "Floor Plans" room is. One tinderbox on left side and the chest has two tinderboxes and oil #6. Also pass by flashback.
![Archives (2) (Edit_4).png]](https://images.steamusercontent.com/ugc/2055379004154470573/97F1D96411637EC0056AFA1CE8EEFCFC7427850D/)
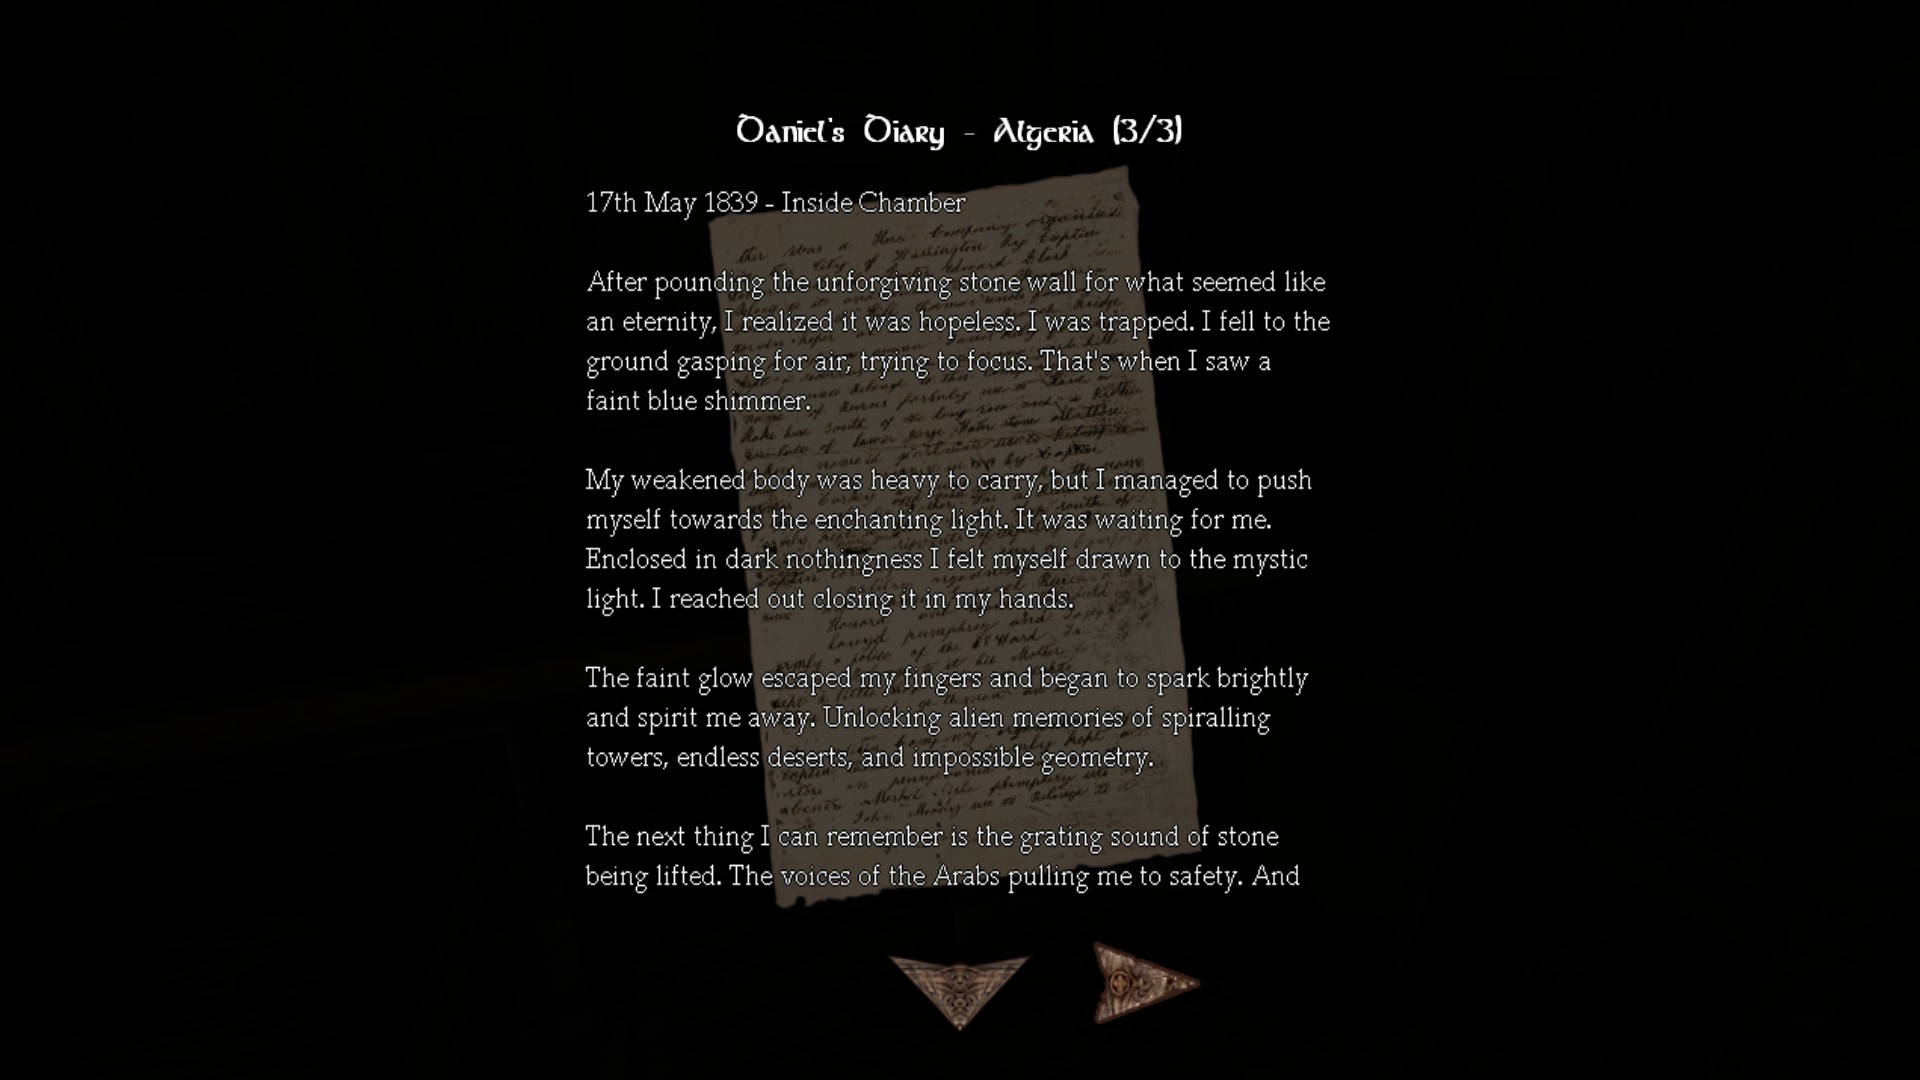
Diary #3 - Daniel's Diary - Algeria (3/3):
Tinderbox #23: On the "Maps" room, there is a note that will give you flashbacks this time full picture.
Tinderbox #23: On the "Maps" room, there is a note that will give you flashbacks this time full picture.
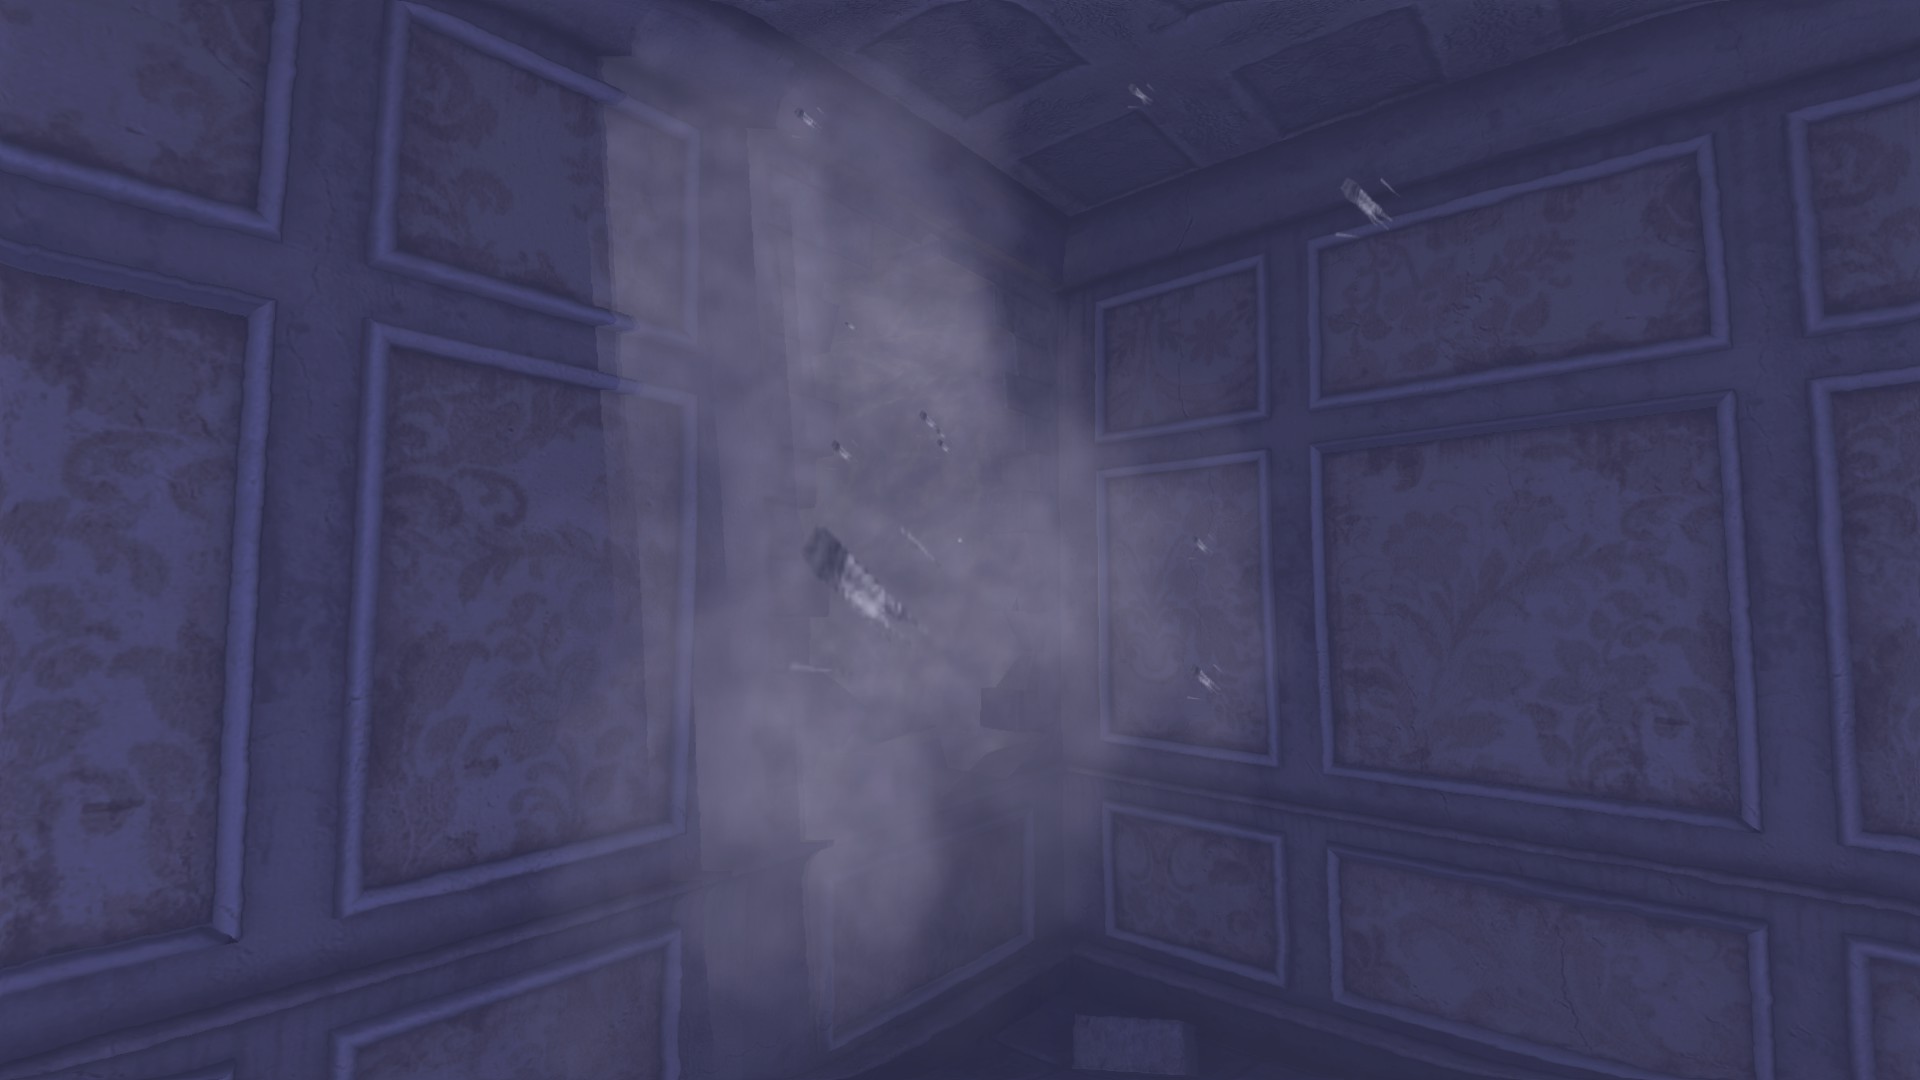
When you wake up from flashback coma, pick up a rock and throw it against the broken wall, regaining your sanity.
Note #3 - Local Folklore:
Enter broken wall, see flashback, turn left and break the glass with the box.
![Archives (2) (Edit_5).png]](https://images.steamusercontent.com/ugc/2055379004154494779/14B1B9C538D10E73655E88BA31DA19BE5FF98487/)
Enter broken wall, see flashback, turn left and break the glass with the box.
Oil #7 on the bookshelf puzzle.
Solving the secret door will regain you sanity.
Note #4 - Regarding Closing of the Wine Cellar: Inside will be your objective item and a note inside the desk.
We can go back to the hub.
Wine Cellar:
In here we need the ingredients to create a potion on the Laboratory.Location/Walkthrough text
Image
Unlocking the door regains your sanity.
Flashback will occur as we proceed through the new area. Then go straight to the door and grab Cuprite, one of the key item for Laboratory.
Tinderbox #24-25:
![Wine Cellar (2) (Edit_1).png]](https://images.steamusercontent.com/ugc/2055380874660260762/46247061793EF0660C6CB94CCE52EFBE09A43E5B/)
Pick up Calamine here. Flashback will occur on the next door left side after exiting out.
Tinderbox #26:
![Wine Cellar (2) (Edit_2).png]](https://images.steamusercontent.com/ugc/2055380874660290925/421C6B982317FF3D71794198B0C735C78D61B947/)
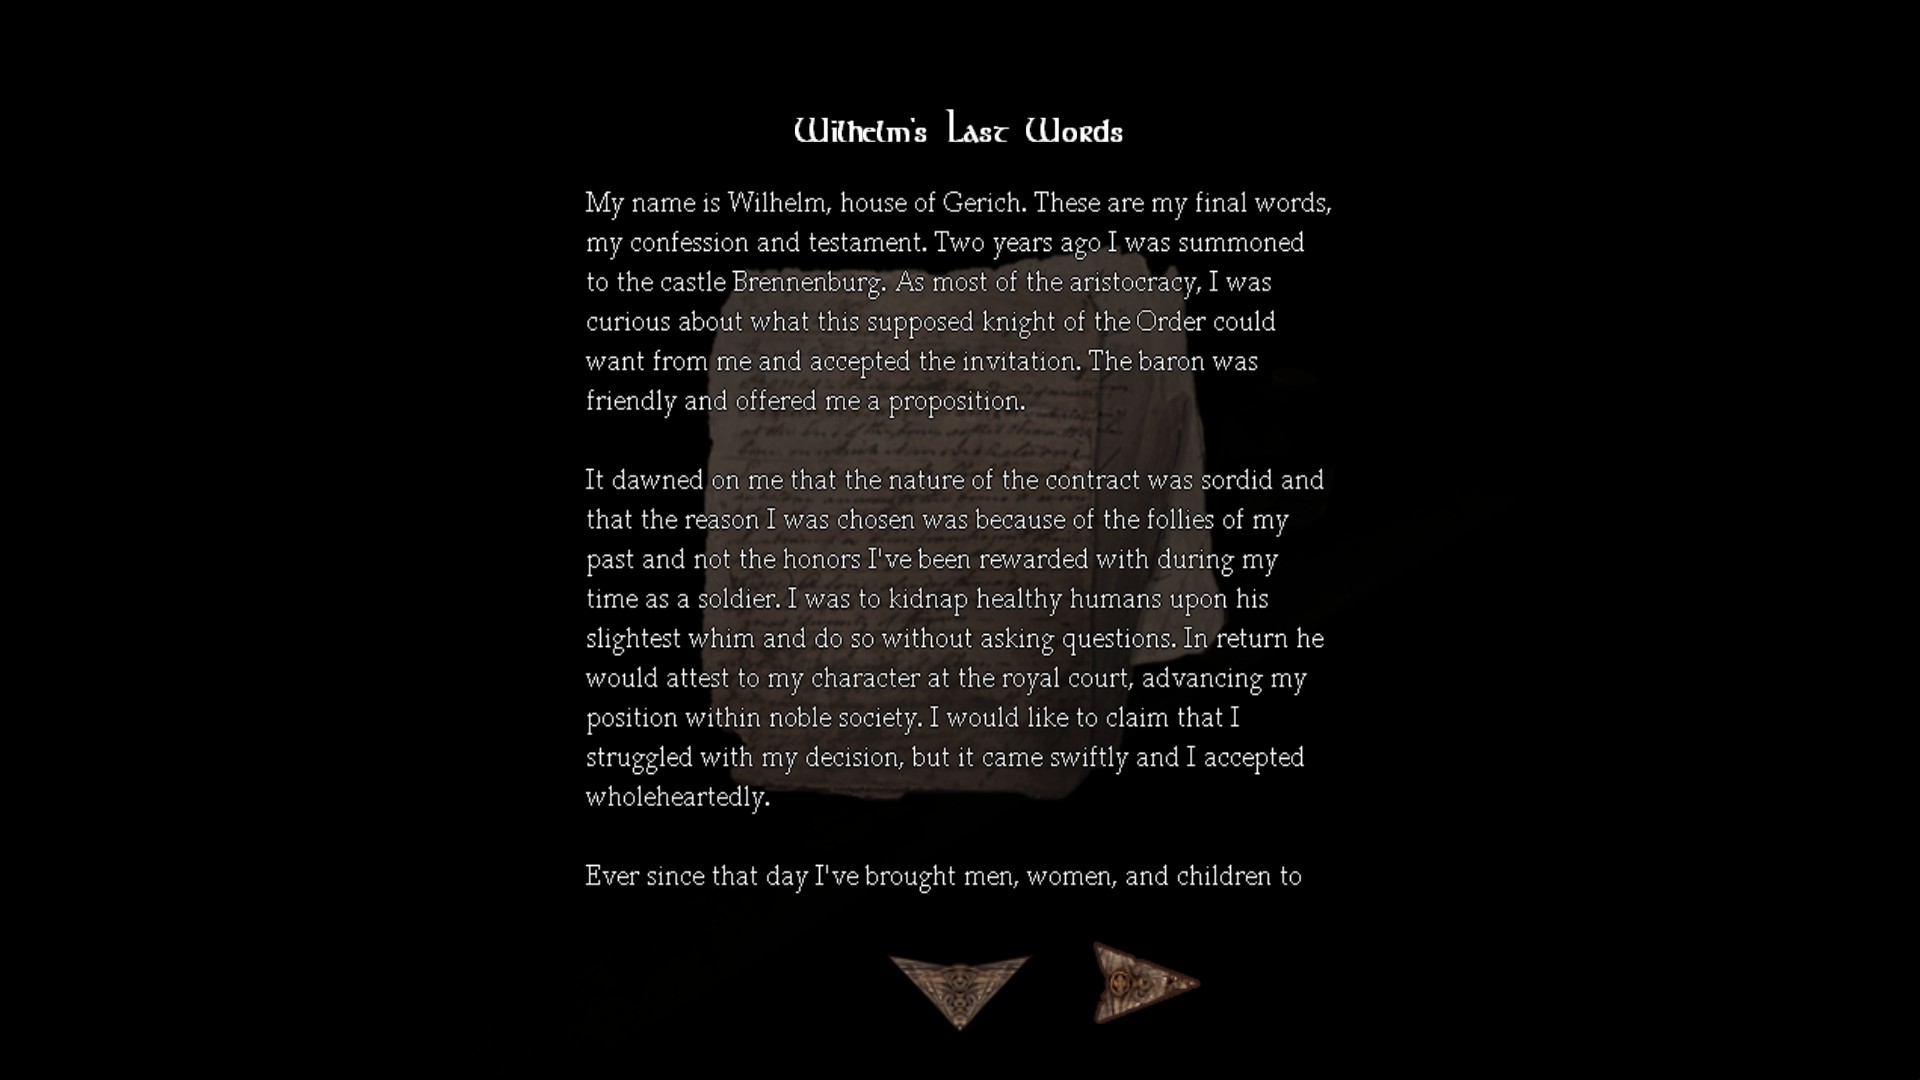
Note #5 - Wilhelm's Last Words:
Pick up Aqua Regia after on the table.
Pick up Aqua Regia after on the table.
On the Laudanum point turn left entering the next room.
Tinderbox #27-28: Grab the box and get it.
![Wine Cellar (2) (Edit_3).png]](https://images.steamusercontent.com/ugc/2055380874660313795/804BD2432EE75B88163CDFD09A7B234538C77A6C/)
Tinderbox #29-31: Enter the next door.
![Wine Cellar (2) (Edit_4).png]](https://images.steamusercontent.com/ugc/2055380874660319218/7FB660360089880336478A07A5FF104D4E81F857/)
Pick up an Orpiment. Then the rubbles will fall down to where you grab the last chemical in this case Calamine for me. Clear rubbles and you regain sanity, go back.
Part 3: Potion maker
1) Laboratory, Entrance Hall (Revisit)
2) Tinderboxes: 36/151
3) Notes: 7/30
4) Diaries: 3/23
5) Metallic Containers: 1/5
6) Oils: 10/37
7) Landanums: 1/16
8) Achievements: 2/18
-----------------------------------------------------------------------------------------------------
![Laboratory (1).png]](https://images.steamusercontent.com/ugc/2064383666691334284/49C5DB3D5DCD4426706231BCEF60E8EB395D574C/)
![Laboratory (2).png]](https://images.steamusercontent.com/ugc/2064383666691334291/38B5B052CFA40244EF86BF652933EF64C08AB73C/)
![Alchemist.jpg]](https://images.steamusercontent.com/ugc/2065508931961899825/D4940F19E6EE4FED0E2ECB6927676BF7DD740256/) –––––––––––––––––––––––––––––––––––––––––––––––––––––––
–––––––––––––––––––––––––––––––––––––––––––––––––––––––
Alchemist
Removed the Shadow's residue in the entrance hall in Amnesia: The Dark Descent.
¯¯¯¯¯¯¯¯¯¯¯¯¯¯¯¯¯¯¯¯¯¯¯¯¯¯¯¯¯¯¯¯
Achievement #2: Story Related. By this point you clear the Entrance Hall level. Doing this will regain your sanity. You can proceed to the next level which means you won't be here long (obviously).
2) Tinderboxes: 36/151
3) Notes: 7/30
4) Diaries: 3/23
5) Metallic Containers: 1/5
6) Oils: 10/37
7) Landanums: 1/16
8) Achievements: 2/18
-----------------------------------------------------------------------------------------------------
Laboratory:
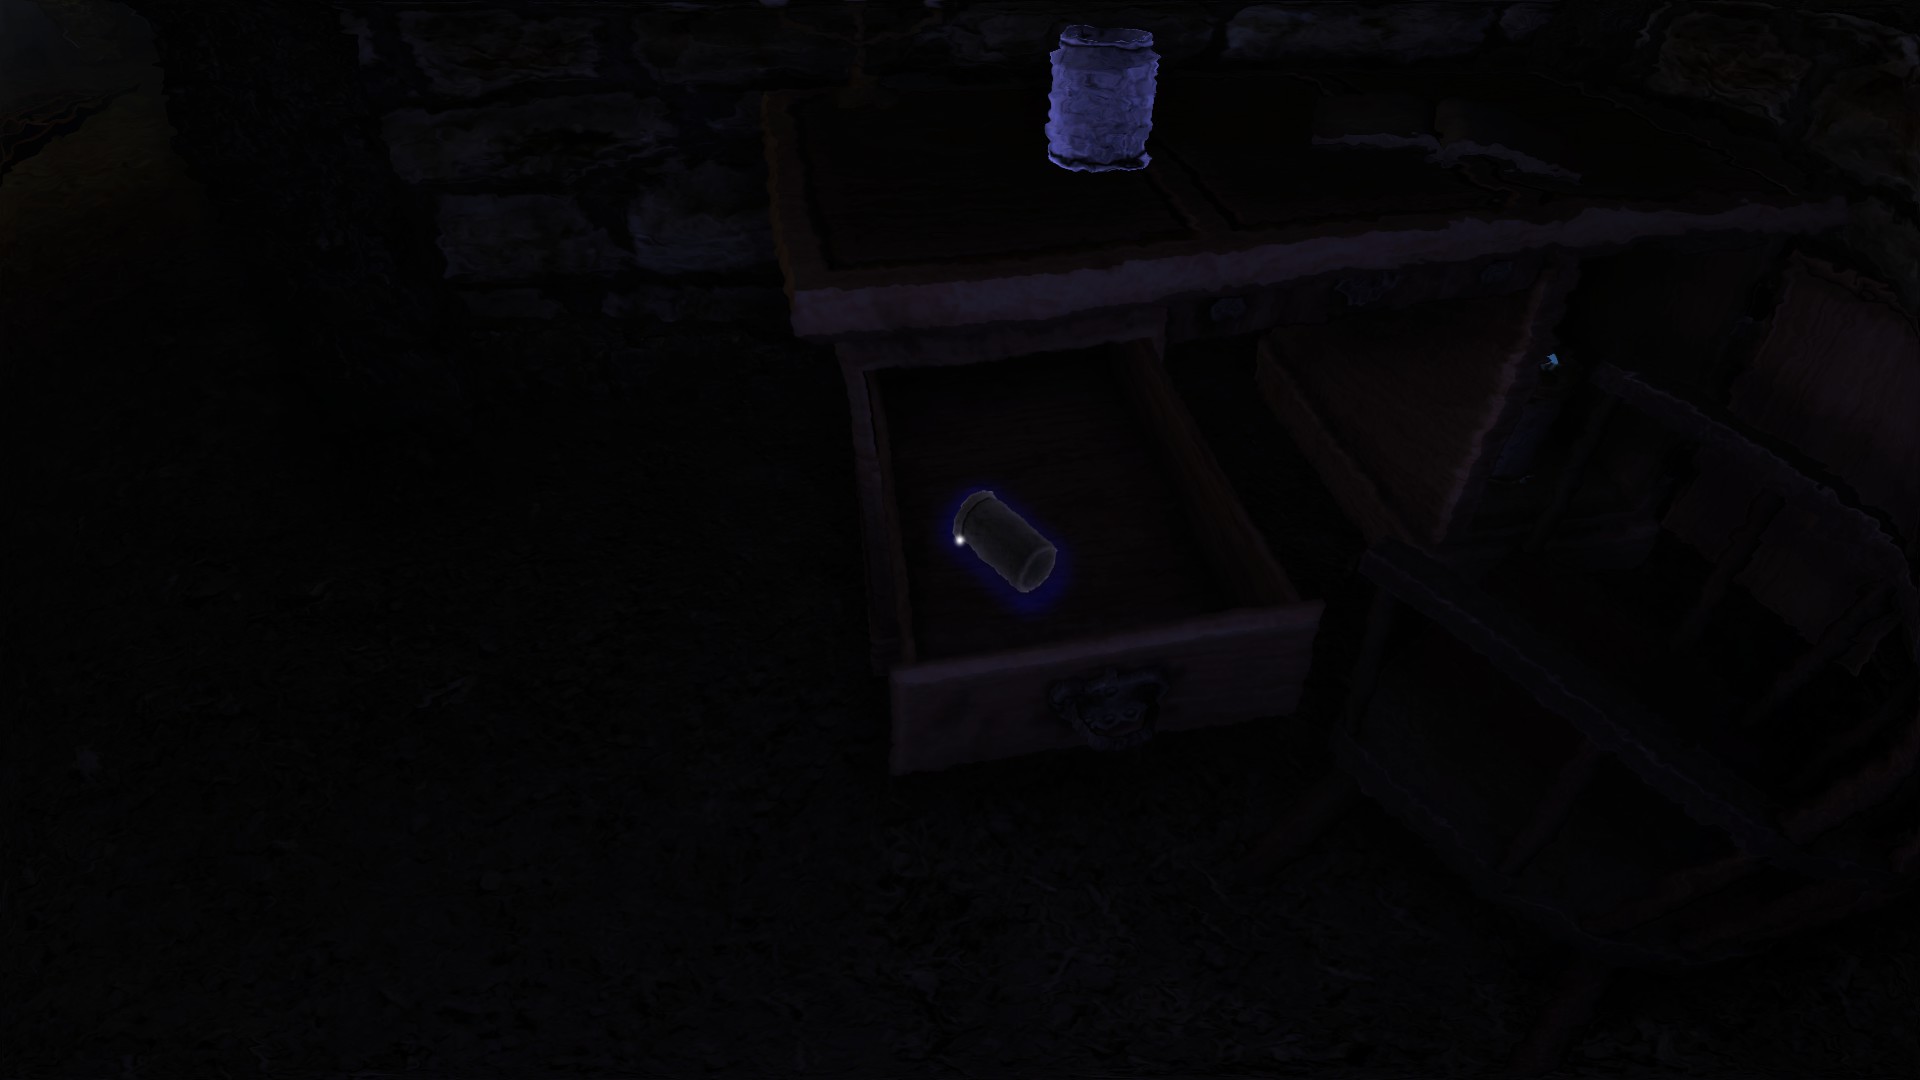
In here we make potions. We also find our first memory cylinder here which is not related to our achievements but better than nothing.Location/Walkthrough text
Image
Straight to the oils, we grab #8 and #9 shown on the image map.
Tinderbox #32-33: Like always, all will be listed as shown in order or not either way. Anyways, flashback will occur after.
![Laboratory (2) (Edit_1).png]](https://images.steamusercontent.com/ugc/2055380874660375262/D10BAED6376FD4581D92EBAF33DD31DE61205CD8/)
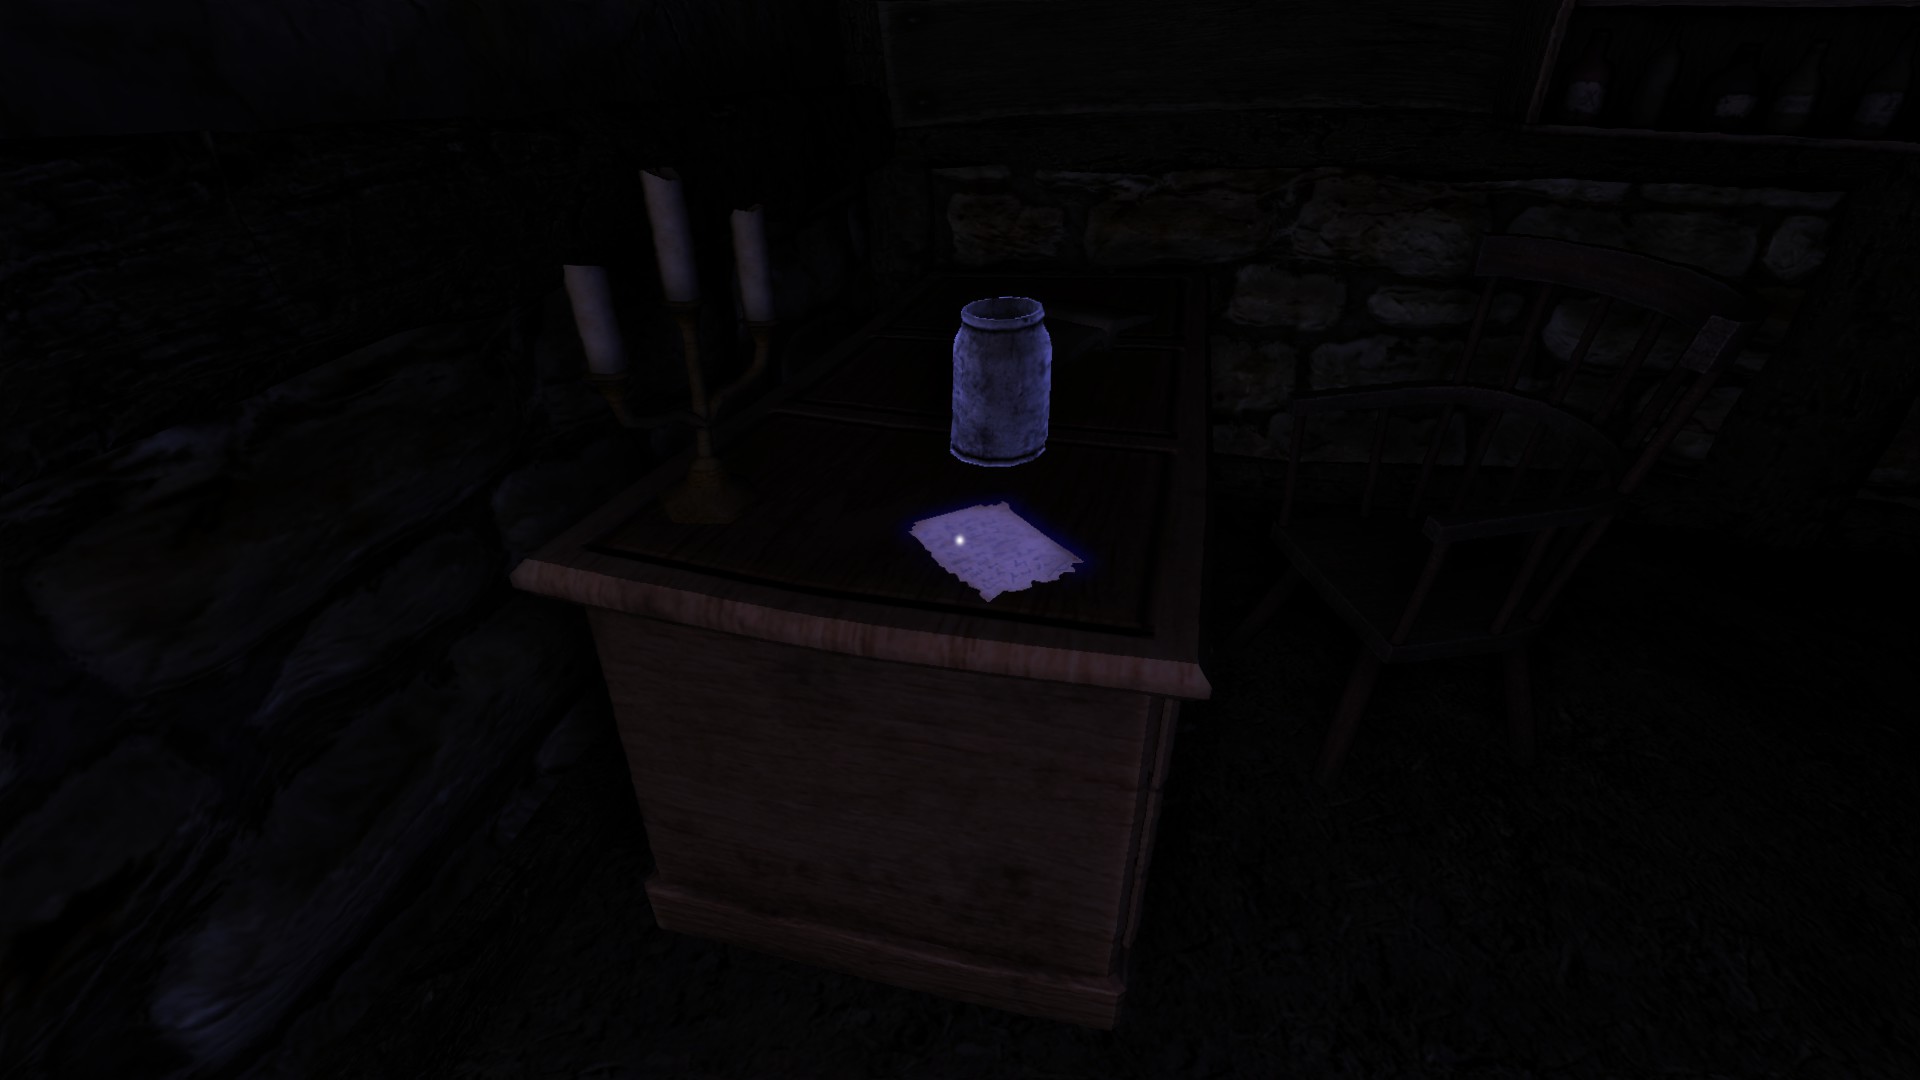
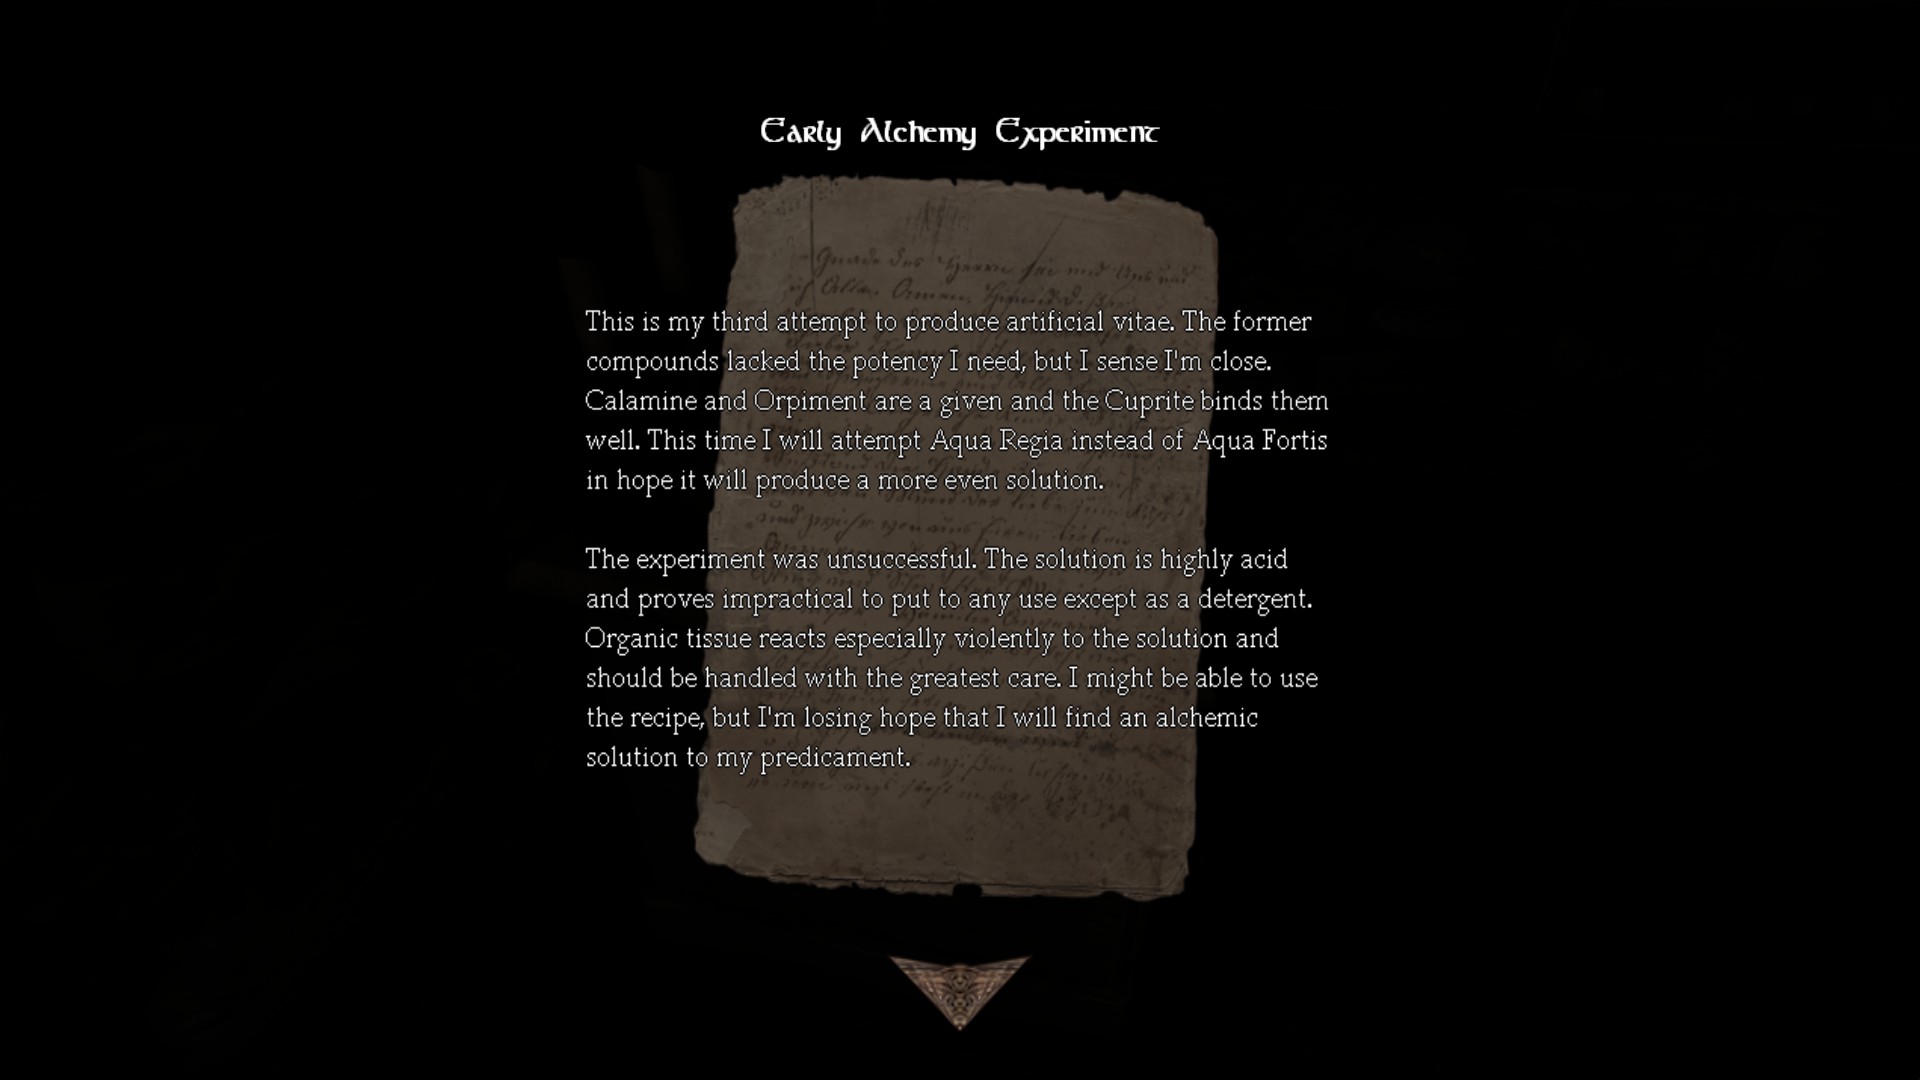
Note #6 - Early Alchemy Experiment:
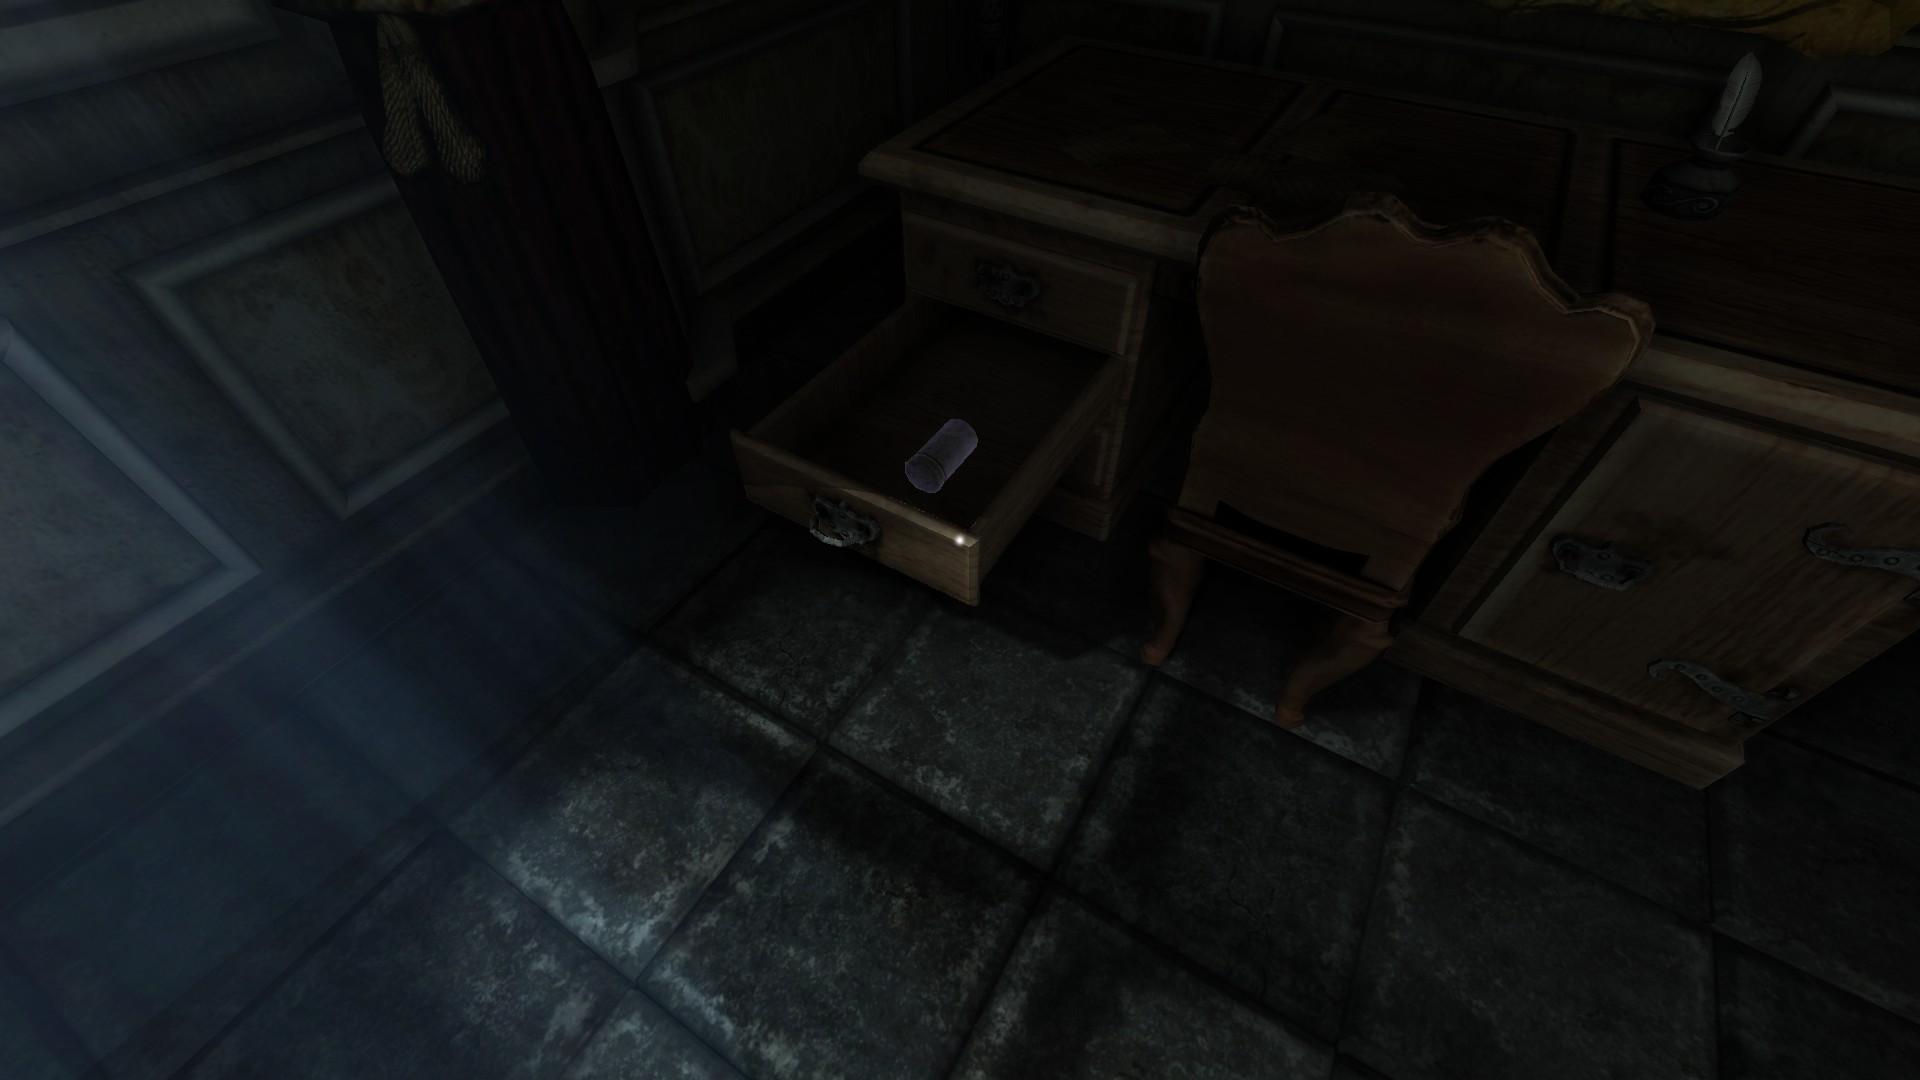
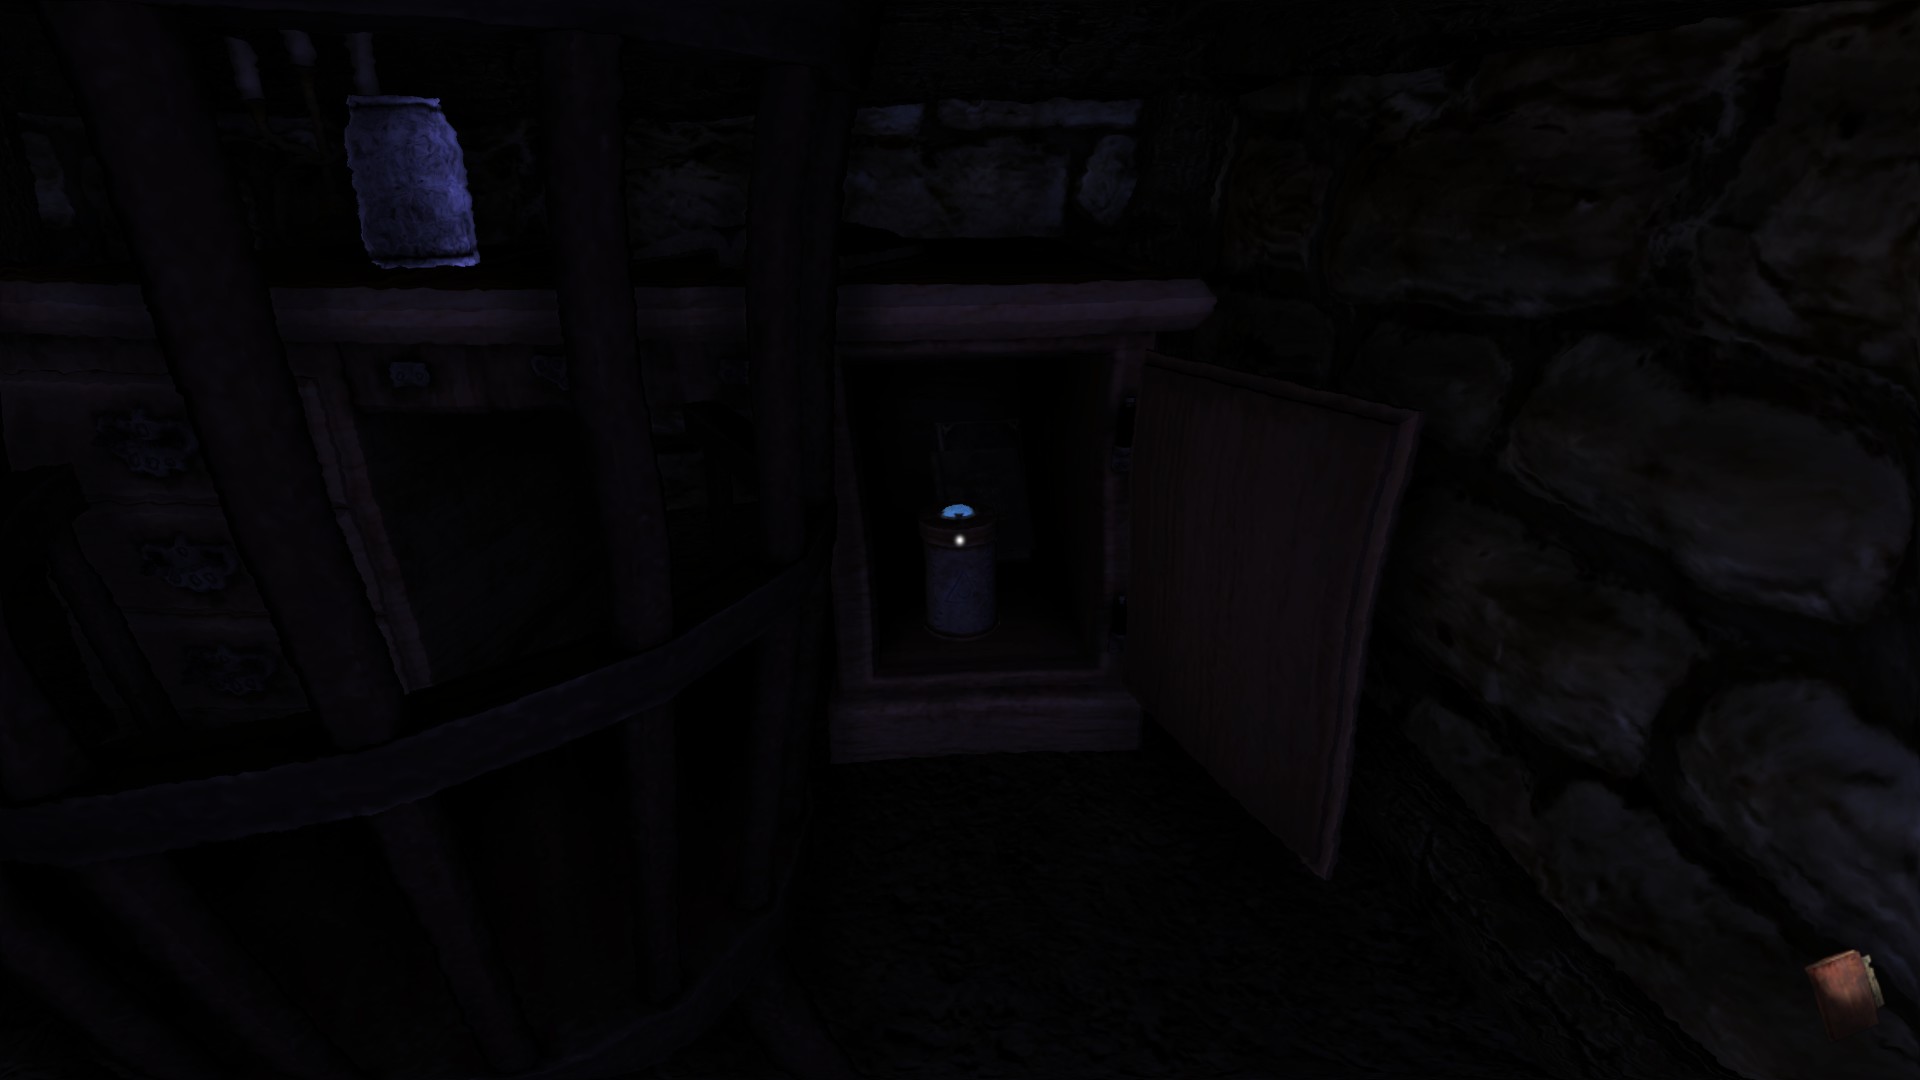
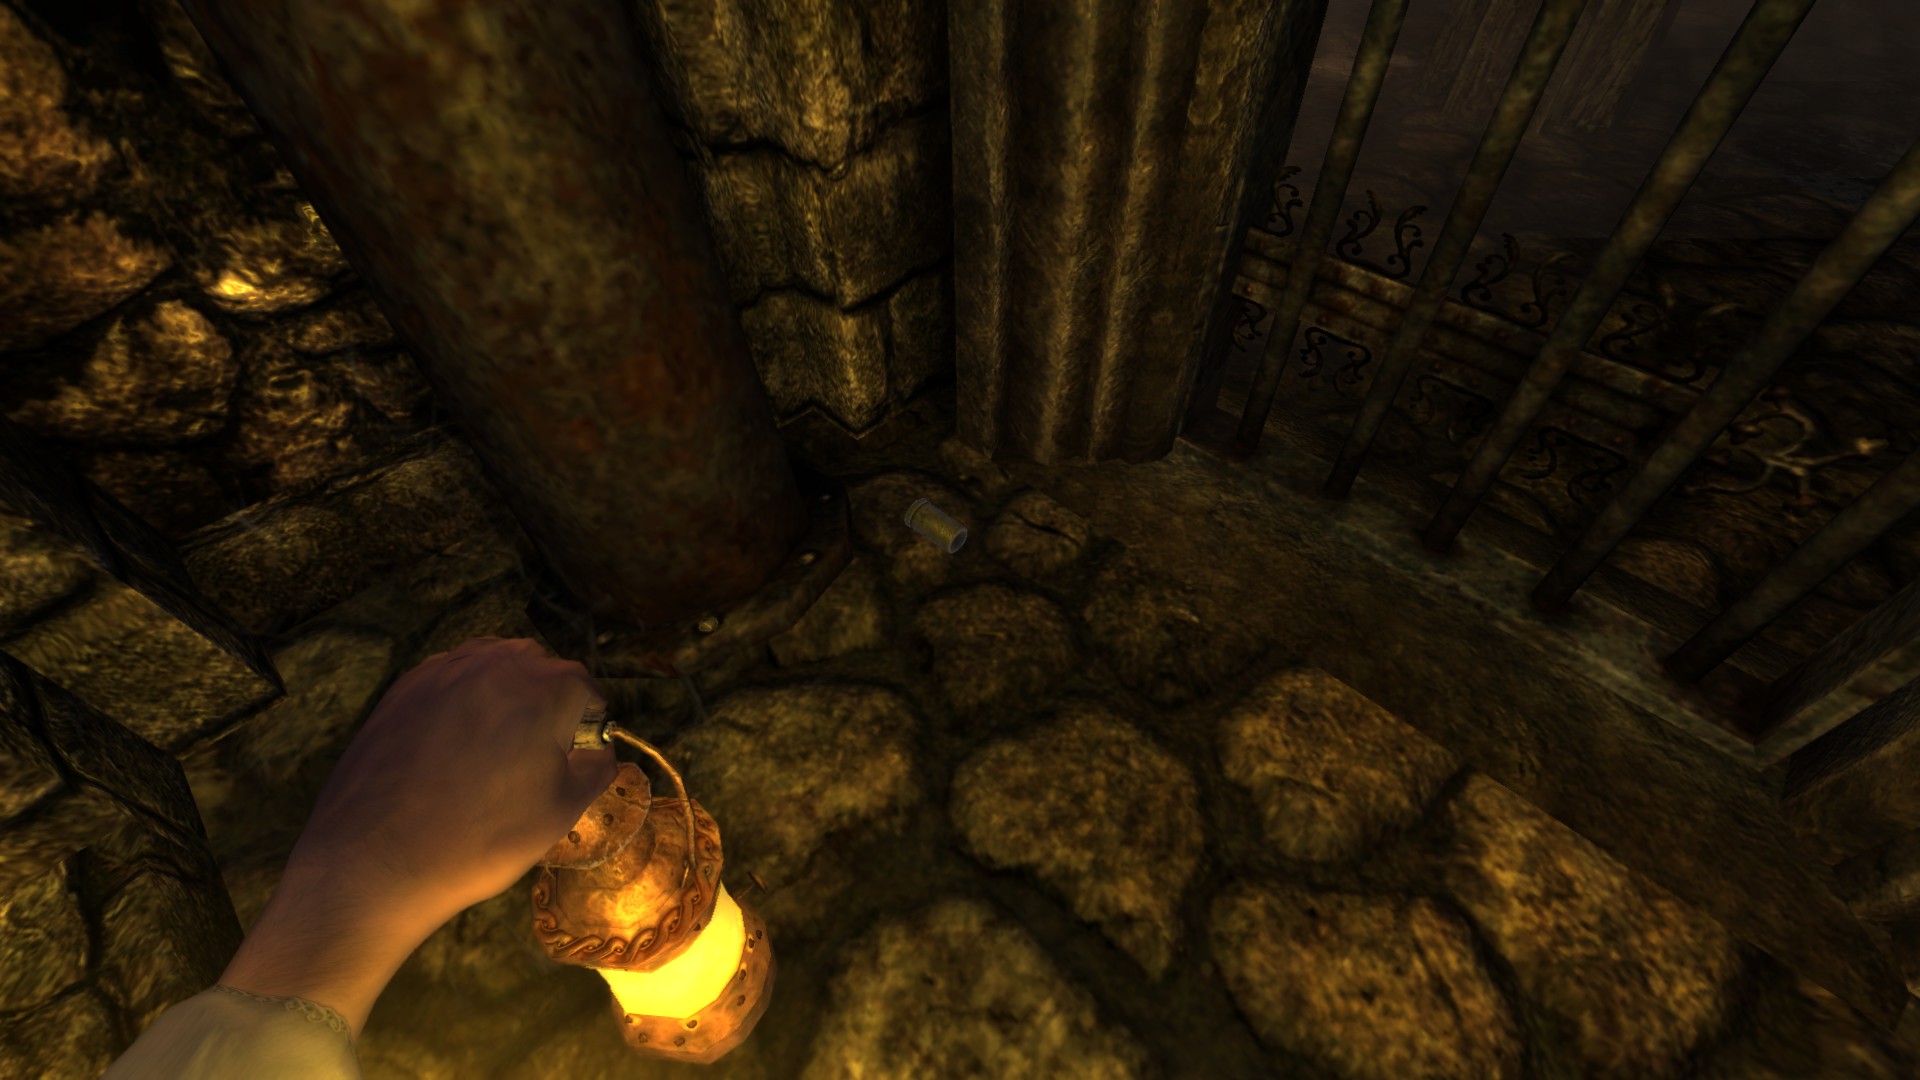
Metallic Cylinder #1:
Tinderbox #34-36:
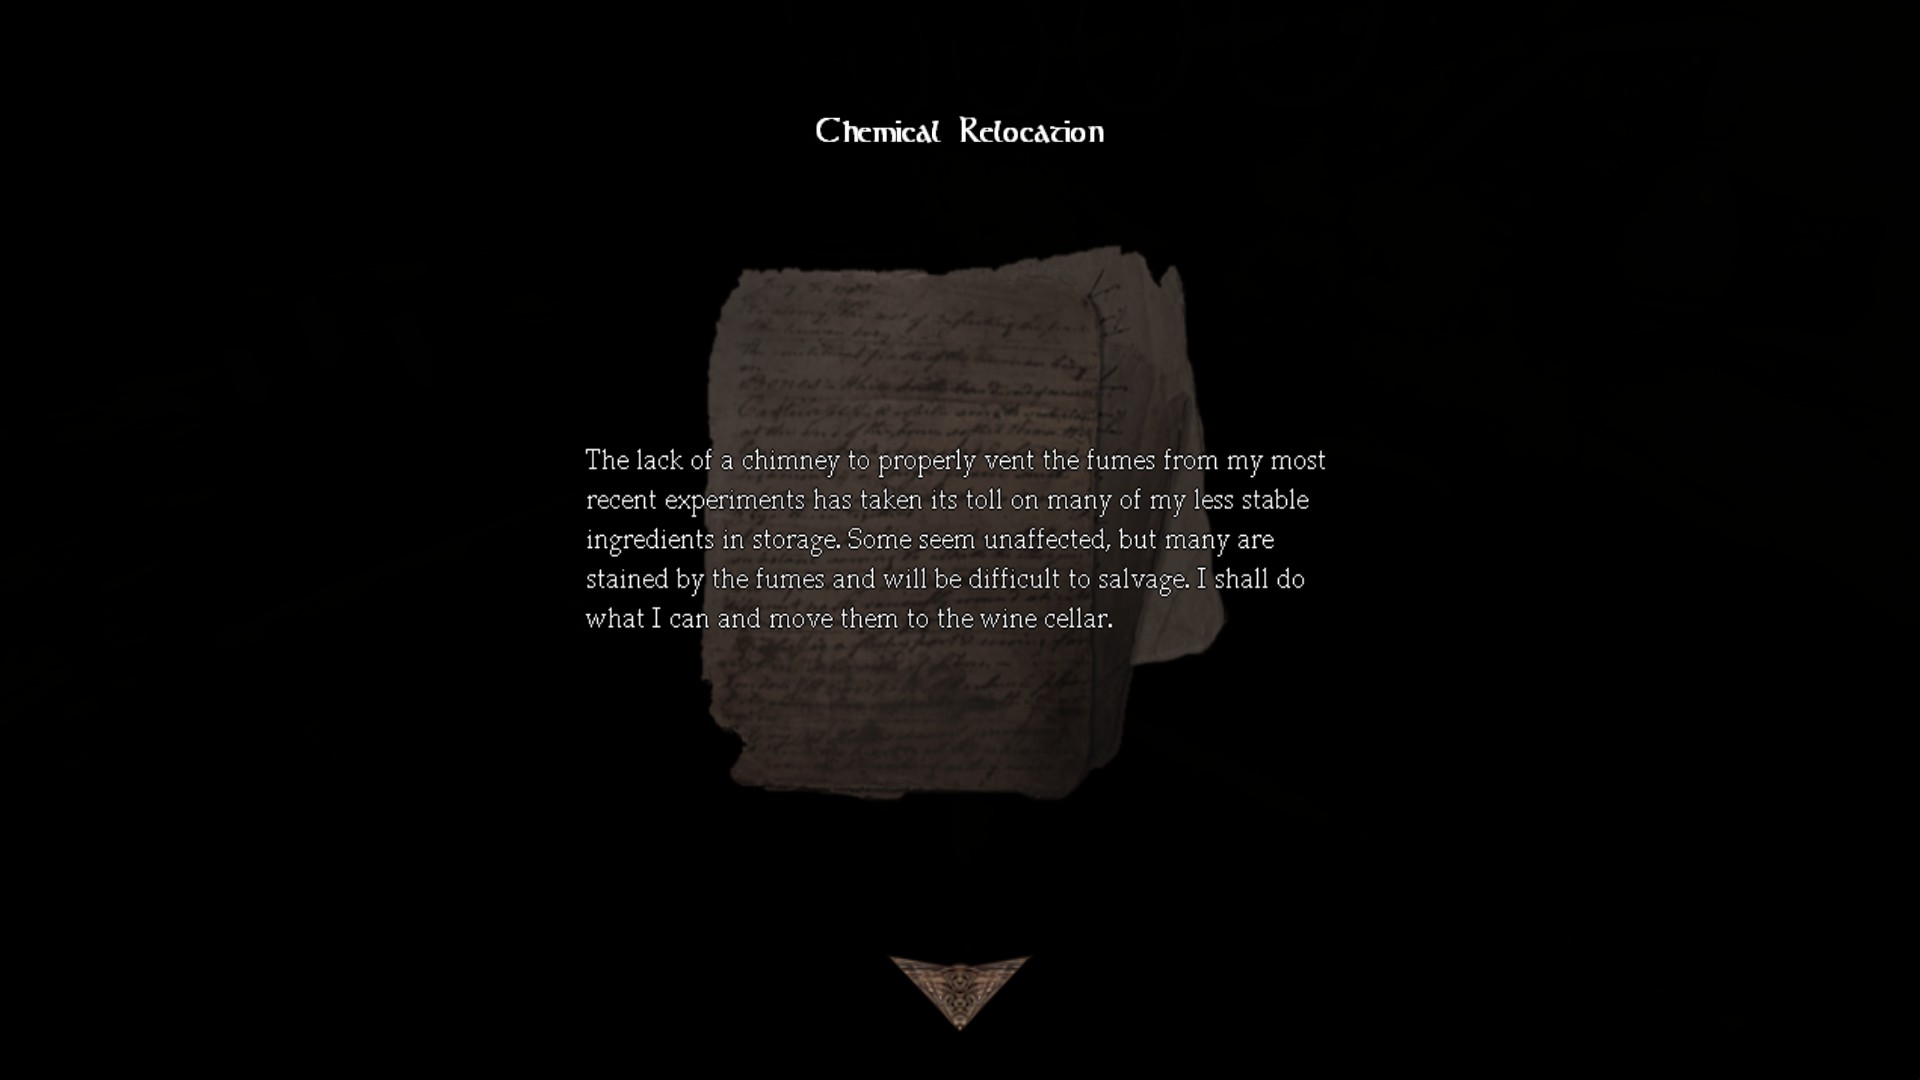
Note #7 - Chemical Relocation:
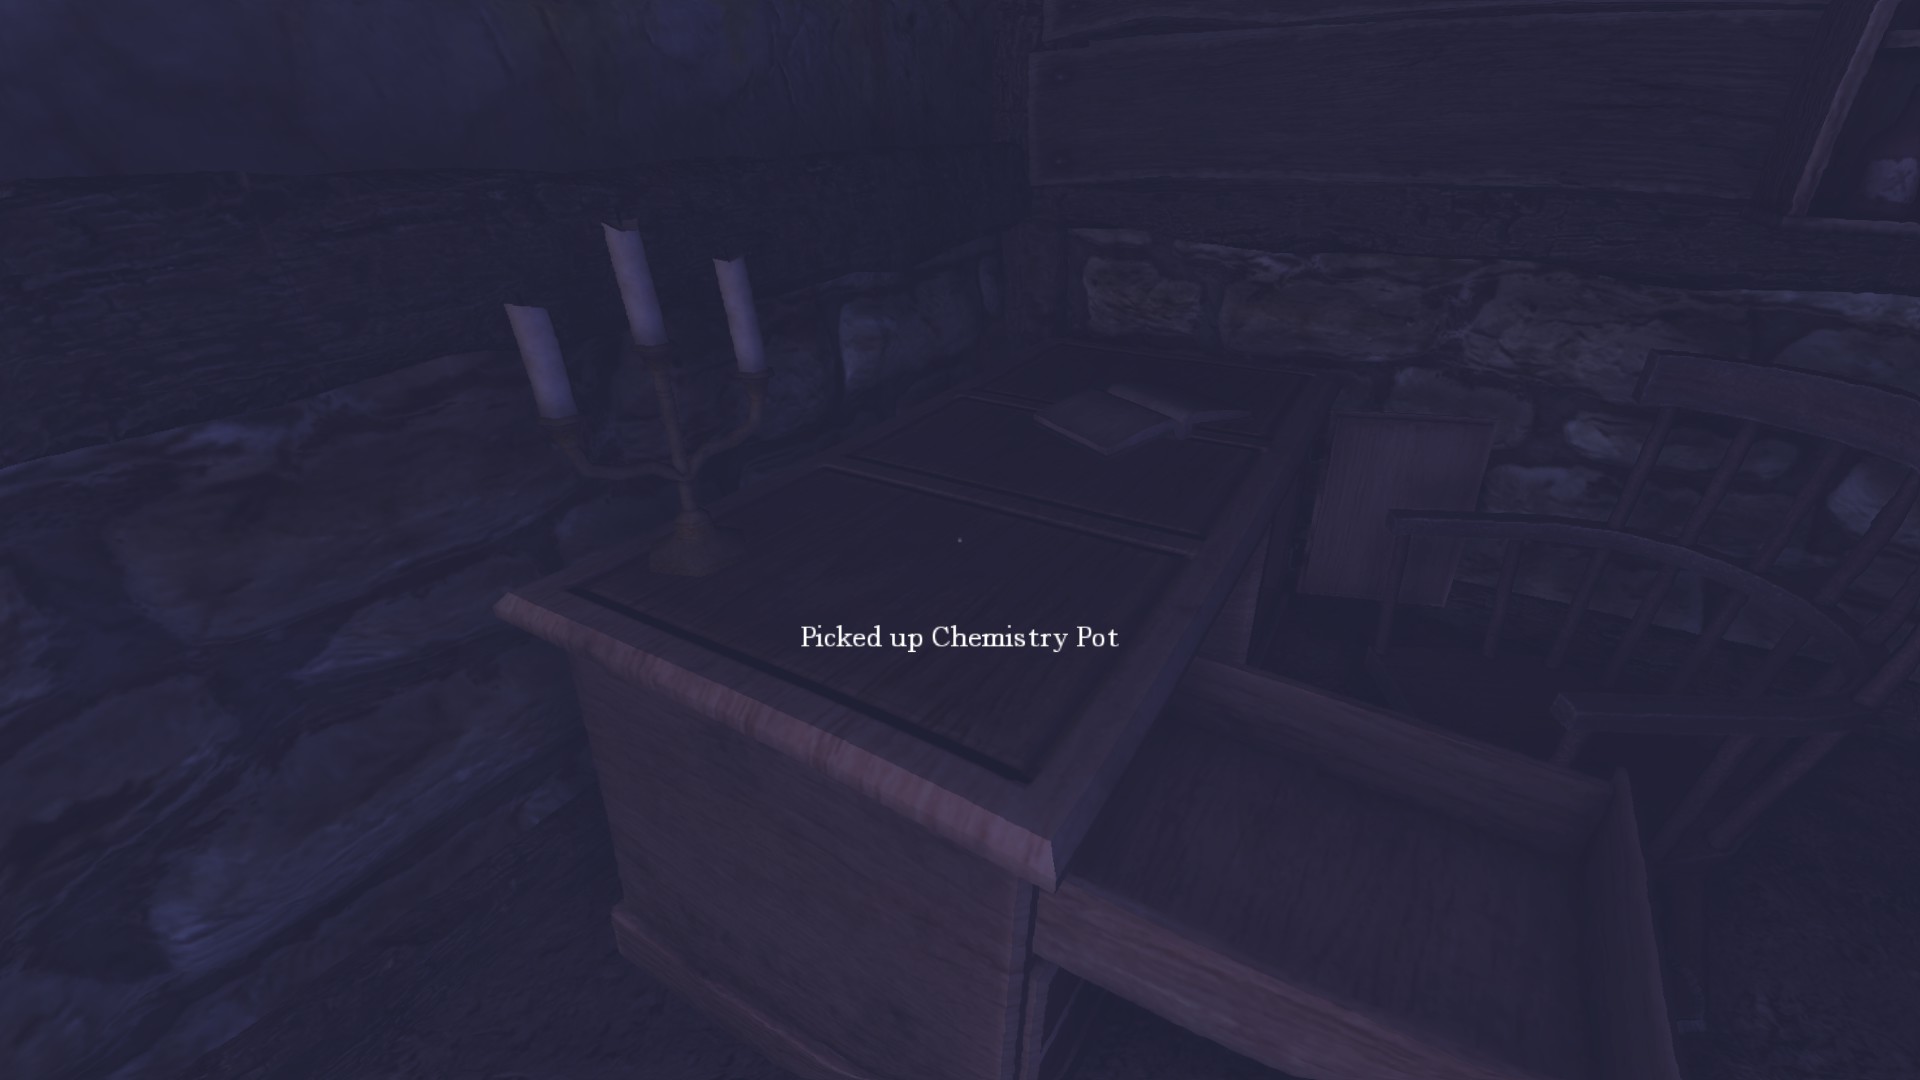
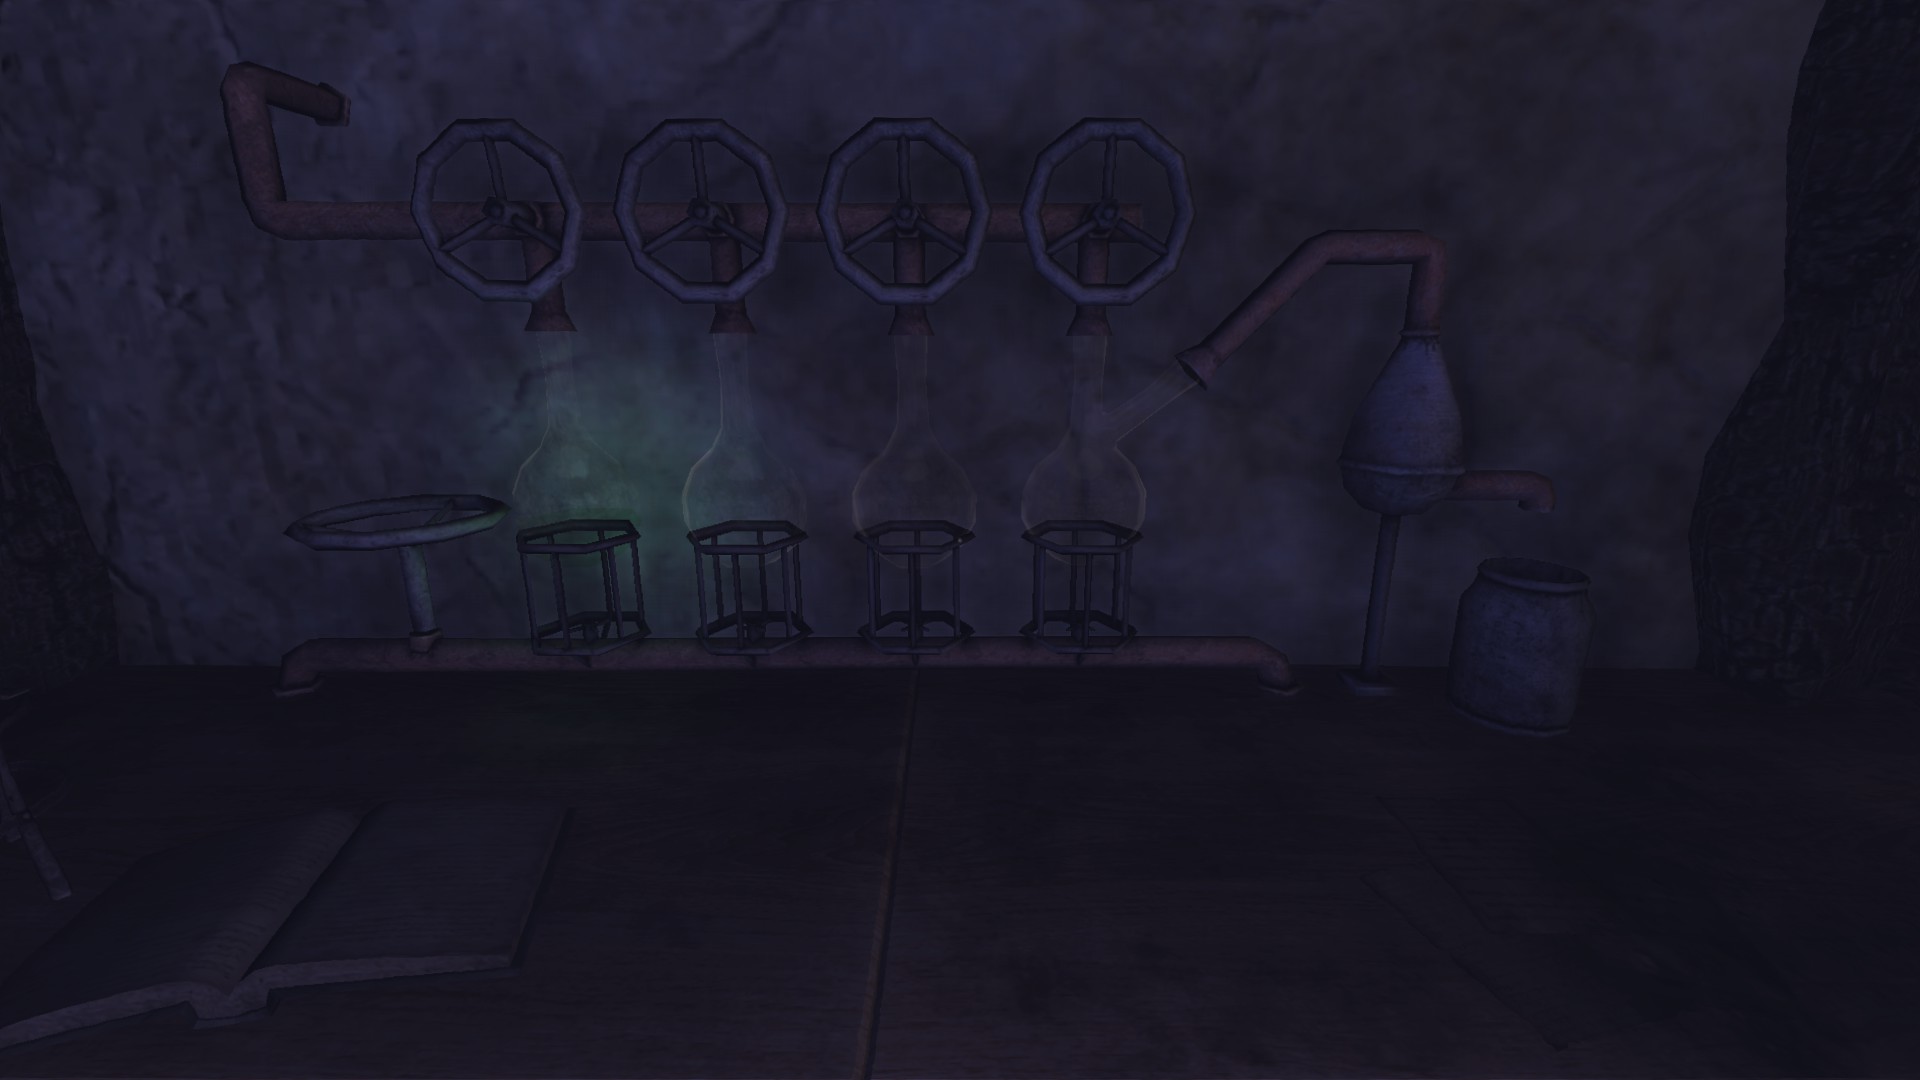
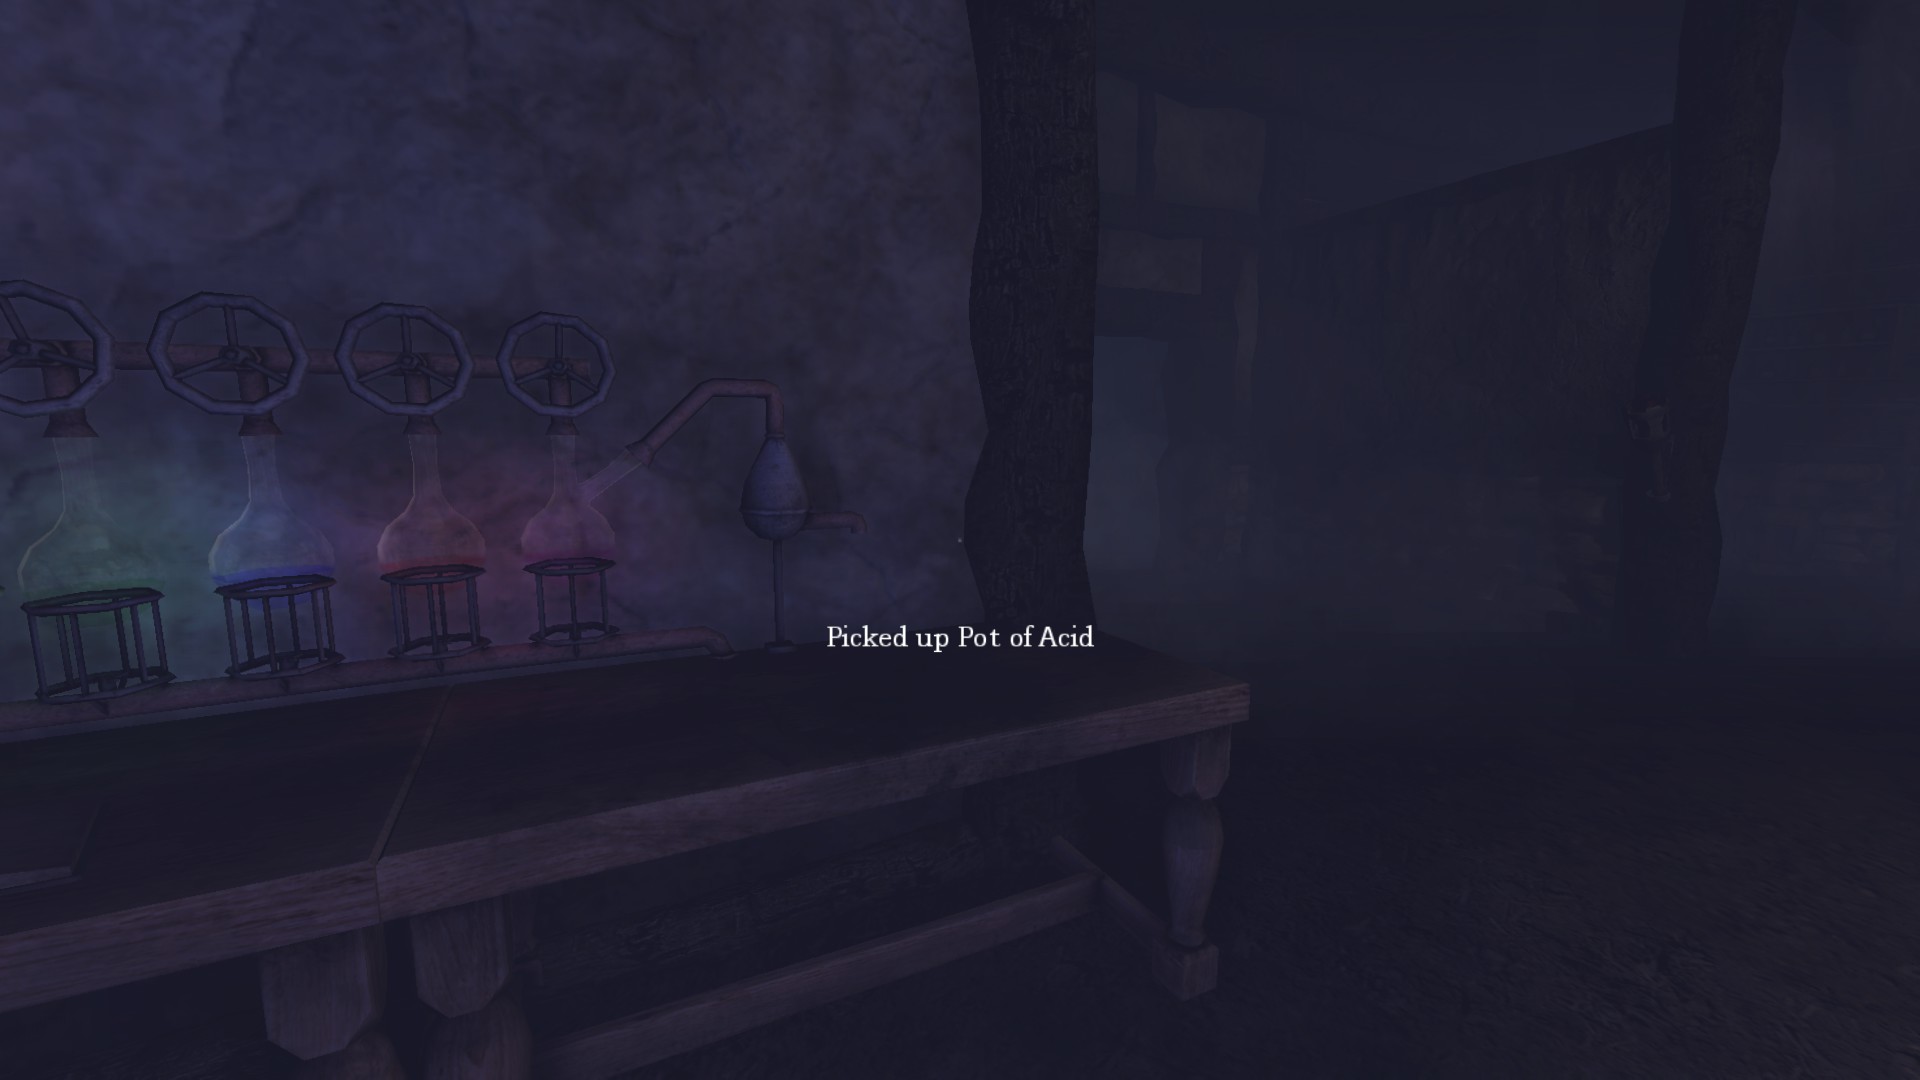
Doing potion-making will regain you sanity.
Now find a board of few boxes to get back up with your newly crafted potion of acid.
Entrance Hall revisit:
Now here I will mention about what you needed:- Wine Cellar key (Found on Archives)
- 4 chemicals (Found on Wine Cellar)
- Potion of Acid (Made in Laboratory)
–––––––––––––––––––––––––––––––––––––––––––––––––––––––Alchemist
Removed the Shadow's residue in the entrance hall in Amnesia: The Dark Descent.
¯¯¯¯¯¯¯¯¯¯¯¯¯¯¯¯¯¯¯¯¯¯¯¯¯¯¯¯¯¯¯¯
Achievement #2: Story Related. By this point you clear the Entrance Hall level. Doing this will regain your sanity. You can proceed to the next level which means you won't be here long (obviously).
Part 4: Through the lower level
1) Refinery, Cellar Archives, Archive Tunnels:
2) Tinderboxes: 45/151
3) Notes: 7/30
4) Diaries: 5/23
5) Metallic Containers: 1/5
6) Oils: 12/37
7) Laudanums: 3/16
8) Achievements: 3/18
-----------------------------------------------------------------------------------------------------
![Refinery (1).png]](https://images.steamusercontent.com/ugc/2062132500096994513/2C6AD121EFD0F09FBD392514FA52EDE2D6596962/)
![Refinery (2).png]](https://images.steamusercontent.com/ugc/2062132500096998123/F819E533677F87F187A7C7B701E99A3FEDA9AF76/)
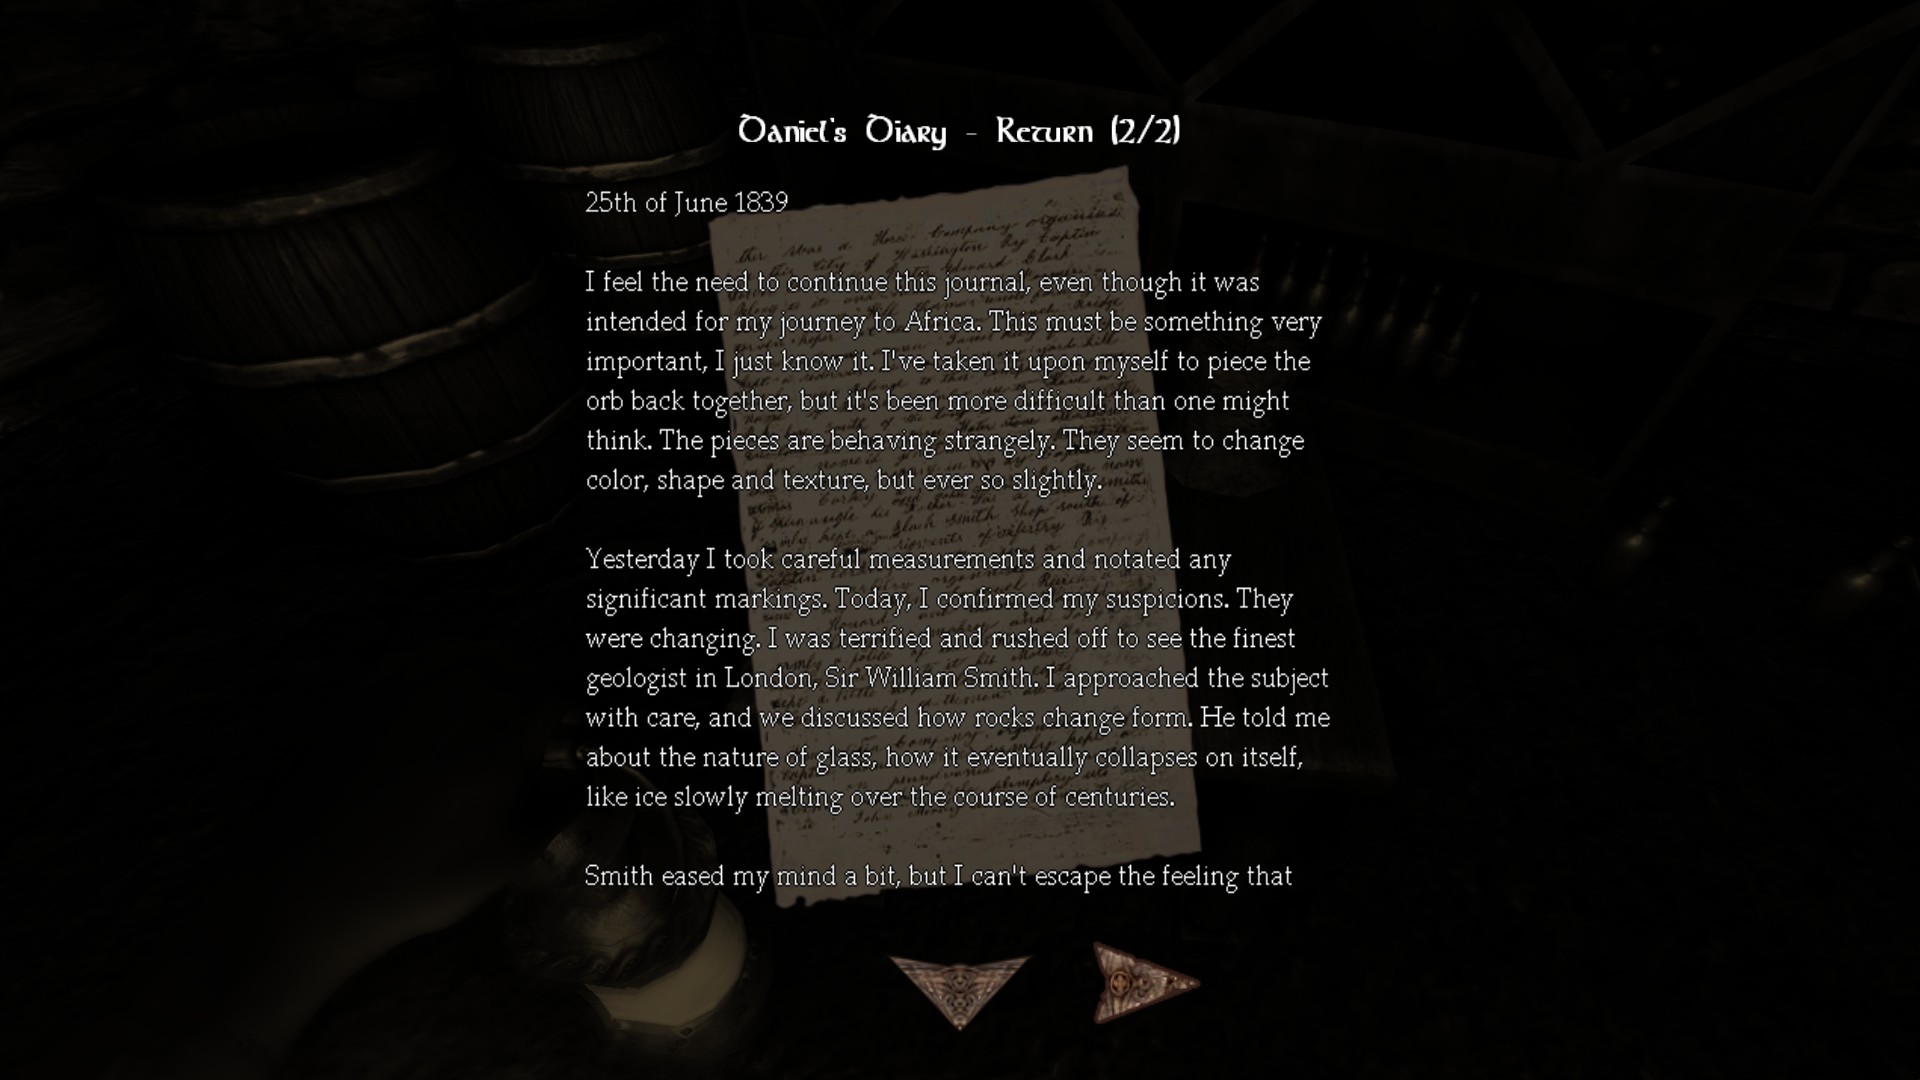
![Daniel on water (1).png]](https://images.steamusercontent.com/ugc/2062132500097004677/1D604D6B8276DEA7BD1882C88C43A6BF1625909B/)
![Cellar Archives (1).png]](https://images.steamusercontent.com/ugc/2062132500097023627/EB1CE0906394C0840B079158EA6A8A294B381CF1/)
![Cellar Archives (2).png]](https://images.steamusercontent.com/ugc/2062132500097023638/77CD6FE82D35F3C95014A3F4973B413F92909438/)
![Archive Tunnels (1).png]](https://images.steamusercontent.com/ugc/2062132500097081628/B61C82079F7AEDB6EE507859286219D400204135/)
![Archive Tunnels (2).png]](https://images.steamusercontent.com/ugc/2062132500097081631/ED281FF02B5E390A9B493A81A096CA68540274A7/)
![Escape Artist.jpg]](https://images.steamusercontent.com/ugc/2065508931961899831/7CBD6FFF96159A1A58724B8B5C5E739B2F08691B/) –––––––––––––––––––––––––––––––––––––––––––––––––––––––
–––––––––––––––––––––––––––––––––––––––––––––––––––––––
Escape Artist
Escaped the creature in the water in Amnesia: The Dark Descent.
¯¯¯¯¯¯¯¯¯¯¯¯¯¯¯¯¯¯¯¯¯¯¯¯¯¯¯¯¯¯¯¯
Achievement #3: Story Related. It's the chase from the same monster, run to reach either entrance to the Back Halls unlocking the achievement.
2) Tinderboxes: 45/151
3) Notes: 7/30
4) Diaries: 5/23
5) Metallic Containers: 1/5
6) Oils: 12/37
7) Laudanums: 3/16
8) Achievements: 3/18
-----------------------------------------------------------------------------------------------------
Refinery:
A somewhat safe but passable area, more tinderboxes too.Location/Walkthrough text
Image
Tinderbox #37-38: Turn left from the grunt passing by, then get a barrel, grab the oil #11 and the tinderboxes.
![Refinery (2) (Edit_1).png]](https://images.steamusercontent.com/ugc/2055380905912282401/DDDED7AF585DC41E5EB65EE3A939DCC24B50730A/)
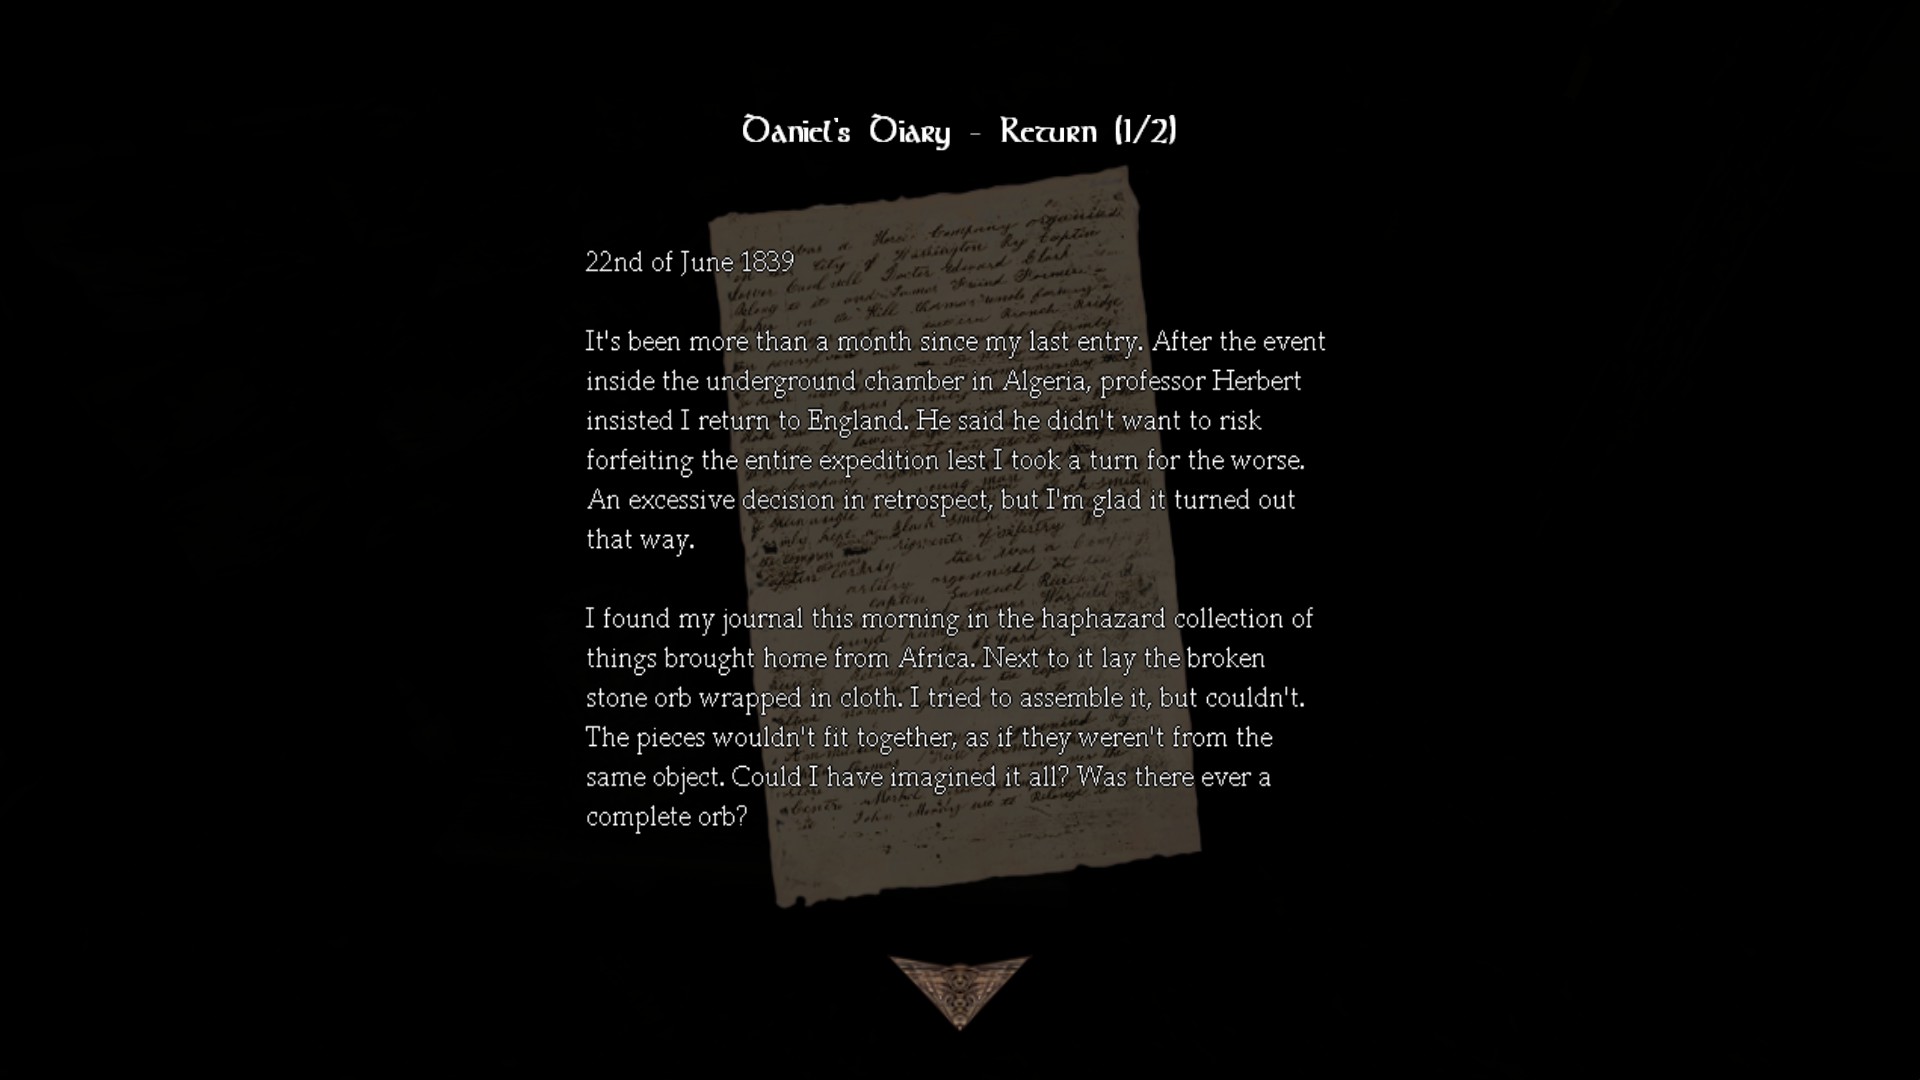
Diary #4 - Daniel's Diary - Return (1/2): Enter the next room via door, grab the Laudanum #2 and the note on your right.
Tinderbox #39: Next room to the right side.
![Refinery (2) (Edit_2).png]](https://images.steamusercontent.com/ugc/2055380905912307715/D113BFAB4CD476A7BAA2F15BE424D2511B3BB307/)
Tinderbox #40: Next room, on your right is a shelf.
Tinderbox #41 / Diary #5 - Daniel's Diary - Return (2/2):
Tinderbox #42: When you hear noises (probably the Shadow), go towards the tinderbox.
Tinderbox #43-45: When you fall down again at the next room from the hole, go to the right shelf. Next, go to the chest at the end wall.
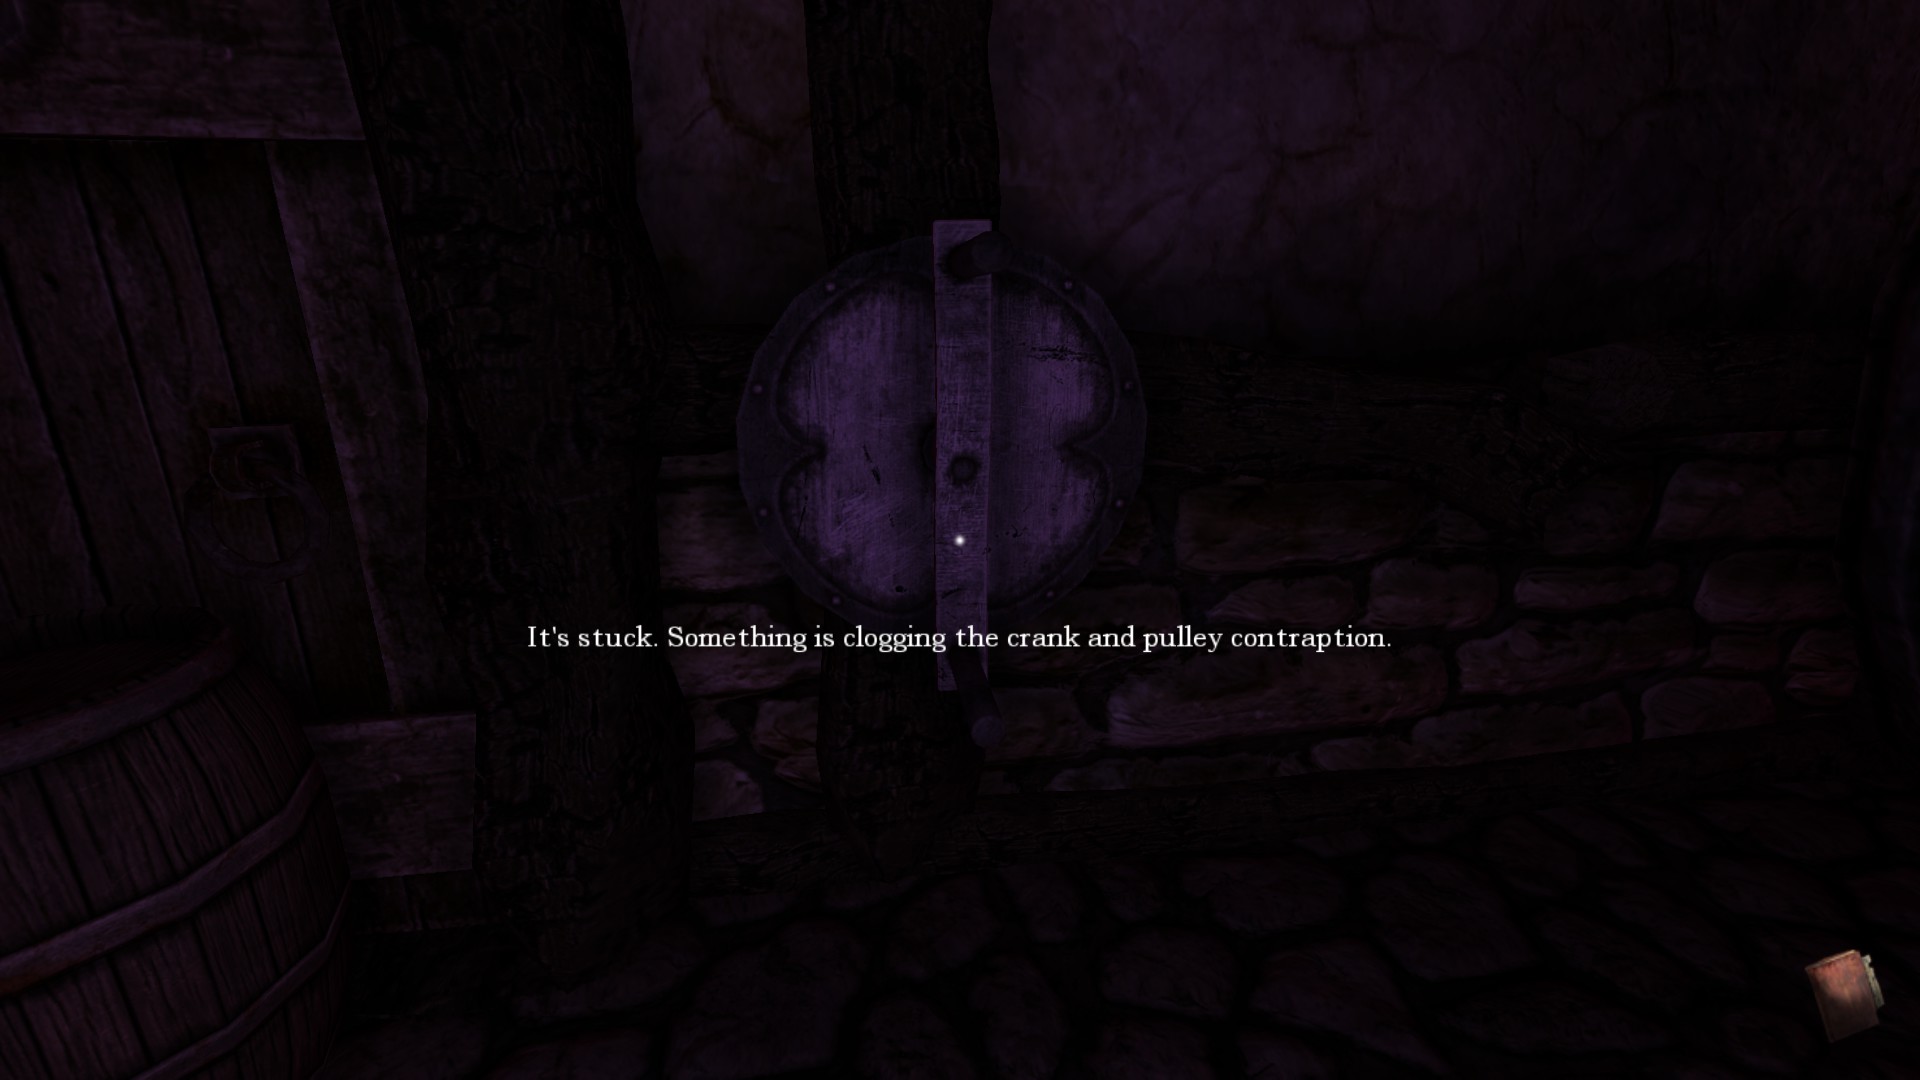
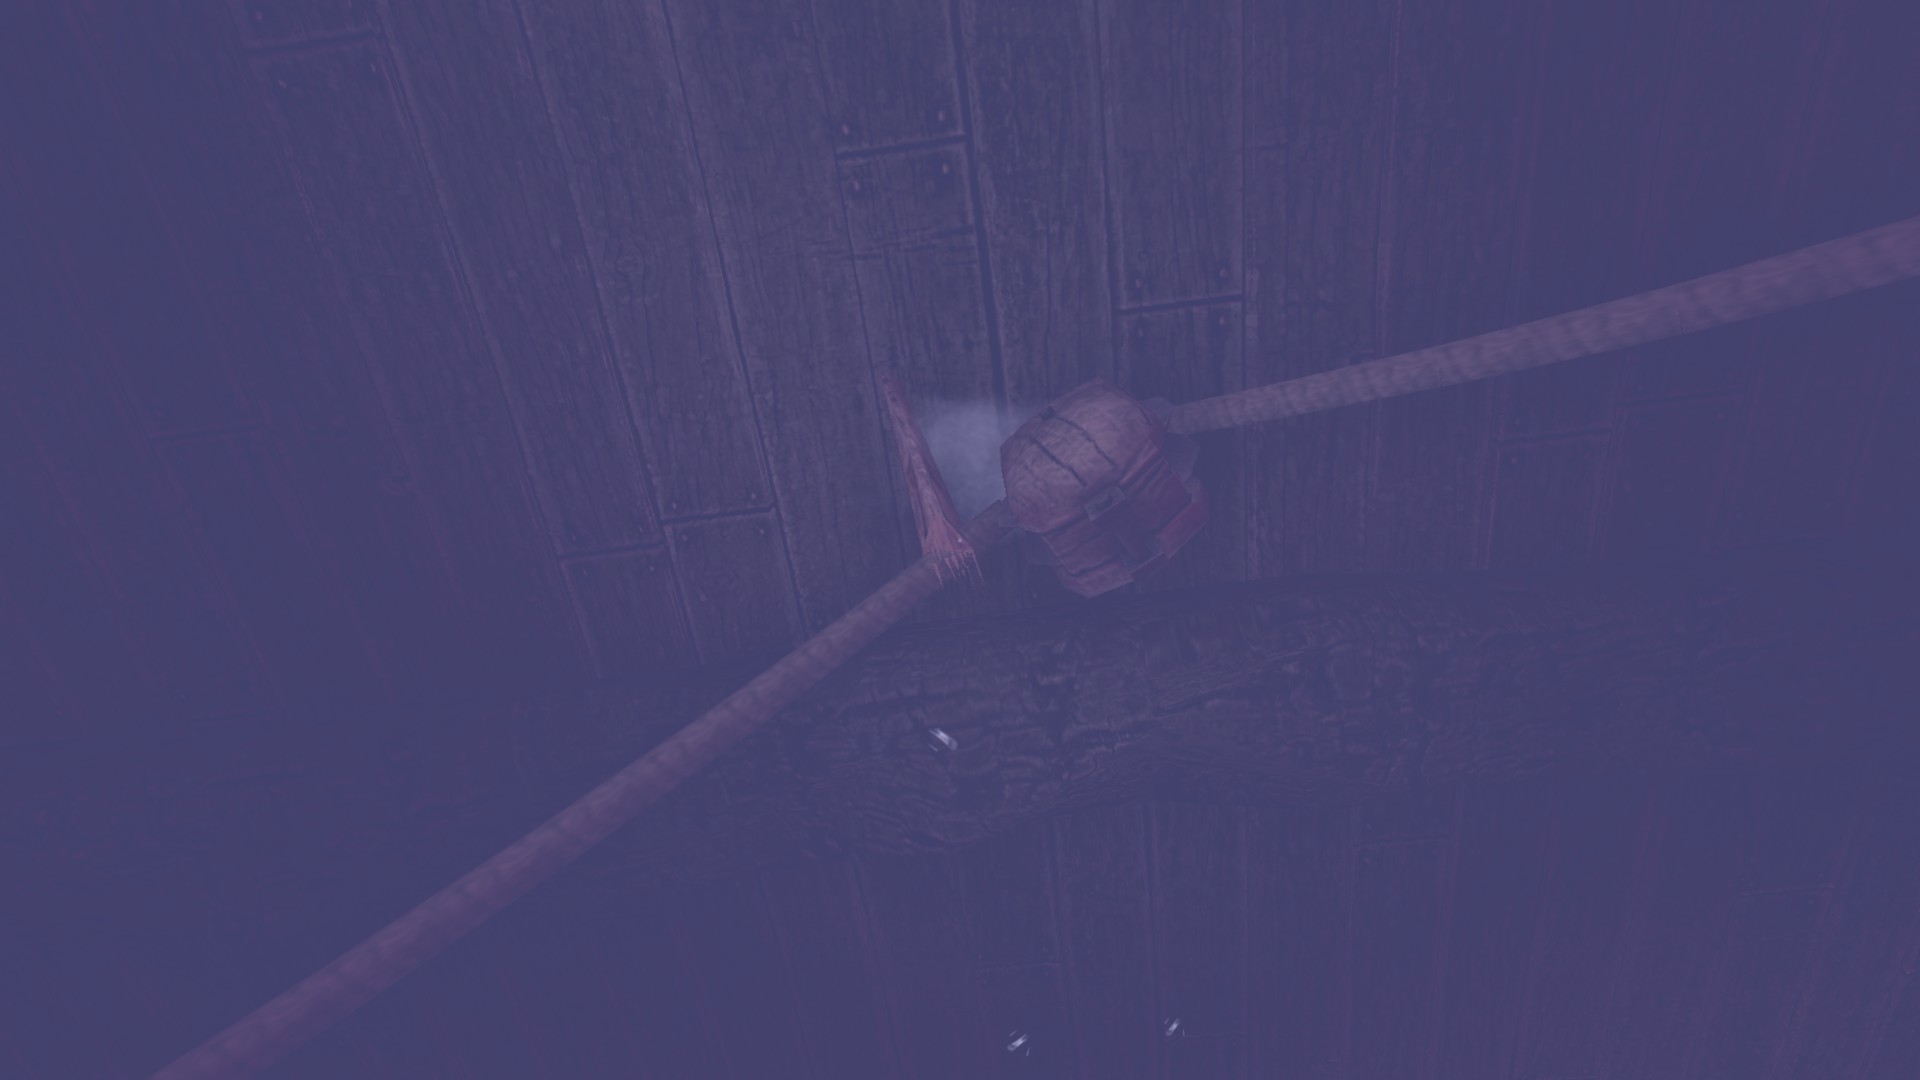
To solve this crank puzzle, remove the wooden stick on the pulley, which regains you some sanity.
Now to move and avoid the Shadow's organic matter.
Cellar Archives:
No notes and tinderboxes. a linear area but one laudanum is waiting.Location/Walkthrough text
Image
Later you will find your Laudanum #3 and Oil #12, do not worry about dying on normal since you have no penalty but if it's to collect many items I put them here via video.
What I did is play the waiting game by the crate while the Kaernk is swimming around. I took one two hit but I made it, get the hollow needle to regain sanity.
Exit out this level.
Archive Tunnels:
–––––––––––––––––––––––––––––––––––––––––––––––––––––––Escape Artist
Escaped the creature in the water in Amnesia: The Dark Descent.
¯¯¯¯¯¯¯¯¯¯¯¯¯¯¯¯¯¯¯¯¯¯¯¯¯¯¯¯¯¯¯¯
Achievement #3: Story Related. It's the chase from the same monster, run to reach either entrance to the Back Halls unlocking the achievement.
Part 5: Act II - Machine room
1) Back Hall, Guest Room, Study
2) Tinderboxes: 55/151
3) Notes: 11/30
4) Diaries: 8/23
5) Metallic Containers: 2/55
6) Oils: 15/37
7) Laudanums: 4/16
8) Achievements: 3/18
-----------------------------------------------------------------------------------------------------
![Back Hall (1).png]](https://images.steamusercontent.com/ugc/2062132500097155184/F7F50B9DFC1CA331906FB8A9D9A996D56C8F5B49/)
![Back Hall (2).png]](https://images.steamusercontent.com/ugc/2062132500097155189/74796CEDCC7F1F6FDD3D3DDE40FA97276B74D661/)
![Guest Room (1).png]](https://images.steamusercontent.com/ugc/2062132500098008591/A7F46D92D27031ACA1977B4B292C60E6DF01C921/)
![Guest Room (2).png]](https://images.steamusercontent.com/ugc/2062132500098008596/168CCB94D67AC85B29C1EB6B4B8D8E76E500E0C5/)
![Study (1).png]](https://images.steamusercontent.com/ugc/2062132500098130852/DBCFFA1A27BCCC143F15AA8BCCEF2B47D008E309/)
![Study (2).png]](https://images.steamusercontent.com/ugc/2062132500098130857/8EBEDB2E7C2C775816CA8EC230C47D695CBD13D5/)
2) Tinderboxes: 55/151
3) Notes: 11/30
4) Diaries: 8/23
5) Metallic Containers: 2/55
6) Oils: 15/37
7) Laudanums: 4/16
8) Achievements: 3/18
-----------------------------------------------------------------------------------------------------
Back Hall:
Location/Walkthrough text
Image
Tinderbox #46-47: Make a U-turn and also grab oil #13.
![Back Hall (2) (Edit_1).png]](https://images.steamusercontent.com/ugc/2055380905913001132/2952B4651D0825F278806D1EF286EF71FAA964AB/)
Enter Guest Room next.
Guest Room:
Location/Walkthrough text
Image
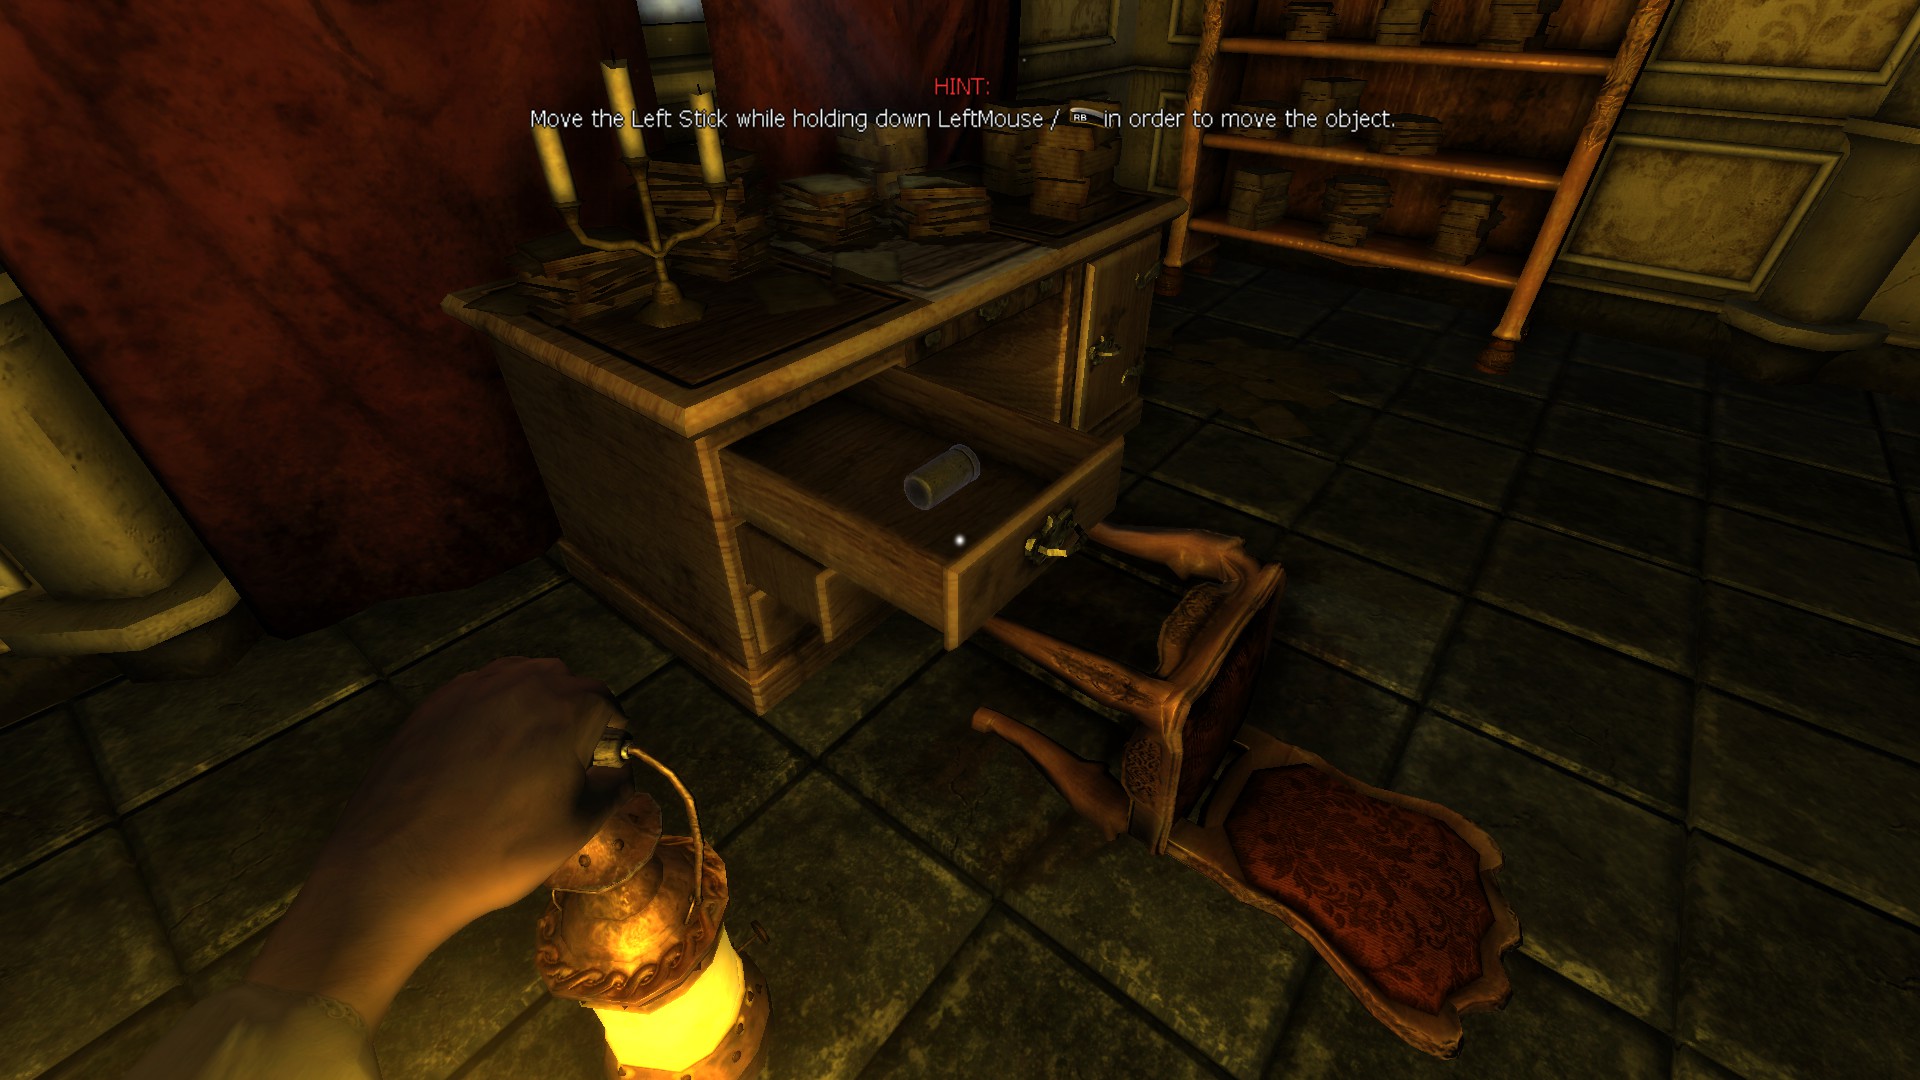
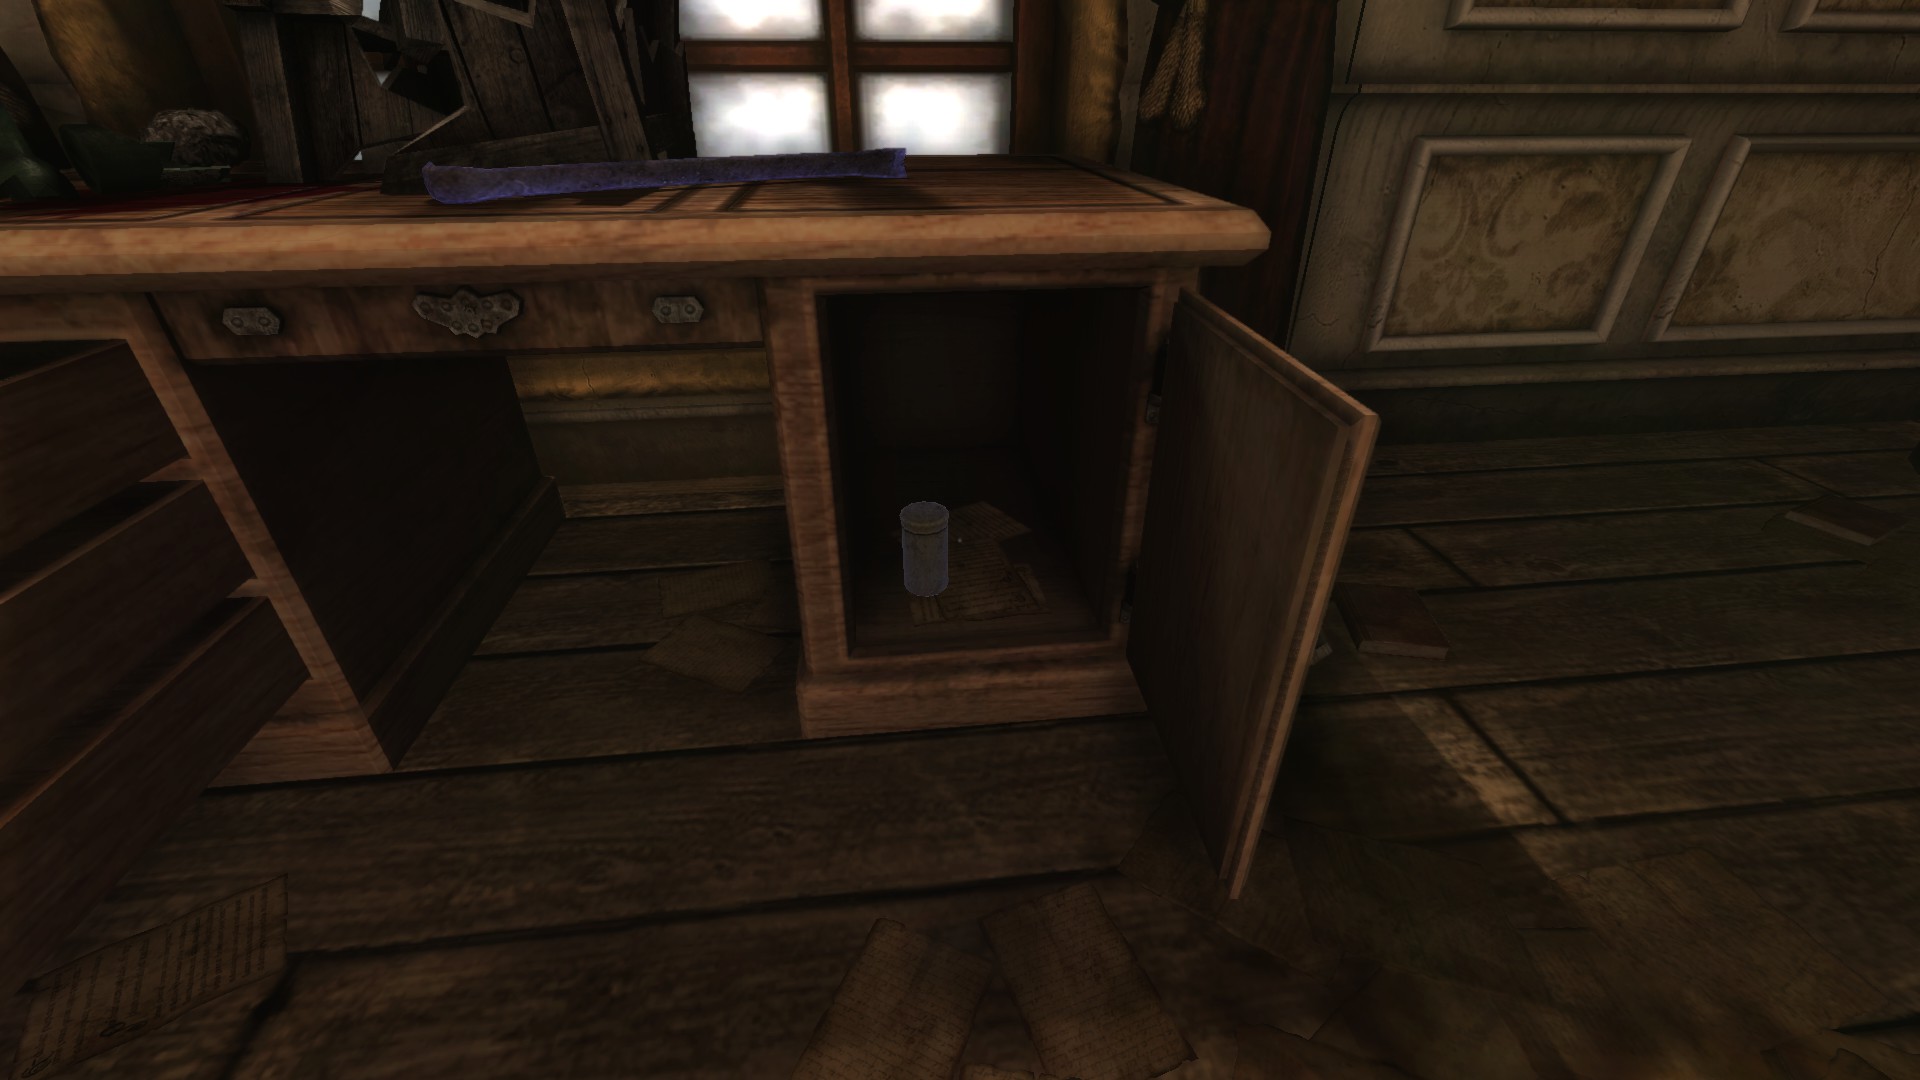
While starting, grab oil #14 near the locked door. In the desk from the diary is a Laudanum #4.
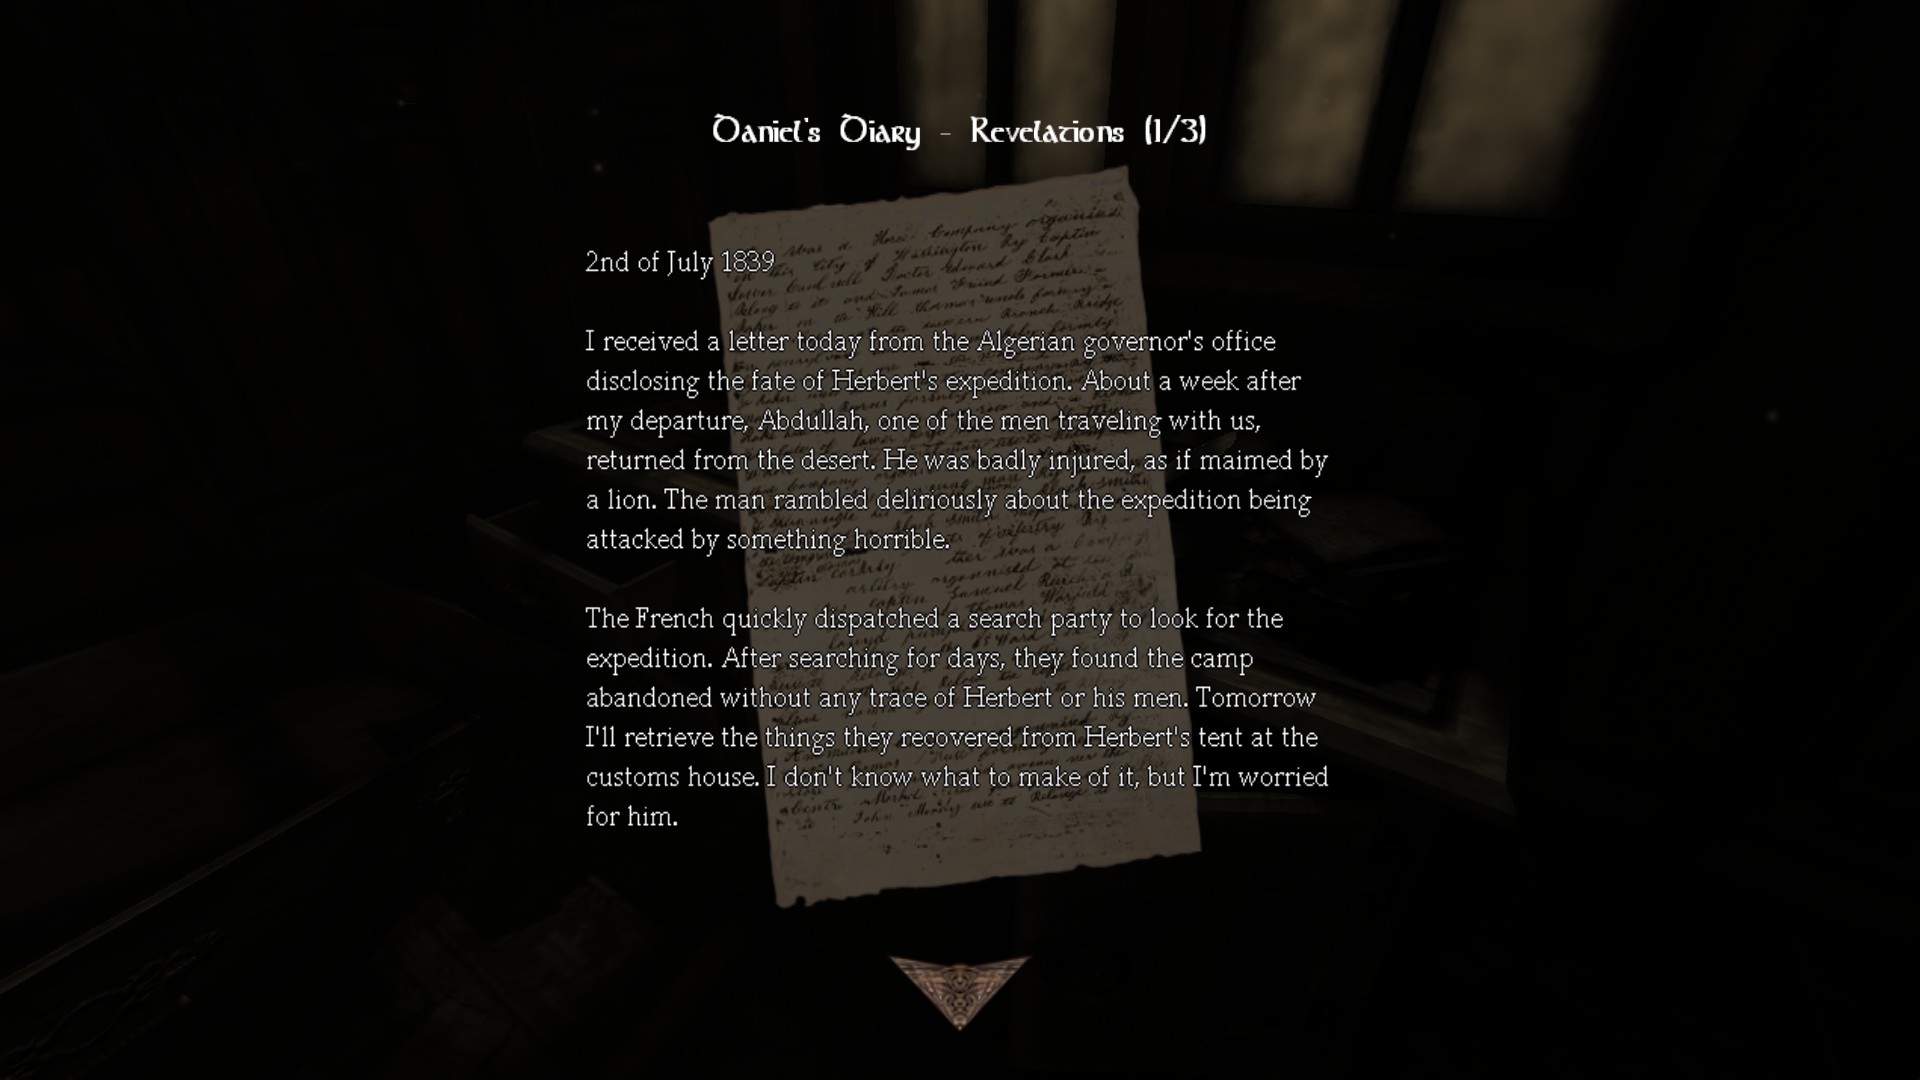
Diary #6 - Daniel's Diary - Revelations (1/3):
![Guest Room (2) (Edit_1).png]](https://images.steamusercontent.com/ugc/2055384166878457751/70571A1D26B47B456E5C19A7D695521576EA7DAD/)
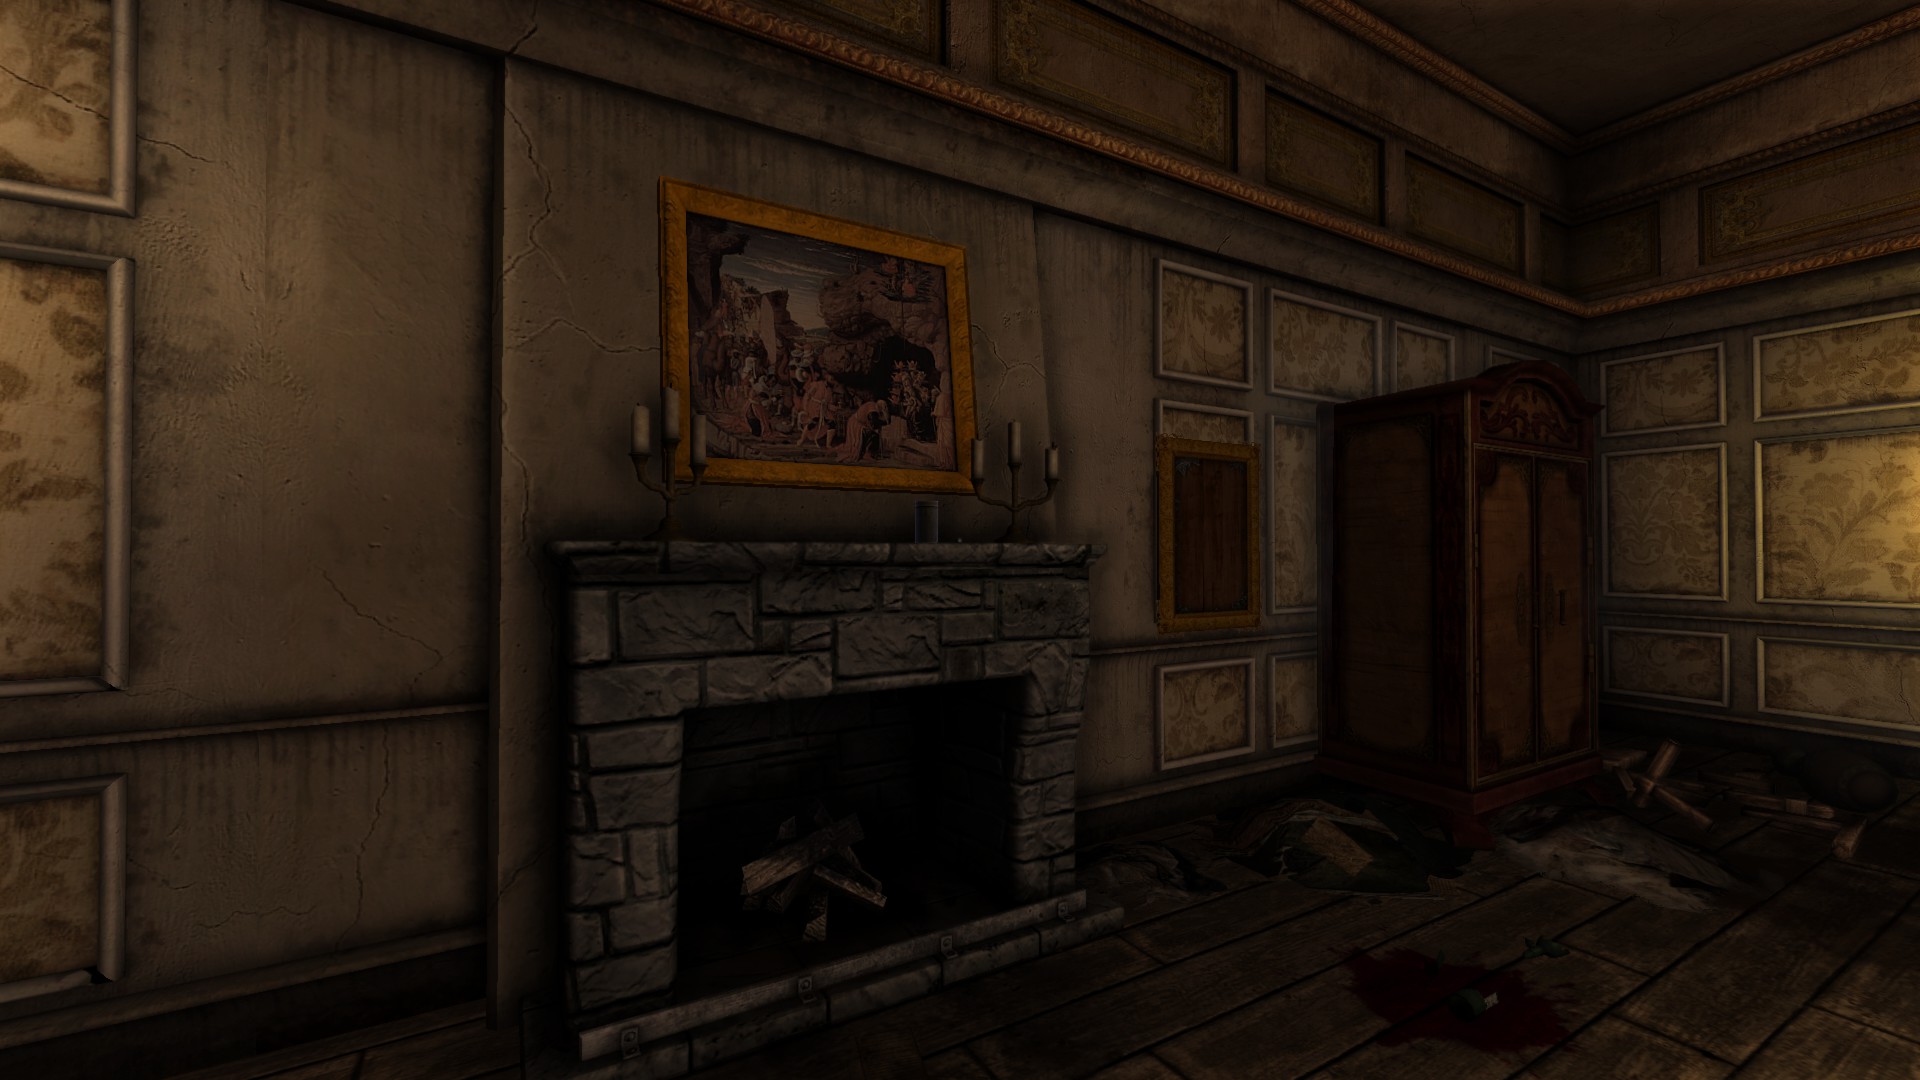
Tinderbox #48: On the fireplace at left.
![Guest Room (2) (Edit_2).png]](https://images.steamusercontent.com/ugc/2055384166878468622/E350DFD3E22D69AAC985DB8C5880084220B76771/)
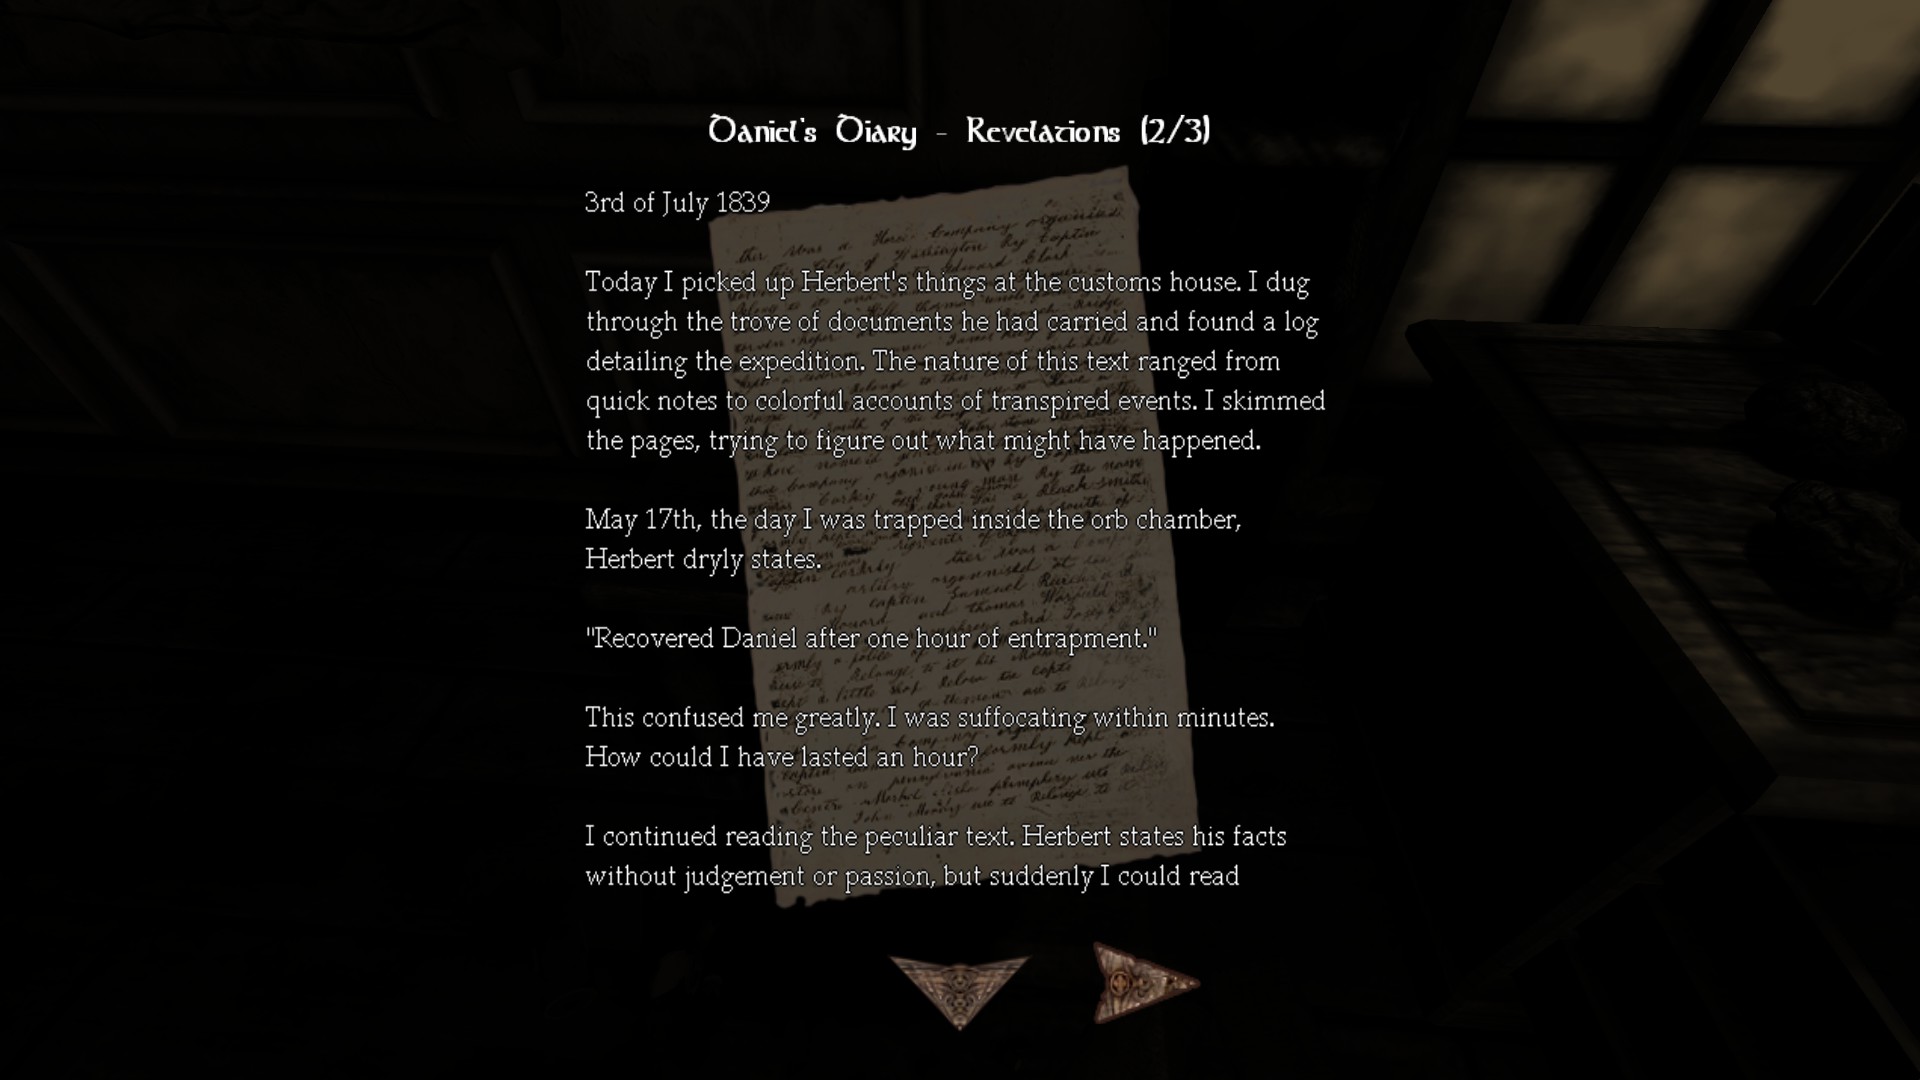
Tinderbox #49 / Diary #7 - Daniel's Diary - Revelations (2/3):
Pick up the crowbar, then unlocking door will regain you some sanity
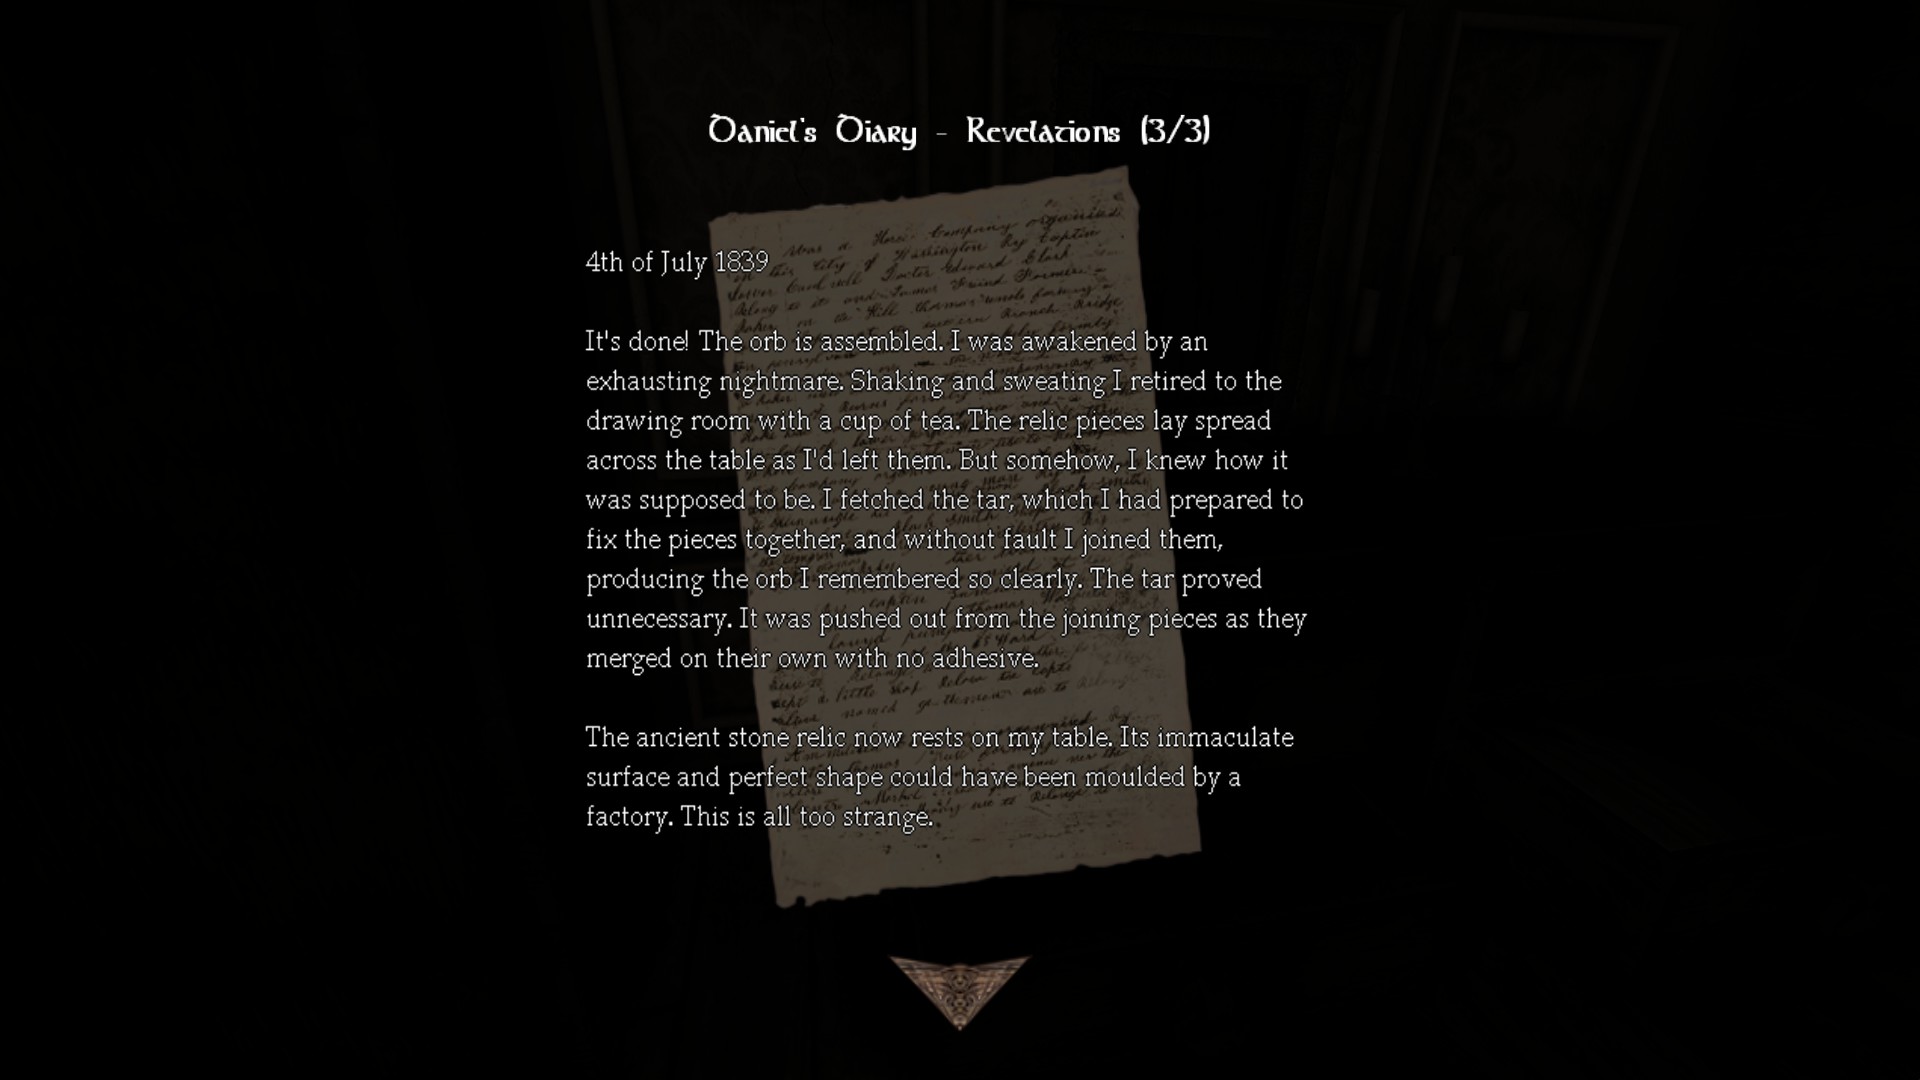
Diary #8 - Daniel's Diary - Revelations (3/3): This will trigger the monster which will force you hiding.
![Guest Room (2) (Edit_3).png]](https://images.steamusercontent.com/ugc/2055384166878477347/34B4C0EBDDCC9DEAFF9A56101CFA6A14168D4854/)
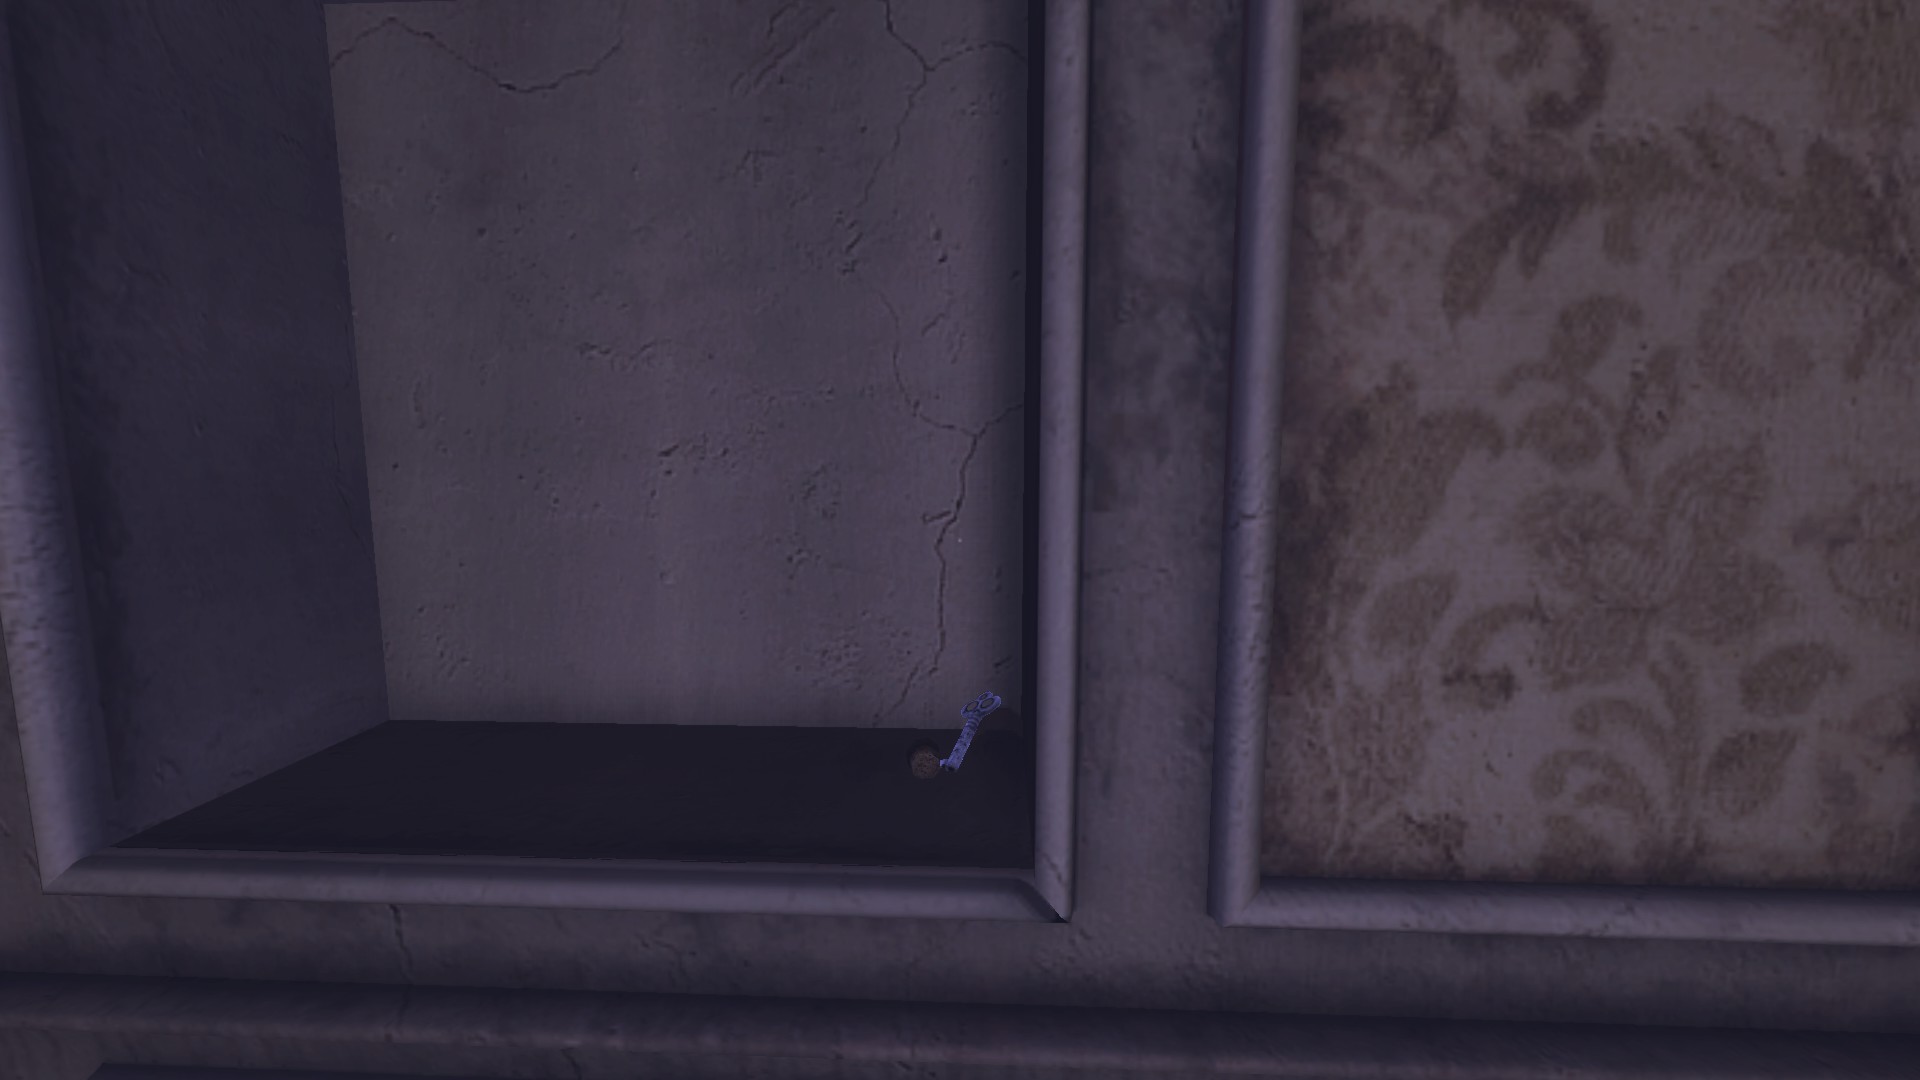
Break the Machine door key bottle and regain sanity.
Go back.
Study:
Location/Walkthrough text
Image
Tinderbox #50-51:
![Study (2) (Edt_1).png]](https://images.steamusercontent.com/ugc/2206261006287065922/FDA1AB2C7AFDC93A21196B59EF508847BE904B98/)
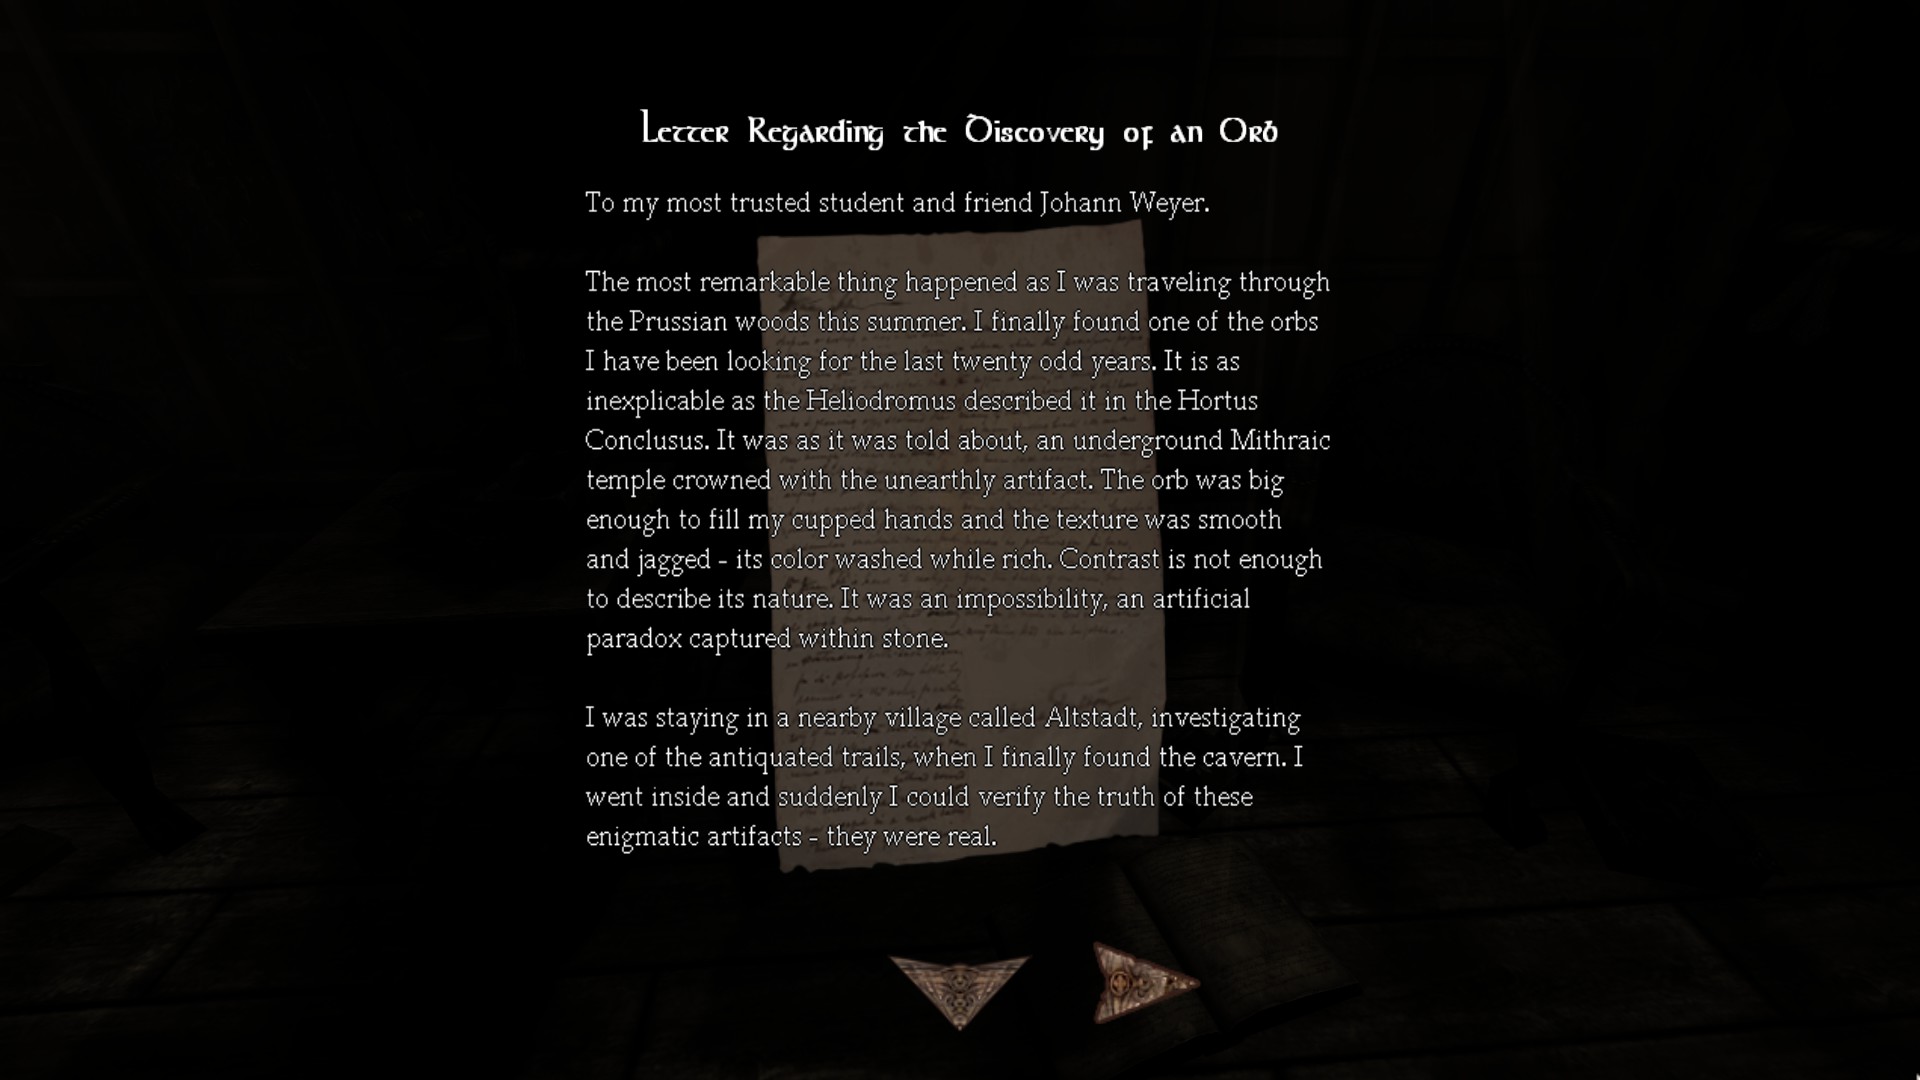
Note #8 - Letter Regarding the Discovery of an Orb:
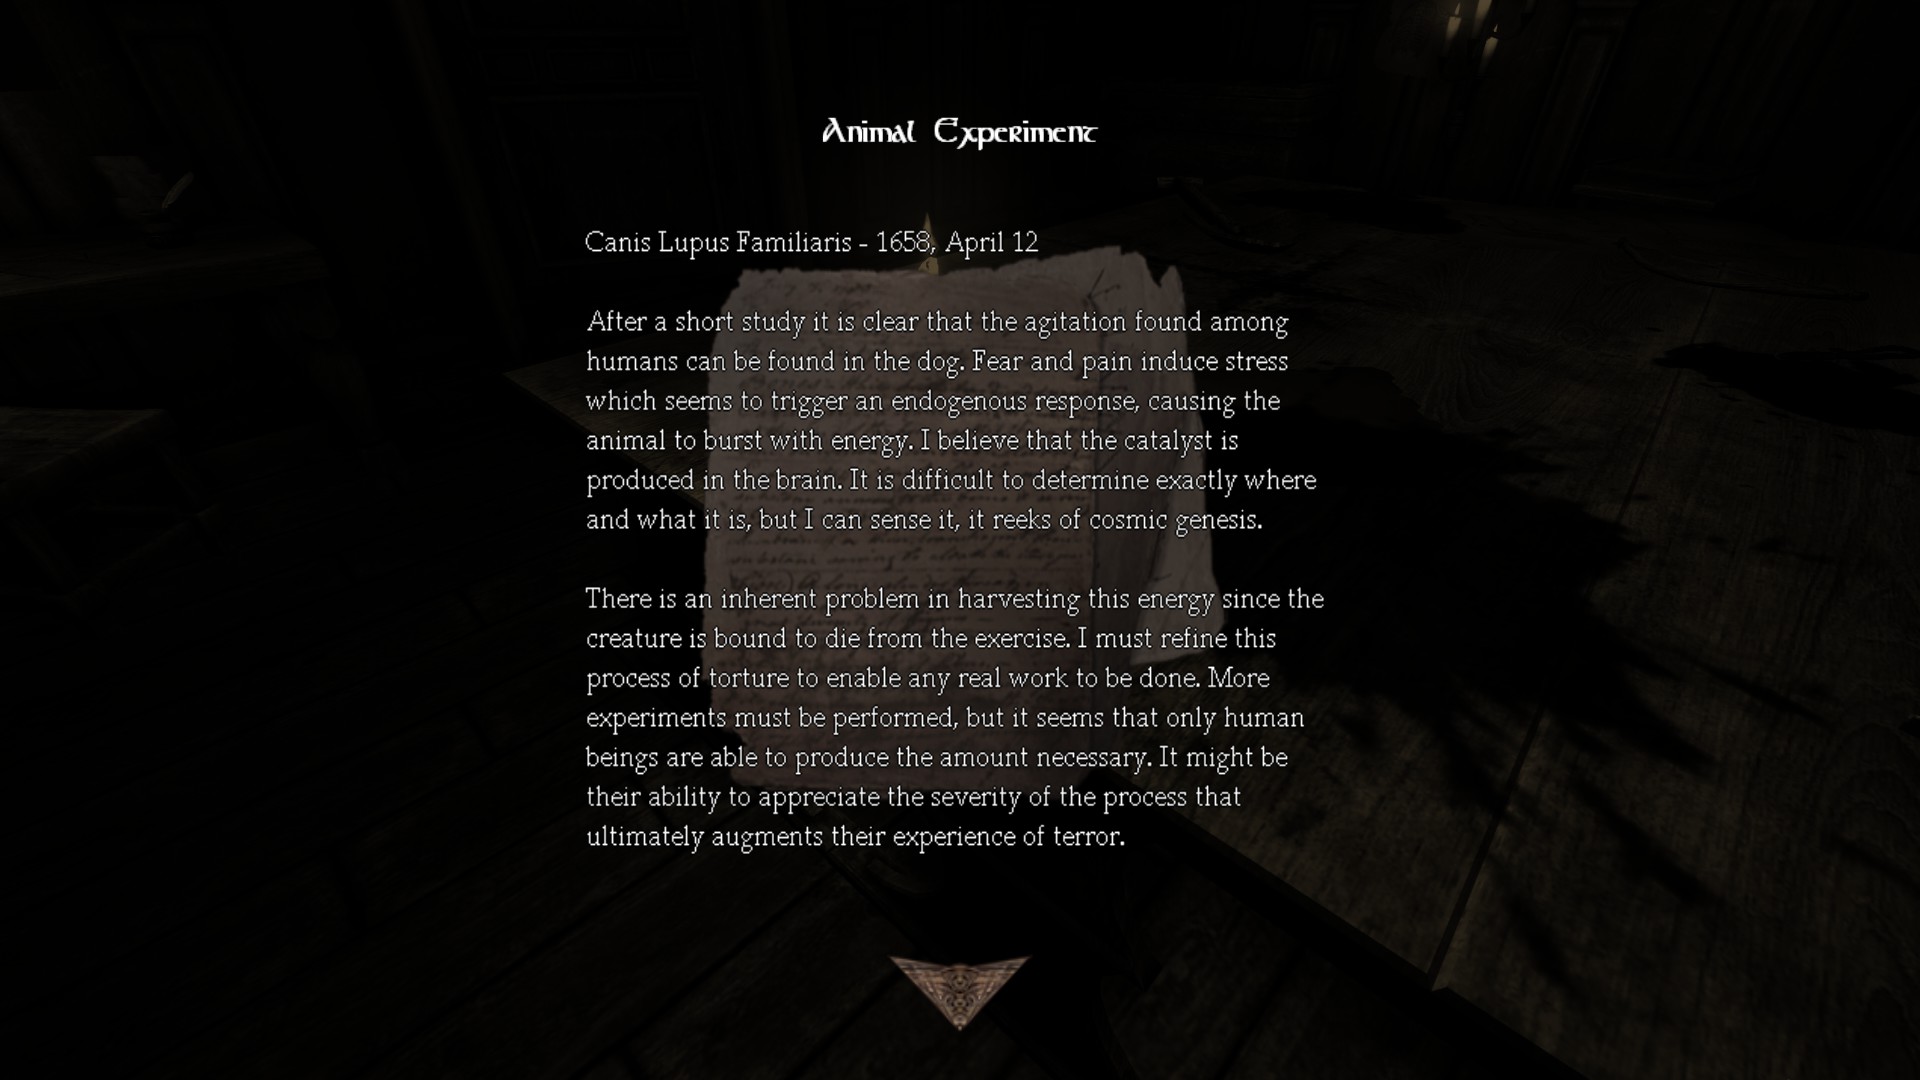
Move forward and grab oil #15. Before the window, you will pass by the next room which is the animal experiment room. Go there to trigger a flashback on your right side.
Note #9 - Animal Experiment:
![Study (2) (Edt_2).png]](https://images.steamusercontent.com/ugc/2206261006287066038/620C2C1F406E9B4595F7B7846D2327475921A60D/)
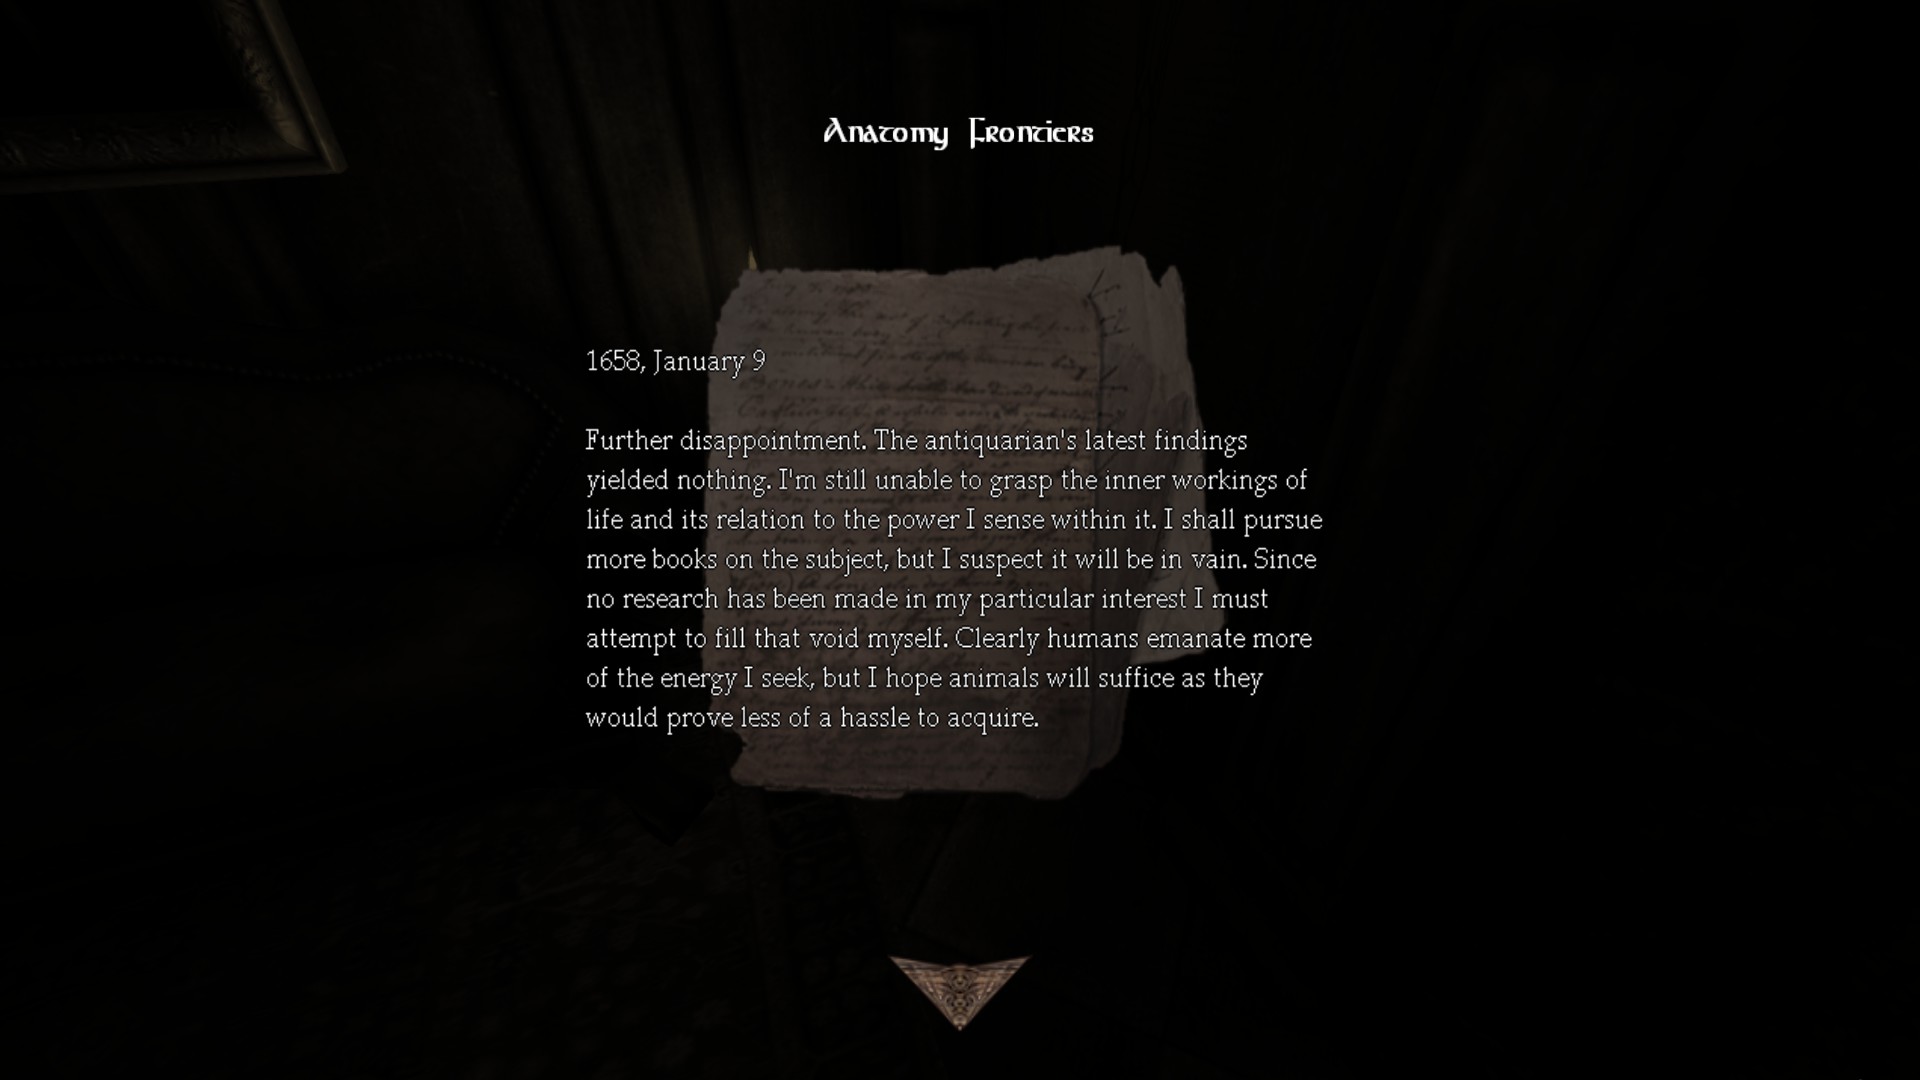
Tinderbox #52 / Note #10 - Anatomy Frontiers:
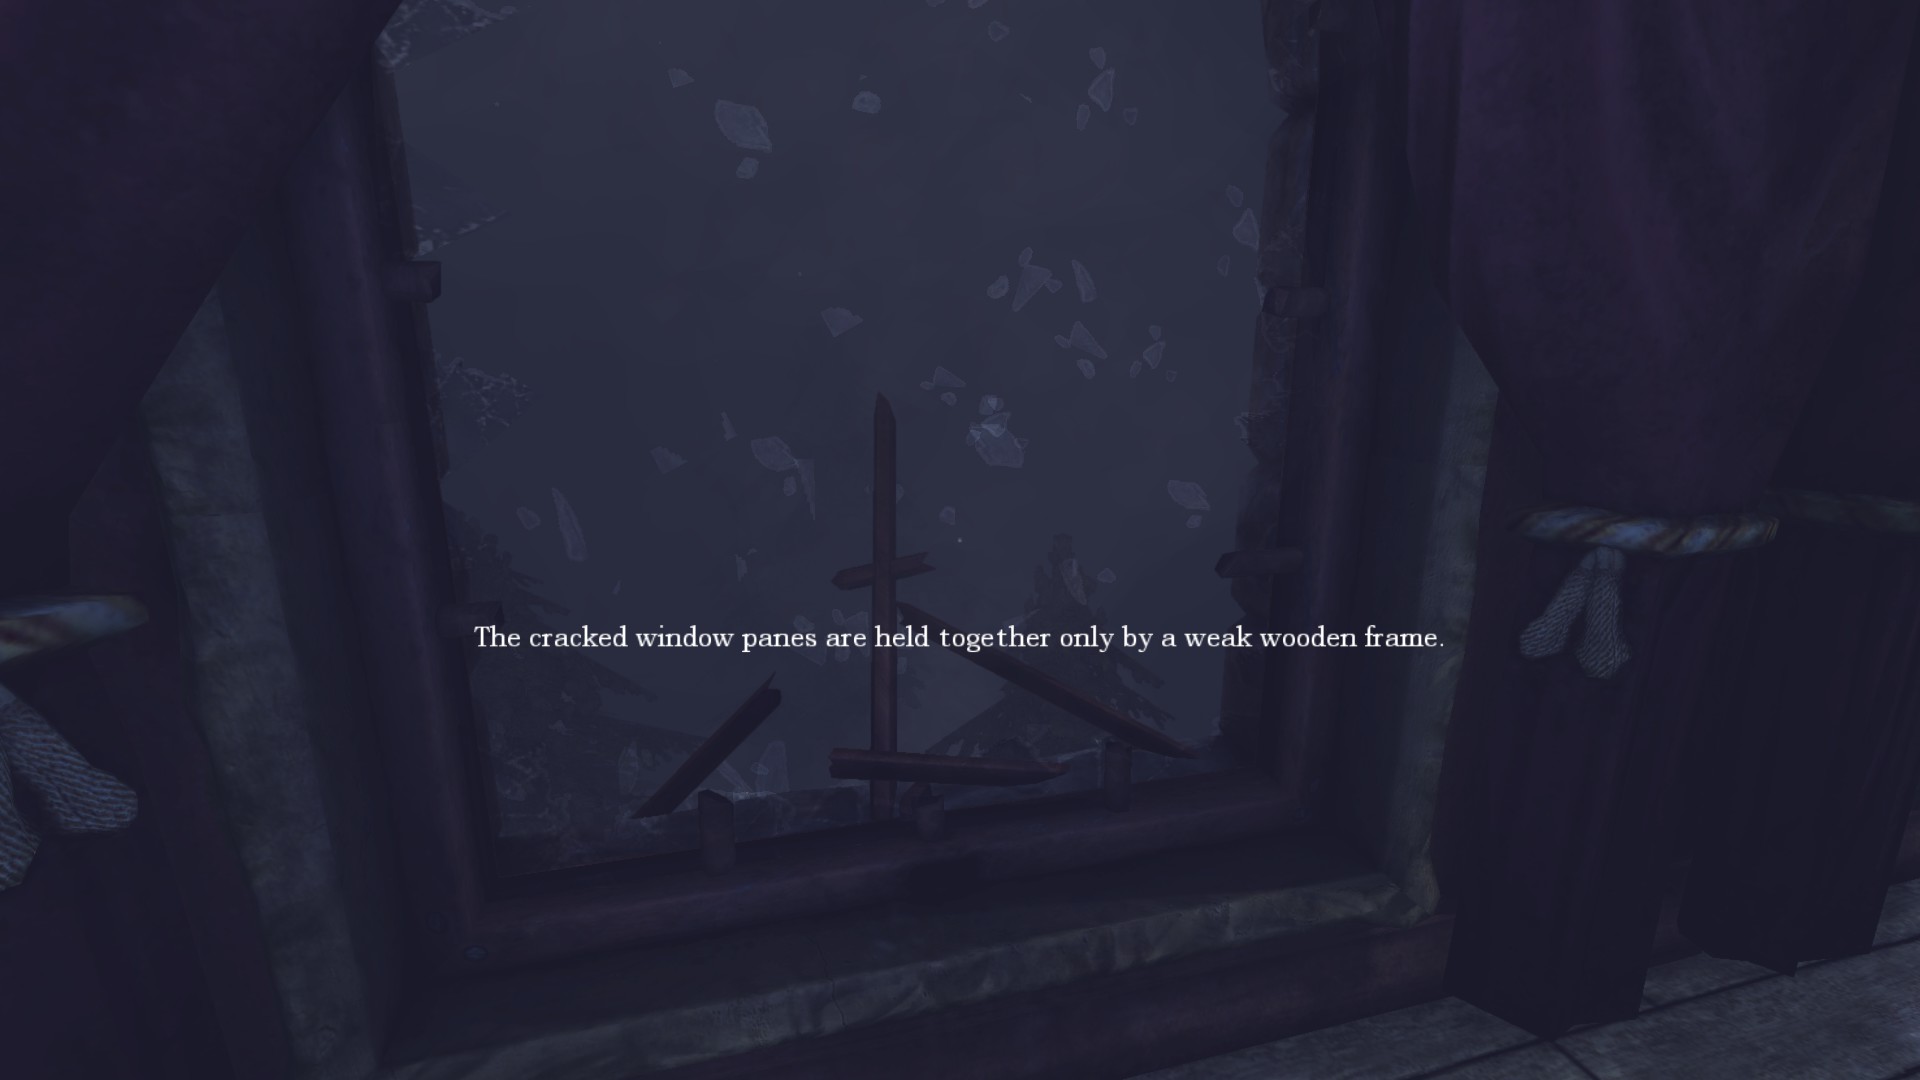
Tinderbox #53: Go back to the cracked window and break it to regain sanity.
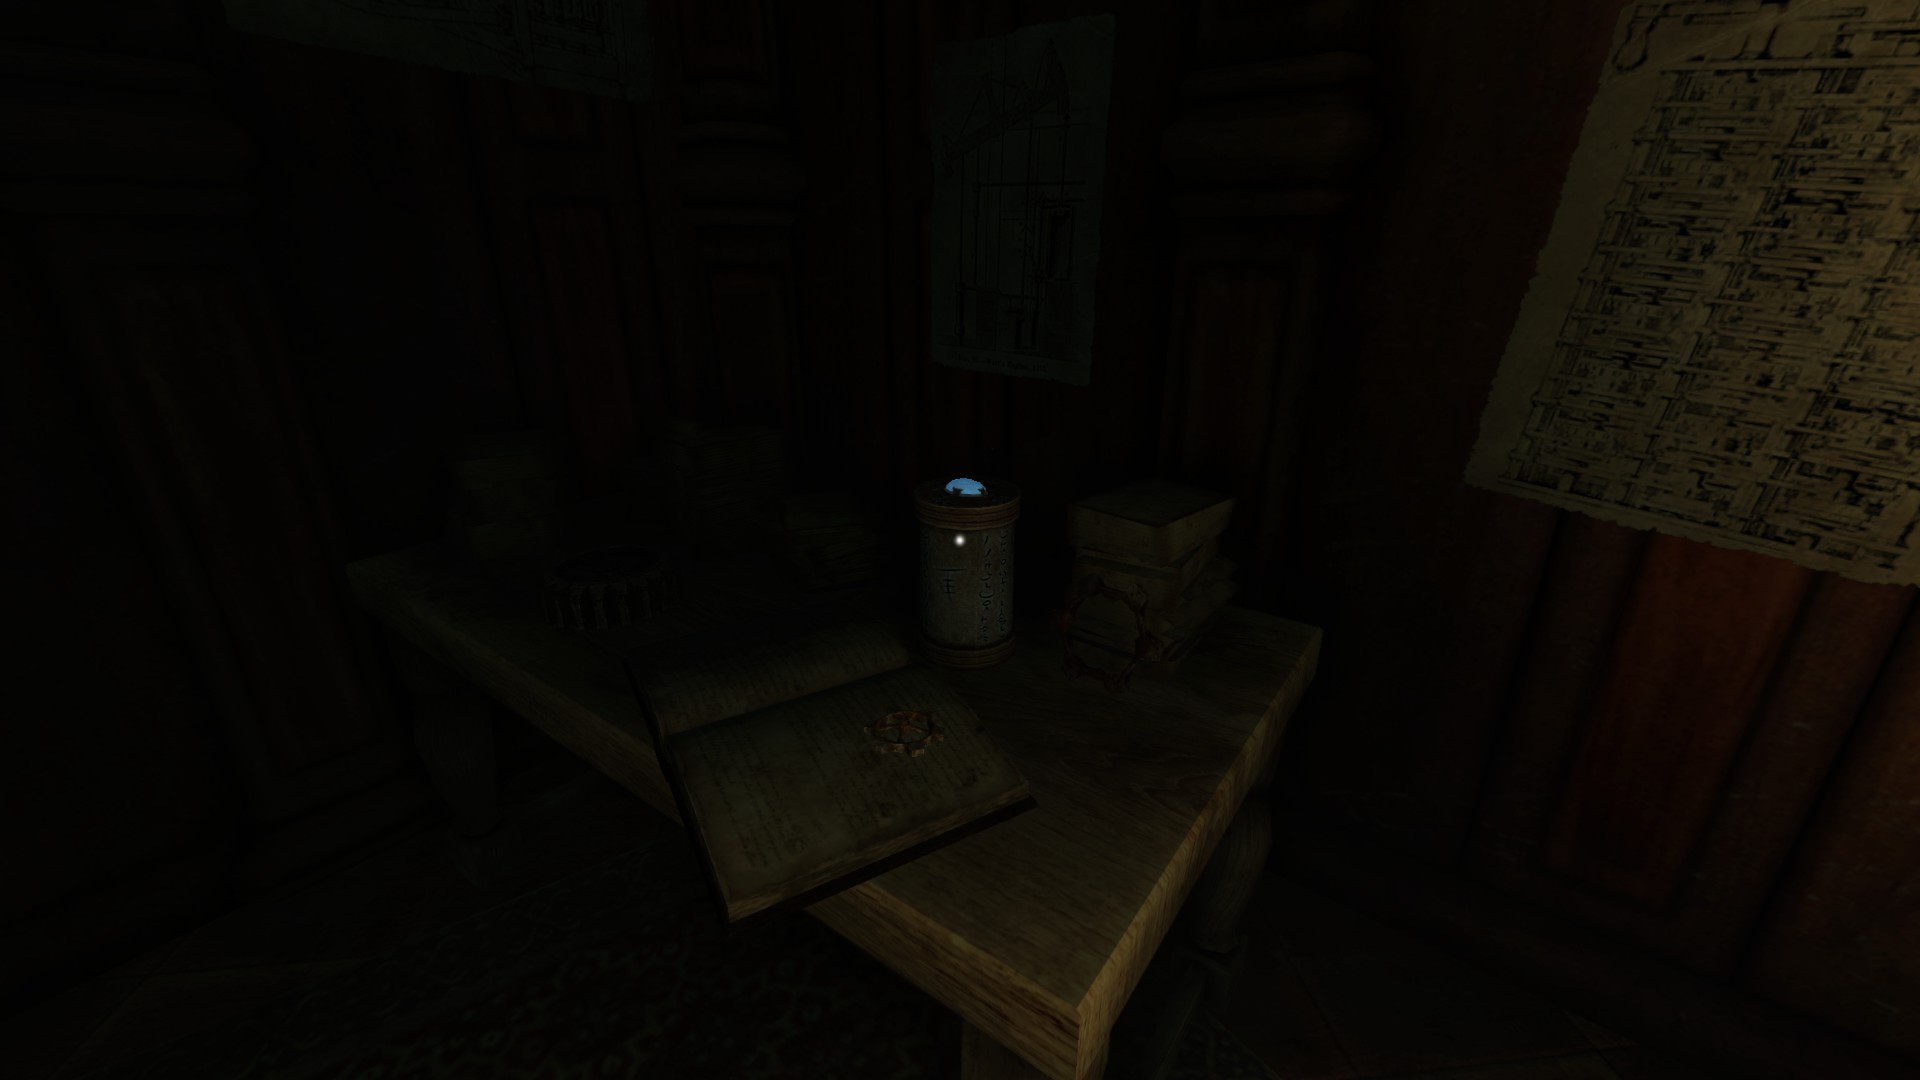
Metallic Cylinder #2:
![Study (3) (Edit_2).png]](https://images.steamusercontent.com/ugc/2055384166878541339/DFEB5E673A20765AAB66190E12537BE9BB969976/)
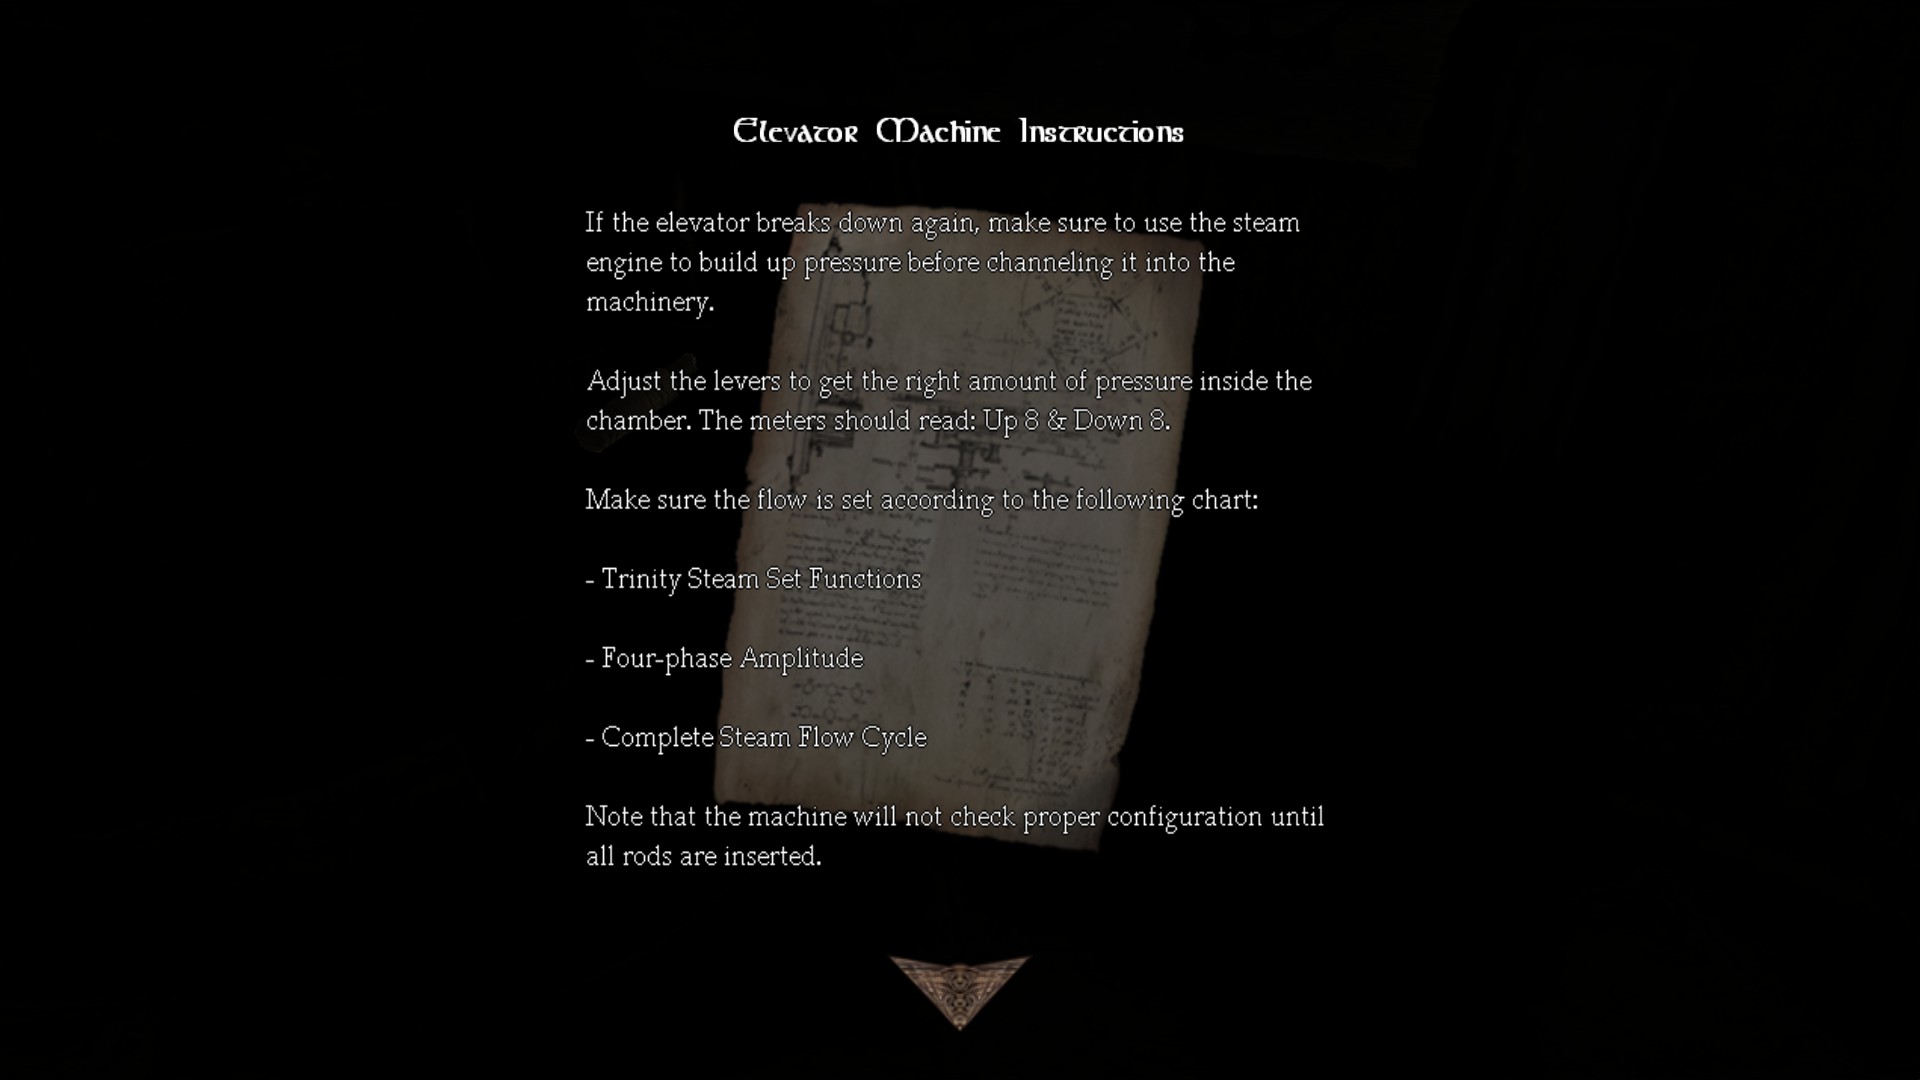
Note #11 - Elevator Machine Instructions: Near the key item, Flow Cycle Rod.
Grab Flow Cycle Rod to regain sanity.
Tinderbox #54-55: Last area
Go back.
Part 6: Storage
1) Storage
2) Tinderboxes: 80/151
3) Notes: 13/30
4) Diaries: 8/23
5) Metallic Containers: 2/5
6) Oils: 18/37
7) Laudanums: 6/16
8) Achievements: 3/18
-----------------------------------------------------------------------------------------------------
![Storage (1).png]](https://images.steamusercontent.com/ugc/2062132500098528331/16E9E8FB73FB59C3FBD1D24C8E26FC420859B536/)
![Storage (2).png]](https://images.steamusercontent.com/ugc/2062132500098528336/335C0F9E47018FD47509E5EF1E0FFAF6CAA2AB1A/)
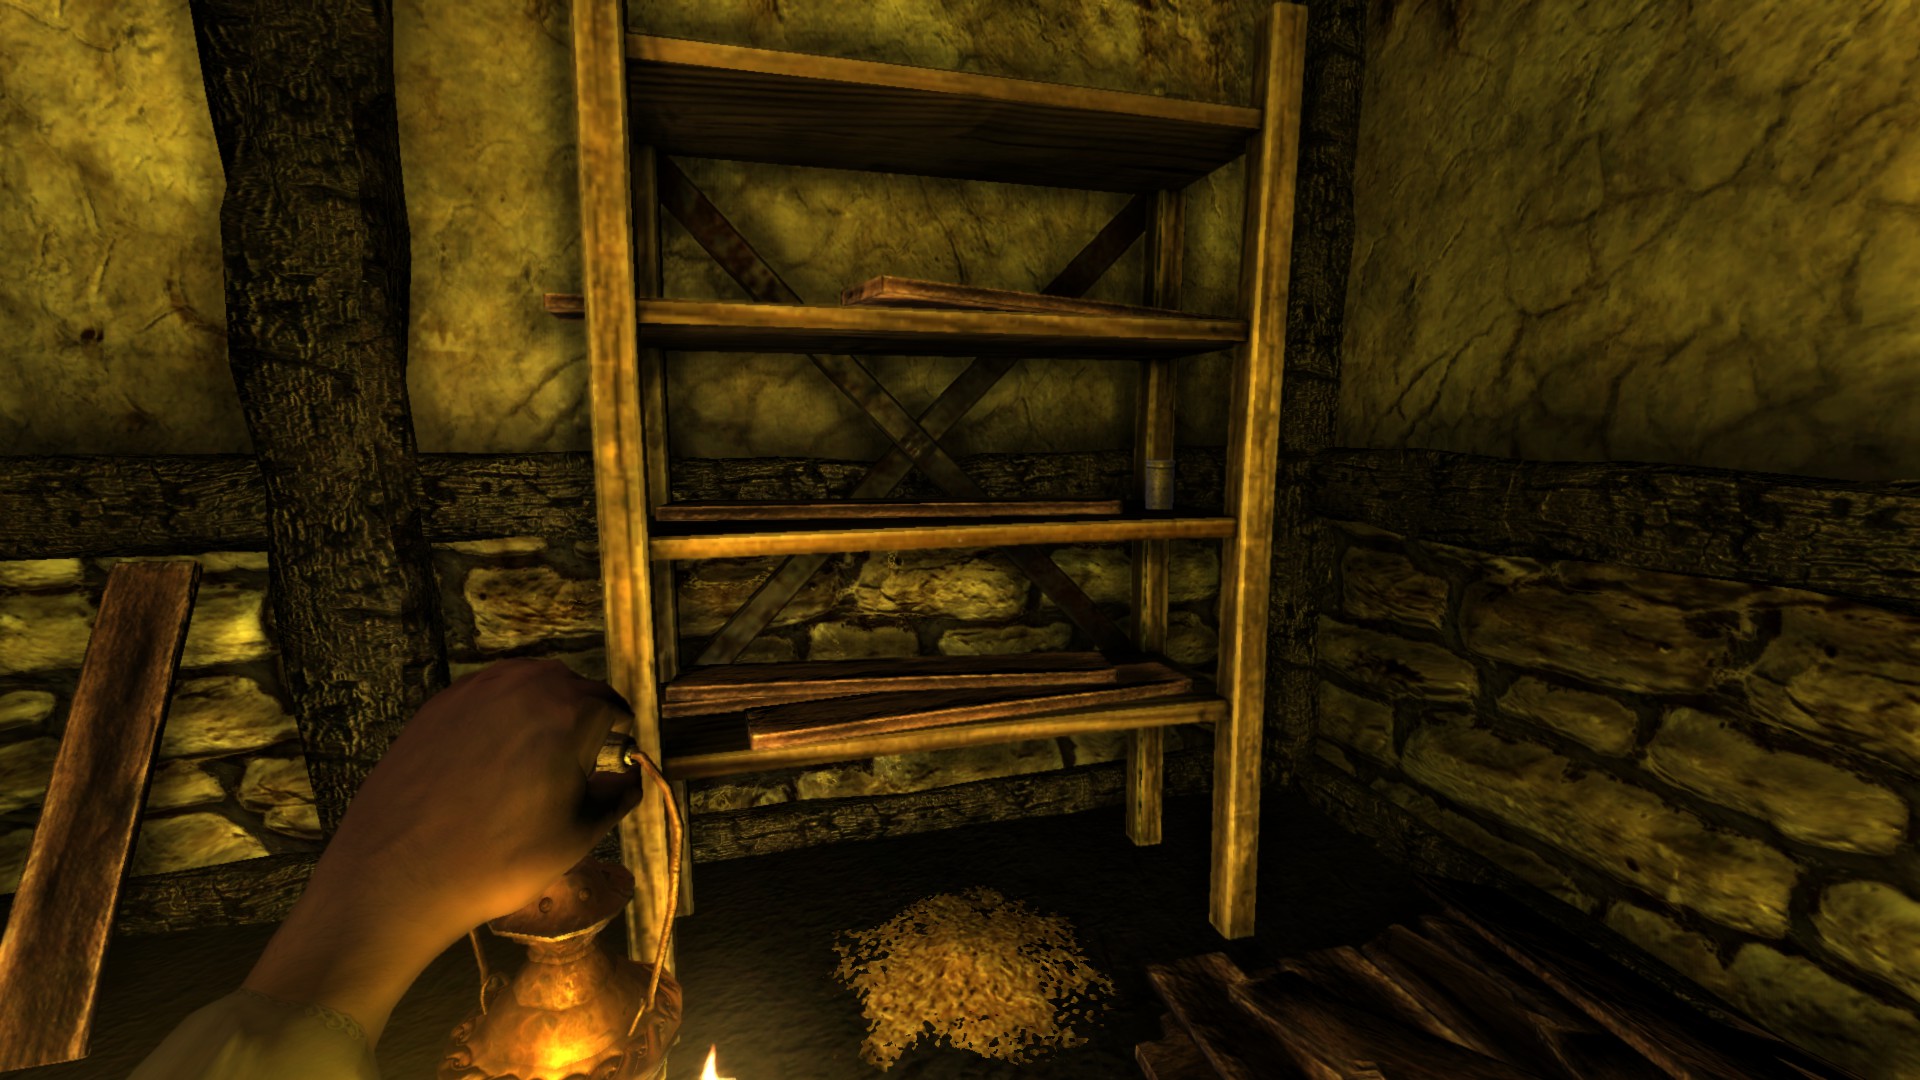
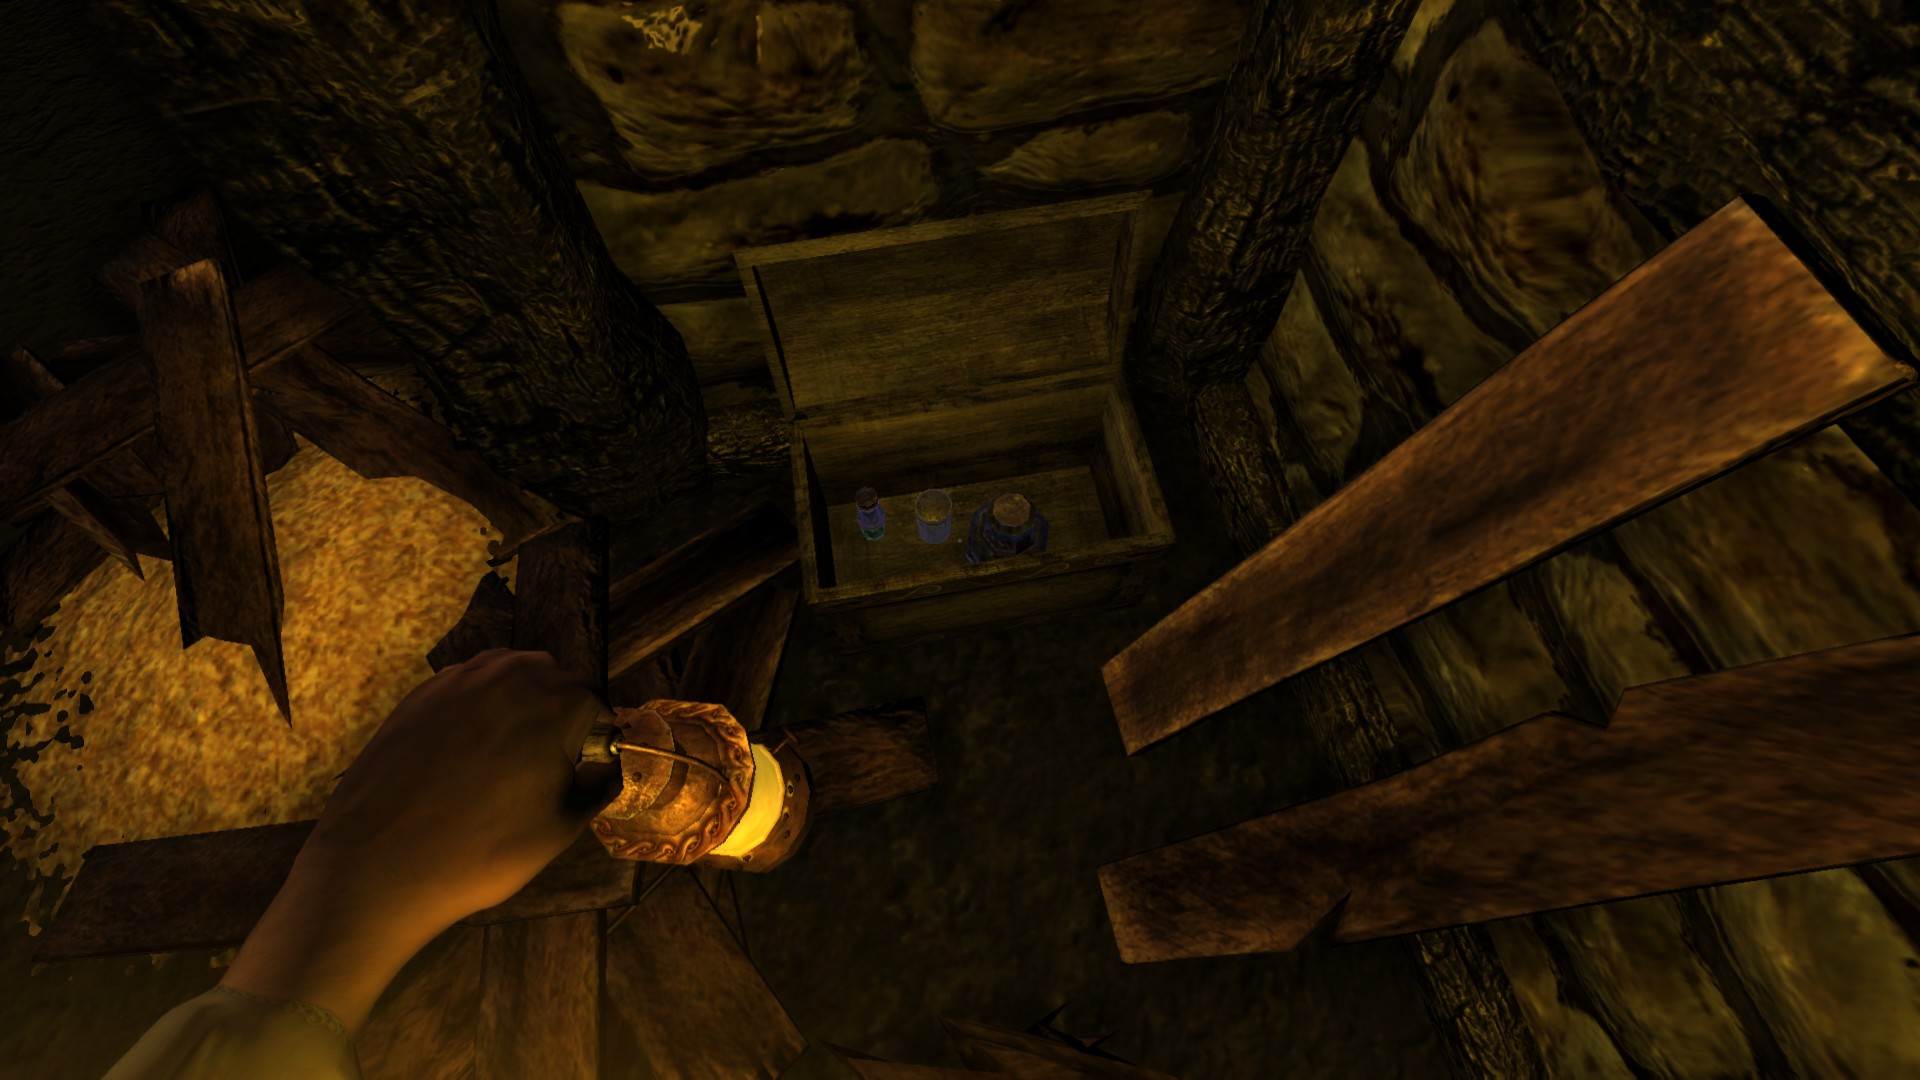
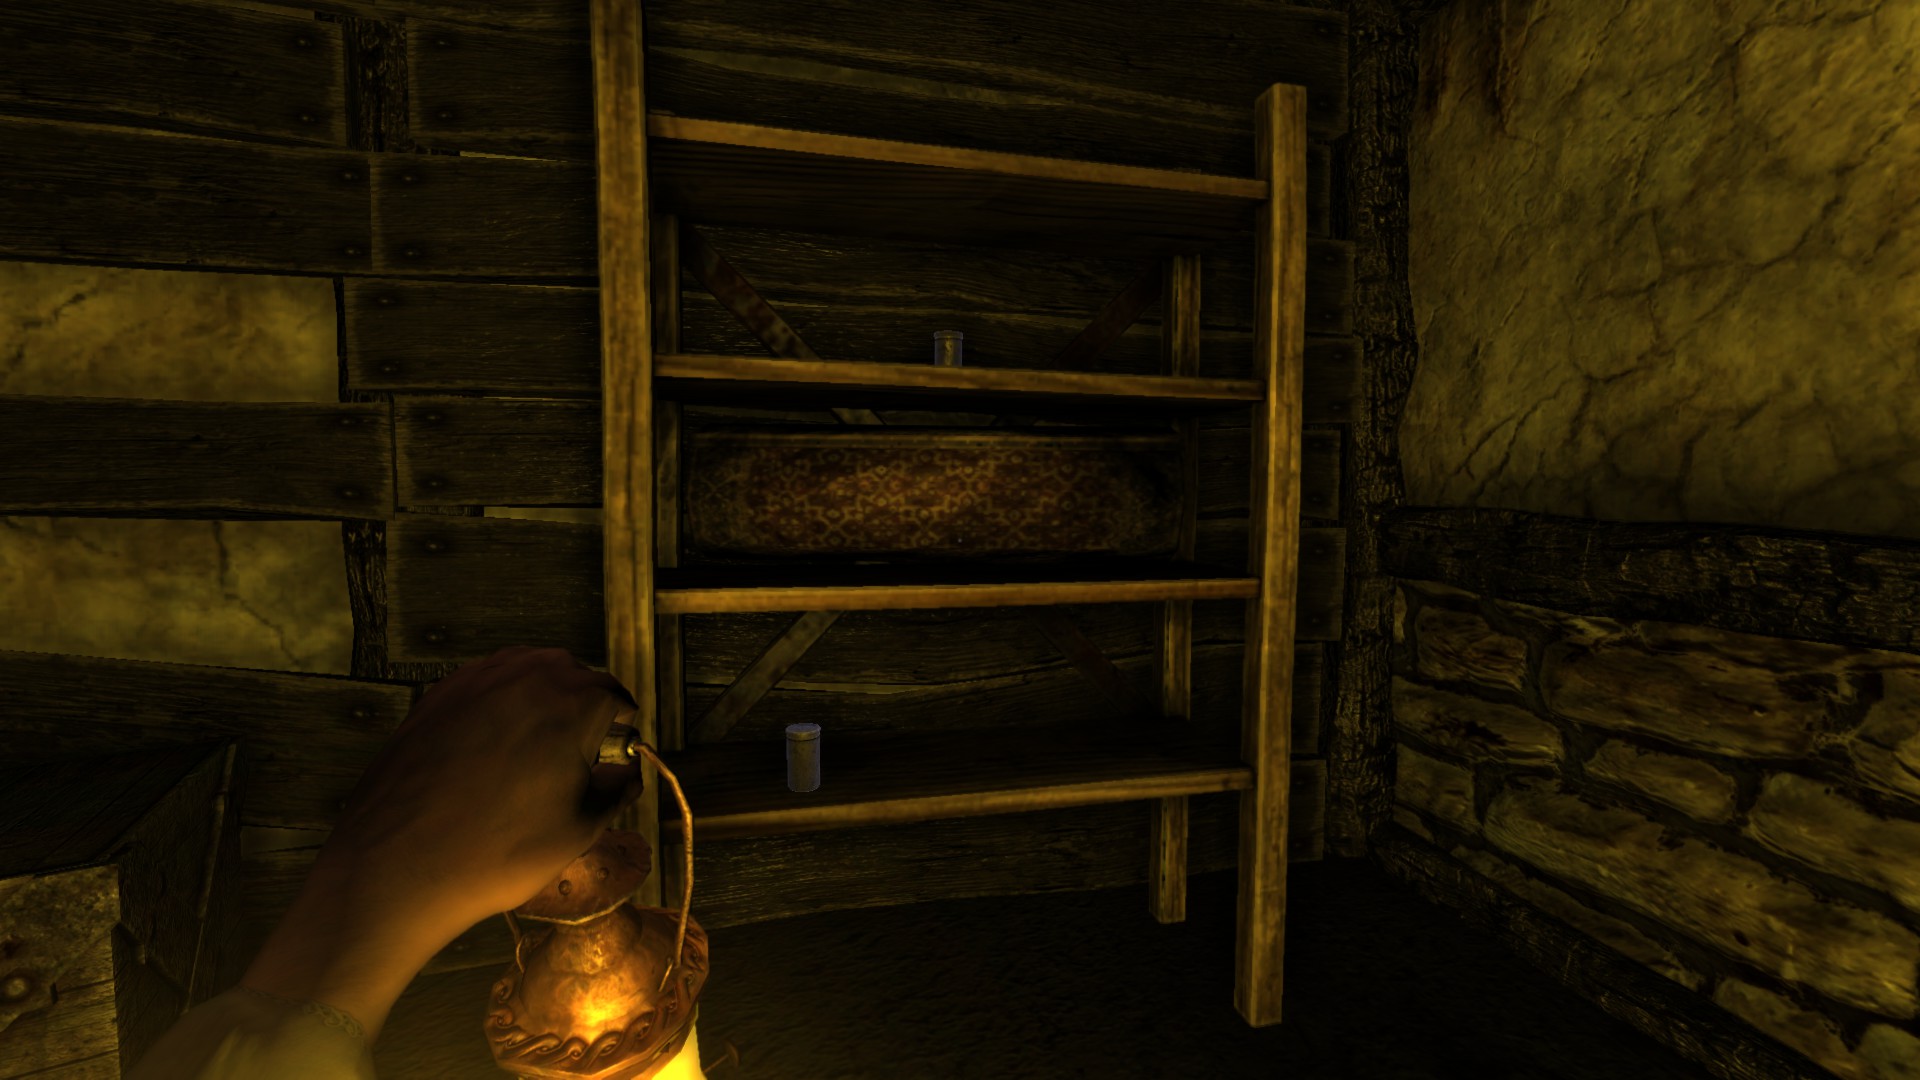
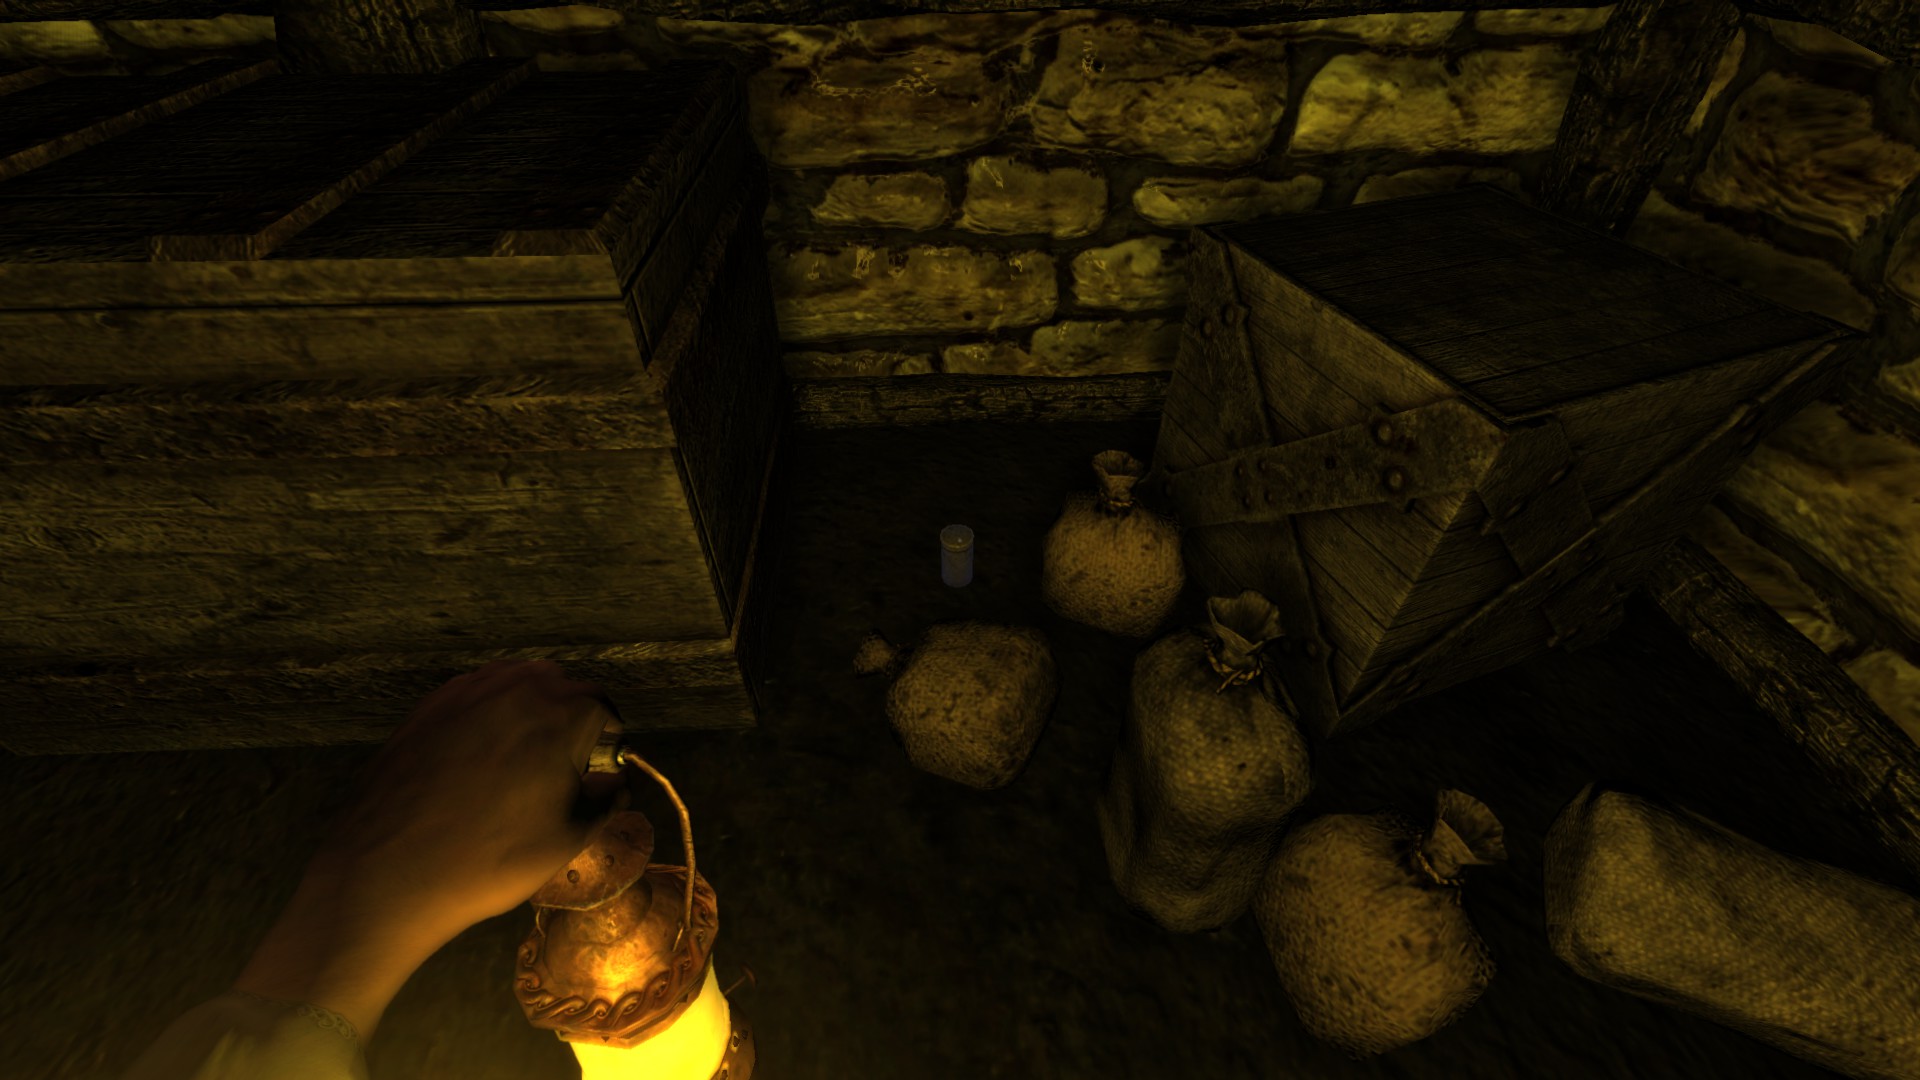
![Rod (1).png]](https://images.steamusercontent.com/ugc/2062132500098691414/630BAA1CAB6C57659E7E80460DD1E0221A397C11/)
2) Tinderboxes: 80/151
3) Notes: 13/30
4) Diaries: 8/23
5) Metallic Containers: 2/5
6) Oils: 18/37
7) Laudanums: 6/16
8) Achievements: 3/18
-----------------------------------------------------------------------------------------------------
Storage:
After entering from Back Hall, this will be the first dangerous area (keep in mind for hardcore mode), so the Lantern is mostly used here and tinderboxes also. Special section for this 'cause it's my favourite of any levels in this game or because I run out of space in here but it will be a lot. Later, we will get to Act IV which is my favourite as well.Location/Walkthrough text
Image
Tinderbox #56:
![Storage (2) (Edit_1).png]](https://images.steamusercontent.com/ugc/2055384166880686861/6082E06CEA1ACC9A3977D2DF7D974DF8DDB2A4BE/)
Tinderbox #57-59: Turn left and get the drill part #1. Wait for the monster to be gone.
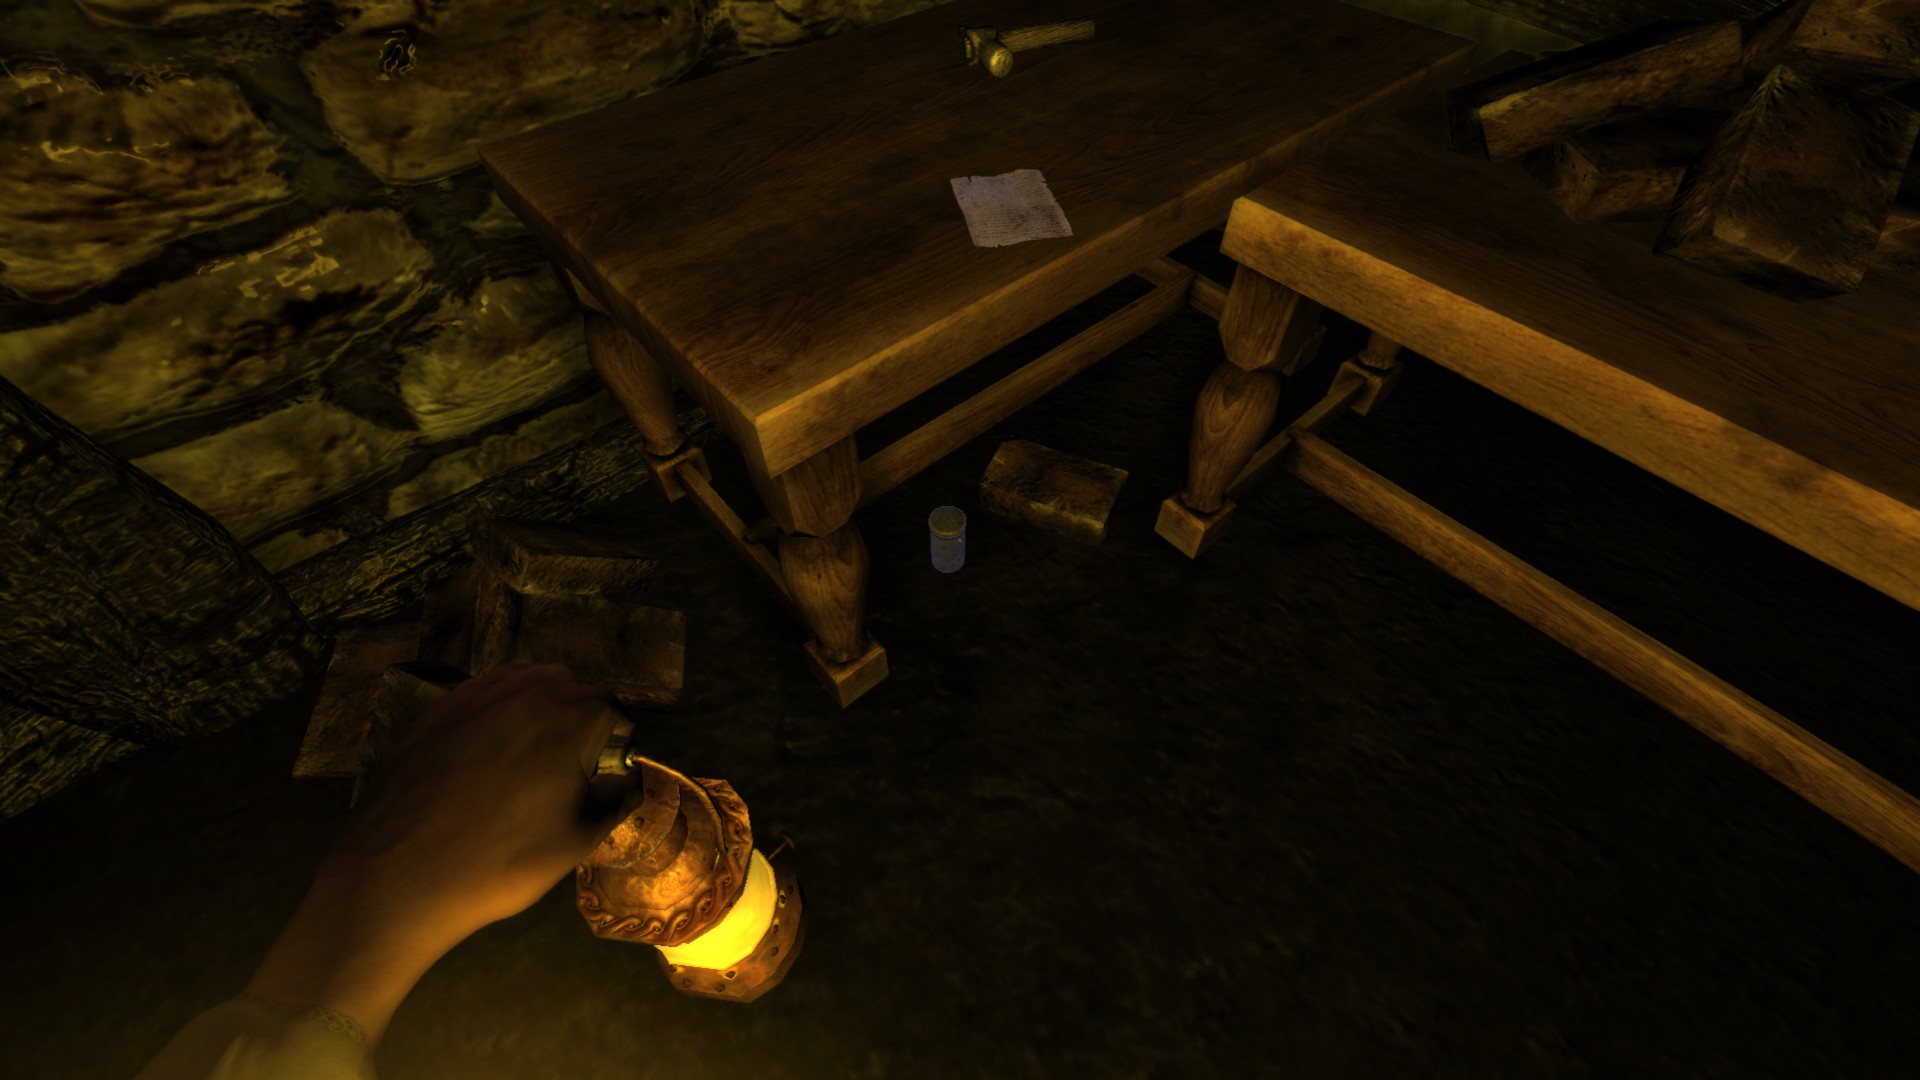
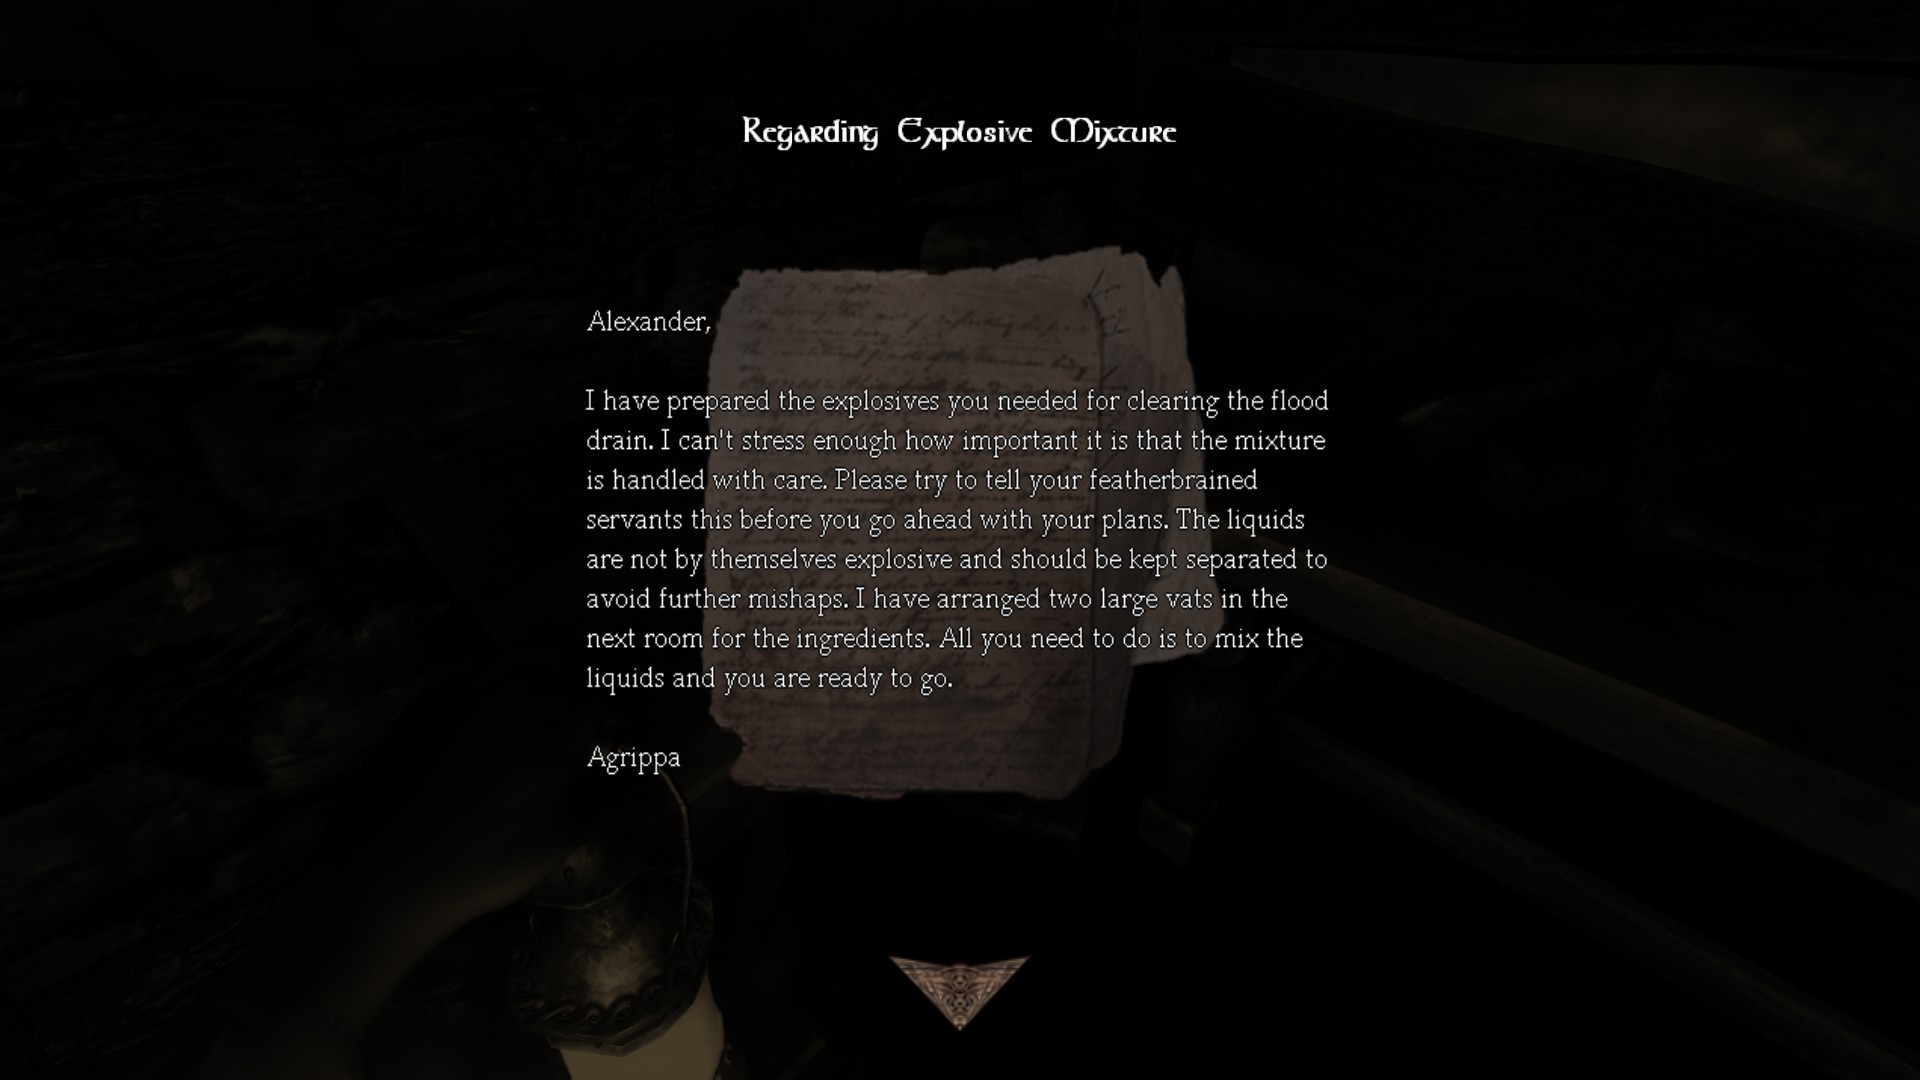
Tinderbox #60 / Note #12 - Regarding Explosive Mixture: Immediately go down and turn right.
![Storage (2) (Edit_2).png]](https://images.steamusercontent.com/ugc/2055384166880695643/7CB3B5F18238BA239721511ACE3A3B1D5CA65EF0/)
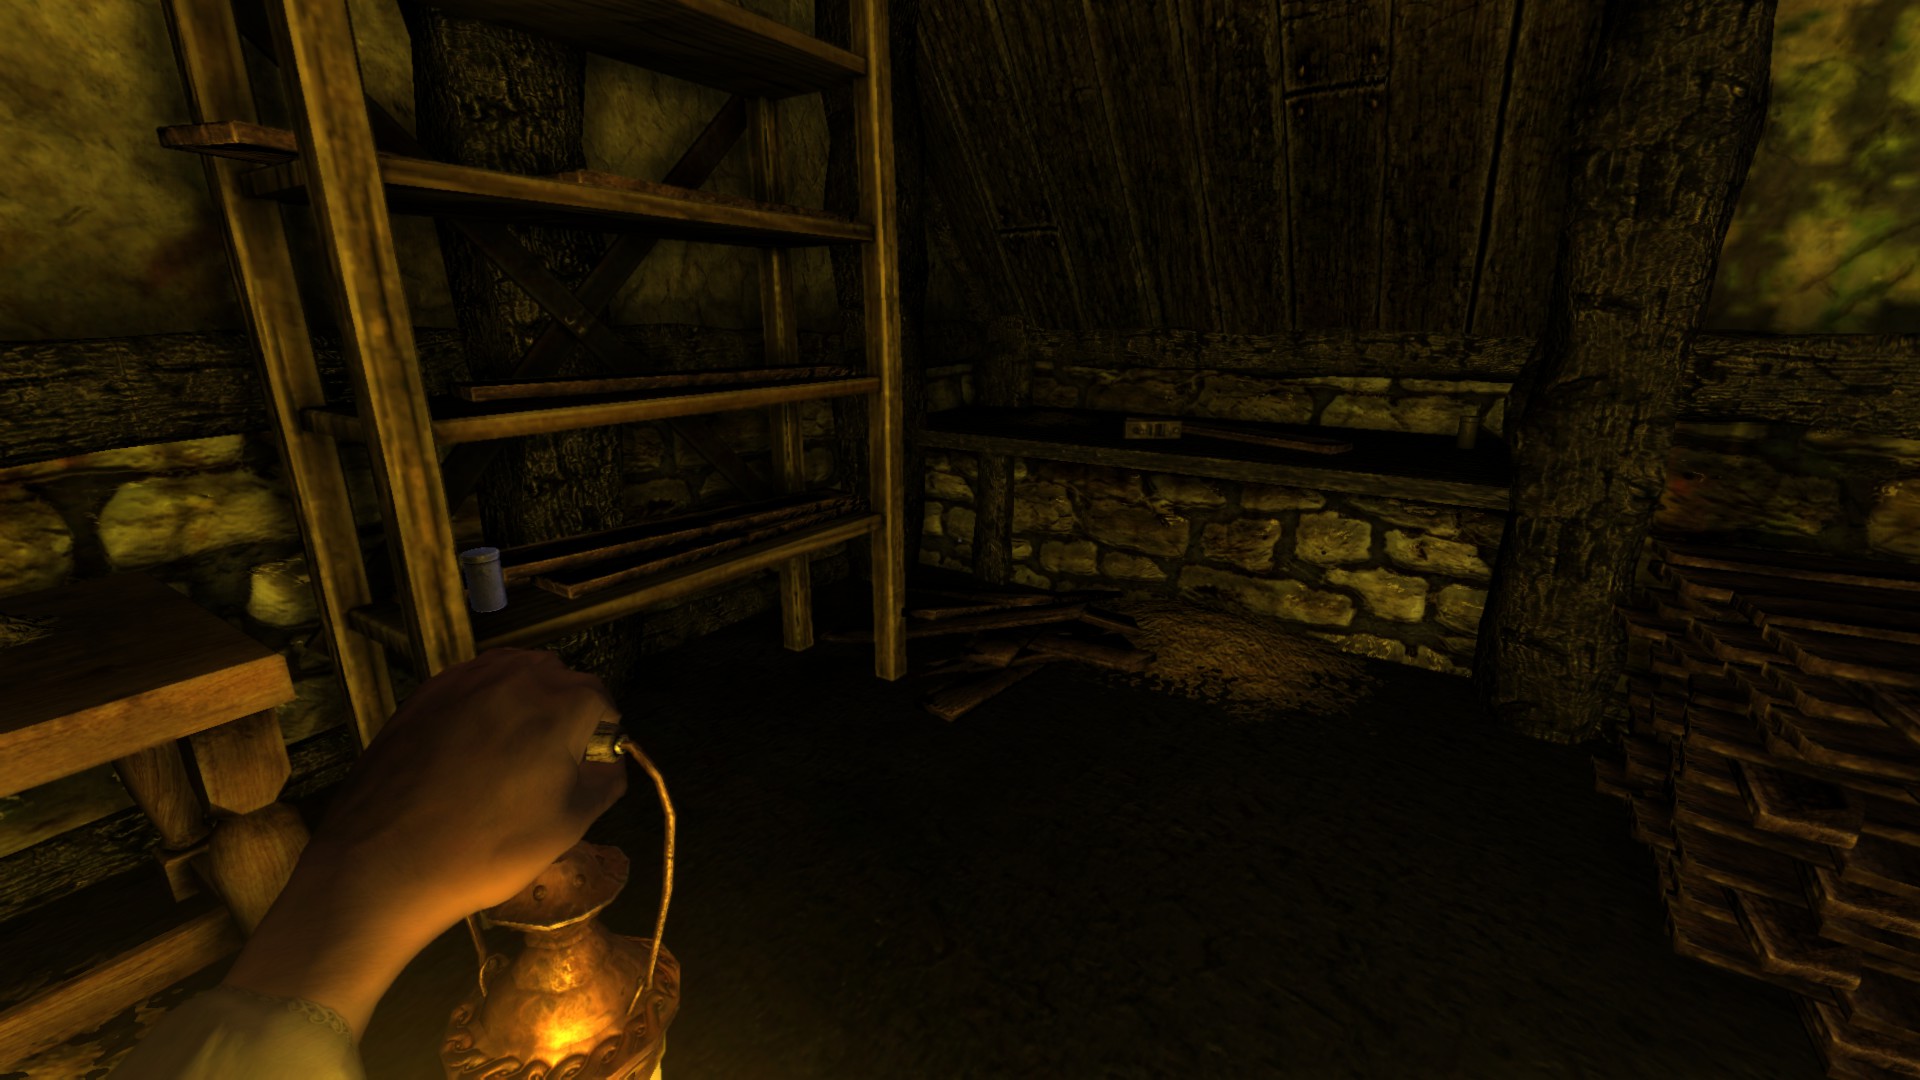
Tinderbox #61-62: Exit and go right. There are two shown in this image.
![Storage (2) (Edit_3).png]](https://images.steamusercontent.com/ugc/2055384166880707479/63AA7DA42BE9B2BDC6CFF68964CF2A606AC3D55C/)
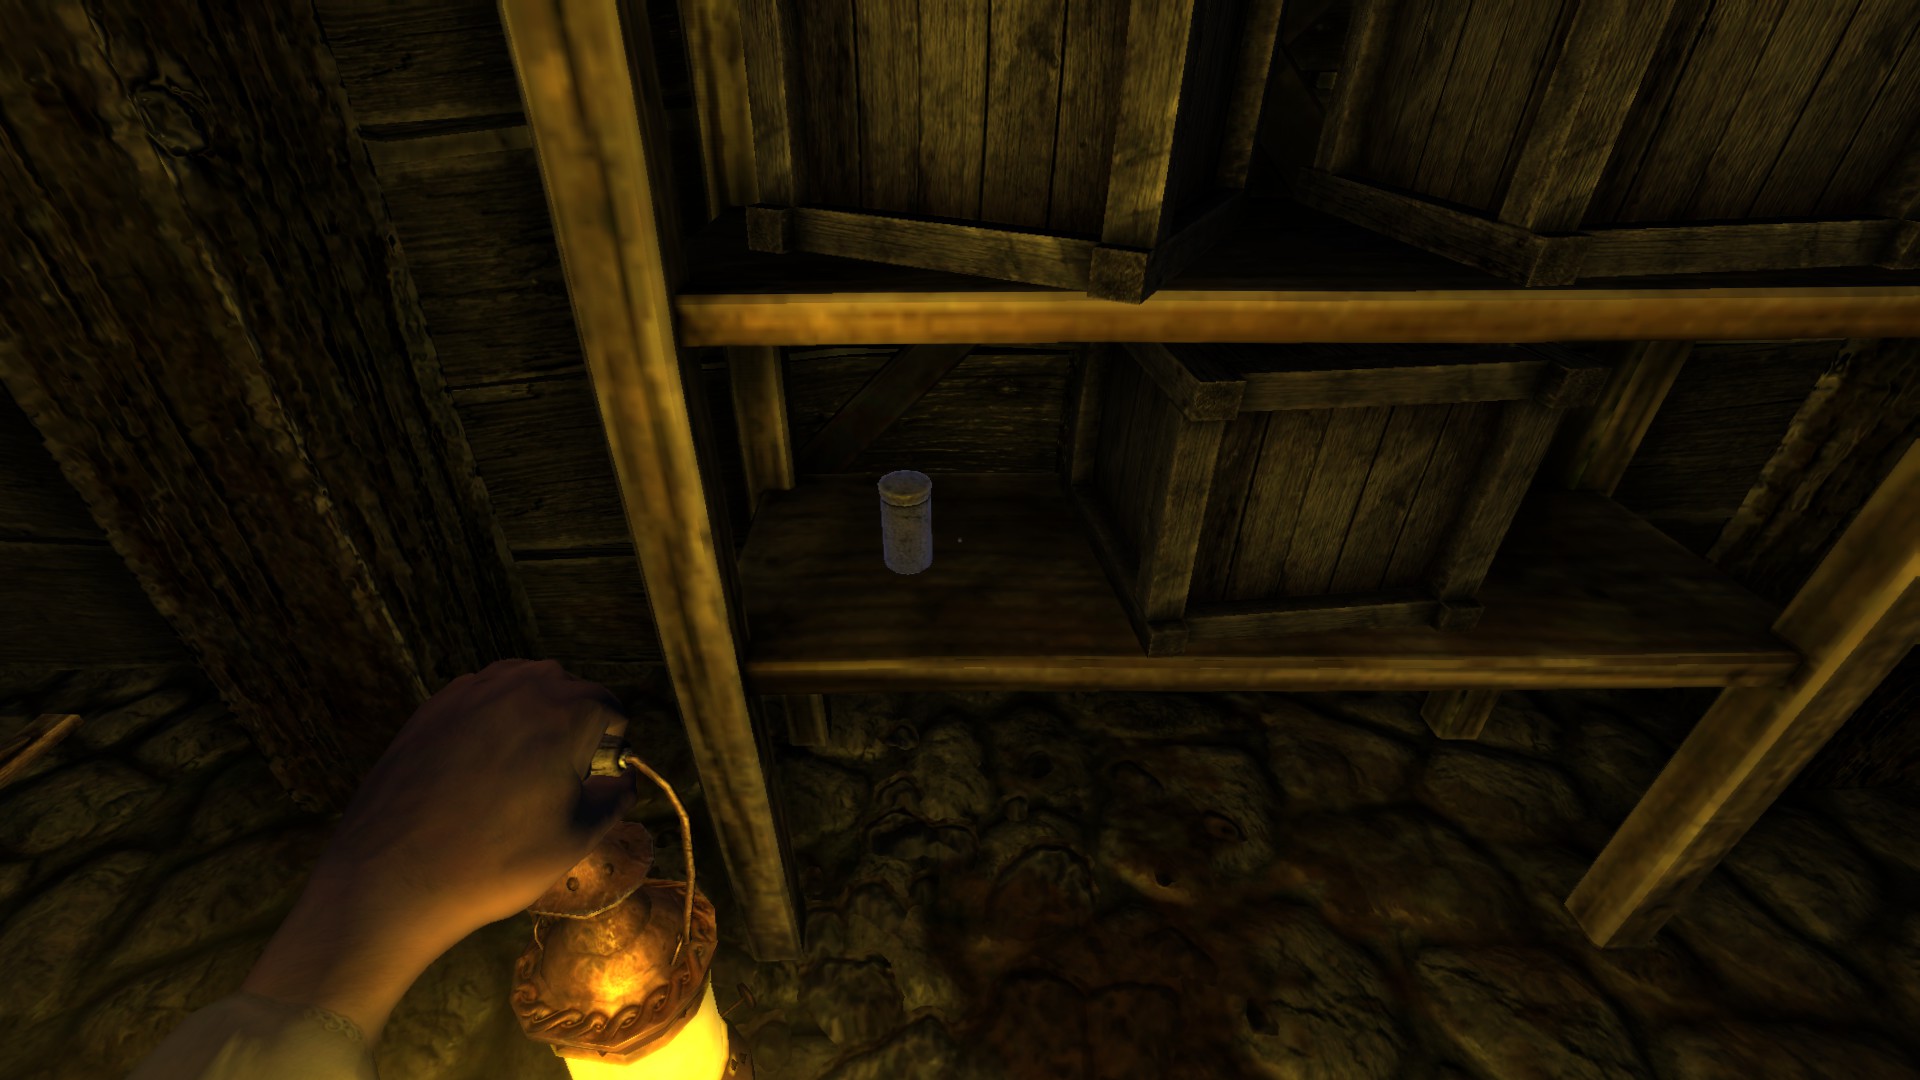
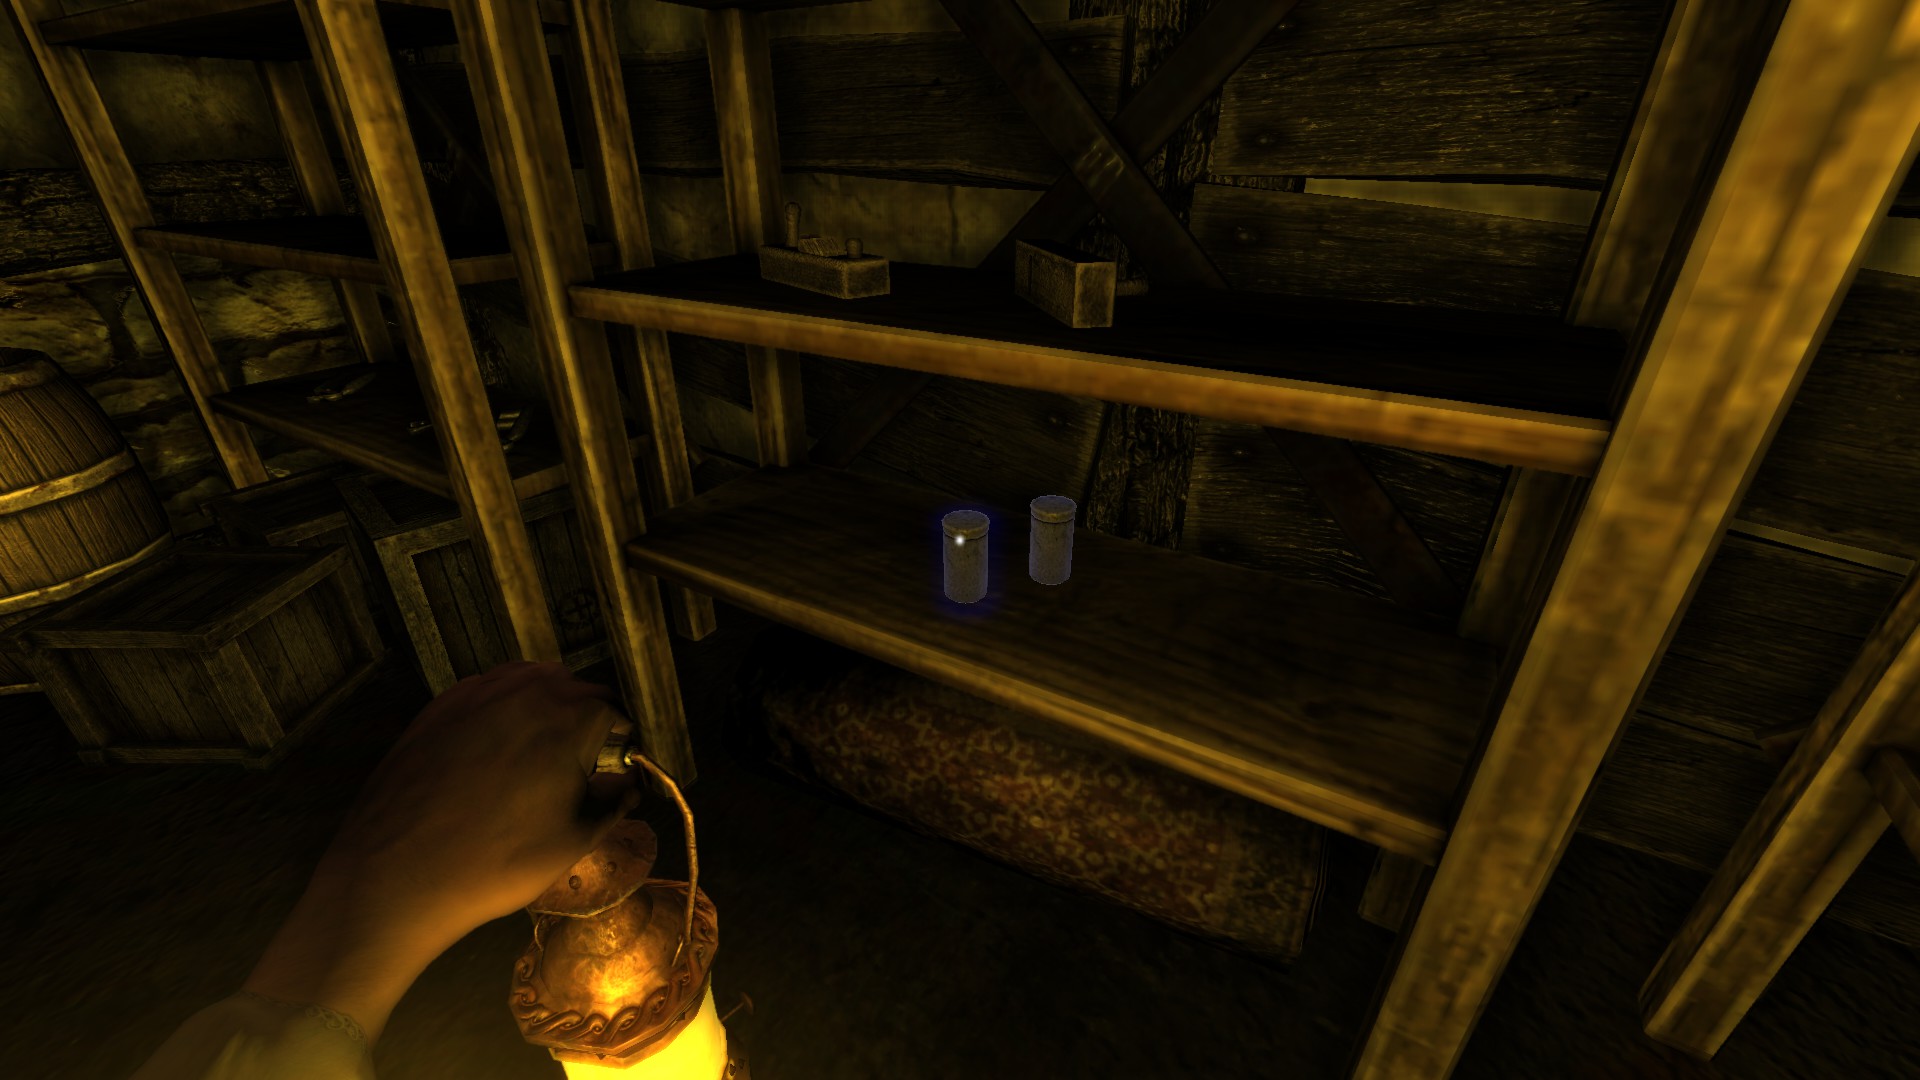
Tinderbox #63-64: Behind you is one on shelf and there are three more, 1 tinderbox, oil #16 and a laudanum #5.
Tinderbox #65-66: Another area that has the key item to combine.
![Storage (2) (Edit_4).png]](https://images.steamusercontent.com/ugc/2055384166880720503/E70E2034BF32B960E9D1725EA6BDE40586708F79/)
Tinderbox #67 - #68: Finally, the last area to grab the drill along with tinderboxes.
![Storage (2) (Edit_5).png]](https://images.steamusercontent.com/ugc/2055384166880726834/E2DC062464E807119DA0E5CB98E684AC68E4E56D/)
Now combine the drill parts to get the hand drill and regain sanity. Create an explosive to regain sanity also. Moving forward, flashback will occur before you use the explosive on the floor against the rocks.
Tinderbox #69 (nice): Also regains sanity after throwing the rock to the explosive you made.
![Storage (2) (Edit_6).png]](https://images.steamusercontent.com/ugc/2055384166880732933/B57BB1807E43135295BFCDDAF33F6FA728868CBA/)
Tinderbox #70-72: Along with a 6th Laudamun behind the barrels.
Tinderbox #73-74: After grabbing #73, there is a lantern oil #17 sitting. Later on, you get a flashback.
![Storage (2) (Edt_7).png]](https://images.steamusercontent.com/ugc/2206261006287084728/E3A5C0DF2E642AA66C3EB1FA687AF82478FF208F/)
Tinderbox #75-76: On the shelf and inside the room on right is a tinderbox and lantern oil #18 (sitting behind the barrels).
![Storage (2) (Edit_8).png]](https://images.steamusercontent.com/ugc/2055384166880758712/035F3ADAF516EC57843D589E69484DF26577DFF0/)
Tinderbox #76: Be careful on the next room, find a way to wait.
Tinderbox #77-79: Watch out for a flashback next.
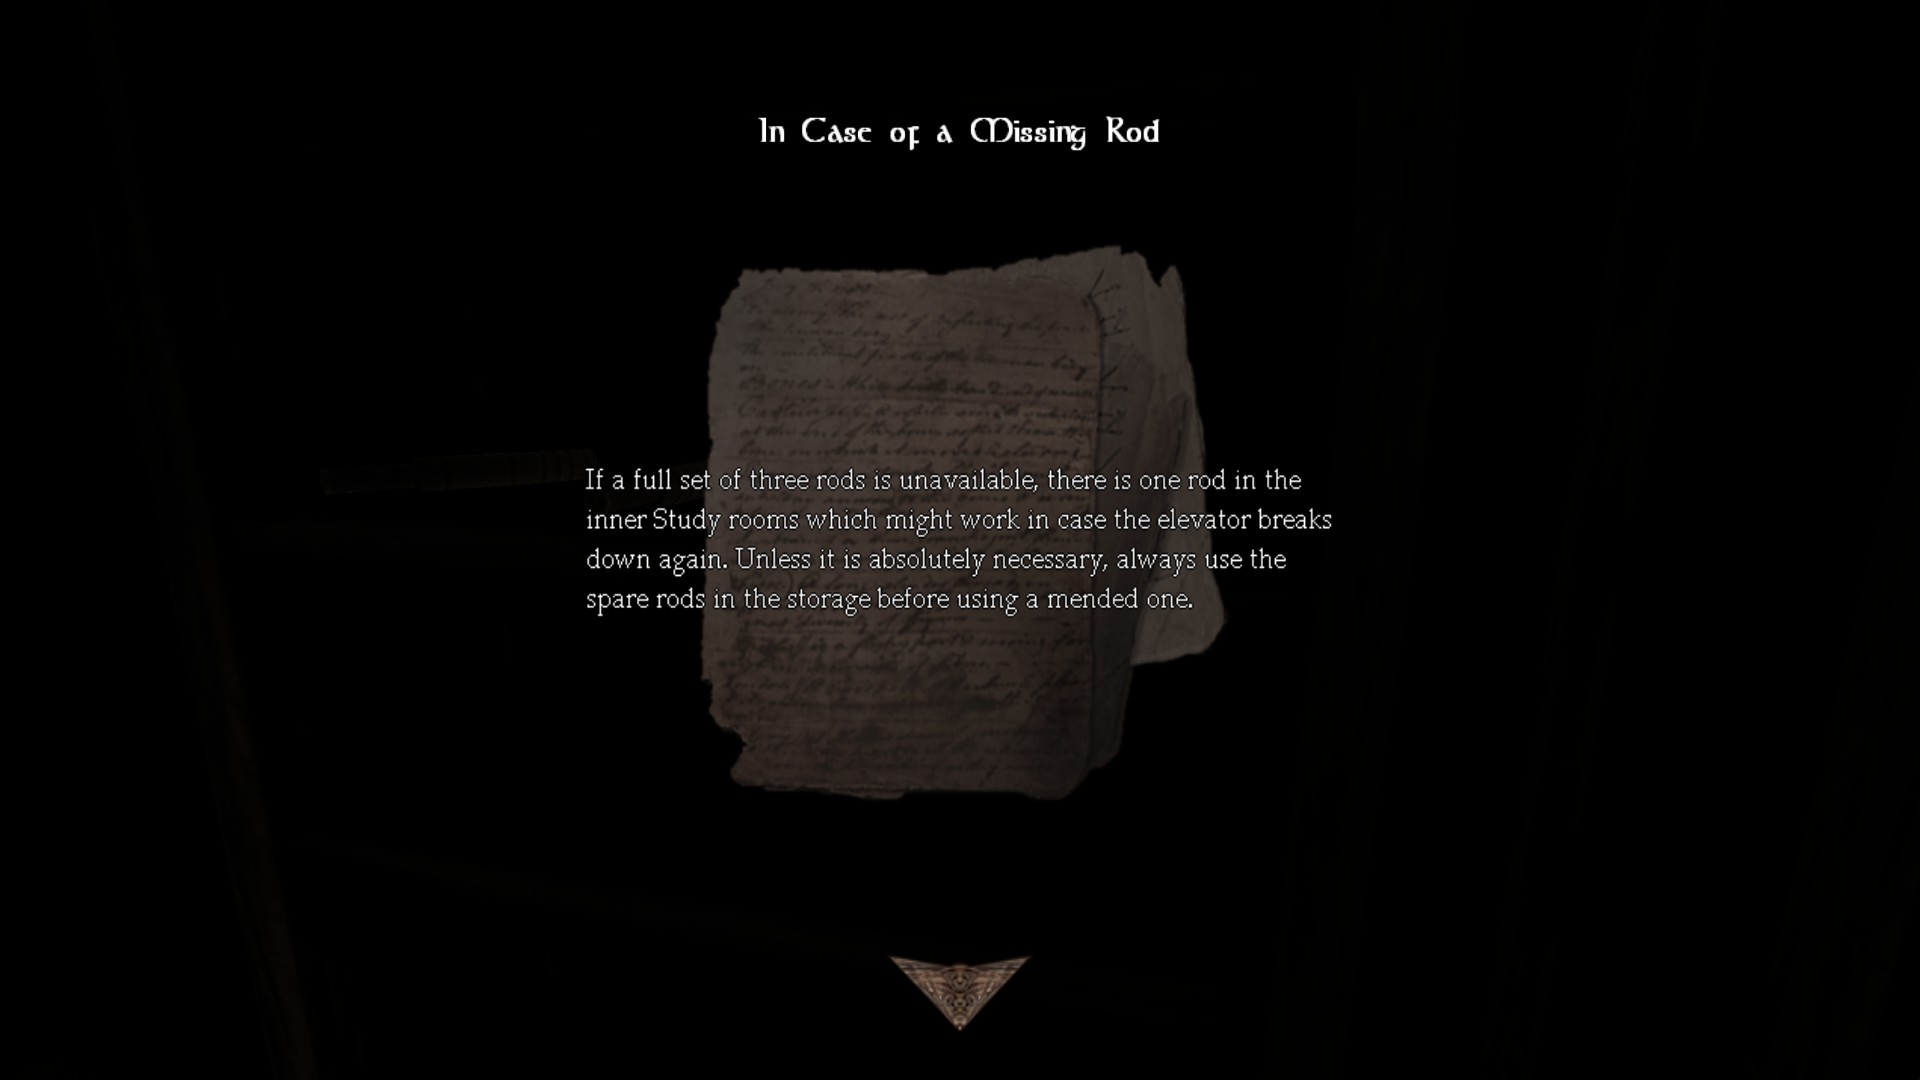
Tinderbox #80 / Note #13 - In Case of a Missing Rod: Last area and to grab the rods which will give you sanity per rod.
![Storage (2) (Edit_9).png]](https://images.steamusercontent.com/ugc/2055384166880765067/33763ADE0FF94FBB1C8996B036077BE7D93491D6/)
Grabbing the rods each will grant you sanity, make sure to hide from danger.
There will be monsters that spawns, wait for a few minutes and don't look at them. You will also need to watch out further so make use of your environment.
After getting hit somehow and running back, you can go on and get the elevator working.
Part 7: Elevator work
1) Machine Room, Back Halls (Revisit)
2) Tinderboxes: 85/151
3) Notes: 14/30
4) Diaries: 11/23
5) Metallic Containers: 2/5
6) Oils: 18/37
7) Laudanums: 6/16
8) Achievements: 4/18
-----------------------------------------------------------------------------------------------------
![Machine Room (1).png]](https://images.steamusercontent.com/ugc/2062132500098817163/EB451FA614B99A0085C2ABCD793D729EFE2F456A/)
![Machine Room (2).png]](https://images.steamusercontent.com/ugc/2062132500098817172/1D3E6DBD1CC32CAEDEAF374AE3B6408BCC227935/)
![Machine Room - Lever Puzzle (1).png]](https://images.steamusercontent.com/ugc/2055384166880868240/190A9FBE6F8817BDE6FFB837BDF2B82FD75AC5A7/)
![Descendant.jpg]](https://images.steamusercontent.com/ugc/2065508931961899838/F903028531513488E185DB46D8B85A5625E2A235/) –––––––––––––––––––––––––––––––––––––––––––––––––––––––
–––––––––––––––––––––––––––––––––––––––––––––––––––––––
Descendant
Taken a rough ride on an elevator in Amnesia: The Dark Descent.
¯¯¯¯¯¯¯¯¯¯¯¯¯¯¯¯¯¯¯¯¯¯¯¯¯¯¯¯¯¯¯¯
Achievement #4: Story Related. You can go straight to the next area by taking the 'stable' elevator, which means you get a nice achievement after a loading screen background appear.
2) Tinderboxes: 85/151
3) Notes: 14/30
4) Diaries: 11/23
5) Metallic Containers: 2/5
6) Oils: 18/37
7) Laudanums: 6/16
8) Achievements: 4/18
-----------------------------------------------------------------------------------------------------
Machine Room:
A safe area until you solve the puzzle. Make sure to collect collectables before doing the puzzle.Location/Walkthrough text
Image
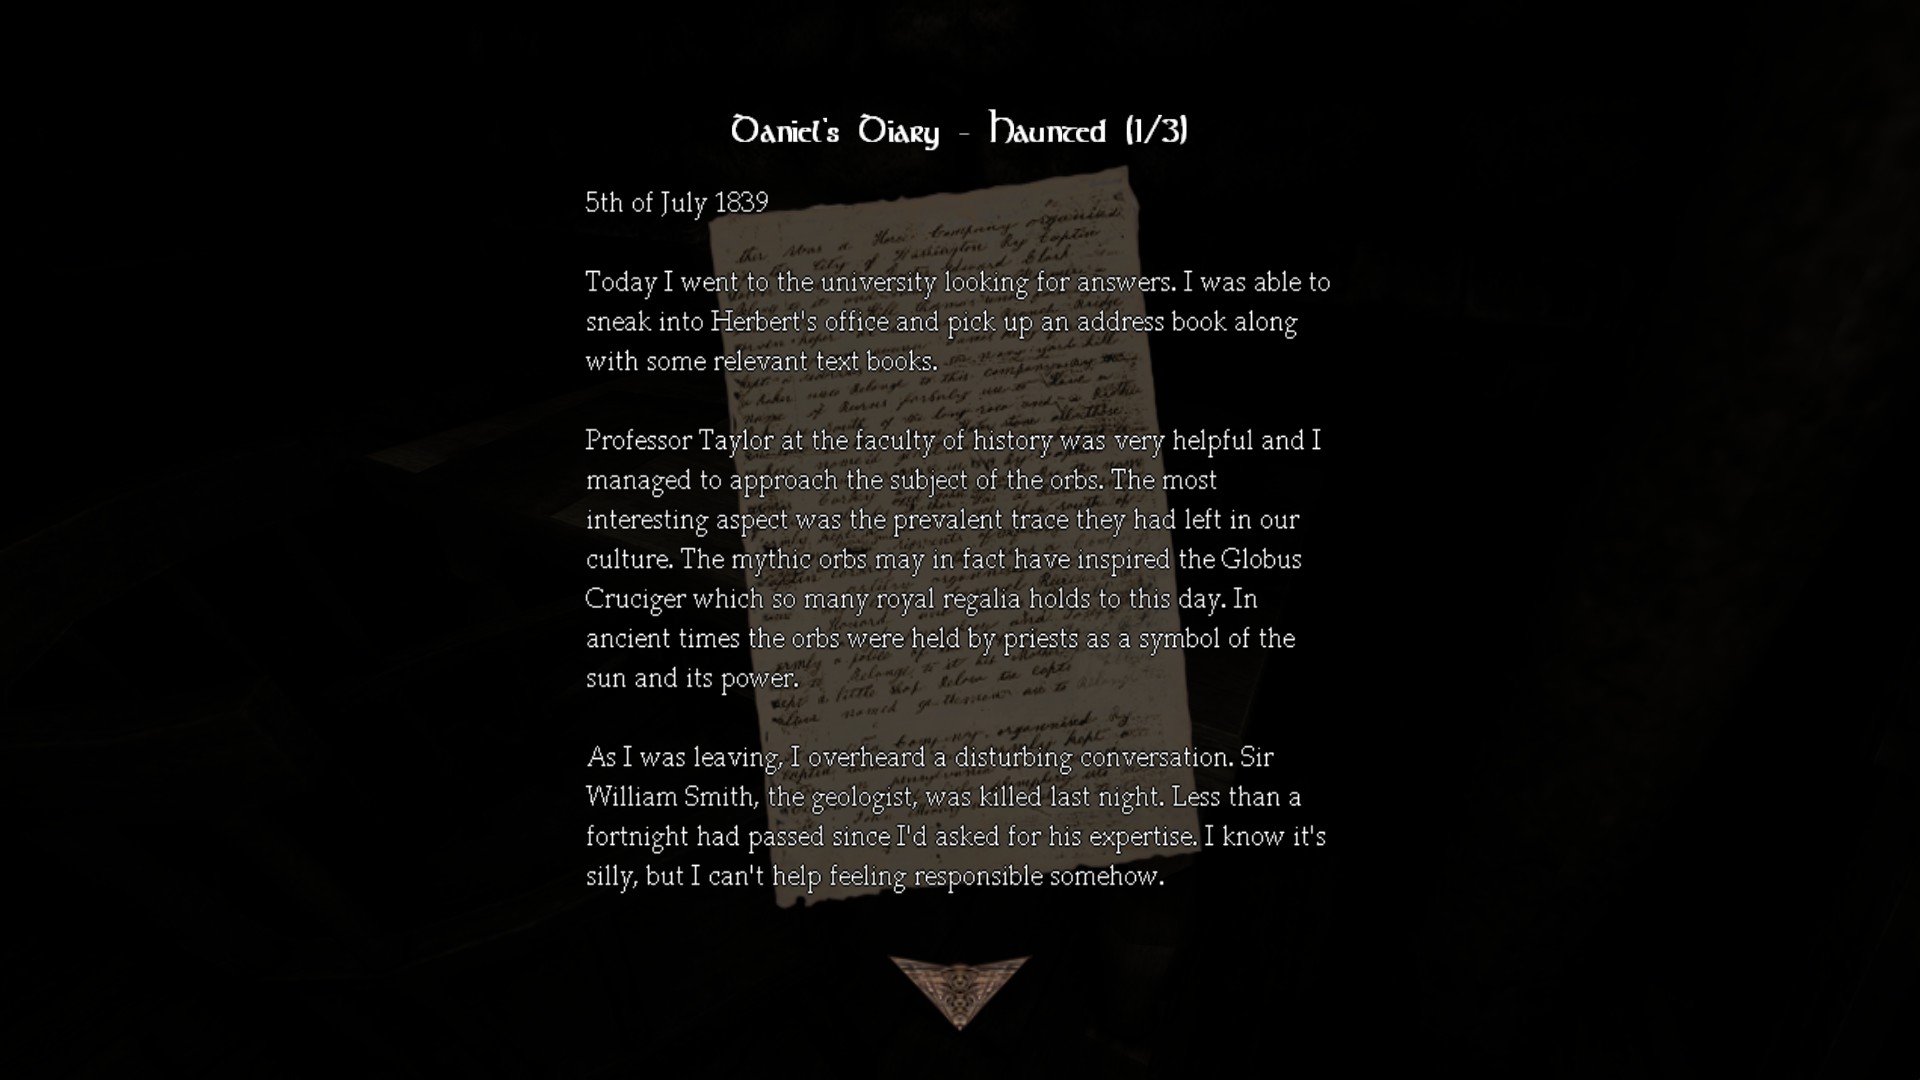
Diary #9 - Daniel's Diary - Haunted (1/3) / Tinderbox #81 - #82: When entering the first room, turn left for your diary and move to the tinderboxes area.
![Machine Room (2) (Edit_1).png]](https://images.steamusercontent.com/ugc/2055384166880816496/1CFD546F0F830BC8B6D4C93D4C06BA43197D3579/)
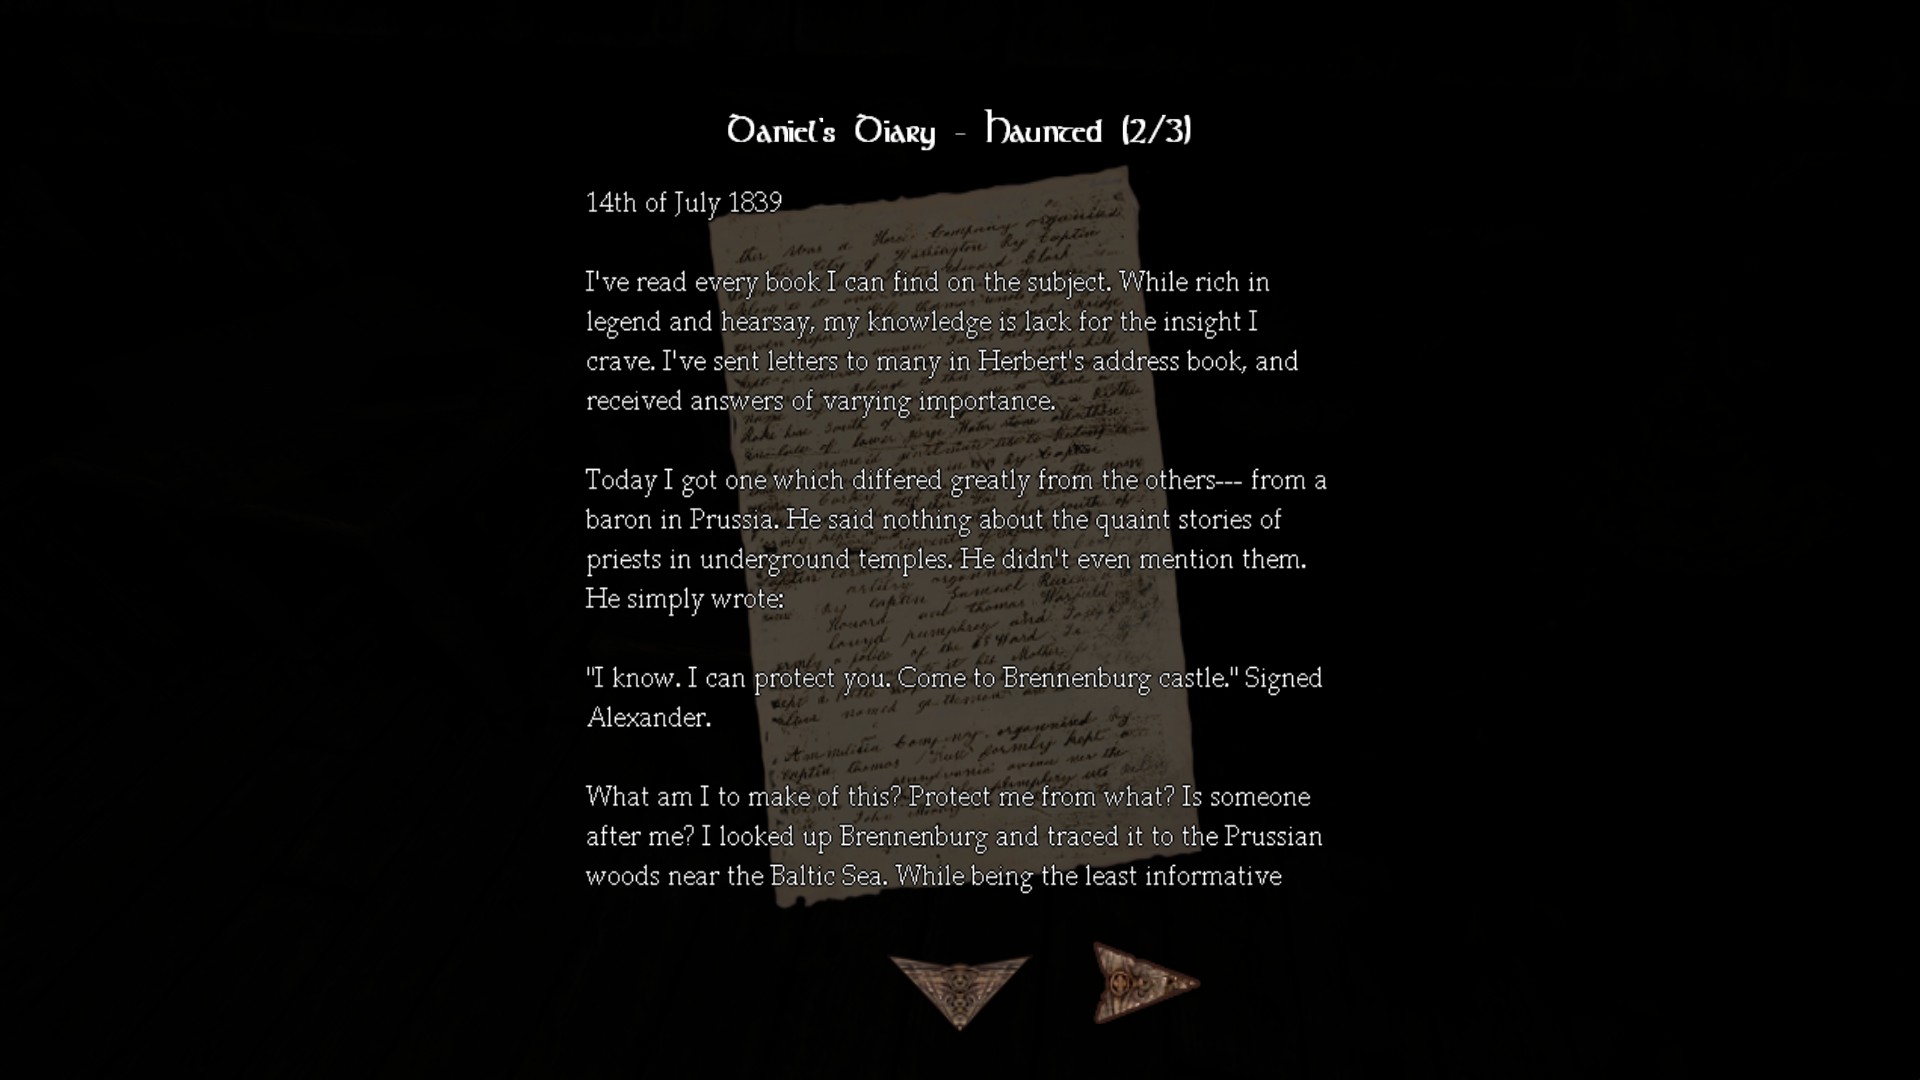
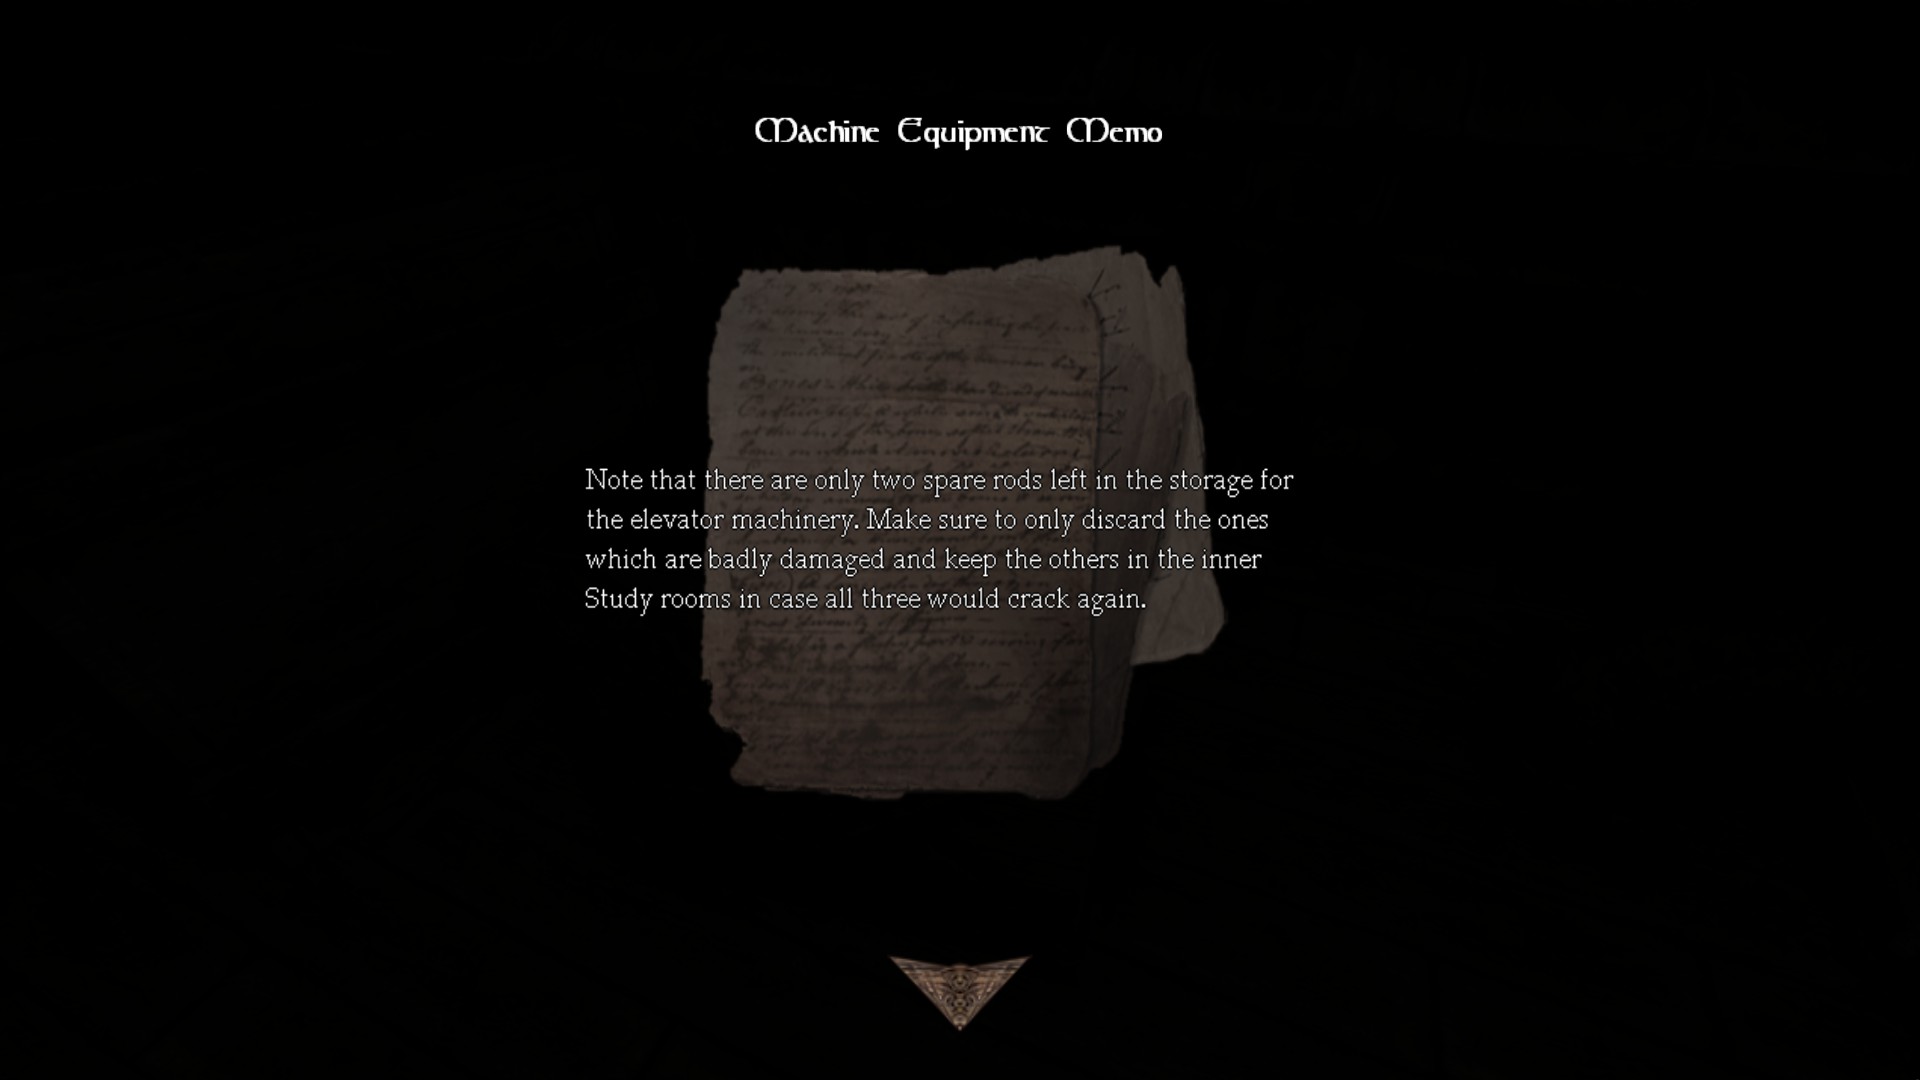
Diary #10 - Daniel's Diary - Haunted (2/3) / Note #14 - Machine Equipment Memo: On your left in this image is a diary and right is a note.
![Machine Room (2) (Edit_2).png]](https://images.steamusercontent.com/ugc/2055384166880830248/7D9BA31CF495746EFA72671BF9A25B98EDB63F1D/)
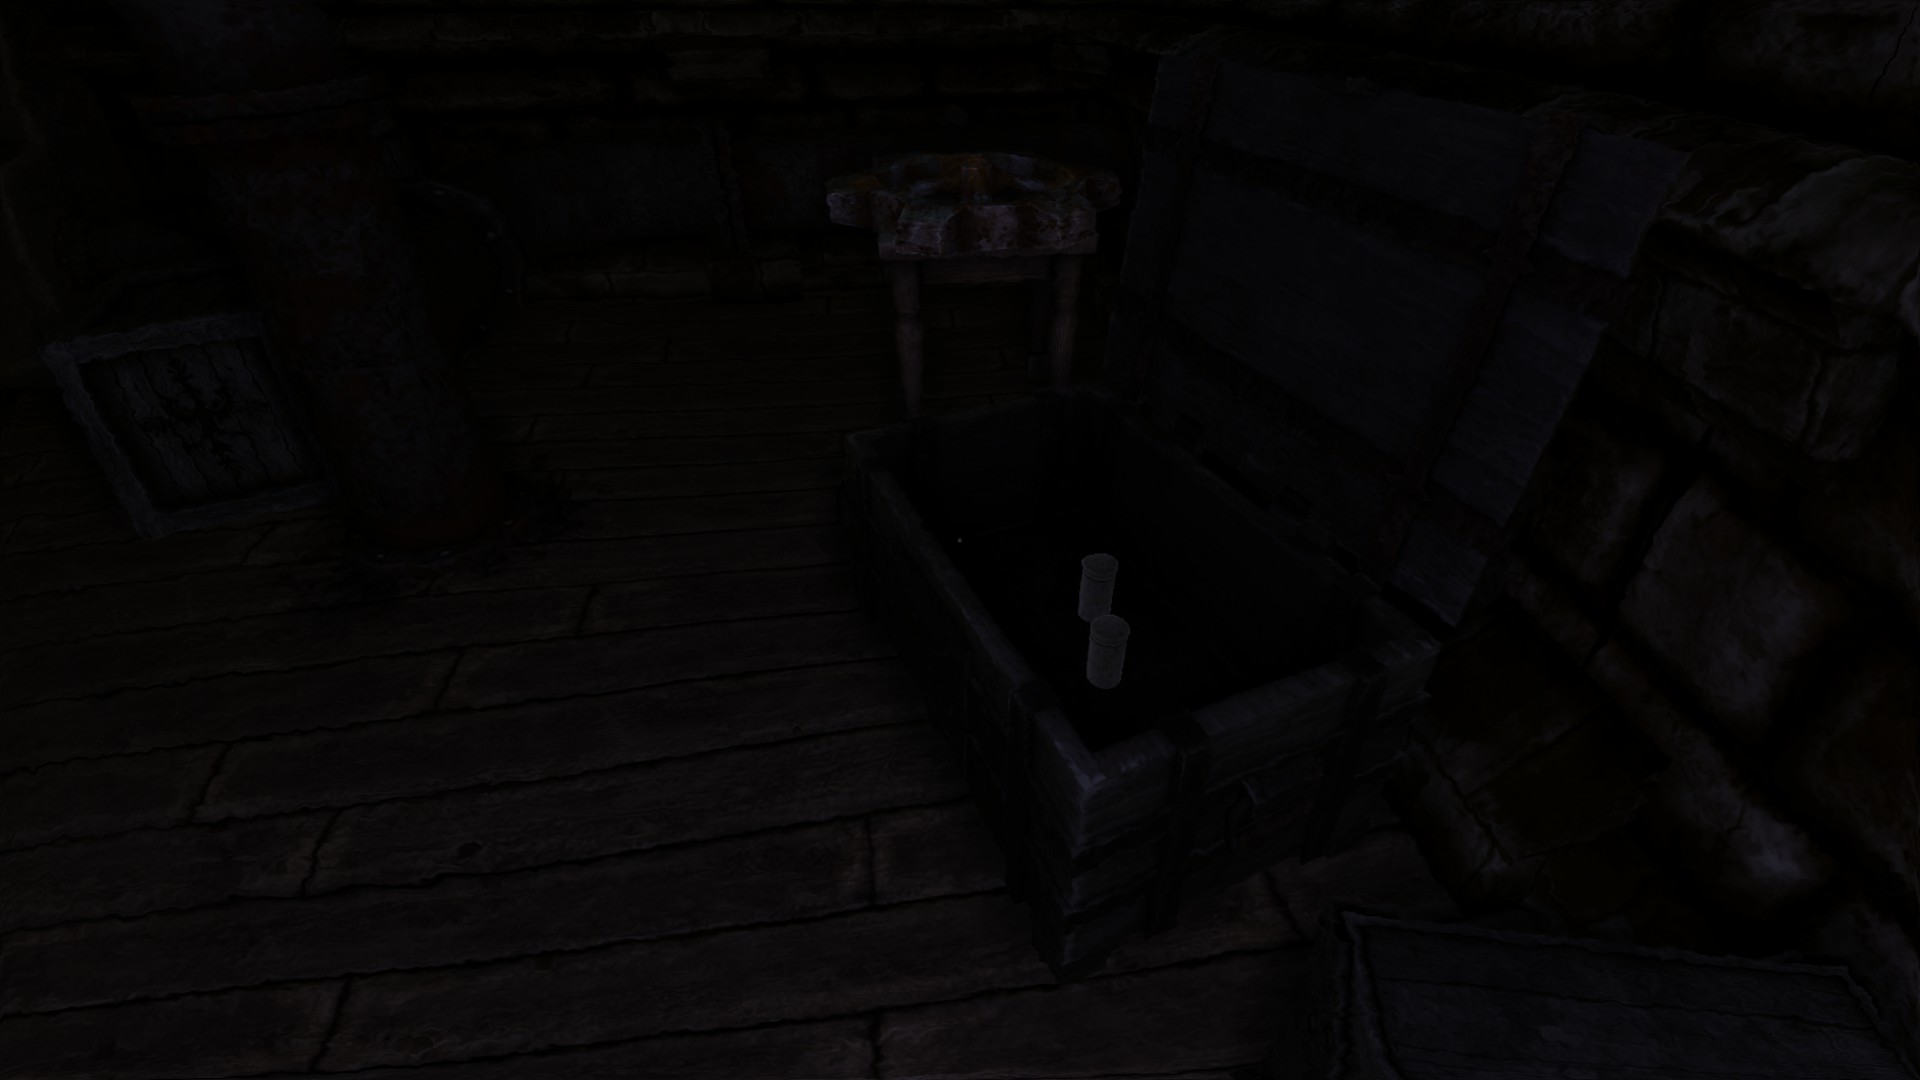
Tinderbox #83 - #84: Go to the chest and open them.
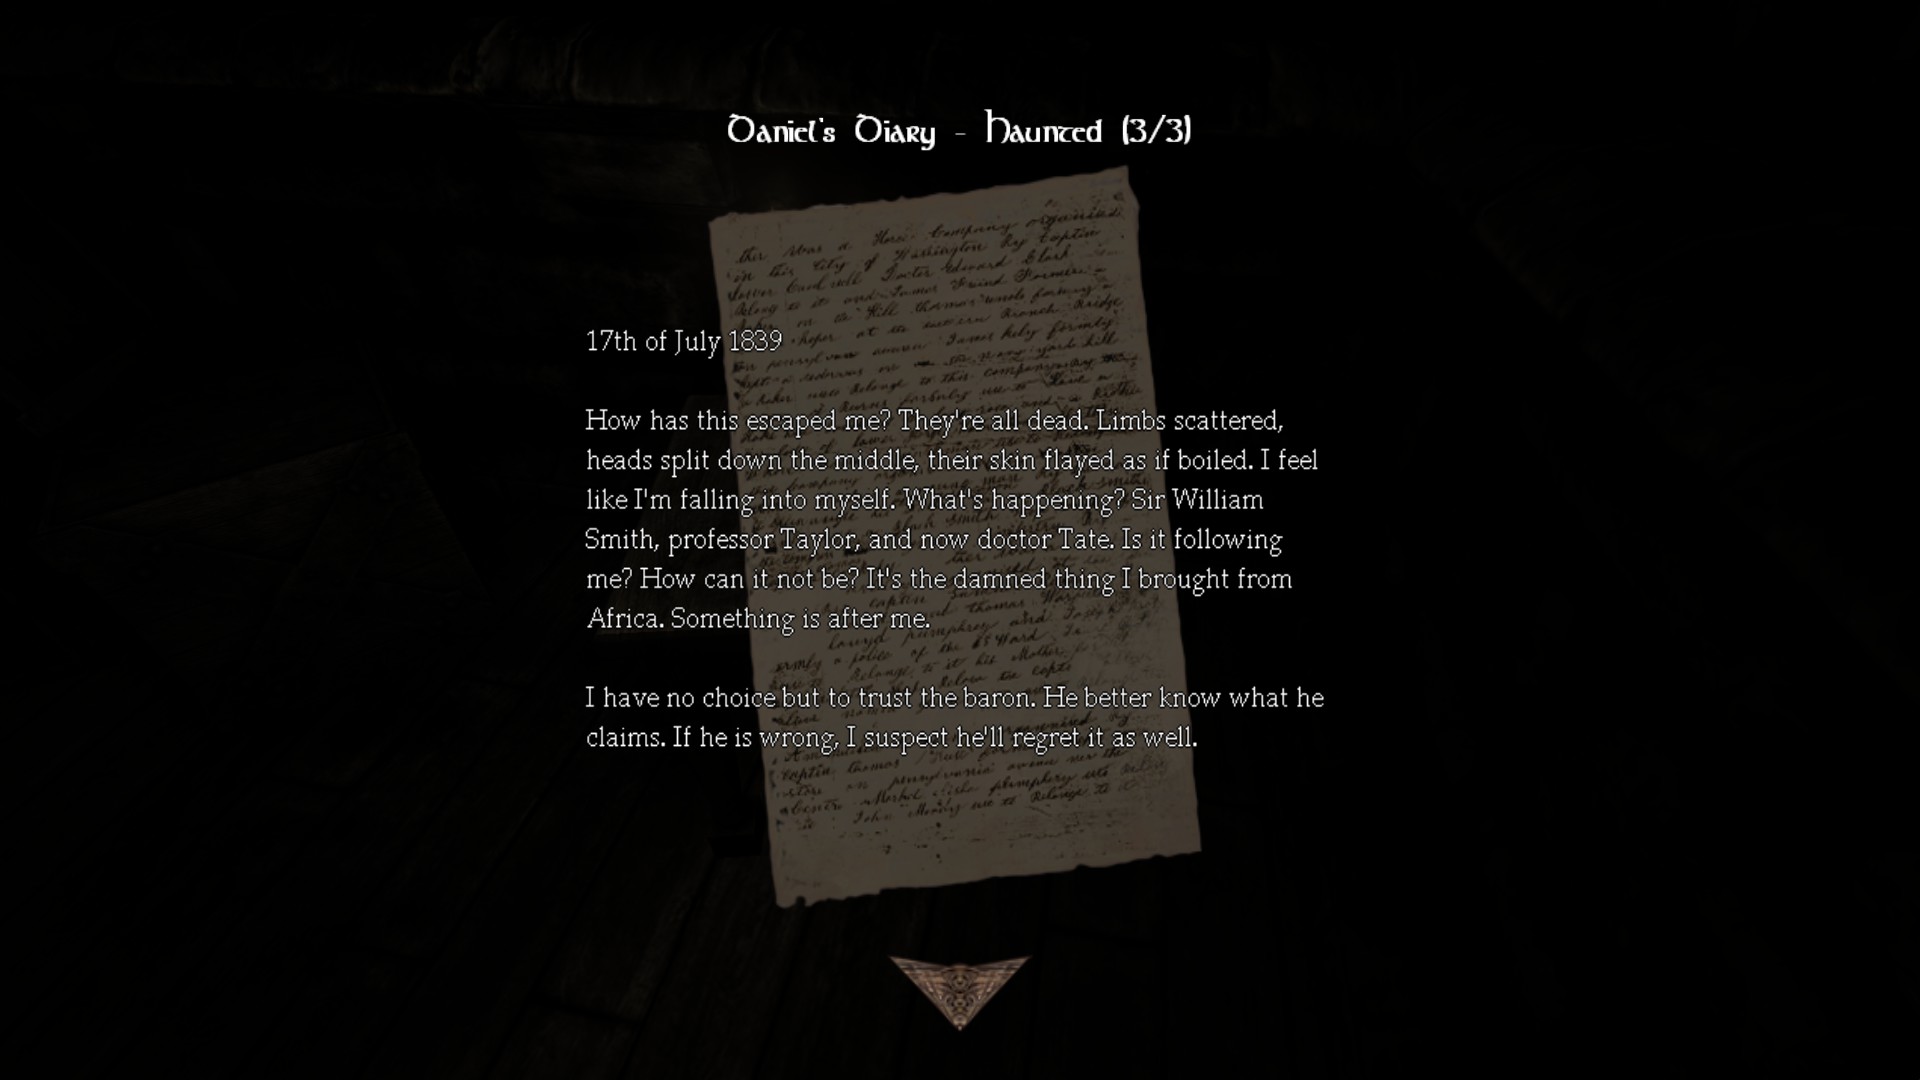
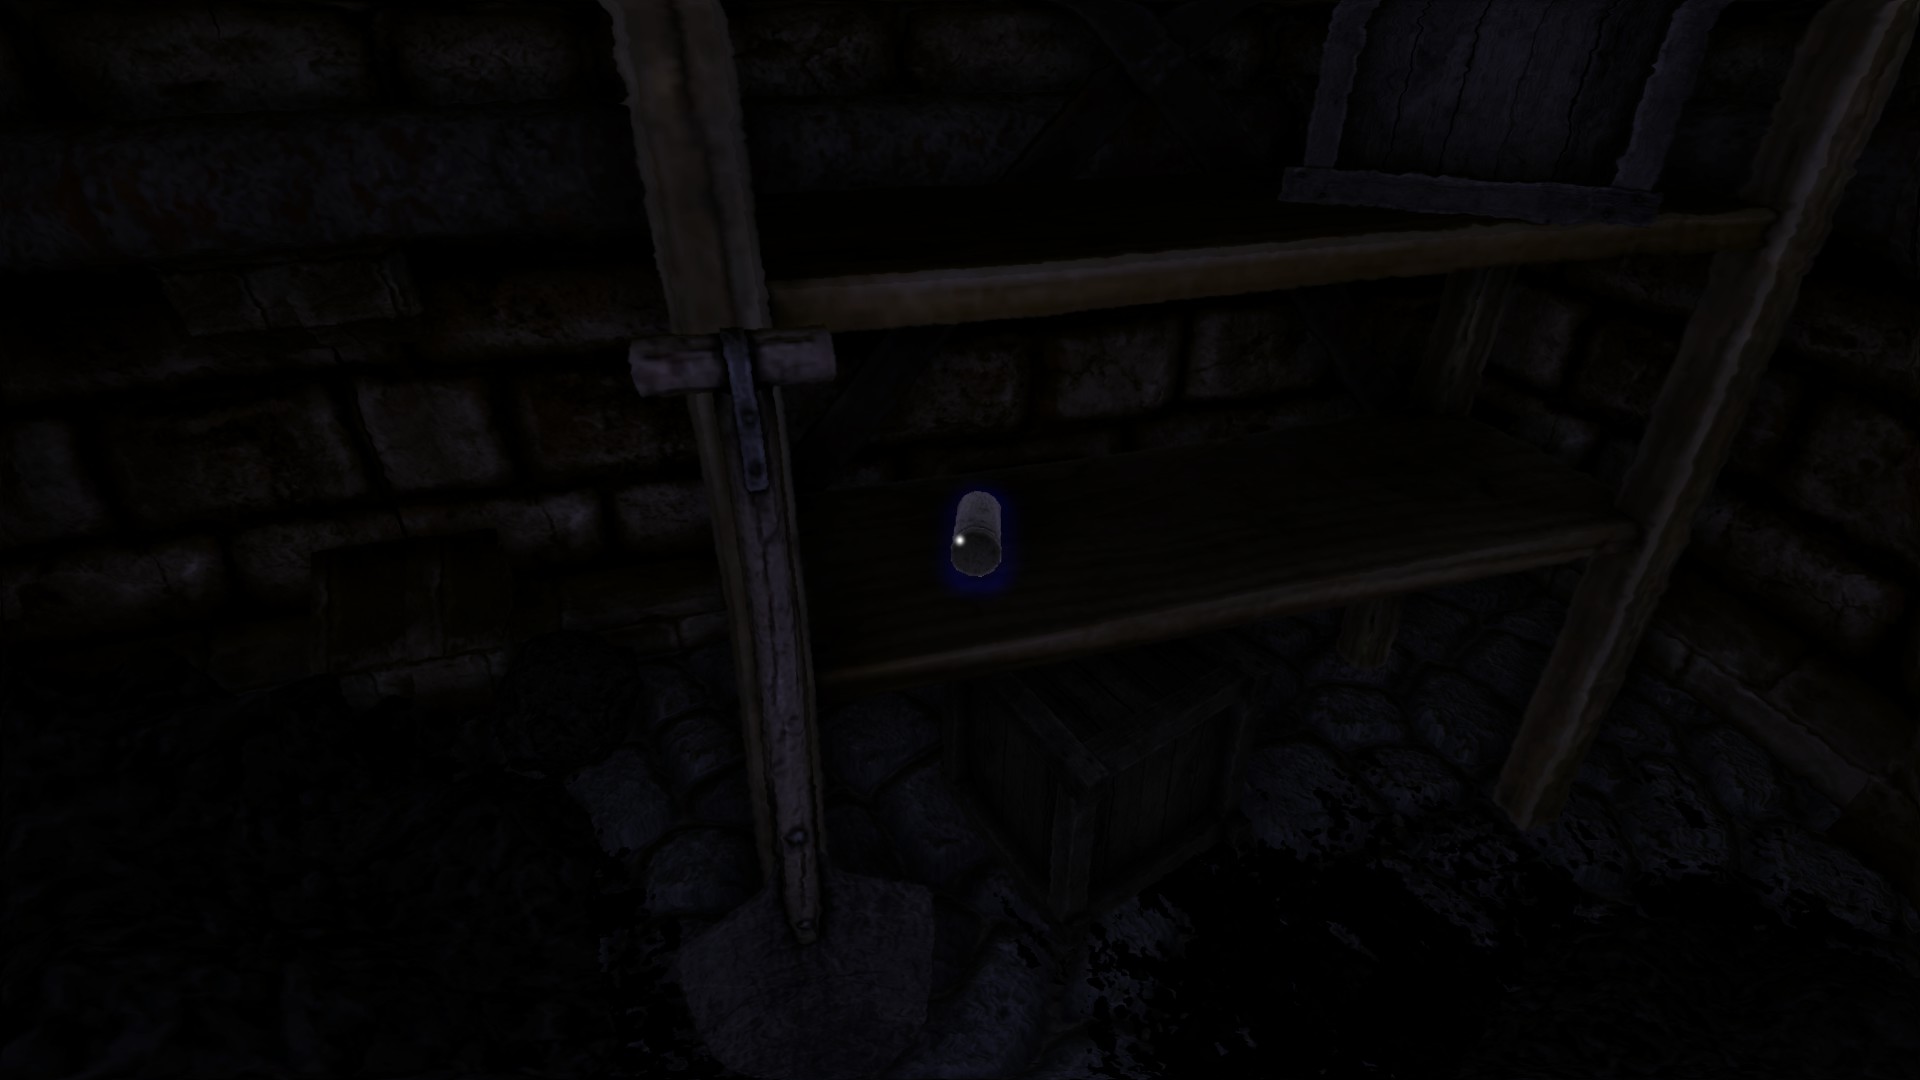
Diary #11 - Daniel's Diary - Haunted (3/3) / Tinderbox #85: Go down and get the note on your right entering, then next to to the end where it's dark but has tinderbox on the shelf, additionally on the left there is oil barrel.
![Machine Room (2) (Edit_3).png]](https://images.steamusercontent.com/ugc/2055384166880836772/CBEA9DB3C4D821F6317C9683C2C3025648D96AFF/)
Solution for the puzzle right and down below:
Lever Mechanism:
Rod:
Yellow > Blue > Red Rods (by their shapes)
Rod:
Yellow > Blue > Red Rods (by their shapes)
End:
3 cogs from:
1) Outside of the rod room
2) Inside the rod room
3) Inside on your left entering the area where you activate the elevator
After filling the burner with 3 coals, flip two levers.
3 cogs from:
1) Outside of the rod room
2) Inside the rod room
3) Inside on your left entering the area where you activate the elevator
After filling the burner with 3 coals, flip two levers.
Solving it will grant you sanity to regain but run when you see organic matters which slightly decreases your sanity.
Back Halls (Revisit):
Go to the elevator as nothing much to do than progressing.–––––––––––––––––––––––––––––––––––––––––––––––––––––––Descendant
Taken a rough ride on an elevator in Amnesia: The Dark Descent.
¯¯¯¯¯¯¯¯¯¯¯¯¯¯¯¯¯¯¯¯¯¯¯¯¯¯¯¯¯¯¯¯
Achievement #4: Story Related. You can go straight to the next area by taking the 'stable' elevator, which means you get a nice achievement after a loading screen background appear.
Part 8: Into hell we go
1) Southern Block, Northern Block
2) Tinderboxes: 103/151
3) Notes: 14/30
4) Diaries: 14/23
5) Metallic Containers: 2/5
6) Oils: 25/37
7) Laudanums: 8/16
8) Achievements: 4/18
-----------------------------------------------------------------------------------------------------
![Prison - Southern Block (1).png]](https://images.steamusercontent.com/ugc/2062132500101623107/B1EAF88154C3F9EC637569B8DE8D8CD64A50C162/)
![Prison - Southern Block (2).png]](https://images.steamusercontent.com/ugc/2062132500101623115/7E80D36D56D551E330676AC2E24EC414DB6AB945/)
![Prison - Southern Block (3) (Merge_1).png]](https://images.steamusercontent.com/ugc/2055384166887070881/924F51030B14354375335891F52E8EB43354C43F/)
![Prison - Southern Block (3) (Merge_2).png]](https://images.steamusercontent.com/ugc/2055384166887093561/E046F612931F23921F0B11486F27C408A28FE857/)
![Prison - Northern Block (3) (Mrge_3).png]](https://images.steamusercontent.com/ugc/2206261006287091432/E857BD3B2407C387F4A1F1C121C258E4A58FAFF1/)
![Prison - Northern Block (1).png]](https://images.steamusercontent.com/ugc/2062132500101628276/FF47959D7D604EDFF9AA7CB29A37B7D0C1257D7A/)
![Prison - Northern Block (2).png]](https://images.steamusercontent.com/ugc/2062132500101628343/1FEB40417F73EA66AD7962191ACD5FE4EE1739E1/)
![Prison - Northern Block (3) (Merge_1).png]](https://images.steamusercontent.com/ugc/2055384166887212939/91BDB7803F1D6D6EE60A963672F194BF06C6696F/)
![Prison - Northern Block (3) (Merge_4).png]](https://images.steamusercontent.com/ugc/2055384166887292345/9D4F73B5D4A5D6FBCD6BB482D753B3CFBA3C6241/)
![Prison - Northern Block (3) (Merge_2).png]](https://images.steamusercontent.com/ugc/2055384166887231940/D1265F76C30F999FDE449E6F97A986DD753A6AD9/)
2) Tinderboxes: 103/151
3) Notes: 14/30
4) Diaries: 14/23
5) Metallic Containers: 2/5
6) Oils: 25/37
7) Laudanums: 8/16
8) Achievements: 4/18
-----------------------------------------------------------------------------------------------------
Prison Southern Block:
This place is a labyrinth but the other will be so bear with me.Location/Walkthrough text
Image
Tinderbox #86 - #87: Clear and enter after the debris to find Cell Area I sign.
![Prison - Southern Block (2) (Edit_1).png]](https://images.steamusercontent.com/ugc/2055384166886825388/12B93BED5D97BEE6C7827DE198588D3F32427280/)
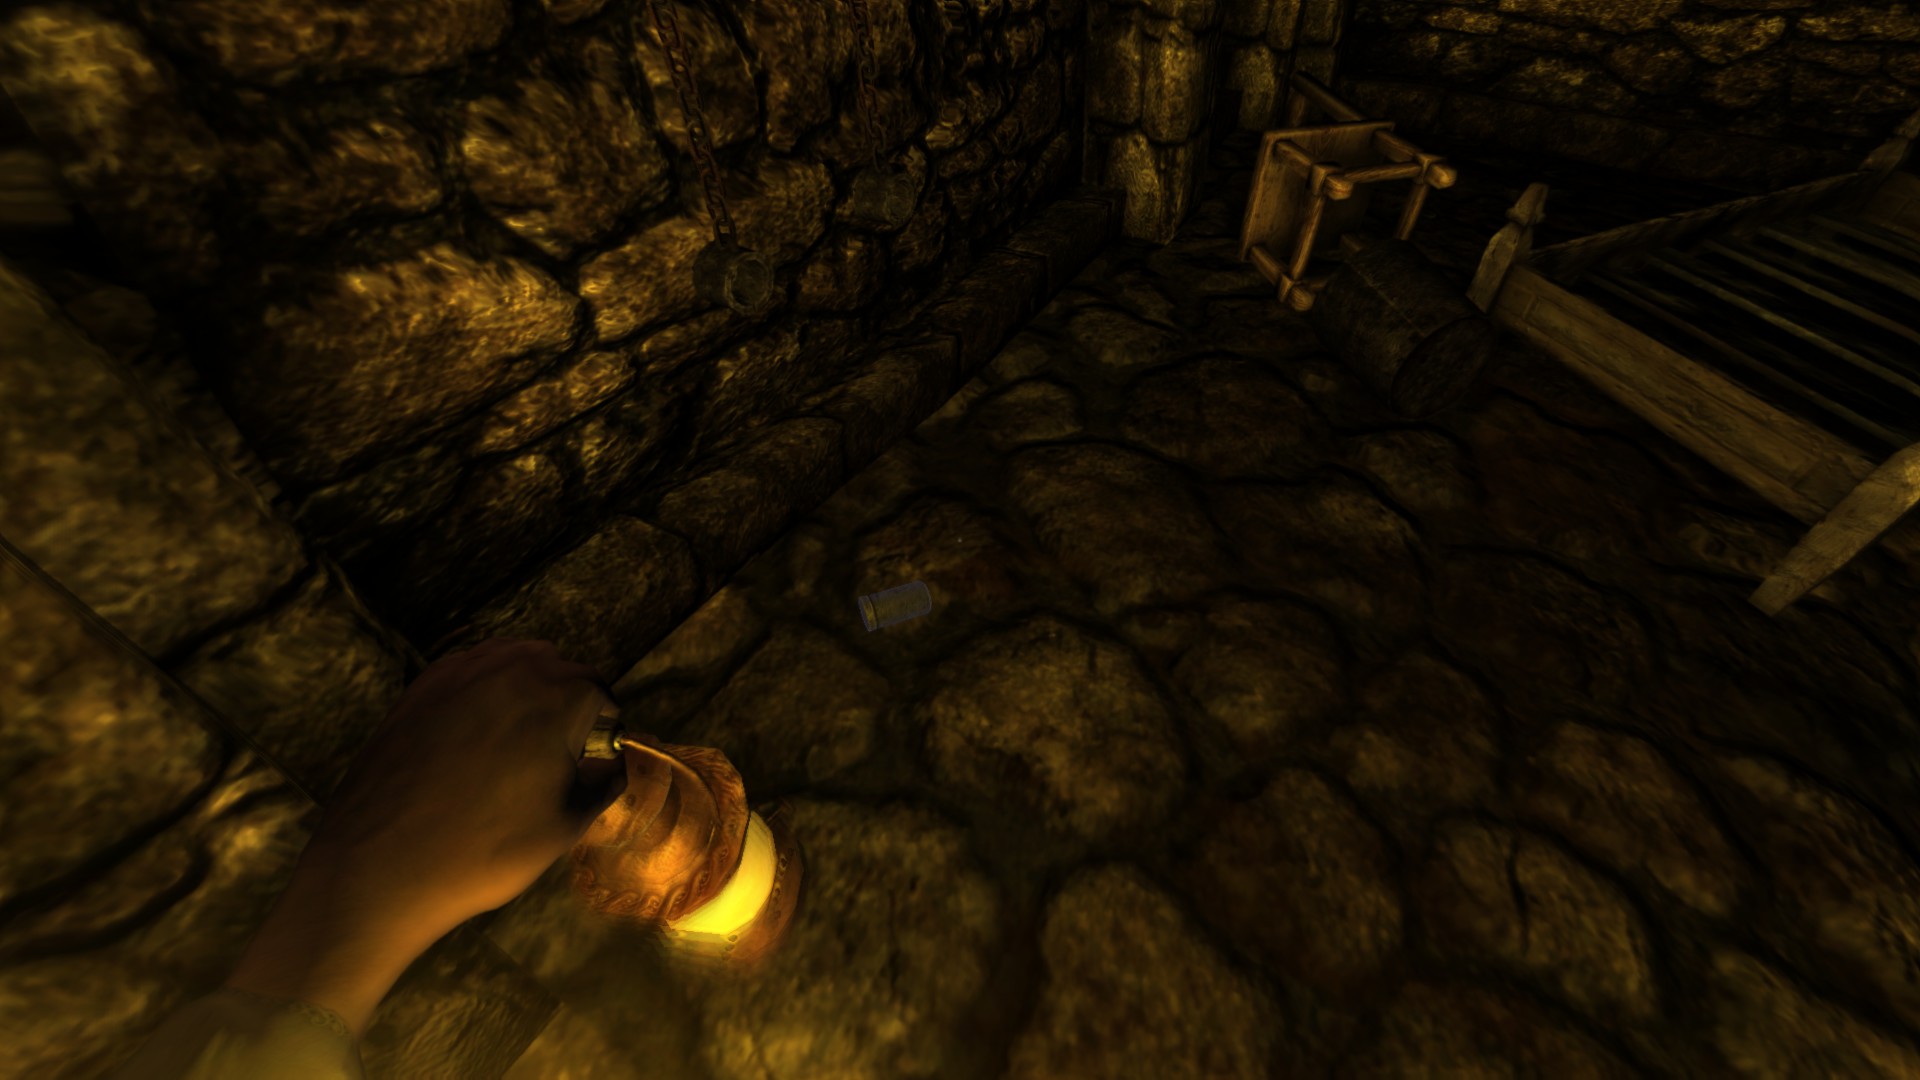
When you will try going upstairs the monster will spawn, go to the area where the hammer is and wait there.
Tinderbox #88: Open the door after the hammer to also grab lantern oil #19.
![Prison - Southern Block (2) (Edit_2).png]](https://images.steamusercontent.com/ugc/2055384166886868611/8F8BAA36F38CF26DD49B6846713A2161A054282C/)
Tinderbox #89 - #90: On right after is the tinderbox and a laudanum #7. Lastly, go down the stair.
![Prison - Southern Block (2) (Edit_3).png]](https://images.steamusercontent.com/ugc/2055384166886917419/DE74013117C0E8B919940DEE988D185E5D247FFE/)
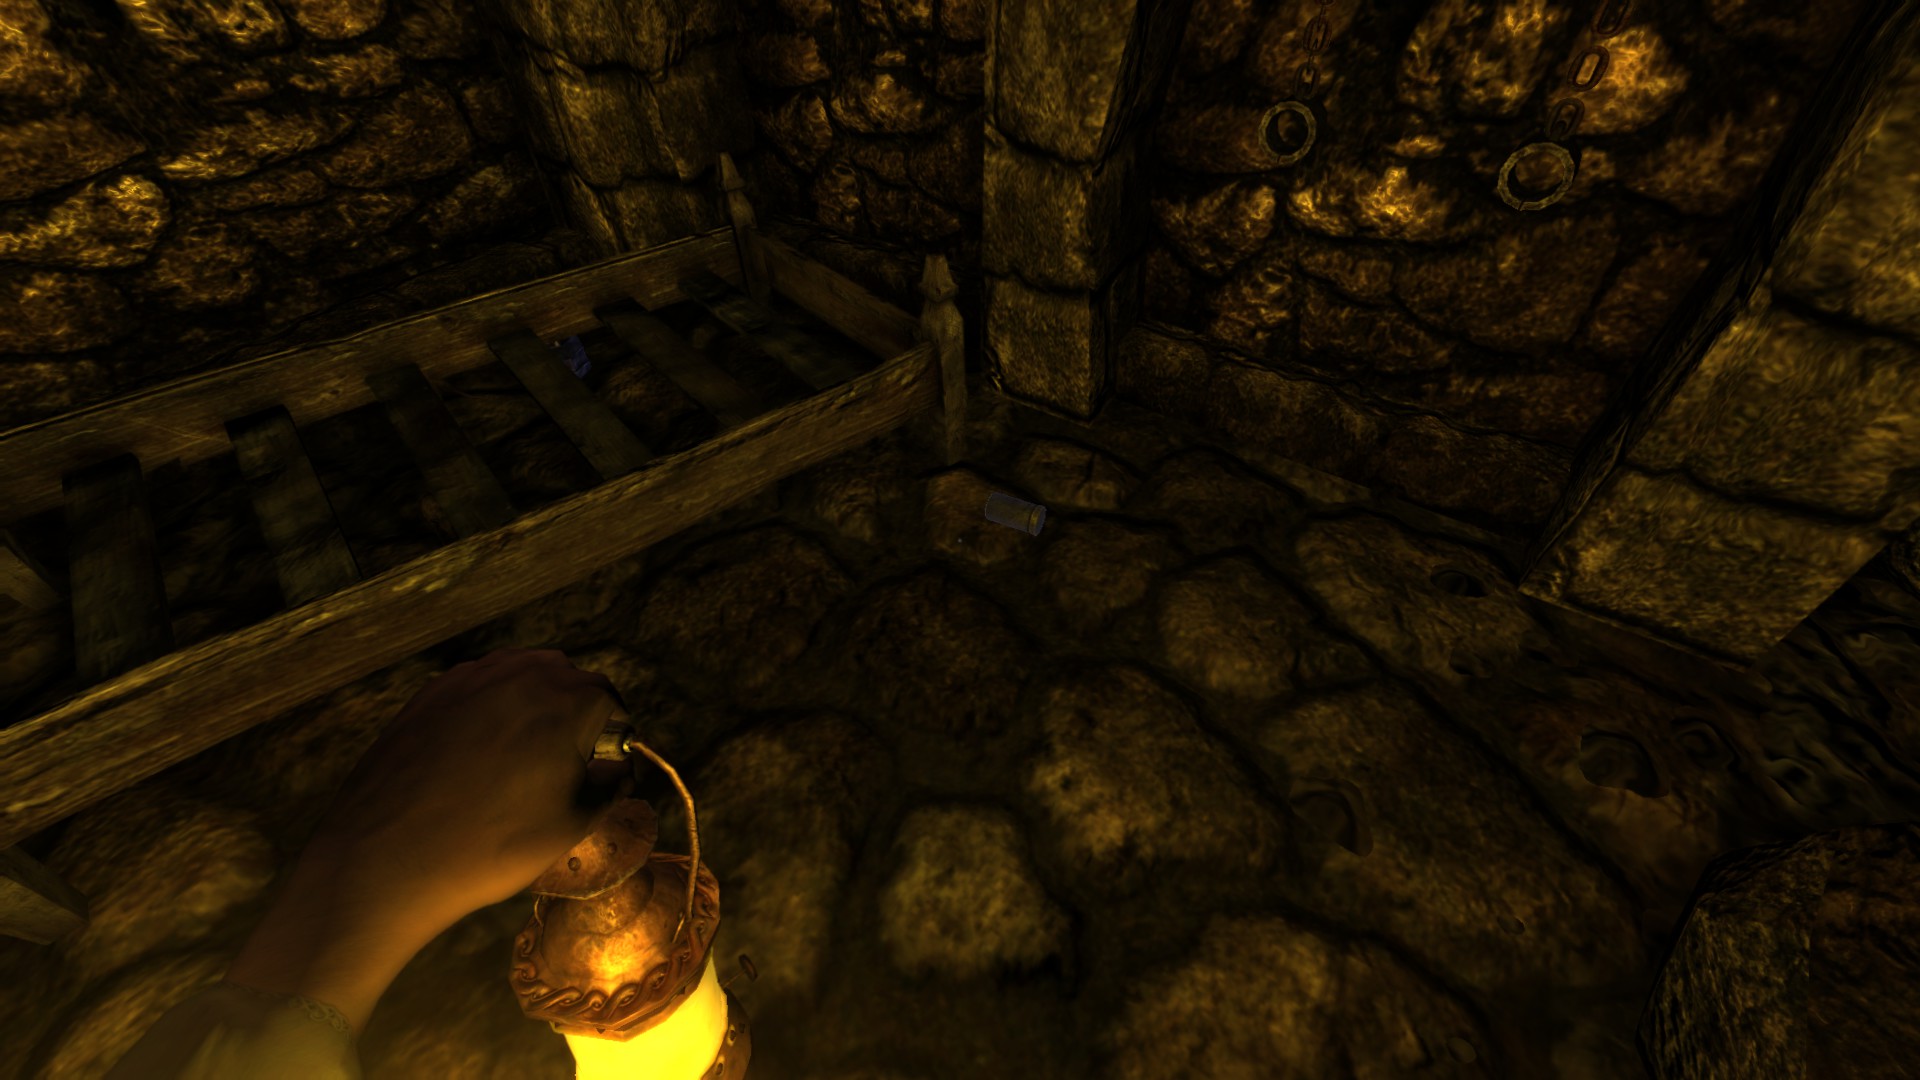
Passing by the chair is a oil #20 is. Next go left to grab chipper as the flashback plays out. Move forward but no monster is present.
Tinderbox #91: After all that, open the locked cell door on left if no danger present. You will see a tinderbox forward and a oil #21 on the corner.
![Prison - Southern Block (2) (Edit_4).png]](https://images.steamusercontent.com/ugc/2055384166886936056/2FF763CC038A16D5ED28291F9CFCA507DCEA936D/)
Now go inside and watch the flashback. Next, combine hammer/chipper and use the tool against the hole. It regains your sanity two times.
Proceed to Northern Block.
Prison Northern Block:
By far what I mentioned a labyrinthLocation/Walkthrough text
Image
Diary #12 - Daniel's Diary - Brennenburg (1/3): To begin in the kitchen room, go grab the oil #22 on your left entering then grab all two tinderboxes.
![Prison - Northern Block (2) (Edit_1).png]](https://images.steamusercontent.com/ugc/2055384166887115997/1B6B5900EC47FAE3BC2FD1B5BB1740DD135D5E51/)
Tinderbox #92 - #93:
When a Grunt outside spawn, make sure before to keep the door closed. Additionally a Laudanum #8 is on shelf.
Diary #13 - Daniel's Diary - Brennenburg (2/3): After traversing through a linear hallway, go left and left when you see two way corridor. Forward is a diary.
![Prison - Northern Block (2) (Edit_2).png]](https://images.steamusercontent.com/ugc/2055384166887176782/5B6318EDC441454FC022CB8A0363DFEFD9C0E450/)
Tinderbox #94: When inside the room on your left (after the note area), you will see a flashback.
Tinderbox #95: You will go to the next room where an oil #23 and one tinderbox is.
While trying to exit out, where you turn left a monster appears, try to make sure you got enough time to go back to the note area. After that, proceed to the Cistern Entrance while hearing flashbacks.
Tinderbox #96:
![Prison - Northern Block (2) (Edit_3).png]](https://images.steamusercontent.com/ugc/2055384166887186698/6A6D8F6F76F8CA0B2DAF4726BC94912B79478C4C/)
Going forward is a place to hear flashback '...I doubt that very much.' The door is locked at the end hence why going there.
Tinderbox #97:
After I died, I checked and made sure the tinderbox count as being grabbed, currently have 92 tinderboxes but still I reload save which you can if you mess the point of no return.
Diary #14 - Daniel's Diary - Brennenburg (3/3) / Tinderbox #98:
![Prison - Northern Block (2) (Edit_4).png]](https://images.steamusercontent.com/ugc/2055384166887196859/44184D6FC6F8C4E0636A9B75FE833950350EBEC2/)
Now head inside the next door before the monster appears.
Tinderbox #99: After taking care of the monster, get to the end and grab also your oil #24.
Tinderbox #100 - #103: To the jar is a chest consisting of oil #25 also. On the left entering are the last two tinderboxes.
![Prison - Northern Block (2) (Edit_5).png]](https://images.steamusercontent.com/ugc/2055384166887197169/5EB56774F3A3A491C714A150B5636D762B40F187/)
Grab the jar and go back to acid storage, go to the Cistern area while the last monster spawn. Two sanities regained.
Exit out the level.
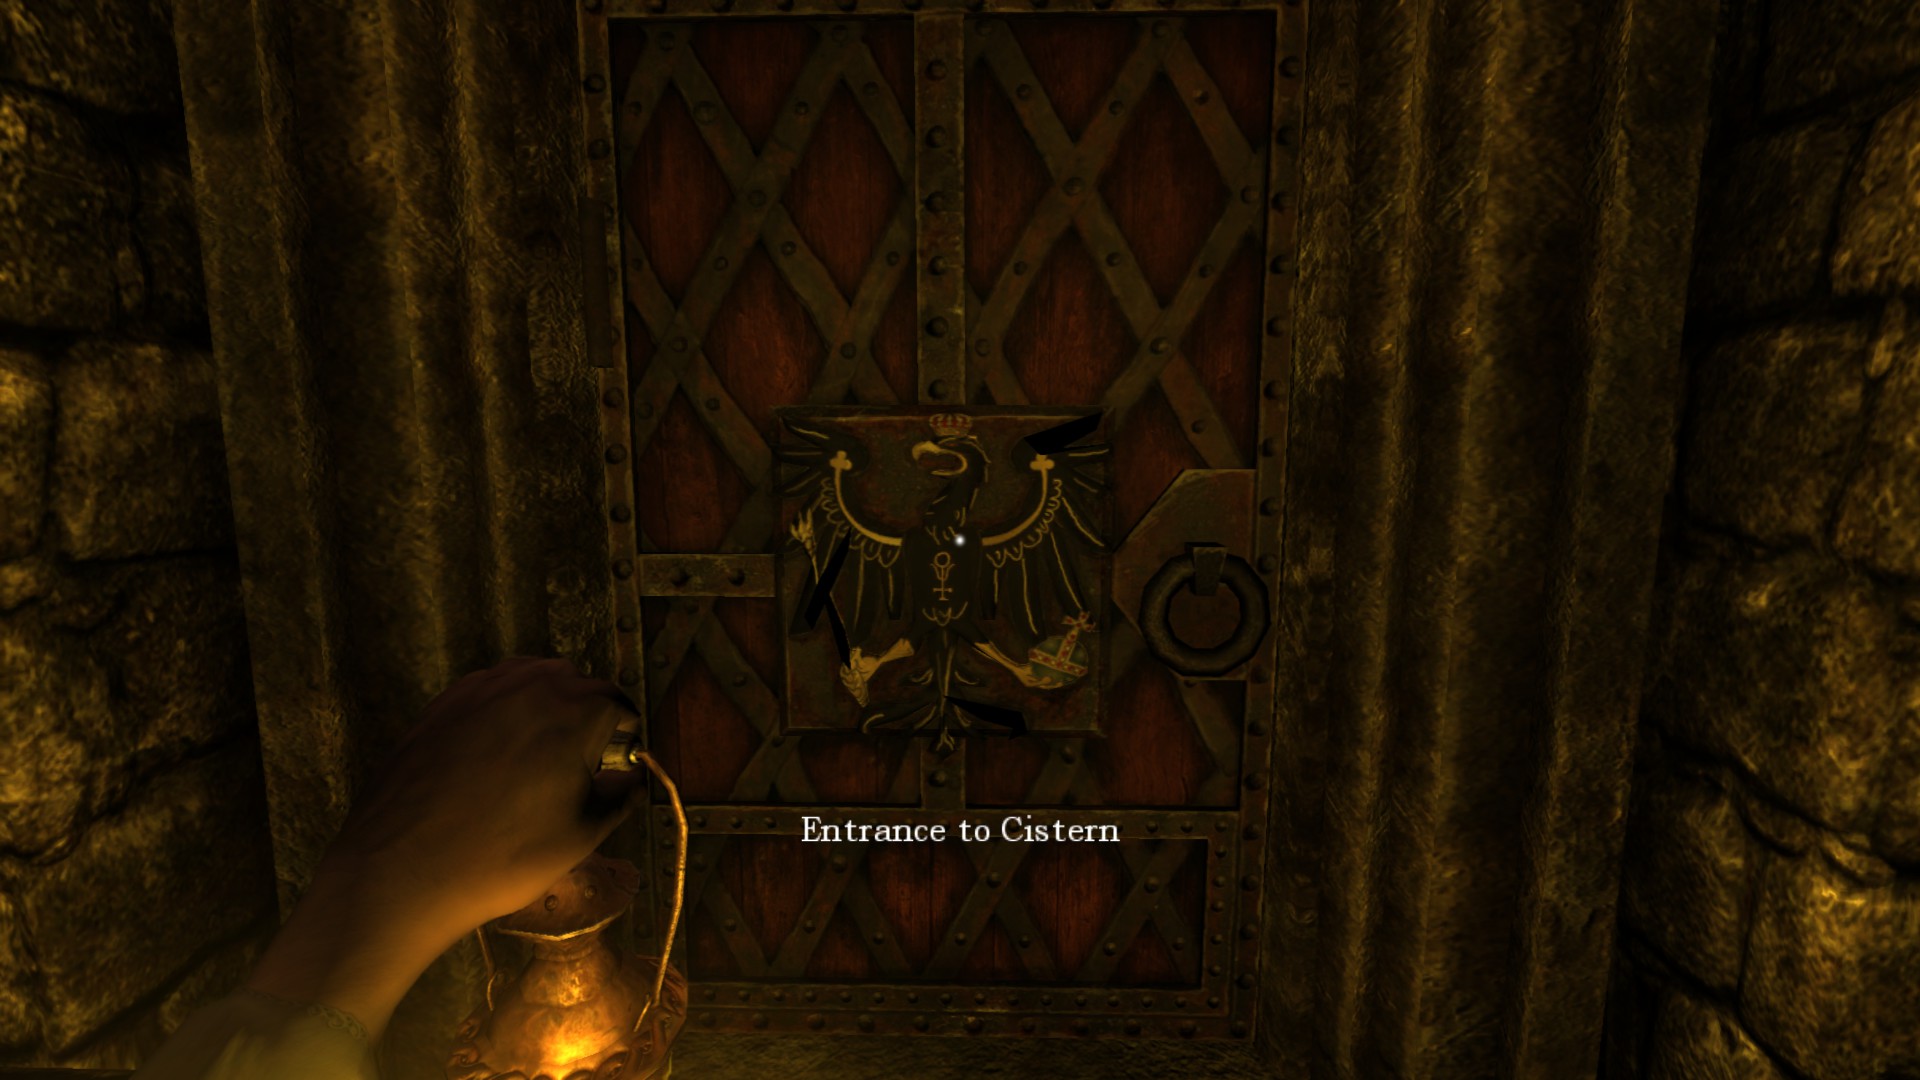
Part 9: Act III - The Cistern
1) Cistern Entrance, Control Room
2) Tinderboxes: 106/151
3) Notes: 15/30
4) Diaries: 14/23
5) Metallic Containers: 2/5
6) Oils: 26/37
7) Laudanums: 8/16
8) Achievements: 4/18
-----------------------------------------------------------------------------------------------------
![Cistern Entrance (1).png]](https://images.steamusercontent.com/ugc/2062132500101978280/E91E0493839C6E6D668C0E082F9223BDF24A934B/)
![Cistern Entrance (2).png]](https://images.steamusercontent.com/ugc/2062132500101978290/84D879F2AC7DF6A4C5033DED66F6A42BCE97F23B/)
![Control Room (1).png]](https://images.steamusercontent.com/ugc/2062132500102209341/BCB948C882B77C57514C02F5D85E76669B23A2B0/)
![Control Room (2).png]](https://images.steamusercontent.com/ugc/2062132500102209349/7E597252F33625A7FF19652568980FEC53FEBBCE/)
2) Tinderboxes: 106/151
3) Notes: 15/30
4) Diaries: 14/23
5) Metallic Containers: 2/5
6) Oils: 26/37
7) Laudanums: 8/16
8) Achievements: 4/18
-----------------------------------------------------------------------------------------------------
Cistern Entrance:
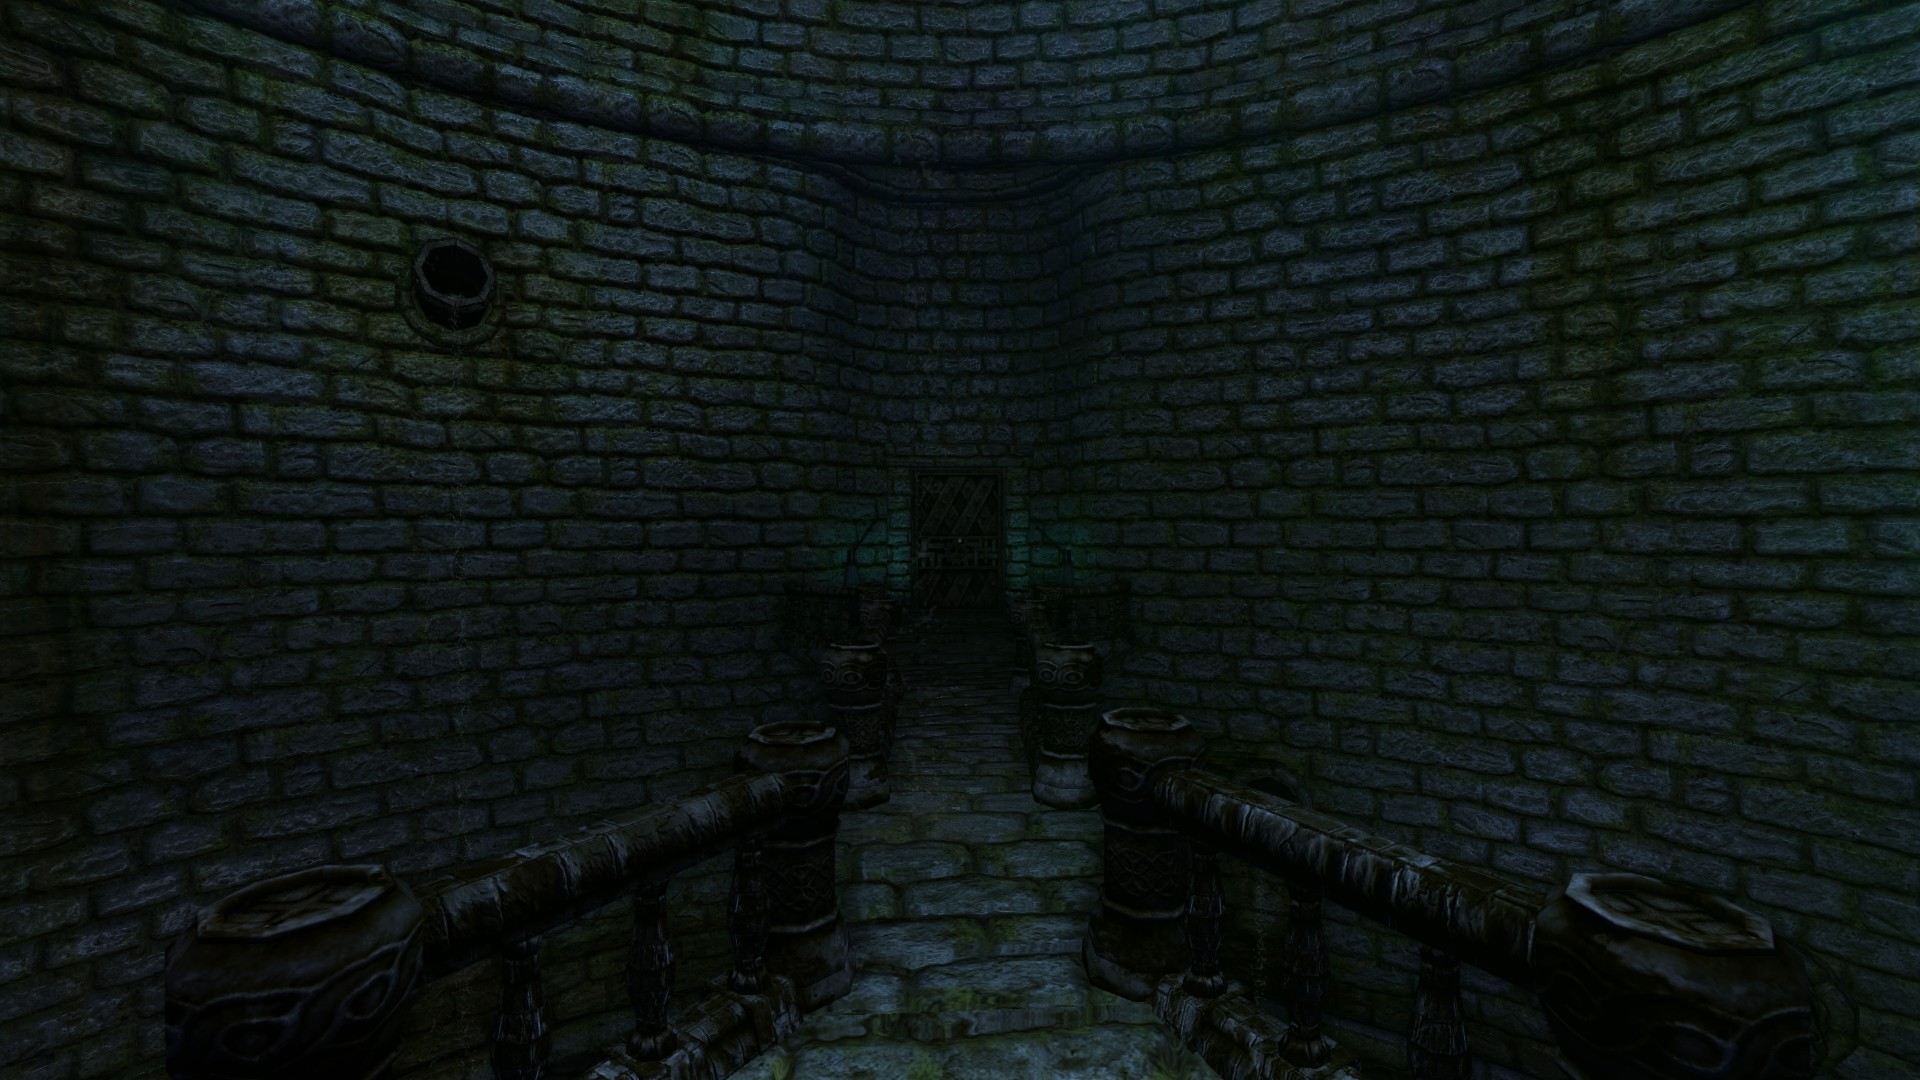
Your third safe area hub. We need to go and drain the sewers as well as grab the vaccine for the fungi fumes but we must complete all three rooms.Location/Walkthrough text
Image
Doing the ladder puzzle will grant us sanity, use the jar on the oil drainage and repeatedly use the lever to break pipe.
Now we will be entering through the Control Room then other areas to your choice.
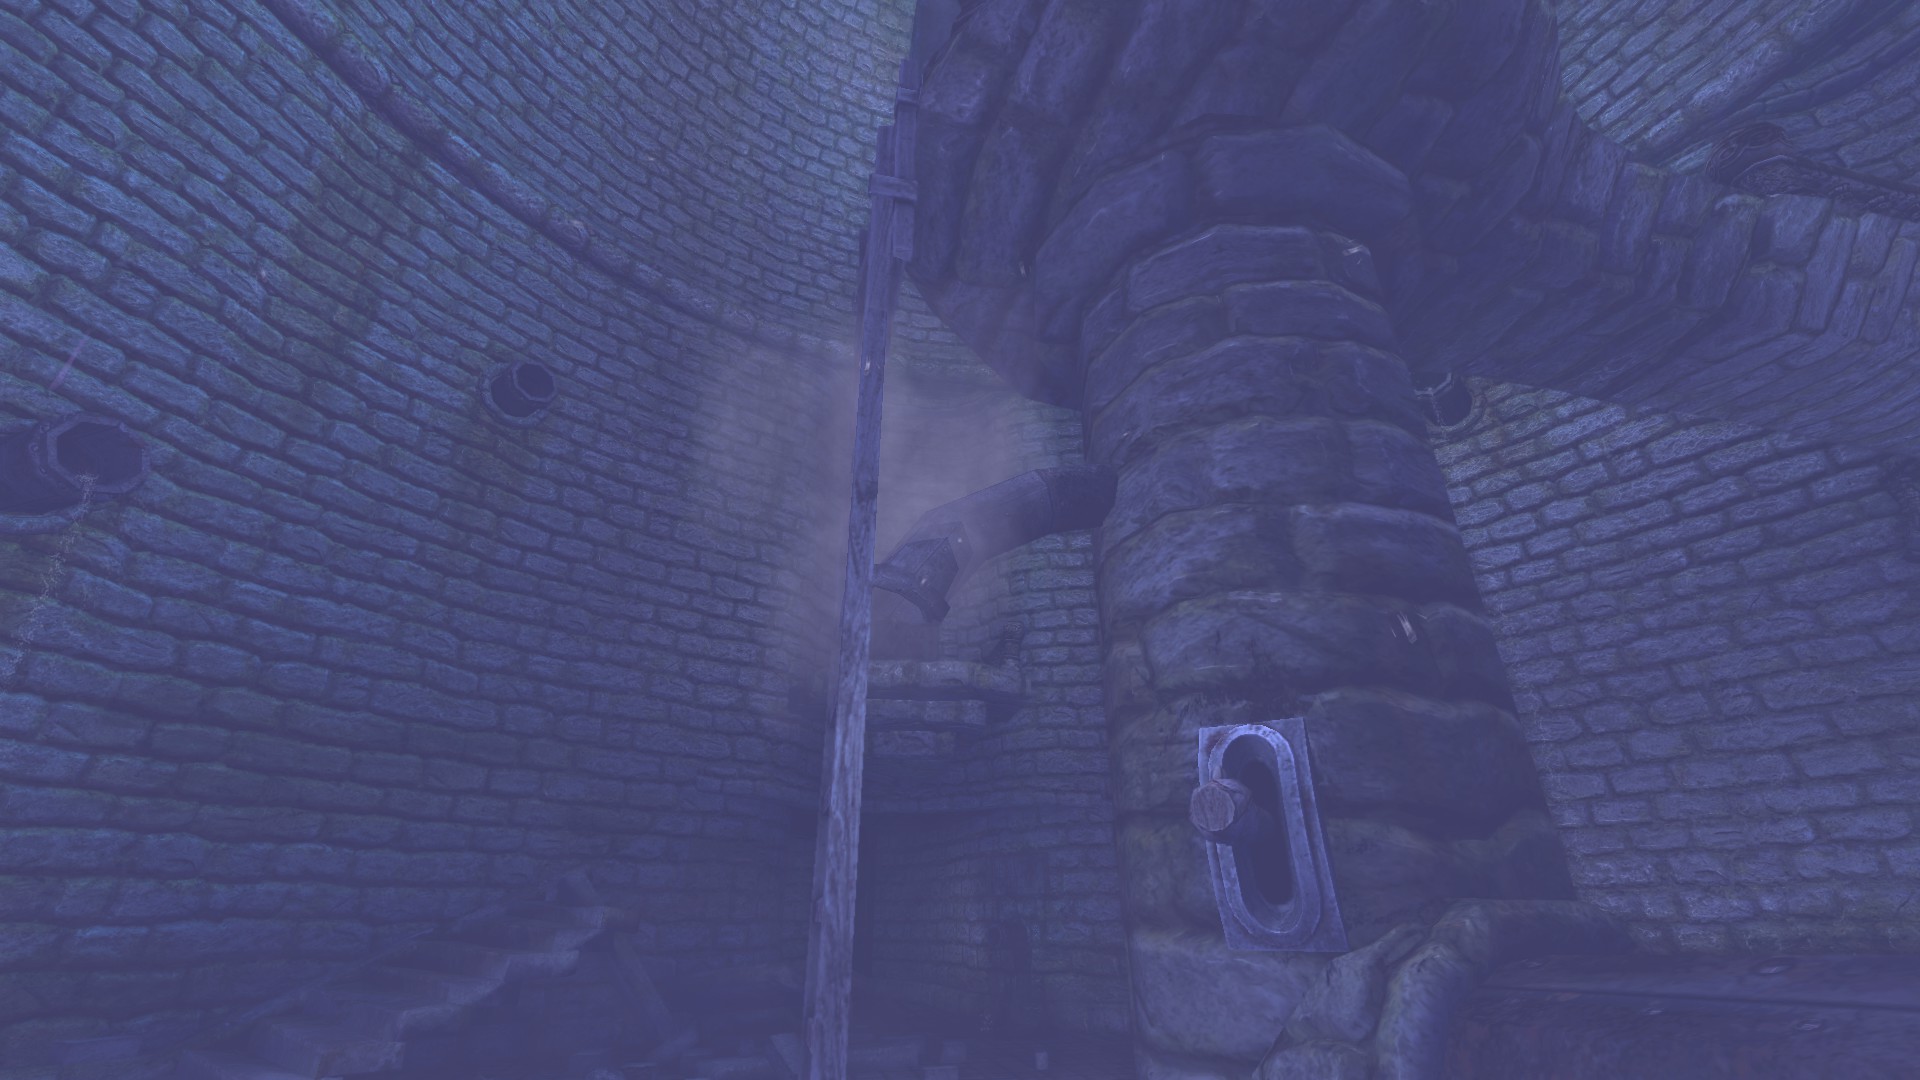
Control Room:
This is by far the safest area.Location/Walkthrough text
Image
A flashback will occur on the starting point.
Tinderbox #104: When starting, enter the room I on your left. A pipe is waiting there.
![Control Room (2) (Edit_1).png]](https://images.steamusercontent.com/ugc/2055384166891123175/4A67808DAC7D4E45D9FD63BEF3CFD33C210976AF/)
Turn all the valve, then go to the next room II, valves are stuck but a pipe is lying down.
Tinderbox #105: On room II.
![Control Room (2) (Edit_2).png]](https://images.steamusercontent.com/ugc/2055384166891126676/F18EF3DCBD9A4EB2D27973D010BE12DAC2C7DFD6/)
Now go to the room III where you turn on valve. Pick up the wooden crank on the table.
Tips: Stack three wooden boxes to not use the valve anymore.
Tips: Stack three wooden boxes to not use the valve anymore.
Tinderbox #106 / Note #15 - Machine: Room IV and an oil #26 and a tinderbox is waiting. Meanwhile a lever puzzle is there but is stuck, similar to Door II. An oil #26 is there.
![Control Room (2) (Edit_3).png]](https://images.steamusercontent.com/ugc/2055384166891129765/5AD81F3095737B68B2E1C0CA1E235A9400051E20/)
All puzzles will be shown and mentioned here so good luck.
Room I:
Turn all valve to counterclockwise until the 3 chain items hit the floor, then rotate clockwise until you all hear a different click.
Turn all valve to counterclockwise until the 3 chain items hit the floor, then rotate clockwise until you all hear a different click.
Room II:
Stuck to interact with.
Room III:
Pull all levers down then turn Lever 2 and 3 UP.
Pull all levers down then turn Lever 2 and 3 UP.
Room IV:
Levers stuck to interact with.
Room V:
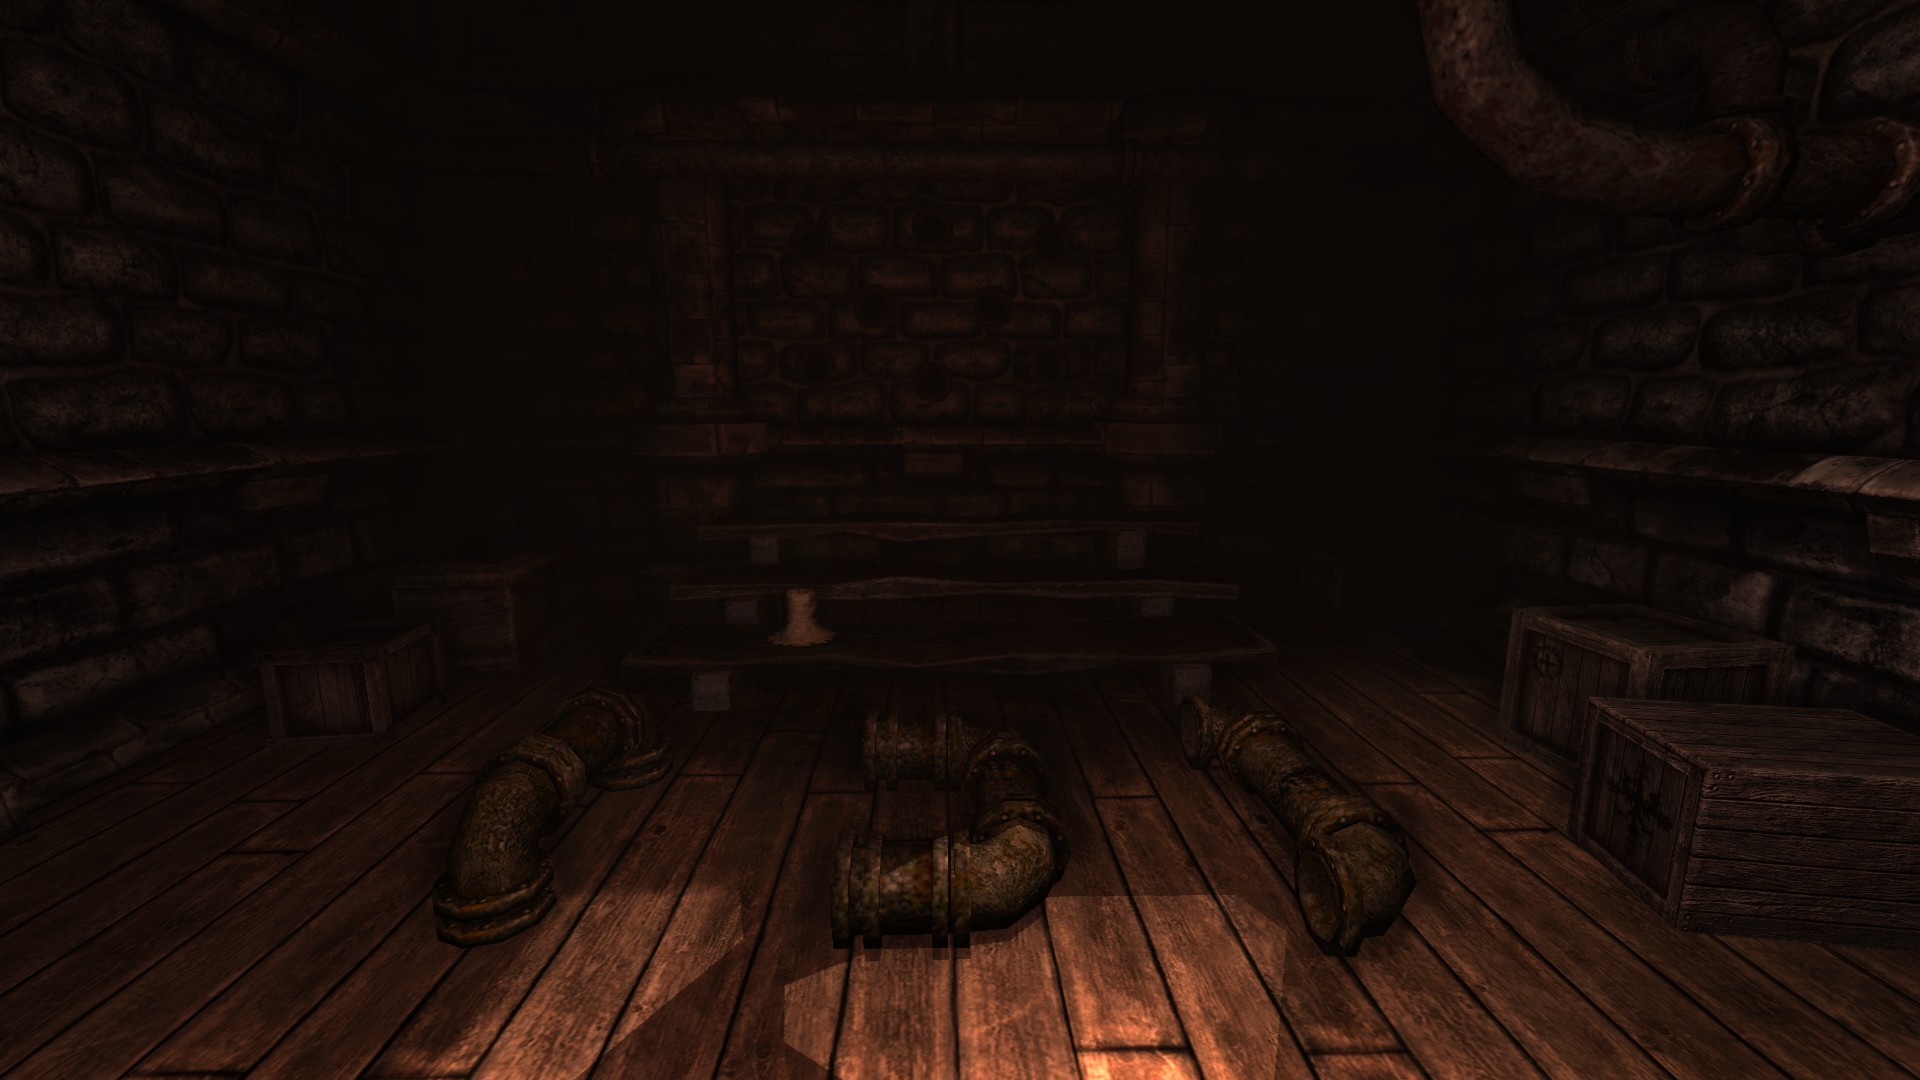
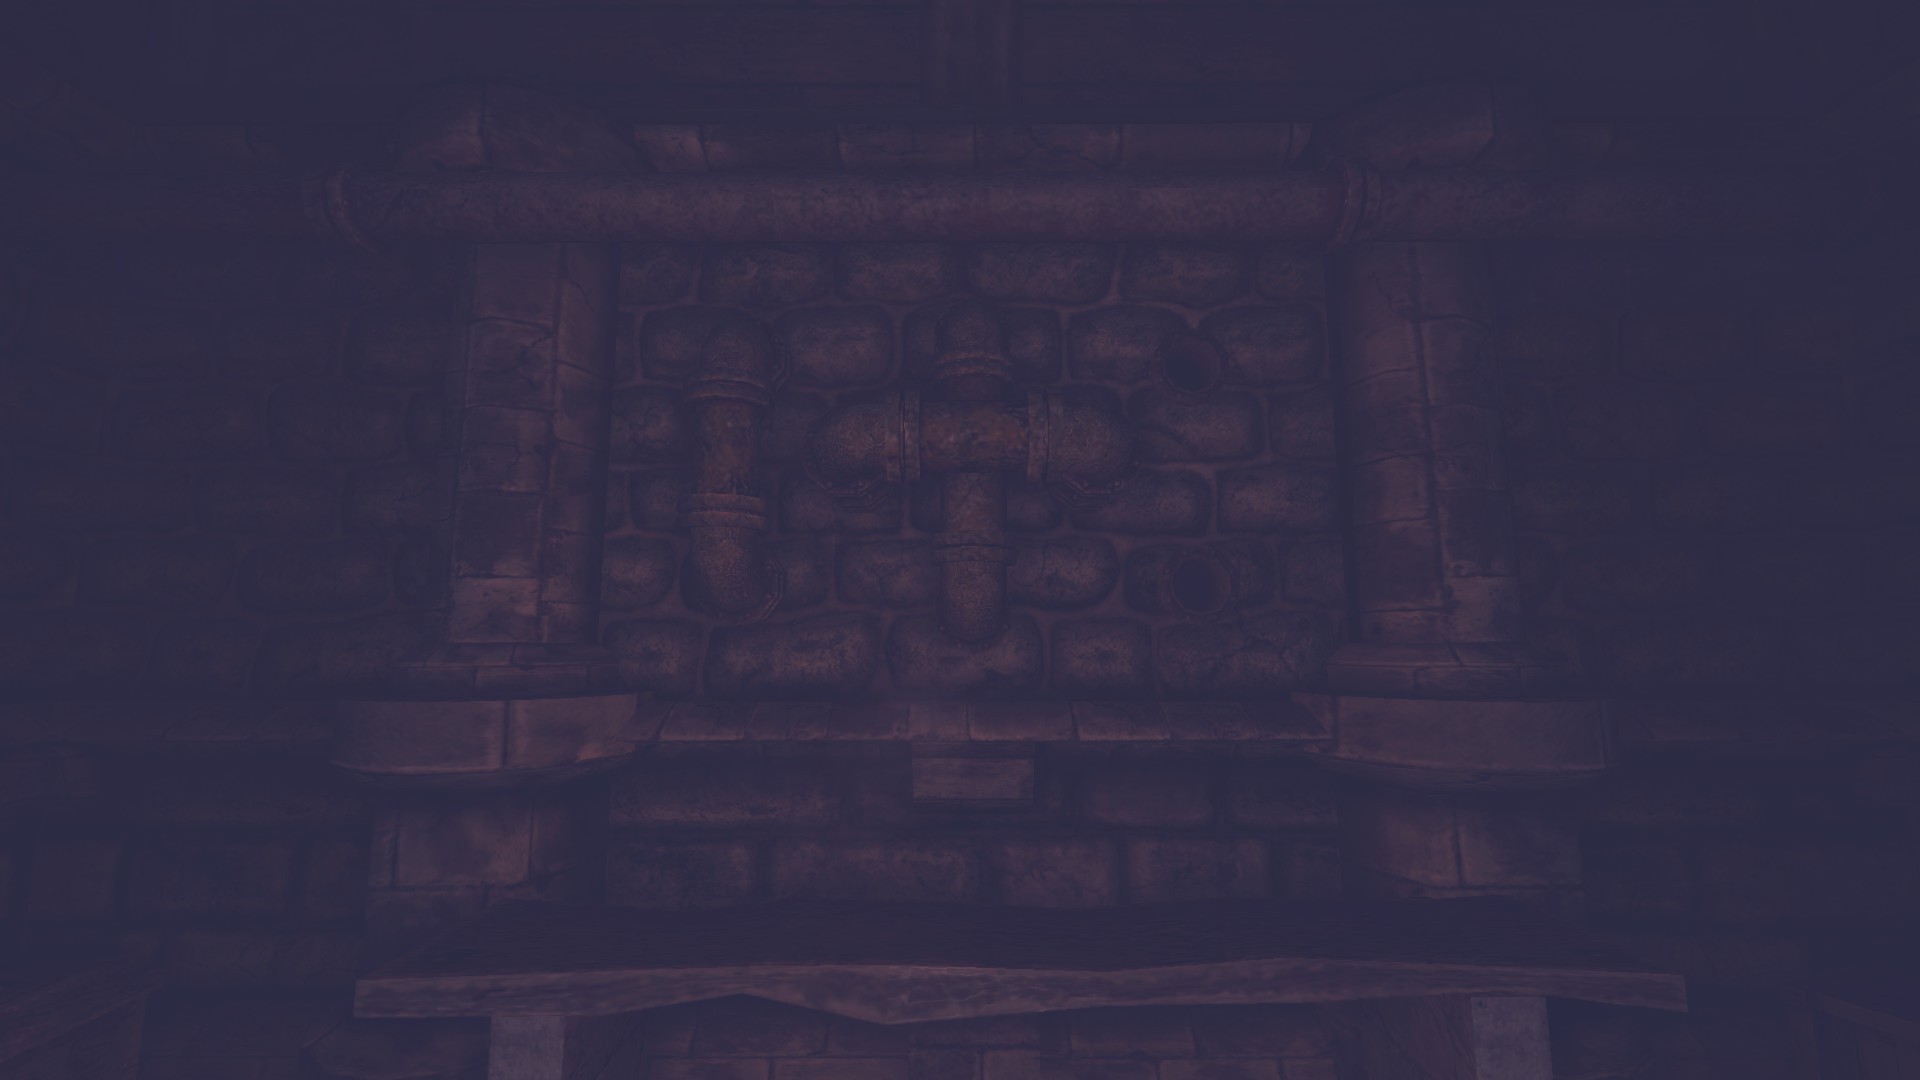
You need three pipes, all found from Room I, II and IV (In order image).
You need three pipes, all found from Room I, II and IV (In order image).
Now bring them all to the Room V. Solving this puzzle completely regains sanity.
Go back to the Cistern to activate the levers.
Cistern (Revisit):
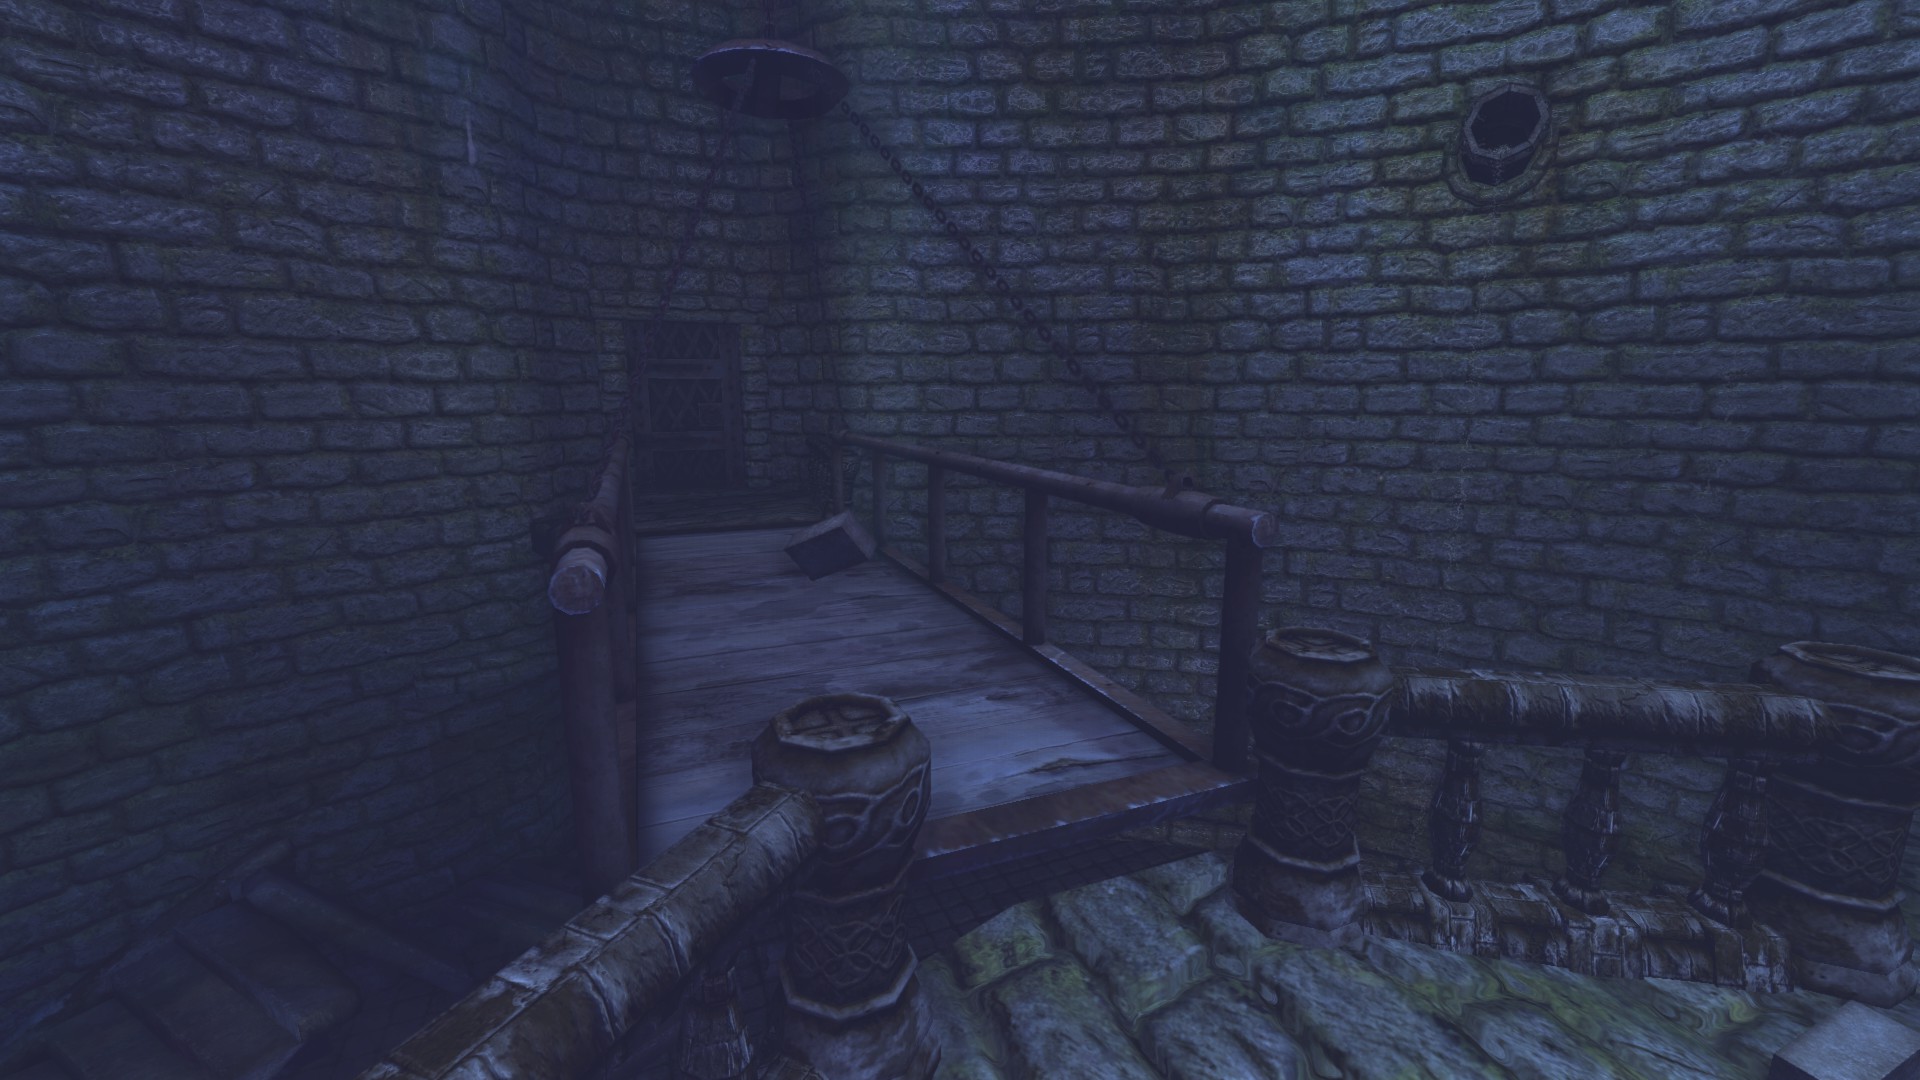
(Only after solving the Control Room puzzle).One bridge on Cistern but the other bridge needs. Only need one stone brick to lower the Morgue bridge plus sanity regain.
Part 10: Grabbing hero- vaccine I
1) Cistern
2) Tinderboxes: 108/151
3) Notes: 15/30
4) Diaries: 17/23
5) Metallic Containers: 2/5
6) Oils: 28/37
7) Laudanums: 8/16
8) Achievements: 5/18
-----------------------------------------------------------------------------------------------------
![Cistern (1).png]](https://images.steamusercontent.com/ugc/2062132500102398473/F13ABC8A5EF95B68D0D519B4B2964841C167DFDC/)
![Cistern (2).png]](https://images.steamusercontent.com/ugc/2062132500102398733/FF7FA908E9625407FDE9FF062E16C87C8B21B81E/)
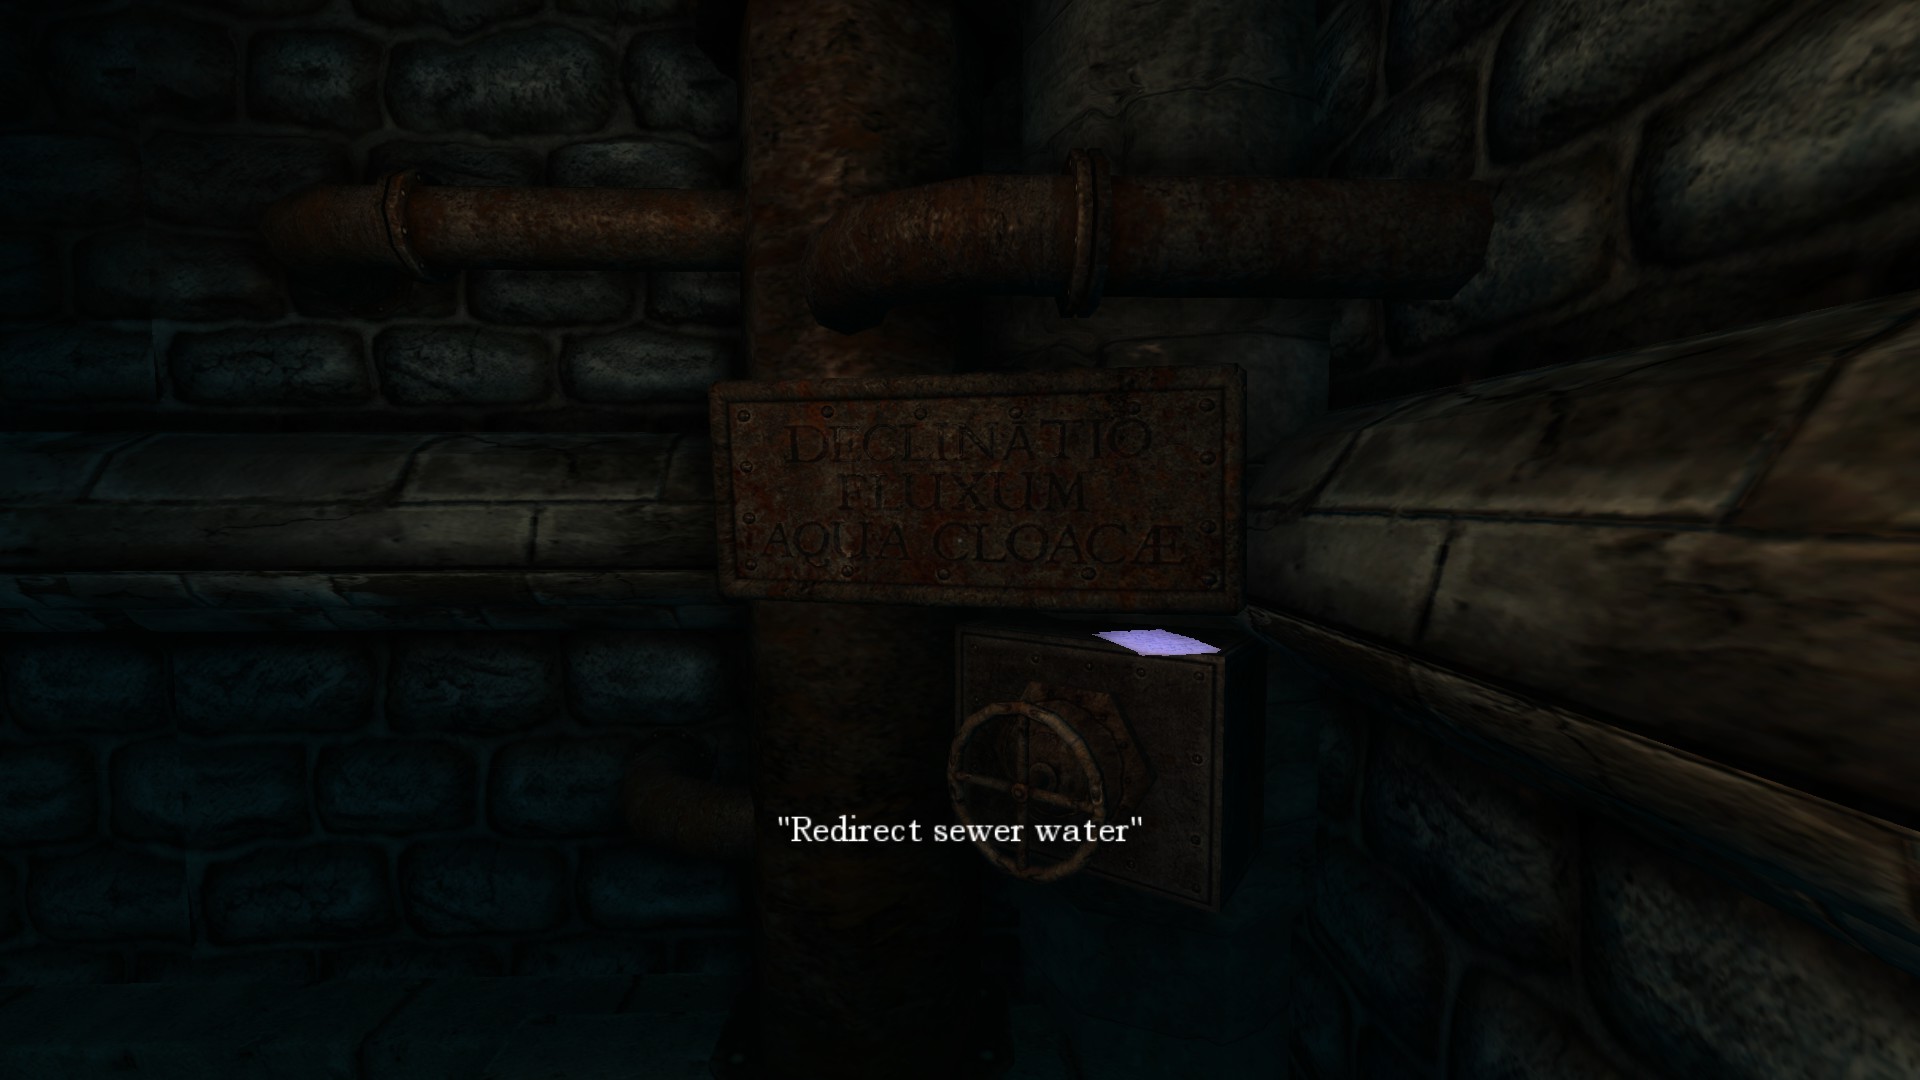
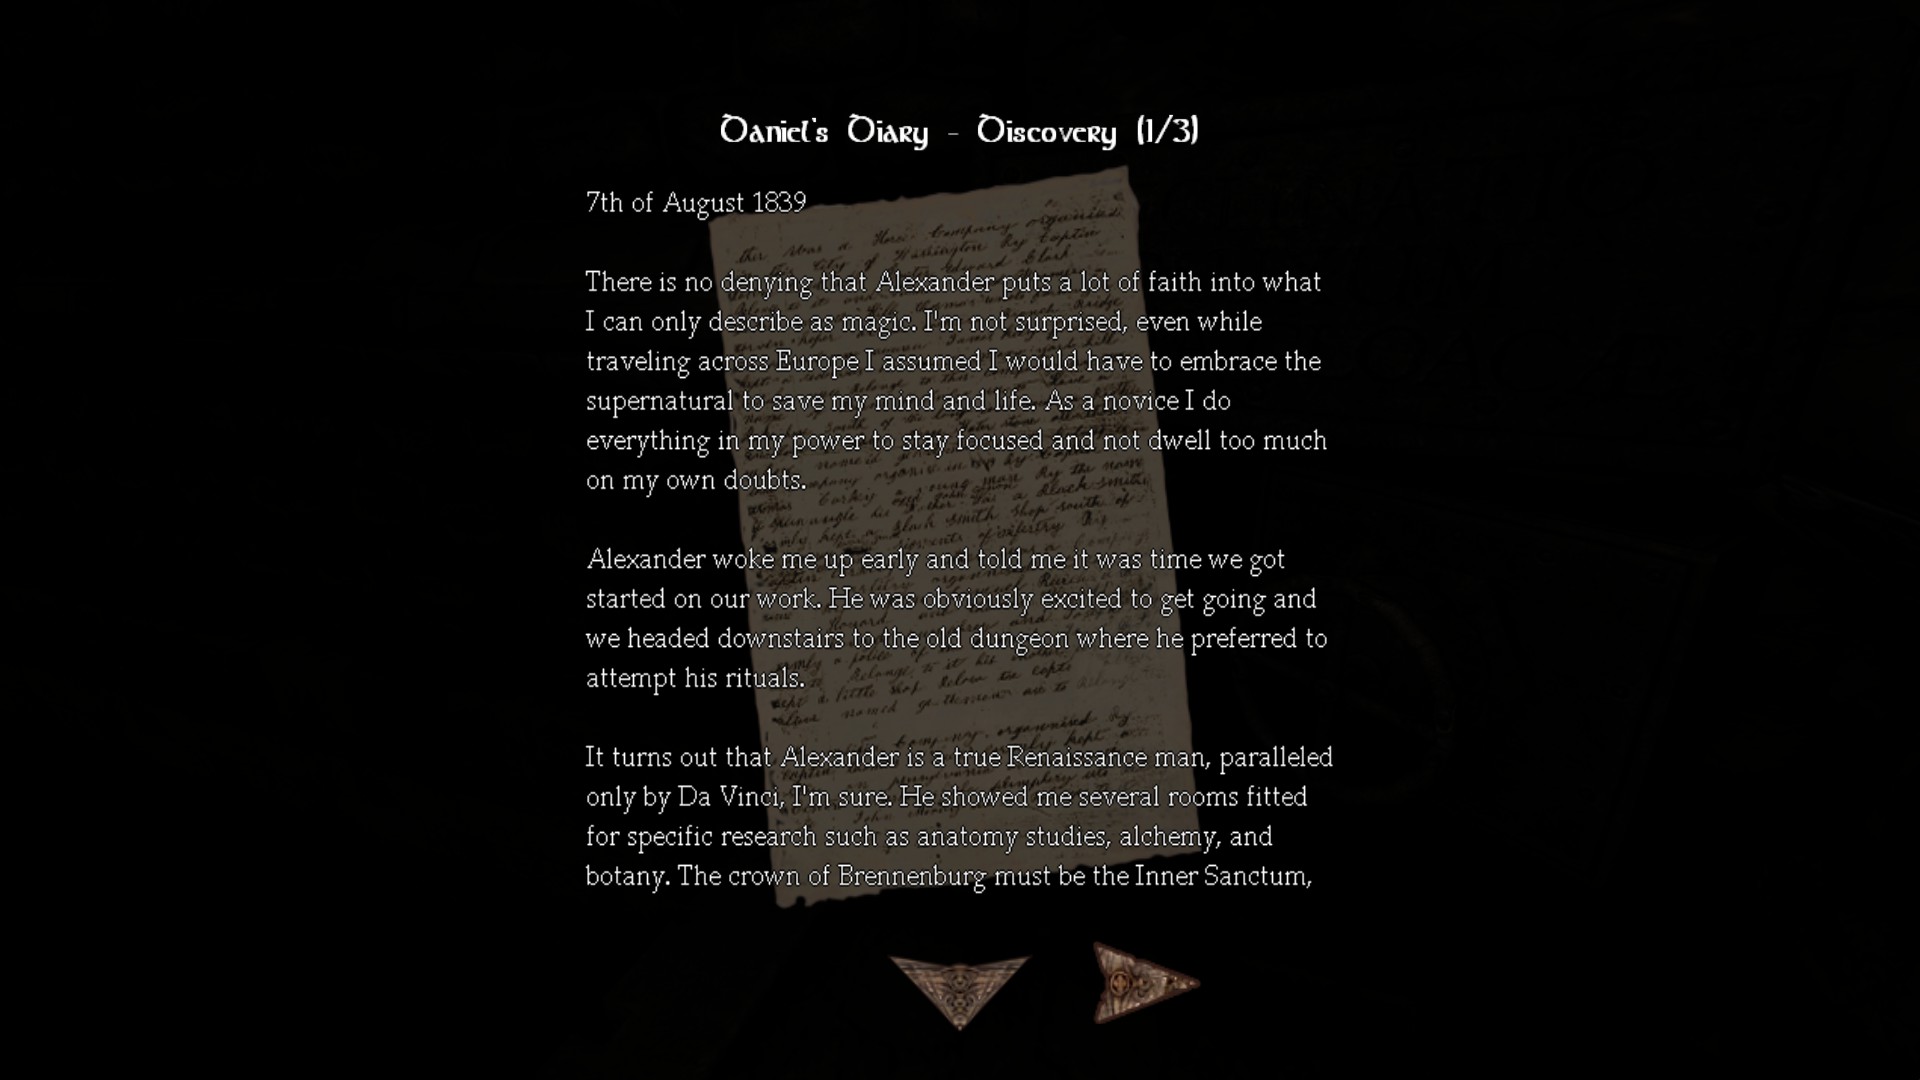
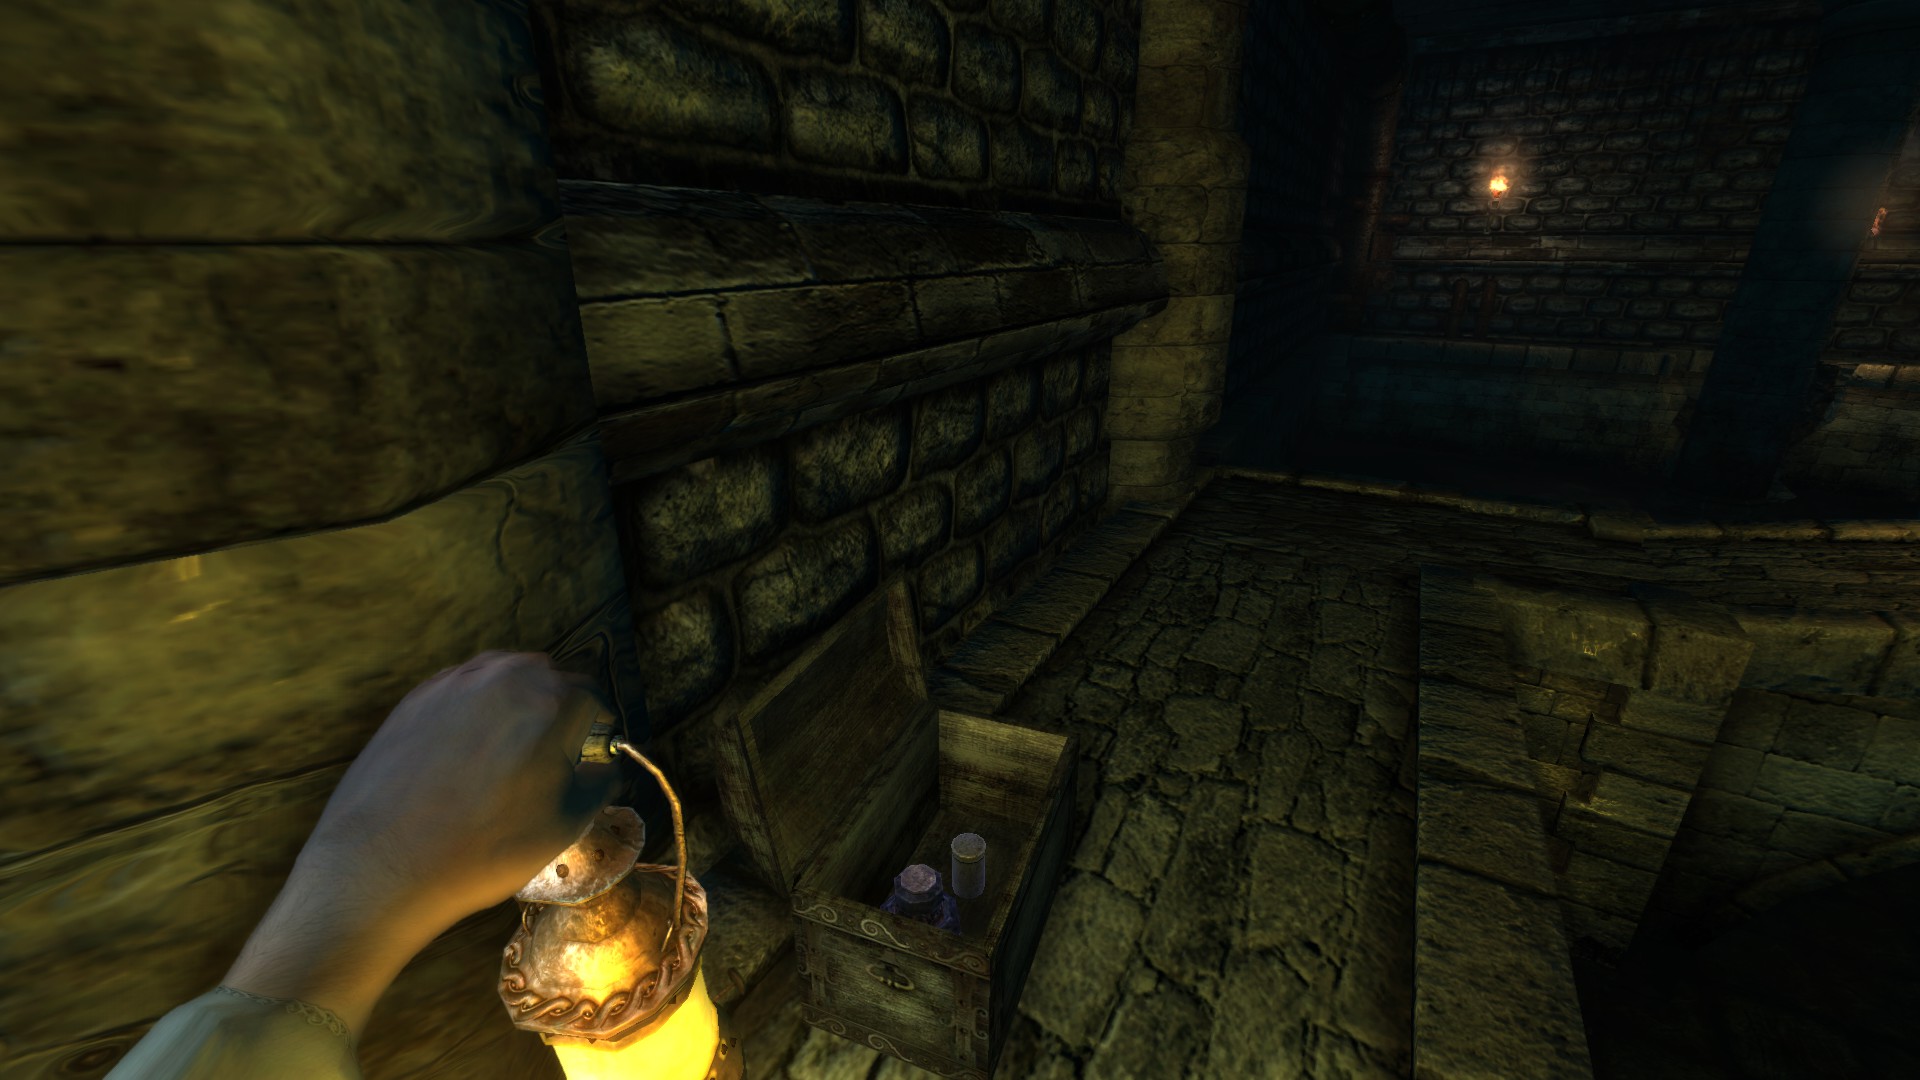
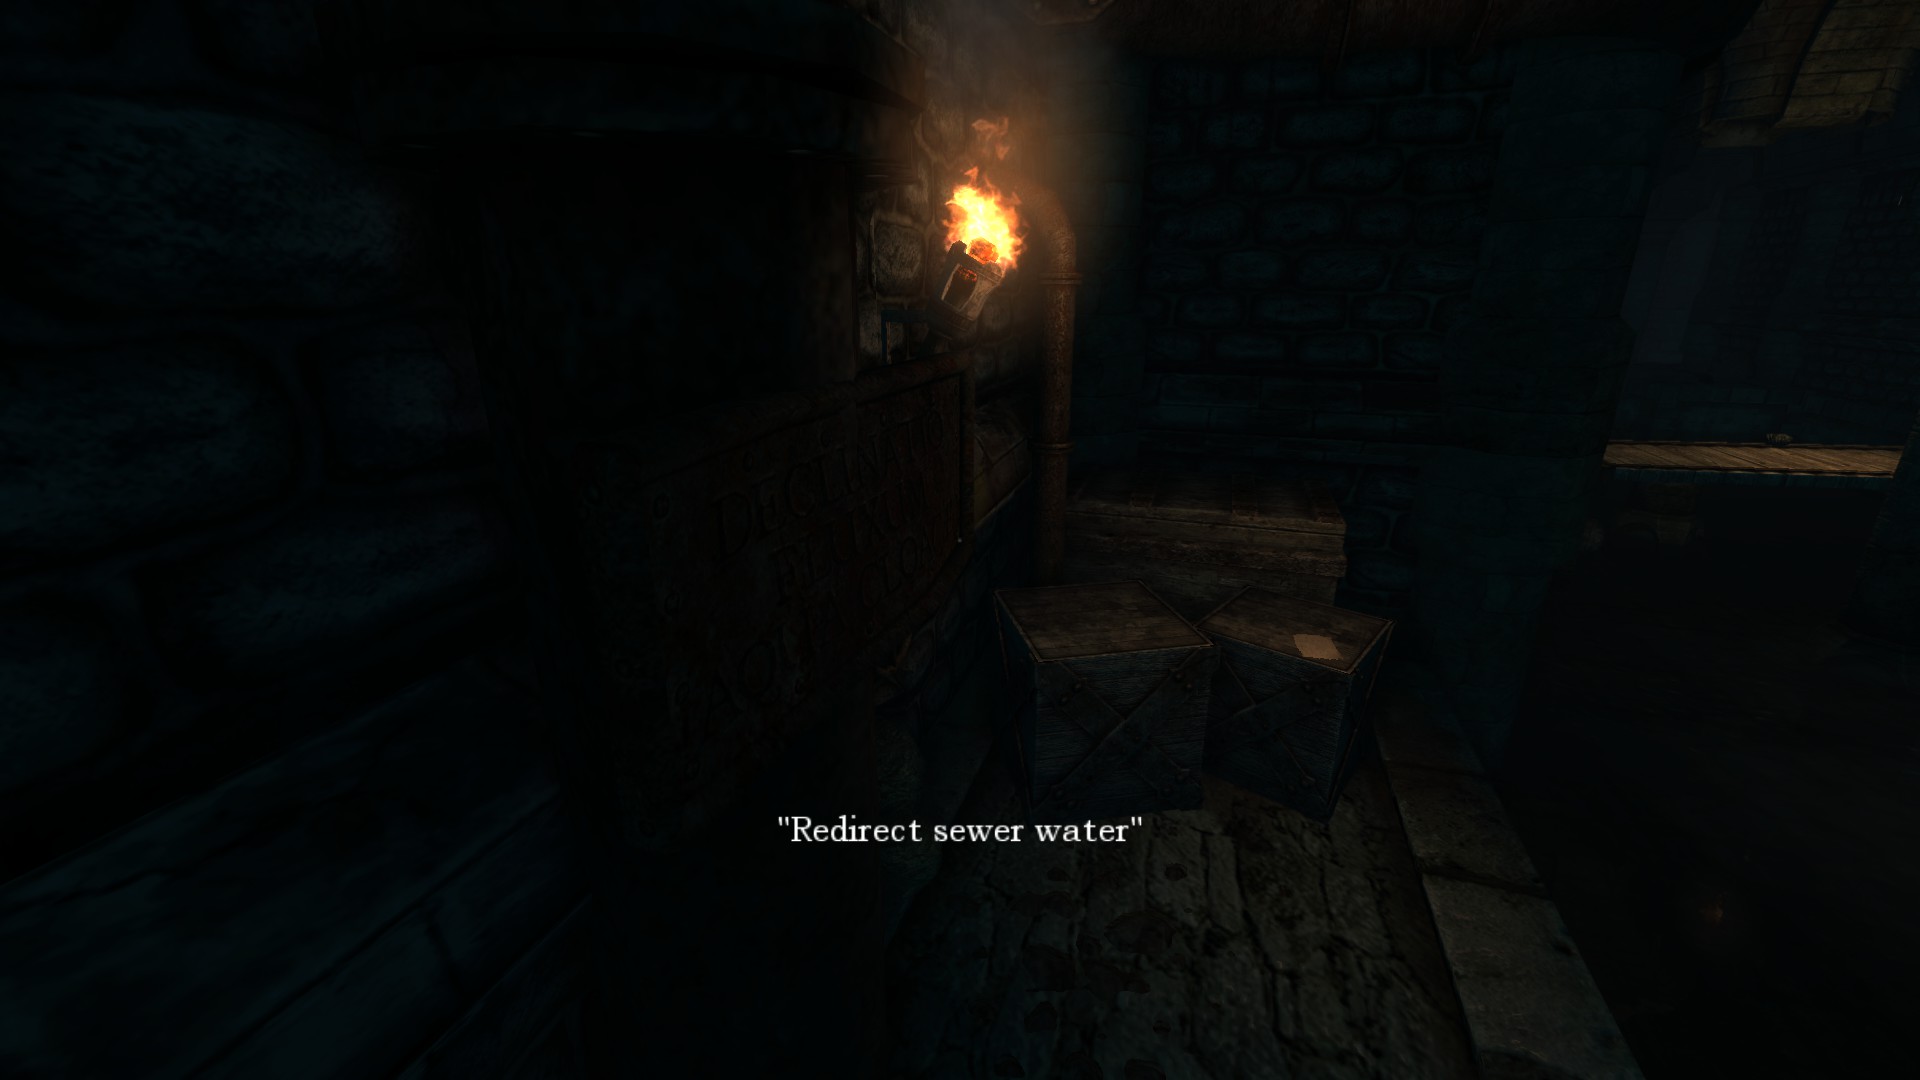
![Pipeworker.jpg]](https://images.steamusercontent.com/ugc/2065508931961899847/6A90C75C85428A1F55F3E4699607A9923DD1FF75/) –––––––––––––––––––––––––––––––––––––––––––––––––––––––
–––––––––––––––––––––––––––––––––––––––––––––––––––––––
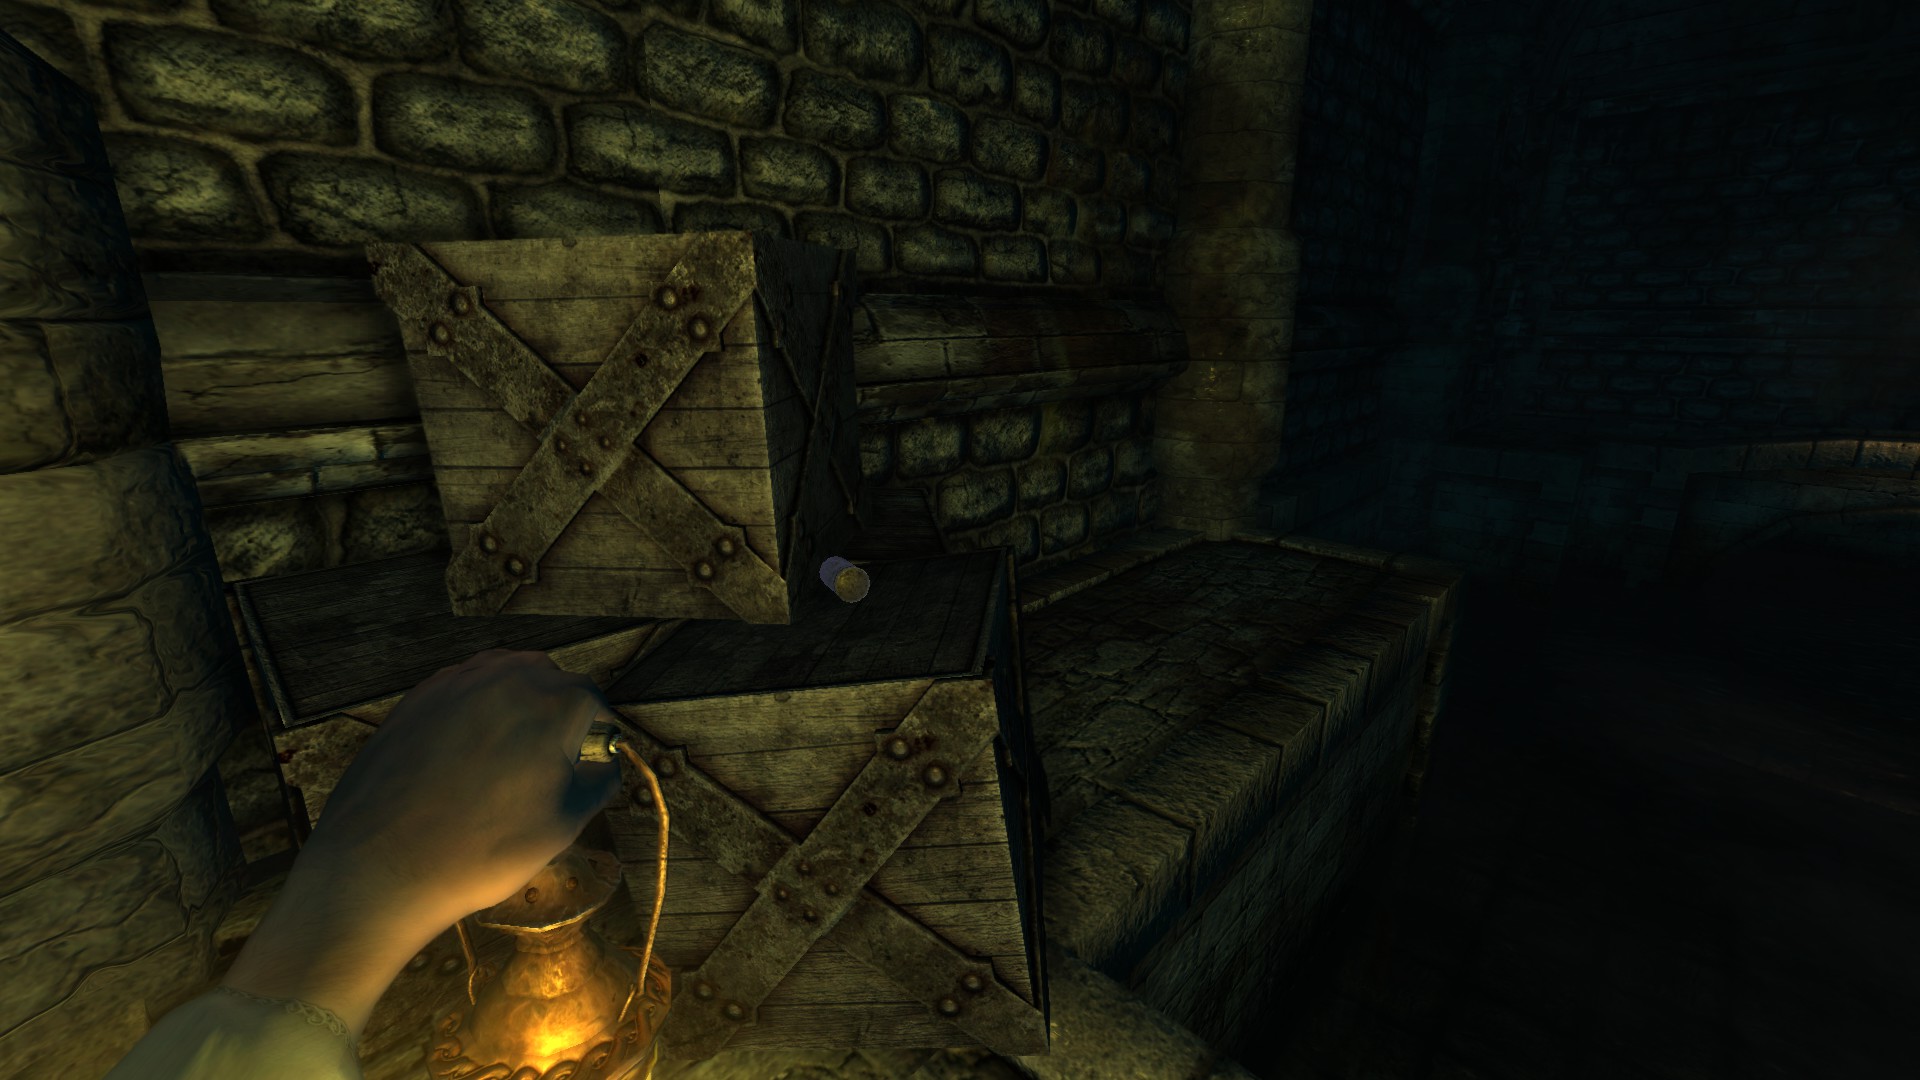
Pipeworker
Lowered the water level in the cistern to reveal a new way out in Amnesia: The Dark
¯¯¯¯¯¯¯¯¯¯¯¯¯¯¯¯¯¯¯¯¯¯¯¯¯¯¯¯¯¯¯¯
Achievement #5: Story Related. Only inside this level would you get the achievement.
2) Tinderboxes: 108/151
3) Notes: 15/30
4) Diaries: 17/23
5) Metallic Containers: 2/5
6) Oils: 28/37
7) Laudanums: 8/16
8) Achievements: 5/18
-----------------------------------------------------------------------------------------------------
Cistern:
Location/Walkthrough text
Image
Tinderbox #107:
![Cistern (2) (Edit_1).png]](https://images.steamusercontent.com/ugc/2055384961191452643/789EF0813C9F43B6F8FAD4FD103B05BED280F6C6/)
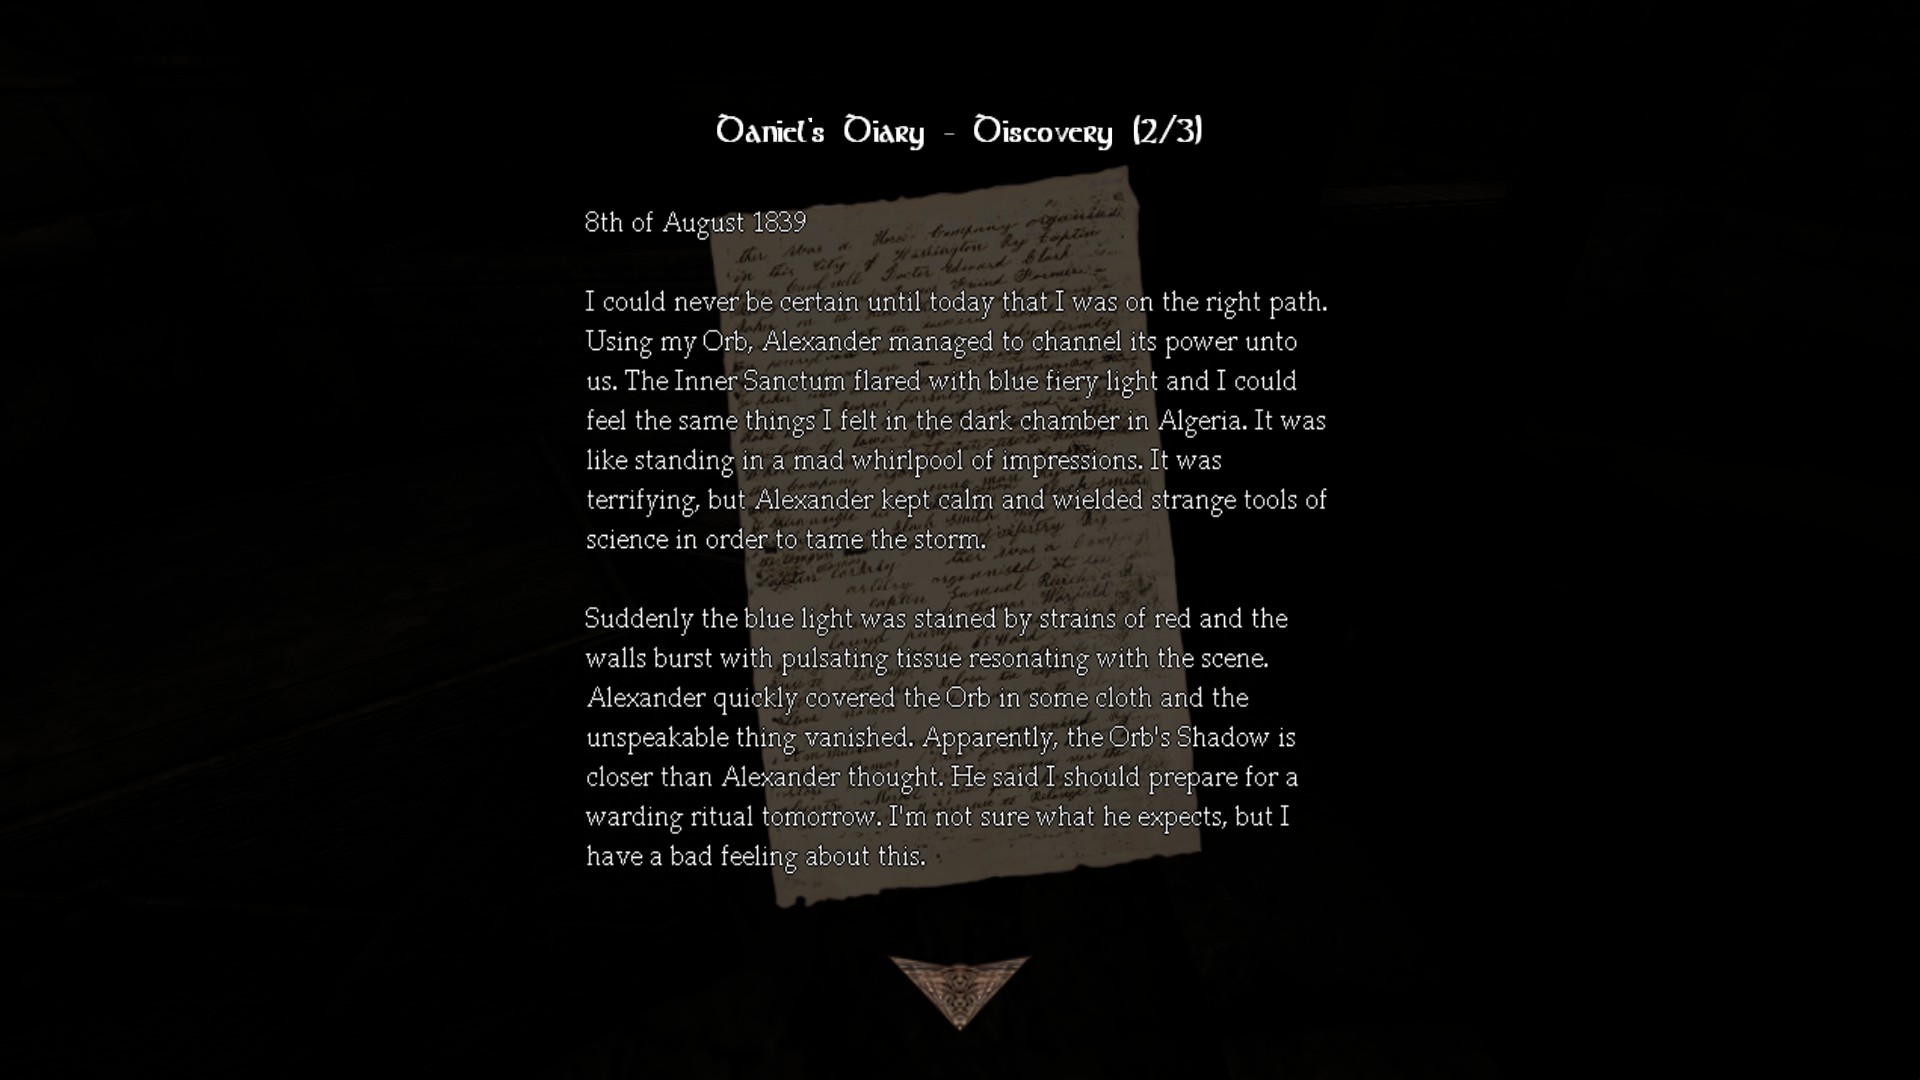
Diary #15 - Daniel's Diary - Discovery (1/3): On the far right where you turn the valve.
![Cistern (2) (Edit_2).png]](https://images.steamusercontent.com/ugc/2055384961191461489/6B52CE97575060D1D8D296648B2EFCAC5CD1F73E/)
Turn the valve.
Tinderbox #108: It also has oil #27 inside the chest.
Flashback will appear on the left most. The bridge part where you throw the rock on it is the next to turn the valve.
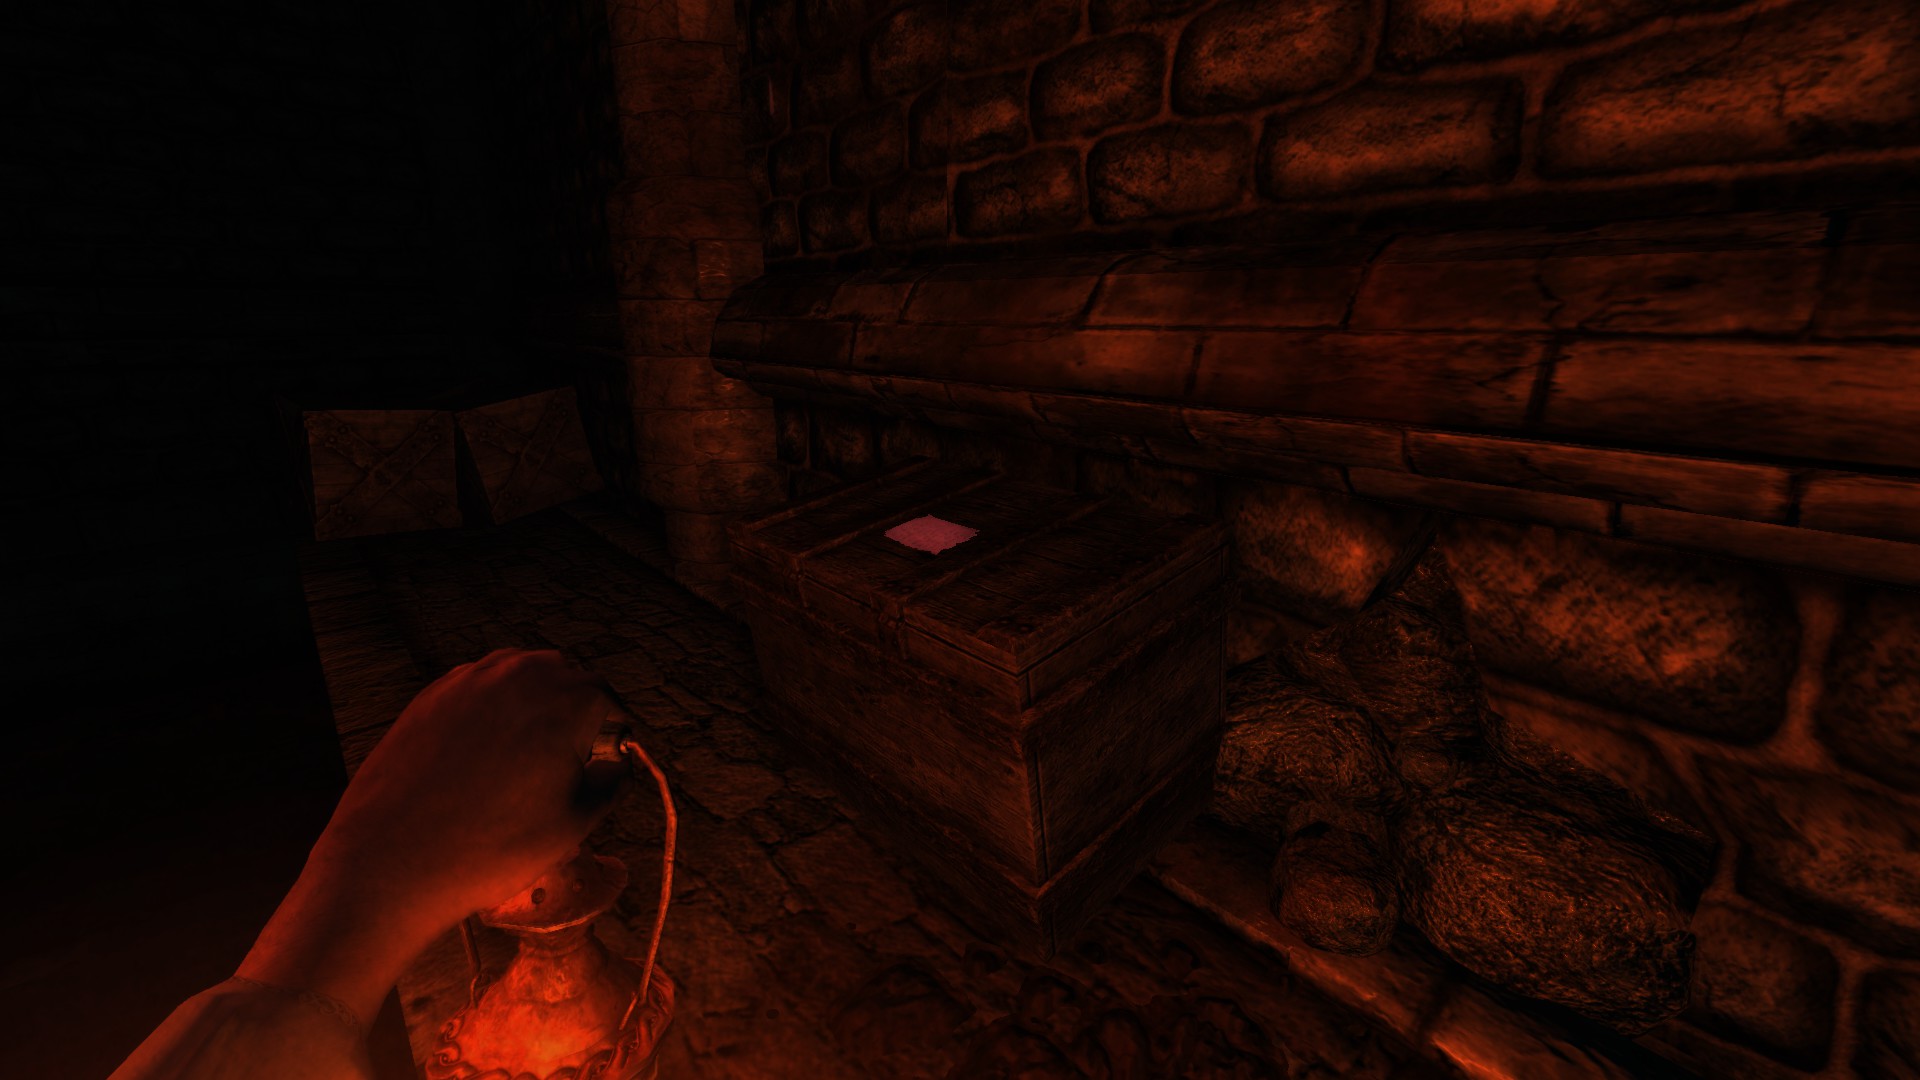
Diary #16 - Daniel's Diary - Discovery (2/3): There is an oil #28 behind the wooden crate box.
![Cistern (2) (Edit_4).png]](https://images.steamusercontent.com/ugc/2055384961191475968/7EB6A1C6D27ABAB0C3DB163C1E6617F4B8E7F4C6/)
Turn the second valve and the shadow will extinguish all torches like before. Now go here to the last one. The steaming pipes may have not killed me but be careful.
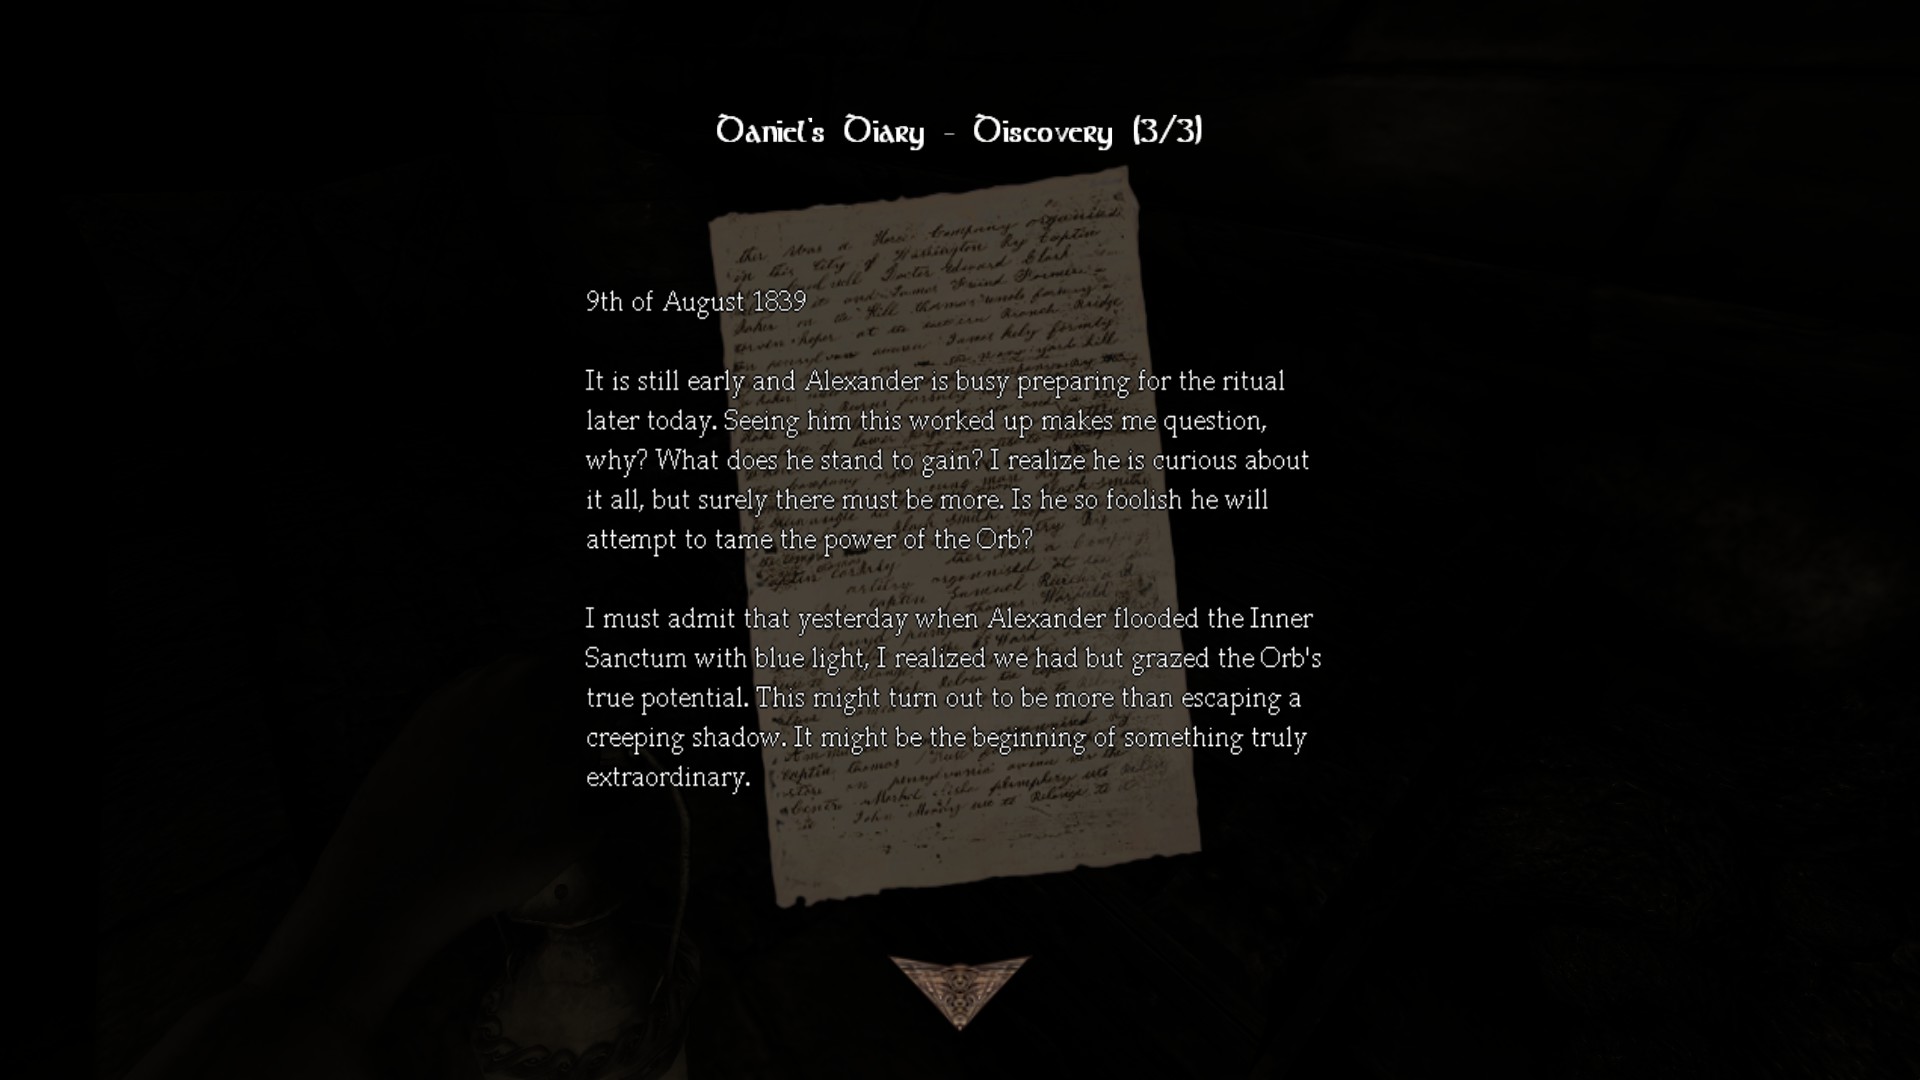
Diary #17 - Daniel's Diary - Discovery (3/3):
![Cistern (2) (Edit_3).png]](https://images.steamusercontent.com/ugc/2055384961191468940/C6E369112B1A3382C7720069FEC323C6D0AB945D/)
–––––––––––––––––––––––––––––––––––––––––––––––––––––––Pipeworker
Lowered the water level in the cistern to reveal a new way out in Amnesia: The Dark
¯¯¯¯¯¯¯¯¯¯¯¯¯¯¯¯¯¯¯¯¯¯¯¯¯¯¯¯¯¯¯¯
Achievement #5: Story Related. Only inside this level would you get the achievement.
Turn the last valve to regain sanity. This should completely drain the waters on the sewers.

Now go back.
Part 11: Grabbing hero- vaccine II
1) Morgue, Sewers
2) Tinderboxes: 112/151
3) Notes: 17/30
4) Diaries: 17/23
5) Metallic Containers: 3/5
6) Oils: 28/37
7) Laudanums: 12/16
8) Achievements: 5/18
-----------------------------------------------------------------------------------------------------
![Morgue (1).png]](https://images.steamusercontent.com/ugc/2062132500102517244/162FB0950CFA35022AB8C8EA1D1C5791BDEAAF60/)
![Morgue (2).png]](https://images.steamusercontent.com/ugc/2062132500102517409/89D34A80BB2AFBD98BADBDC9003863FA89C64AC6/)
![Sewer (1).png]](https://images.steamusercontent.com/ugc/2062132500102610263/338F3361F58700AC0169D0E16CF3191DD1AE6AE3/)
![Sewer (2).png]](https://images.steamusercontent.com/ugc/2062132500102610270/6D0B7E1DF38246EC3C16315E4F60339D526992CF/)
2) Tinderboxes: 112/151
3) Notes: 17/30
4) Diaries: 17/23
5) Metallic Containers: 3/5
6) Oils: 28/37
7) Laudanums: 12/16
8) Achievements: 5/18
-----------------------------------------------------------------------------------------------------
Morgue:
This is somewhat safe despite the Brute but nonetheless easy.Location/Walkthrough text
Image
Flashbacks will play here and moving back, likely three of them.
Tinderbox #109: There is a laudanum #9.
![Morgue (2) (Edit_1).png]](https://images.steamusercontent.com/ugc/2055384961194445889/B606DF1949B09FD30853BD85A471201C443D231E/)
Grab the copper tube. While flashback continues, just go to the room where the corpses are.
Tinderbox #110 / Note #16:
![Morgue (2) (Edit_2).png]](https://images.steamusercontent.com/ugc/2055384961194446377/EA774E916CA4BD3F5F3F4E8D3B6AAA2A1E714183/)
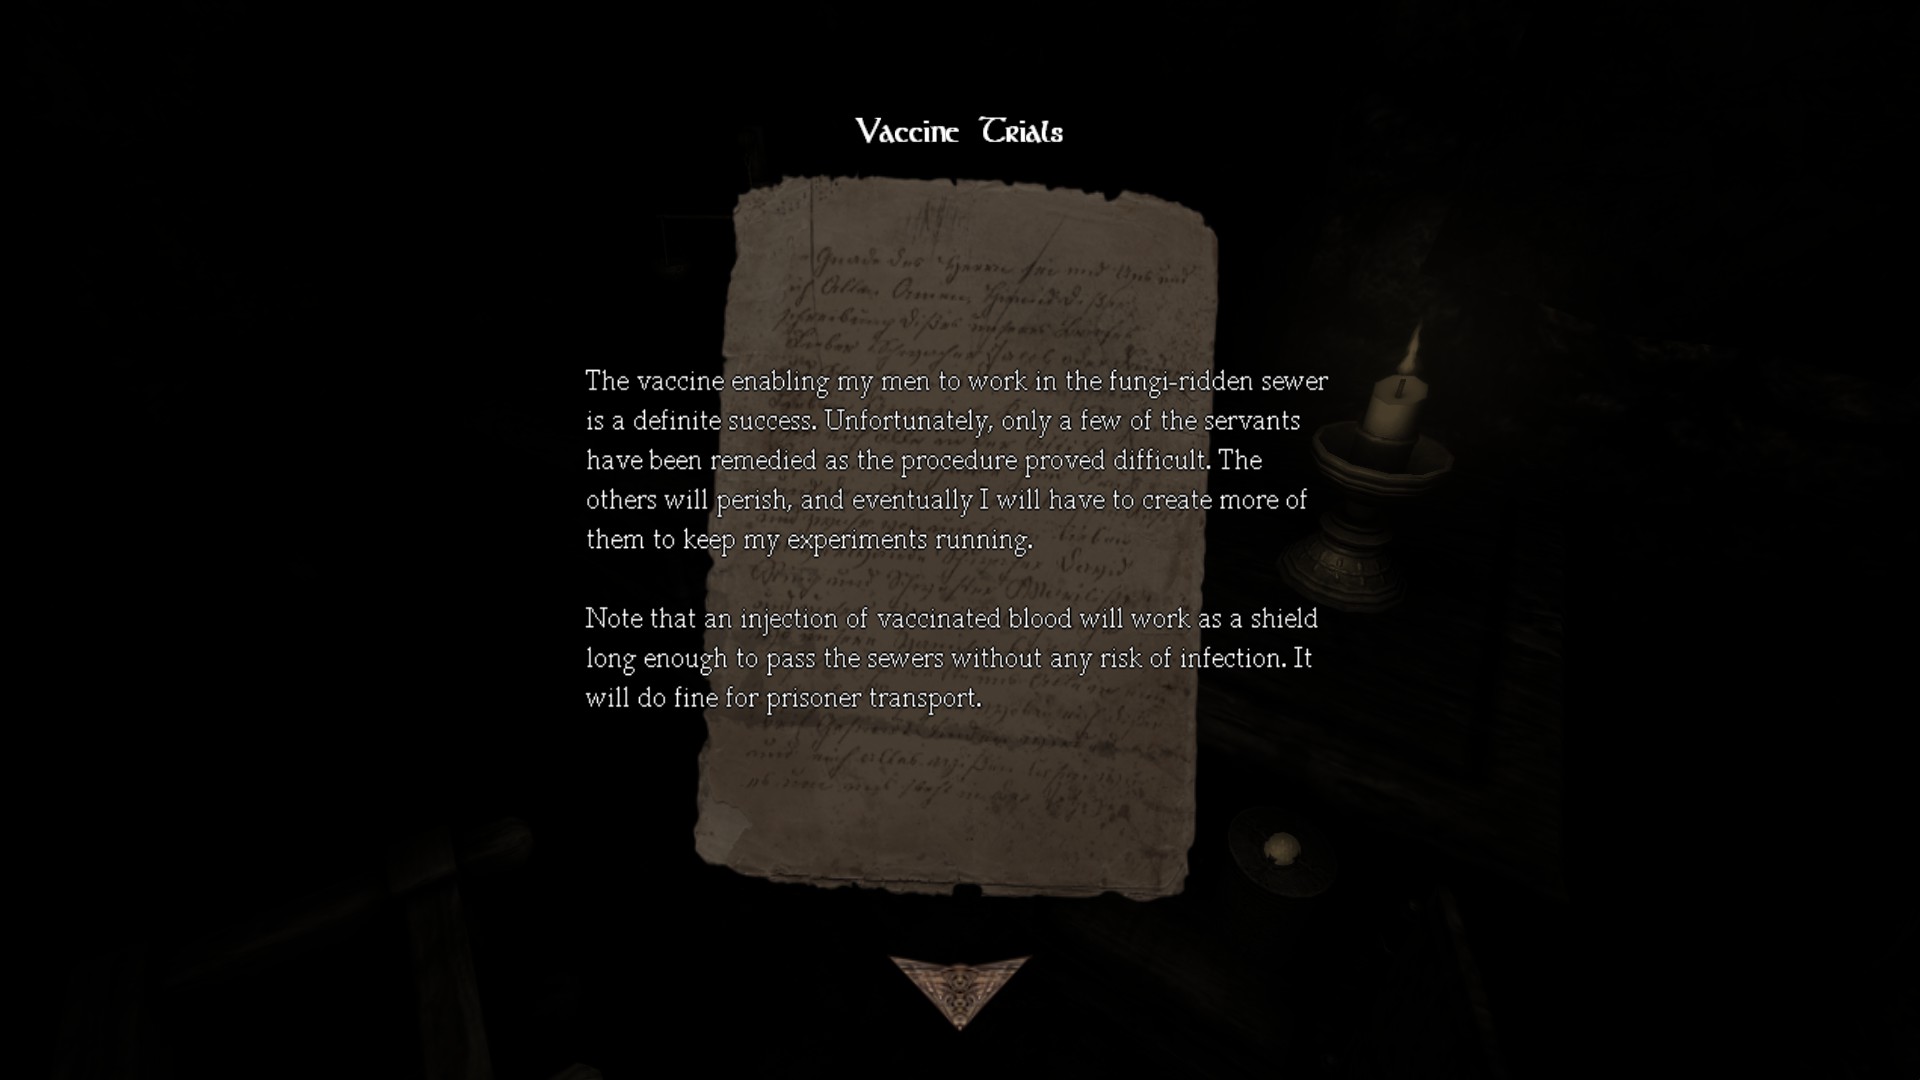
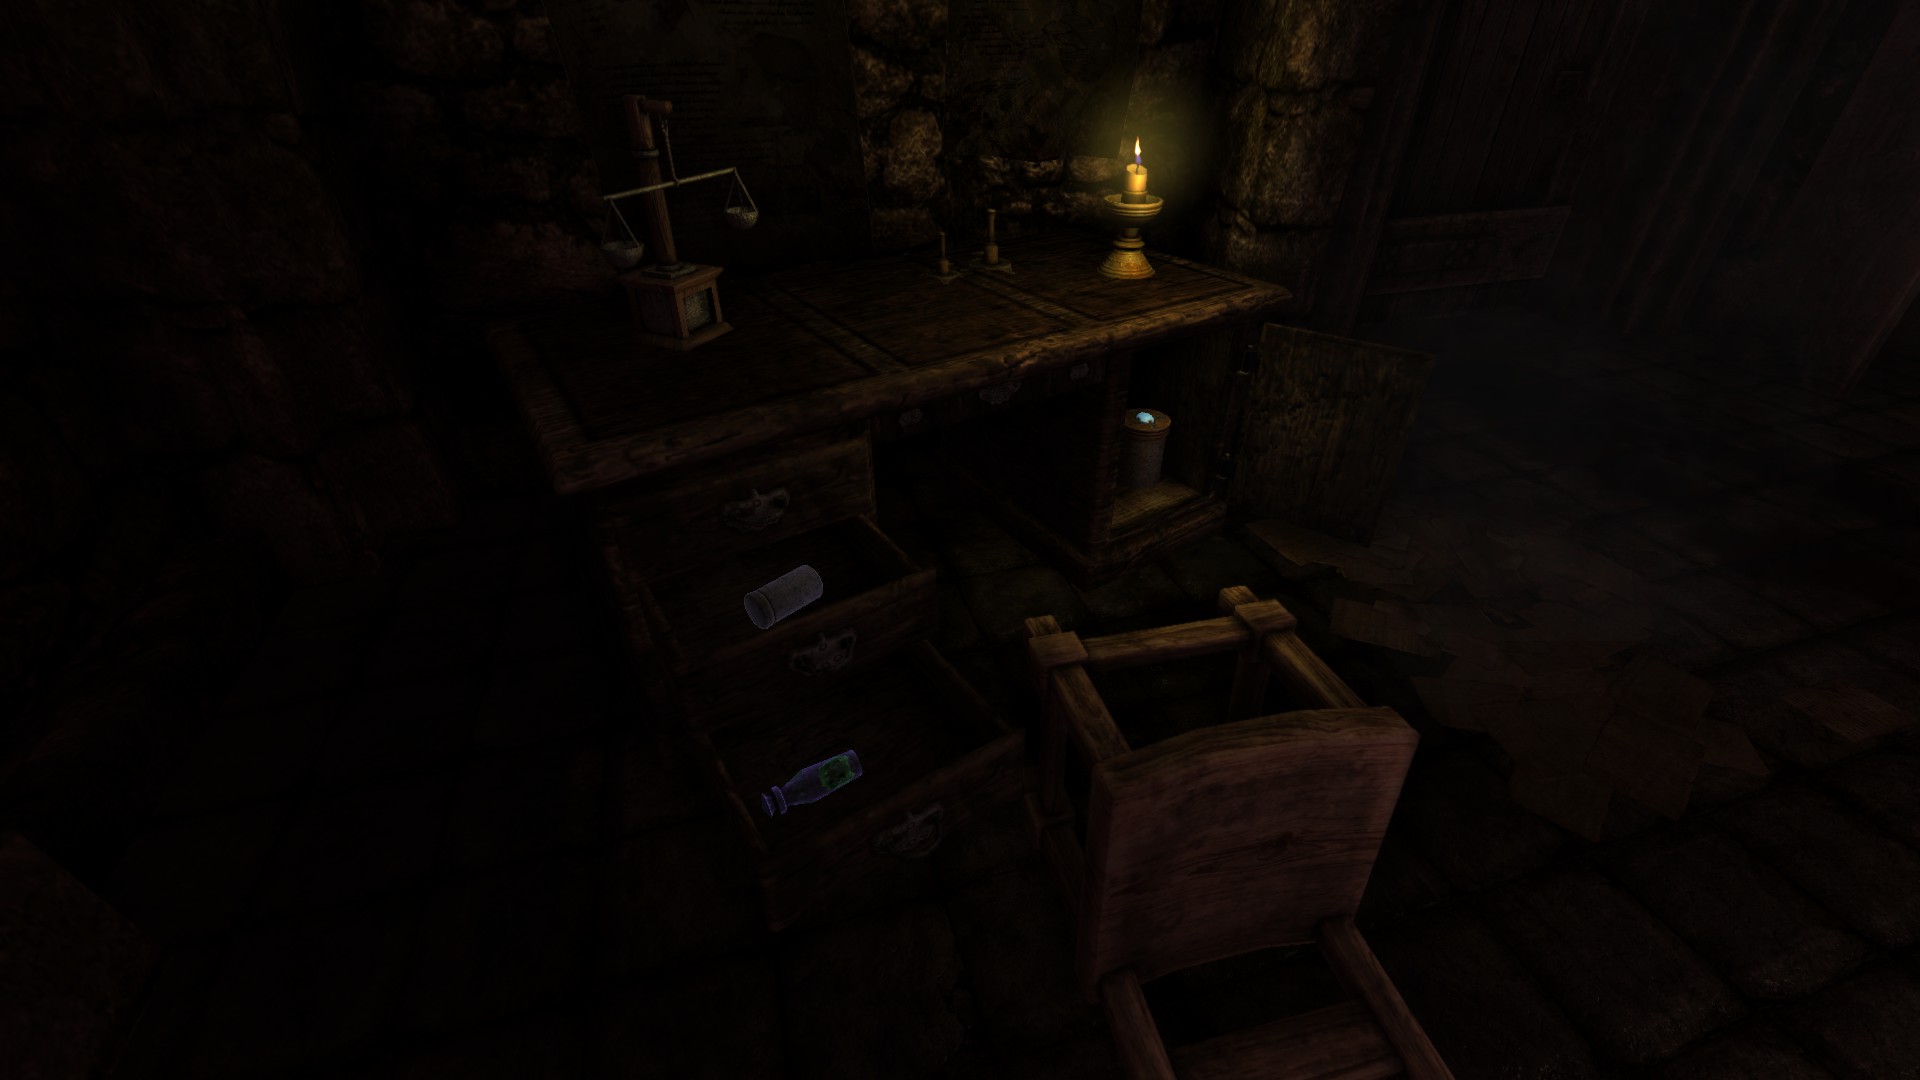
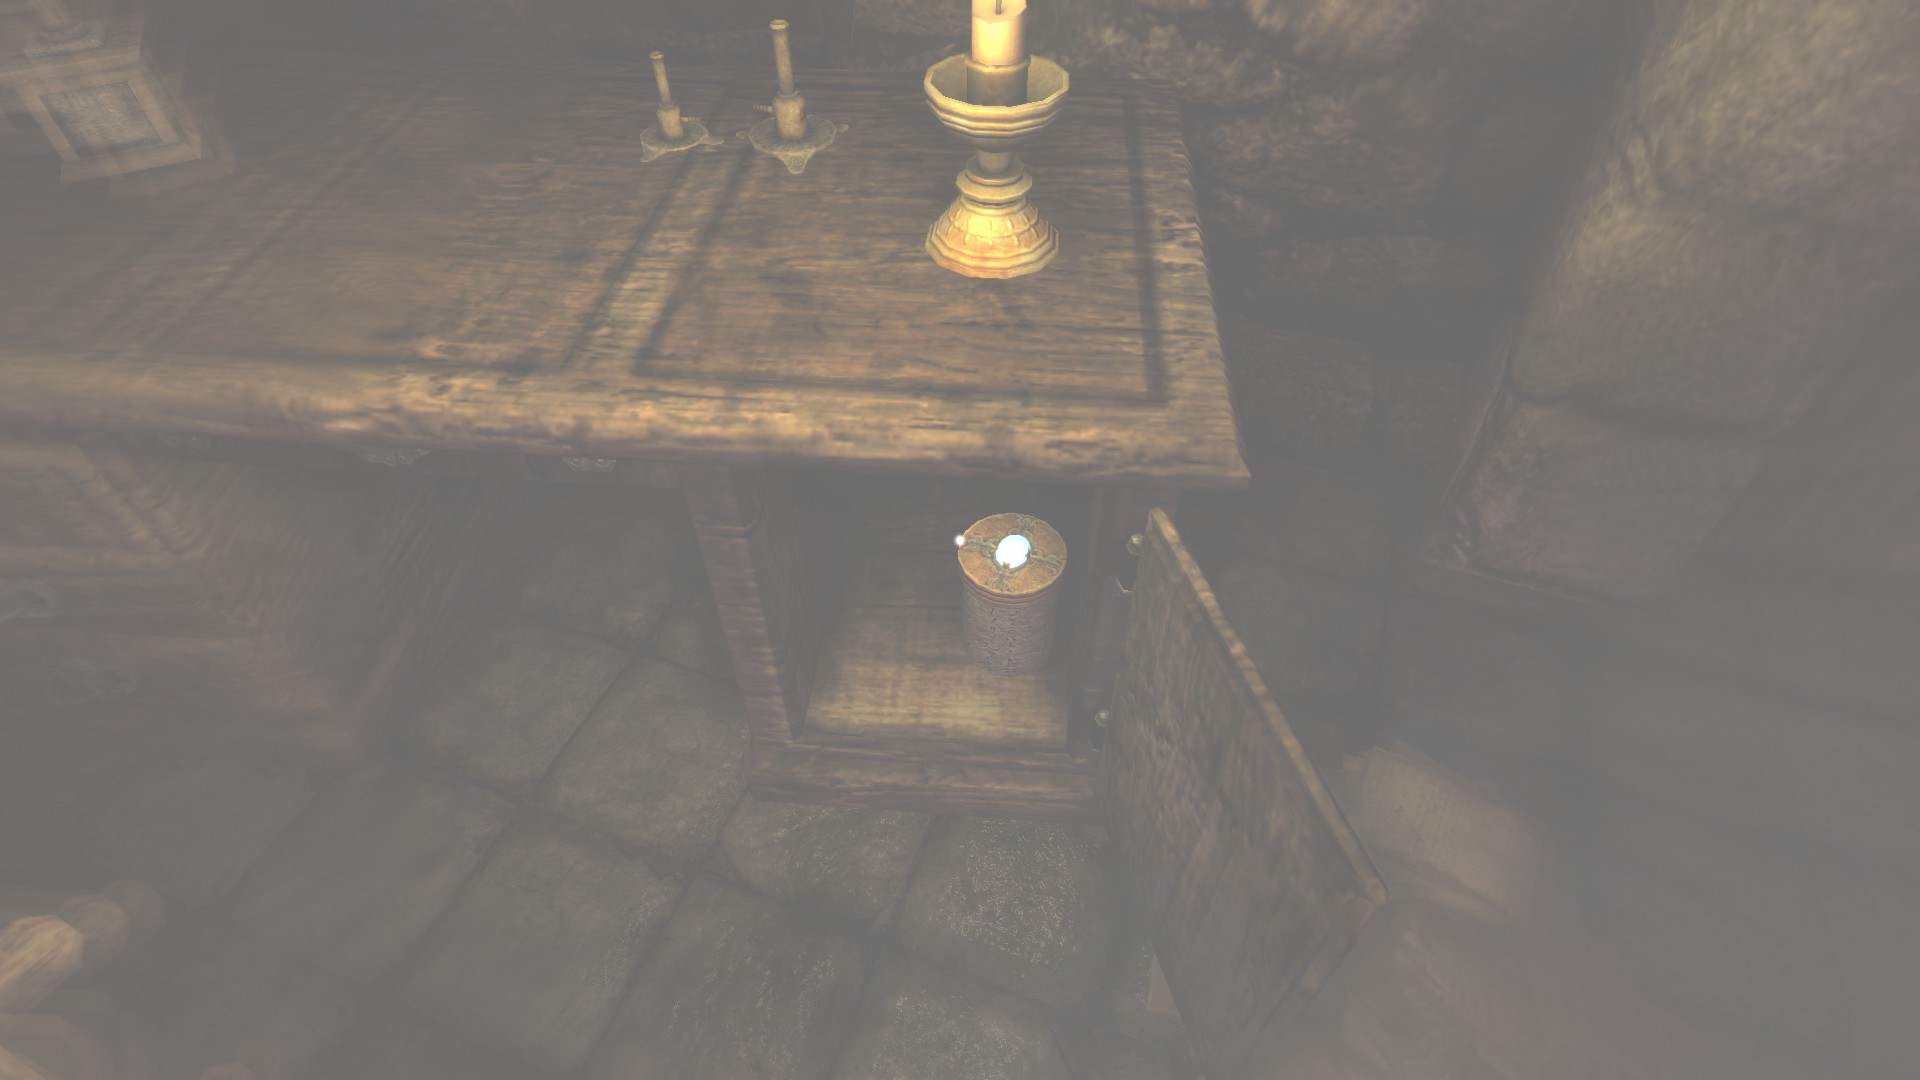
Tinderbox #111 / Note #17: Laudanum #10 also.
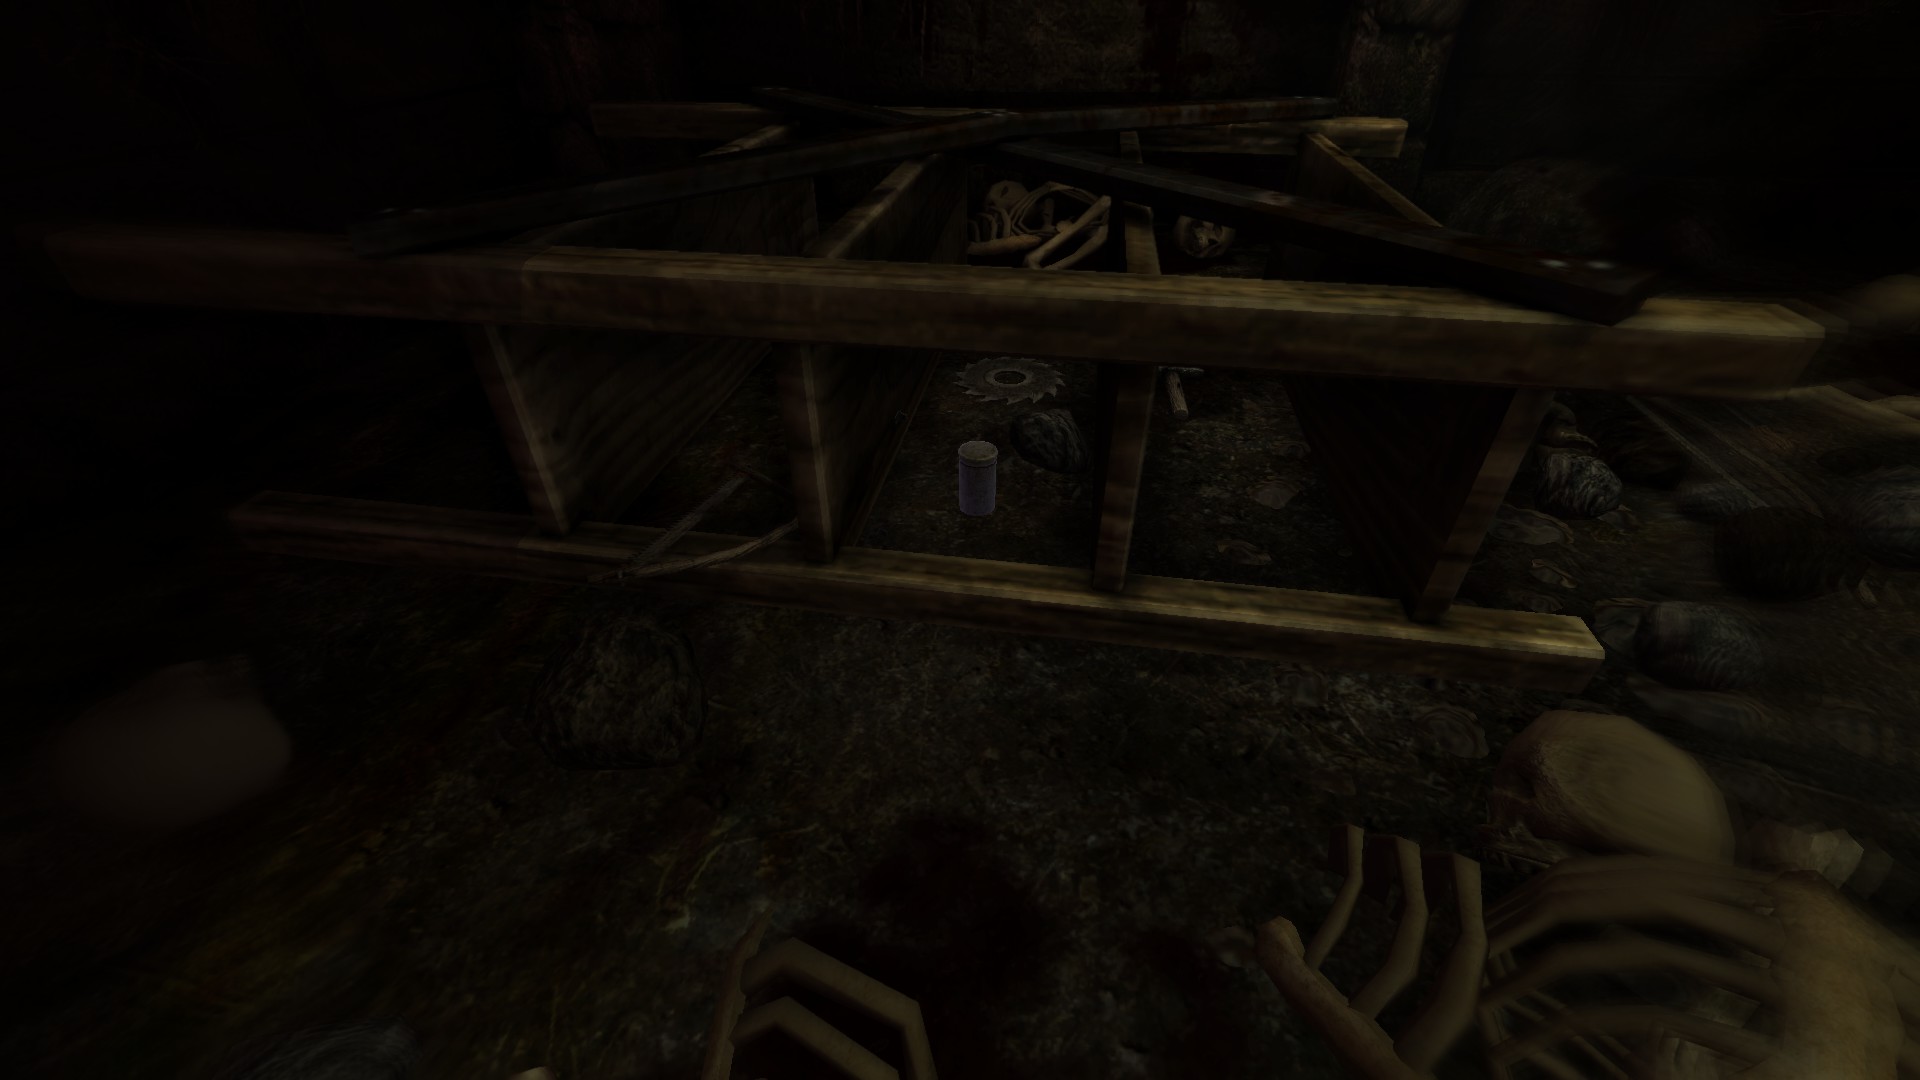
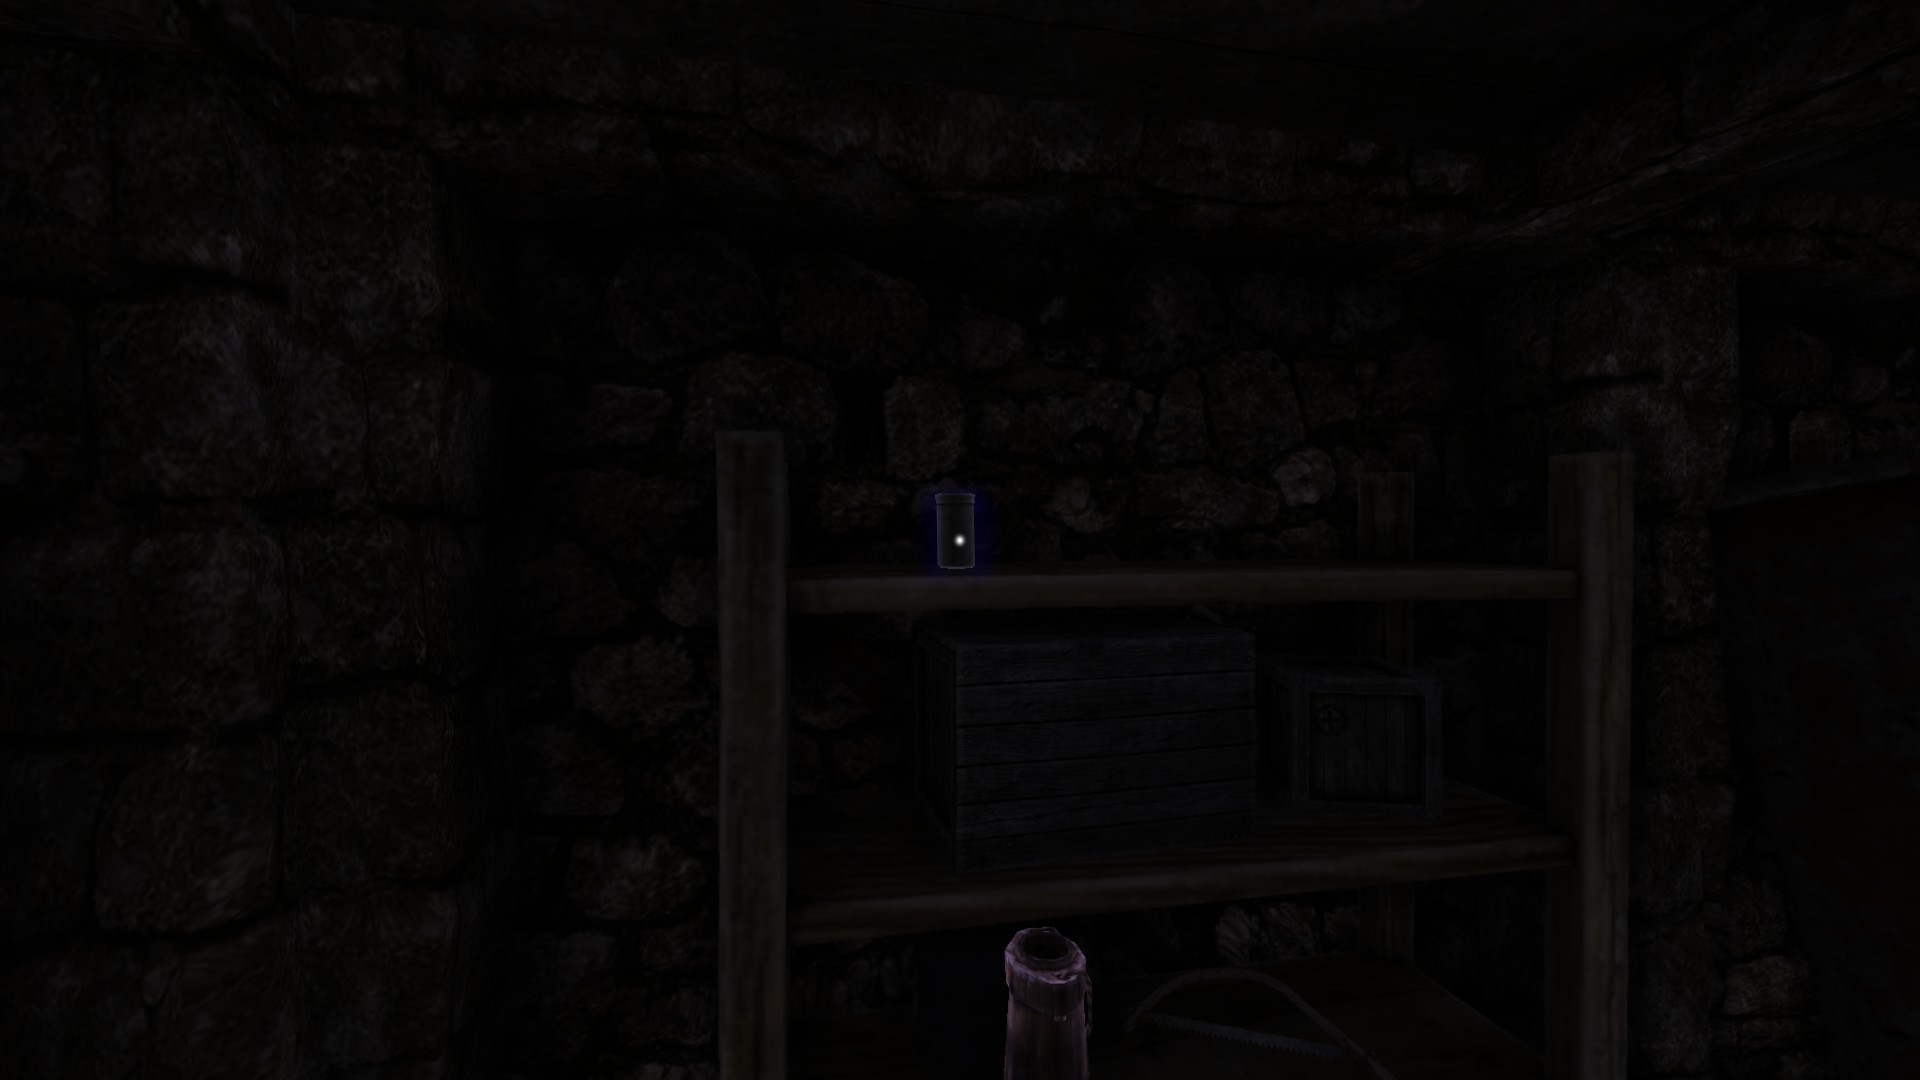
Metallic Container #3:
Once you are done drilling and injecting blood, you must hide at the end of the dead body room (looking at the bodies will drain your sanity as much). Wait around 1-2 minutes and get out from the Brute which he disappears.
Now go back.
Cistern (Last Revisit):
You should be done with this so moving on. The last area is where we need to go in order to reach the last remaining hub.Sewers:
There is not a lot to find other than tinderboxes and laudanums.Location/Walkthrough text
Image
One monster will be present, hide and wait near the wall just kidding it's hallucination. Next, a flashback near water wheel will appear and while that happens we turn left. The right is to grab the pipe for the progression or wait until you clear left path.
While walking to the left you can hear monster growl, hide between the walls or choose one. You can use the oil barrel in here and there is a gear control machine. The lever are set at middle so turn them at the opposite against each other so the noise is less. Also the monster appears as you exit but it's gone when I hide.
Tinderbox #112: On the right area while getting the pipe, you can also get tinderbox here.
![Sewer (2) (Edit_1).png]](https://images.steamusercontent.com/ugc/2055384961194483812/5E6293C46068A3CA0AA97AFAEFD2358C51B68A27/)
Now to get the pipe. Go back after grabbing it and jam it on the water wheel. This regains sanity.
When entering the room you can grab you laudanum #11. Next, the Brute will spawn so hide otherwise he will enter and kill you in one hit but you will respawn here.
Moving forward is a laudanum #12 on the other side, there you need to distract the Brute with a rock.
For the last time we just make our way in haste to the ladder.
Part 12: Act IV - Nave
1) Nave, Chancel
2) Tinderboxes: 126/151
3) Notes: 19/30
4) Diaries: 19/23
5) Metallic Containers: 4/5
6) Oils: 30/37
7) Laudanums: 13/16
8) Achievements: 5/18
-----------------------------------------------------------------------------------------------------
![Nave (1).png]](https://images.steamusercontent.com/ugc/2062132500102784266/1F7FC342B4500E5BB0BB05C00ED461E69EACAA51/)
![Nave (4).png]](https://images.steamusercontent.com/ugc/13906995366710412076/505756FA861D2A1F78DF6338B5F646F235380FAE/)
![Chancel (1).png]](https://images.steamusercontent.com/ugc/2062132500103020226/CF7648FEFC69B632A7700A085D300FCCBDEE1B3F/)
![Chancel (2).png]](https://images.steamusercontent.com/ugc/2206261006287012141/434B6C2AC28A4B5CE3953345796C96C0AEA0172B/)
2) Tinderboxes: 126/151
3) Notes: 19/30
4) Diaries: 19/23
5) Metallic Containers: 4/5
6) Oils: 30/37
7) Laudanums: 13/16
8) Achievements: 5/18
-----------------------------------------------------------------------------------------------------
Nave I:
A final and fourth hub to relax on. On the other hand, there are two versions of both Nave and Chancel this is unmissable so follow the section walkthrough as you desire and once you progress without looking every nook and cranny you cannot get the previous collectables anymore once you reach the redux or II of the two locations you will not miss going. Read Part 13 for the key item list if you want.Location/Walkthrough text
Image
Tinderbox #113 - #114: Start by grabbing the tinderbox here. Then behind you is the door to the dead end.
![Nave (2) (Edit_1).png]](https://images.steamusercontent.com/ugc/2107177466700204906/AF0BEE4BE6CF7C699C5ACC27CF029687098142BB/)
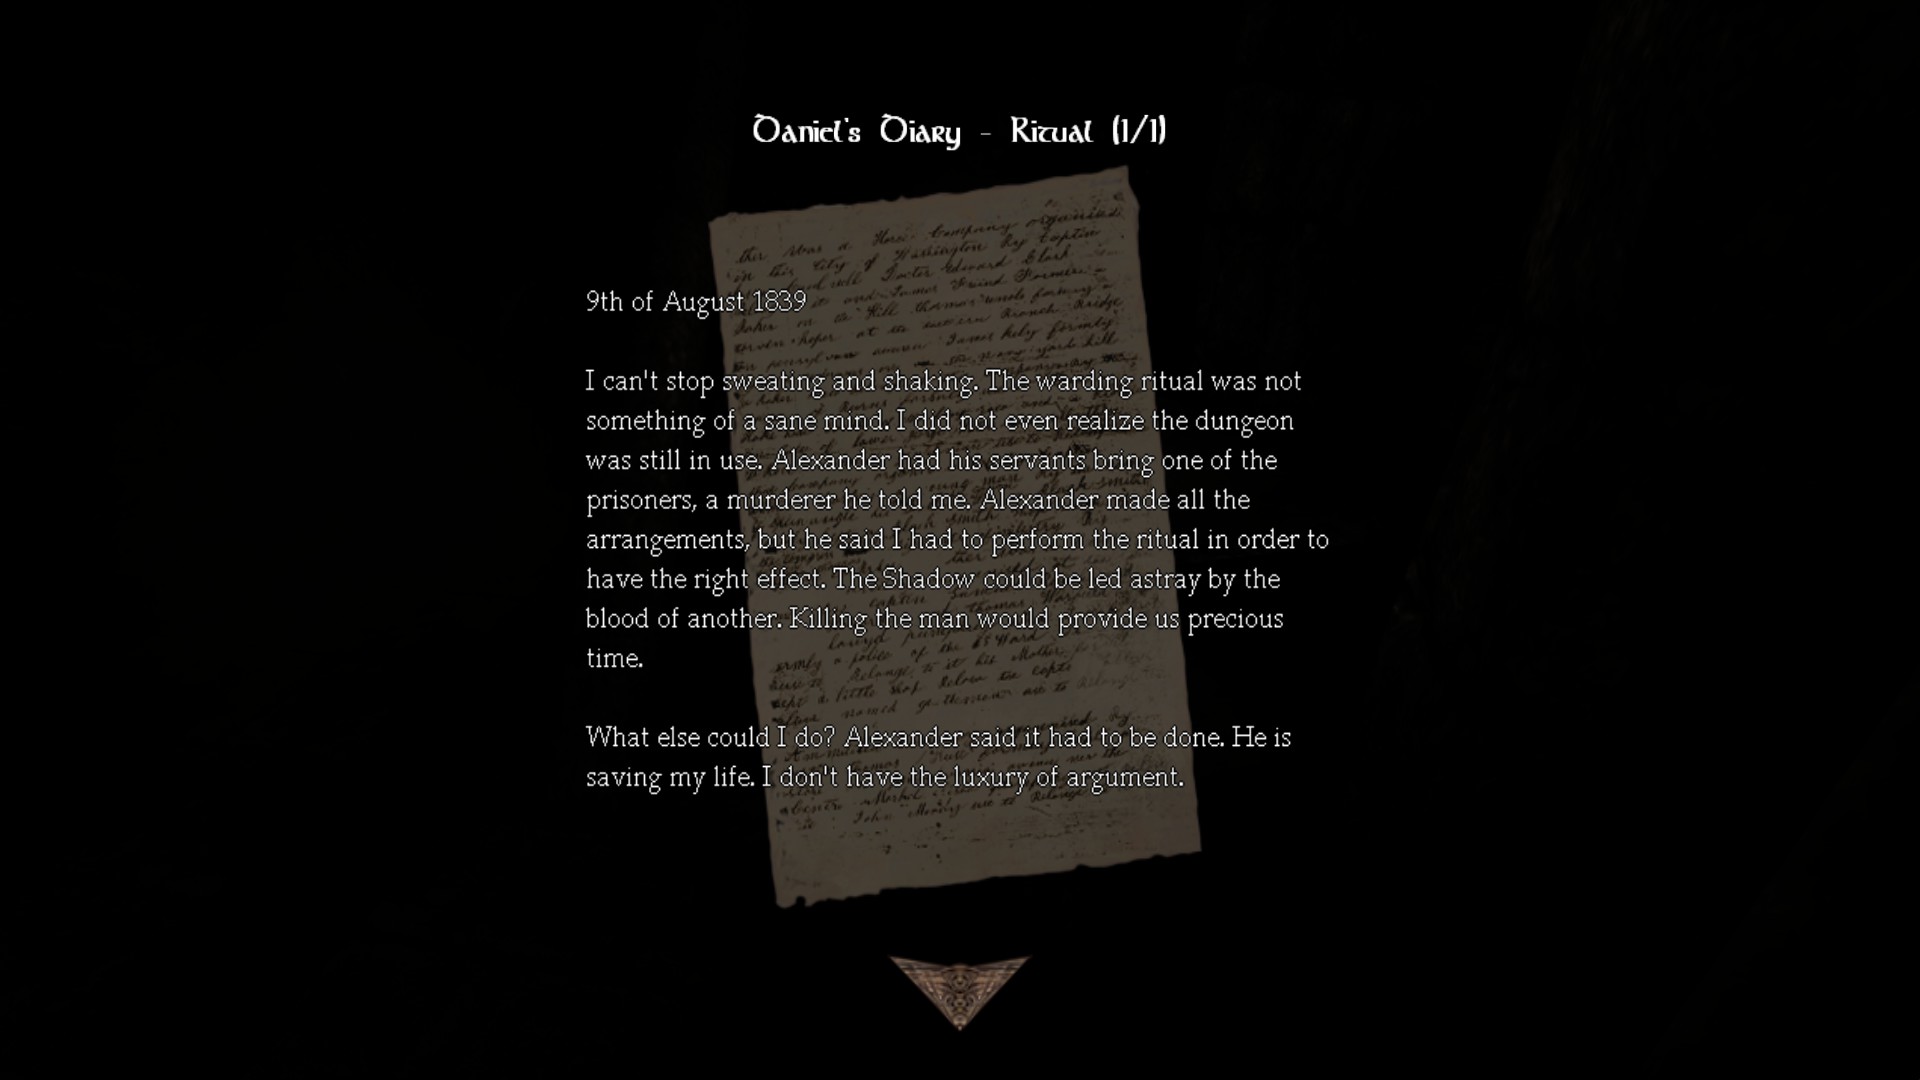
Tinderbox #115 / Diary #18 - Daniel's Diary - Ritual (1/1): To the two levers room are an oil barrel, tinderbox on left and and also diary on right.
![Nave (2) (Edit_2).png]](https://images.steamusercontent.com/ugc/2107177466700205108/CBB04BE8117B0BF4B97D564482F11E017607851D/)
You cannot turn the two levers down so you must go to the other door which is down to the next level.
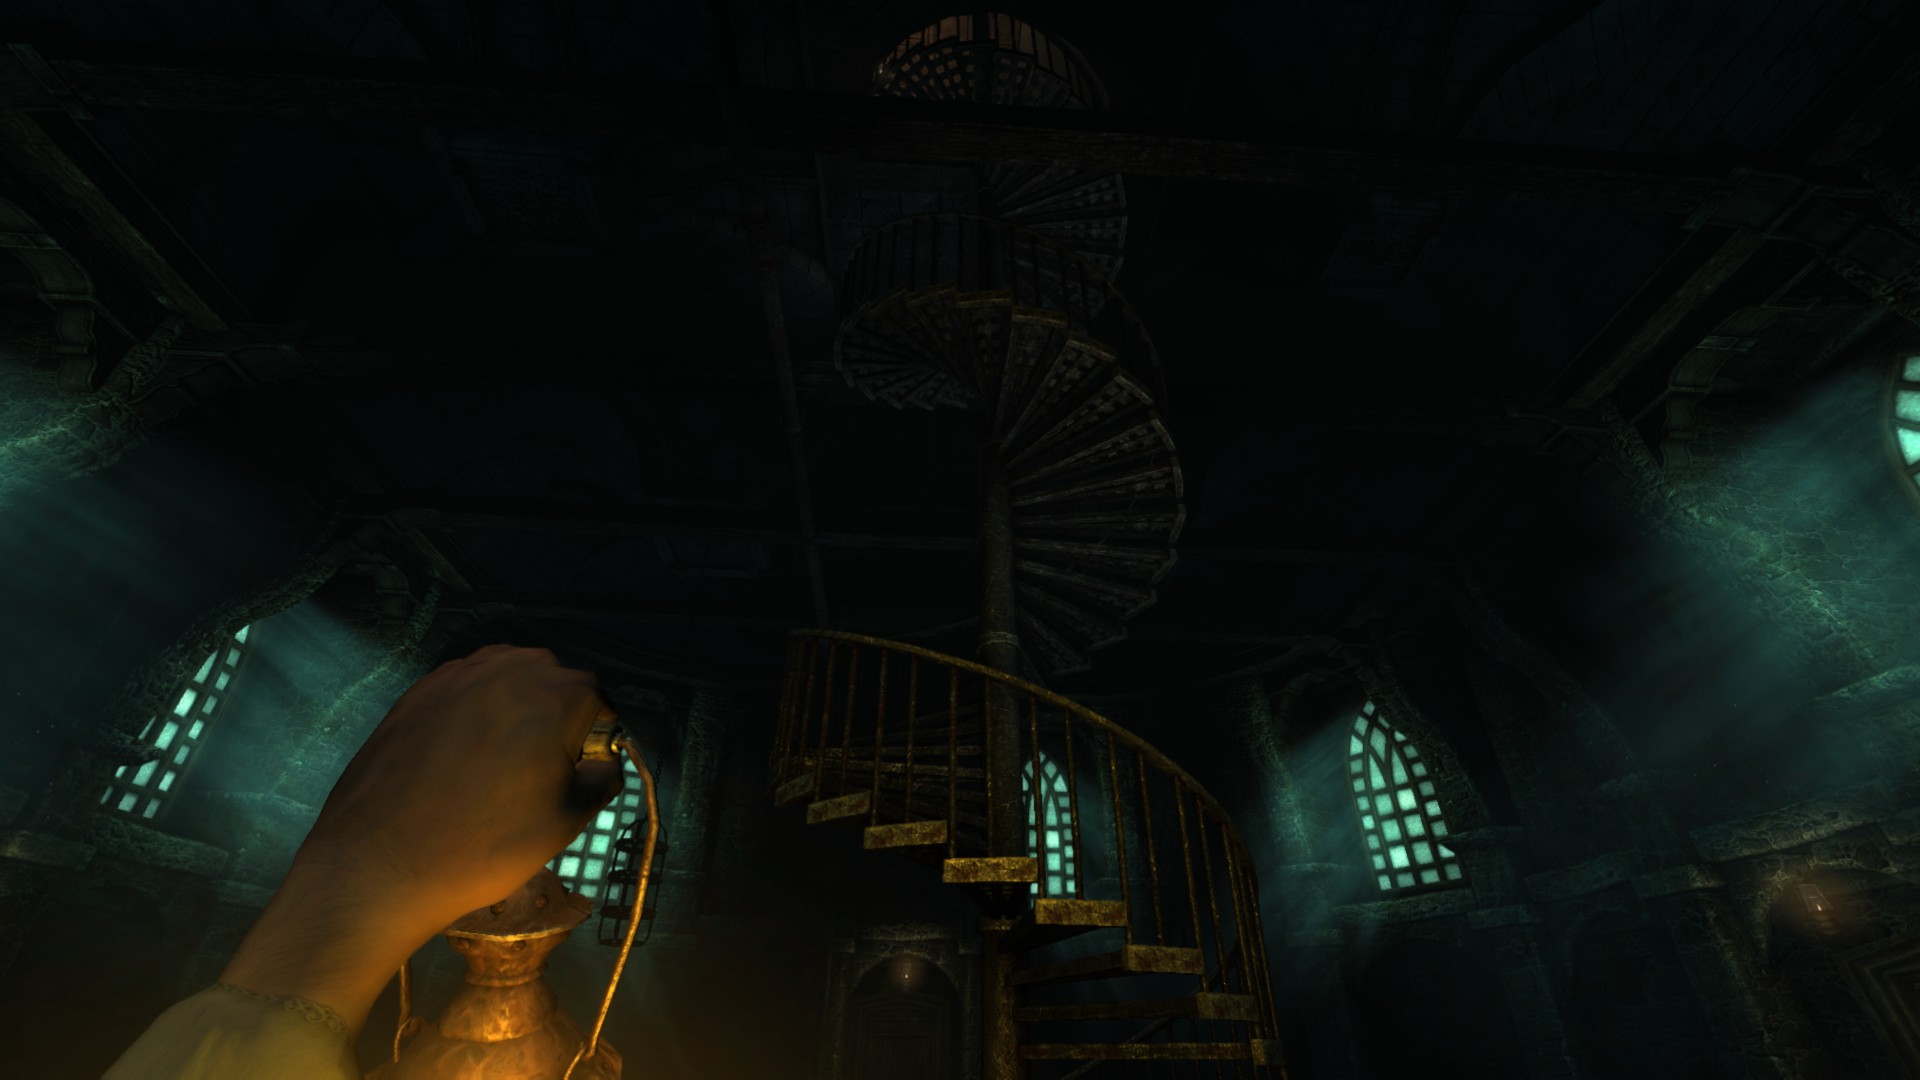
Tinderbox #116 - #118: Go around the spiral stair case.
![Nave (2) (Edit_3).png]](https://images.steamusercontent.com/ugc/2107177466700214876/2E0B66C46ACB144411BF8C47B0CF89FA9944E842/)
When going to the door, flashback occur. As you enter the room where Agrippa is, a key for the next achievement while doing that you can grab the oil #29.
Tinderbox #119 - #120: Enter the next room before the Chancel, one on left and the other right by door.
![Nave (2) (Edt_4).png]](https://images.steamusercontent.com/ugc/2206261006287106522/CFAECF63B2E48B14945ADA61038B47EDB932337C/)
Tinderbox #121: Second floor.
![Nave (2) (Edit_5).png]](https://images.steamusercontent.com/ugc/2107177466700228829/B99DD61FA127352B810E4A3E1EB02366D604ACA9/)
A flashback will occur before the meat to grab. Use it on a well for a Tampter, this is essential for Weyer's Tonic ingredient which is a key item. Regains sanity also.
Now go back but this time near Agrippa there is a hatch, jump and pull the cog to make it function. This will help us solve the lever puzzle and solving it, will unlock the two doors regaining sanity.
On the Choir area before it is a door on your left. Go in there and grab the following inside on the left.
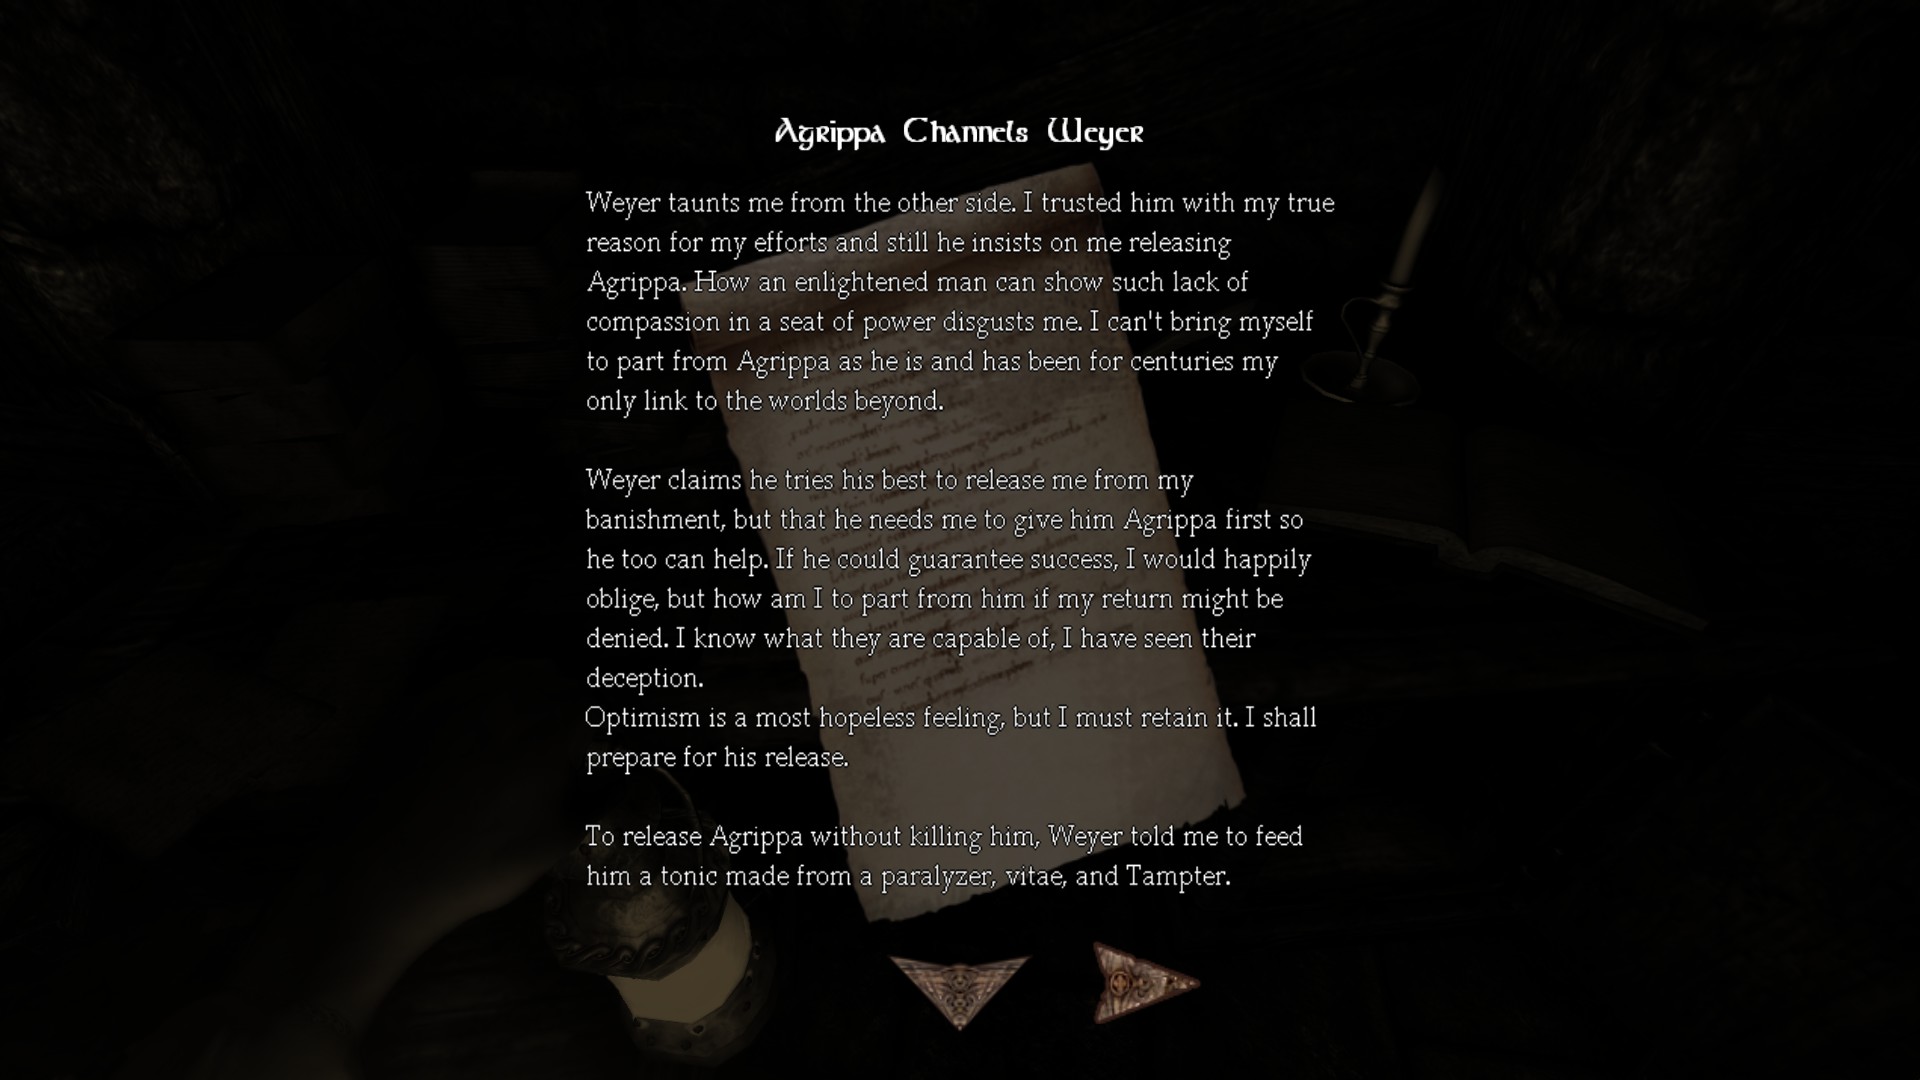
Note #18 - Agrippa Channels Weyer / Tinderbox #122 - #123: There is a Laudanum #13 on your right side at the bookshelf.
![Nave (2) (Edit_6).png]](https://images.steamusercontent.com/ugc/2107177466700234251/D41DB626D9C6EBEEE9C3AAE5F1AE696BE83DA1DD/)
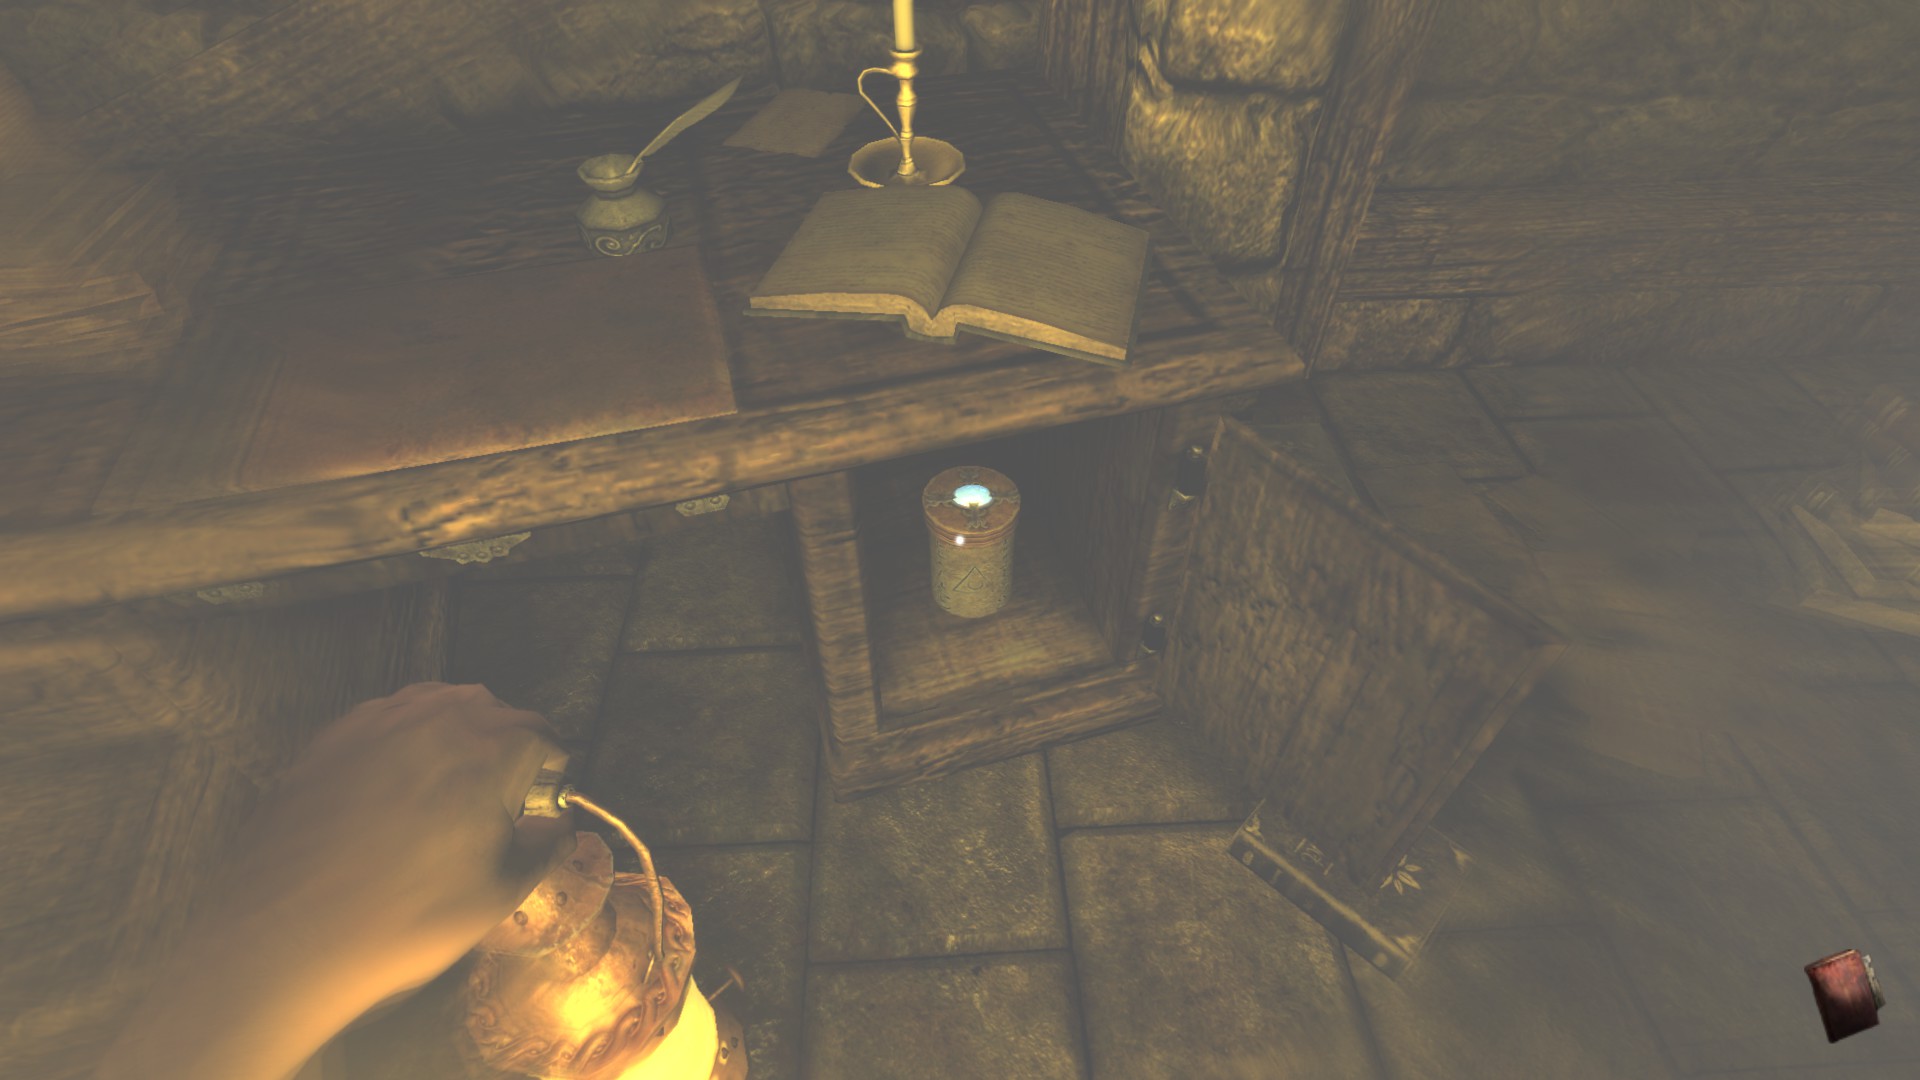
Metallic Container #4:
If you found all, go to the Chancel I door and move on.
Chancel I:
This is by far my favourite area, also priority for collectables so we do it here first. We must go to this area first before other areas as I mentioned either II or redux because we cannot find exactly what is needed in here before moving forward story-wise after collecting all orb pieces.Location/Walkthrough text
Image
One monster will be patrolling here but of course if the monster notices you, you must re-enter the Chancel which despawns the monster. Before that, we can watch the flashback while continuing.
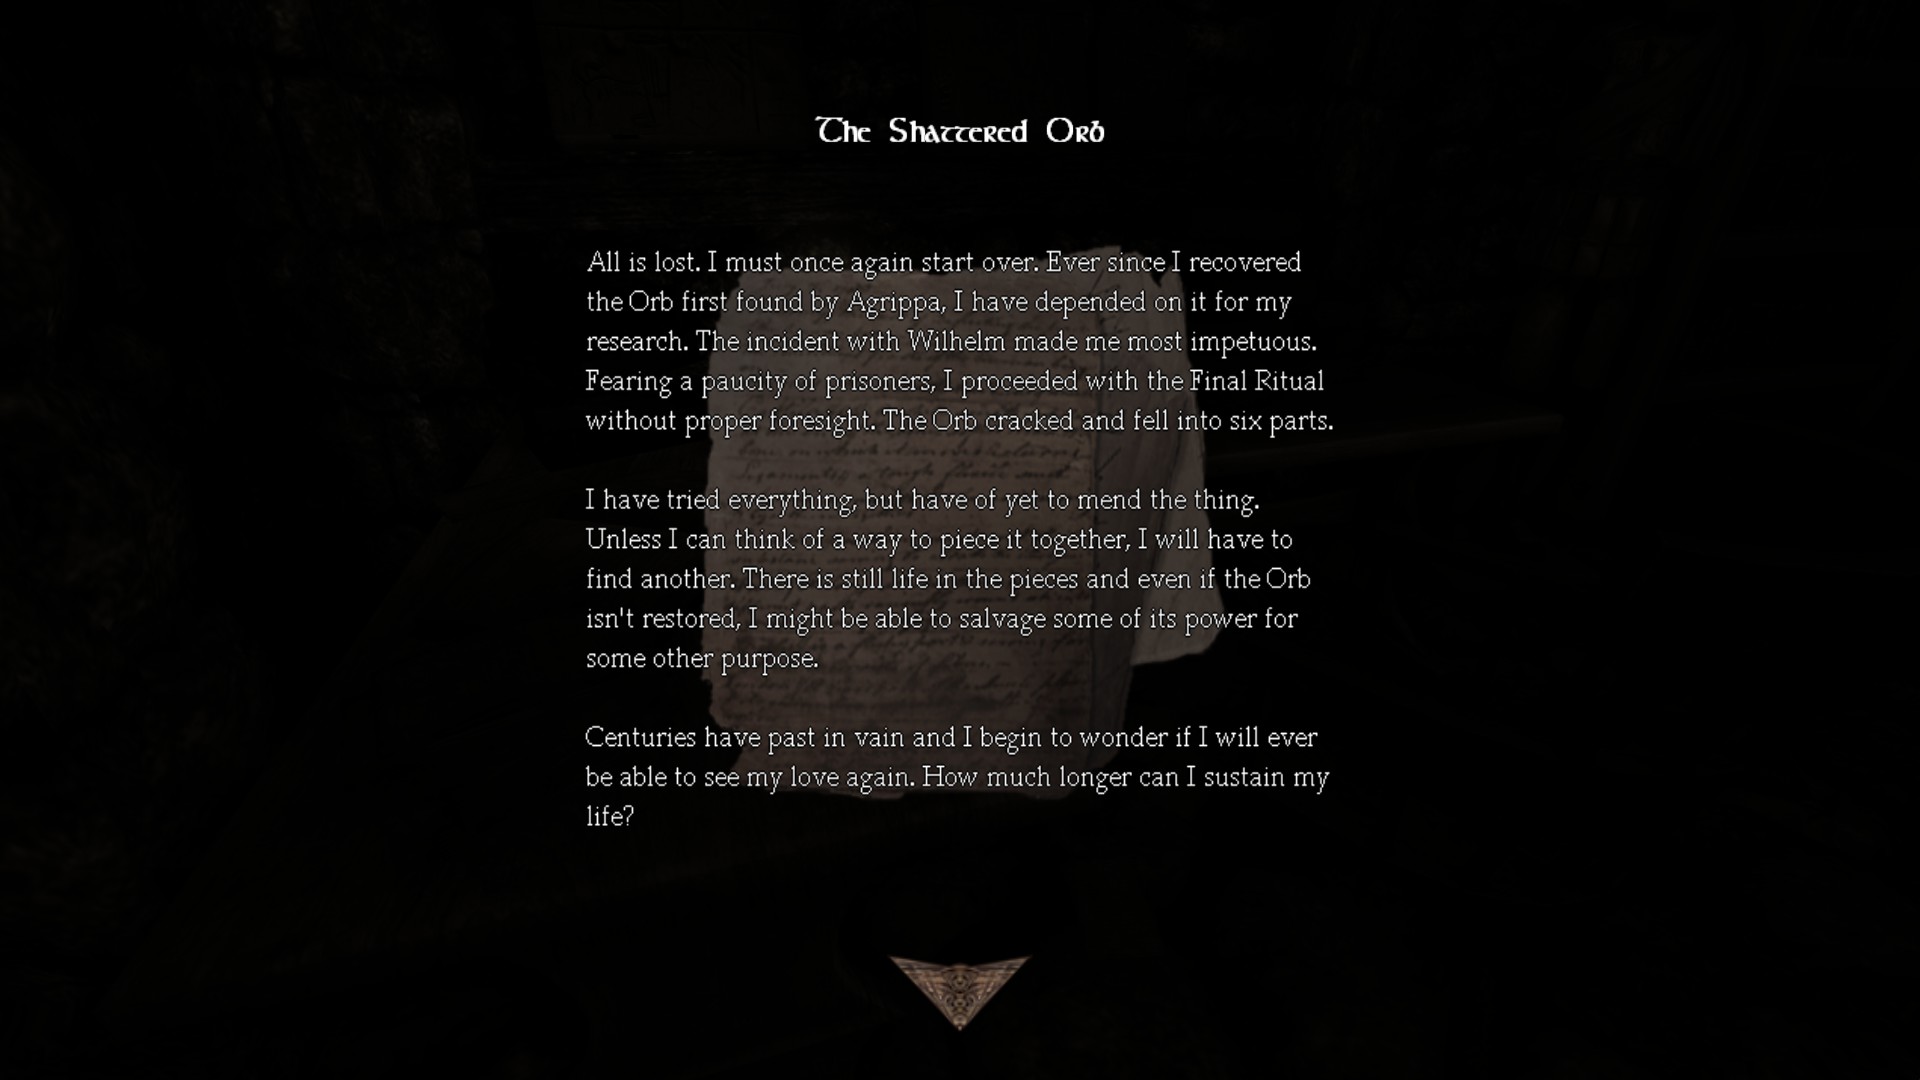
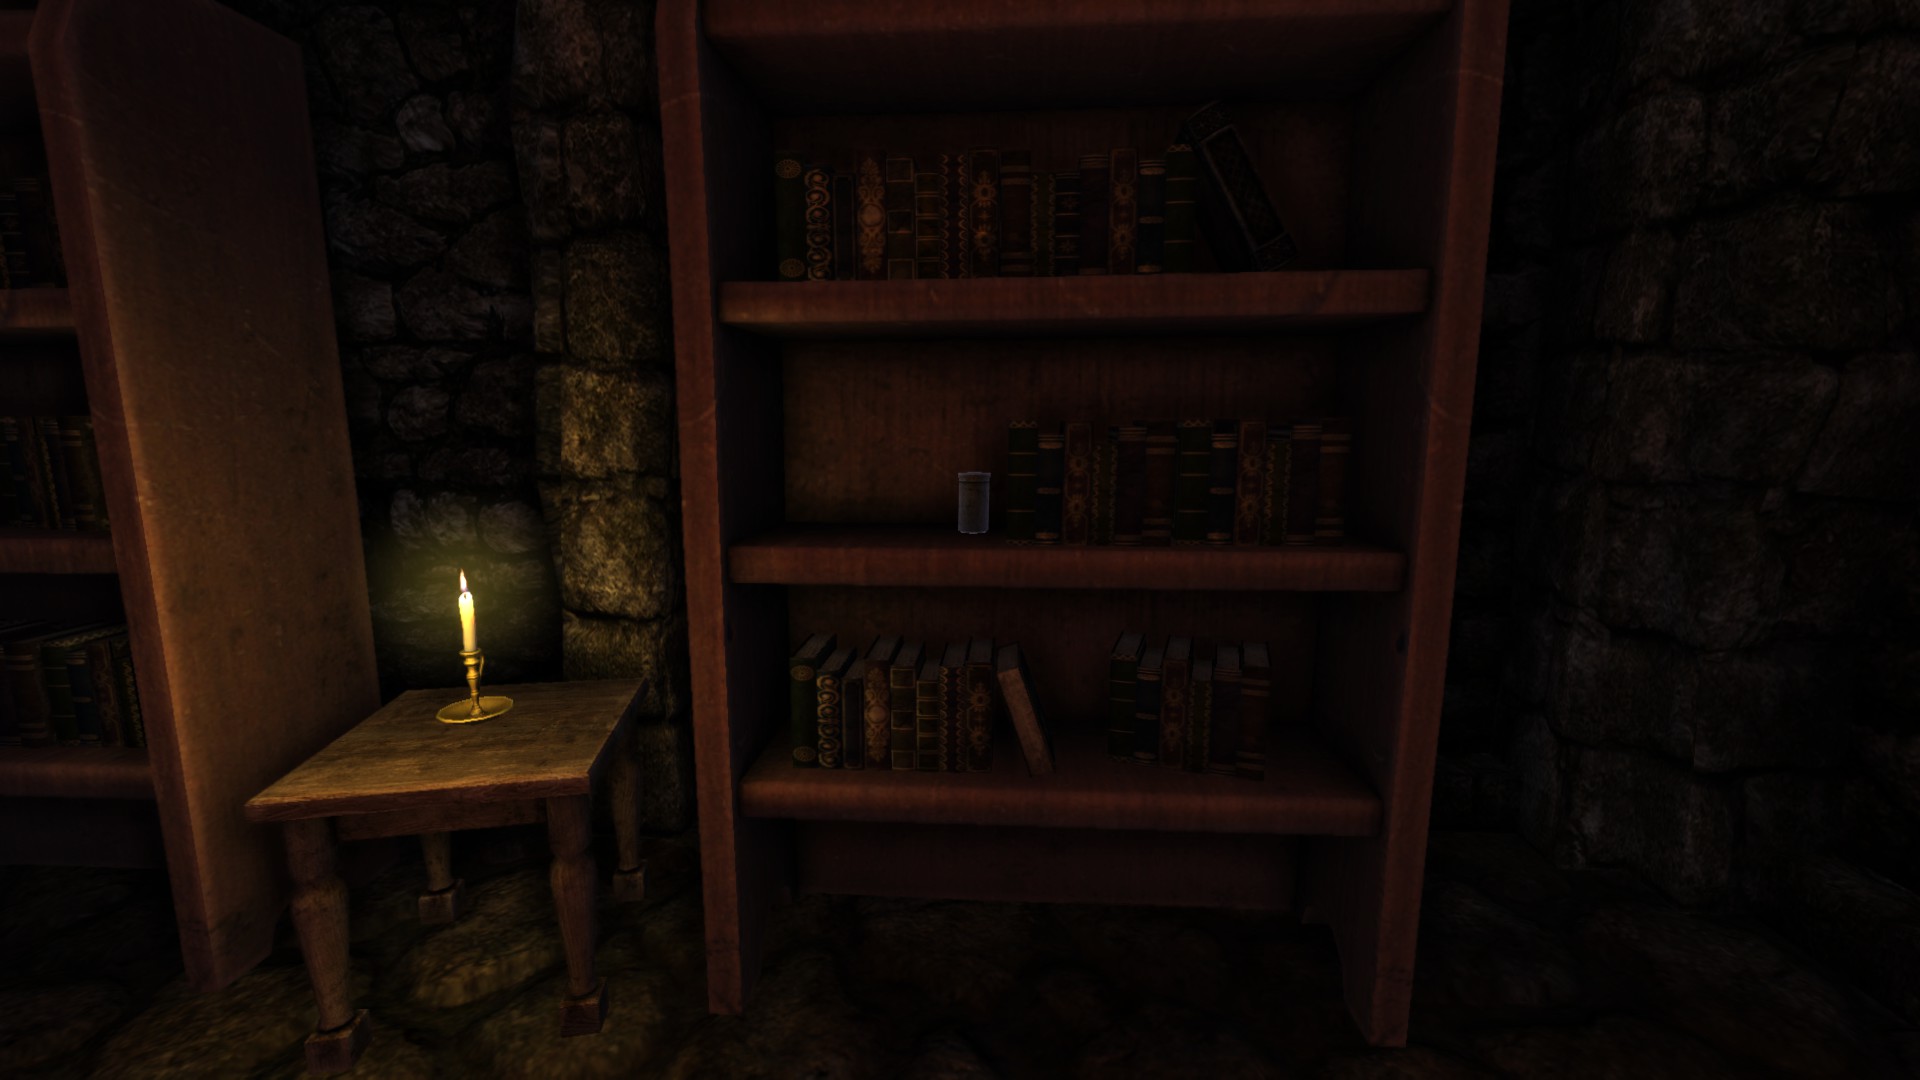
Note #19 - The Shattered Orb / Tinderbox #124: We first turn right to get all items. On your left is a note and right is a tinderbox on bookshelf.
![Chancel (2) (Edt_1).png]](https://images.steamusercontent.com/ugc/2206261006287112529/E3DD07CA444A59596BF2DFDC3D67750C6A7C50ED/)
There is an oil #30 in here.
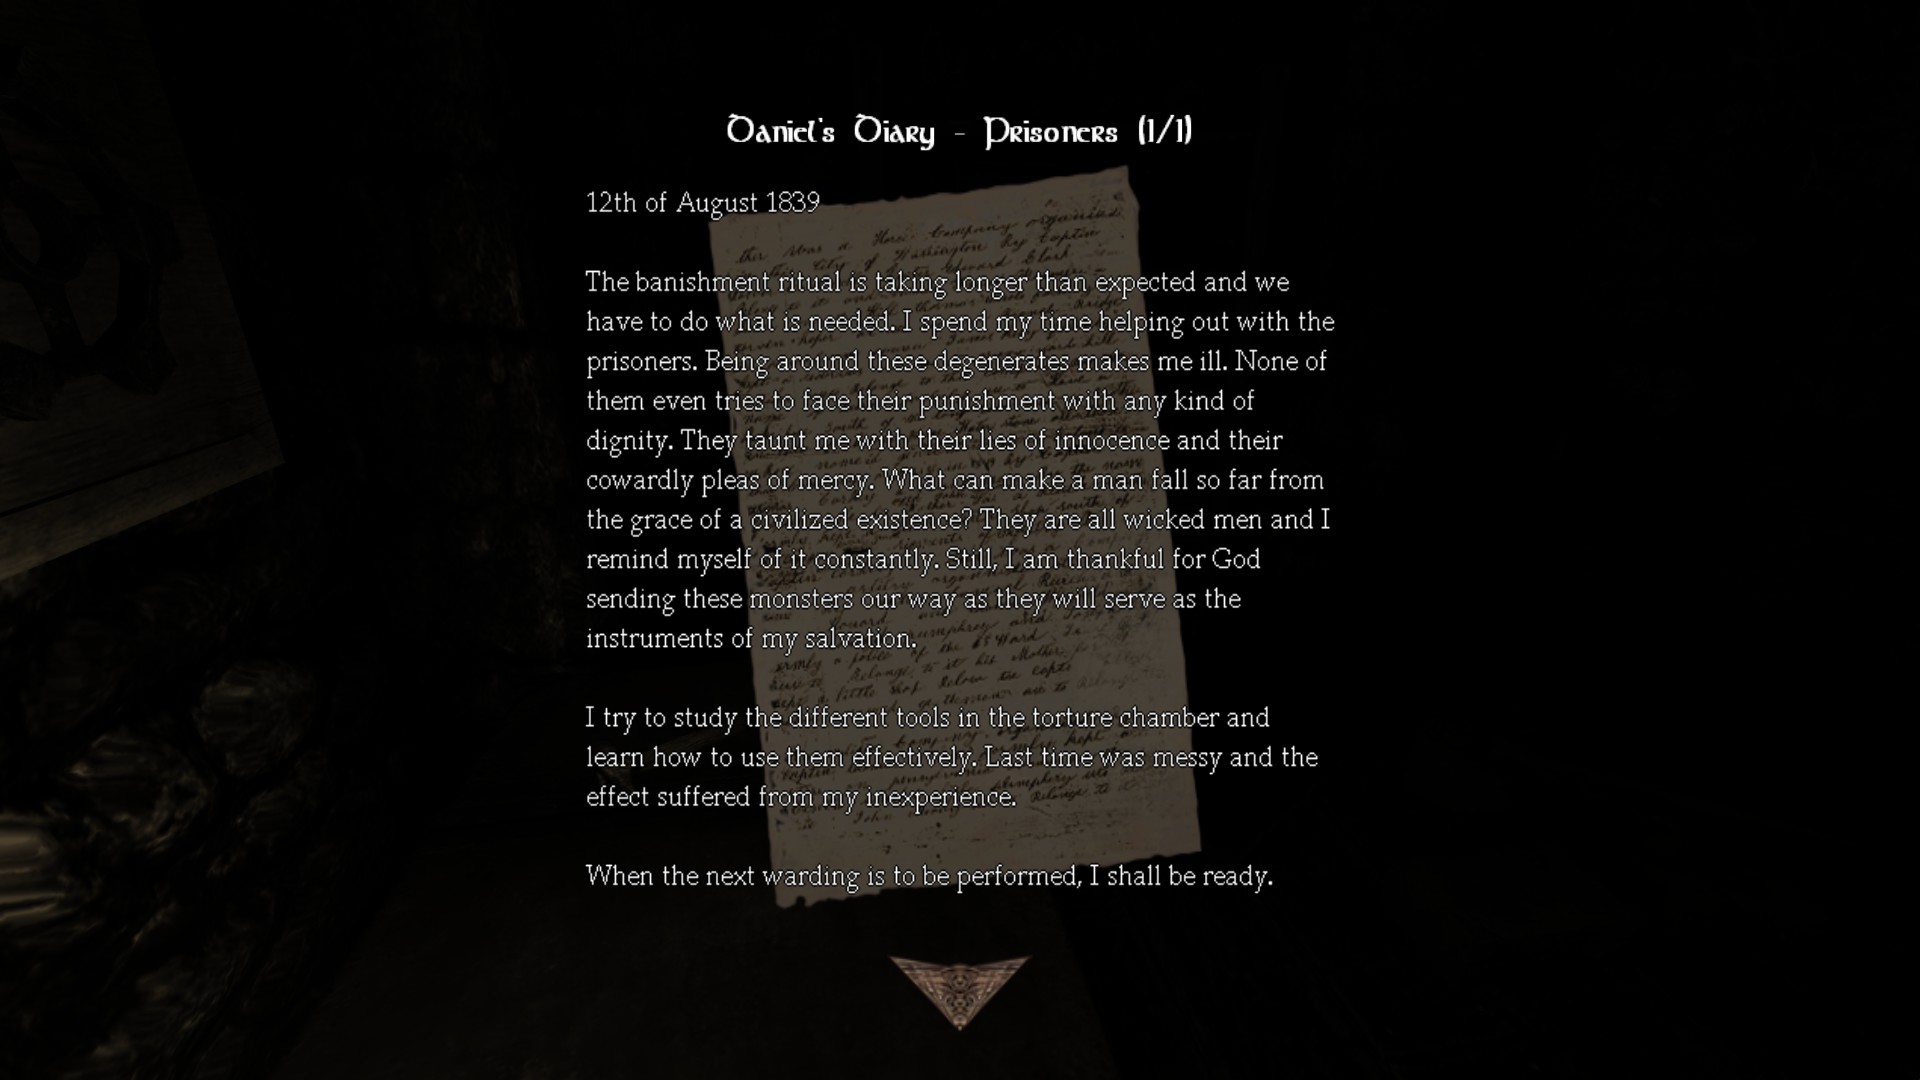
Diary #19 - Daniel's Diary - Prisoners (1/1) / TInderbox #125 - #126: Next is moving forward to the other area, this one is straightforward.
![Chancel (2) (Edt_2).png]](https://images.steamusercontent.com/ugc/2206261006287112702/FD395C1DB1530A4AAEB28CF2293BF32BBD8F70BE/)
After all the collectables, grab the bucket of tar which is already there for the orb assembly.
Now go back to Nave and onto Transept. When revisiting Nave again, flashback may appear also.
Part 13: Scars made to remember I
1) Transept
2) Tinderboxes: 130/151
3) Notes: 20/30
4) Diaries: 19/23
5) Metallic Containers: 5/5
6) Oils: 31/37
7) Laudanums: 13/16
8) Achievements: 5/18
-----------------------------------------------------------------------------------------------------
I run out of space at the previous section so as for the tonic, you need to not miss them otherwise the opportunity to create the tonic will be missable. This means you need the fresh meat (for the well to have Kaernk at the bottom devour it so you can obtain the Tampter afterwards), a poison gland, and a vitae to create Weyer's Tonic, if you miss them you cannot go back to them so get them when I list it, go back to Part 12 to resume.
The meat is the most important
![Transcept (1).png]](https://images.steamusercontent.com/ugc/2062132500103110672/46173FCCD0FEAB3ECFBB9A89A3DE878C00799DB2/)
![Transcept (2).png]](https://images.steamusercontent.com/ugc/2062132500103110678/0A9B9C8BA2B55035E8D8687FAB2A78B7E2FA1CF8/)
2) Tinderboxes: 130/151
3) Notes: 20/30
4) Diaries: 19/23
5) Metallic Containers: 5/5
6) Oils: 31/37
7) Laudanums: 13/16
8) Achievements: 5/18
-----------------------------------------------------------------------------------------------------
Transept:
A safe area before we go to the Choir. Each torture room reduces Daniel's sanity.I run out of space at the previous section so as for the tonic, you need to not miss them otherwise the opportunity to create the tonic will be missable. This means you need the fresh meat (for the well to have Kaernk at the bottom devour it so you can obtain the Tampter afterwards), a poison gland, and a vitae to create Weyer's Tonic, if you miss them you cannot go back to them so get them when I list it, go back to Part 12 to resume.
The meat is the most important
Location/Walkthrough text
Image
A flashback will occur here near spiral staircase.
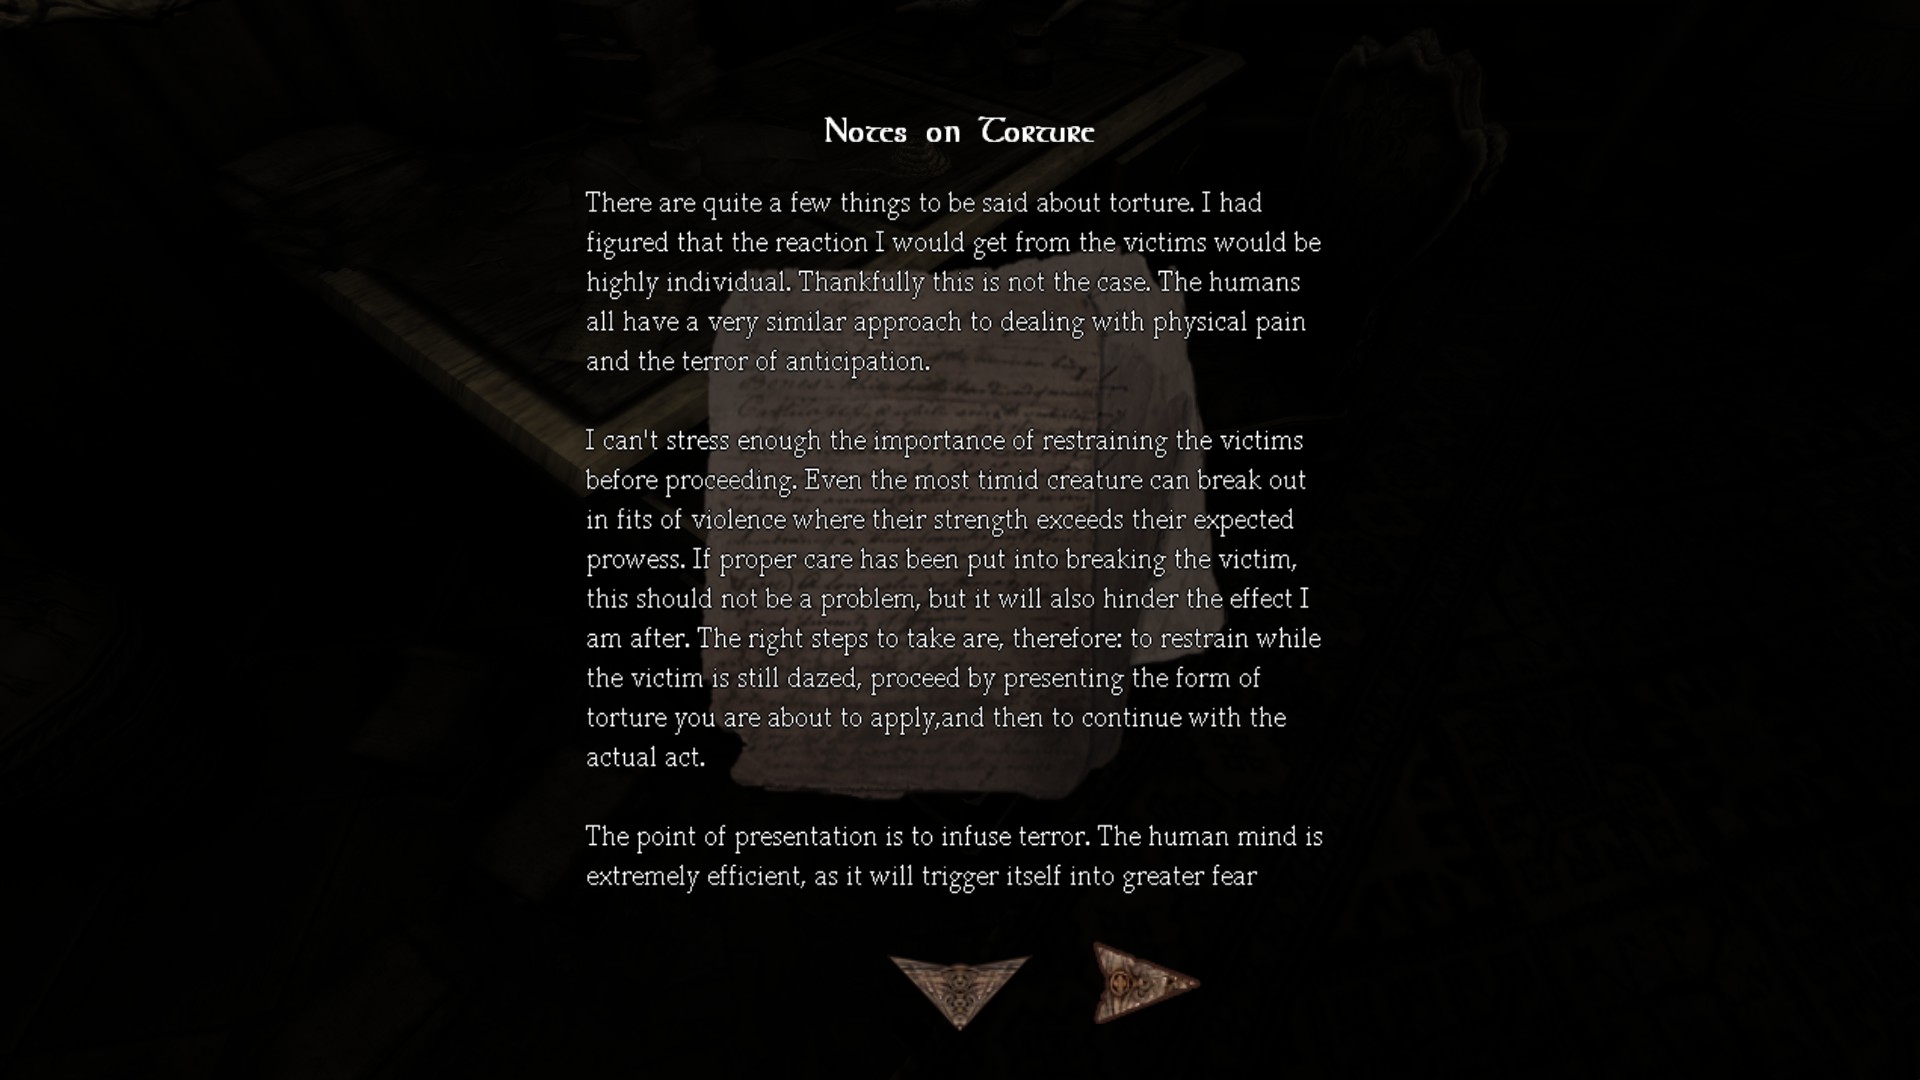
Tinderbox #127 / Note #20 - Notes on Torture: There is an oil #31 on the right side. Now pick up the string.
![Transept (2) (Edt_1).png]](https://images.steamusercontent.com/ugc/2206261006287118586/0702B5514BF8BE6239C55DC0A94ED63022635C4D/)
Metallic Container #5: Last one here.
Here are areas where you get items at:
The Strappado Room:
Tinderbox #129: On your left is this room. There is an orb piece inside the closet.
![Transept (2) (Edit_2).png]](https://images.steamusercontent.com/ugc/2107177466700319729/AE64F272F2A5BD3EAF2D5048C3D995A4B5E0A767/)
Tinderbox #129: On your left is this room. There is an orb piece inside the closet.
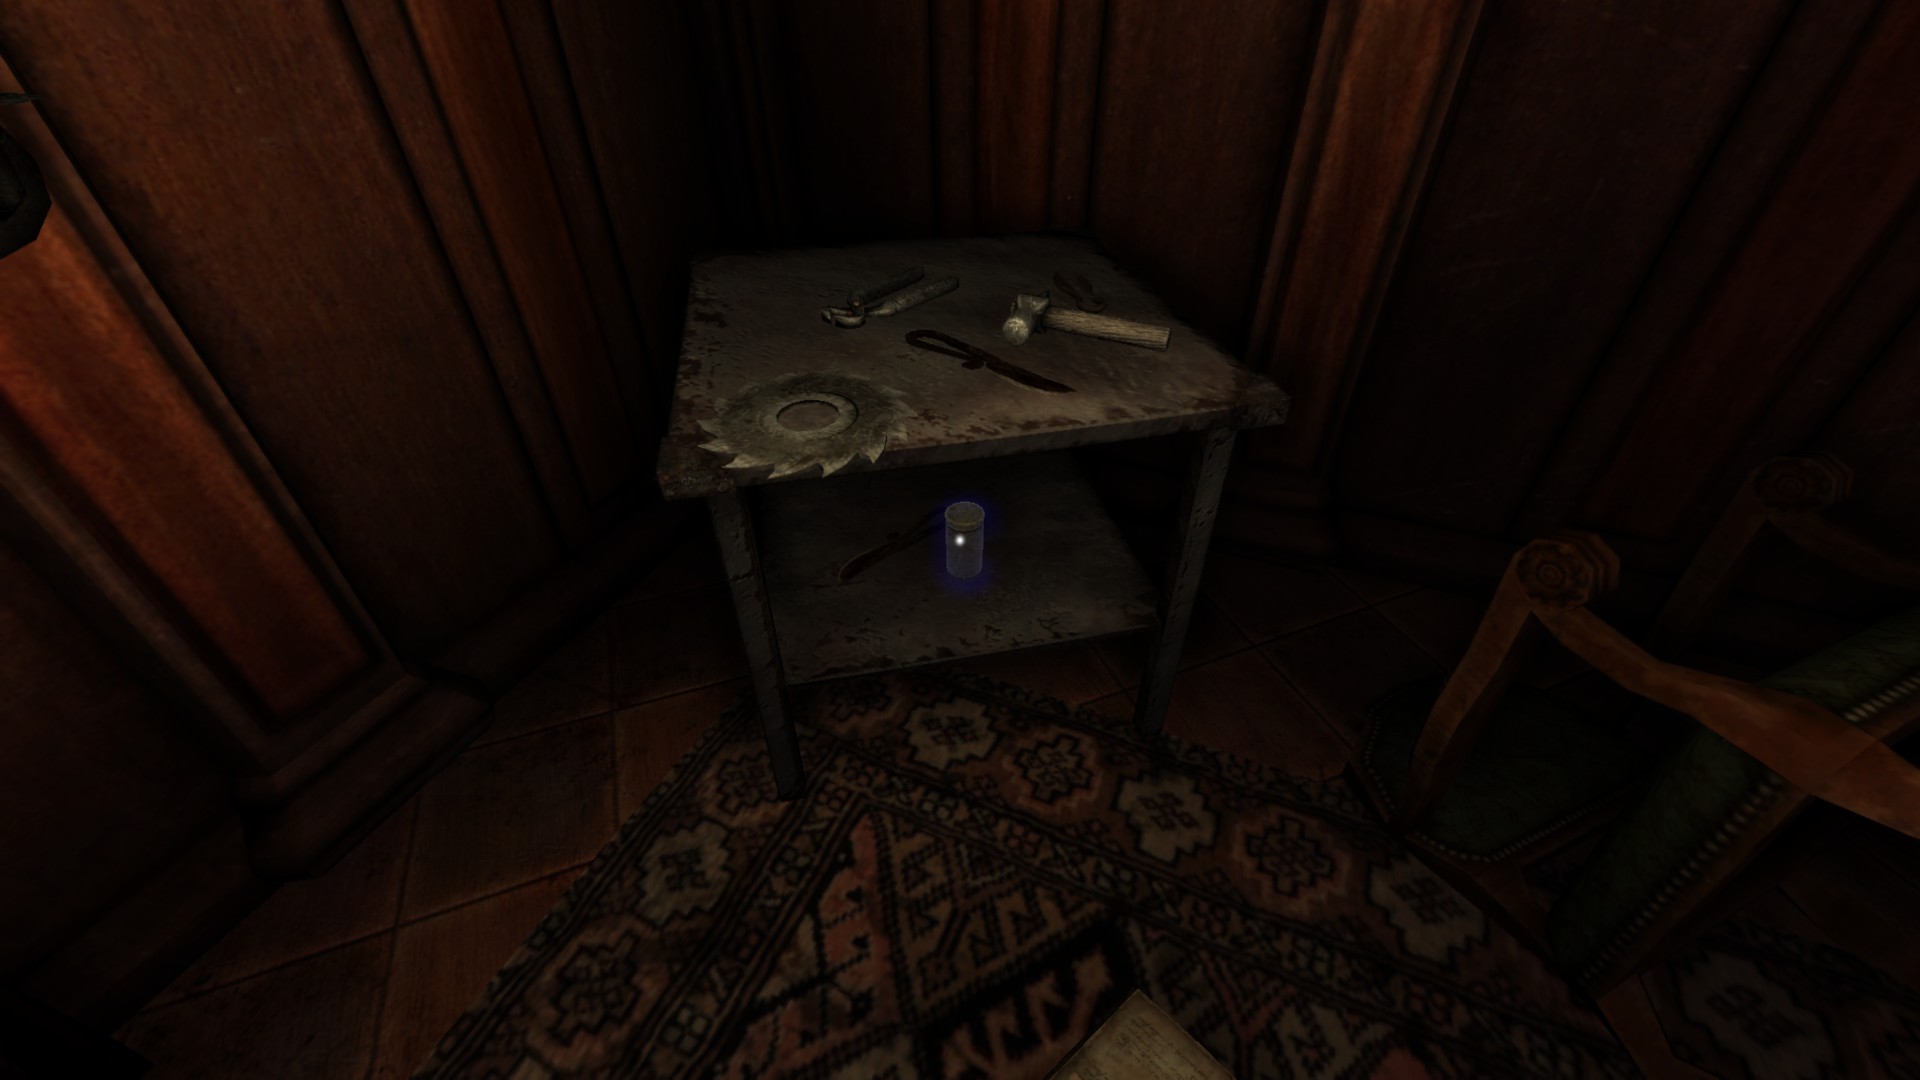
Saw Room:
Tinderbox #128: On your right is this room.
![Transept (2) (Edit_3).png]](https://images.steamusercontent.com/ugc/2107177466700329818/2ECBC57E8B24448A9665184904DA85E9D91D2217/)
Tinderbox #128: On your right is this room.
It is important to remember that you grab the necessary items to make a vitae potion. You just need for now a string and a bottle of jar to grab the key item next, doing this regains sanity. An orb is on front of you.
The Judas Cradle Room:
Tinderbox #130: Finally in the middle is this room, flashback will play throughout.
![Transept (2) (Edit_4).png]](https://images.steamusercontent.com/ugc/2107177466700330044/D99BE86C78E9FFF114A2ADAB9907CFCF61CAFA6B/)
Tinderbox #130: Finally in the middle is this room, flashback will play throughout.
Collect the last orb and you shall regain sanity. After all of these, go back to the Nave and then next after that is the Choir section.
Part 14: Scars made to remember II
1) Choir - Entrance, Choir - Main Hall
2) Tinderboxes: 141/151
3) Notes: 20/30
4) Diaries: 20/23
5) Metallic Containers: 5/5
6) Oils: 33/37
7) Laudanums: 14/16
8) Achievements: 5/18
-----------------------------------------------------------------------------------------------------
![Choir Entrance (2).png]](https://images.steamusercontent.com/ugc/2062132621118380746/06FB5DFEC2B4E4E380AC8E670D4D1249514E06EC/)
The strategy is to keep hugging the wall as much as you can, thanks to Yazite's way this should be a breeze. Also turn up gamma if you want to so you can see.
https://www.youtube.com/watch?v=jY35y1ijZD4
![Choir (1).png]](https://images.steamusercontent.com/ugc/2062132621118430132/8415BF873B856A66E44AD4C006786DC9F3C52C1E/)
![Choir (2).png]](https://images.steamusercontent.com/ugc/2062132621118430137/5540B75C246B3DF5B71099F08B1EB1F7857E00EC/)
2) Tinderboxes: 141/151
3) Notes: 20/30
4) Diaries: 20/23
5) Metallic Containers: 5/5
6) Oils: 33/37
7) Laudanums: 14/16
8) Achievements: 5/18
-----------------------------------------------------------------------------------------------------
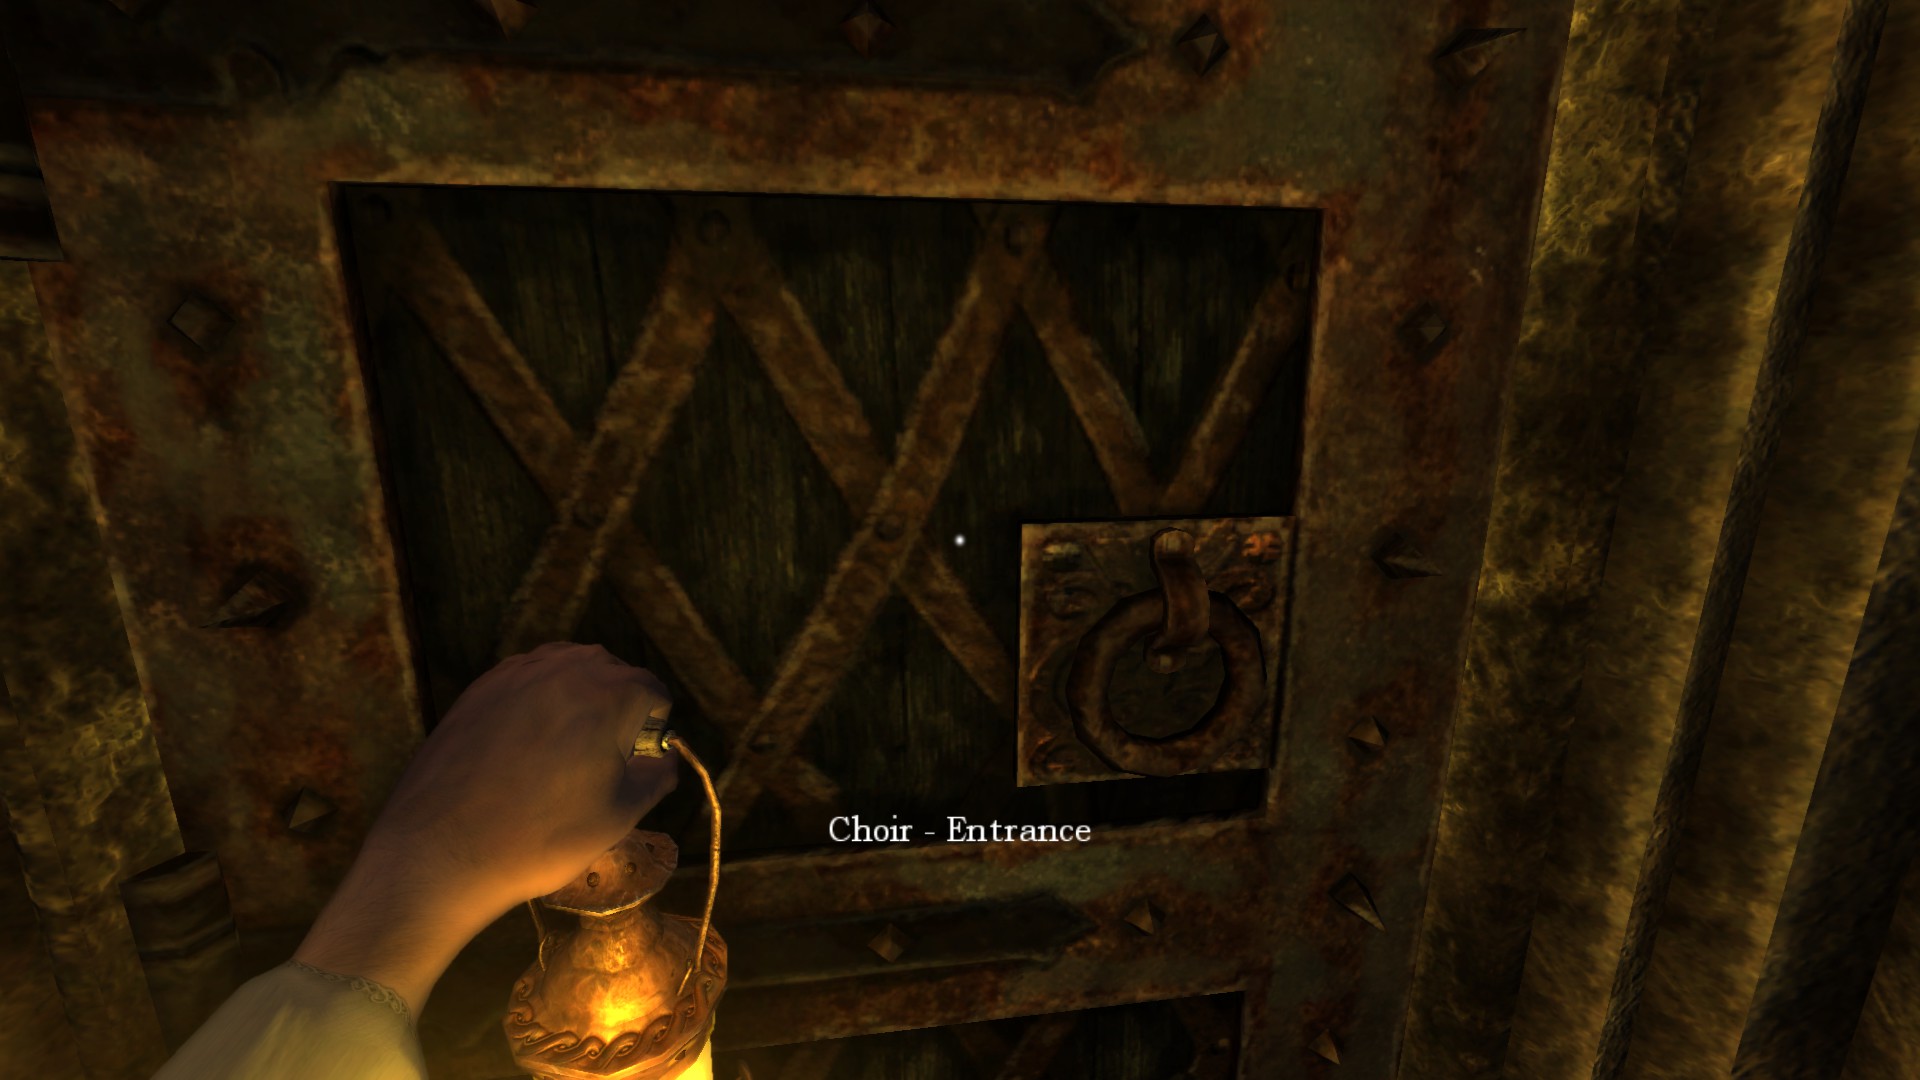
Choir - Entrance:
Safe area before the Choir room.Location/Walkthrough text
Image
Tinderbox #131 - #132:
![Choir Entrance (2) (Edt_1).png]](https://images.steamusercontent.com/ugc/2206261006287128471/B2391B5F5906A61A57B880252D134289CB8142EF/)
Diary #20 - Daniel's Diary - The Ceremony (1/1): This diary is very different compared to all of the previous where if you grab it the gameplay cutscene will initiate.
Go to the Choir.
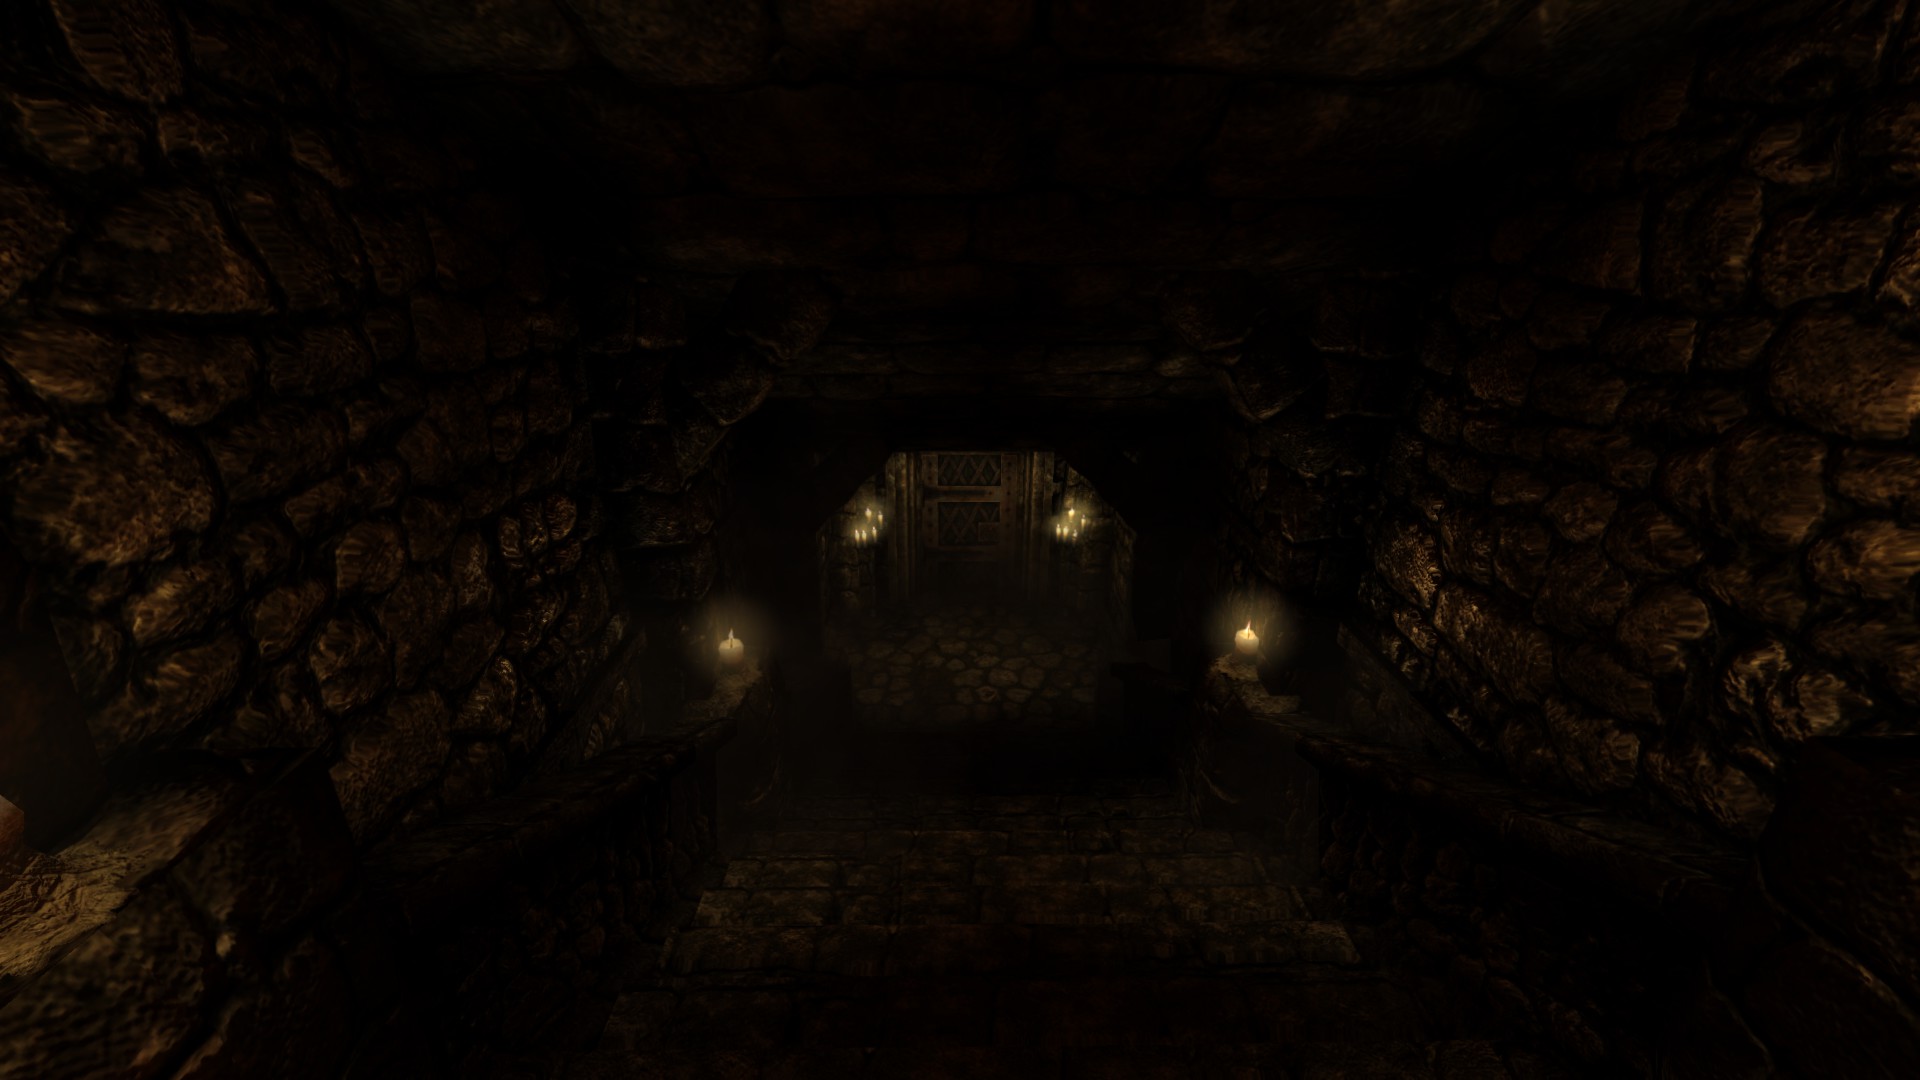
Choir - Main Hall:
Another largest area and second torture room, it's filled with Brutes around 6 so bear with this but it's the easiest map on hard also.The strategy is to keep hugging the wall as much as you can, thanks to Yazite's way this should be a breeze. Also turn up gamma if you want to so you can see.
https://www.youtube.com/watch?v=jY35y1ijZD4
Location/Walkthrough text
Image
Tinderbox #133: Go right and be careful not to trigger a Brute spawn.
![Choir (2) (Edit_1).png]](https://images.steamusercontent.com/ugc/2107177466700416678/A528EED4E0490A4500AE06F37C71B10B474FB2E0/)
Tinderbox #134: On the bottom left corner.
Iron Maiden:
Be careful here when you go to the iron maiden it will open and drain your sanity but not to a severe level unless hard.
Be careful here when you go to the iron maiden it will open and drain your sanity but not to a severe level unless hard.
Tinderbox #135: There is also a laudanum #14 on your right.
![Choir (2) (Edit_2).png]](https://images.steamusercontent.com/ugc/2107177466700422517/2D418B7B2DC6B5767B6CB1AC79235F4B78EB02A3/)
Grab the orb and continue forward.
Tinderbox #136: Back to the outside while proceeding to west via bridge, collect the tinderbox here before going to the next torture room.
![Choir (2) (Edit_3).png]](https://images.steamusercontent.com/ugc/2107177466700436888/62ED6DE01B91C40014BEE4FEED3451374768013A/)
Keep hugging the left wall, every Brutes are not spawned near according to the map, where you are heading to the next 2nd piece orb.
Tinderbox #137: Lantern oil #32 on your left also from this image.
![Choir (2) (Edit_4).png]](https://images.steamusercontent.com/ugc/2107177466700437529/CADD61AEE0E001DD6608E90AD678F6ADB80CE5D1/)
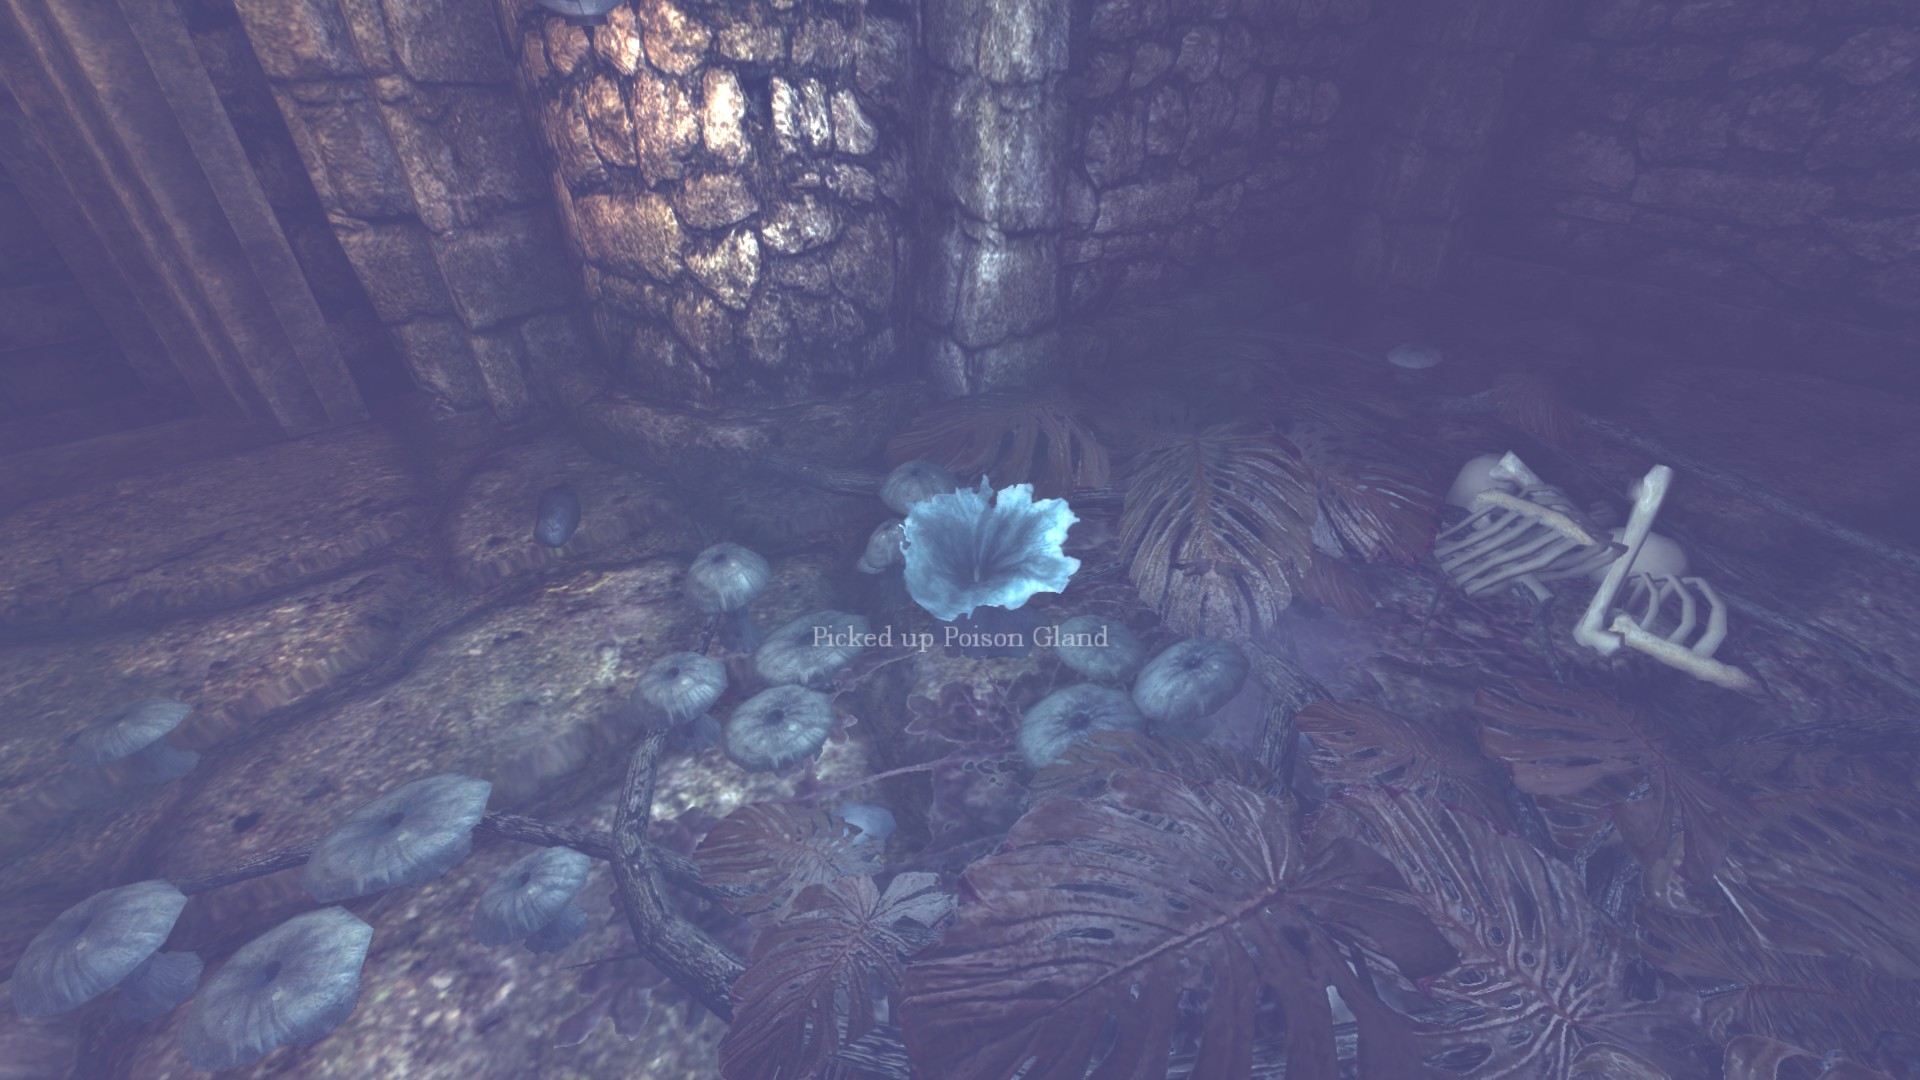
Next, grab the poison gland with your chipper/hammer so you regain sanity, making it our next key item.
Brazen Bull:
This here can also decrease sanity if you activate the trigger on the device (by lighting it).
This here can also decrease sanity if you activate the trigger on the device (by lighting it).
Tinderbox #138: At the left corner of the pillar. Then pick up the orb piece after that.
![Choir (2) (Edit_5).png]](https://images.steamusercontent.com/ugc/2107177466700454361/1F94B2CE64E53B89F5DDE5A1B2EE887A54D2AC90/)
Keep hugging the left wall. This next area is to the last room and then we can leave this section.
Tinderbox #139: Shown in the image.
![Choir (2) (Edt_6).png]](https://images.steamusercontent.com/ugc/2206261006287141002/E5F1BEF69A8B9F197D1F462A086EAE9BF49F23AD/)
The monster is there so try hiding behind. If you die here you will restart back to the main hall door but at least the Brutes won't be there. After dying or not, get inside the last torture room and a flashback is playing.
Last torture room:
Now pick up the orb to regain sanity then that will be all for this.
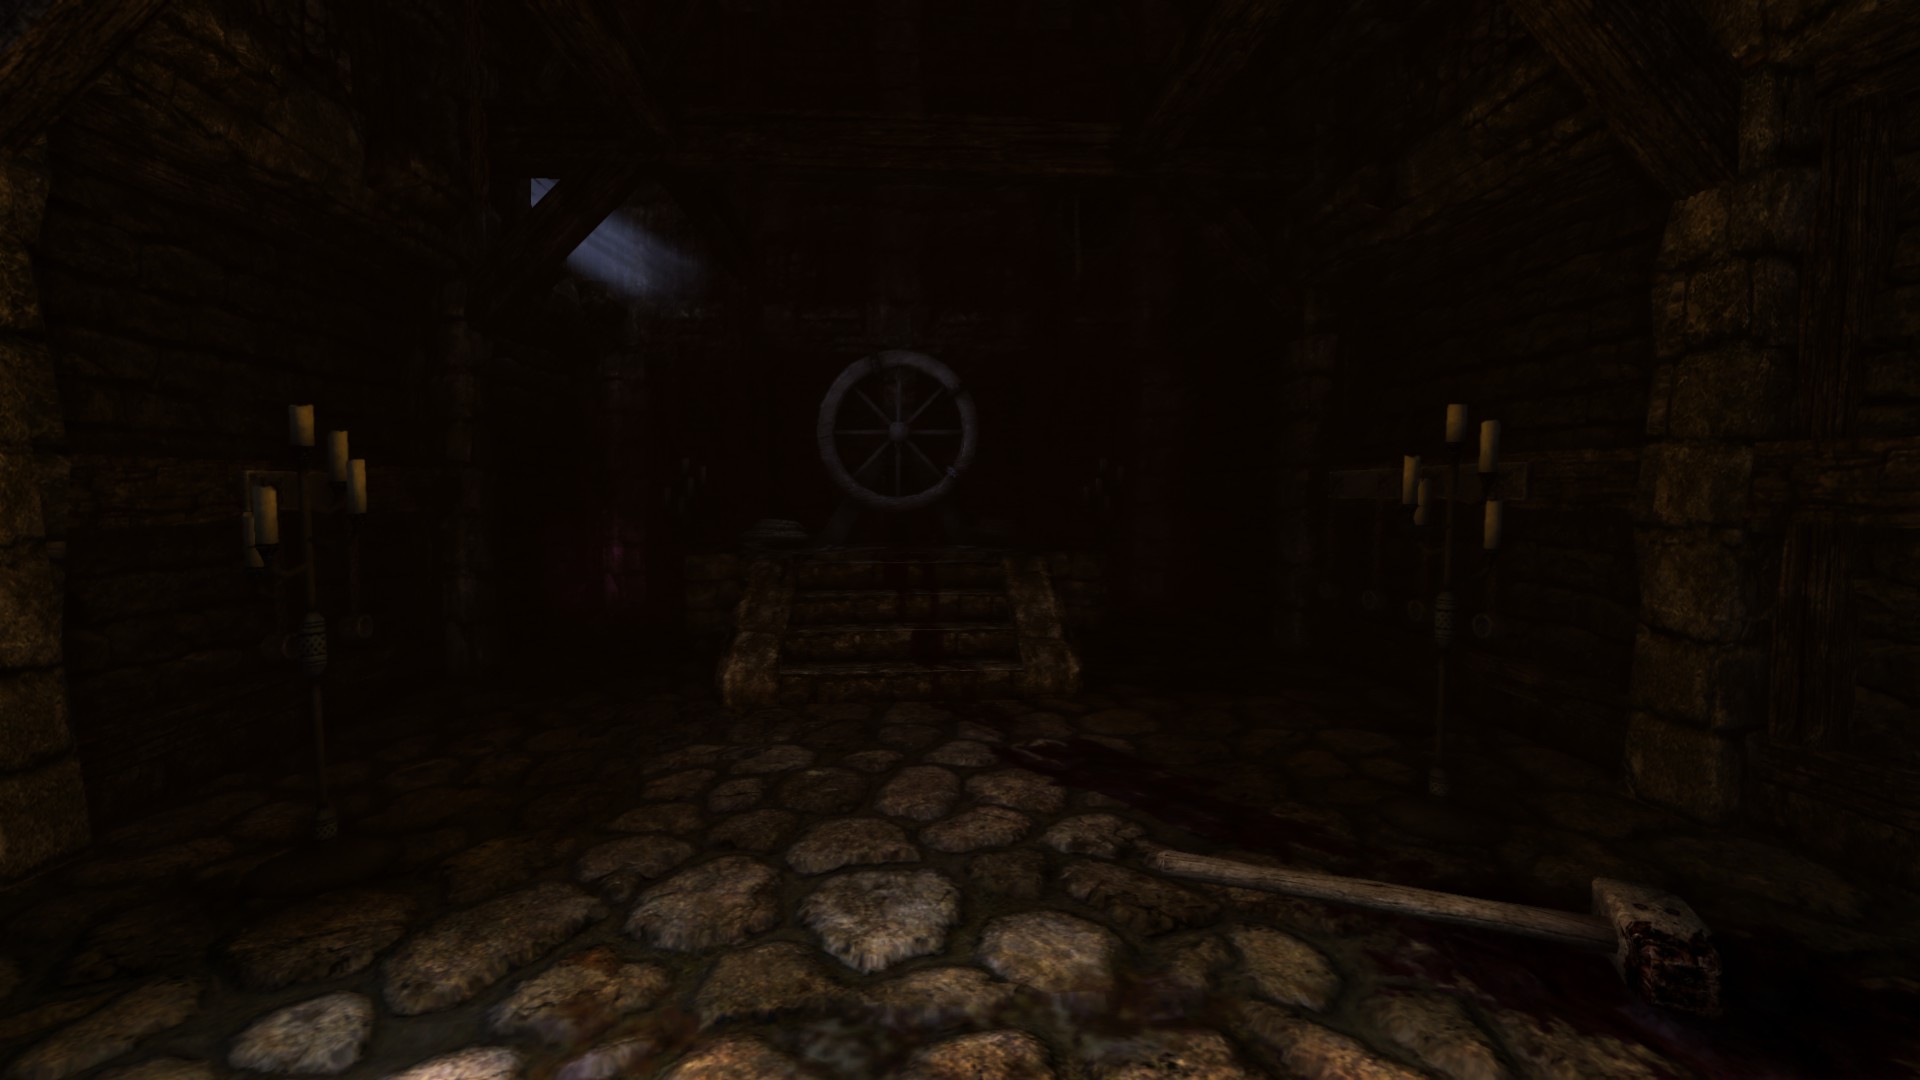
Now pick up the orb to regain sanity then that will be all for this.
Tinderbox #140: Shown in the image.
![Choir (2) (Edit_7).png]](https://images.steamusercontent.com/ugc/2107177466700465100/95FD1322152397AB9FC398FB8EDD3CD31E1AFBCE/)
Tinderbox #141: Keep hugging left wall until you come across a rubble, along with it is oil #33.
![Choir (2) (Edit_8).png]](https://images.steamusercontent.com/ugc/2107177466700470670/F935FA644CD6D847C25AE147176FCD7209C6906A/)
When you are finished, go back to the door and move along.
Make your way to the Chancel to be fooled into putting all 6 orbs, another level unlocks.
Part 15: Into the chambers I
1) Cells
2) Tinderboxes: 144/151
3) Notes: 21/30
4) Diaries: 20/23
5) Oils: 35/37
6) Laudanums: 15/16
7) Achievements: 8/18
-----------------------------------------------------------------------------------------------------
Note: After you escape the cells, there is one more well where you can put the meat on the rope and get the Tampter.
![Cells (1).png]](https://images.steamusercontent.com/ugc/2062132621118653840/008E7107BE1CD1D9749D7BAB5E9A231239328F08/)
![Cells (2).png]](https://images.steamusercontent.com/ugc/2062132621118654086/58AA6DBFCFB80C1D33FBD934D4AADCCF65605FF9/)
![Quitter.jpg]](https://images.steamusercontent.com/ugc/2065508931961899853/74F2BD859818BA9011F1FF025D88E05ED5E4766F/) –––––––––––––––––––––––––––––––––––––––––––––––––––––––
–––––––––––––––––––––––––––––––––––––––––––––––––––––––
Quitter
Failed to escape the cells and was consumed by the Shadow in Amnesia: The Dark Descent.
¯¯¯¯¯¯¯¯¯¯¯¯¯¯¯¯¯¯¯¯¯¯¯¯¯¯¯¯¯¯¯¯
Achievement #6: I think you can do this while inside the cell but either way you could do this when the Shadow appears ready to kill you, just go to it and instantly die.
2) Tinderboxes: 144/151
3) Notes: 21/30
4) Diaries: 20/23
5) Oils: 35/37
6) Laudanums: 15/16
7) Achievements: 8/18
-----------------------------------------------------------------------------------------------------
Cells:
This is a one-time area to explore before you get to the end for a reminder.Note: After you escape the cells, there is one more well where you can put the meat on the rope and get the Tampter.
Location/Walkthrough text
Image
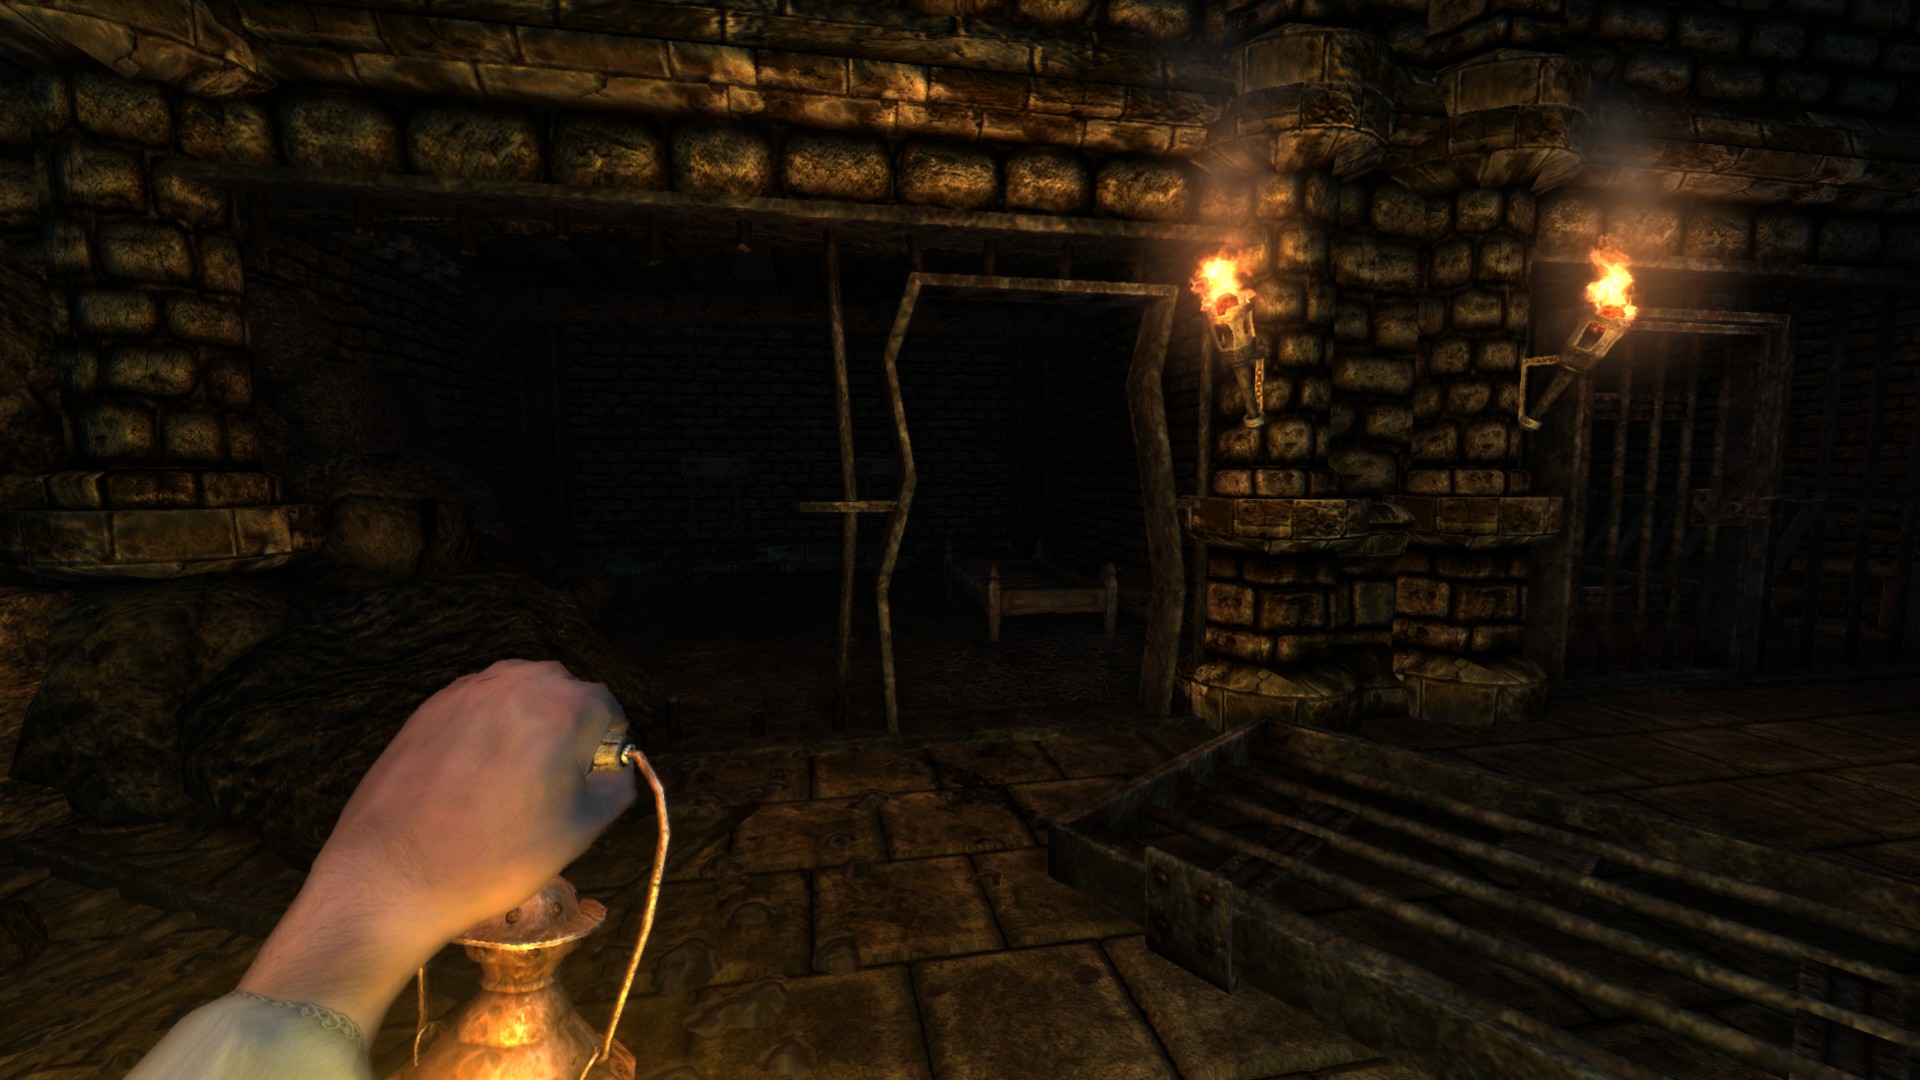
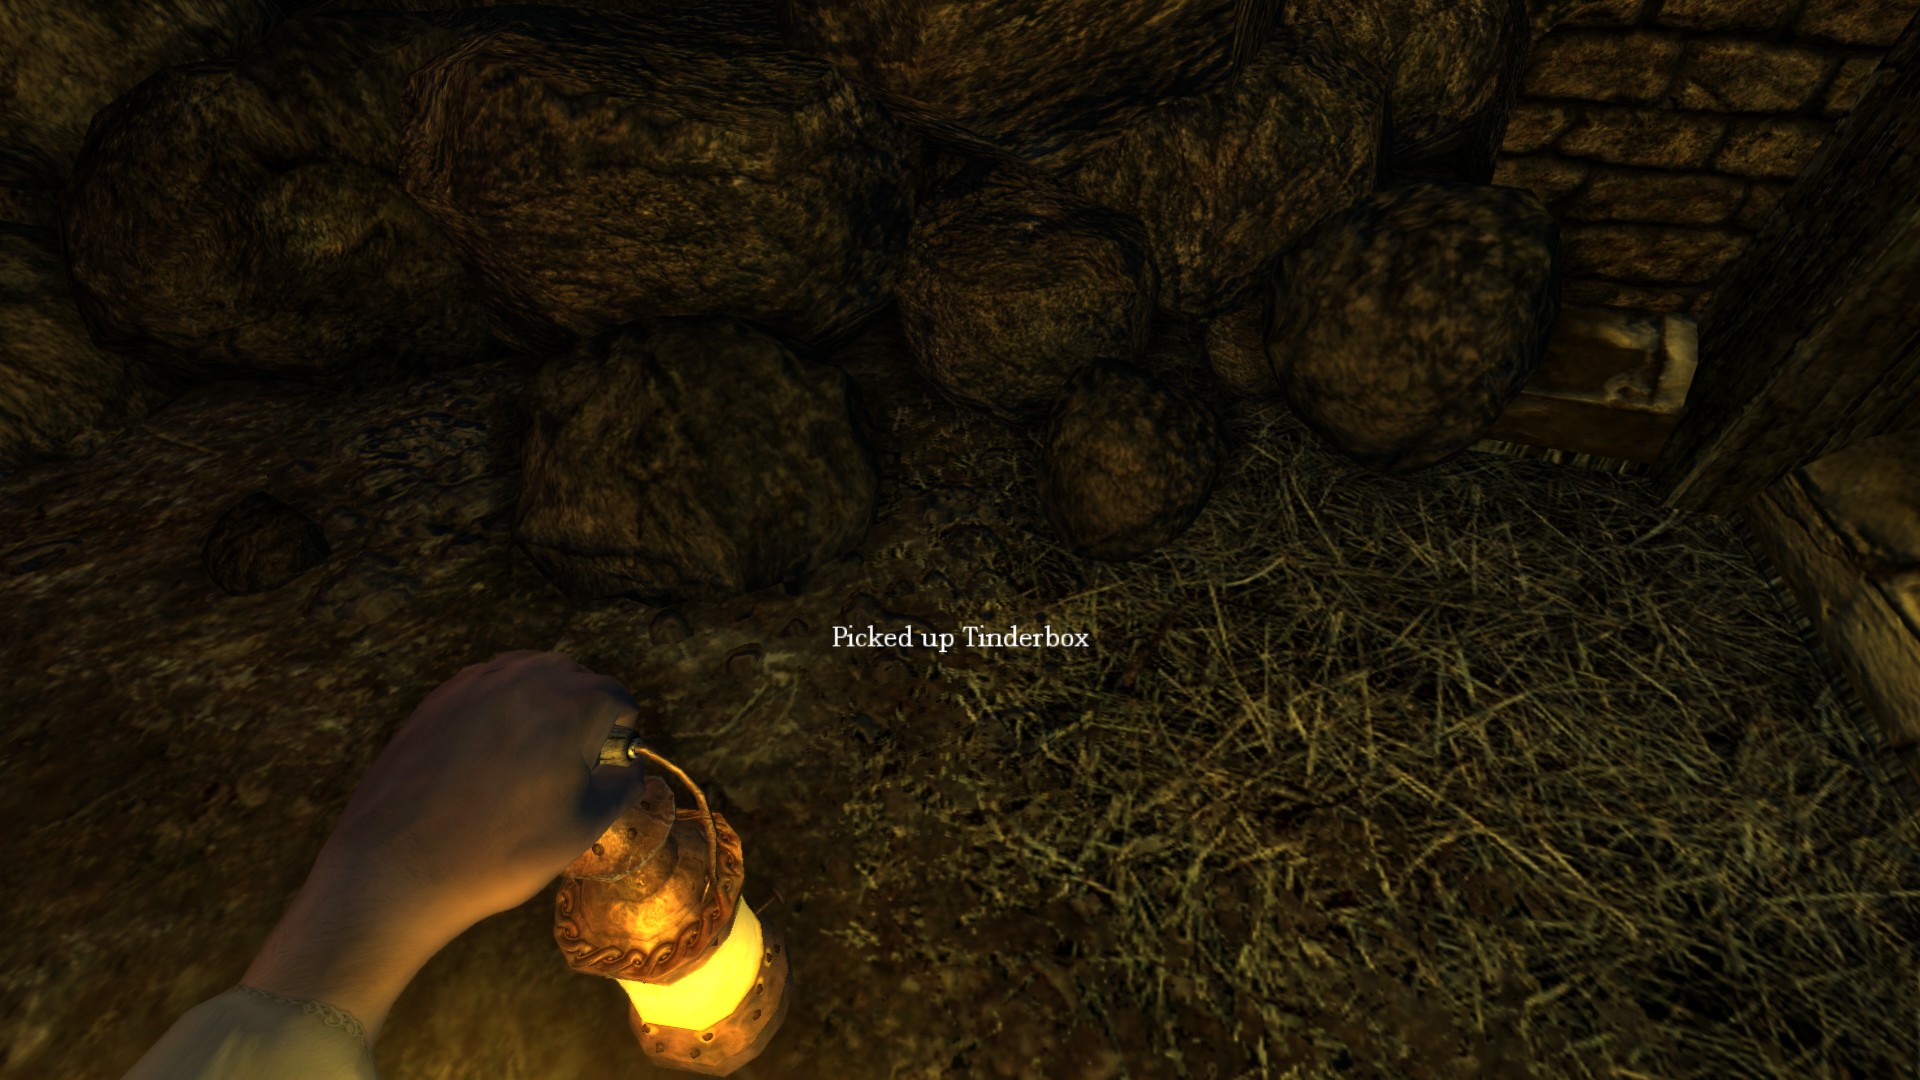
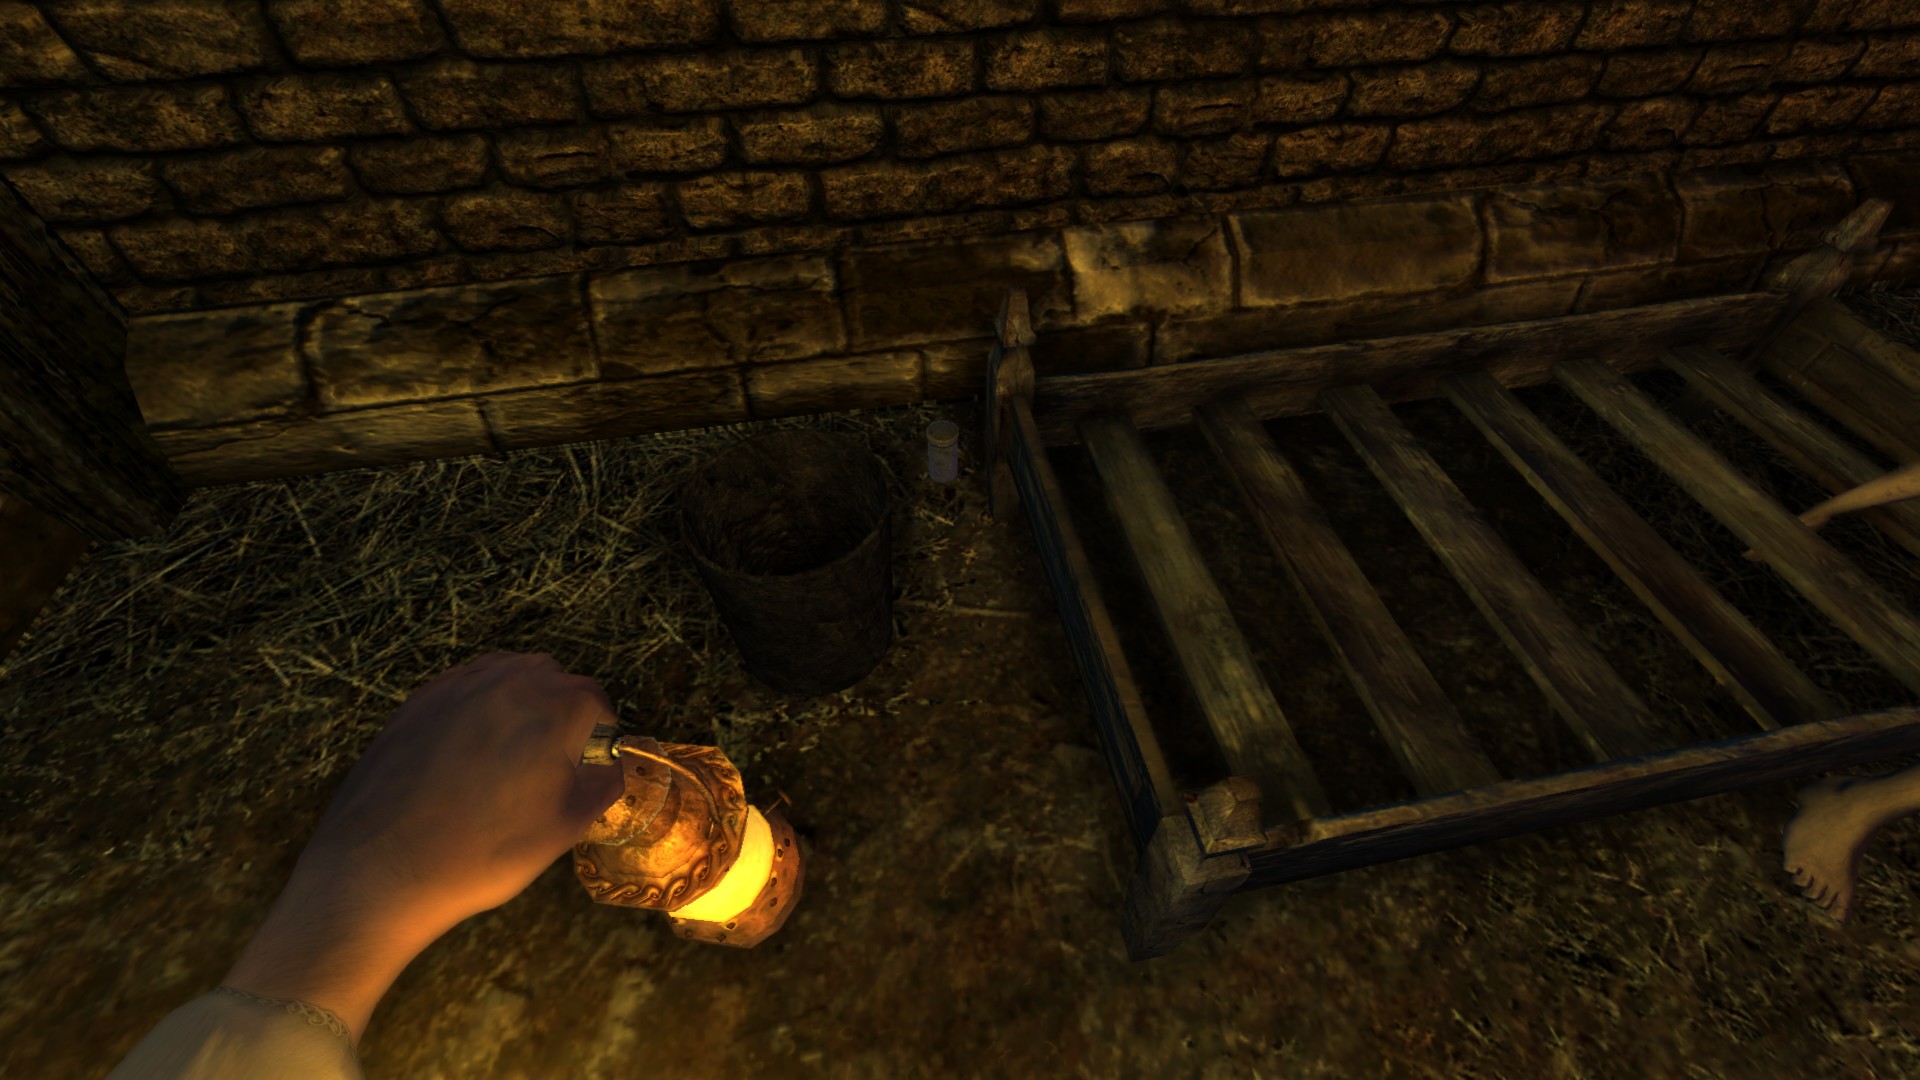
To start, just break down the wall and interact with it until the wooden beam breaks, you can grab the oil #34.
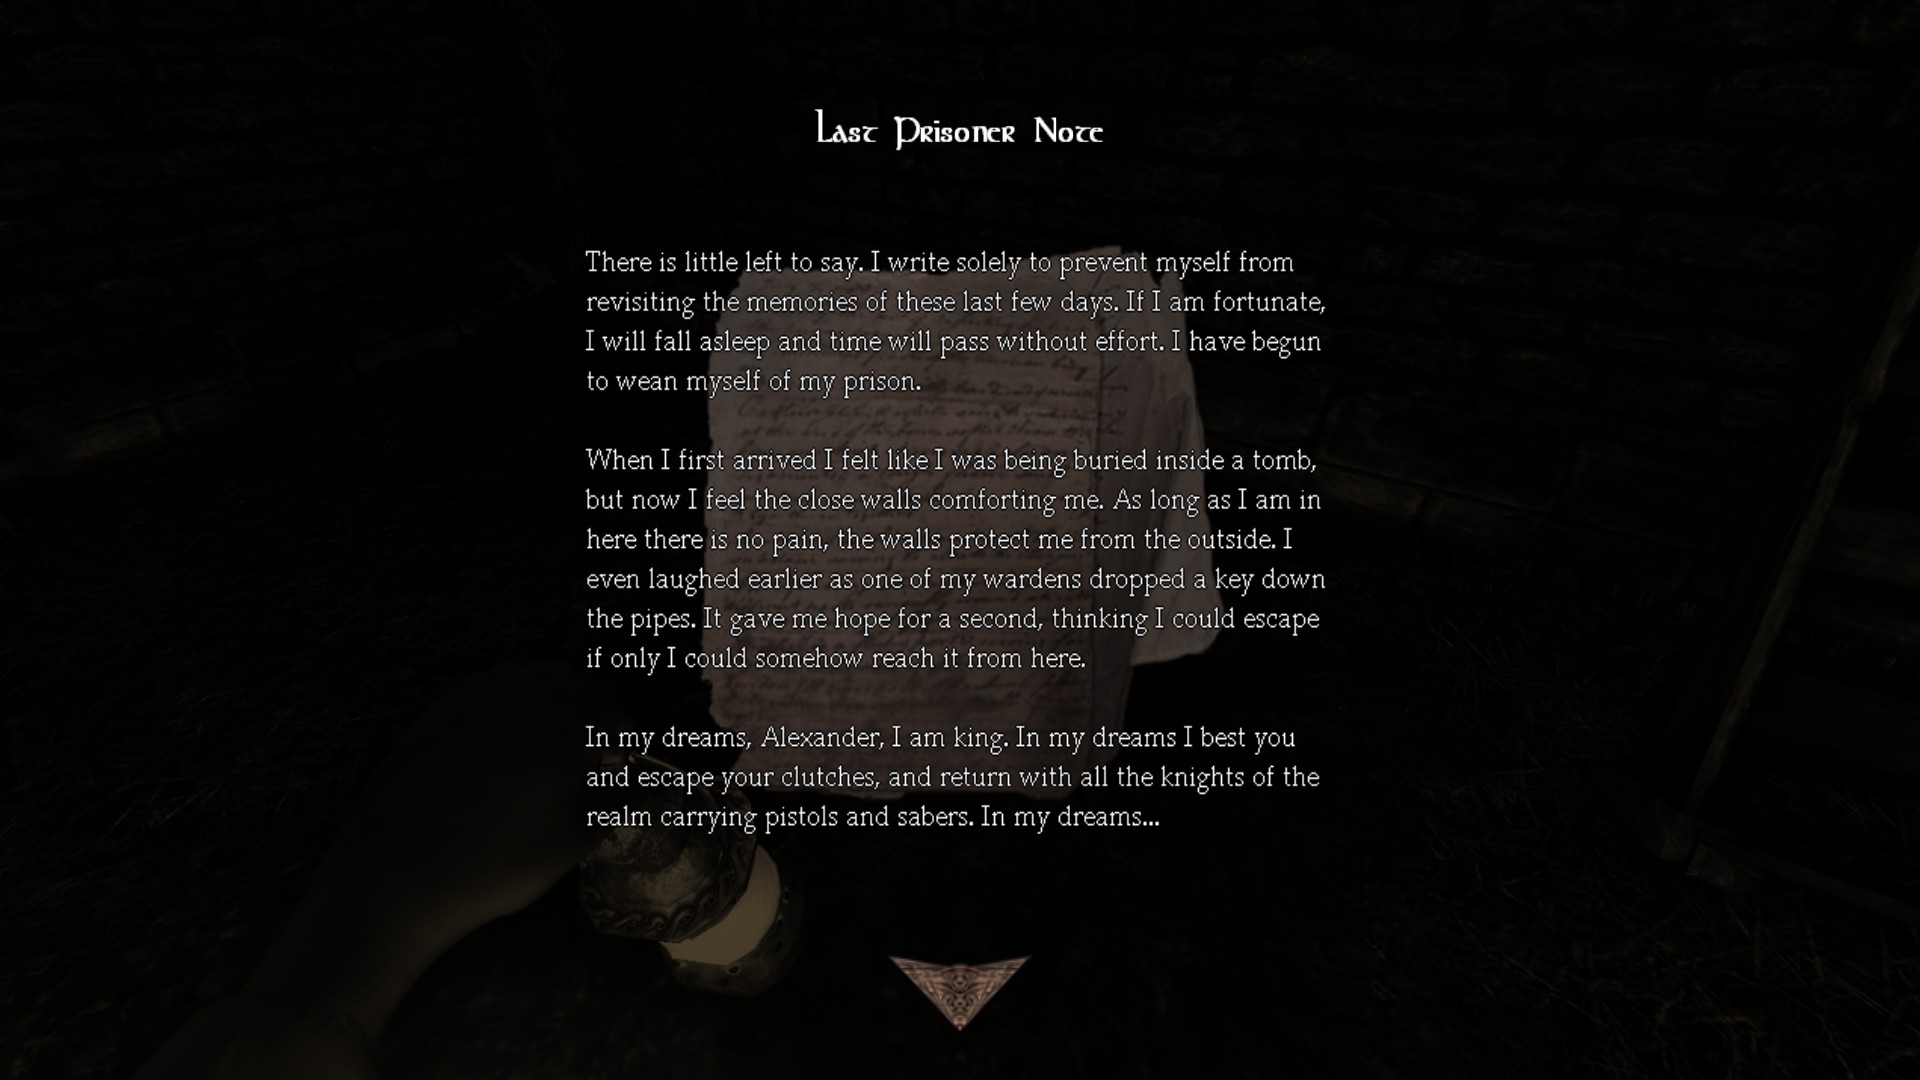
Note #21 - Last Prisoner Note: At your left side after exiting out the cell, there is an oil #35 also there.
![Cells (2) (Edit_1).png]](https://images.steamusercontent.com/ugc/2107177466700483013/6A484B4F844F11729E9C12B30977DE2CCF3662AC/)
Tinderbox #142 - #143: When having a 'black' flashback or not since the corpse appears there grab all two tinderboxes.
Tinderbox #142: You can grab the laudanum #15 in there.
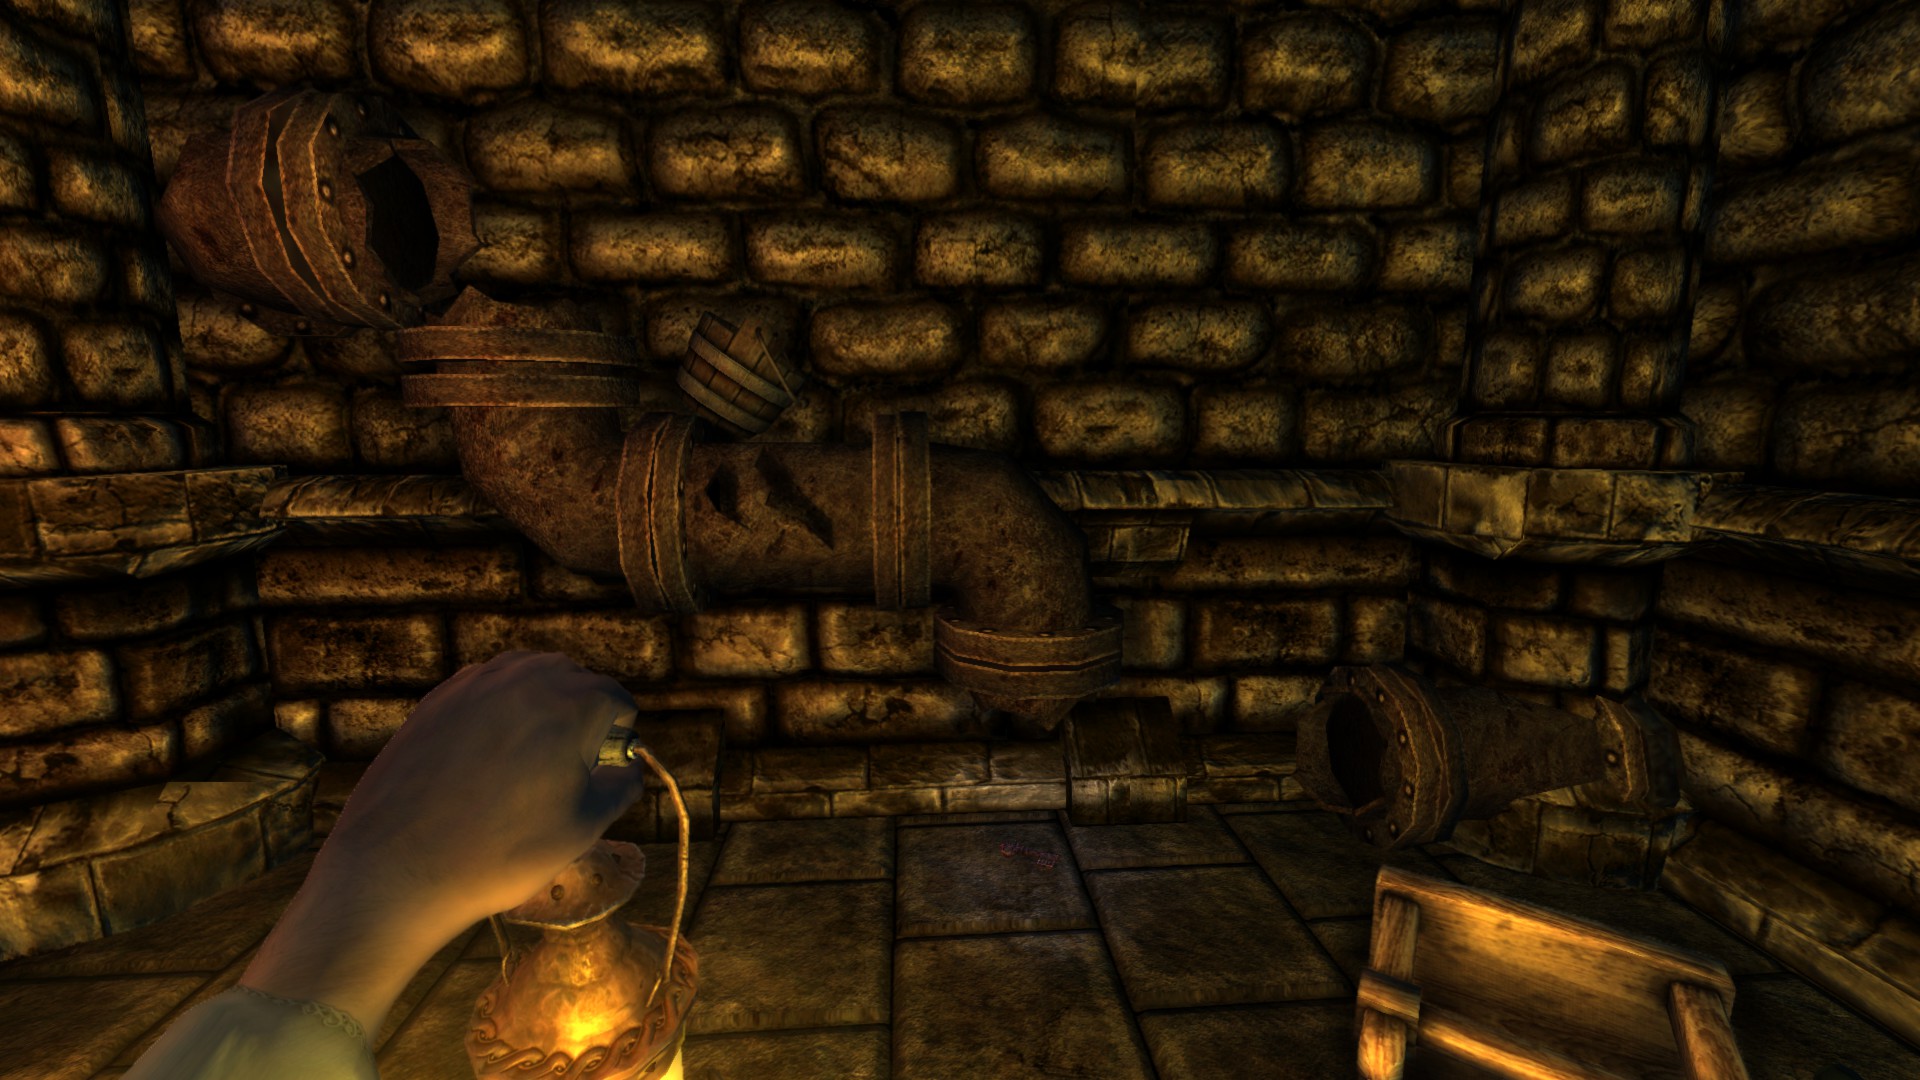
Now pick up the wooden bucket. Then use it on the well and then to the right of the locked door which grant you a sanity regain. At this point it's about having to move forward.
–––––––––––––––––––––––––––––––––––––––––––––––––––––––Quitter
Failed to escape the cells and was consumed by the Shadow in Amnesia: The Dark Descent.
¯¯¯¯¯¯¯¯¯¯¯¯¯¯¯¯¯¯¯¯¯¯¯¯¯¯¯¯¯¯¯¯
Achievement #6: I think you can do this while inside the cell but either way you could do this when the Shadow appears ready to kill you, just go to it and instantly die.
Reach to the end.
Part 16: Into the chambers II
1) Nave (Redux), Chancel (Redux)
2) Tinderboxes: 151/151
3) Notes: 21/30
4) Diaries: 22/23
5) Oils: 37/37
6) Laudanums: 16/16
7) Achievements: 8/18
-----------------------------------------------------------------------------------------------------
![Illuminatus.jpg]](https://images.steamusercontent.com/ugc/2065508931961899900/D7467C986193E4EFA5FB6A4D735B929D5369C035/) –––––––––––––––––––––––––––––––––––––––––––––––––––––––
–––––––––––––––––––––––––––––––––––––––––––––––––––––––
Illuminatus
Picked up every tinderbox in Amnesia: The Dark Descent.
¯¯¯¯¯¯¯¯¯¯¯¯¯¯¯¯¯¯¯¯¯¯¯¯¯¯¯¯¯¯¯¯
Achievement #7: At the last tinderbox this unlocks the achievement immediately.
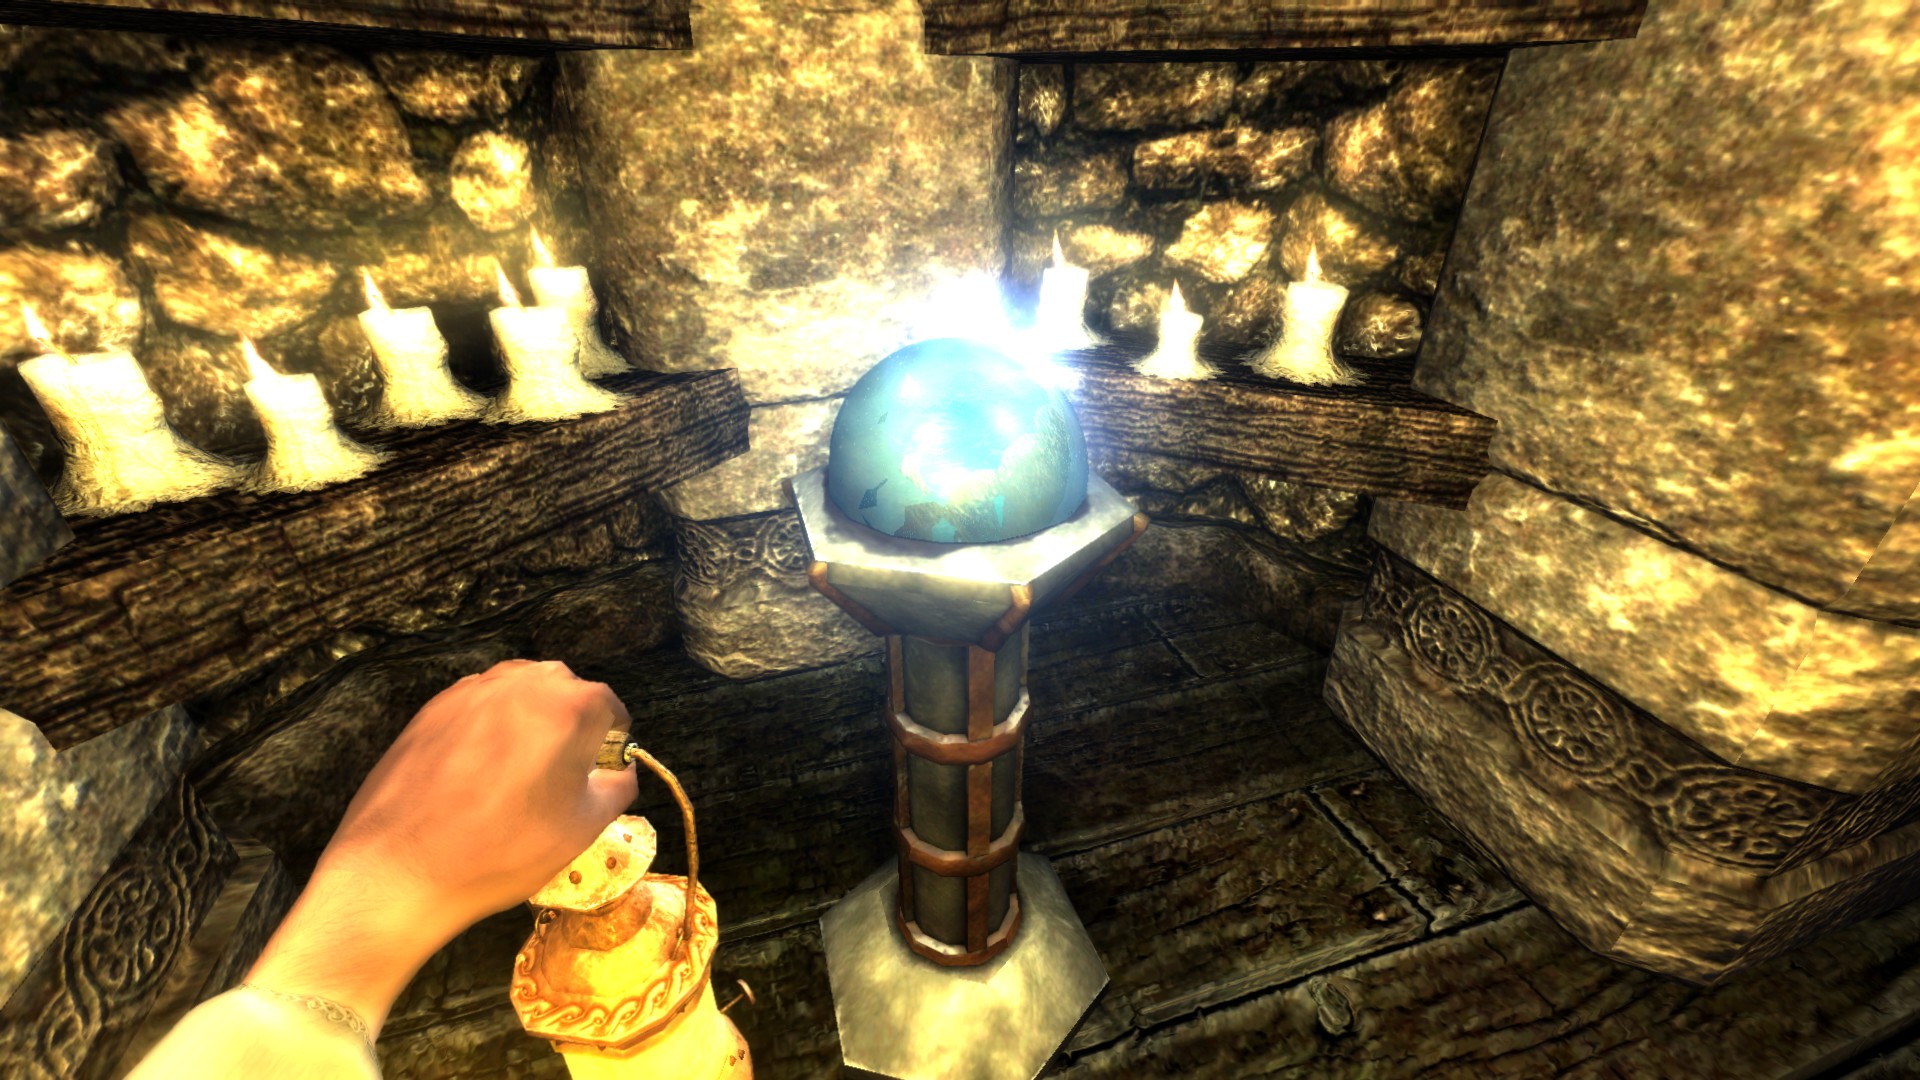
![Restorer.jpg]](https://images.steamusercontent.com/ugc/2065508931961899856/6ADE50C2114A5C50E781E4F08D24C4497549ABC5/) –––––––––––––––––––––––––––––––––––––––––––––––––––––––
–––––––––––––––––––––––––––––––––––––––––––––––––––––––
Restorer
Collected the pieces of the orb and rebuilt it in Amnesia: The Dark Descent.
¯¯¯¯¯¯¯¯¯¯¯¯¯¯¯¯¯¯¯¯¯¯¯¯¯¯¯¯¯¯¯¯
Achievement #8: Story Related. Simply assemble all orbs before the final two levels progressing.
2) Tinderboxes: 151/151
3) Notes: 21/30
4) Diaries: 22/23
5) Oils: 37/37
6) Laudanums: 16/16
7) Achievements: 8/18
-----------------------------------------------------------------------------------------------------
Nave (Redux):
Nave but it's overtaken by the Shadow.Location/Walkthrough text
Image
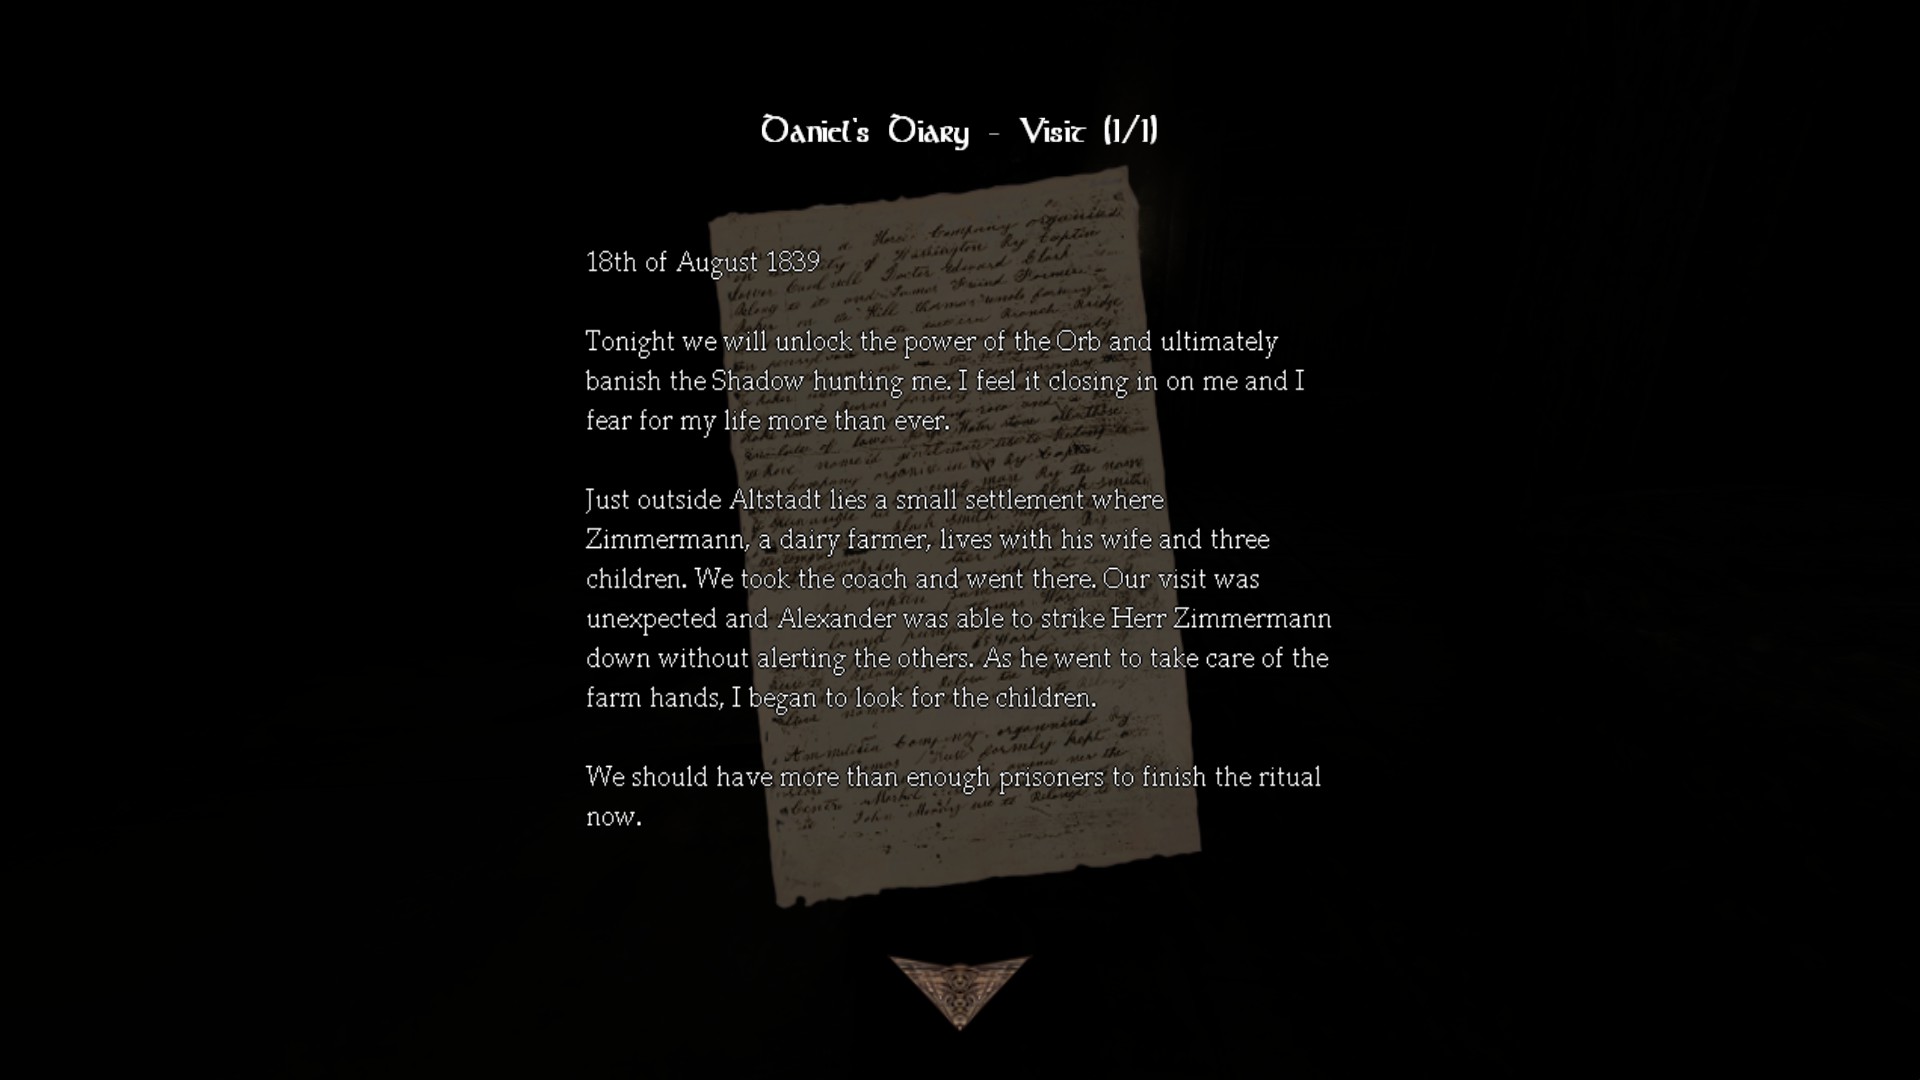
Tinderbox #145 / Diary #21 - Daniel's Diary - Visit (1/1): Second time you will get gameplay cutscene, no softlock on this one.
![Nave_Redux (2) (Edit_1).png]](https://images.steamusercontent.com/ugc/2107177466700774156/057D80097A816D5AC381F3C16984A279BD2B8C07/)
Tinderbox #146 - #147: By the well, then go left door to the next corner.
![Nave_Redux (2) (Edt_2).png]](https://images.steamusercontent.com/ugc/2206261006287147168/F9A63218DD819BFCA8F2C46A9BCA8C455EC15A7F/)
Tinderbox #148:
![Nave_Redux (2) (Edit_3).png]](https://images.steamusercontent.com/ugc/2107177466700808311/968A1DD163A4216348B24AAF3BE79B2E580C4949/)
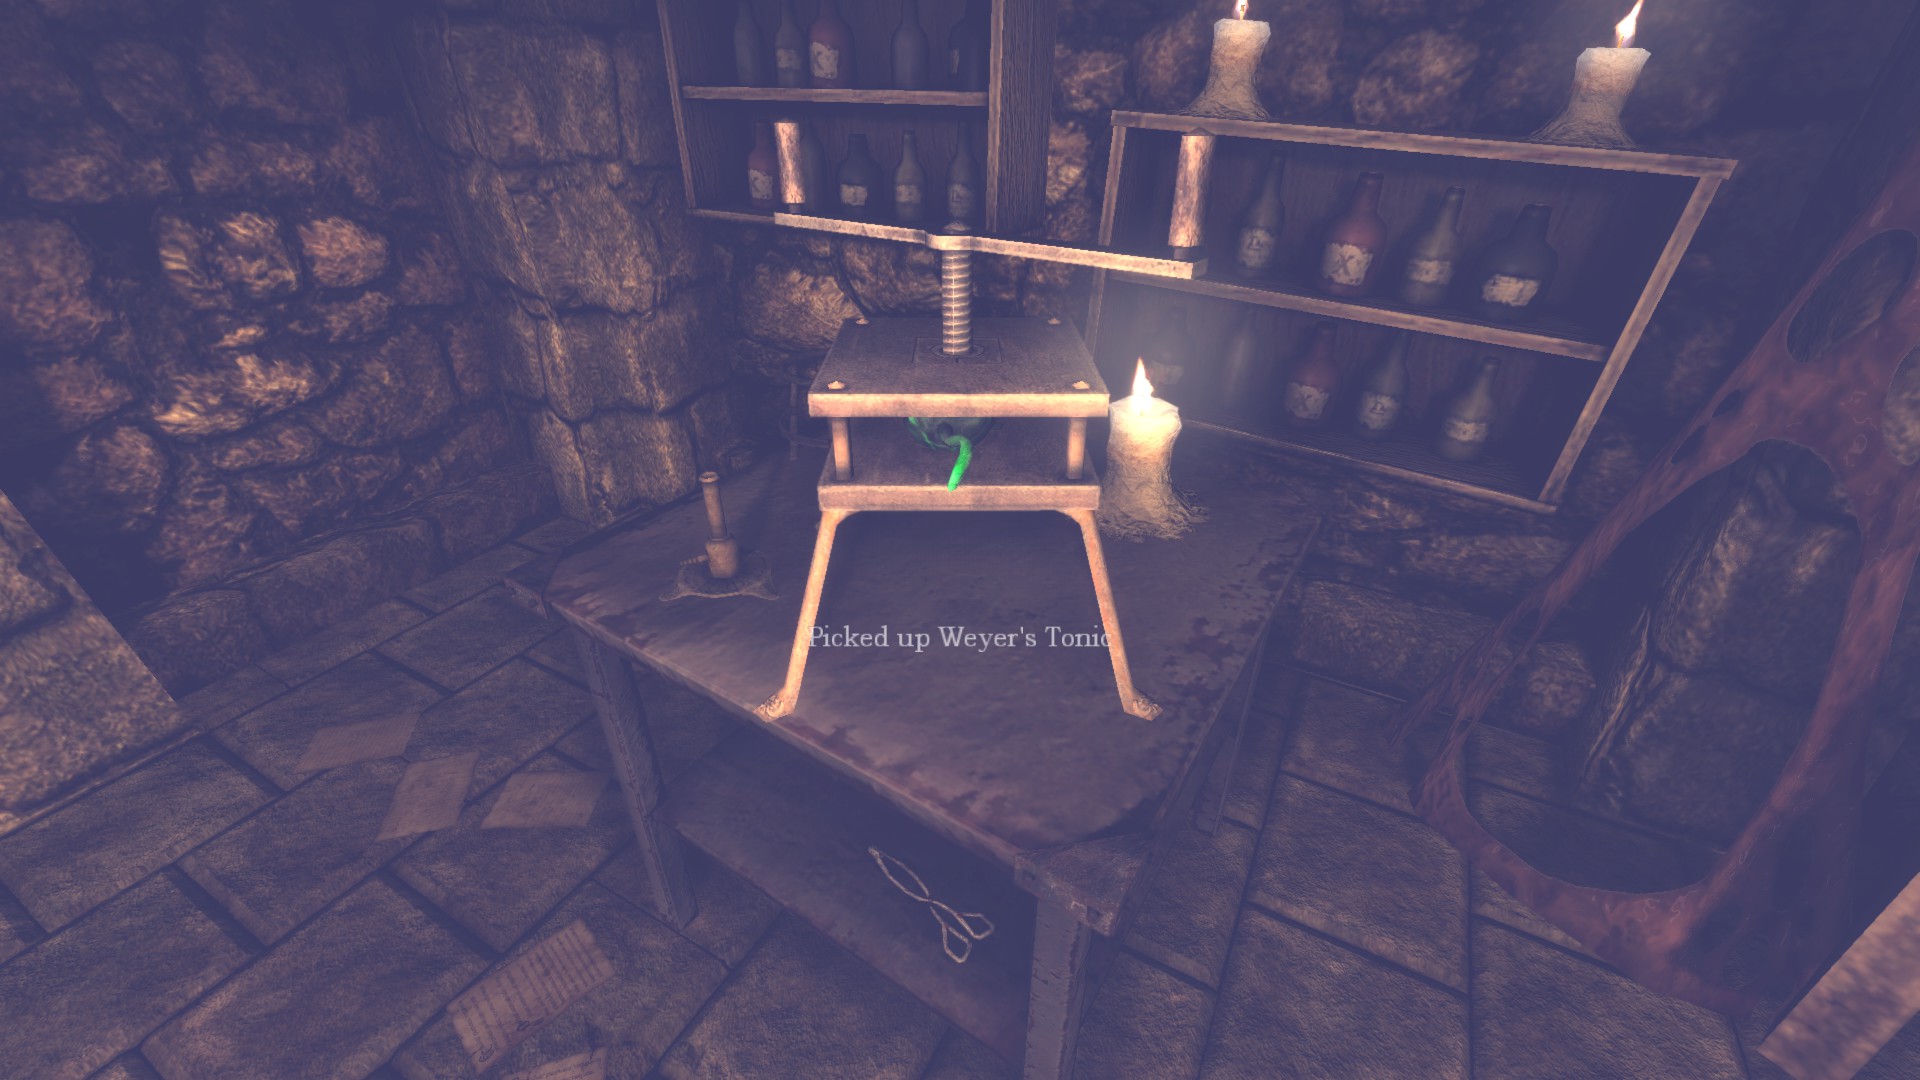
Now here we can create our Weyer's Tonic, make sure you have all the ingredients I listed which should be straightforward. Making it will regain our sanity but it is simple so no worries if you do it out of order.
Tinderbox #149:
![Nave_Redux (2) (Edit_4).png]](https://images.steamusercontent.com/ugc/2107177466700820087/0D701CE1D5A6DB2408DB270D02E6E2249C4F5CD5/)
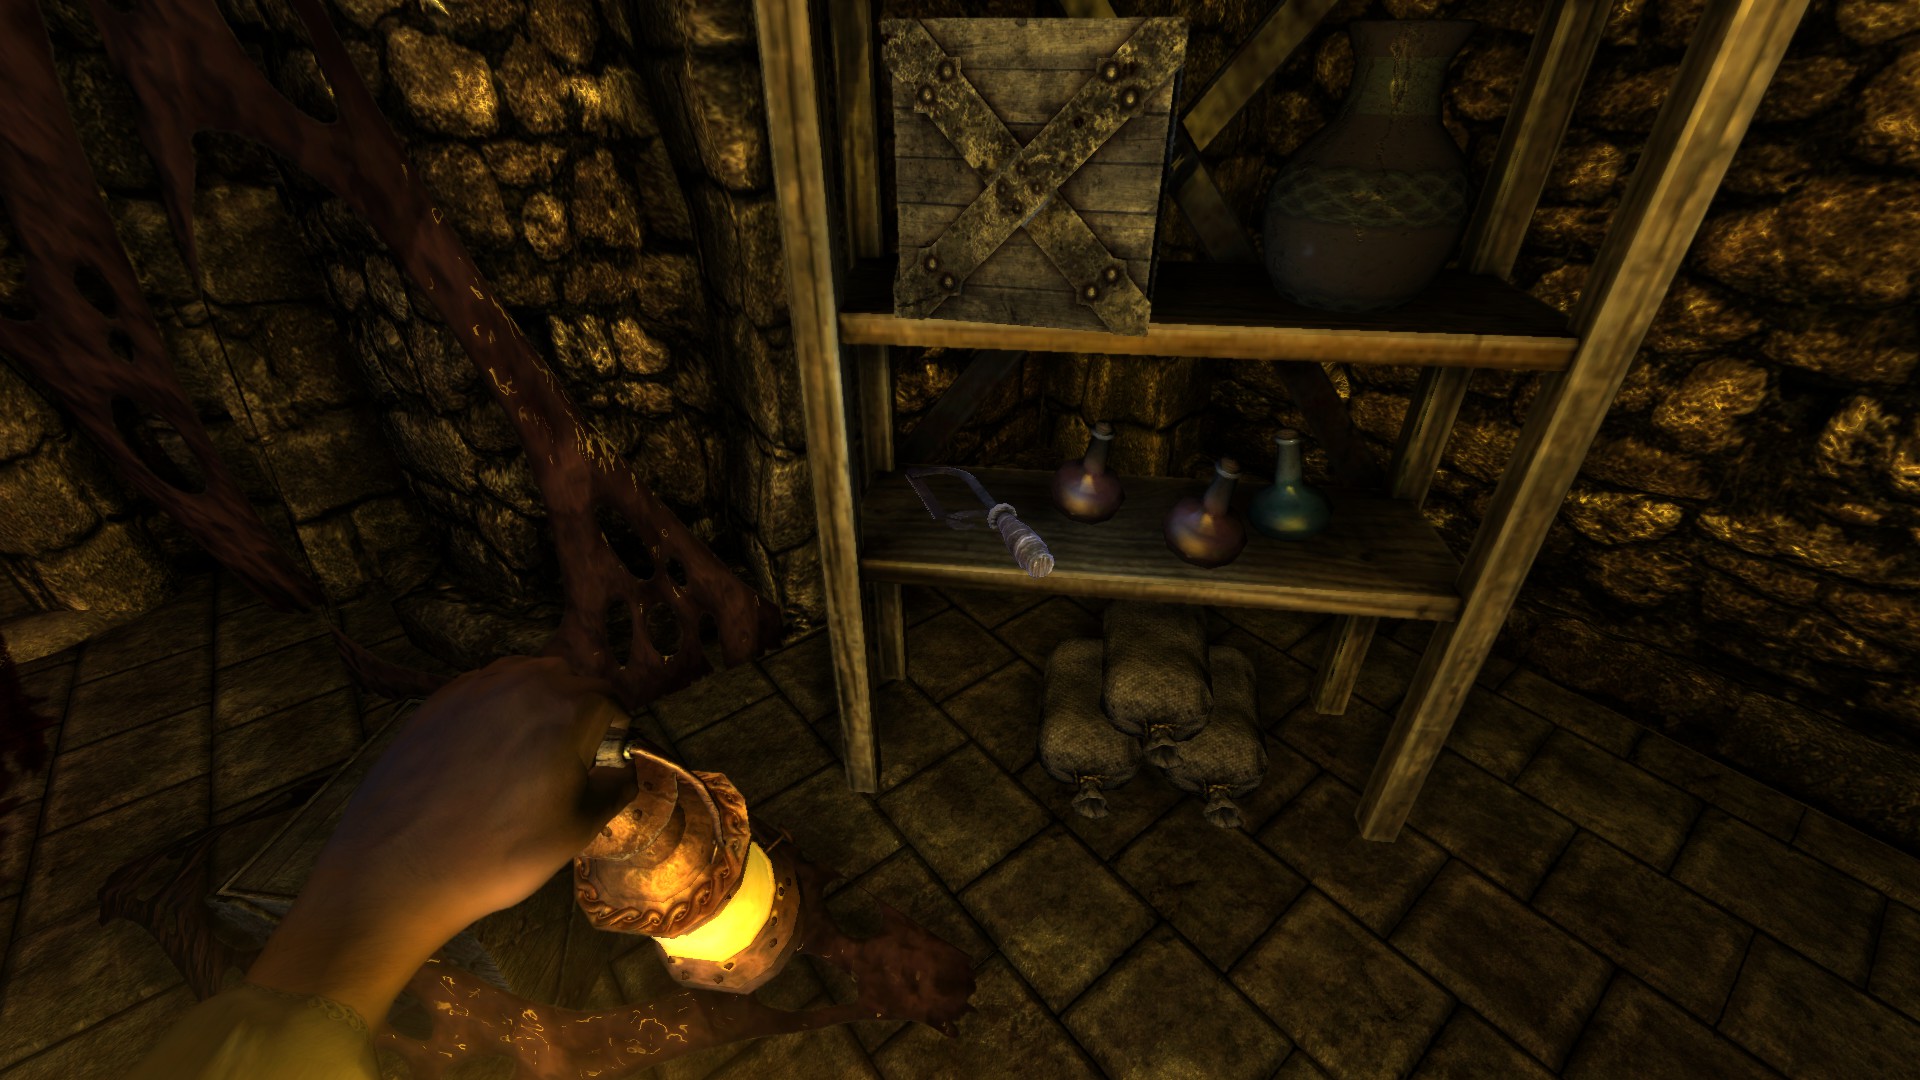
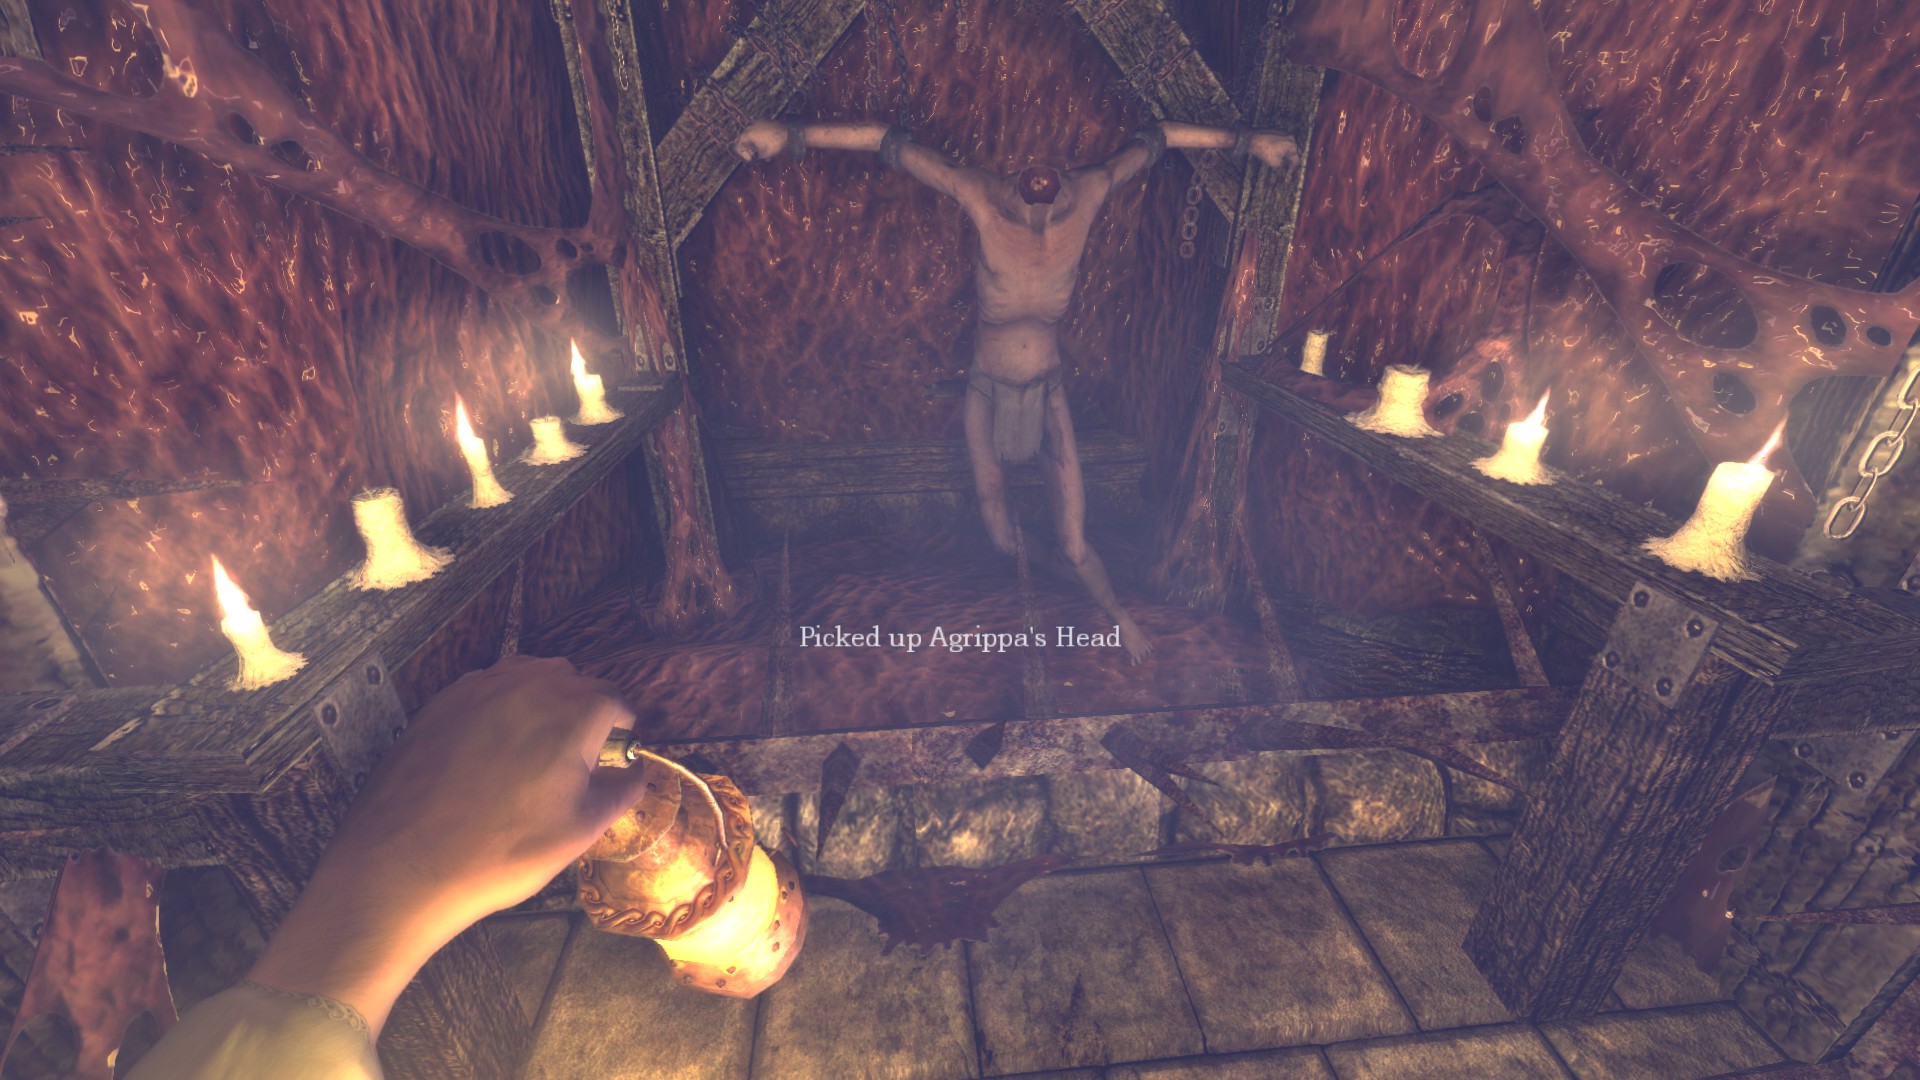
You need the bonesaw along with Weyer's Tonic on Agrippa. Grab the last laudanum #16.
Using the bonesaw on Agrippa's head would regain your sanity.
When entering the area before Chancel, turn left and go up to get oil #36. Then the other side (right same) is the last oil #37.
If you are done, continue.
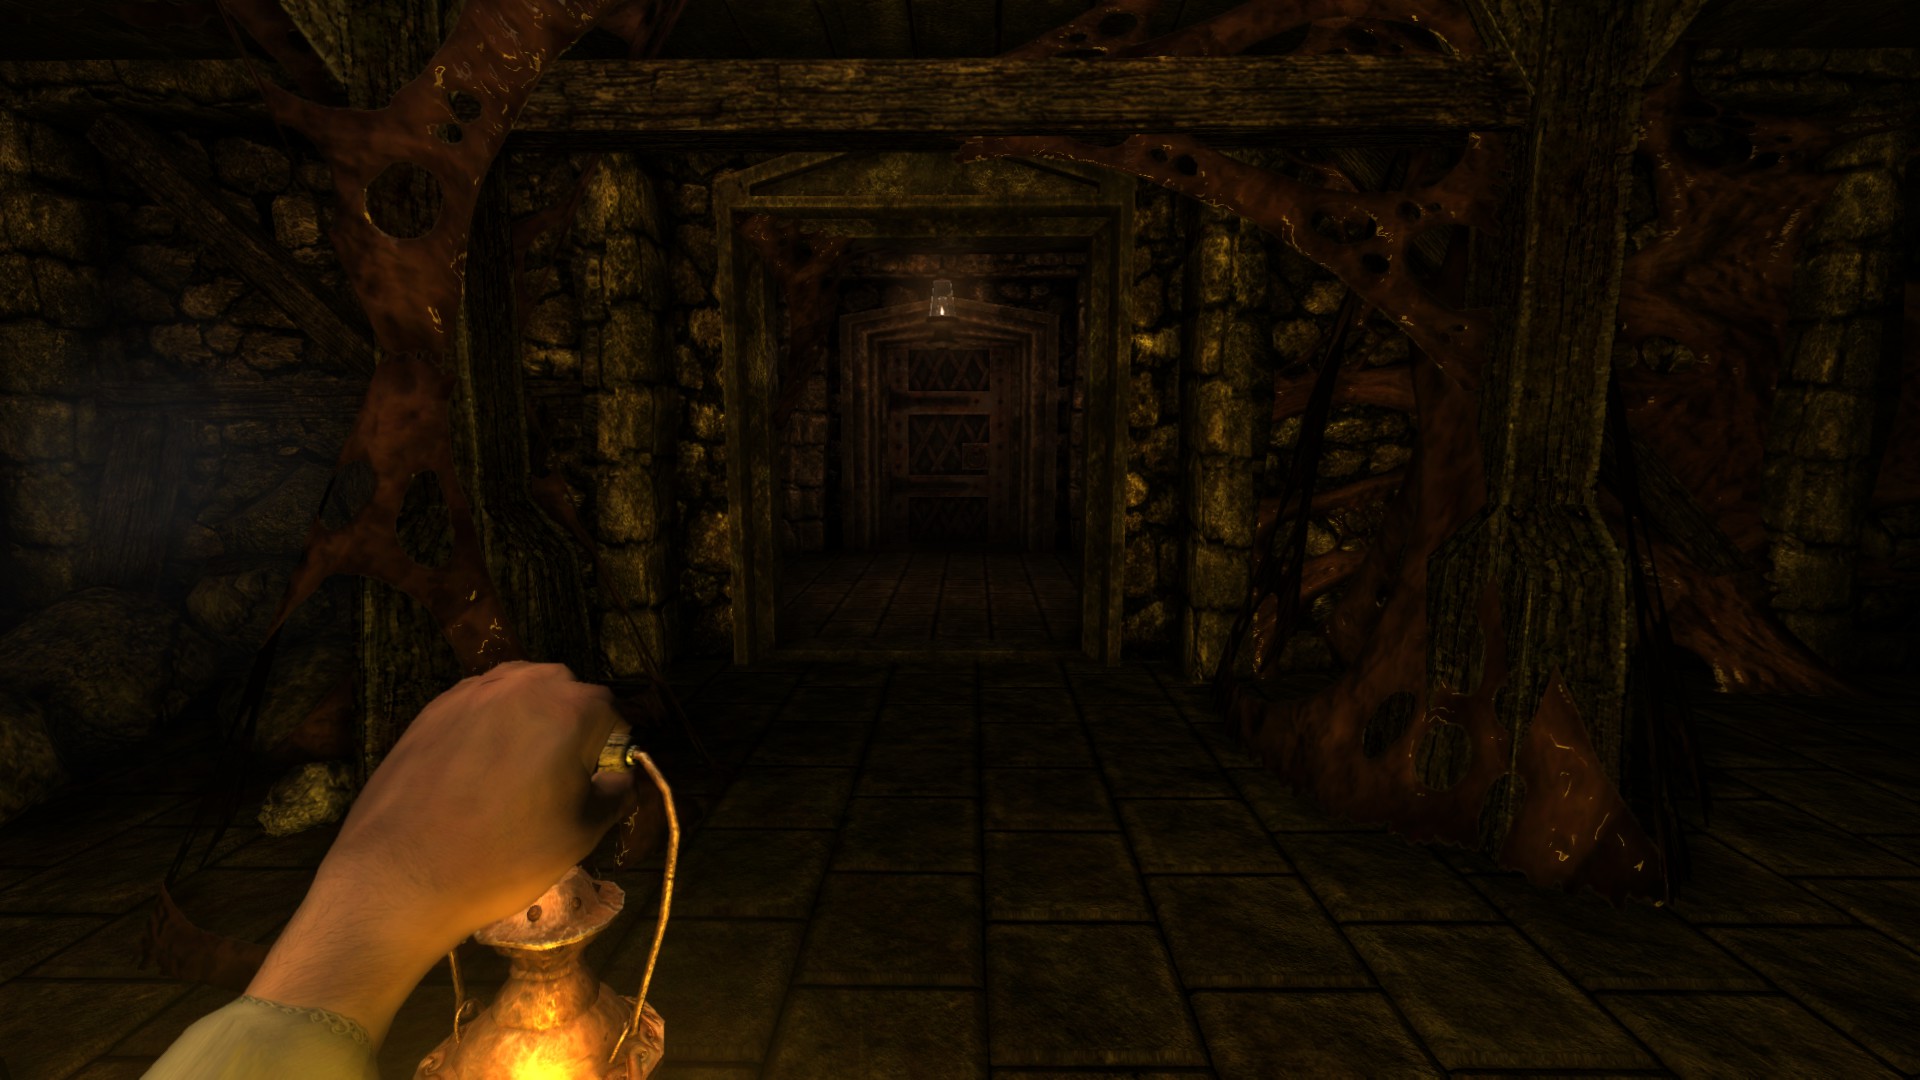
Chancel (Redux):
Same with the Nave II.Location/Walkthrough text
Image
Tinderbox #150:
![Chancel_Redux (2) (Edit_1).png]](https://images.steamusercontent.com/ugc/2107177466700889466/C4494BCFCA030841E5DFF6C3C0C03BABFFAC788B/)
Inside on the left side room is a Brute, if you want to despawn him you can re-enter and come back to Chancel from Nave.
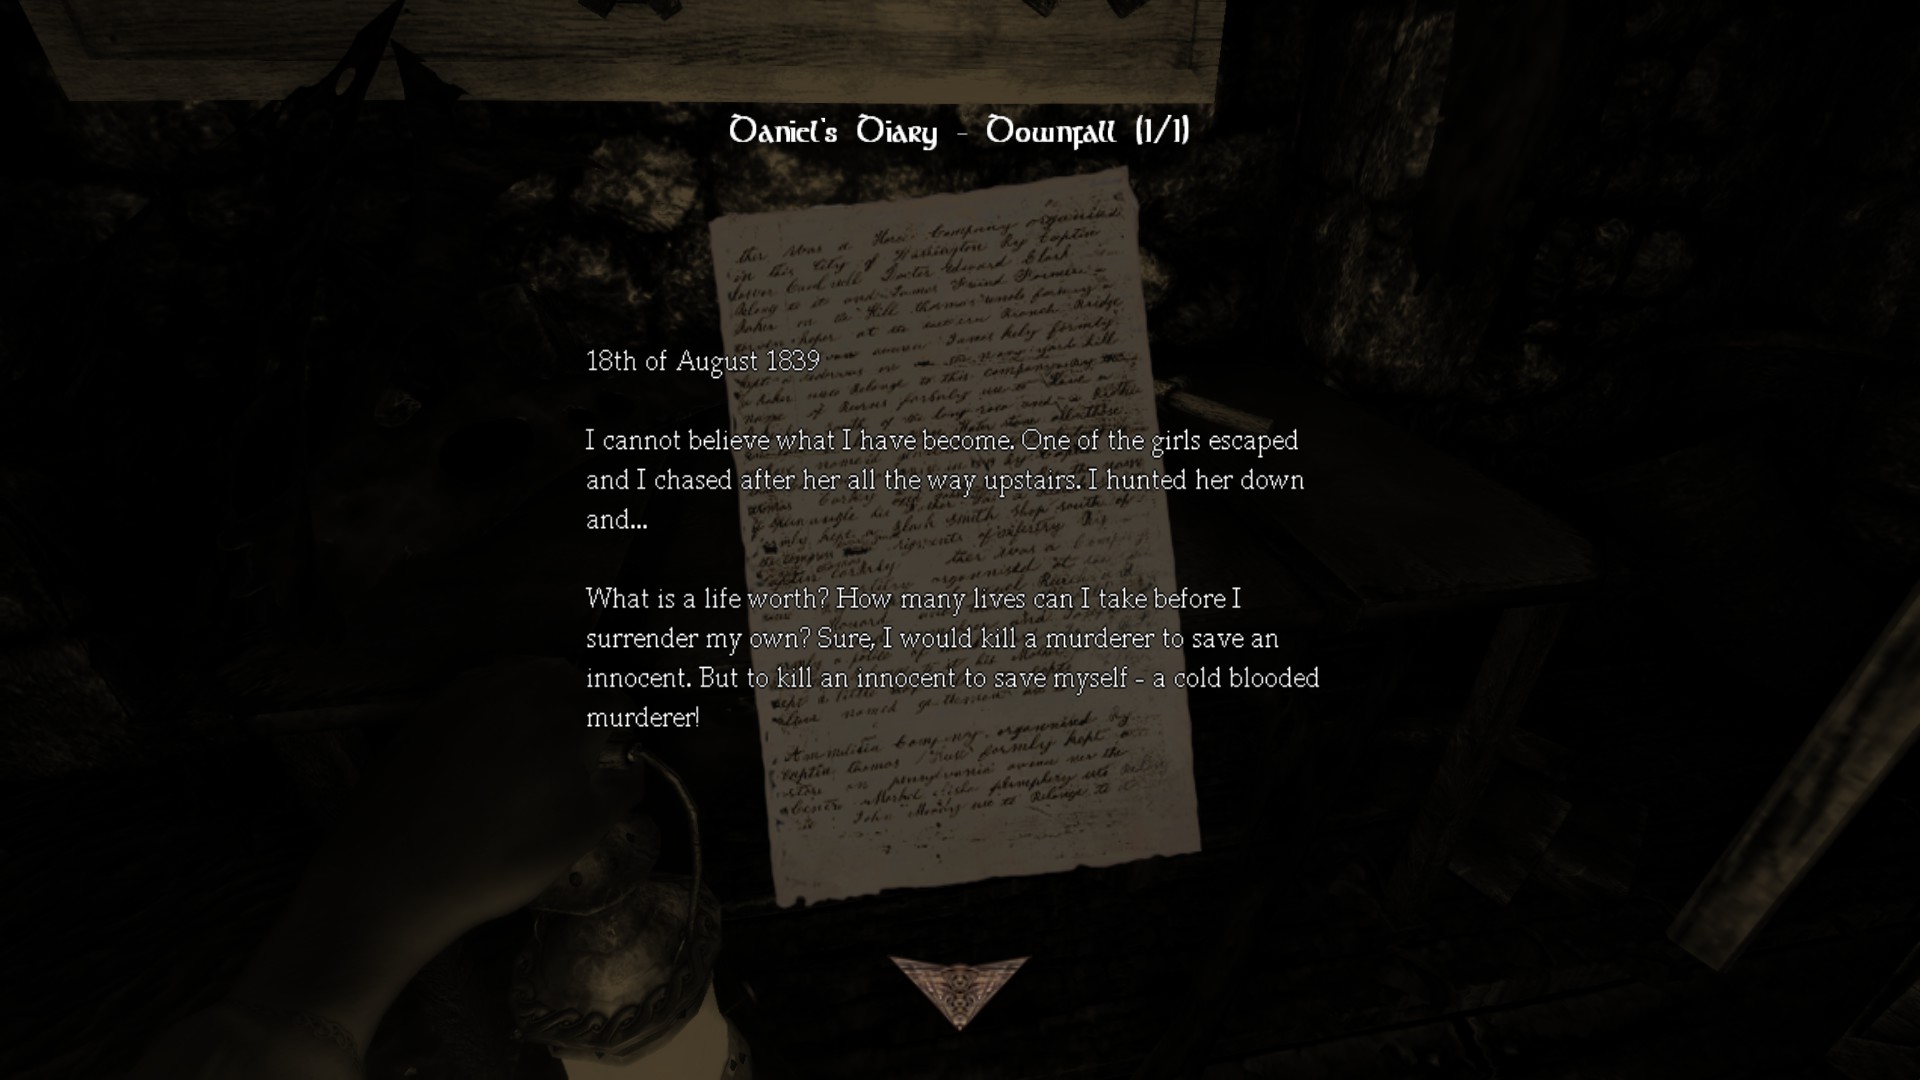
Diary #22 - Daniel's Diary - Downfall (1/1):
![Chancel_Redux (2) (Edit_2).png]](https://images.steamusercontent.com/ugc/2107177466700889656/AB27A0CC698AAD2F87FA8740B70444A4677ED87F/)
Tinderbox #151: Last one.
–––––––––––––––––––––––––––––––––––––––––––––––––––––––Illuminatus
Picked up every tinderbox in Amnesia: The Dark Descent.
¯¯¯¯¯¯¯¯¯¯¯¯¯¯¯¯¯¯¯¯¯¯¯¯¯¯¯¯¯¯¯¯
Achievement #7: At the last tinderbox this unlocks the achievement immediately.
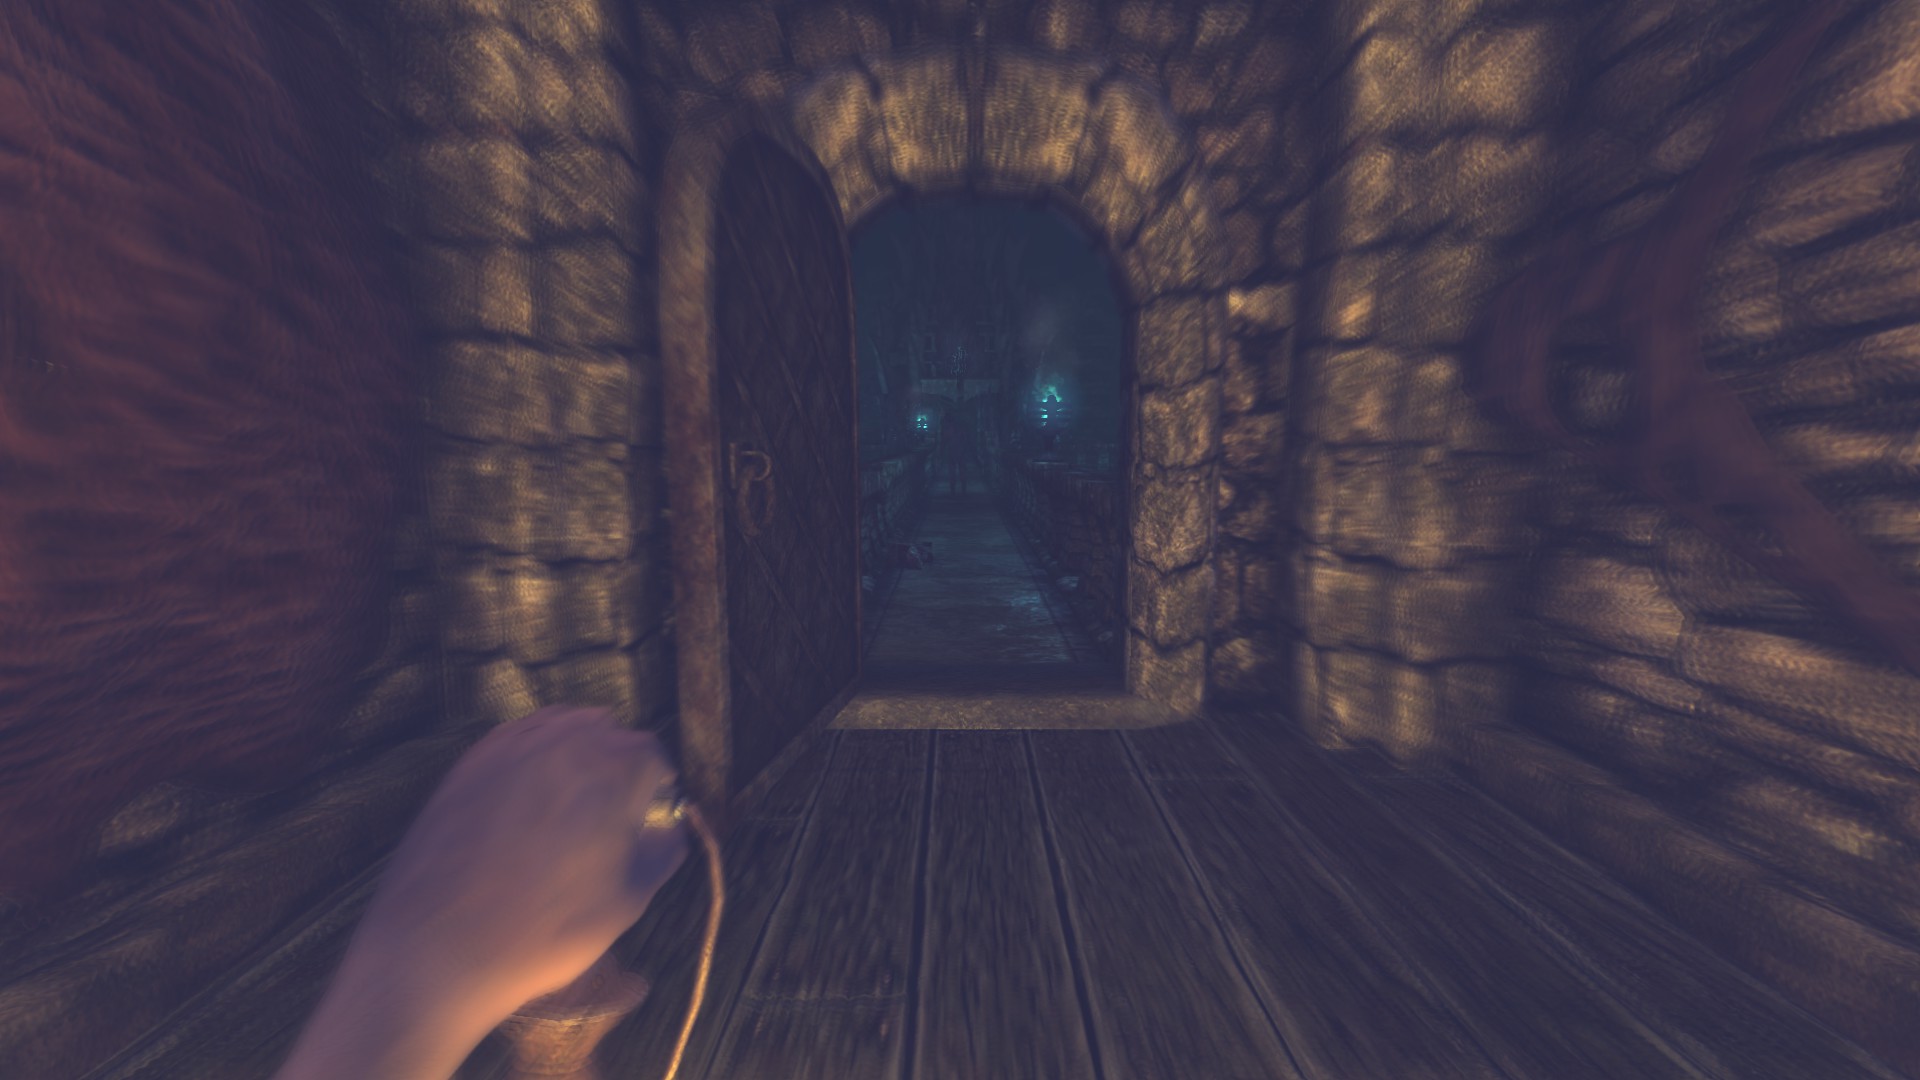
Jam the machinery before rebuilding an orb so an enemy will not spawn near you when exiting but jamming the machinery grants you sanity. Then go to the final room for this level.
–––––––––––––––––––––––––––––––––––––––––––––––––––––––Restorer
Collected the pieces of the orb and rebuilt it in Amnesia: The Dark Descent.
¯¯¯¯¯¯¯¯¯¯¯¯¯¯¯¯¯¯¯¯¯¯¯¯¯¯¯¯¯¯¯¯
Achievement #8: Story Related. Simply assemble all orbs before the final two levels progressing.
Now move to the Inner Sanctum.
Part 17: The redemption arc fulfilled
1) Inner Sanctum, Orb Chamber
2) Notes: 21/30
3) Diaries: 23/23
4) Achievements: 11/18
-----------------------------------------------------------------------------------------------------
![Inner Sanctum (1).png]](https://images.steamusercontent.com/ugc/2062132621118903848/E62FF50A5E19EC507480E0B9F84589C80E3DBCB3/)
![Inner Sanctum (2).png]](https://images.steamusercontent.com/ugc/2062132621118903857/97674F923FBC5D0071D625F20703A54456BD3B16/)
![Orb Chamber (1).png]](https://images.steamusercontent.com/ugc/2062132621119023390/4F774E33C976D809D1669CFD68B36BC4448BE7AB/)
![Orb Chamber (2).png]](https://images.steamusercontent.com/ugc/2062132621119023399/B2601178CAEAEA3449B85C442CCBB5914346DD18/)
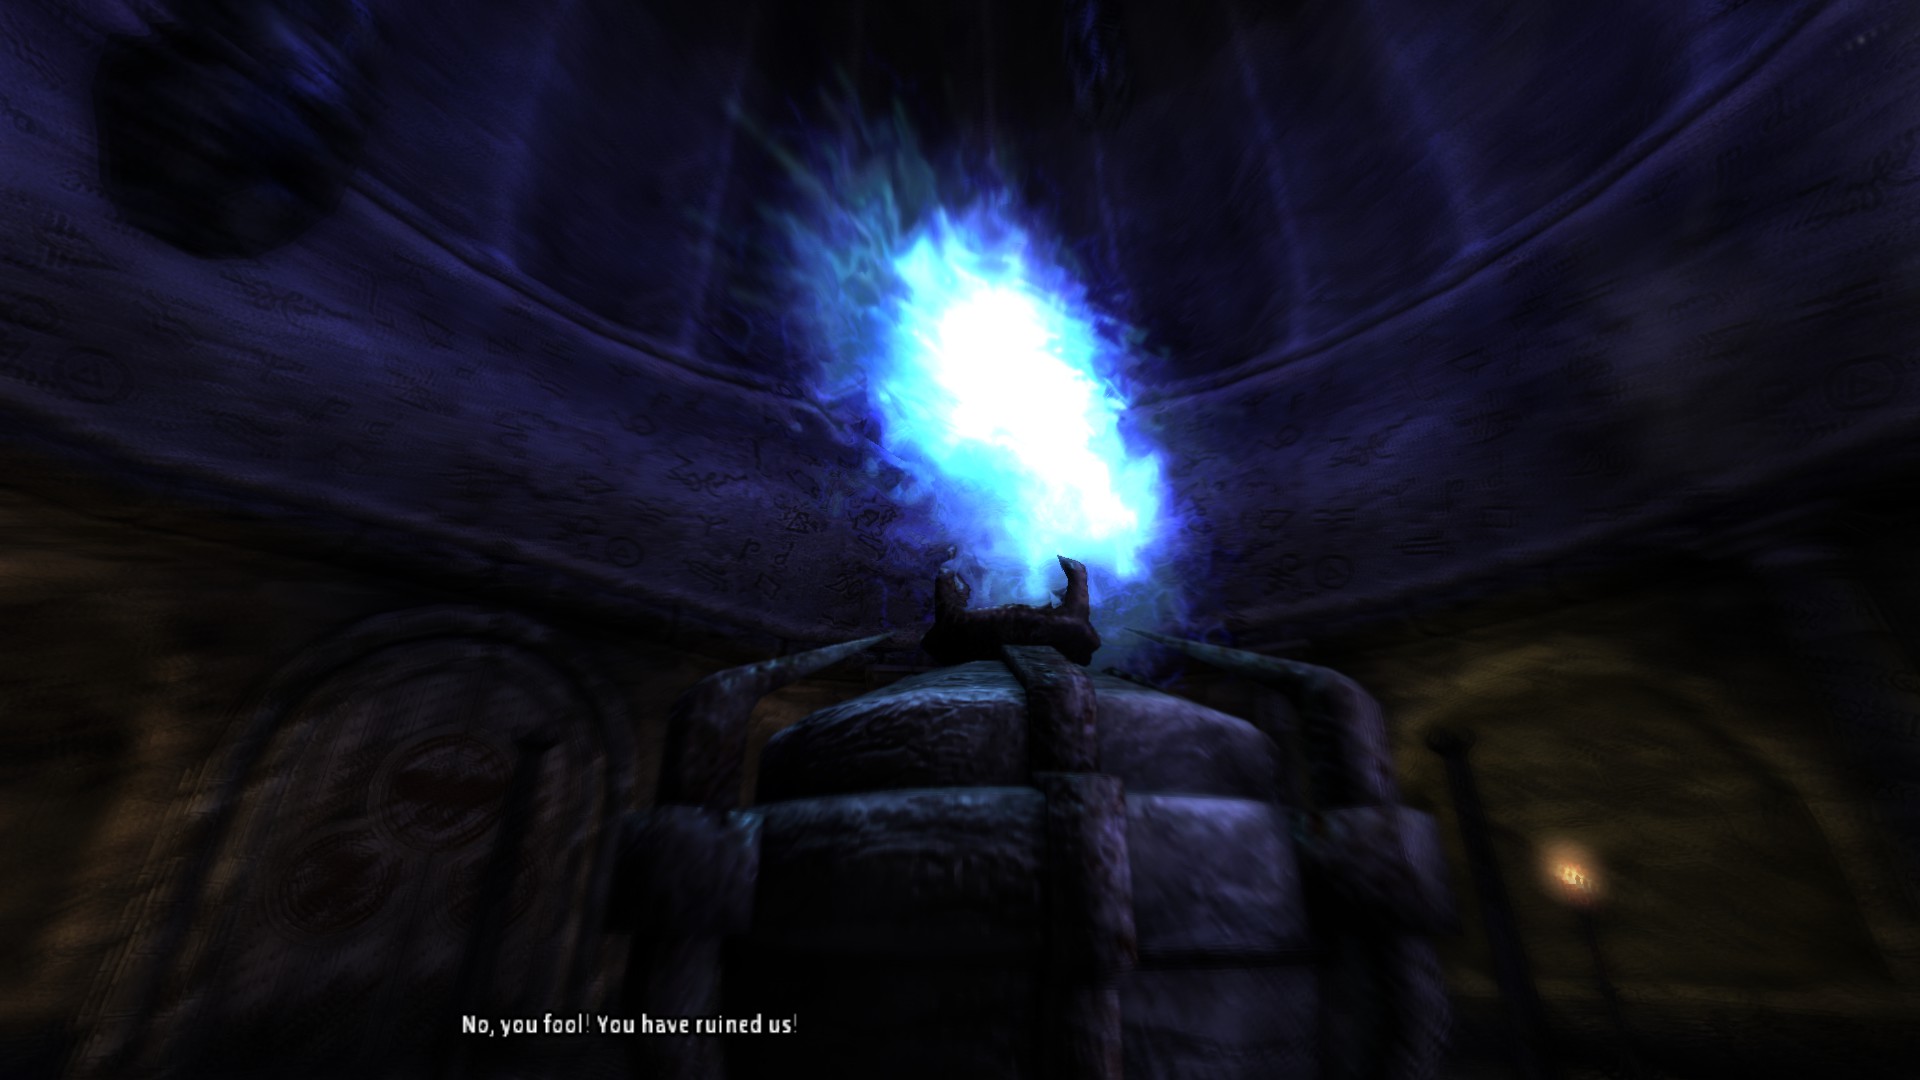
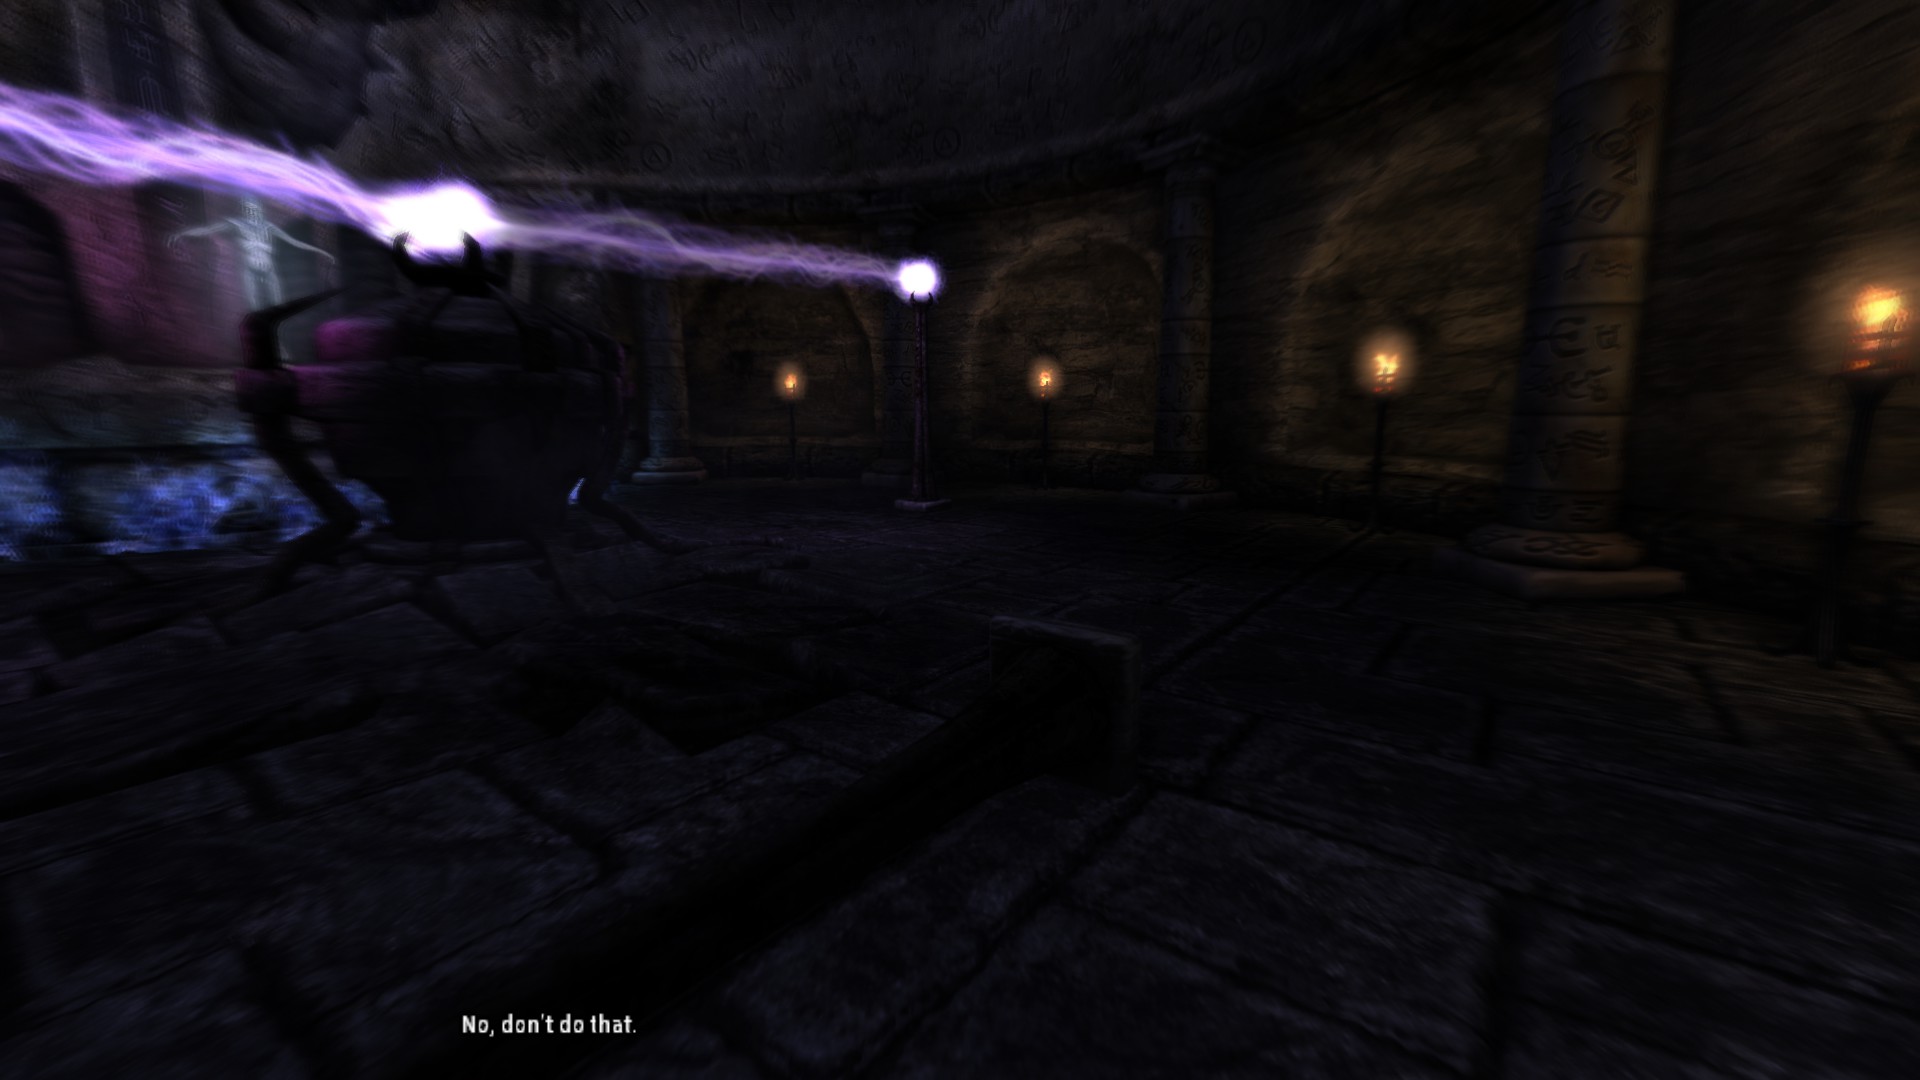
Three endings will be in here but they are straightforward.
![Sacrifice.jpg]](https://images.steamusercontent.com/ugc/2065508931961899878/5FB9A1064BBD8DD9AA1BCAEF0C7D9992792529A7/) –––––––––––––––––––––––––––––––––––––––––––––––––––––––
–––––––––––––––––––––––––––––––––––––––––––––––––––––––
Sacrifice
Allowed Alexander to escape in Amnesia: The Dark Descent.
¯¯¯¯¯¯¯¯¯¯¯¯¯¯¯¯¯¯¯¯¯¯¯¯¯¯¯¯¯¯¯¯
Achievement #9: Story Related. We simply wait without touching the pylons and then we get this achievement unlocked.
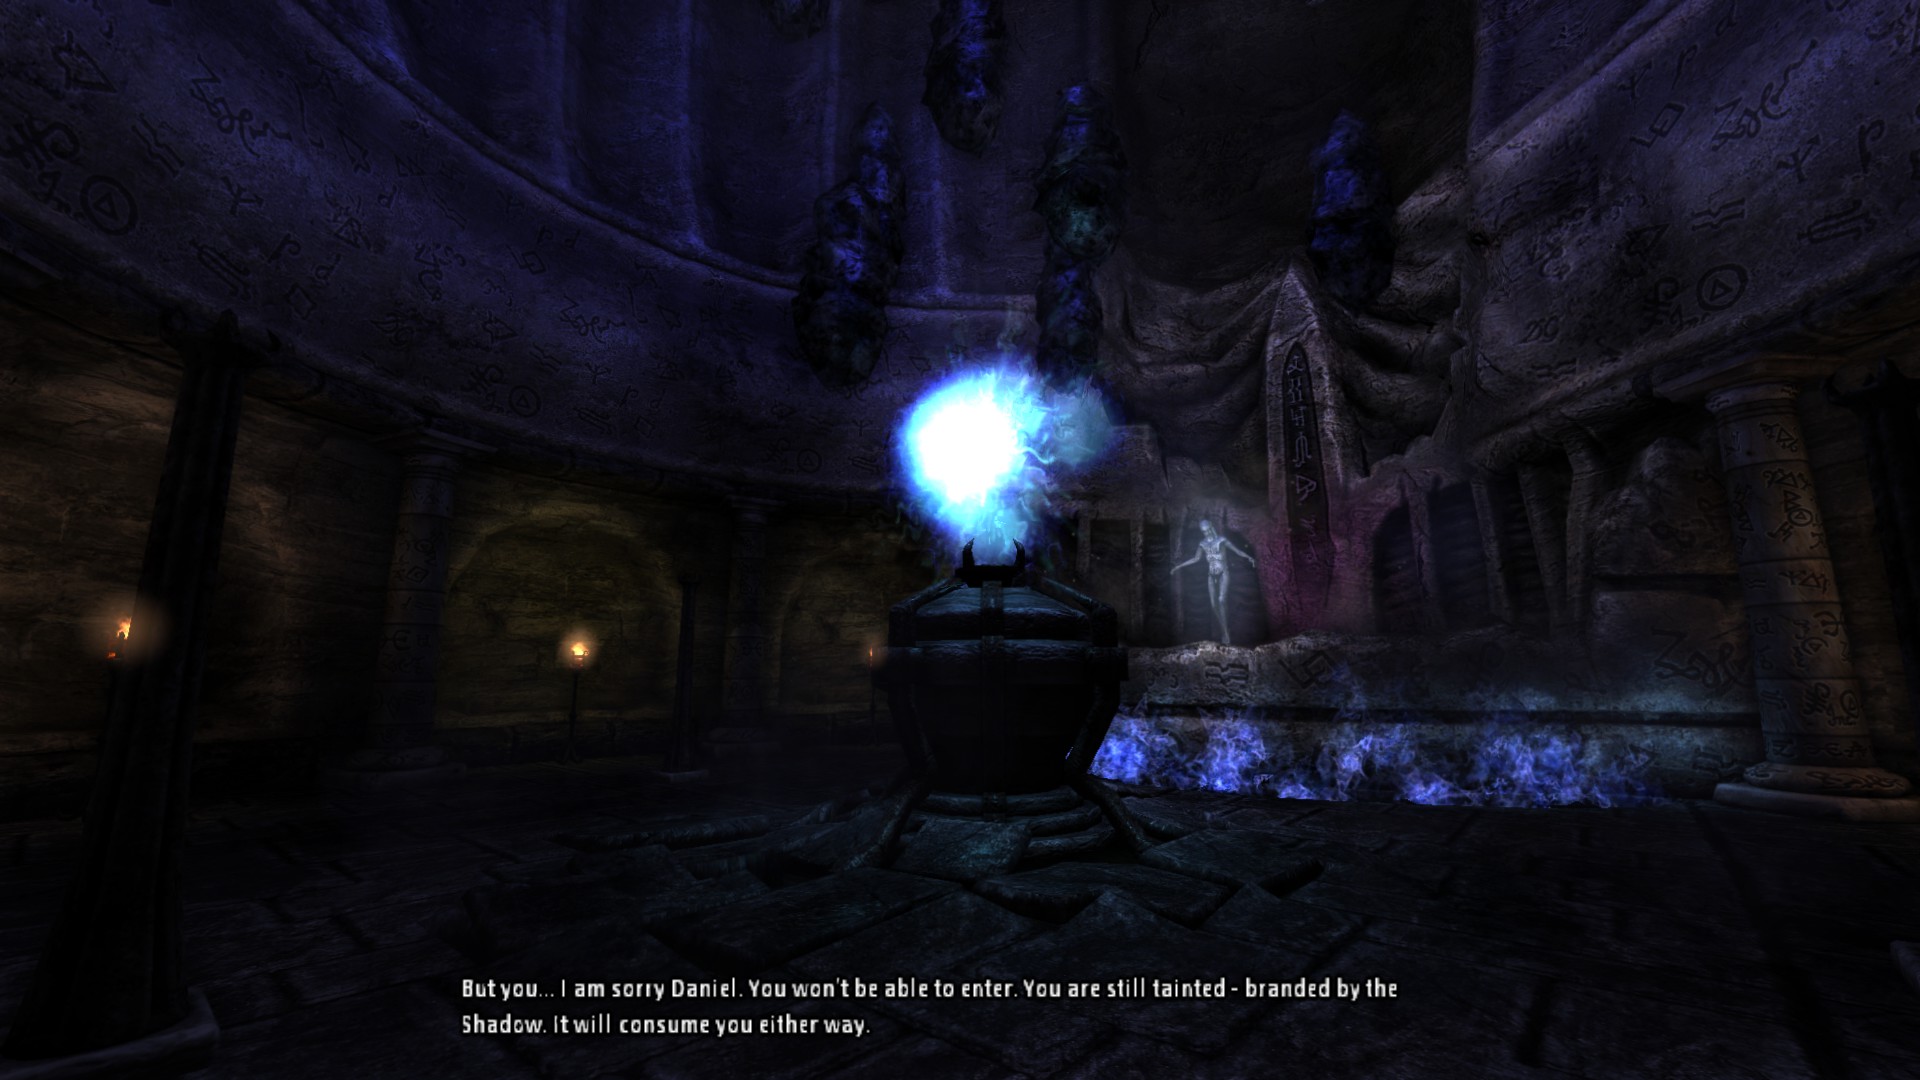
![Benefactor.jpg]](https://images.steamusercontent.com/ugc/2065508931961899881/96E37A79077BF51EF9FA6E4AE2A8381A9E84BABC/) –––––––––––––––––––––––––––––––––––––––––––––––––––––––
–––––––––––––––––––––––––––––––––––––––––––––––––––––––
Benefactor
Rescued Agrippa in Amnesia: The Dark Descent.
¯¯¯¯¯¯¯¯¯¯¯¯¯¯¯¯¯¯¯¯¯¯¯¯¯¯¯¯¯¯¯¯
Achievement #10: Story Related. Wait for the portal to open and then use the Agrippa head. If you also followed the walkthrough in here then we should have no problem doing this so achievement will unlock.
![Survivor.jpg]](https://images.steamusercontent.com/ugc/2065508931961899886/6553B1DB27EF38646AC791D455D7A549649D8C3C/) –––––––––––––––––––––––––––––––––––––––––––––––––––––––
–––––––––––––––––––––––––––––––––––––––––––––––––––––––
Survivor
Killed Alexander and escaped the castle in Amnesia: The Dark Descent.
¯¯¯¯¯¯¯¯¯¯¯¯¯¯¯¯¯¯¯¯¯¯¯¯¯¯¯¯¯¯¯¯
Achievement #11: Story Related. Push and pull back the pylons which will take a smidgeful effort and then you get the achievement unlocked.
2) Notes: 21/30
3) Diaries: 23/23
4) Achievements: 11/18
-----------------------------------------------------------------------------------------------------
Inner Sanctum:
NOTE: You need to get all of the notes in Justine as well. I will cover all of them in the different section.Location/Walkthrough text
Image
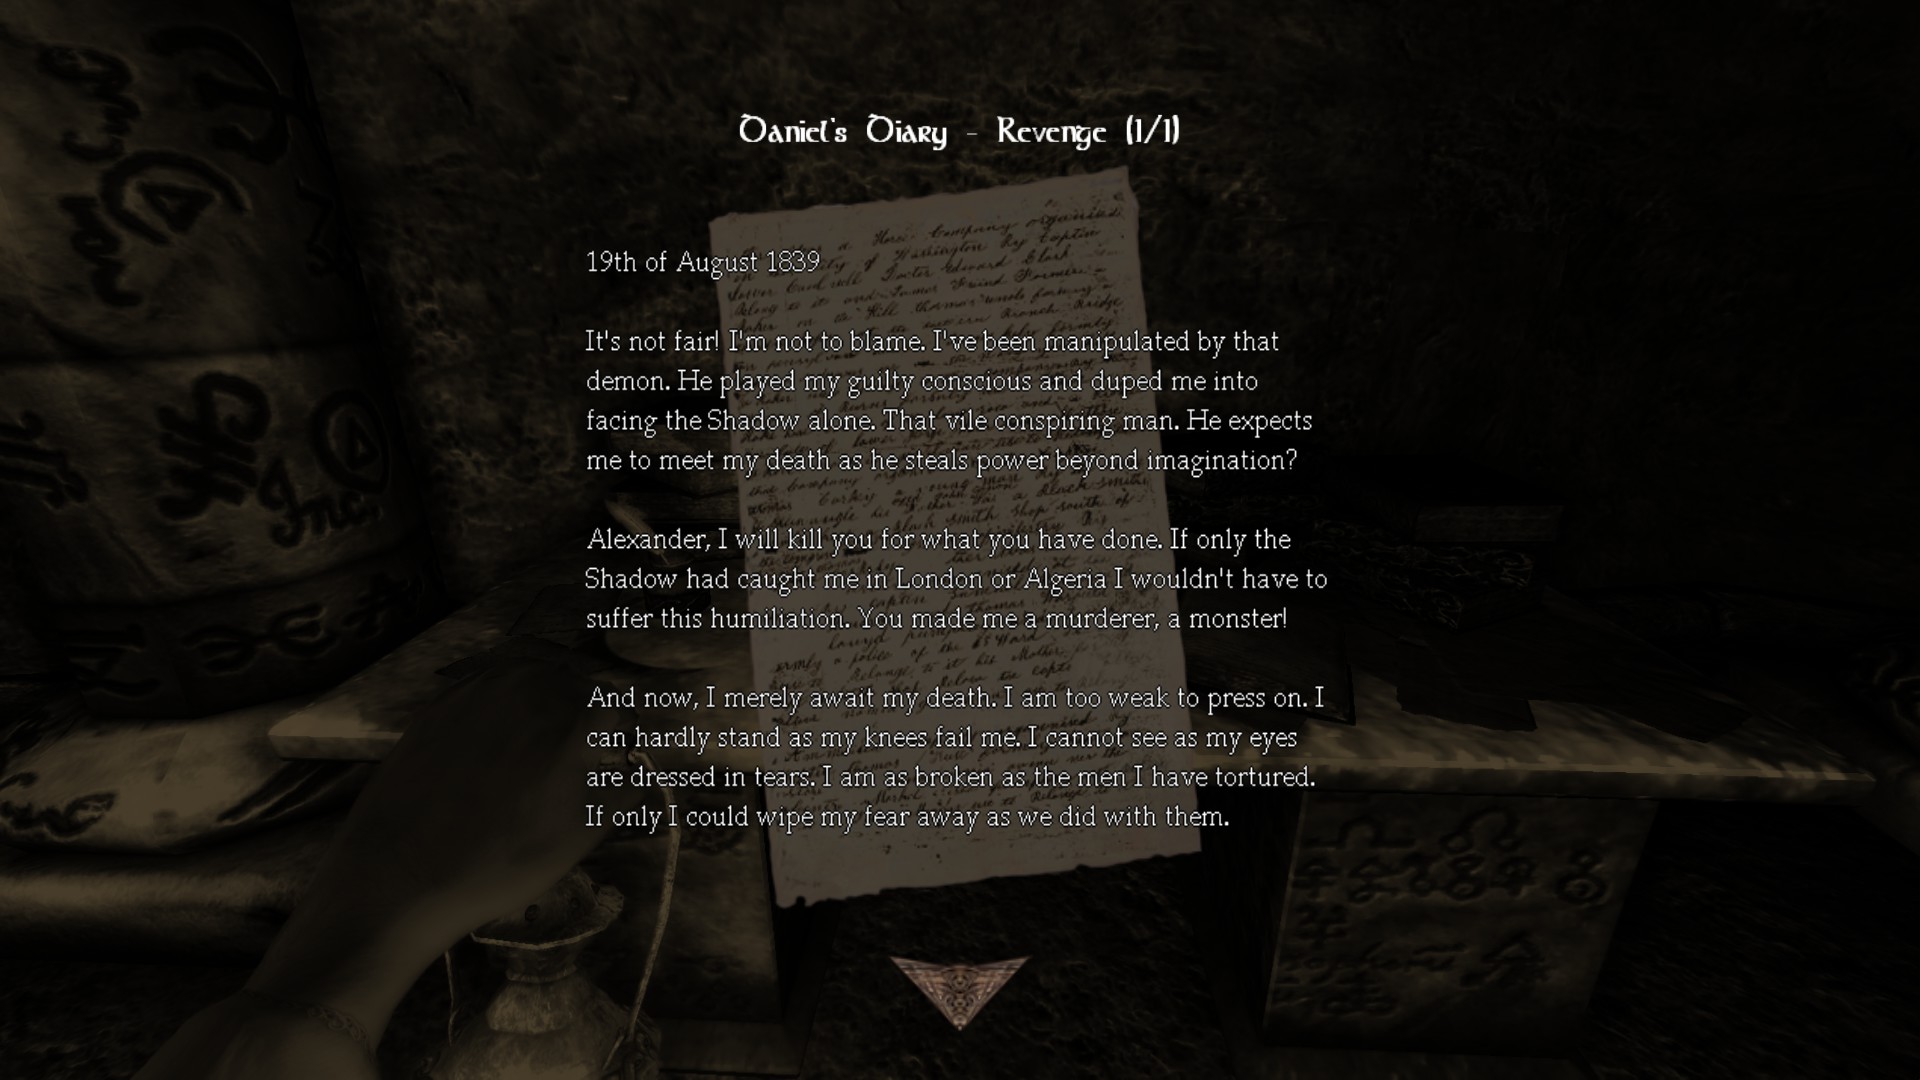
Diary #23 - Daniel's Diary - Revenge (1/1): The last diary.
![Inner Sanctum (2) (Edit_1).png]](https://images.steamusercontent.com/ugc/2107177466700932547/949598DE753323917E4730E31EBE476EF8CB19E1/)
You will need to offer your blood which hurts you so make sure you are in full sanity even before coming to this level and then stand on octograms two times so hold your lantern present, it will unlock the door to the final area.
Orb Chamber:
Final area of this game, we can get different endings in here hence shorter completion.Three endings will be in here but they are straightforward.
–––––––––––––––––––––––––––––––––––––––––––––––––––––––Sacrifice
Allowed Alexander to escape in Amnesia: The Dark Descent.
¯¯¯¯¯¯¯¯¯¯¯¯¯¯¯¯¯¯¯¯¯¯¯¯¯¯¯¯¯¯¯¯
Achievement #9: Story Related. We simply wait without touching the pylons and then we get this achievement unlocked.
–––––––––––––––––––––––––––––––––––––––––––––––––––––––Benefactor
Rescued Agrippa in Amnesia: The Dark Descent.
¯¯¯¯¯¯¯¯¯¯¯¯¯¯¯¯¯¯¯¯¯¯¯¯¯¯¯¯¯¯¯¯
Achievement #10: Story Related. Wait for the portal to open and then use the Agrippa head. If you also followed the walkthrough in here then we should have no problem doing this so achievement will unlock.
–––––––––––––––––––––––––––––––––––––––––––––––––––––––Survivor
Killed Alexander and escaped the castle in Amnesia: The Dark Descent.
¯¯¯¯¯¯¯¯¯¯¯¯¯¯¯¯¯¯¯¯¯¯¯¯¯¯¯¯¯¯¯¯
Achievement #11: Story Related. Push and pull back the pylons which will take a smidgeful effort and then you get the achievement unlocked.
Part 18: Act V - Hard Mode
1) Complete Hard Mode
2) Notes: 21/30
3) Achievements: 12/18
-----------------------------------------------------------------------------------------------------
https://steamcommunity.com/sharedfiles/filedetails/?id=1524826424
Finding a good saving point or if you want to risk and save at the right spot then it's up to you.
![Masochist.jpg]](https://images.steamusercontent.com/ugc/2065508931961899906/ED959B02319E6F7528F174E9A0B3D31435E24D66/) –––––––––––––––––––––––––––––––––––––––––––––––––––––––
–––––––––––––––––––––––––––––––––––––––––––––––––––––––
Masochist
My name is... Daniel... and I... have made life... exceptionally hard for myself.
¯¯¯¯¯¯¯¯¯¯¯¯¯¯¯¯¯¯¯¯¯¯¯¯¯¯¯¯¯¯¯¯
Achievement #12: Difficulty, Story Related. When you complete as usual after some saves and all that is then we get this achievement unlocked.
This video work wonders. Follow and you will succeed so 12 saves should be plentiful.
2) Notes: 21/30
3) Achievements: 12/18
-----------------------------------------------------------------------------------------------------
Hard Mode:
This is what you have been waiting for, honestly I think it should be less difficult to navigate now. I recommend this guy's videos and info on this guide here.https://steamcommunity.com/sharedfiles/filedetails/?id=1524826424
Finding a good saving point or if you want to risk and save at the right spot then it's up to you.
–––––––––––––––––––––––––––––––––––––––––––––––––––––––Masochist
My name is... Daniel... and I... have made life... exceptionally hard for myself.
¯¯¯¯¯¯¯¯¯¯¯¯¯¯¯¯¯¯¯¯¯¯¯¯¯¯¯¯¯¯¯¯
Achievement #12: Difficulty, Story Related. When you complete as usual after some saves and all that is then we get this achievement unlocked.
This video work wonders. Follow and you will succeed so 12 saves should be plentiful.
Part 19: Act VI - Justine
1) Cells, Library
2) Notes: 28/30
3) Achievements: 13/18
-----------------------------------------------------------------------------------------------------
To access this Expansion, we need to exit out Dark Descent and select the desktop launcher to select Justine, it will also allow you to use your existing save so we continue where we need to be. Unlike in Dark Descent we need to play the whole Expansion all over again for the endings.
This should not take long but I will still put on a how-to kill/save the hostages and also other miscellaneous etc. Only notes will be present in this game and we don't need tinderboxes we already did that but the Expansion is gonna take less than 40 minutes. This along with your current profile should be enough to get the last achievements.
The notes are also straight-forward to find here.
![Cells (1).png]](https://images.steamusercontent.com/ugc/2062132621122125414/23E9E132DBD8550854907BDEAF24F328452424DC/)
![Cells (4).png]](https://images.steamusercontent.com/ugc/2062132621122125441/972D5A98009743FD5E3B8437F9C7CB72C9E357BC/)
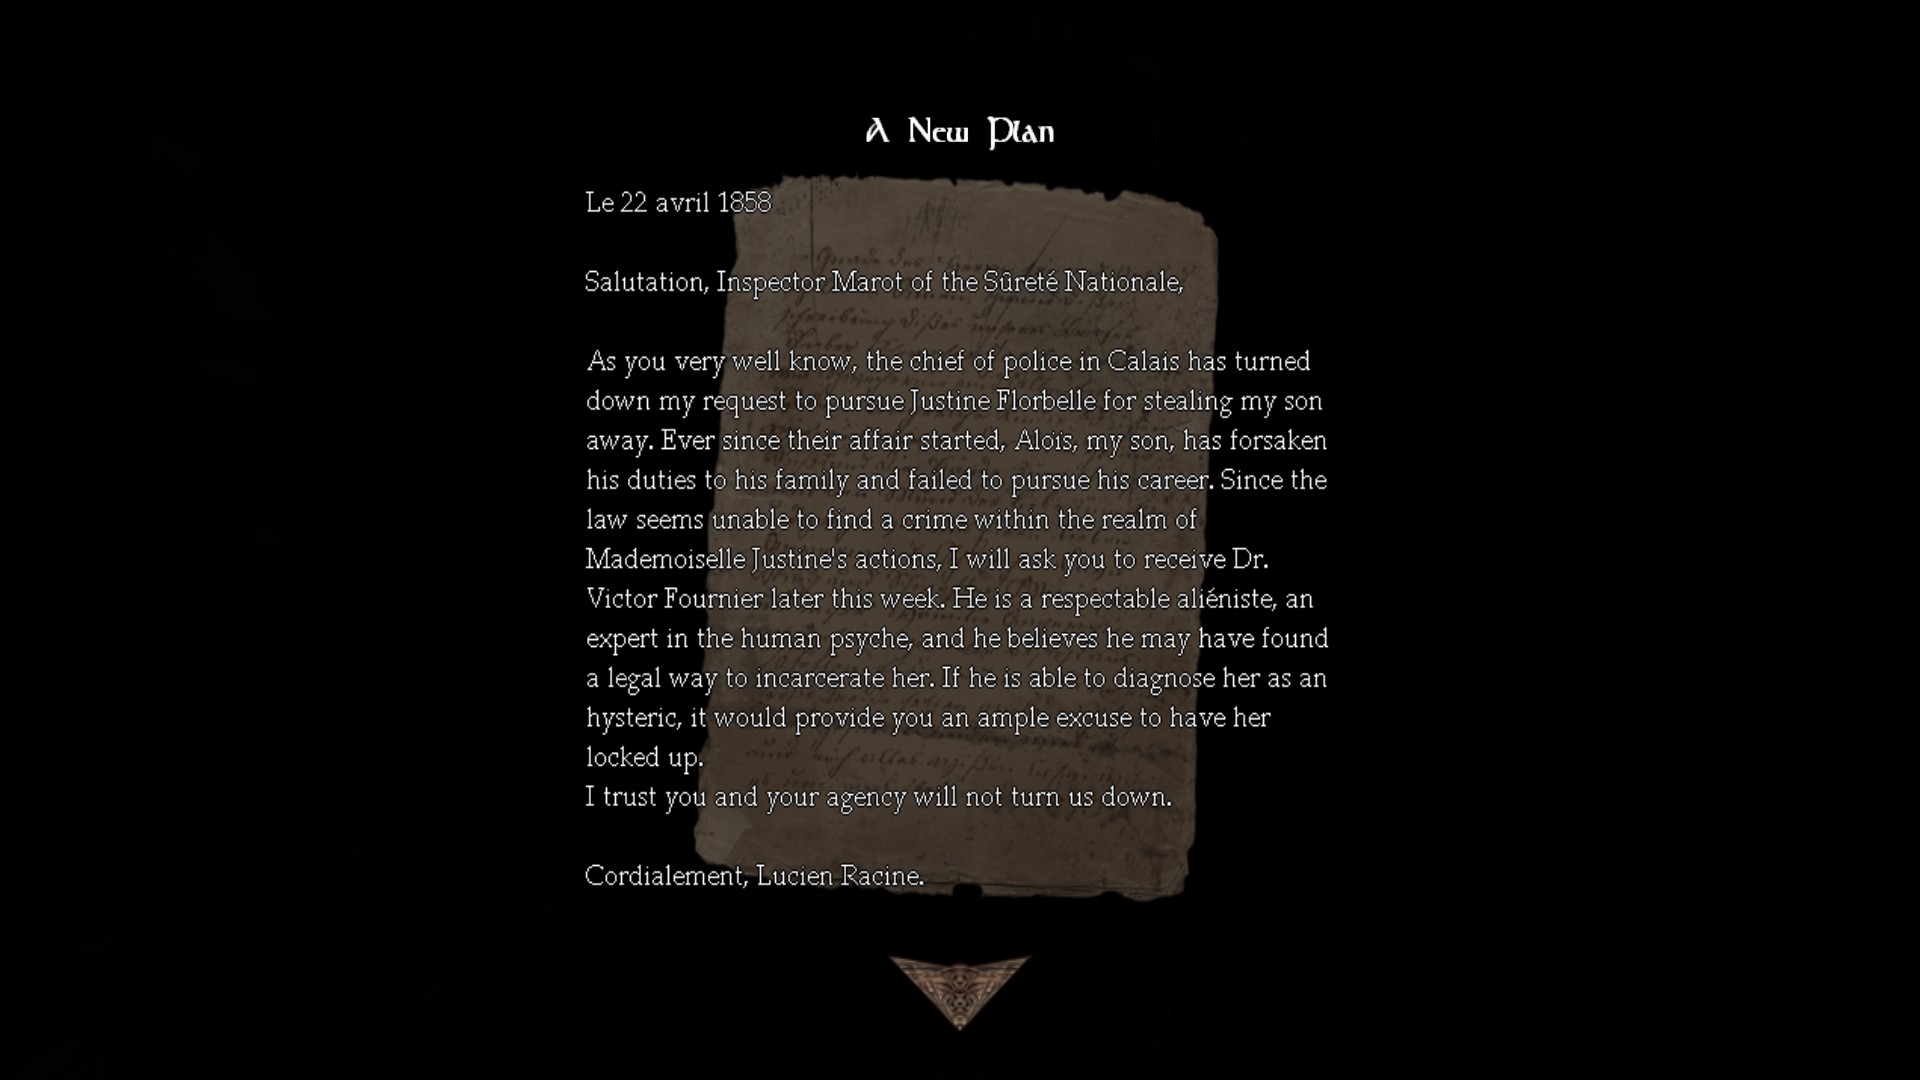
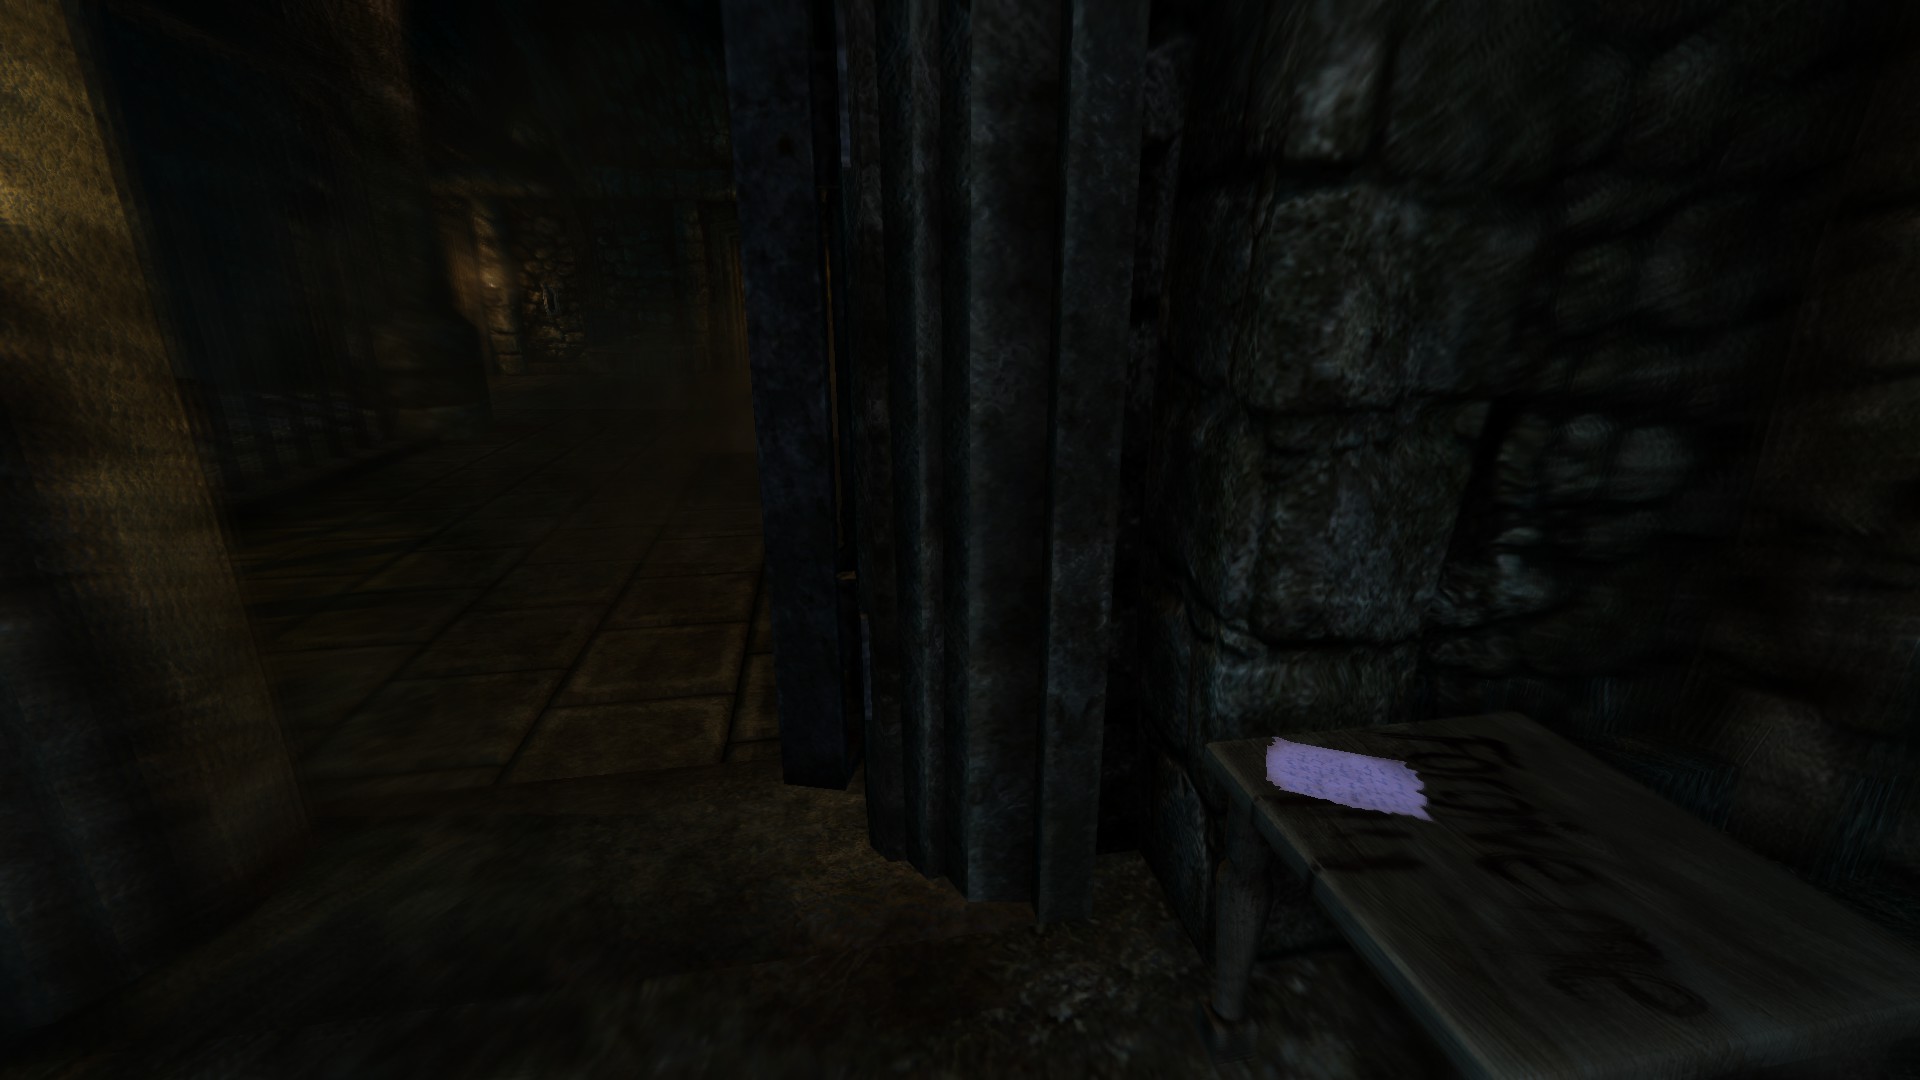
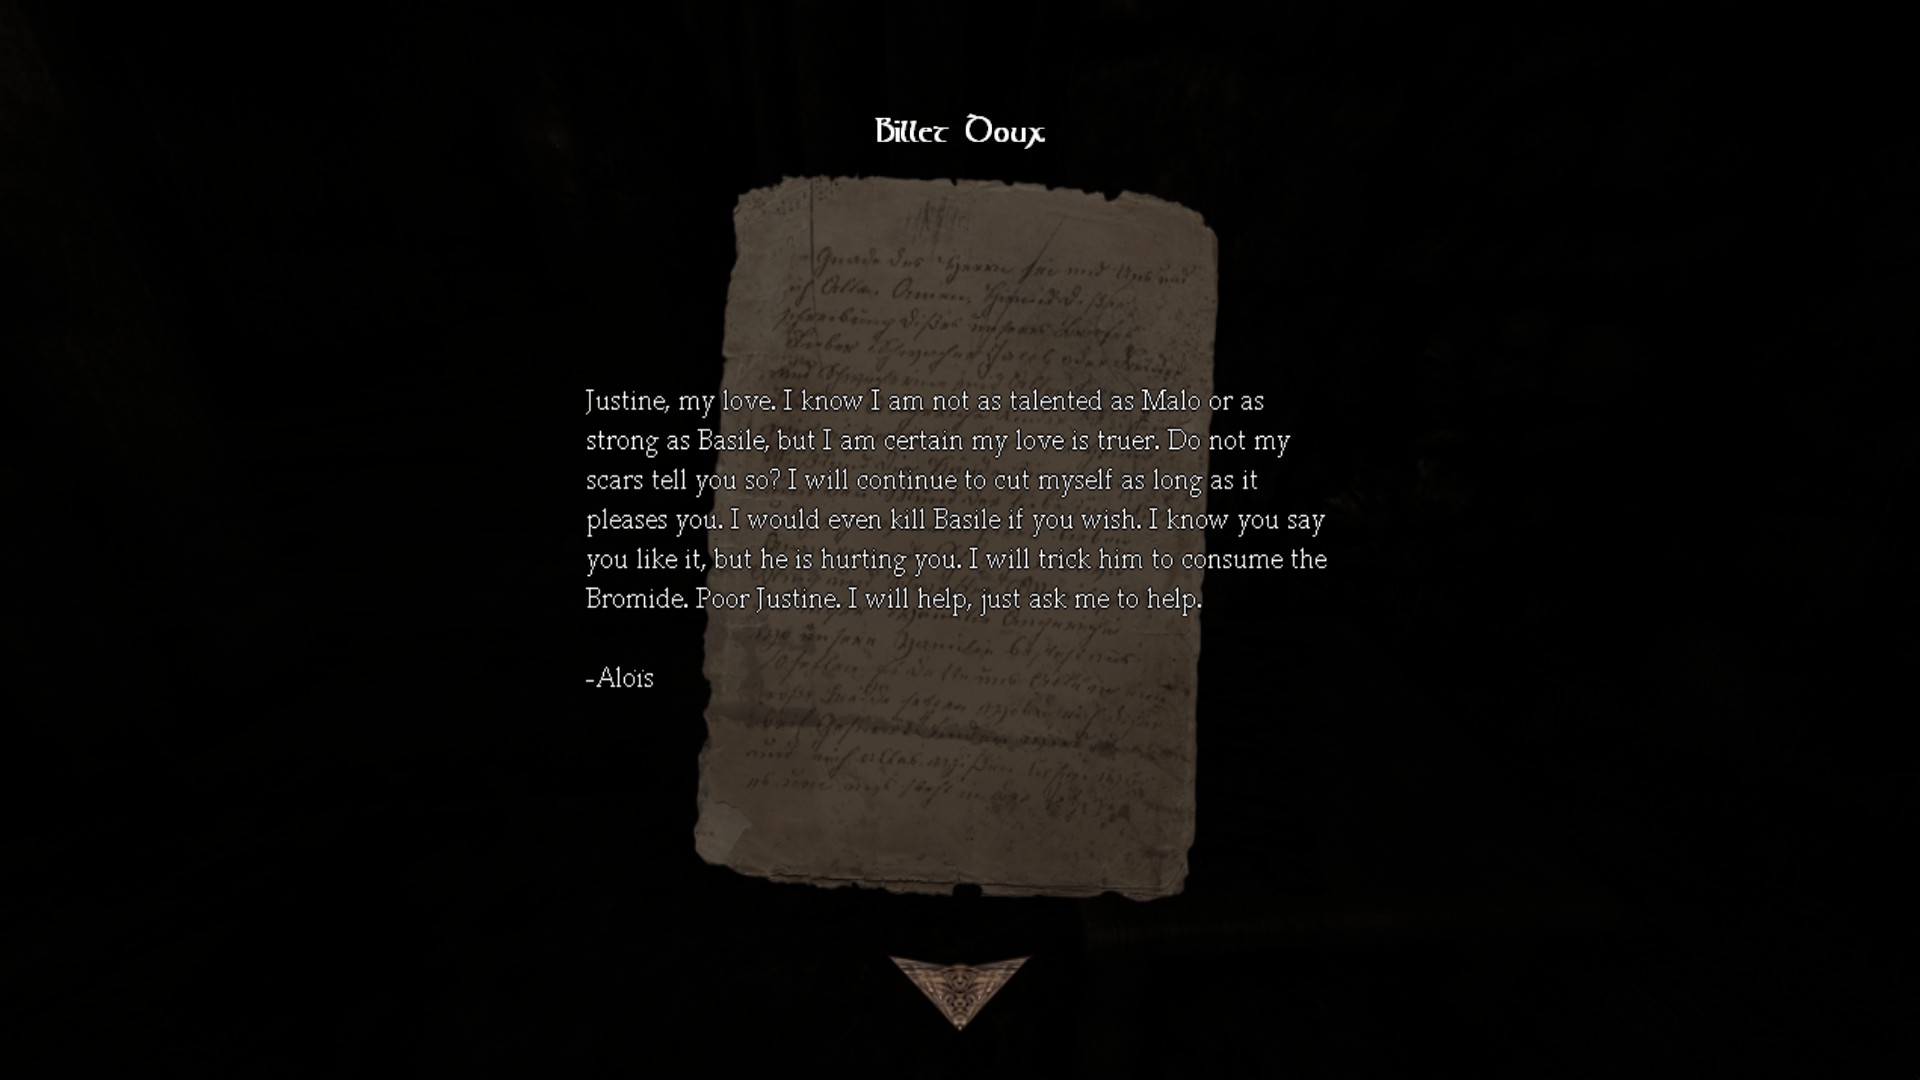
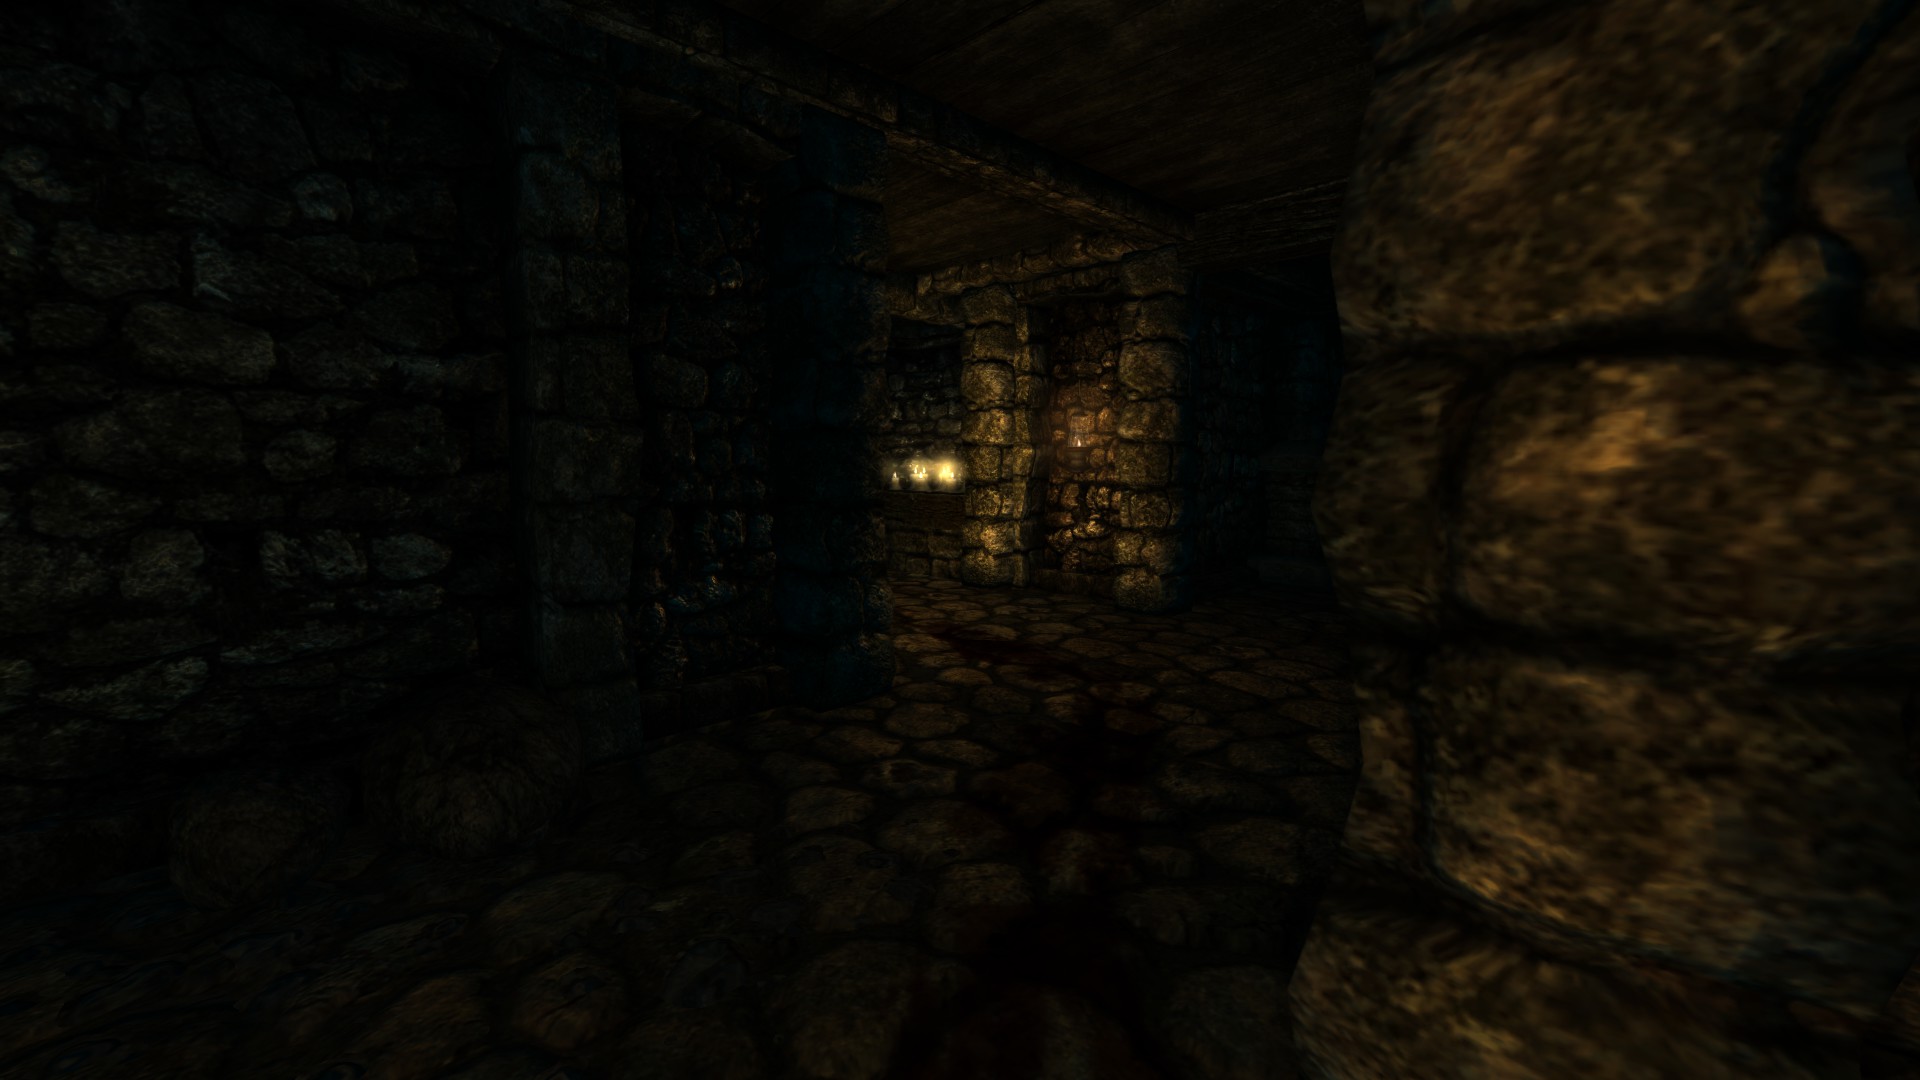
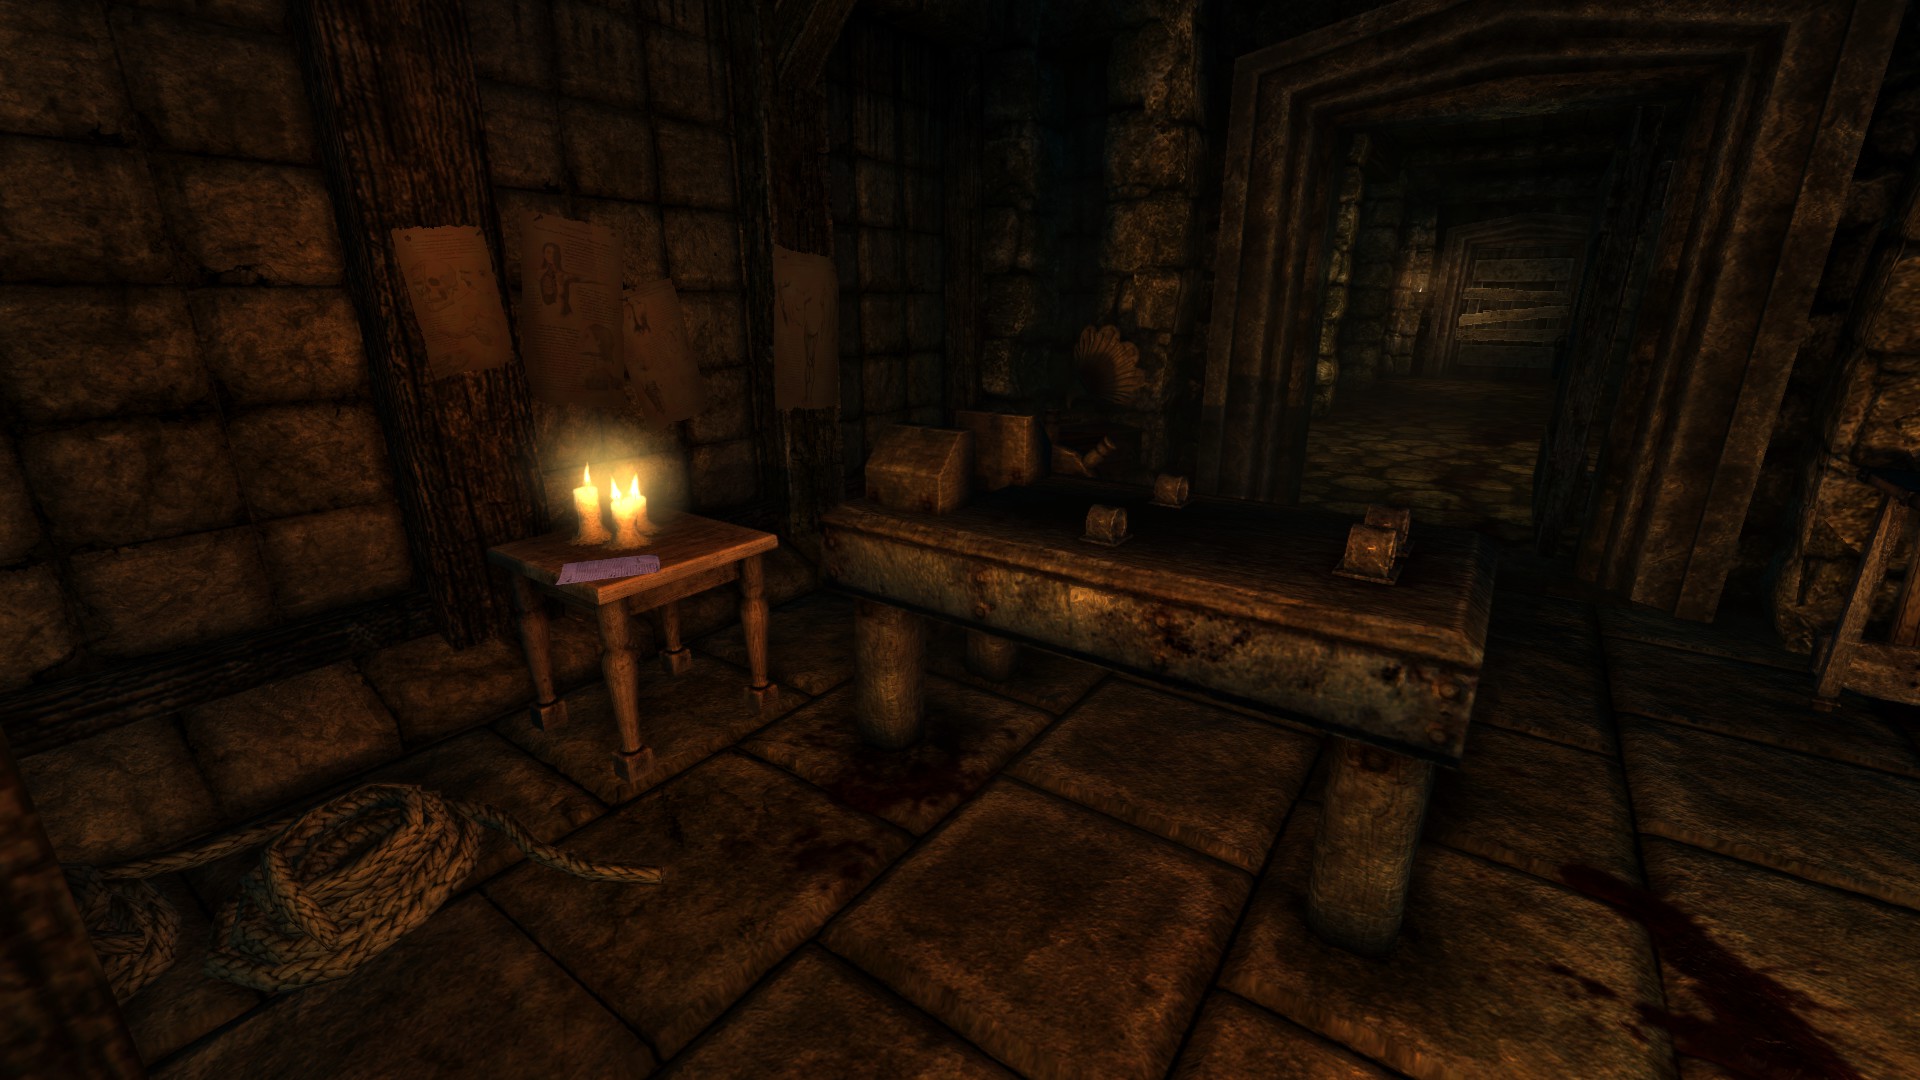
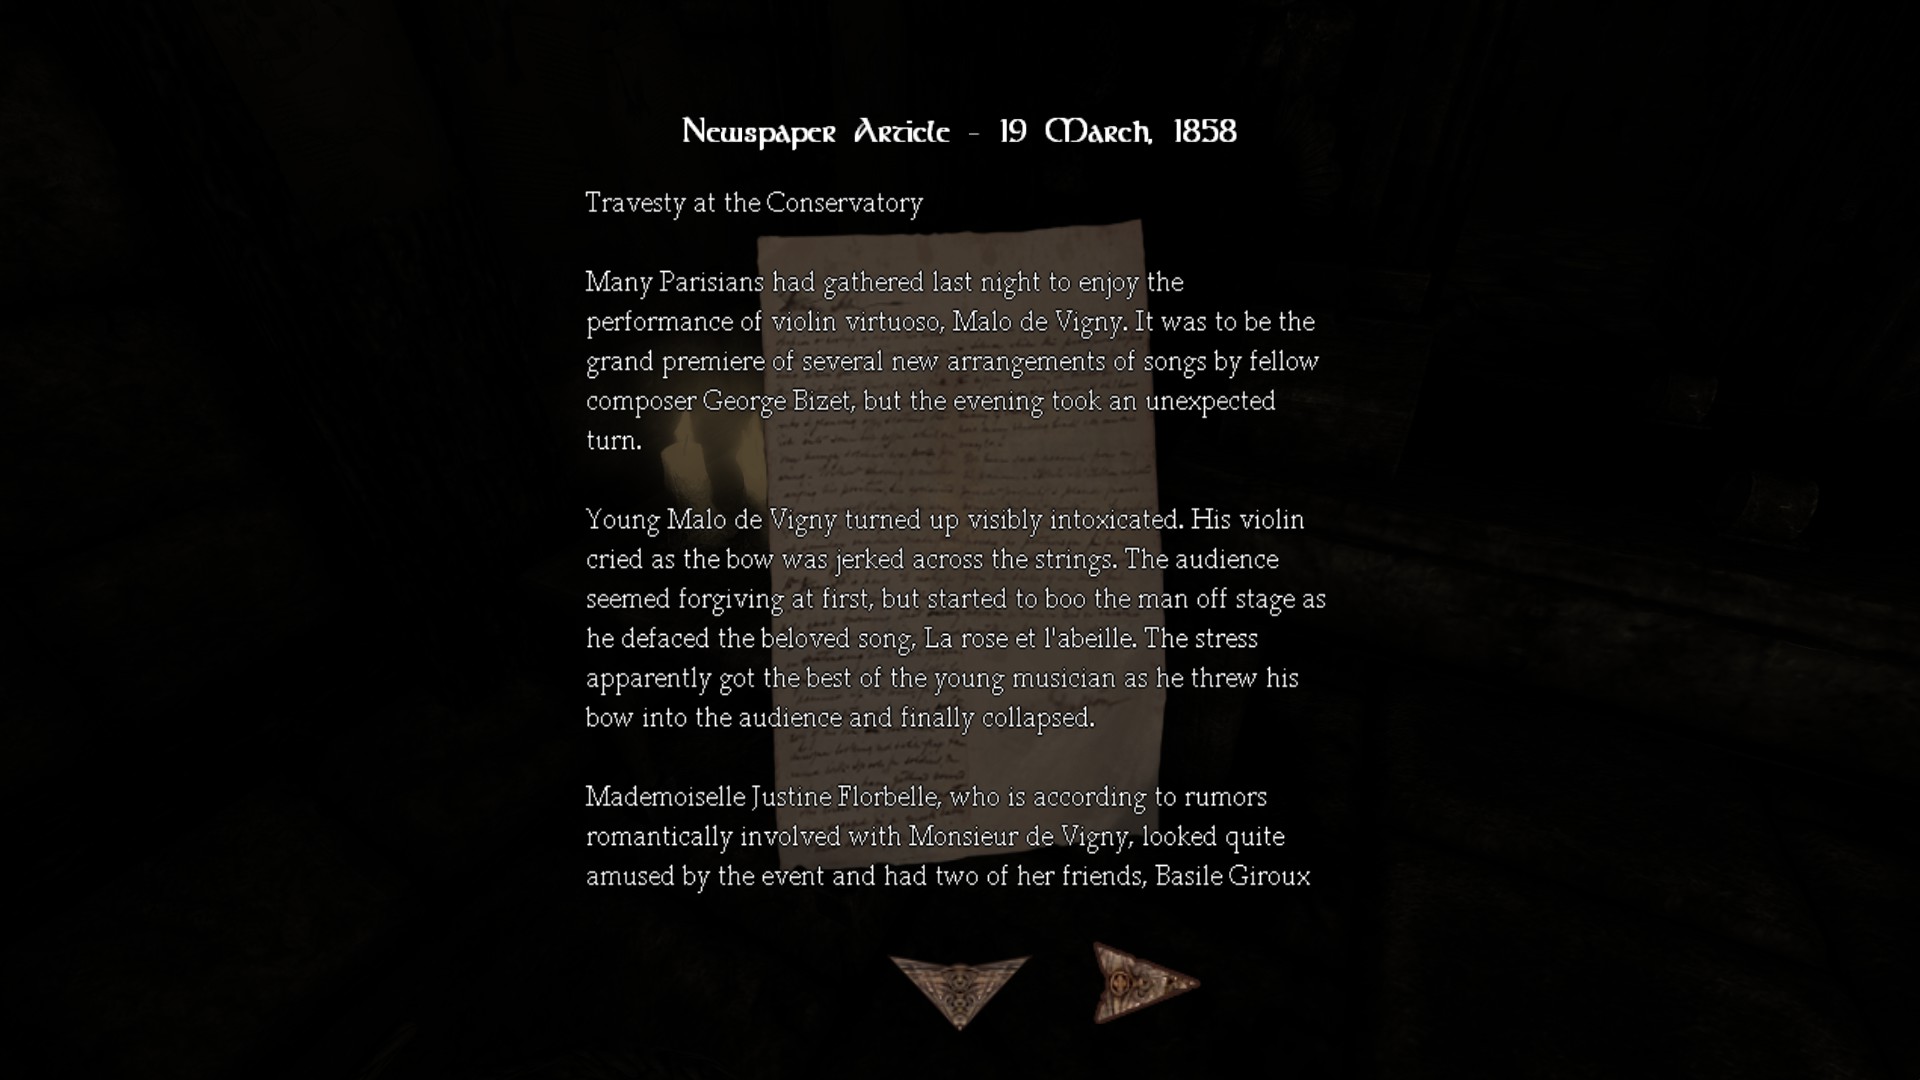
![Library (1).png]](https://images.steamusercontent.com/ugc/2062132621122126699/A1D087AE578EC7201AD894BFD1461EEE83830BEB/)
![Library (2).png]](https://images.steamusercontent.com/ugc/2062132621122126704/F35D14856AEA3AE0705F8839920C3054C7FC9EDF/)
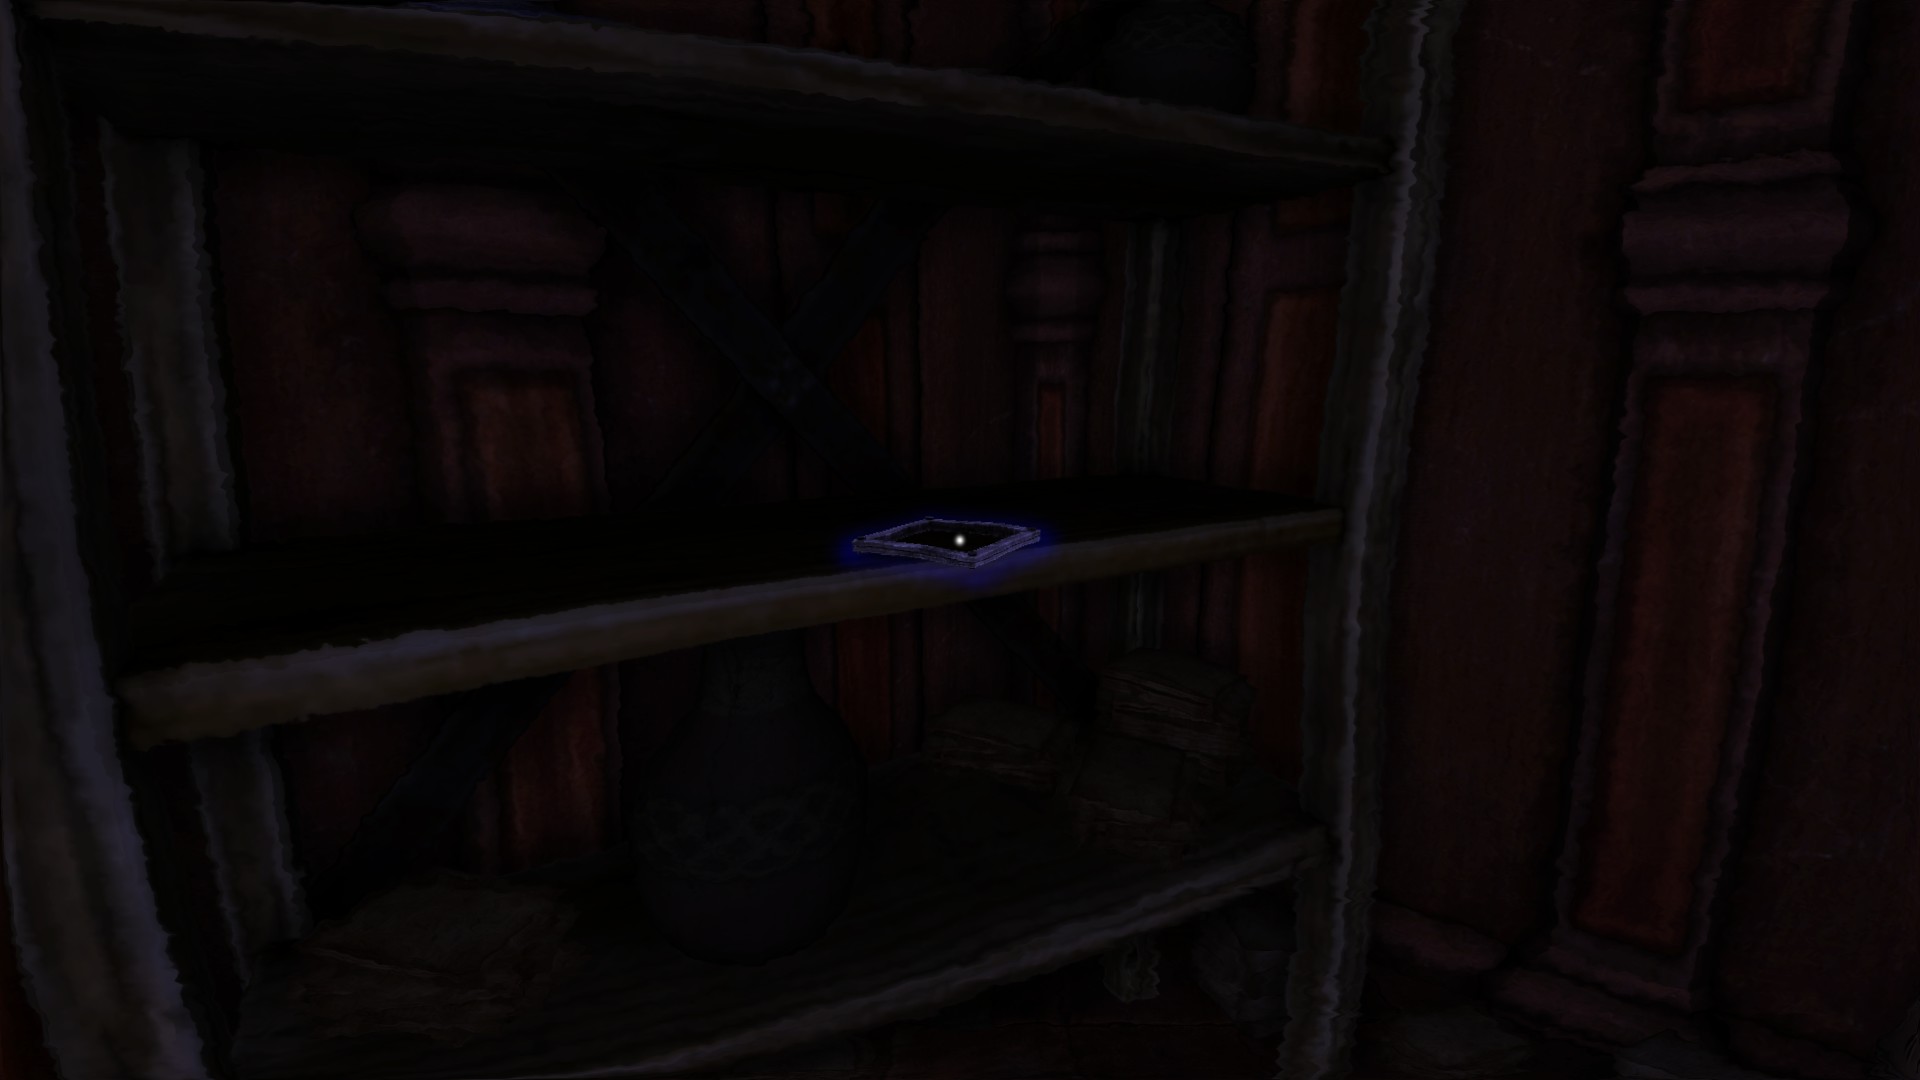
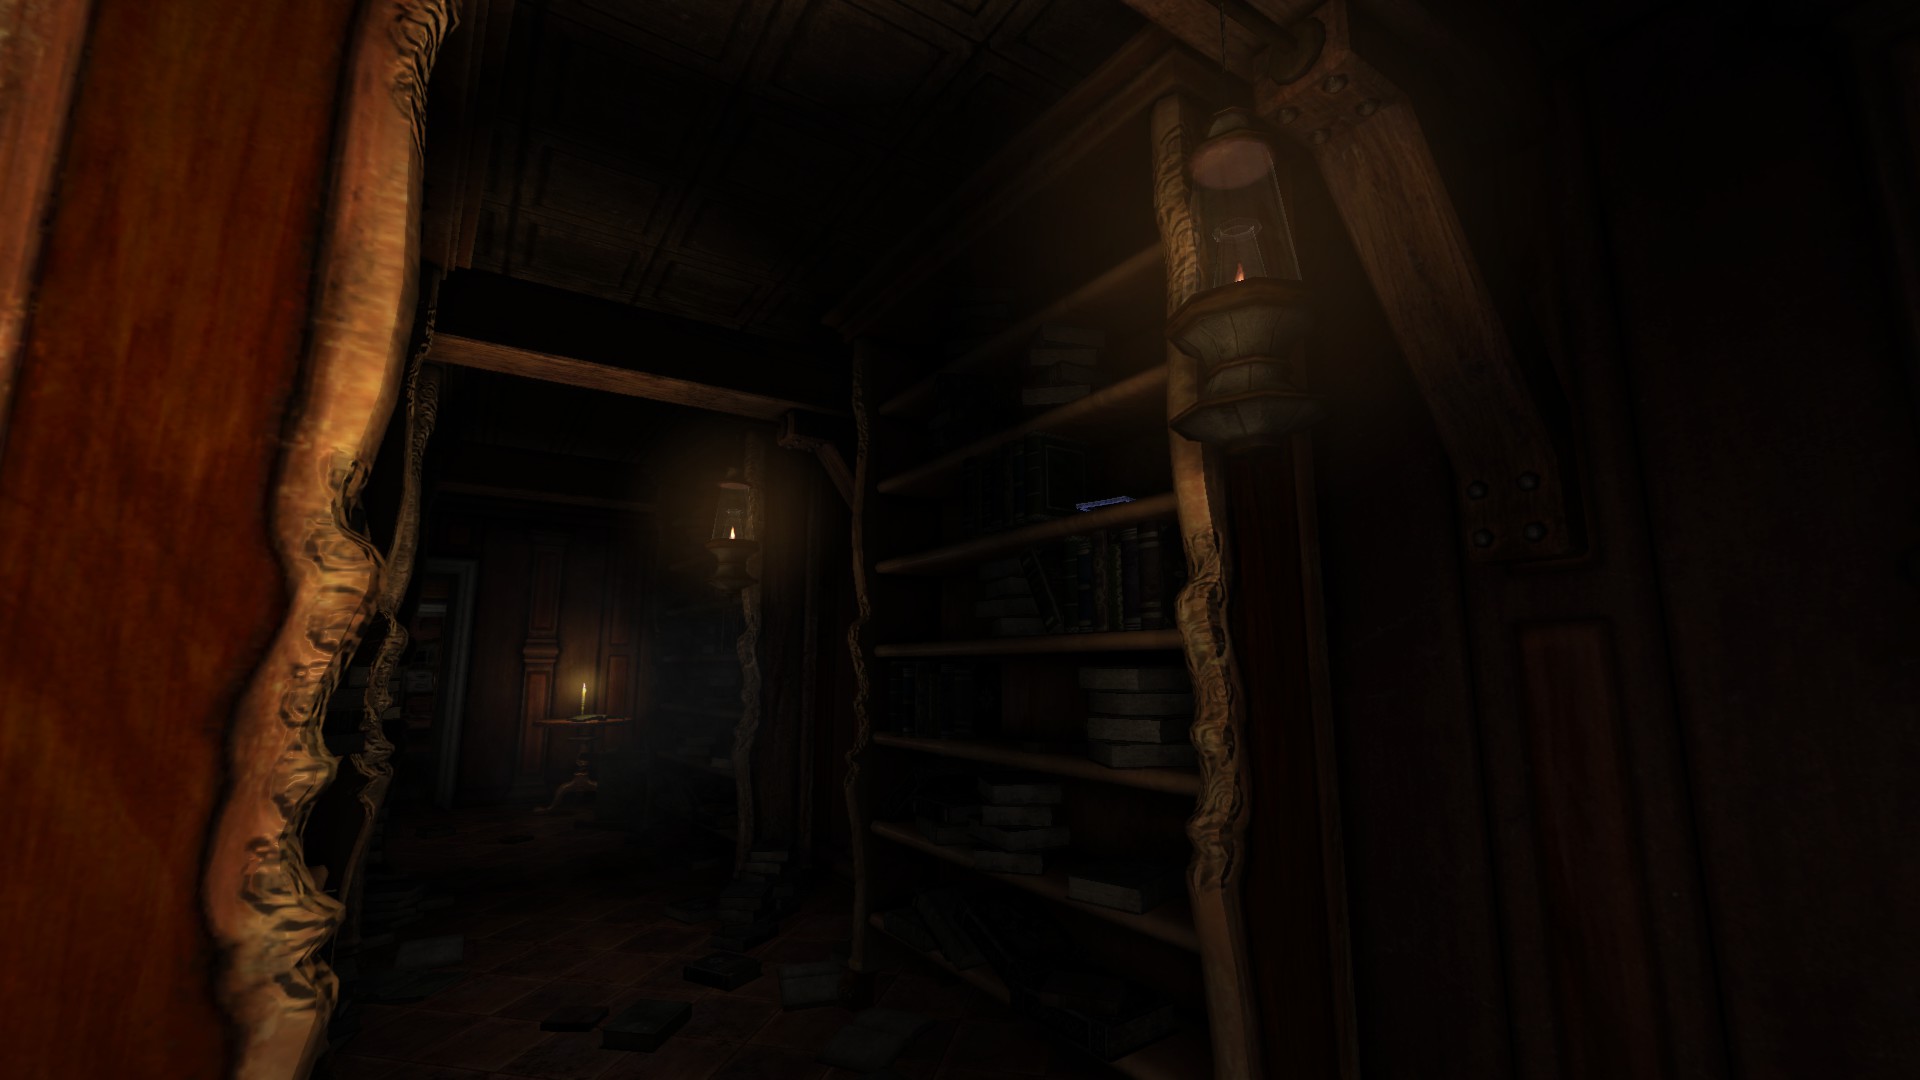
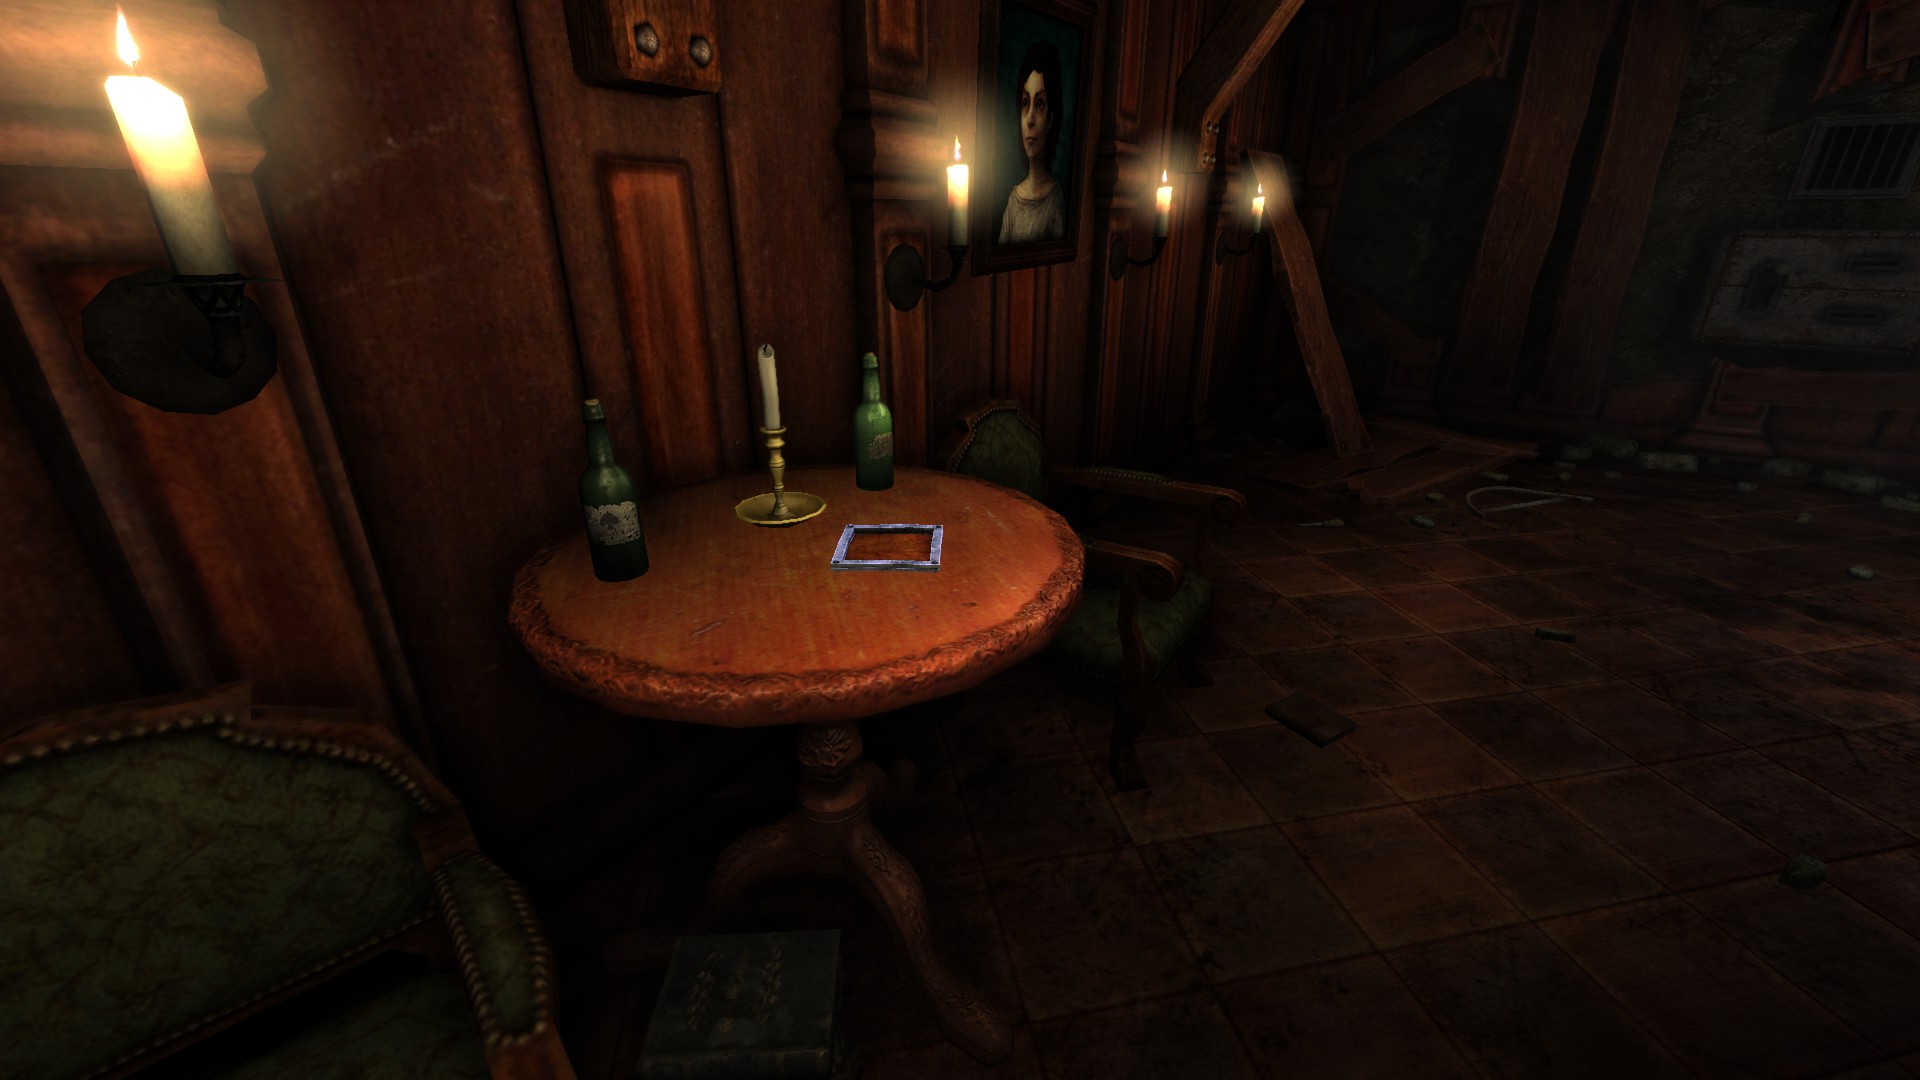
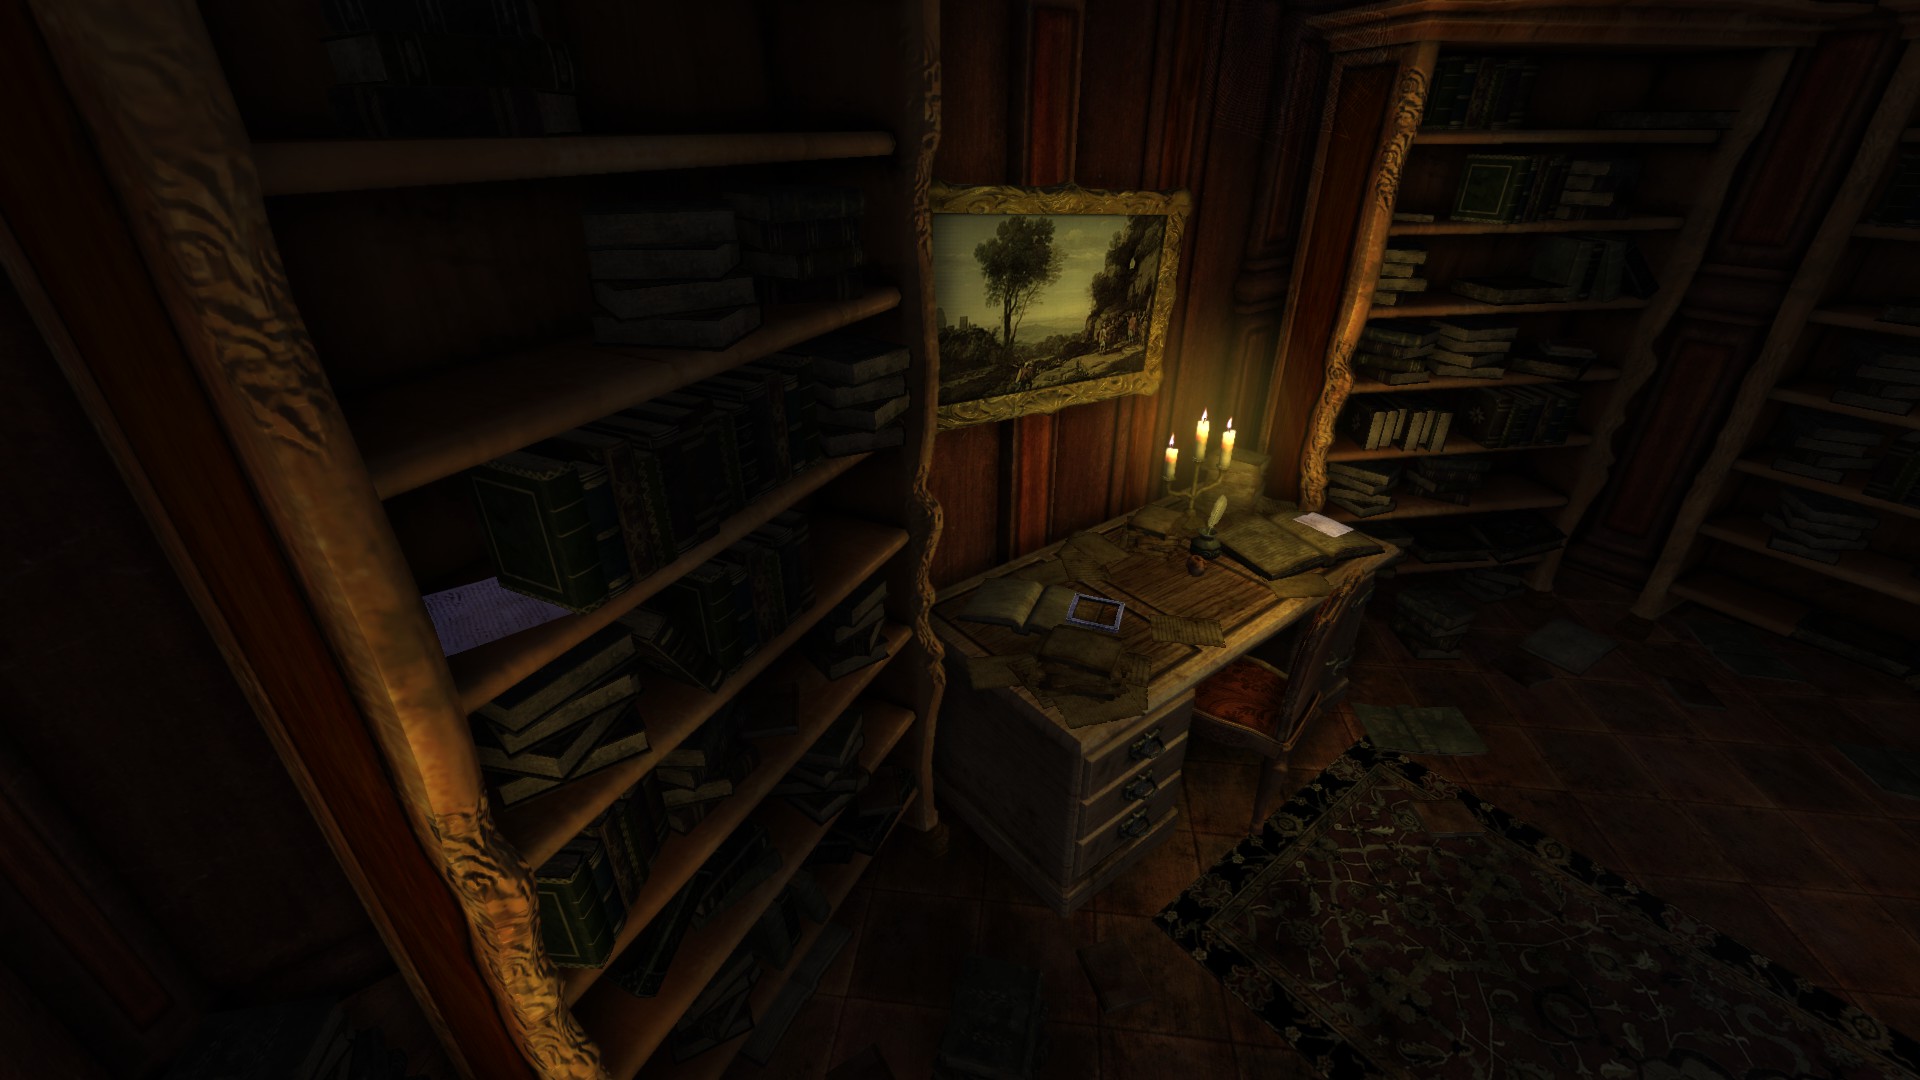
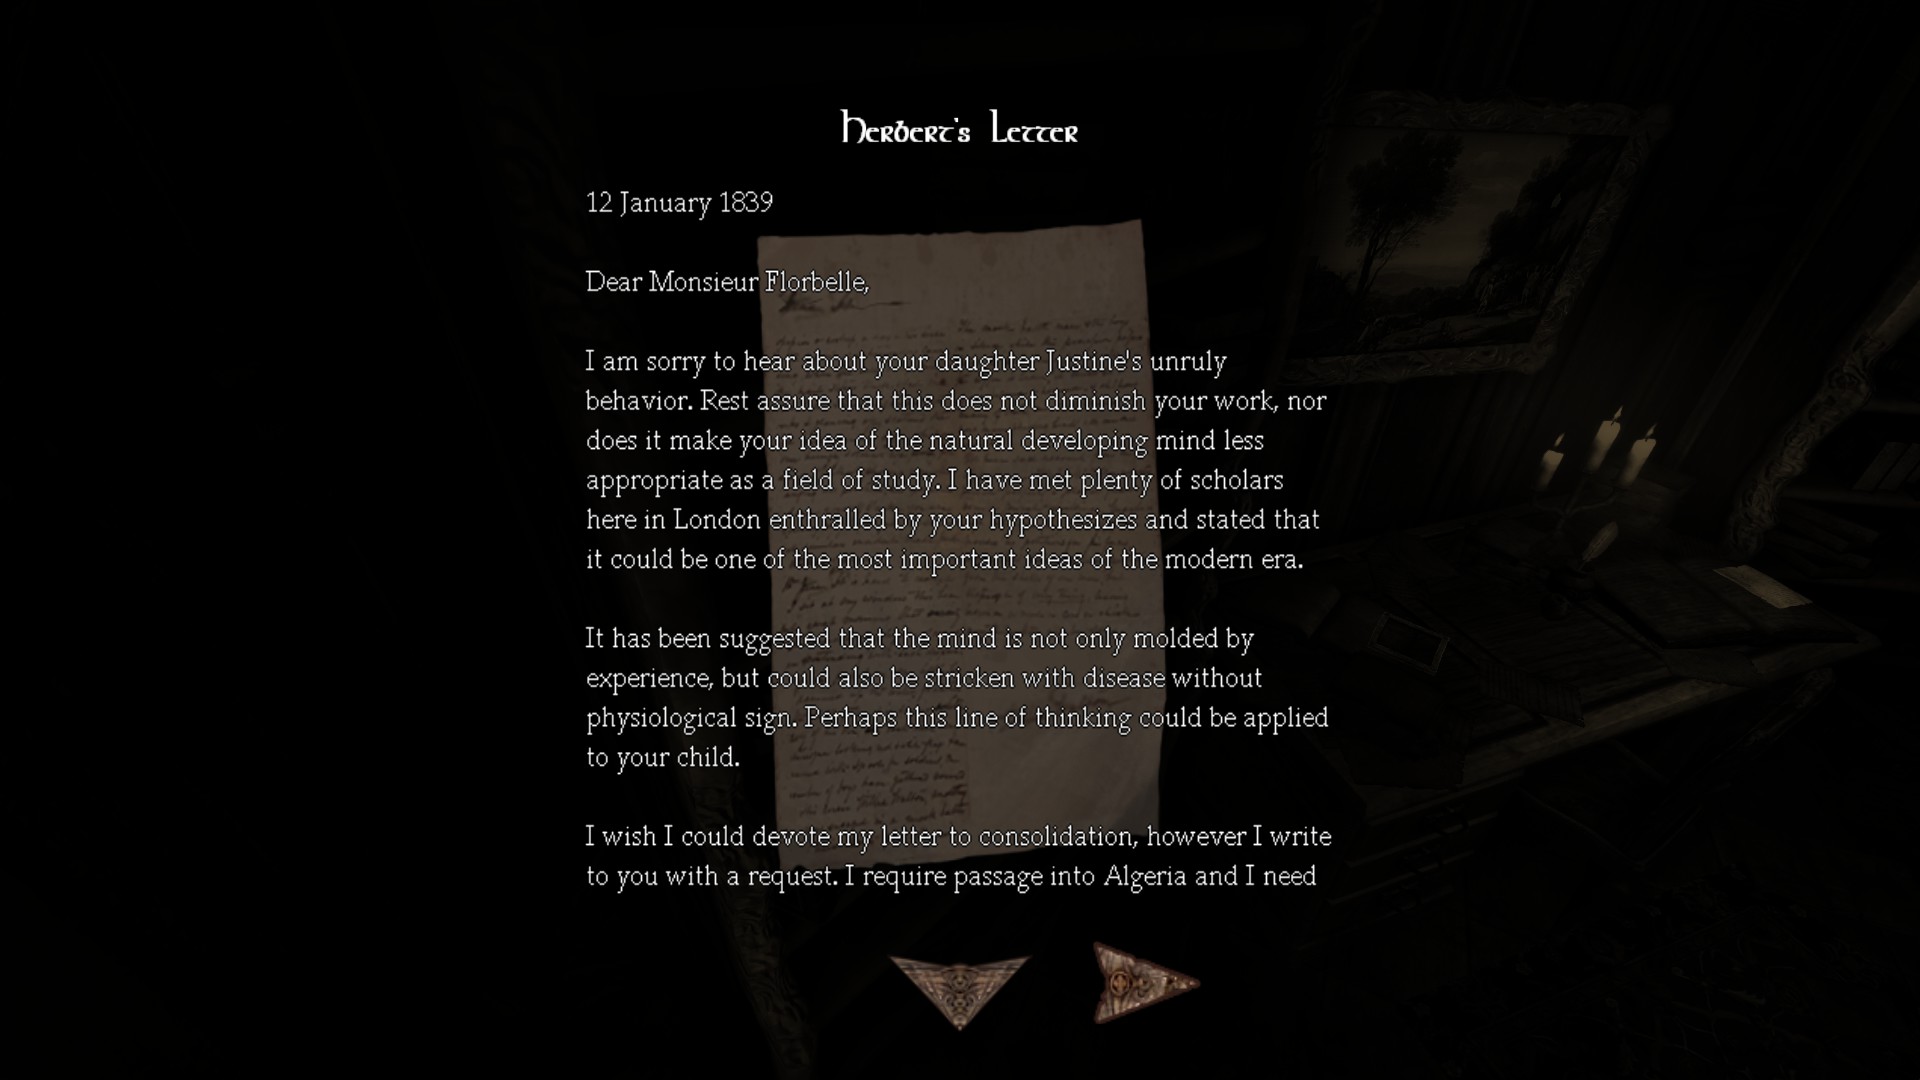
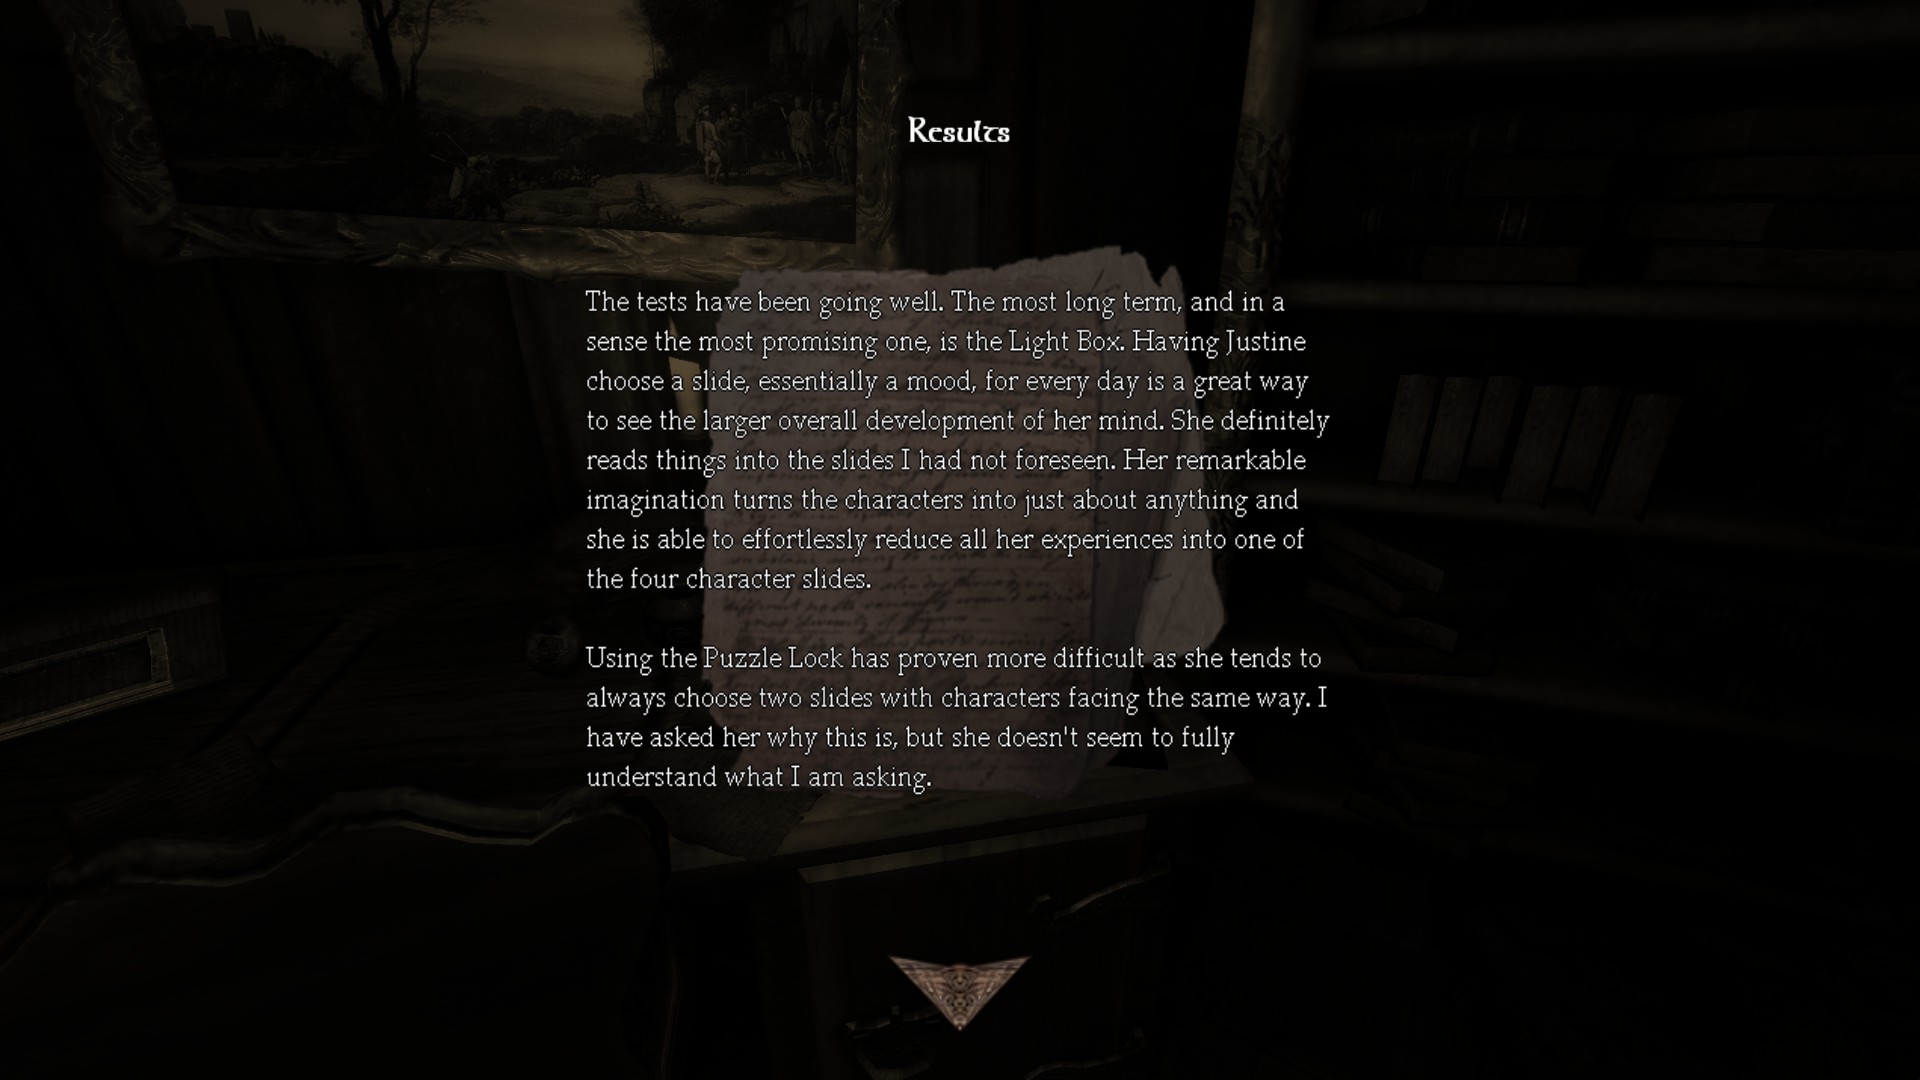
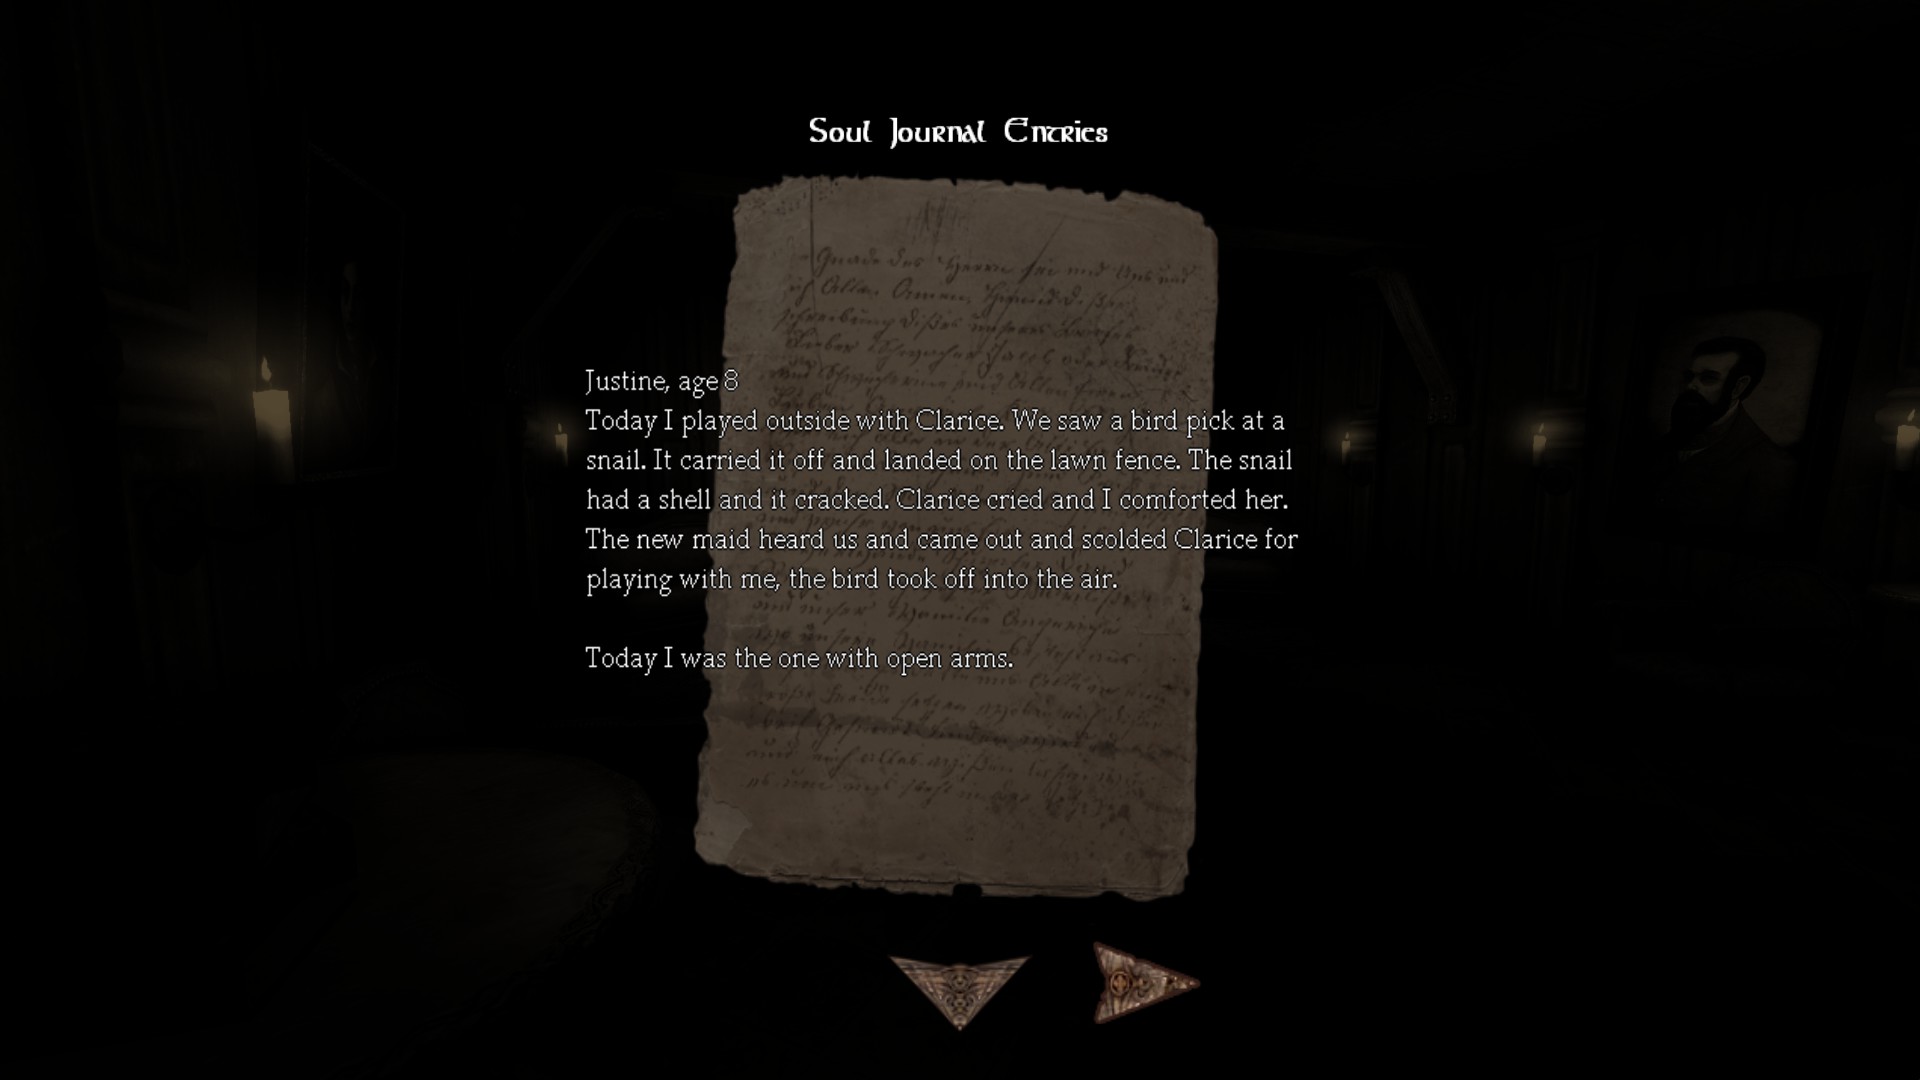
![Still Alive.jpg]](https://images.steamusercontent.com/ugc/2065508931961899933/2EDB1FD6BBB8E91E47C5B7311FB608685100DA37/) –––––––––––––––––––––––––––––––––––––––––––––––––––––––
–––––––––––––––––––––––––––––––––––––––––––––––––––––––
Still Alive
Became aware of the merits of A.S. Inc.'s Span-space Device in Amnesia: Justine.
¯¯¯¯¯¯¯¯¯¯¯¯¯¯¯¯¯¯¯¯¯¯¯¯¯¯¯¯¯¯¯¯
Achievement #13: Located on top of the bookshelf. This is an extra note.
2) Notes: 28/30
3) Achievements: 13/18
-----------------------------------------------------------------------------------------------------
To access this Expansion, we need to exit out Dark Descent and select the desktop launcher to select Justine, it will also allow you to use your existing save so we continue where we need to be. Unlike in Dark Descent we need to play the whole Expansion all over again for the endings.
This should not take long but I will still put on a how-to kill/save the hostages and also other miscellaneous etc. Only notes will be present in this game and we don't need tinderboxes we already did that but the Expansion is gonna take less than 40 minutes. This along with your current profile should be enough to get the last achievements.
The notes are also straight-forward to find here.
Cells:
First area.Location/Walkthrough text
Image
When you wake up, interact with the phonograph, grab the latern above and continue a linear path until you get to where you can hide from the suitor. Wait until it's all finished.
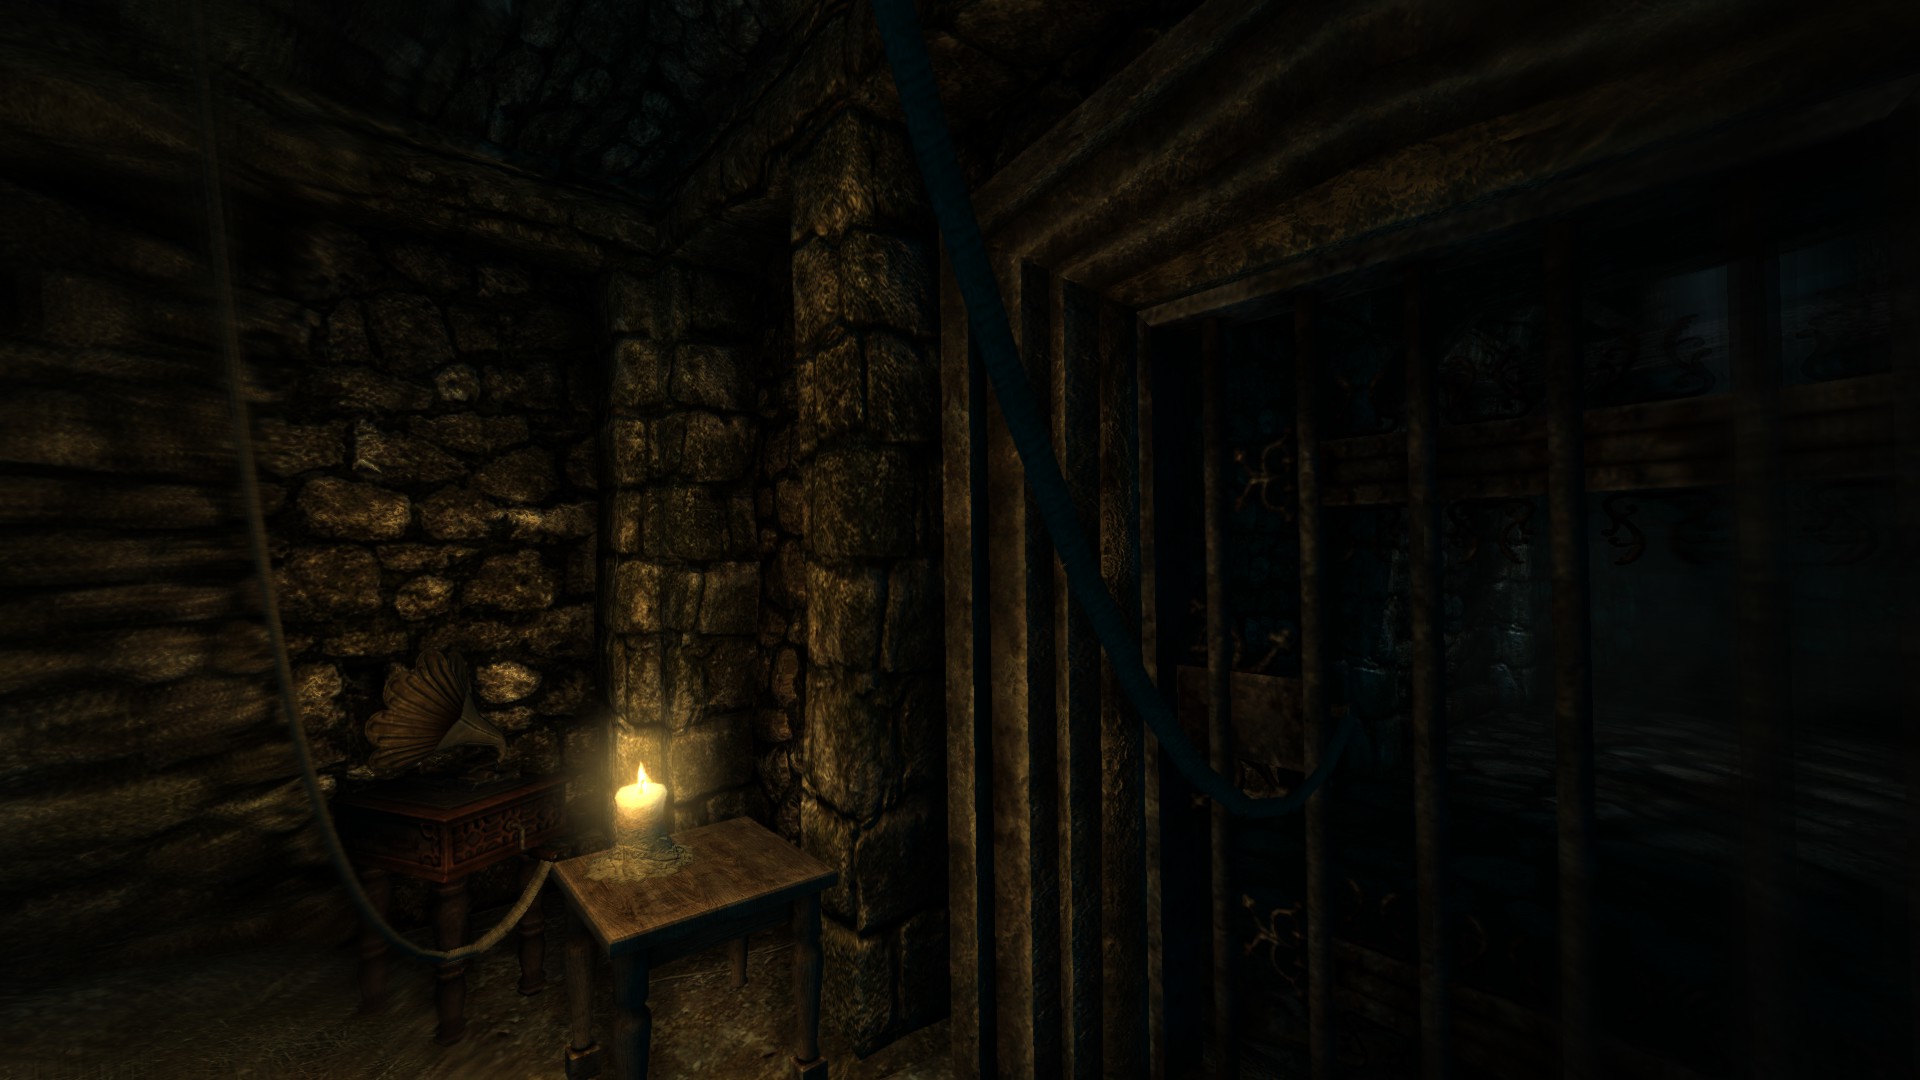
Note #22 - A New Plan: Where your hiding at.
Note #23 - Billet Doux:
1st Hostage Suitor:
On the cell near you and has a lever mechanism.
On the cell near you and has a lever mechanism.
Kill: Immediately pull down the switch lever three times to kill him and the ladder will descend.
Spare:
Get the spare ladder. Then stack boxes until you touch the hatch and then use the ladder to climb.
Get the spare ladder. Then stack boxes until you touch the hatch and then use the ladder to climb.
Moving on. After hitting the ground you can go straight to the next area.
Note #24 - Newspaper Article - 19 March, 1858:
Moving on to next area.
Library:
Second area.Location/Walkthrough text
Image
Find all slides (1 > 2 > 3 > 4) or just Slide 3 and 4.
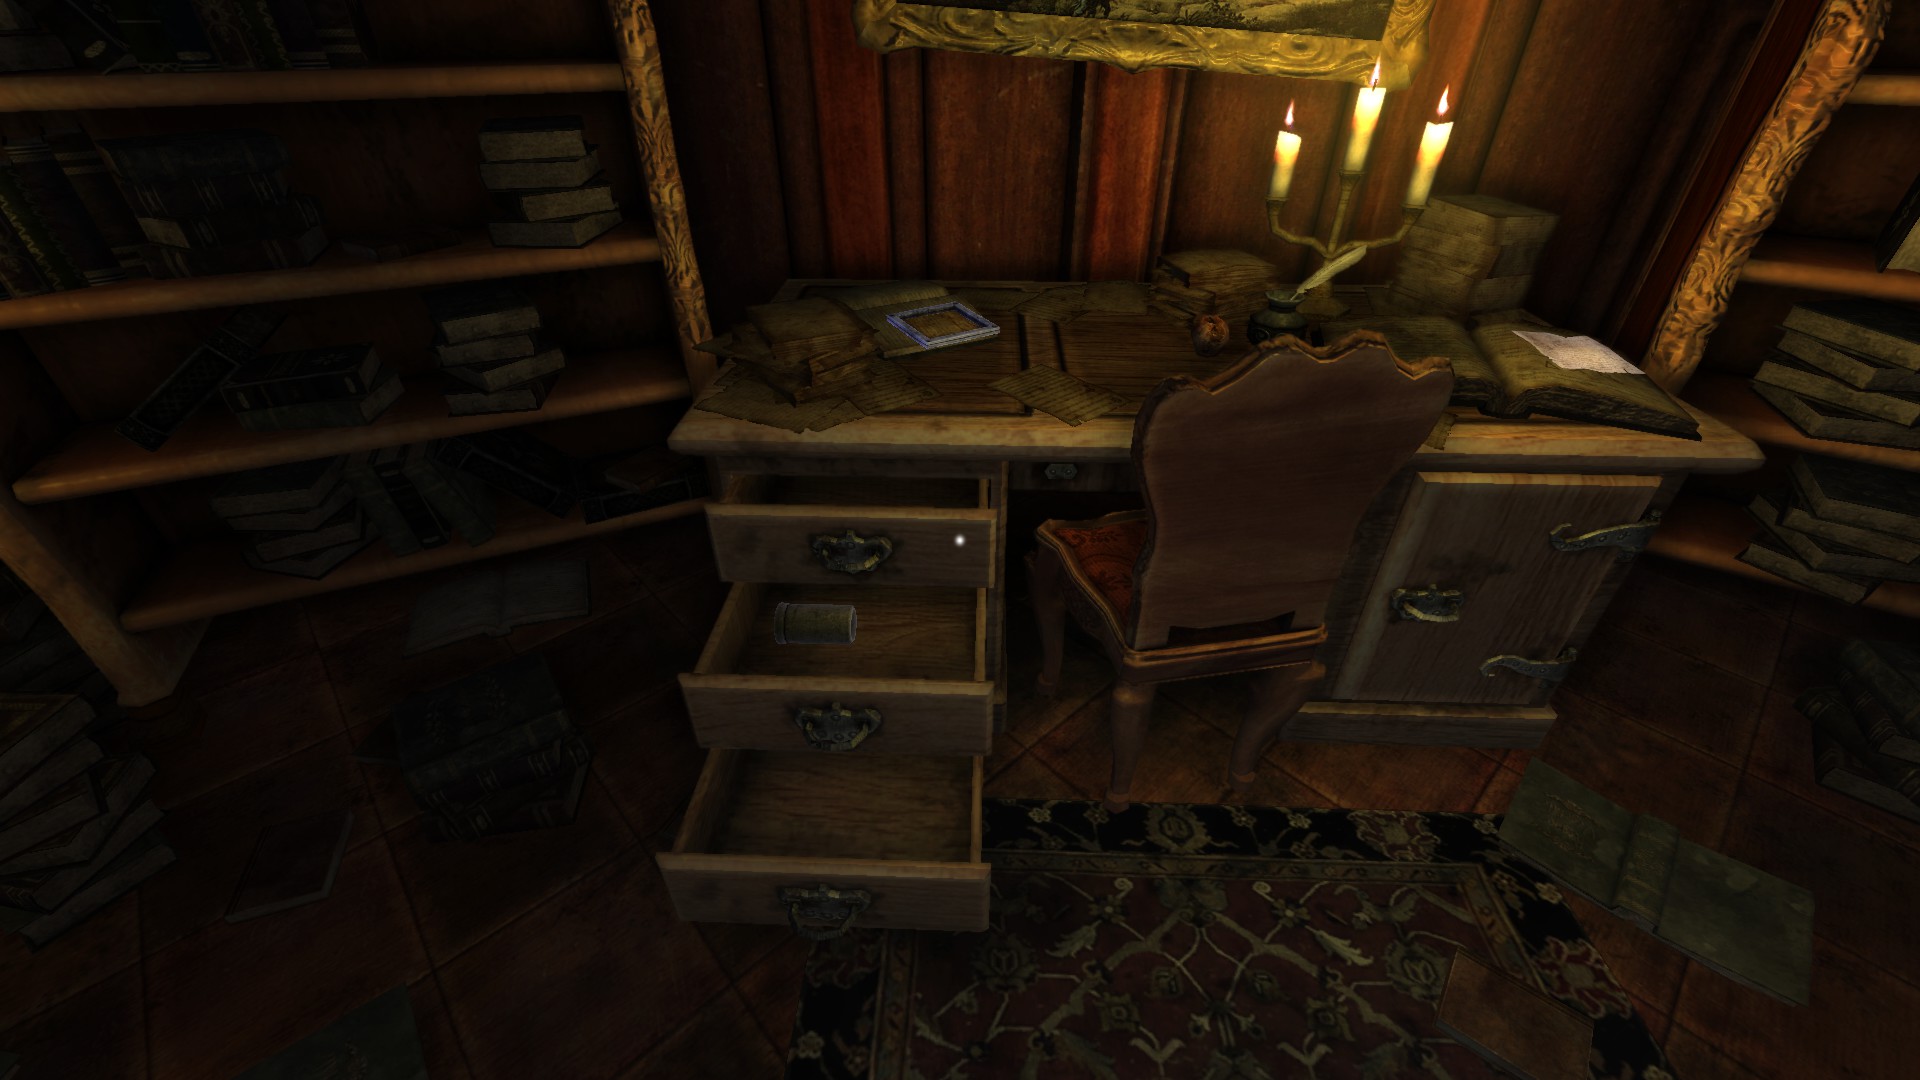
Note #25 - Herbert's Letter: At the right room.
Note #26 - Results: Same area.
Note #26 - Results: Same area.
Note #27 - Soul Journal Entries: On the room where the 2nd Suitor is.
Note #28 - Shipment Slip: Turn right on the projector room.
–––––––––––––––––––––––––––––––––––––––––––––––––––––––Still Alive
Became aware of the merits of A.S. Inc.'s Span-space Device in Amnesia: Justine.
¯¯¯¯¯¯¯¯¯¯¯¯¯¯¯¯¯¯¯¯¯¯¯¯¯¯¯¯¯¯¯¯
Achievement #13: Located on top of the bookshelf. This is an extra note.
2nd Hostage Suitor:
On the top right room.
On the top right room.
Kill:
Just pull the lever four times.
Just pull the lever four times.
Spare:
Put Slide 4 on top and Slide 3 on bottom.
Put Slide 4 on top and Slide 3 on bottom.
Either way in what you choose, move to where Slide 3 room is, the bookshelf is opened.
This next suitor can be bypassed in stealth or running past him. After doing that section go to the next level.
Next level.
Part 20: La vérité
1) Dungeon. Crypt
2) Notes: 30/30
3) Achievements: 18/18
-----------------------------------------------------------------------------------------------------
![Dungeon (1).png]](https://images.steamusercontent.com/ugc/2062132621122126711/1447E45C6F2D0E27A22FB86C5F1563604165A256/)
![Dungeon (2).png]](https://images.steamusercontent.com/ugc/2062132621122126716/8997C4826B547BE1020D5927981E5D17A9BDC1E4/)
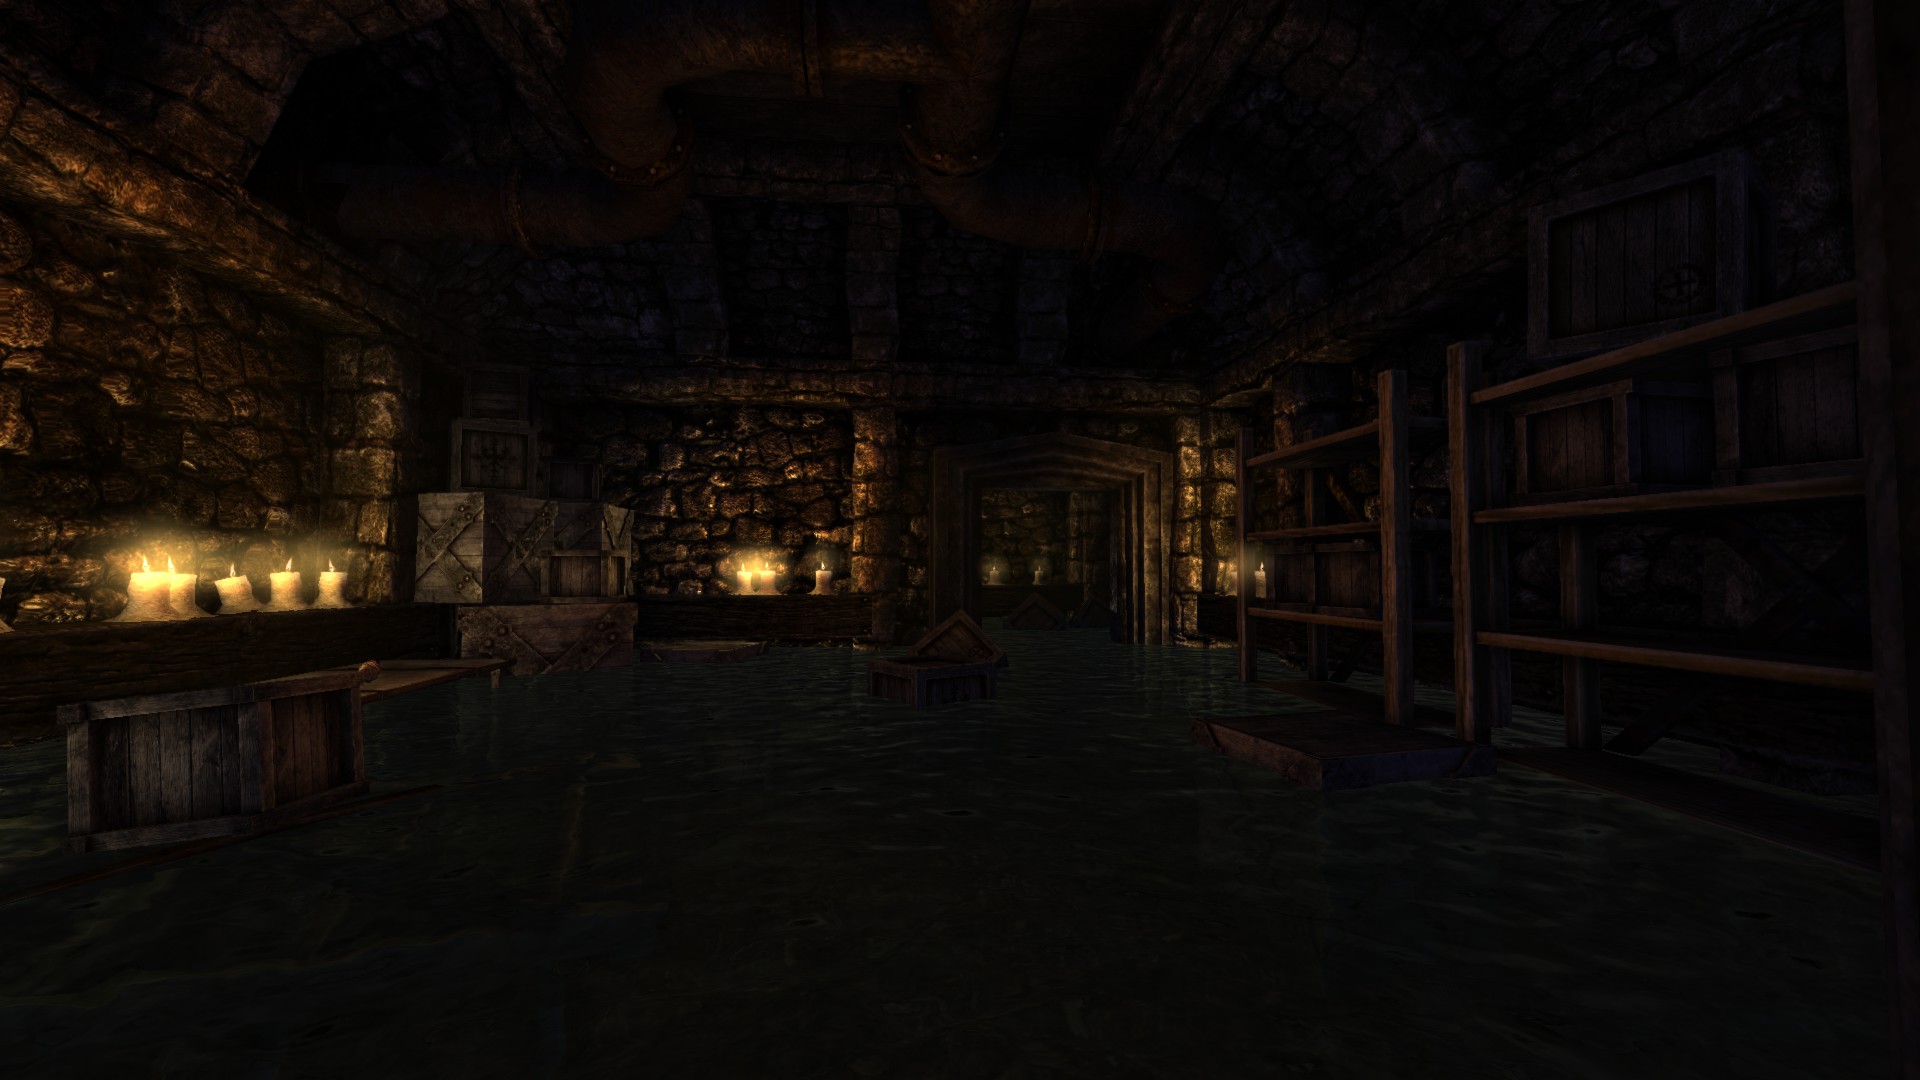
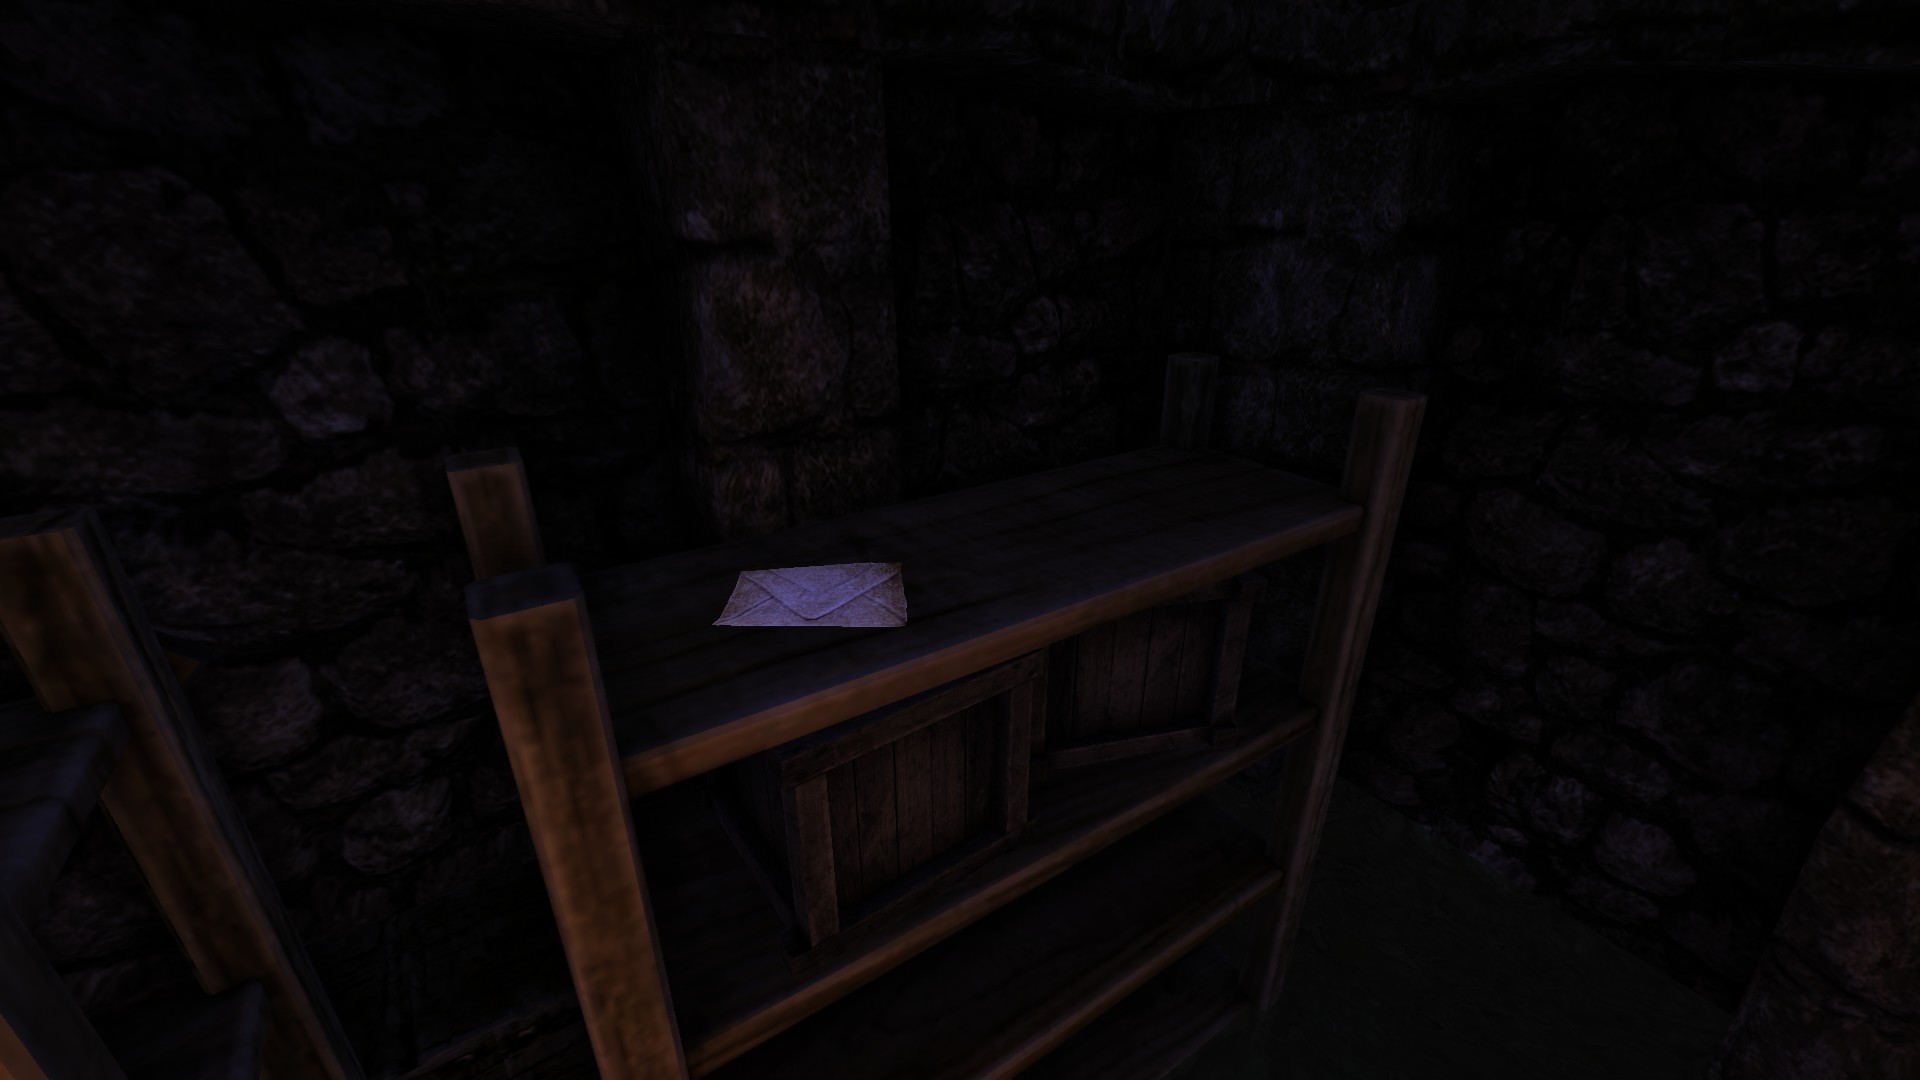
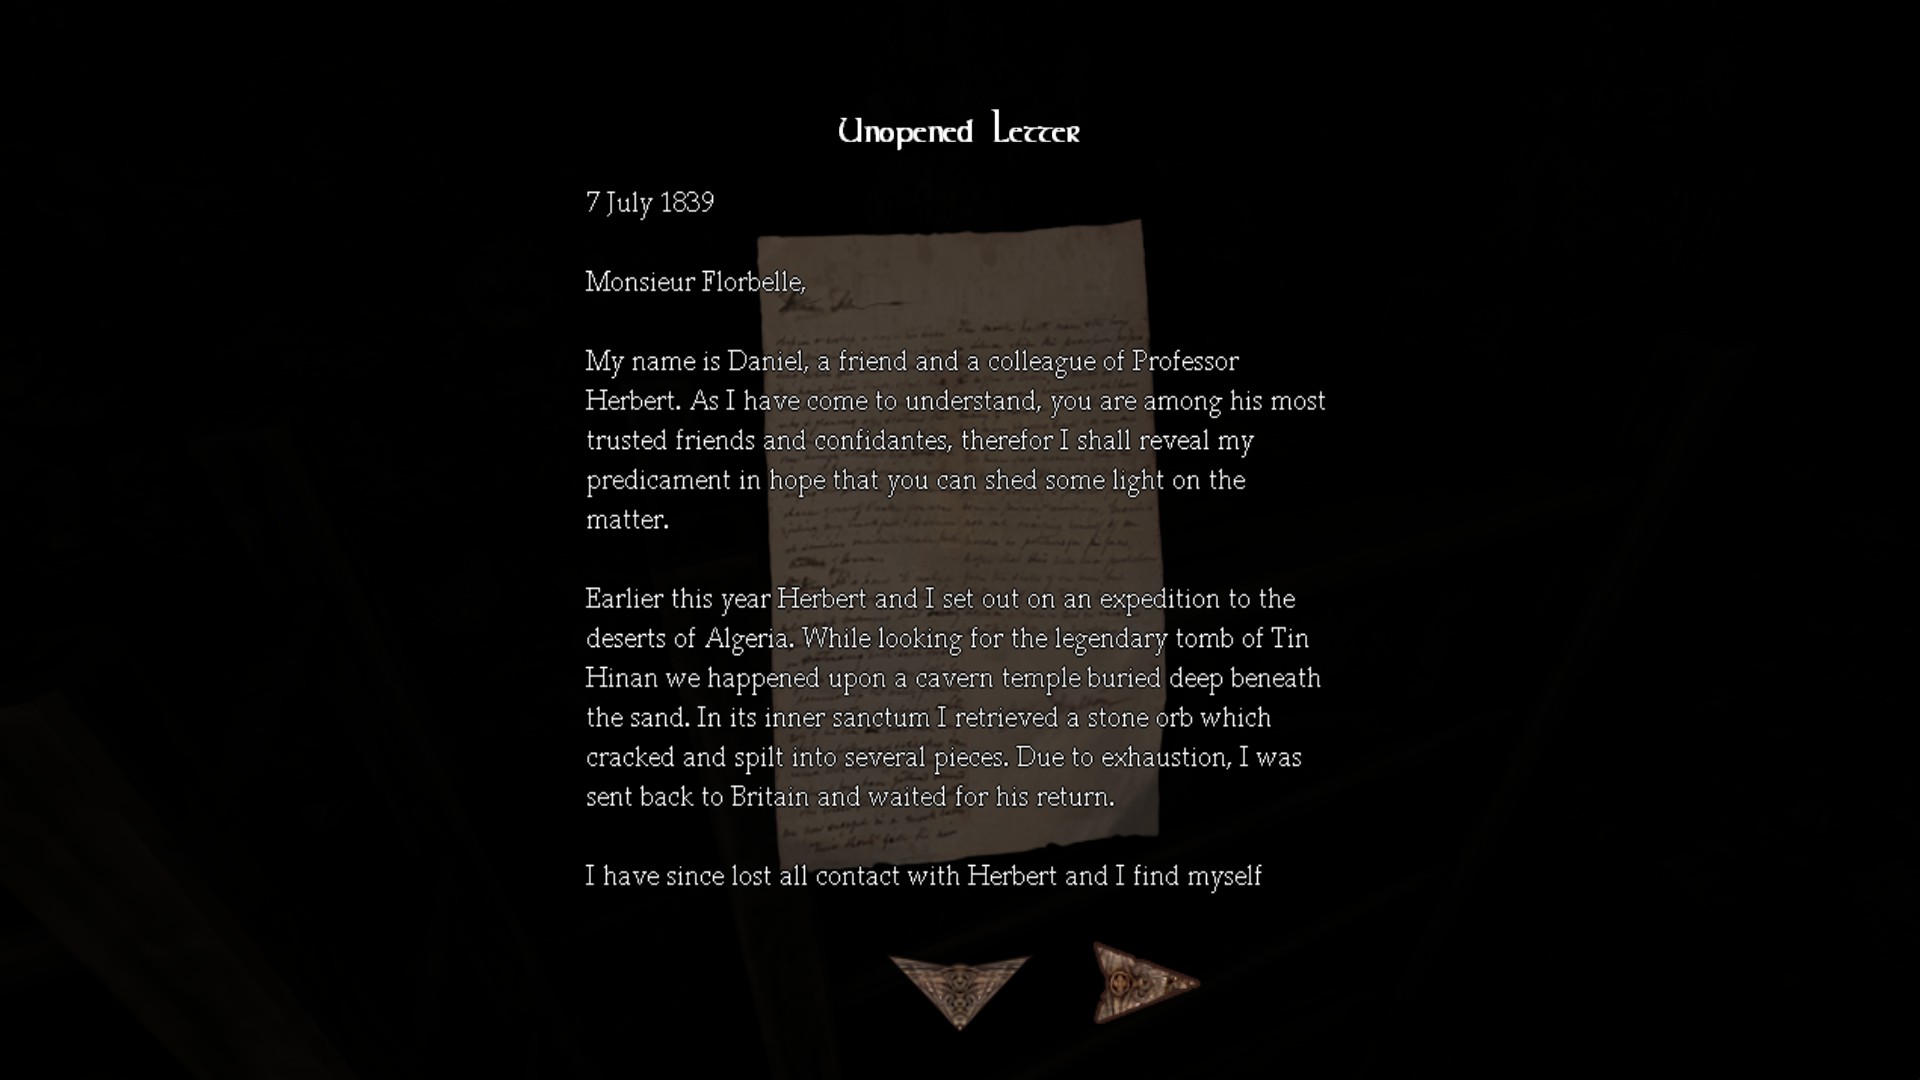
![Crypt (1).png]](https://images.steamusercontent.com/ugc/2062132621122126721/2FAE7E4178E0280EE612338009DDB9519A88F13E/)
![Crypt (2).png]](https://images.steamusercontent.com/ugc/2062132621122126730/9D2A6EA75A386C83AAC049BCF704CDCC00590D37/)
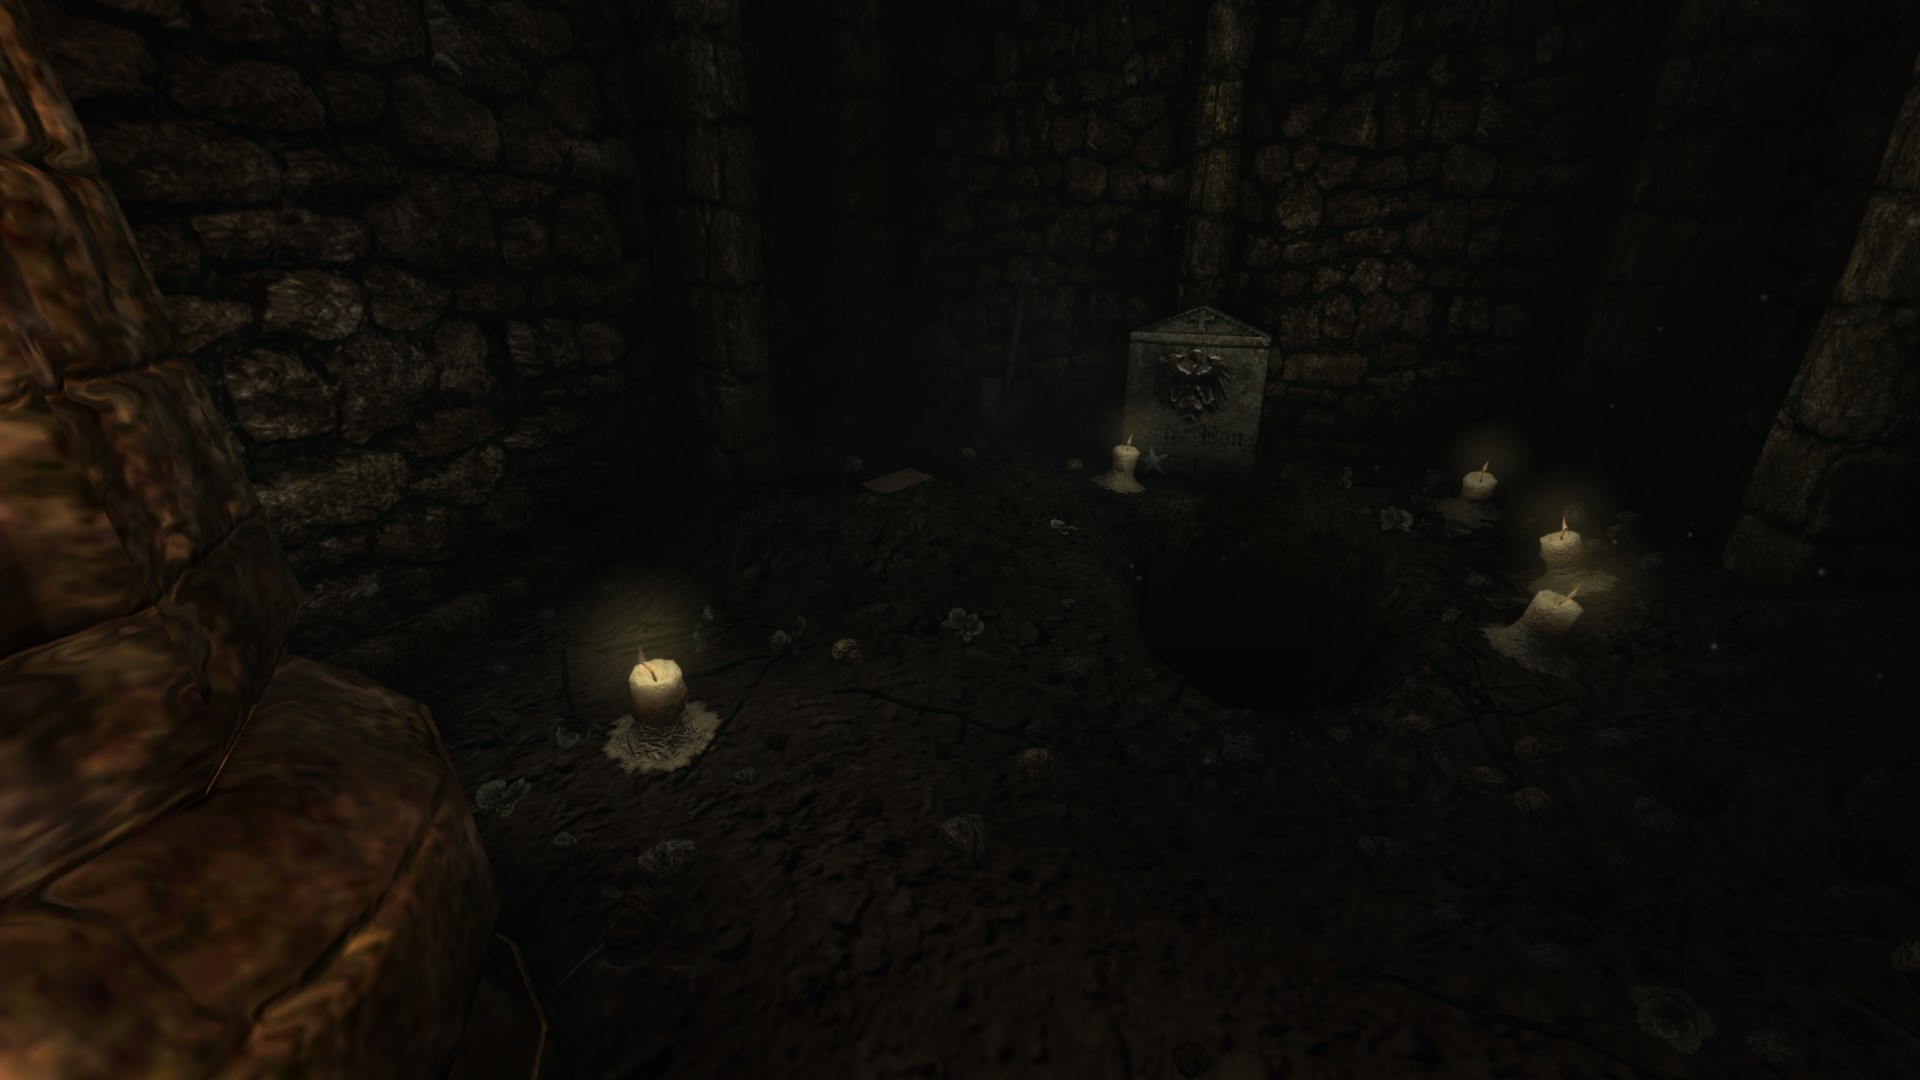
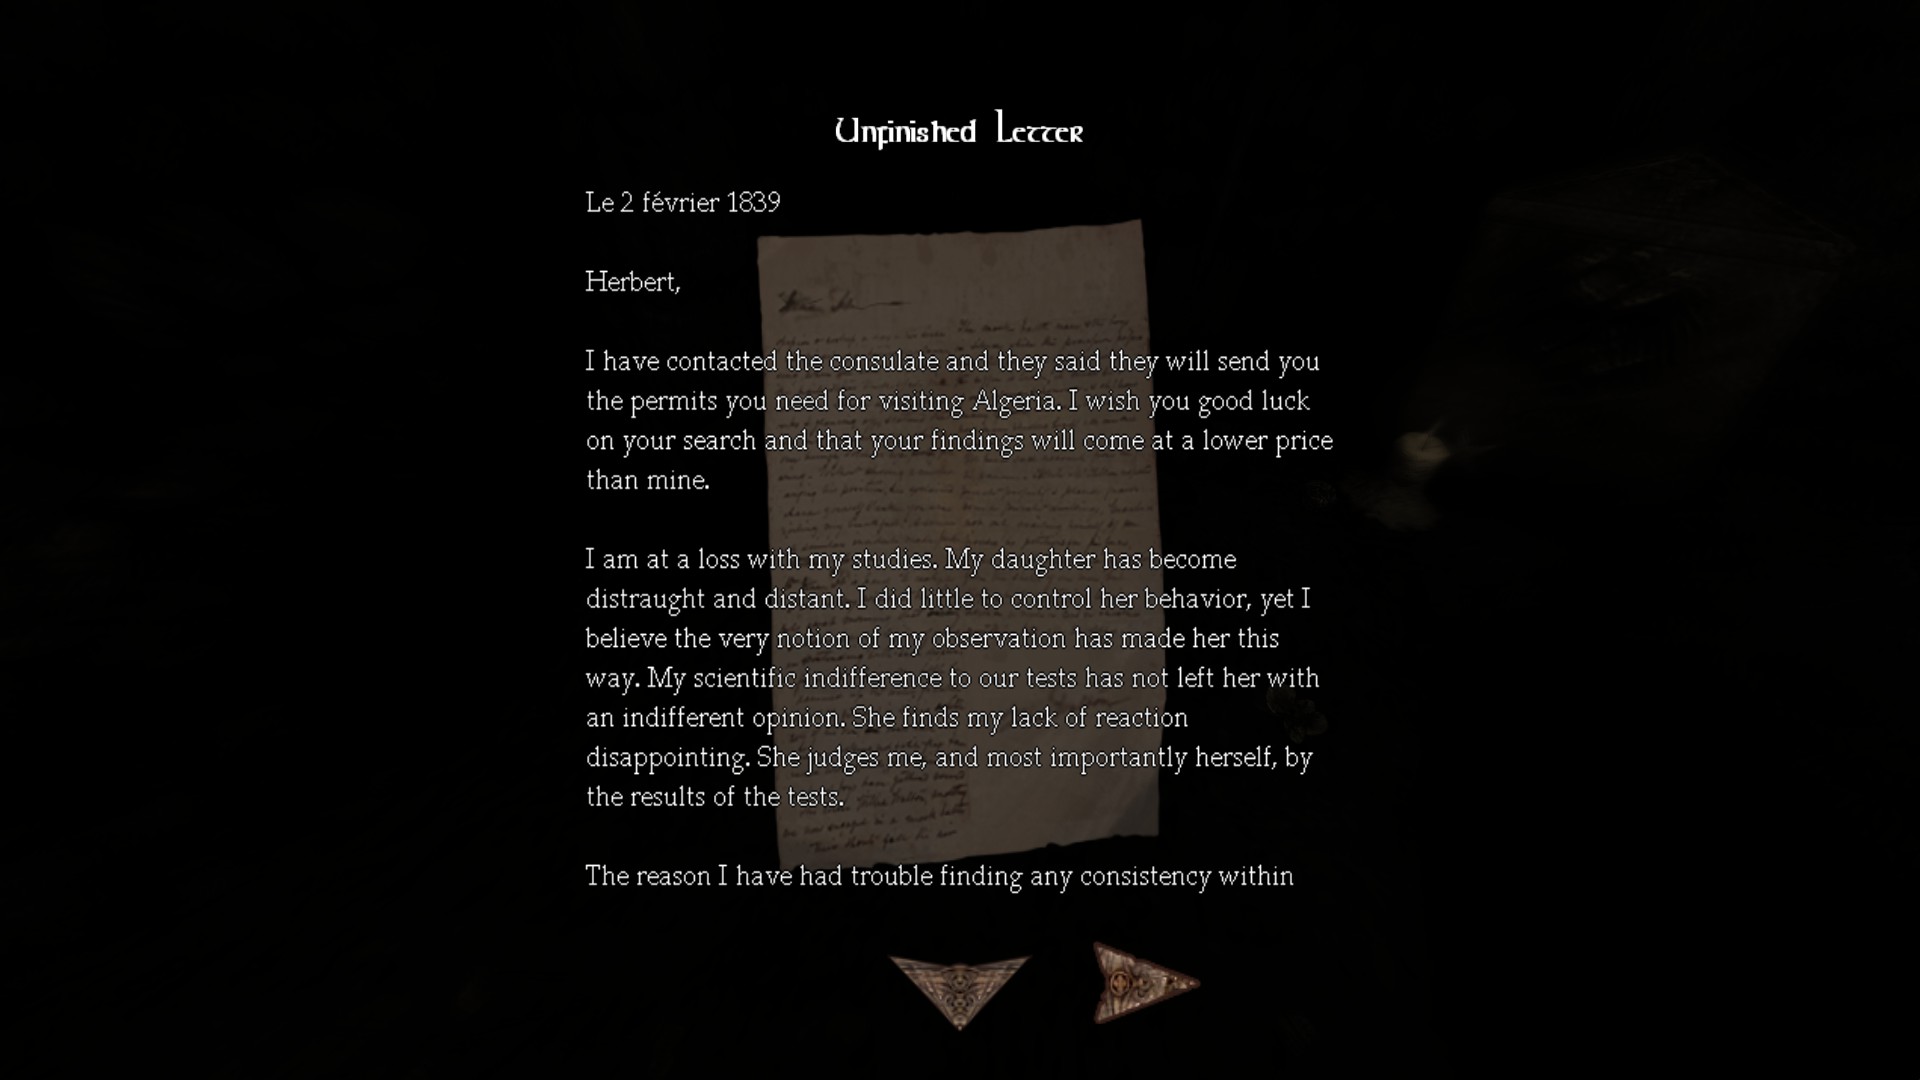
![Master Archivist.jpg]](https://images.steamusercontent.com/ugc/2065508931961899893/7D9C1BC7BD6E23ACA7F484B49A5CC278327B23A9/) –––––––––––––––––––––––––––––––––––––––––––––––––––––––
–––––––––––––––––––––––––––––––––––––––––––––––––––––––
Master Archivist
Read all notes in all games.
¯¯¯¯¯¯¯¯¯¯¯¯¯¯¯¯¯¯¯¯¯¯¯¯¯¯¯¯¯¯¯¯
Achievement #14: After collecting all 30 notes from Dark Descent and Justine, you should unlock the achievement.
Proceed until you get to the final room which of course you will see the achievement pop based on the choice you made against the Hostage Suitors. We must play the game 3 times.
![Egotist.jpg]](https://images.steamusercontent.com/ugc/2065508931961899910/423FEBCA9CBB7349FA6D0ADF253196677A9FEC35/) –––––––––––––––––––––––––––––––––––––––––––––––––––––––
–––––––––––––––––––––––––––––––––––––––––––––––––––––––
Egotist
Not a single victim survived in Amnesia: Justine.
¯¯¯¯¯¯¯¯¯¯¯¯¯¯¯¯¯¯¯¯¯¯¯¯¯¯¯¯¯¯¯¯
Achievement #15: Story Related. By following the short walkthrough I provided, you will get this achievement.
![Vacillator.jpg]](https://images.steamusercontent.com/ugc/2065508931961899920/571A02ABB493BB44D68384A0C6B7D868D919FE28/) –––––––––––––––––––––––––––––––––––––––––––––––––––––––
–––––––––––––––––––––––––––––––––––––––––––––––––––––––
Vacillator
Some victims died, some lived in Amnesia: Justine.
¯¯¯¯¯¯¯¯¯¯¯¯¯¯¯¯¯¯¯¯¯¯¯¯¯¯¯¯¯¯¯¯
Achievement #16: Story Related. Leave Victim #1 and #3 dead but #2 only alive. Alternatively, try leaving any two survivors alive either way.
![Altruist.jpg]](https://images.steamusercontent.com/ugc/2065508931961899930/0CEBF45FE0BDD57AD77CD0781AB755BDB7194475/) –––––––––––––––––––––––––––––––––––––––––––––––––––––––
–––––––––––––––––––––––––––––––––––––––––––––––––––––––
Altruist
Not a single victim died in Amnesia: Justine.
¯¯¯¯¯¯¯¯¯¯¯¯¯¯¯¯¯¯¯¯¯¯¯¯¯¯¯¯¯¯¯¯
Achievement #17: Story Related. It should be straight forward.
![Insanity.jpg]](https://images.steamusercontent.com/ugc/2065508931961899943/7F14A8A03F8B6D9BAE85167DB006CD126CCC5FAF/) –––––––––––––––––––––––––––––––––––––––––––––––––––––––
–––––––––––––––––––––––––––––––––––––––––––––––––––––––
Insanity
Achieved all other achievements.
¯¯¯¯¯¯¯¯¯¯¯¯¯¯¯¯¯¯¯¯¯¯¯¯¯¯¯¯¯¯¯¯
Achievement #18: Story Related. This is the last one, congrats in making this far and all 17 achievements you obtained will unlock this one.
2) Notes: 30/30
3) Achievements: 18/18
-----------------------------------------------------------------------------------------------------
Dungeon:
Third area.Location/Walkthrough text
Image
When entering, be sure to close the door behind you. This next final Suitor is going to chase you when you begin doing certain stuffs.
Note #29 - Unopened Letter: Go to the lever room, grab the box and move it away.
Grab the lever on the right to progress. Everything is straight forward but however you can follow this to kill one person later, then after fixing the metal door to use the lever on, head right to bring the cog to the machinery.
3rd Hostage Suitor:
When you enter the 3rd lit area where he will speak.
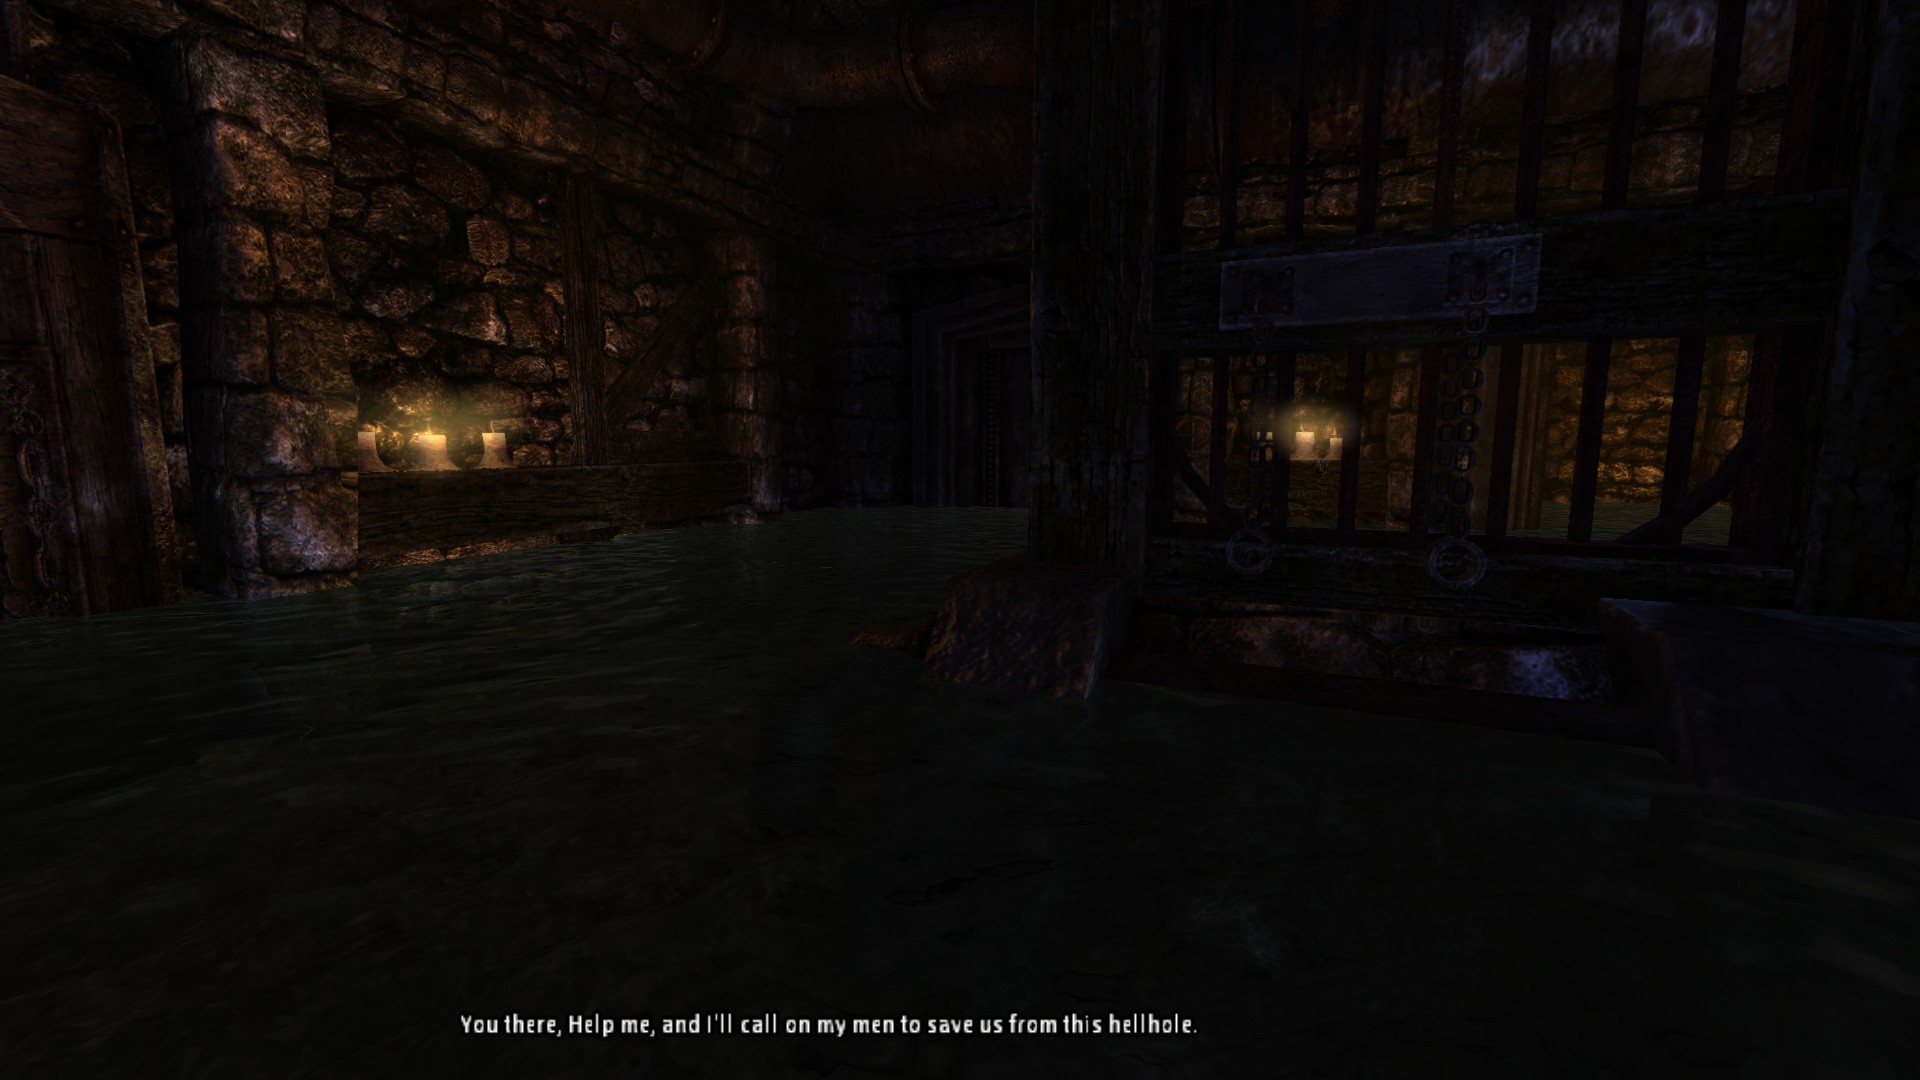
When you enter the 3rd lit area where he will speak.
Kill:
Immediately open the 3rd metal door and let the suitor kill him left opened. Do not forget to close the last metal door behind you.
Immediately open the 3rd metal door and let the suitor kill him left opened. Do not forget to close the last metal door behind you.
Spare:
Quickly go to right and turn the valve counterclockwise and then proceed to the front way.
Quickly go to right and turn the valve counterclockwise and then proceed to the front way.
You can now move on freely after spinning valve clockwise.
Crypt:
Fourth and final area.Location/Walkthrough text
Image
Note #30 - Unfinished Letter: By the left side on the tombstone.
–––––––––––––––––––––––––––––––––––––––––––––––––––––––Master Archivist
Read all notes in all games.
¯¯¯¯¯¯¯¯¯¯¯¯¯¯¯¯¯¯¯¯¯¯¯¯¯¯¯¯¯¯¯¯
Achievement #14: After collecting all 30 notes from Dark Descent and Justine, you should unlock the achievement.
Proceed until you get to the final room which of course you will see the achievement pop based on the choice you made against the Hostage Suitors. We must play the game 3 times.
–––––––––––––––––––––––––––––––––––––––––––––––––––––––Egotist
Not a single victim survived in Amnesia: Justine.
¯¯¯¯¯¯¯¯¯¯¯¯¯¯¯¯¯¯¯¯¯¯¯¯¯¯¯¯¯¯¯¯
Achievement #15: Story Related. By following the short walkthrough I provided, you will get this achievement.
–––––––––––––––––––––––––––––––––––––––––––––––––––––––Vacillator
Some victims died, some lived in Amnesia: Justine.
¯¯¯¯¯¯¯¯¯¯¯¯¯¯¯¯¯¯¯¯¯¯¯¯¯¯¯¯¯¯¯¯
Achievement #16: Story Related. Leave Victim #1 and #3 dead but #2 only alive. Alternatively, try leaving any two survivors alive either way.
–––––––––––––––––––––––––––––––––––––––––––––––––––––––Altruist
Not a single victim died in Amnesia: Justine.
¯¯¯¯¯¯¯¯¯¯¯¯¯¯¯¯¯¯¯¯¯¯¯¯¯¯¯¯¯¯¯¯
Achievement #17: Story Related. It should be straight forward.
–––––––––––––––––––––––––––––––––––––––––––––––––––––––Insanity
Achieved all other achievements.
¯¯¯¯¯¯¯¯¯¯¯¯¯¯¯¯¯¯¯¯¯¯¯¯¯¯¯¯¯¯¯¯
Achievement #18: Story Related. This is the last one, congrats in making this far and all 17 achievements you obtained will unlock this one.
Conclusion:
Finally, a game I long to play since the release but only watched a lot of them. At last this is finished and I got to say I am very impressed and invested into the story because this is my cup of tea. The game was not that hard to 100% it only requires your game knowledge to do so and the Expansion was very short which I am glad so I can get this done. On the other hand, I spend a stupid amount of time writing this guide while watching few videos to get them all but at least the guide is finished.
The reason why this game has been stuck on my mind for good reasons is the atmosphere that is disturbing and immersive not to mention the fear of the unknown yet other horror titles I played have some ways to keep you going but not almost as memorable. No other games will keep me on hold due to how they might had used some tropes that is prevalent yet this game has the feeling of dread and curiosity after all the 19th century style was my favourite of the bunch unlike other well-known classic/modern horror where I laugh at them (Wow! What a Mansion) unless it's the other niche types, it was the best decision although I still feel dreaded but better late than never! This was my cup of tea ever since and I never stop thinking about it although it has some flaws the story experience will never be replicated like this the Lovecraftian horror is too mysterious.
![Castle Brennenburg (1).png]](https://images.steamusercontent.com/ugc/2062132621122758048/B5A4FF2B2D2CDF127B62781E16C9F0B99AB5A254/)
100% finished, keep it up people and good luck :)
If you want to consider donating, I have the link here so you can send your money. Otherwise if not then that is fine, continue using this guide at your own benefit I won't ask too much.
https://www.buymeacoffee.com/Diviision
The reason why this game has been stuck on my mind for good reasons is the atmosphere that is disturbing and immersive not to mention the fear of the unknown yet other horror titles I played have some ways to keep you going but not almost as memorable. No other games will keep me on hold due to how they might had used some tropes that is prevalent yet this game has the feeling of dread and curiosity after all the 19th century style was my favourite of the bunch unlike other well-known classic/modern horror where I laugh at them (Wow! What a Mansion) unless it's the other niche types, it was the best decision although I still feel dreaded but better late than never! This was my cup of tea ever since and I never stop thinking about it although it has some flaws the story experience will never be replicated like this the Lovecraftian horror is too mysterious.
100% finished, keep it up people and good luck :)
If you want to consider donating, I have the link here so you can send your money. Otherwise if not then that is fine, continue using this guide at your own benefit I won't ask too much.
https://www.buymeacoffee.com/Diviision
Other guides:
https://steamcommunity.com/sharedfiles/filedetails/?id=2957870846
🏆
Beat Amnesia: The Dark Descent's 100% run?
Flex it — let your friends know you pulled it off.
More Amnesia: The Dark Descent guides
- Idiotic Monsters and You: A Guide for Outwitting the Grunts and Brutes★ 5 (586)24k views504 ♥18 minUpdated Nov 16, 2017
- Insanity Incarnate: 100% Achievement Guide (Does Not Include Masochist Achievement)★ 5 (1k)23k views1k ♥14 minUpdated Mar 29, 2020
- A Simple guide to Amnesia★ 5 (361)23k views365 ♥7 minUpdated Mar 25, 2013
- Достижения Amnesia: The Dark Descent★ 5 (811)19k views867 ♥3 minRussianUpdated Oct 12, 2018
- Dark Descent + Justine: Collectibles locations maps★ 5 (832)16k views1k ♥1 minBulgarianUpdated Dec 29, 2016
- [RU] 100% ДОСТИЖЕНИЙ (+ Прохождение и карты локаций) | DLC Amnesia: Justine★ 5 (462)14k views470 ♥6 minUpdated Mar 3





This guide was created by its original author on the Steam Community. Are you the author and want it removed? Request removal.