
Overview
A simple guide to 100% RE4
Important For El Gigante and Chief Fight

It Begins With a Ring

Fight for your life, hide behind a door or face off against Dr. Salvador, the choice is yours.
The achievement will be yours after the village fight.

Do Not Shoot the Water!

Funny way to scare your friend. Before you get on the boat, walk to the edge and shoot the water. Boom, easy achievement

A Rock and a Hard Place

If you collected all the grenades in the first section, follow the instructions in the following video for an easy battle. Tested on Professional mode
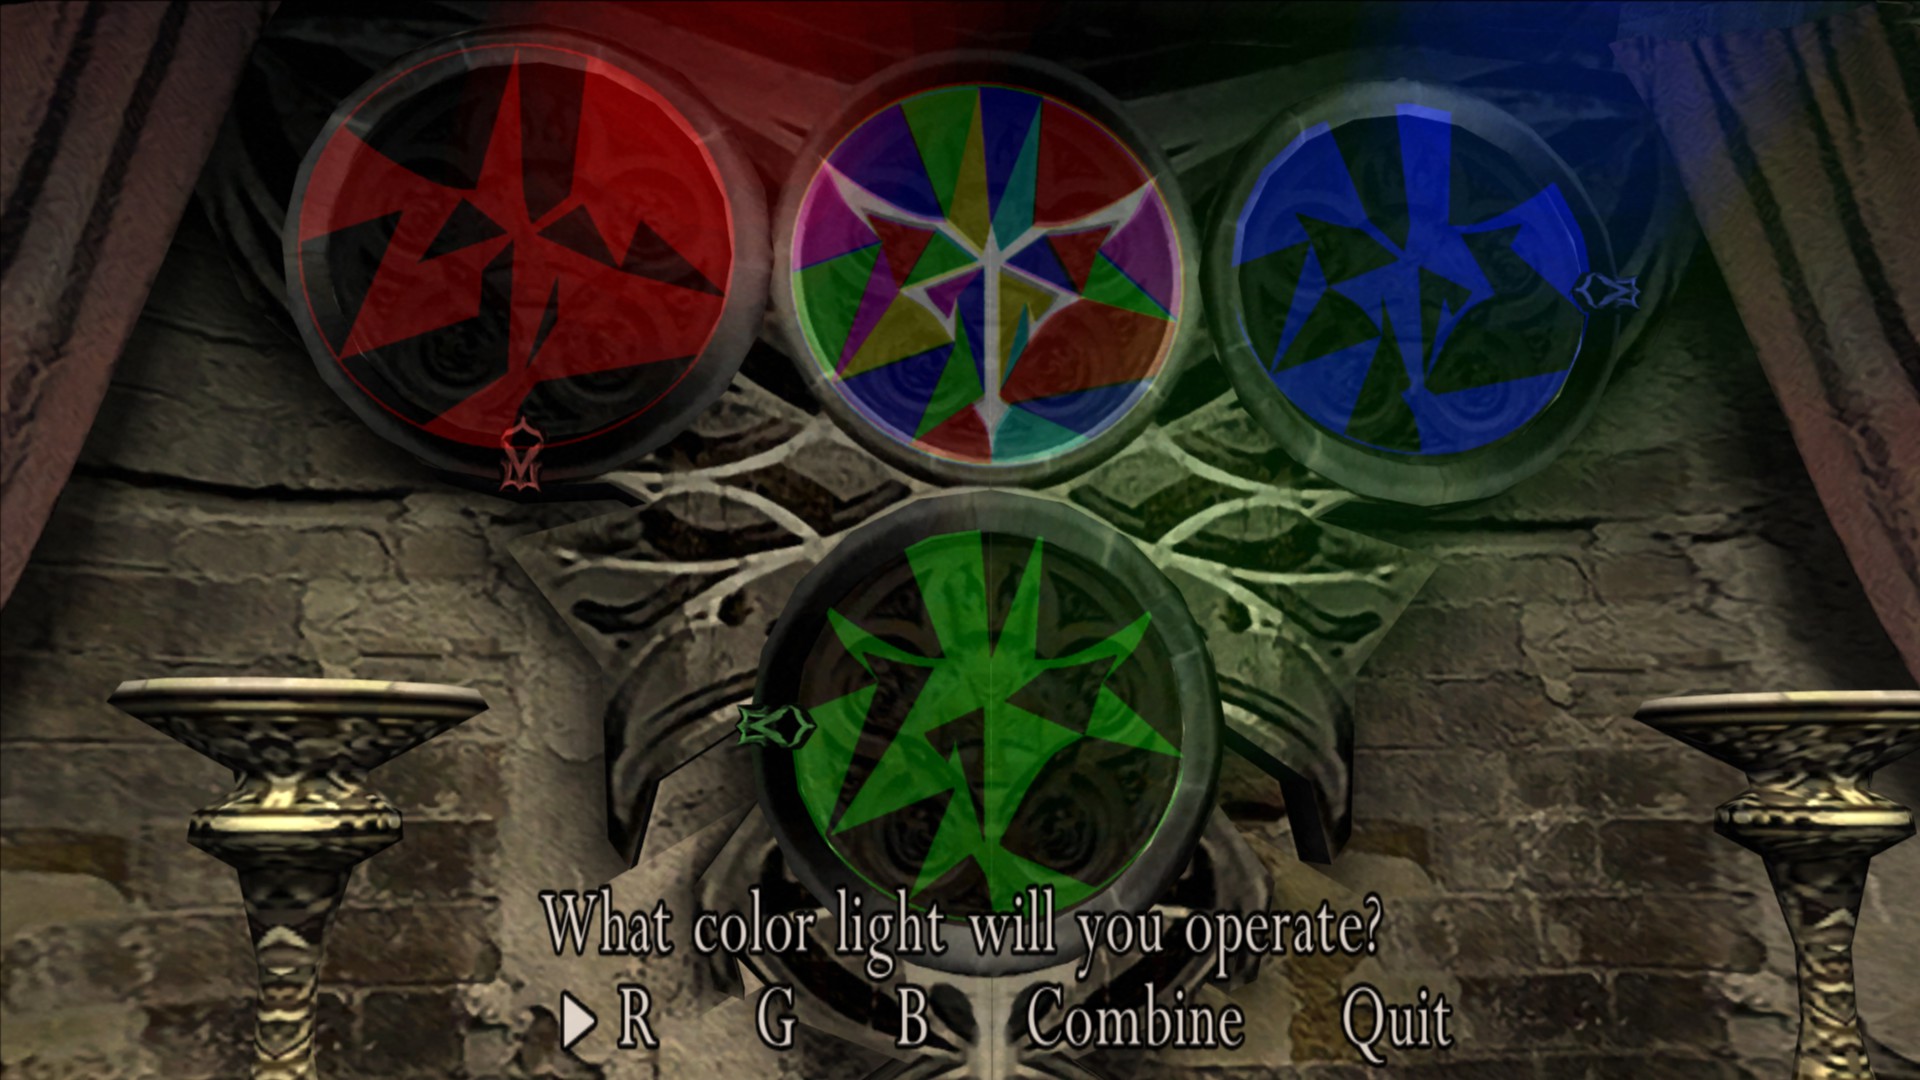
Secure the Ballistics

Ashley is trapped in a room, you gotta solve a puzzle to set her free.
A Bloodline Severed
If you collected all the grenades in the first section, follow the instructions in the following video for an easy battle. Tested on Professional mode
A Terrifying Assassin

The easiest way to defeat Verdugo is to buy a rocket launcher from the merchant, knock over a tank to freeze him and fire away.

The Castellan Falls

A pretty easy boss. Buy a rocket launcher before fighting him. Shoot his exposed eye until he reveals himself and fire away. I’m noticing a pattern here

The Ties That Bind

This fight can be a little tricky, a pure bullet sponge that dodges your shots at any given moment.
But there’s one weapon that can give him a run for his money, The Knife! Speedrunners have made Krauser a complete joke

We’re Going Home

GO FOR THE EYES, GO FOR THE EYES, GO FOR THE EYES
You already know what weapon you’re gonna use to bring him down 😉

What Are They Worth?

Look out for Blue Icons on your map titled “Sub Mission” They’re locations for the shooting ranges where you can earn bottlecaps as well as a gold reward for completing a row. There are a total of 4 rows you can complete.
Locations are during chapters:
3-1 Before Ashley gets trapped at the end of Ch. 3-1.


The S Stands for Stylish!!

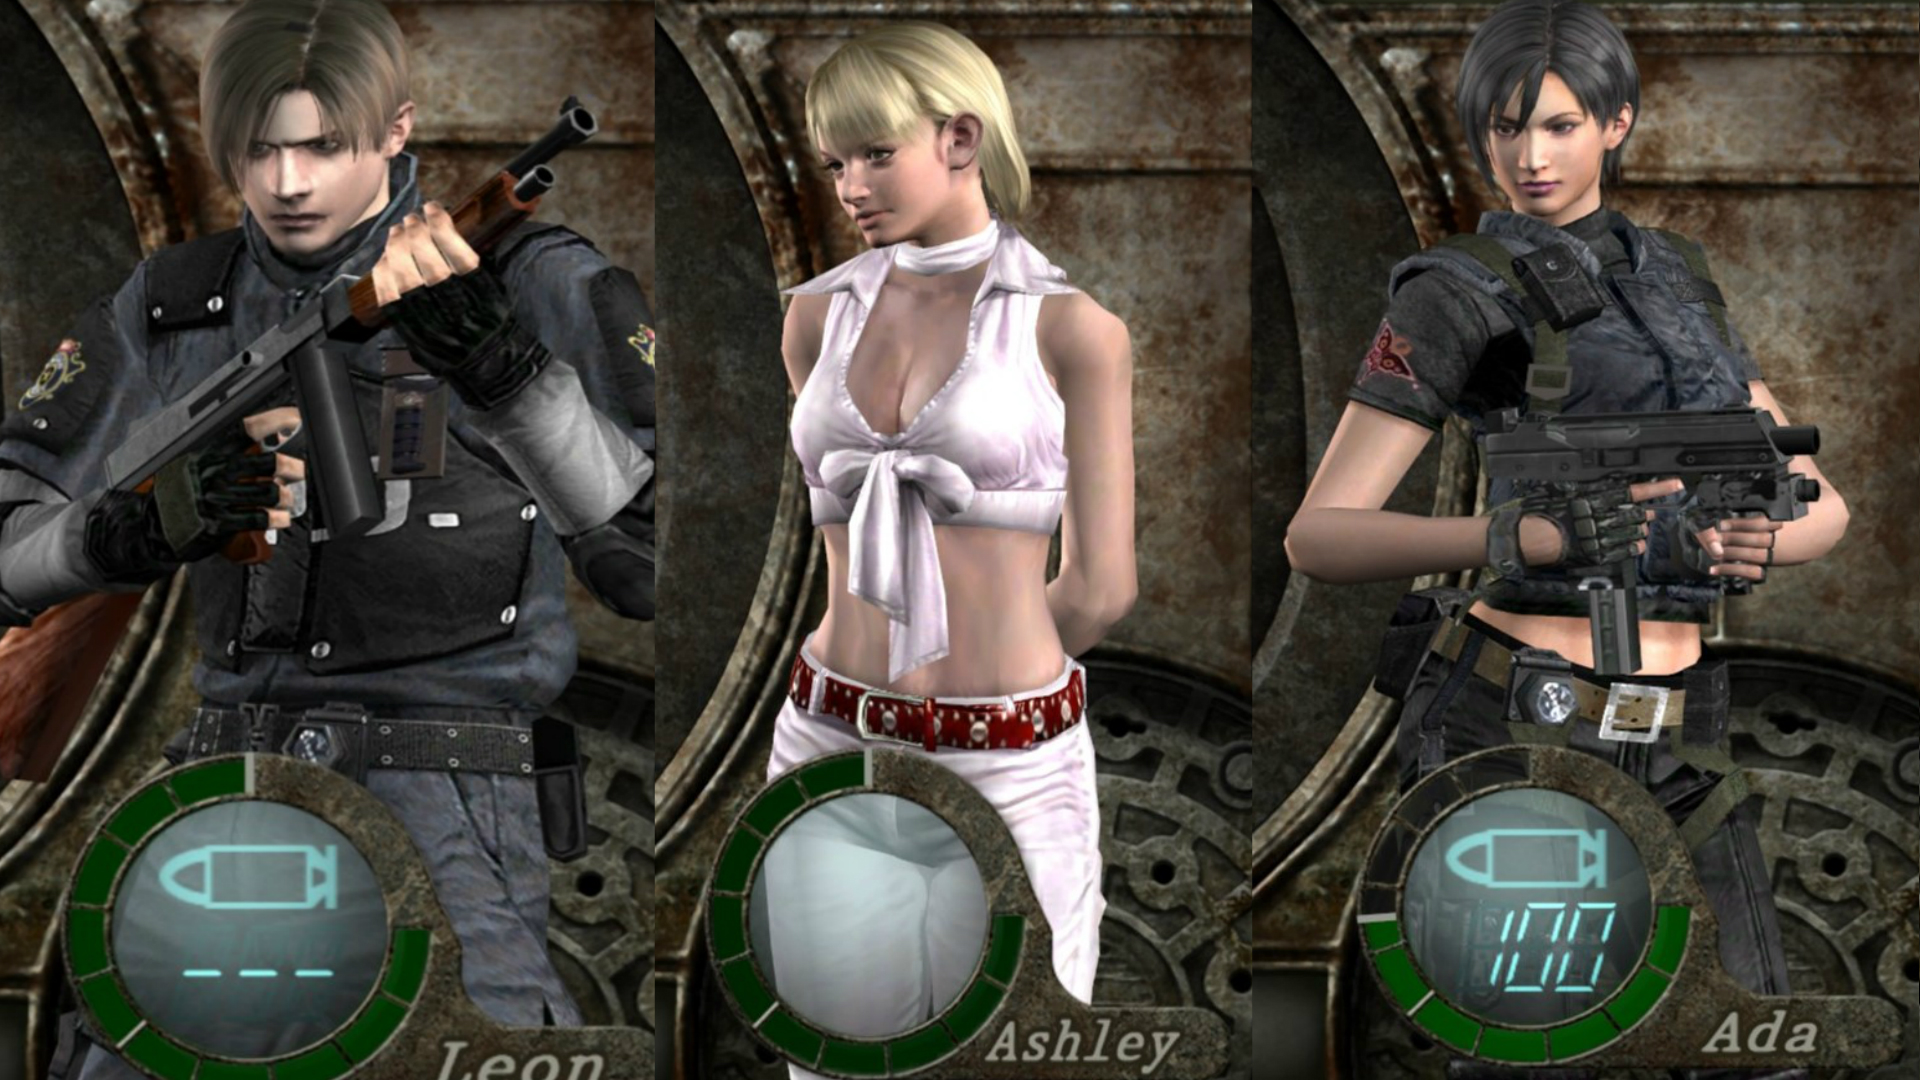
NORMAL
The base costume for your first playthrough
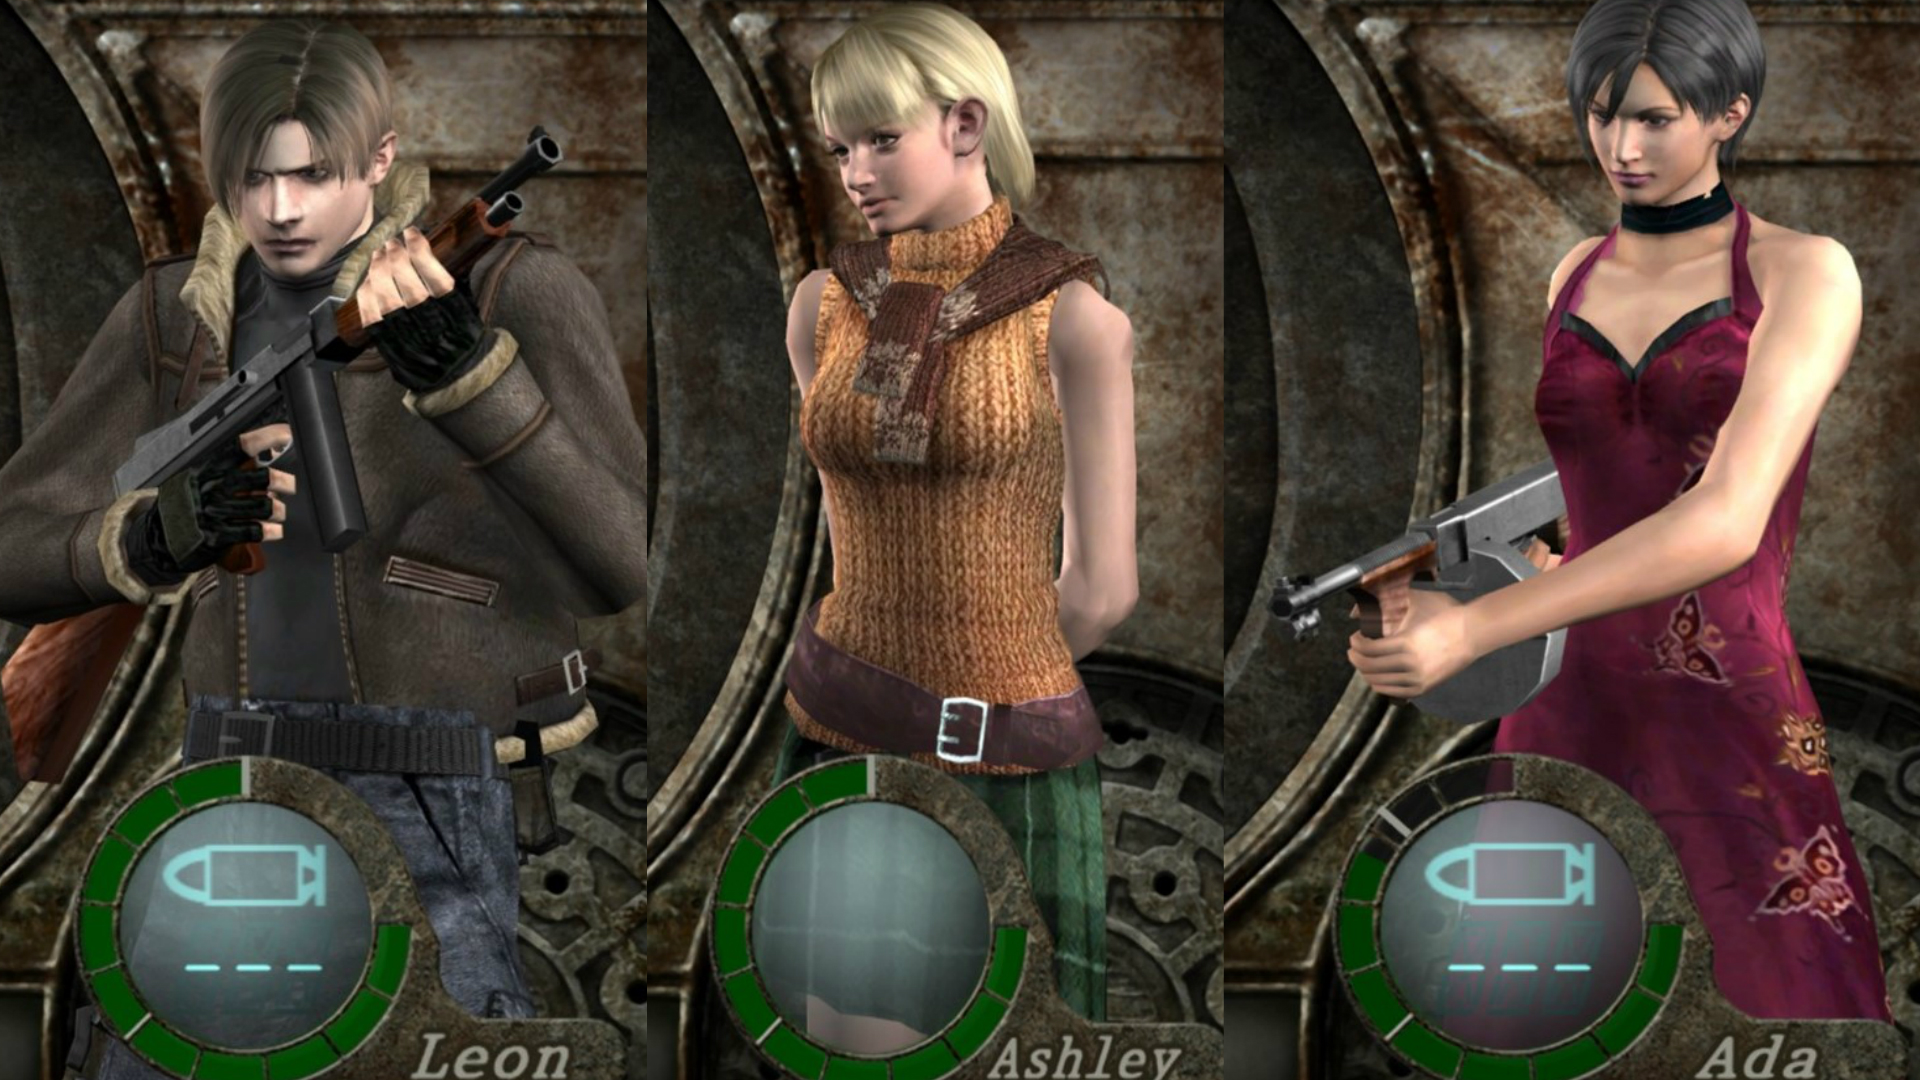
SPECIAL 1
You unlock the RPD outfit when beating the game for the first time. Ashley also gets a different outfit as well as Ada that appear during cutscenes.
(note. you can’t change Ada’s costume during ‘Separate Ways’, just using it as reference for Leons campaign)
You unlock the Mafia outfit when beating Ada’s Campaign “Separate Ways”. Ashley also gets an indestructible suit of armor. She cannot be harmed and when enemies try to carry her, they’ll fall over. These costumes won’t appear during cutscenes though.

A Heart of Steel

Here we go again. Beating the game on Professional will grant you an achievement as well as the P.R.L 4.12, one of the most overpowered weapons in the game. The grenade tricks for El Gigante and the Big Cheese work on Professional so you can use that to your advantage.

Editor’s Note
Thanks for checking the guide out. This was my first guide, not really toooo sure how it compares to normal ones but whatevs ¯_(ツ)_/¯
Make sure to rate up so other people can see this guide as well.