100% Achievements/Challenges Guide + Environment Logs
Commando

The Commando is the starting survivor, and is frankly not the strongest. He will definitely help you get the job done though, and is enough to learn the mechanics of the game.

Commando: Rolling Thunder
As Commando, land the killing blow on an Overloading Worm.
As Commando, land the killing blow on an Overloading Worm.
- The Overloading Worm can spawn as a teleporter boss only on Sky Meadow, or after looping the game. It is never guaranteed to spawn by anything, but after a few loops it can even appear from combat shrines
- It requires the difficulty meter to be fairly high for it to spawn, so just go for a god build and loop as much as possible.
- This is totally doable on Drizzle if you're having trouble with the other difficulties.

Commando: Godspeed
As Commando, fully charge the first-stage teleporter before the timer hits 5 minutes.
As Commando, fully charge the first-stage teleporter before the timer hits 5 minutes.
- This is a very easy challenge, but don't rush too much, wait to be at least level 2/3 and ideally to have a damage item (especially ATG or Kjaro's)

Commando: Incorruptible
As Commando, clear 20 stages in a single run without picking up any Lunar items.
As Commando, clear 20 stages in a single run without picking up any Lunar items.
- Very straightforward, just go through 20 stages (hidden realms excluded), without taking items from lunar pods or the Bazaar
- Drizzle, activate Artifact of Command and go for a God Build
- Loop the game by switching the teleporter on Sky Meadow, or going through a portal there
- You can still enter and use the Bazaar (but not purchase Lunar Items)
- You can still earn or spend lunar coins, as long as you don't pick a Lunar Item

Commando: Mastery
As Commando, beat the game or obliterate on Monsoon.
As Commando, beat the game or obliterate on Monsoon.
- Beating the boss might be easier, since Commando is bad with swarms, but has acceptable single target damage
- Activate Artifact of Command and go for a God Build, attempt after at least 1 loop
Huntress
Very balanced and strong survivor, with good single target damage, crowd control and mobility. Very frail so don't get hit.
 What you need to do:
 What you need to do:

 What you need to do:
 What you need to do:
 This is a fairly hard challenge, but you can:
 Easiest way to do it:
Warrior
Reach and complete the 3rd Teleporter event without dying.
Reach and complete the 3rd Teleporter event without dying.
- Very easy once you know the game, try Drizzle if it's too hard
Huntress: Finishing Touch
As Huntress, land a killing blow with every possible hit of a single glaive.
As Huntress, land a killing blow with every possible hit of a single glaive.
- One-shot or finish 7 enemies in 1 throw
- Lesser wisps are the easiest target, as they die easily
- Artifact of Swarm and/or Artifact of Glass might help
Huntress: One Shot, One Kill
As Huntress, collect and carry 12 Crowbars at once.
As Huntress, collect and carry 12 Crowbars at once.
What you need to do:- Find a Crowbar Printer, or
- Use the Artifact of Command (by activating it or through prismatic trials)
Huntress: Piercing Wind:
As Huntress, start and finish either Rallypoint Delta or Scorched Acres without falling below 100% health.
As Huntress, start and finish either Rallypoint Delta or Scorched Acres without falling below 100% health.
- Take absolutely no damage on either one of thoses stages (past the barrier if you have topaz brooches)
This is a fairly hard challenge, but you can:- Loop until you have a very strong build, that allows you to easily clear the map
- Use Ceremonial daggers + many damage items to instanly kill any enemy spawning (Artifact of Command recommended)
- Clear the stage asap
- Be very patient
Huntress: Mastery
As Huntress, beat the game or obliterate on Monsoon.
As Huntress, beat the game or obliterate on Monsoon.
- The huntress is a very strong survivor, up to you to know whether to loop or kill the boss
- Activate Artifact of Command and go for a God Build
- Activate Artifact of Swarms if you want to make the boss fight -much- easier
MUL-T
A very sturdy hunk of metal, good for learning the first stages of the game, but scales poorly over time.
 You will probably get this very easily, but if you want it really fast play on Drizzle and suicide after killing the boss, or reaching the 2nd stage. Then start over until you unlock it
 What you need to do:
 What you need to do:
 Easiest way to do it:
Verified
Complete the first Teleporter event 5 times.
Complete the first Teleporter event 5 times.
MUL-T: Pest Control
As MUL-T, defeat two Beetle Queens without leaving the teleporter zone.
As MUL-T, defeat two Beetle Queens without leaving the teleporter zone.
- Use a Mountain Shrine to invite the challenge of the mountain, or use Artifact of Swarms. The Beetle Queen can spawn on the 1st or 2nd stage as the teleporter boss.
MUL-T: Gotcha!
As MUL-T, land the killing blow on an Imp Overlord with the Preon Accumulator.
As MUL-T, land the killing blow on an Imp Overlord with the Preon Accumulator.
- Use the Preon Accumulator by opening the timed chest before 10 minutes on Rallypoint Delta (see [REDACTED]) or by taking it using the Artifact of Command
MUL-T: Mastery
As MUL-T, beat the game or obliterate on Monsoon.
As MUL-T, beat the game or obliterate on Monsoon.
- Obliterating is generally easier and faster, as it's generally a bad idea to fight the boss on stage 6 on Moonsoon, especially given MUL-T's general performance
- MUL-T is a generally bad survivor, you will need a seriously good build to loop on Moonsoon, so the Artifact of Command is strongly recommended to make a strong build (see Artifact of Command)
- Don't try to melee, in most situations it's a bad idea as your damage output doesn't justify the damage you will be taking
- The rebar puncher is not very good, as it scales very badly over time, so use the Nails and maybe the Scrap Launcher
Engineer
A completely different playstyle from all the other survivors. Very good against bosses and multiplayer, can help for many Challenges
 This will come naturally as you play the game without too much trouble, but if you want it really bad just play the 1st stage over and over while trying to clean it asap.
 What you need to do:
 This is definitely one of the most annoying achievements, as it's almost entirely luck and involves very little skill
Easiest way to do it:
 Easiest way to do it:
 Easiest way to do it:
Engineering Perfection
Complete 30 stages.
Complete 30 stages.
Engineer: 100% Calculated
As Engineer, defeat the teleporter boss in less than 5 seconds after it spawns.
As Engineer, defeat the teleporter boss in less than 5 seconds after it spawns.
- Essentially insta-kill the boss
- After looping you will probably be able to do it without much trouble
- Artifact of Glass will make it much easier, if you've unlocked it or if it's available during a Prismatic Trial
- You can also use strong damage equipments like the Preon Accumulator, Royal Capacitor or Sawmerang
Engineer: Zero Sum
As Engineer, finish charging the teleporter with zero monsters remaining on the stage.
As Engineer, finish charging the teleporter with zero monsters remaining on the stage.
Easiest way to do it:
- Use Ceremonial Daggers + Damage to insta-kill weak monsters (Artifact of Command recommended)
- Leave just a few weak ennemies (or the boss) before the teleporter ends fully, to prevent more from spawning, then when you reach 99% clear the rest of them and quickly finish the teleporter event
Engineer: Better With Friends
As Engineer, recruit 12 minions at one time.
As Engineer, recruit 12 minions at one time.
- Take the Happiest Mask
- Buy and protect every Drone and Turret you see
- Take one or more Queen's Gland


Engineer: Mastery
As Engineer, beat the game or obliterate on Monsoon.
As Engineer, beat the game or obliterate on Monsoon.
- Beating the boss with the engineer is much easier than looping
- User Spider Mines and Thermal Harpoons for maximal damage output
- If you're having bad luck with items, use the Artifact of Command and stack Bustling Fungi (+N'kuhana's Opinion) and Damage Items (see "The Calm")
Artificer
Hugh AoE damage, bad mobility. Still a strong survivor for sure
 What you need to do:
 Easiest way to do it:
 What you need to do:
 What you need to do:


 Easiest way to do it:
Pause
Free the survivor suspended in time.
Free the survivor suspended in time.
- Buy the Artificer for 10 lunar coins in the Hidden Realm: Bazaar (Reached by spending 1 lunar coin on a newt altar and going through the blue portal)
Artificer: Massacre
As Artificer, perform a multikill of 20 enemies.
As Artificer, perform a multikill of 20 enemies.
- Have the strongest possible Plasma Ball + Primordial Cube (to suck them into the black hole), as you need to kill all those ennemies simultaneously
- Artifact of Kin, Artifact of Swarms, Defiant Gouge and Combat Shrines will all make
getting a large amount of small ennemies easier
- The strongest combo to do this reliably is Crowbar + Will-o-Wisps, but it requires very many of them and thus looping quite a bit
- Have a couple ukuleles
Artificer: Chunked!
As Artificer, fully defeat the teleporter boss in a one-second burst of damage.
As Artificer, fully defeat the teleporter boss in a one-second burst of damage.
- Insta-kill a teleporter boss
- Artifact of Glass + several Crowbars + Crit Glasses for a lucky crit
- Looping the game until you have enough damage to one-shot bosses (keep in mind it has to be really fast, so ATG or Ukulele for instance are useless)
- You can also use strong damage equipments like the Royal Capacitor or Sawmerang (don't use the Preon Accumulator or Missile Launcher)
Artificer: Orbital Bombardment
As Artificer, kill 15 enemies before touching the ground.
As Artificer, kill 15 enemies before touching the ground.
- Stay in the air while you kill 15 enemies
- Several Hopoo Feathers, maybe a H3AD-5T v2
- As for "Massacre", Artifact of Swarms, Defiant Gouge and Combat Shrines will all make getting a large amount of ennemies easier
Artificer: Mastery
As Artificer, beat the game or obliterate on Monsoon.
As Artificer, beat the game or obliterate on Monsoon.
- Obliterating is probably easier and faster, since the Artificer is very good with swarms, but she's definitely strong enough to take on the boss if you feel like it.
- Against the boss, you can use Ion Surge to safely stay in the air
- If you decide to go against the boss, fast movement will be mandatory for the end
REX
Probably the hardest survivor to unlock and master, but well worth it !
 What you need to do:
Easiest way to do it:
 Easiest way to do it:
 What you need to do:
 Easiest way to do it:
Power Plant
Repair the broken robot with an Escape Pod's Fuel Array.
Repair the broken robot with an Escape Pod's Fuel Array.
- Get the Fuel Array
from a drop-pod, and bring it to the deactivated REX on top of Abyssal Depths.. The Fuel Array will explode and one-shot you if your health drops below 50% by any means, and it is your active equiment.
Easiest way to do it:
- Play as MUL-T, and play multiplayer. Grab a Fuel Array from the other player's drop-pod (they need to play another survivor than MUL-T or Acrid), then switch weapons to securely hide the Fuel Array.
- or, Play very well as mercenary and never go below 50% health (which is not easy, even on Drizzle)
REX: Bushwhacked
As REX, complete an entire teleporter event while under 50% health.
As REX, complete an entire teleporter event while under 50% health.
- Pickup a Backup Magazine and spam Seed Barrage,
and make sure you don't regen too fast with your other skills
- Hellfire Tincture might help staying below 50% health
REX: Dunked
As REX, kill a Clay Dunestrider on Abandoned Aqueduct by throwing it into a pit.
As REX, kill a Clay Dunestrider on Abandoned Aqueduct by throwing it into a pit.
- Pretty straightforward ! Just hope the teleporter is near one of the two pits, otherwise lure the Clay Dunestrider close to one of them and push it in.
REX: Mastery
As REX, beat the game or obliterate on Monsoon.
As REX, beat the game or obliterate on Monsoon.
- Obliterating or beating the boss is relatively the same thing with REX, as his damage output and regen are just amazing
- You will absolutely need good mobility
- Seed Barrage is amazing and should be picked either way. Bramble Volley might be good depending on how you play.
Loader
One-punch Lady, a very strong survivor with amazing mobility that's extremely handy for achievement completion in many ways !
 What you need to do:
 Easiest way to do it:


 What you need to do:
 Easiest way to do it:
Guidance Offline
Defeat the unique guardian of Siren's Call.
Defeat the unique guardian of Siren's Call.
- Defeat the Alloy Worship Unit. Summon it by destroying 5 egg nests, scattered across Siren's Call
- The Alloy Worship Unit will always spawn near the central pillar
- It's the enemy with the most health aside from the final boss, so the fight might be long. It is recommended to clear the teleporter and the stage before summoning it, unless you know what you're doing
- The only real danger comes from the large circles it casts while shielding up, which can be easily avoided with mobility skills, or with a couple speed items + wax quails
Loader: Earthshatter
As Loader, land a Charged Gauntlet hit at 300mph or higher.
As Loader, land a Charged Gauntlet hit at 300mph or higher.
- Stack Goat Hooves (and some Energy Drinks, but mostly Hooves), a couple wax Quails and then go as fast as you can with the Graple + Punch combo
Loader: Swing By
As Loader, reach and proceed through the Celestial Portal in 25 minutes or less.
As Loader, reach and proceed through the Celestial Portal in 25 minutes or less.
- Reach stage 8 in under 25 minutes, so just a little more than 3min total per stage.
- Artifact of Command will take you some time while choosing items, but that you will get back by doing more damage and thus going faster
- Hidden Realms don't count towards the timer, so farm as many items and levels as you can in the Bazaar, Void Fields and Gilded Coast
- Take up 1-3 Focused Convergence
- Go Sanic Fast
Loader: Mastery
As Loader, beat the game or obliterate on Monsoon.
As Loader, beat the game or obliterate on Monsoon.
- The loader is the survivor with the highest damage output by a large margin, and thus she can easily shatter the last boss. But if you're feeling like it you can try your luck at obliterating too
- I recommend going with the Spiked Fist and Thunder Punch for reliability, but it's definitely not mandatory
- Stack up Kjaro's Bands and ATGs for insane damage and a very fast boss fight
Mercenary
A very strong survivor for sure, that dishes out really good damage while taking very little in return. Not great against swarms of ranged enemies
 What you need to do:
 Easiest ways to do it:
 Prismatic Trials vary a lot, so this might be easier at some point than others. The fact that the game will always go the same way leaves you time to practice
What you need to do:
 Easiest way to do it:
True Respite
Obliterate yourself at the Obelisk..
Obliterate yourself at the Obelisk..
- Reach stage 8 and go through the Celestial Portal, then activate the Obelisk
- On Drizzle with the character you're most familiar with. Grab the Beads of Fealty for an extra boss fight and 10 extra lunar coins
Mercenary: Demon of the Skies
As Mercenary, don't touch the ground for 30 seconds.
As Mercenary, don't touch the ground for 30 seconds.
- Use the Mily Chrysalis
- Stack up some hopoo feathers
- Go to Commencment (the boss stage), or Bulwark's Ambry, where the fall is very long and go as far up as you can, then unleash all your skills upwards in sequence, while using your primary.
- Stack up Alien Heads, Hardlight Afterburners or Purity, and spam your skills upwards.


Mercenary: Ethereal
As Mercenary, complete a Prismatic Trial without falling below 100% health.
As Mercenary, complete a Prismatic Trial without falling below 100% health.
What you need to do:
- Take no damage at all, even from falls
- Juggle your invicibility frames during fights, go as fast as possible to avoid mess-ups, and don't fall !
- This might be better on a Prismatic Trial with Artifact of Glass
Mercenary: Mastery
As Mercenary, beat the game or obliterate on Monsoon.
As Mercenary, beat the game or obliterate on Monsoon.
- Obliterating is faster, but if you feel like it, it shouldn't be a problem to defeat the boss
- The mercenary already has a very strong kit, but make sure you have some AOE damage to avoid getting swamped by swarms
- Rising Thunder is pretty good but not mandatory, but Slicing Winds is a terrible idea, especially on Moonsoon
Acrid

...To Be Left Alone:
Stabilize the Cell in the Void Fields
Stabilize the Cell in the Void Fields
- Void Cells is one of the hidden realms. To access it,reach the Hidden Realm: Bazaar by spending a lunar coin on a newt altar, and fall down the column under the portal to reach a cave. Proceed to find a portal to Hidden Realm: Void Fields
- Inside the Hidden Realm: Void Cells, you will have to find and activated 9 void cells, similarly to how teleporters work.
- The most appropriate survivor for point defence is definitely engineer, especially if you're a newer/less experienced player
- Dying inside the 9th field can apparently still allow you to unlock the challenge
- Monsters gain items upon each cell completion. Thus, some items might make them very dangerous (such as crits), and it might be preferable to just try in another run

Acrid: Bad Medicine:
As Acrid, land the final blow on a Scavenger.
As Acrid, land the final blow on a Scavenger.
- Scavengers start spawning at stage 9, so you need to loop, find a scavenger and kill it

Acrid: Easy Prey:
As Acrid, land the killing blow on 50 total enemies that have 1 hit point left.
As Acrid, land the killing blow on 50 total enemies that have 1 hit point left.
- Poison will naturally leave enemies at 1hp, simply spam a bunch of enemies with spit or contagion, leave them to lose their health and then kill them
- The challenge requires that the enemies only have 1hp, so make sure you don't have any proc items (ATG, Ukulele, Kjaro's band, Tri-Tip Dagger, etc.) that would otherwise deal additional damage
- Simply staying on the 1st stage for a while will let many small enemies spawn (especially beetles), without much risk of dying
- Artifact of Swarms, Defiant Gouge and Combat Shrines will all help

Acrid: Pandemic:
As Acrid, inflict Poison 1000 total times.
As Acrid, inflict Poison 1000 total times.
- For this one you simply need to spread poison a lot, very straightforward since by default Spit, Leap and Contagion all spread it.
- Stack up Backup Magazines (which is already very good on acrid anyway),
- Artifact of Swarms, Defiant Gouge and Combat Shrines will all help, and Artifact of Command to stack up Magazines and Hardlight Afterburner can make it slightly faster too

Acrid: Mastery:
As Acrid, beat the game or obliterate on Monsoon.
As Acrid, beat the game or obliterate on Monsoon.
- Obliterating is generally easier and faster, as it's generally a bad idea to fight the boss on stage 6 on Moonsoon
- Imo Acrid's default loadout is much stronger on moonsoon, as it allows you to keep your distance with dangerous enemies, especially since you don't have any invincibility frames as Acrid. Blight might be an option, but tbh it doesn't behave very differently from poison.
- Acrid is a generally good survivor, a standard proc build + mobility should be all you need: ATG/Kjaro + Crit + Tesla/Behemoth, Goat Hooves/Energy Drinks + Wax Quails + Hopoo Feathers
- Don't try to melee, in most situations spit/leap/contagion is already a plenty strong enough combo
Captain

Washed Away:
Beat the game.
Beat the game.
- Reach stage 6 (or every 5 stages after that if you loop), with the teleporter oriented to the moon on Sky Meadow and beat the boss
- On drizzle
- The fight is pretty straightforward, you need to dish out your damage while avoiding hammer hits at first, so mobility is key.
- You need some decent damage to be able to clear the phase with all the enemies spawned in, as they can easily deal more damage than the boss itself
- Use a royal capacitor or preon accumulator, and unleash all your skills to end the last phase as fast as possible, as it is by far the hardest part

Captain: Wanderlust:
As Captain, visit 10 different environments in a single run.
As Captain, visit 10 different environments in a single run.
- Go to every possible alternate dimension:
- Gilded Coast (Gold Altar)
- Bazaar (activate a newt altar)
- Void Fields (drop down behind the portal in Hiden Realms: Bazaar)
- Bulwark's Ambry (activate and go trough the Artifact portal on Sky Meadow).
- Go through the Celestial Portal, and have the Beads of Fealty equipped to reach "A Moment, Whole"
This alone would give you 6 environments, and together with the 5 necessary to reach Sky Meadow you will have unlocked the challenge - Loop the game (turn the teleporter on sky meadow to the planet, or go to Bulkwark's Ambry or any hidden realm while in sky meadow), in order to reach other environments you haven't seen yet
- Use the Bazaar to choose what environment you will go to next

Captain: Worth Every Penny:
As Captain, repair and recruit a TC-280 Prototype.
As Captain, repair and recruit a TC-280 Prototype.
- The TC-280 Prototype is the huge drone that costs a lot and is hard to miss. It spawns exclusively on Rallypoint Delta
- Since it only spawns on Rallypoint Delta, you will have to try and get there as much as possible (through looping and/or choosing that destination in the Bazaar)
- It is not guaranteed to spawn, so this is heavily luck based
- You might want to play with 3 other non-Captain players, as the chances for it to appear are considerably increased in multiplayer

Captain: Mastery:
As Captain, beat the game or obliterate on Monsoon.
As Captain, beat the game or obliterate on Monsoon.
- Obliterating is much easier, since Captain is better at dealing with swarms than dealing with the boss
- The Captain has very strong damage that pairs really well with the regular damage items, so clearing stages shouldn't be an issue
- He has very poor mobility, so Goat Hooves, Energy Drinks, Wax Quails and 1 or 2 hopoo feathers are necessary to dodge dangerous attacks
Items - Easy/Grind
These Challenges are particulary straighforward, so I don't have much to add, but here's a nice list if you're curious to know what the items look like.
 Easiest way to do it:
 Easiest way to do it:

 Easiest way to do it:

 How to do it easily:
 How to do it Faster:
 How to do it:
 How to do it easily:

 How to do it faster:


Elite Slayer
Defeat an Elite-type monster.
Defeat an Elite-type monster.
- Elite monsters spawn when the difficulty goes up, and very often from Combat Shrines
Advancement
Complete a Teleporter event.
Complete a Teleporter event.
- Very straightforward, find and activate the teleporter and beat the boss(es)
Learning Process
Die 5 times.
Die 5 times.
Warm For Life
Die three times while burning.
Die three times while burning.
- Elite Monsters can be blazing, setting you on fire from their attacks and leaving a blazing trail. Activate combat shrines and/or Artifact of Honor
I Love Dying!
Die 20 times.
Die 20 times.
The Lone Survivor
Stay alive for 30 consecutive minutes.
Stay alive for 30 consecutive minutes.
- Clear a teleporter event, then wait.
Funded!
Collect $30,480 total gold.
Collect $30,480 total gold.
- Pick up a couple Ghor's Tomes, and go as
far as possible into your run, as money gained scales with time
Deja Vu?
Loop back to the first stage.
Loop back to the first stage.
- Reach stage 5 and change the teleporter to face the planet (interact with it), or go through a hidden world portal (Artifact's Portal, Blue or Gold Portal)
Macho
Deal 5000 damage in one shot.
Deal 5000 damage in one shot.
- Play Loader
- Use the Preon Accumulator (See [REDACTED])
- Use the Royal Capacitor
Experimenting
Pick up 5 different types of Equipment.
Pick up 5 different types of Equipment.
Slaughter
Defeat 3000 enemies.
Defeat 3000 enemies.
- Artifact of Swarms, Defiant Gouge and Combat Shrines will all make
Blockade Breaker
Kill 15 boss monsters in a single run.
Kill 15 boss monsters in a single run.
- Going through even 1 loop and Gilded Coast should make this easy
Keyed Up
Defeat the Teleporter boss under 15 seconds.
Defeat the Teleporter boss under 15 seconds.
- 15 seconds is far enough time for most survivors (Loader, REX, Artificer, Captain, Engineer)
- Preon Accumulator (see [REDACTED]), Sawmerang and Royal Capacitor might help a lot
Bookworm
Collect 10 Monster or Environment Logs.
Collect 10 Monster or Environment Logs.
- See last section of the guide for environment logs
- Monster logs are random drops
Items - Luck Based

Moon Worshipper
Carry 5 Lunar items in a single run.
Carry 5 Lunar items in a single run.
Easiest way to do it:
- Go to the Hidden Realm: Bazaar repeatedly, by spending a lunar coin on a newt altar and going through a blue portal
"Is This Bugged?"
Fail the Shrine of Chance 3 times in a row.
Fail the Shrine of Chance 3 times in a row.

Ascendant
Defeat the Teleporter bosses after activating 2 Shrines of the Mountain.
Defeat the Teleporter bosses after activating 2 Shrines of the Mountain.
- Every map can spawn them, but the amount varies and is random
Items - Not easy

Cosmic Explorer
Discover and enter three unique portals.
Discover and enter three unique portals.
- There are 5 different types of portals:
- Gold Portal: Gilded Coast (Gold Altar)
- Blue Portal : Bazaar (spend a lunar coin on a newt altar)
- Black Portal: Void Fields (drop down behind the portal in Hiden Realms: Bazaar)
- Big Artifical Portal: Bulwark's Ambry (activate the Artifact portal on Sky Meadow by entering a code).
- Celestial Portal (finish the teleporter event on stage 8)

Flawless
Fully charge a Teleporter without getting hit.
Fully charge a Teleporter without getting hit.
- Play Engineer with the Bubble and good movement items to be able to dodge
- Use the Ceremonial Daggers + damage to kill ennemies as they spawn
Multikill!
Kill 15 enemies simultaneously.
Kill 15 enemies simultaneously.
- Artifact of Kin, Artifact of Swarms, Defiant Gouge and Combat Shrines will all make getting a large amount of small ennemies easier
- Use a primordial cube to gather several of them into a tight pack
- Have a couple ukuleles, and/or a large amount of will-o-wisps
Going Fast Recommended
Reach +300% movespeed (includes sprinting).
Reach +300% movespeed (includes sprinting).
- Find a 3D printer for goat hooves and/or Energy Drinks and/or Red Whips. 1 Berserker's Pauldron and 1 Old War Stealthkit can also help, you can easily trigger it by falling off the map.
- Artifact of Command, for the mentioned items


Rapidfire
Reach +200% attack speed.
Reach +200% attack speed.
- Find a 3D printer for Soldier's Syringes. Also grab 1 War Horn and 1 Berserker's Pauldron, and activate both for +170% right off the bat
- Artifact of Command, for the Soldier's Syringes


Her Concepts
Find the Altar to N'kuhana.
Find the Altar to N'kuhana.
- On Wetland's Aspect, go to the edge of the map and fall into a cave. Proceed to find N'kuhana

Cleanup Duty
Destroy 20 flying rocks in Sky Meadow.
Destroy 20 flying rocks in Sky Meadow.
- In the middle of the map there is a stream of rocks, simply shoot/hit them to break them
- With the Captain, Artificer or Rex you will have plenty enough damage to break them easily, though any survivor can do it (Acrid and Mercenary not recommended)

One with the Woods
Fully upgrade a Shrine of the Woods.
Fully upgrade a Shrine of the Woods.
- Shrine of the Woods are fairly common on Distant Roost and Bulwark's Ambry, and a bit
- Ghor's Tome will help you getting more money if you find you don't have enough usually

Blackout
Defeat the unique guardian of Gilded Coast without any beacons deactivating.
Defeat the unique guardian of Gilded Coast without any beacons deactivating.
- Kill Aurelionite fast enough
- Build up damage before going to the Gilded Coast. (Artifact of Command might help)
- With the Captain, Artificer, Loader, Engineer or REX you will have plenty enough damage to kill it as soon as it spawns
- So as to not waste time, activate the last 3 beacons in short succession.


Death Do Us Part
Discover the hidden chamber in the Abandoned Aqueduct.
Discover the hidden chamber in the Abandoned Aqueduct.
- Open the Door on Abandoned Acqueduct, by stepping on 2 Pressure Plates. It's not guaranteed that there will be 2 of them though, so you also need some luck.
- Play Engineer and place your turrets on them, and/or
- Play Multiplayer, and/or
- Use the Effigy of Grief
https://riskofrain2.gamepedia.com/Abandoned_Aqueduct#Pressure_Plates

Naturopath
Without healing, reach and complete the 3rd Teleporter event.
Without healing, reach and complete the 3rd Teleporter event.
- Don't grab ANY healing item (Infusion can be used, and maybe Cautious Slug and Fresh Meat)
- Don't play REX, or use any healing abilities like the Captain's healing beacon or Acrid's alternate abilities
- Medkit
- Bustling Fungus
- Monster Tooth
- Lepton Daisy
- Leeching Seed
- Harvester's Scyther
- Interstellar Desk Plant
- Don't use healing equipments


- Grab a few Topaz Brooches, and take your time
[REDACTED]
Open the Timed Security Chest on Rallypoint Delta.
Open the Timed Security Chest on Rallypoint Delta.
- Reach Rallypoint Delta before 10minutes (ideally around 8-9mins so you have time to spare), and find the Security Chest, which will be indicated by 2 glowing red beacons. It can be in containers around the middle of the map, or atop the hill.
- Play Loader, keep an eye on the timer and don't take too many items if you can't spare the time
- Feel free to go to the Bazaar or Void Fields to farm items
Items - Really not easy

Never Back Down
In 4 consecutive stages don’t leave the teleporter radius until it is fully charged.
In 4 consecutive stages don’t leave the teleporter radius until it is fully charged.
- Engineer's playstyle is definitely the most appropriate for the challenge
- Don't stand completely static either, that's never a good idea

The Long Road
Complete 20 stages in a single run.
Complete 20 stages in a single run.
- Drizzle
- Artifact of Command + Artifact of Sacrifice, and make a god build

Deicide
Defeat an Elite boss on Monsoon difficulty.
Defeat an Elite boss on Monsoon difficulty.
Easiest way to do it:
- Activate the Artifact of Honor, which turns all monsters into elites
- Make a god build
- Loop a few times
Prismatically Aligned
Complete a Prismatic Trial.
Complete a Prismatic Trial.
- This is fairly random, some Prismatic trials are fairly easy and others not
- You have as many tries as you want during the time period of the trial, so take your time !

Glorious Battle
Charge the Teleporter with less than 10% health.
Charge the Teleporter with less than 10% health.
- You only need to finish charging at 10% health, so simply kill everything, get out the zone at 98 or 99%, fall off the map or take damage some other way, and pop back into the zone
- REX is particularly useful for this

The Demons And The Crabs
Kill 20 Hermit Crabs by chasing them off the edge of the map.
Kill 20 Hermit Crabs by chasing them off the edge of the map.
- Loop at least once, and get to titanic planes. Hermit Crabs should now be spawning, and you simply need to walk behind them to scare them away. Follow them up to and edge and they will jump off.
- Drizzle
- Don't take Ceremonial Daggers, Frost Relic, Resonance Disk, Queen's Gland, Mired Urn or Little Disciple and any drones or turrets to avoid instantly killing every crab before you reach them.

Newtist
Discover and activate 8 unique Newt Altars.
Discover and activate 8 unique Newt Altars.
Easiest way to do it:
- Loader's Mobility is amazing
- Eccentric Vase and Hopoo Feathers can help you reach otherwise inaccessible places with the other survivors.
https://riskofrain2.gamepedia.com/Newt_Altars

The Calm
Beat the game on Monsoon difficulty.
Beat the game on Monsoon difficulty.
- Artifact of Command + Artifact of Sacrifice, and make a god build
- Artifact of Swarms will spawn 2 copies of the boss, allowing items such as the Ukulele and AoE attacks to get twice the effet, which might be interesting with some survivors
- The Loader can really smash the hell out of the boss
- Engineer does very good damage on the boss, but is still exposed to its strong damage. Turret's items won't be absorbed by the last phase if you place them beforehand
- REX has really good damage and sustain, making it a very good contestant
- The Artificer can stay away fairly safely with Ion Surge (just be careful for some phases)


Artifacts
Artifacts are a very powerful way to change your game experience and the way your run goes, and some are extremely handy for Achievements completion, especially the Command + Sacrifice combo, Swarms, Kin, and in some situations Glass.
They are all activated by entering the "code" onto the platform beneath Sky Meadow, and activating the computer. Upon which a portal will open to the Bulwark's Ambry, allowing the player to earn the specific Artifact
 Probably the strongest artifact, as it allows you to freely choose what item you want within its tier.
 Another strong artifact, as it allows later stages to drop considerably more items than they would otherwise.
 Combined with Sacrifice it makes the 1st stage drop considerably more items (although the effect dampens afterwards).
It also makes AoE and on-death effects significantly more useful, while also making most boss fights way easier
 This can make some challenges much easier, as it can choose to spawn weak ennemies only (such as lesser wisps, beetles or imps)
 This is the equivalent of stacking a few Shape Glasses, but with less efficiency. It can be very useful for some challenges, but it remains a double edged sword.
It is fairly hard to unlock so some items are strongly recommended:


 This is particularly hard to unlock with the Engineer, and with Survivors that have AoE attacks (Such as captain's orbital strike), as they will hit you too.
Avoid AoE items such as Will-o-Wisps and Brilliant Behemoth, and especially Happiest Mask as it will definitely stop your run.
 Easy unlock in singleplayer
 While not hard to unlock, this artifact would definitely make a run much tougher, since powerful and annoying foes such as Shrooms and Elder Lemurians might now spawn as early as the 1st stage
 Not hard to unlock or use, and fairly fun
 This isn't too hard to unlock, as they will only obatin a white item inside Bulwark's Ambry (though it could be Crit Glasses)
 Super Smash Bros Mode, very annoying to unlock as falling off the map is guaranteed death.
Loader is still immune though, so use her if you're having trouble unlocking it
 Not hard to unlock. Can make runs even easier with the old guillotine, though the 1st few stages are harder because less monsters will spawn
 Can be tricky to unlock if you have your favorites, but shouldn't be too hard.
 Can be annoying, especially since the wisps don't drop money (or items with Sacrifice)
 One of the hardest ones to unlock, the damage piles up very fast, especially since bigger ennemies drop more
 Not very hard, can even make runs easier, as the Dopple will drop a copy of an item you own
They are all activated by entering the "code" onto the platform beneath Sky Meadow, and activating the computer. Upon which a portal will open to the Bulwark's Ambry, allowing the player to earn the specific Artifact
Artifact of Command
Choose your items■ ■ ■
■ ■ ■
▲ ▲ ▲
■ ■ ■
▲ ▲ ▲
Artifact of Sacrifice
Removes chests, monsters now drop items▲ ▲ ▲
▲ ▲ ▲
▲ ♦ ▲
▲ ▲ ▲
▲ ♦ ▲
Artifact of Swarms
Twice the ennemies, but they have half the health● ● ▲
▲ ♦ ▲
▲ ● ●
▲ ♦ ▲
▲ ● ●
It also makes AoE and on-death effects significantly more useful, while also making most boss fights way easier
Artifact of Kin
Monsters will only be of one type (changes each stage)● ▲ ▲
♦ ● ▲
♦ ♦ ●
♦ ● ▲
♦ ♦ ●
Artifact of Glass
500% damage, 10% health♦ ♦ ♦
♦ ♦ ♦
♦ ♦ ♦
♦ ♦ ♦
♦ ♦ ♦
It is fairly hard to unlock so some items are strongly recommended:
Artifact of Chaos
Friendly fire for everyone● ▲ ●
● ▲ ●
● ▲ ●
● ▲ ●
● ▲ ●
Avoid AoE items such as Will-o-Wisps and Brilliant Behemoth, and especially Happiest Mask as it will definitely stop your run.
Artifact of Death
Everyone dies if one player dies● ● ●
■ ▲ ■
● ▲ ●
■ ▲ ■
● ▲ ●
Artifact of Dissonance
Monsters can spawn from any stage● ■ ■
■ ■ ■
■ ■ ●
■ ■ ■
■ ■ ●
Artifact of Enigma
Obtain a random equipment after every use♦ ■ ■
▲ ■ ▲
● ♦ ♦
▲ ■ ▲
● ♦ ♦
Artifact of Evolution
Monsters gain items between stages ♦ ♦ ♦
■ ■ ■
● ● ●
■ ■ ■
● ● ●
Artifact of Fraility
Fall damage is doubled and lethal● ● ●
▲ ● ▲
▲ ▲ ▲
▲ ● ▲
▲ ▲ ▲
Loader is still immune though, so use her if you're having trouble unlocking it
Artifact of Honor
Monsters only spawn as elites■ ■ ■
■ ▲ ■
■ ■ ■
■ ▲ ■
■ ■ ■
Artifact of Metamorphosis
Players spawn as random survivors♦ ■ ●
♦ ■ ●
♦ ■ ●
♦ ■ ●
♦ ■ ●
Artifact of Soul
Wisps come out of defeated monsters● ■ ●
● ♦ ●
■ ♦ ■
● ♦ ●
■ ♦ ■
Artifact of Spite
Dead monsters spawn damaging balls▲ ● ▲
● ● ●
▲ ● ▲
● ● ●
▲ ● ▲
Artifact of Vengeance
Your Doppleganger invades every 10 minutes♦ ■ ■
♦ ● ■
♦ ■ ■
♦ ● ■
♦ ■ ■
Environment Logs
Regular stages' logs are obtained by finding a radio tower (random spawn, costs about 6 regular chests).
Hidden Realms however all have a very specific location for their environment log, which I will detail here.
Because of her insane mobility and lack of fall damage Loader is always the best choice for these logs
 Very easy to get, simply fall off from the initial platform (the one with the portal)
The log is between one of the big rings and the pillar of the platform.
Reach the ring and jump towards the log.

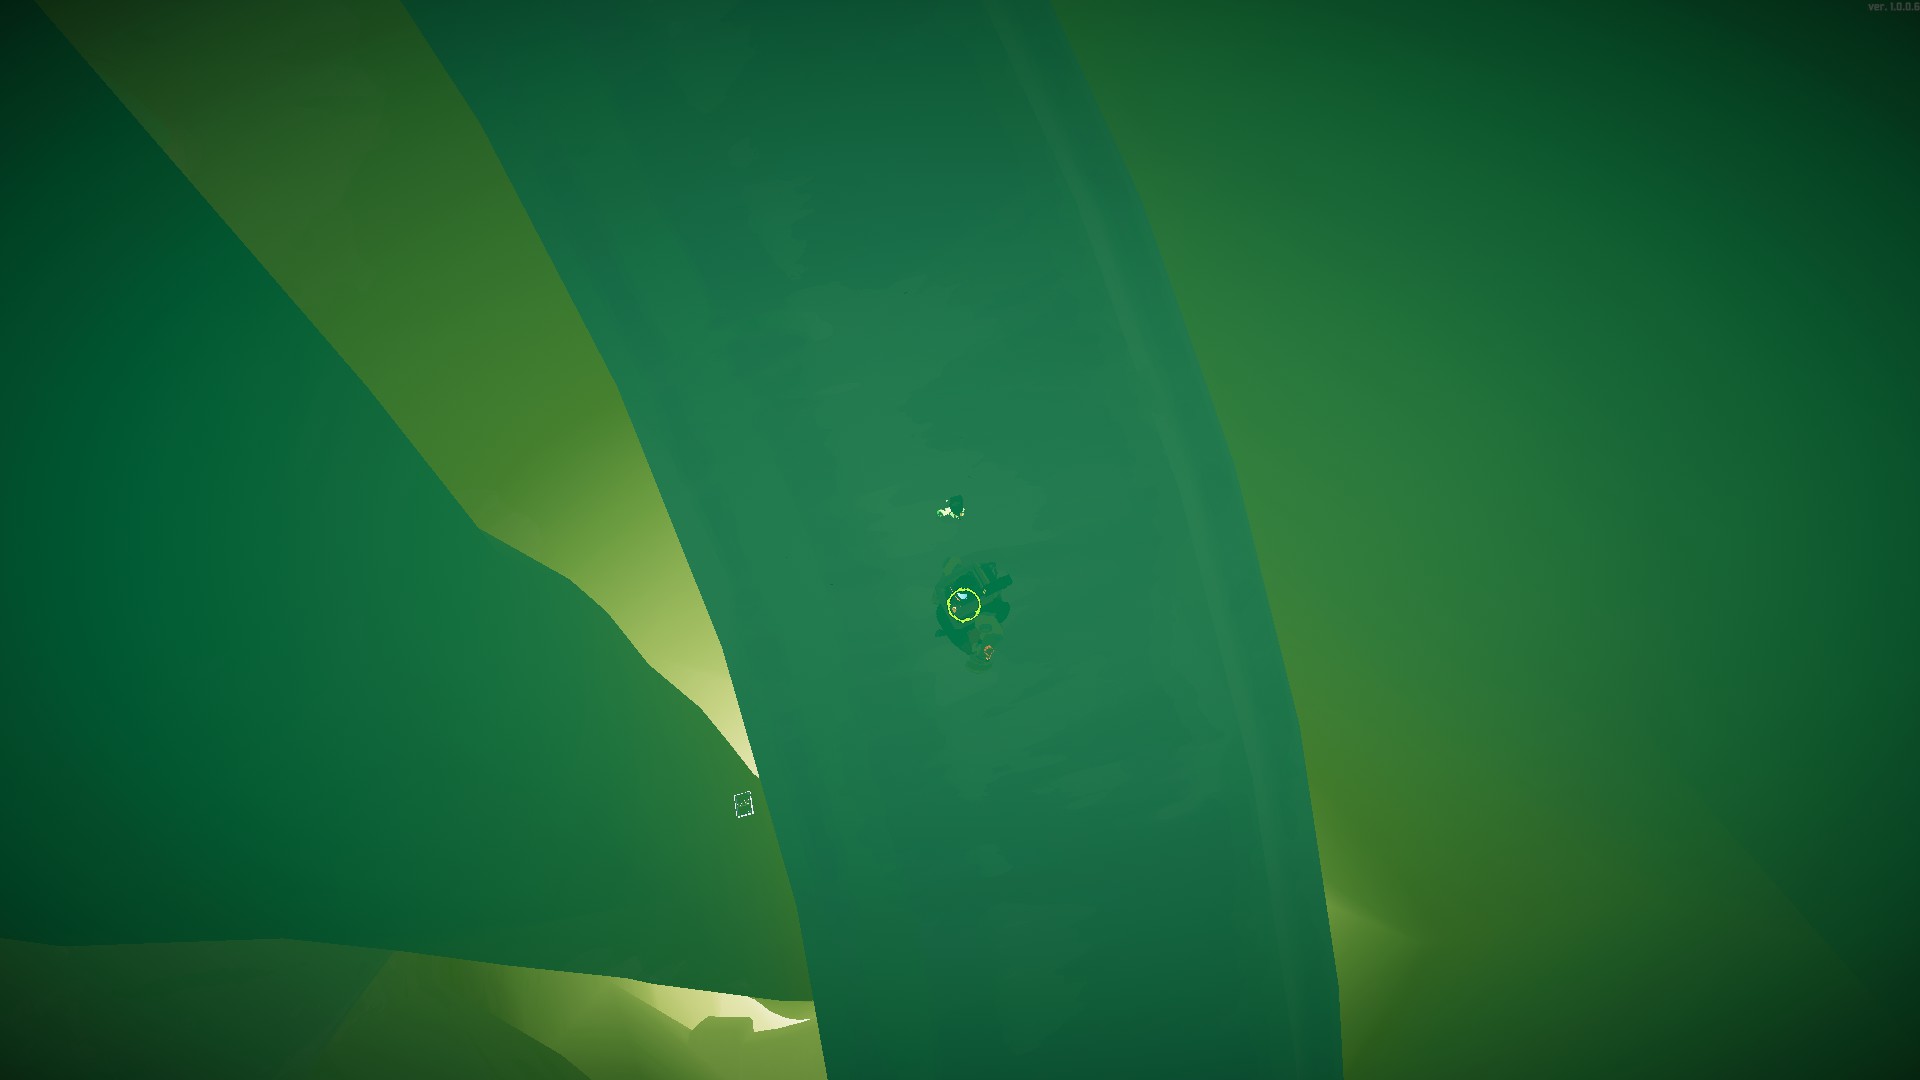
 This one is a bit more tricky, and will require either playing as Loader, or having a Milky Chrysalis or Eccentric Vase (Because falling off the map will kill you).
You also need to reach the log within 5 minutes of reaching the level, so just go straight for it without starting any cell.
Go towards the arch on the right side of the map (viewing from the portal)
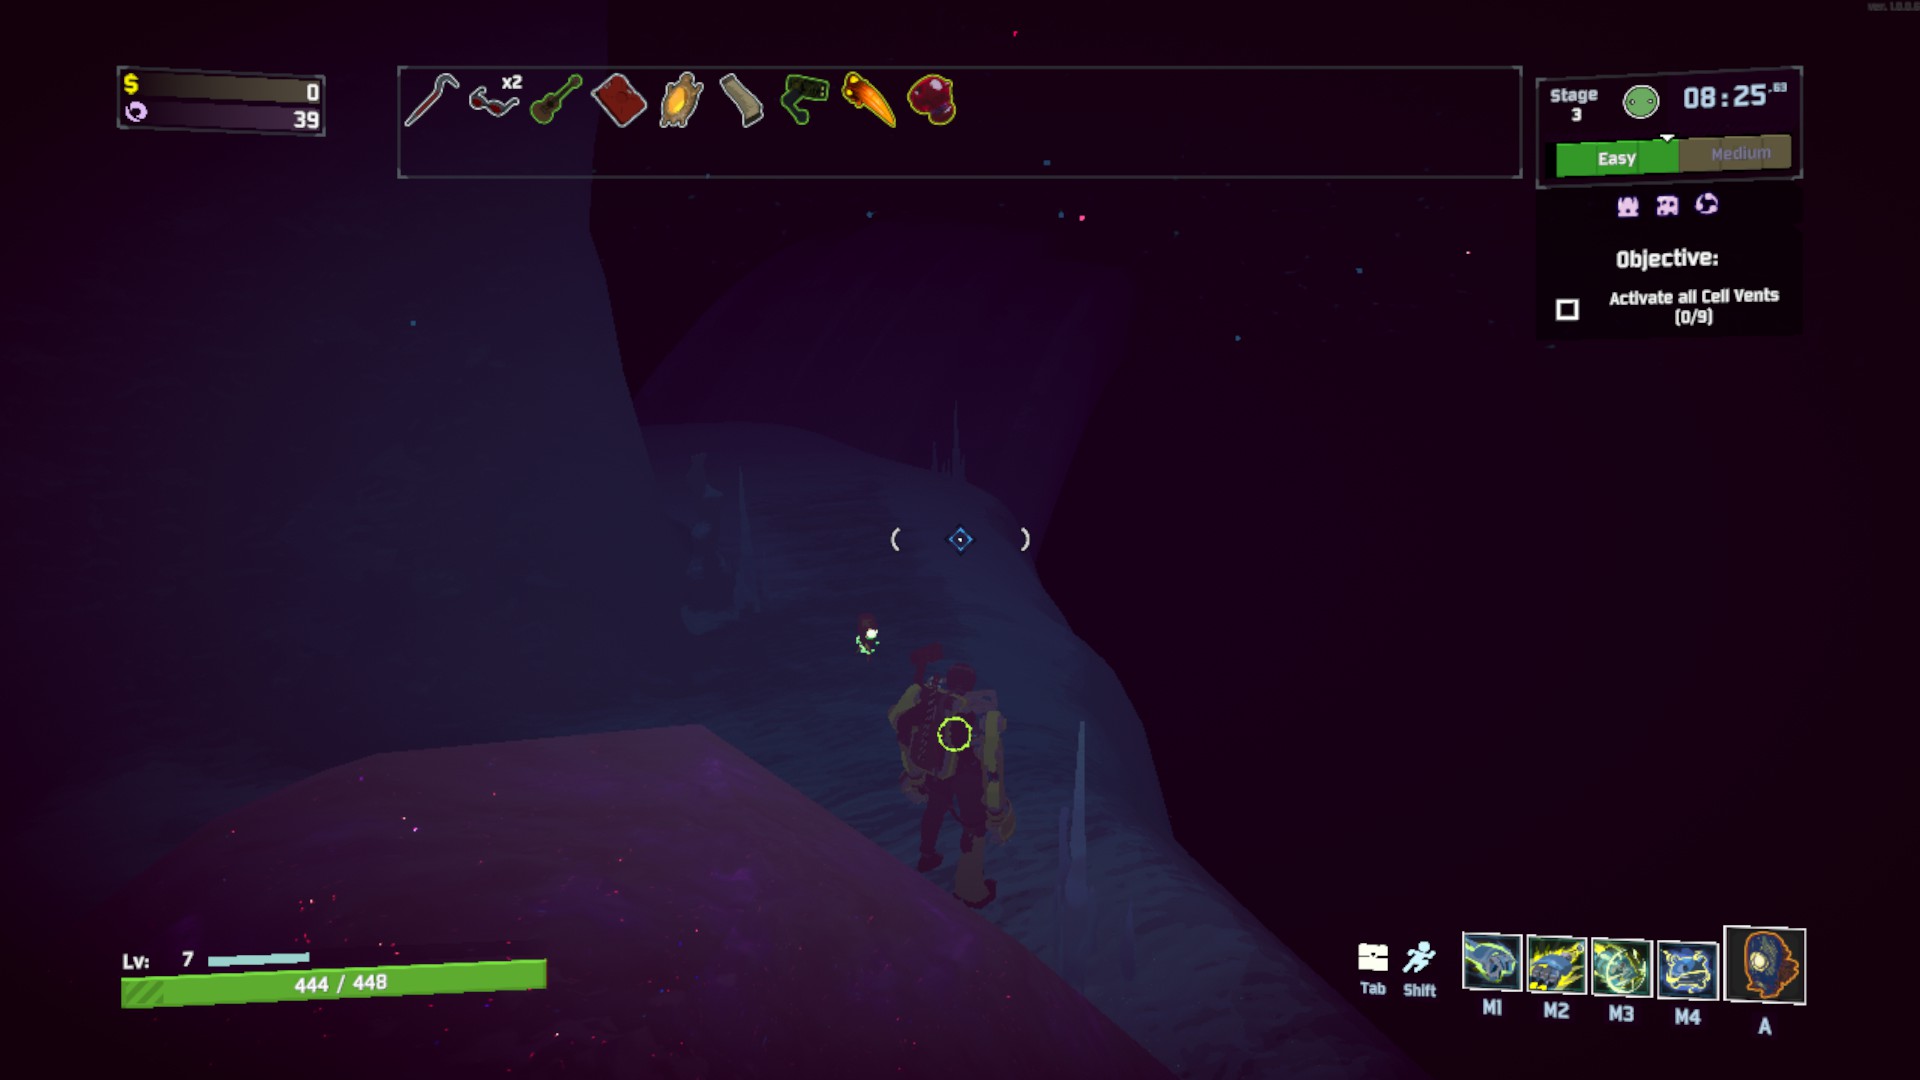
Go down and slightly to the right
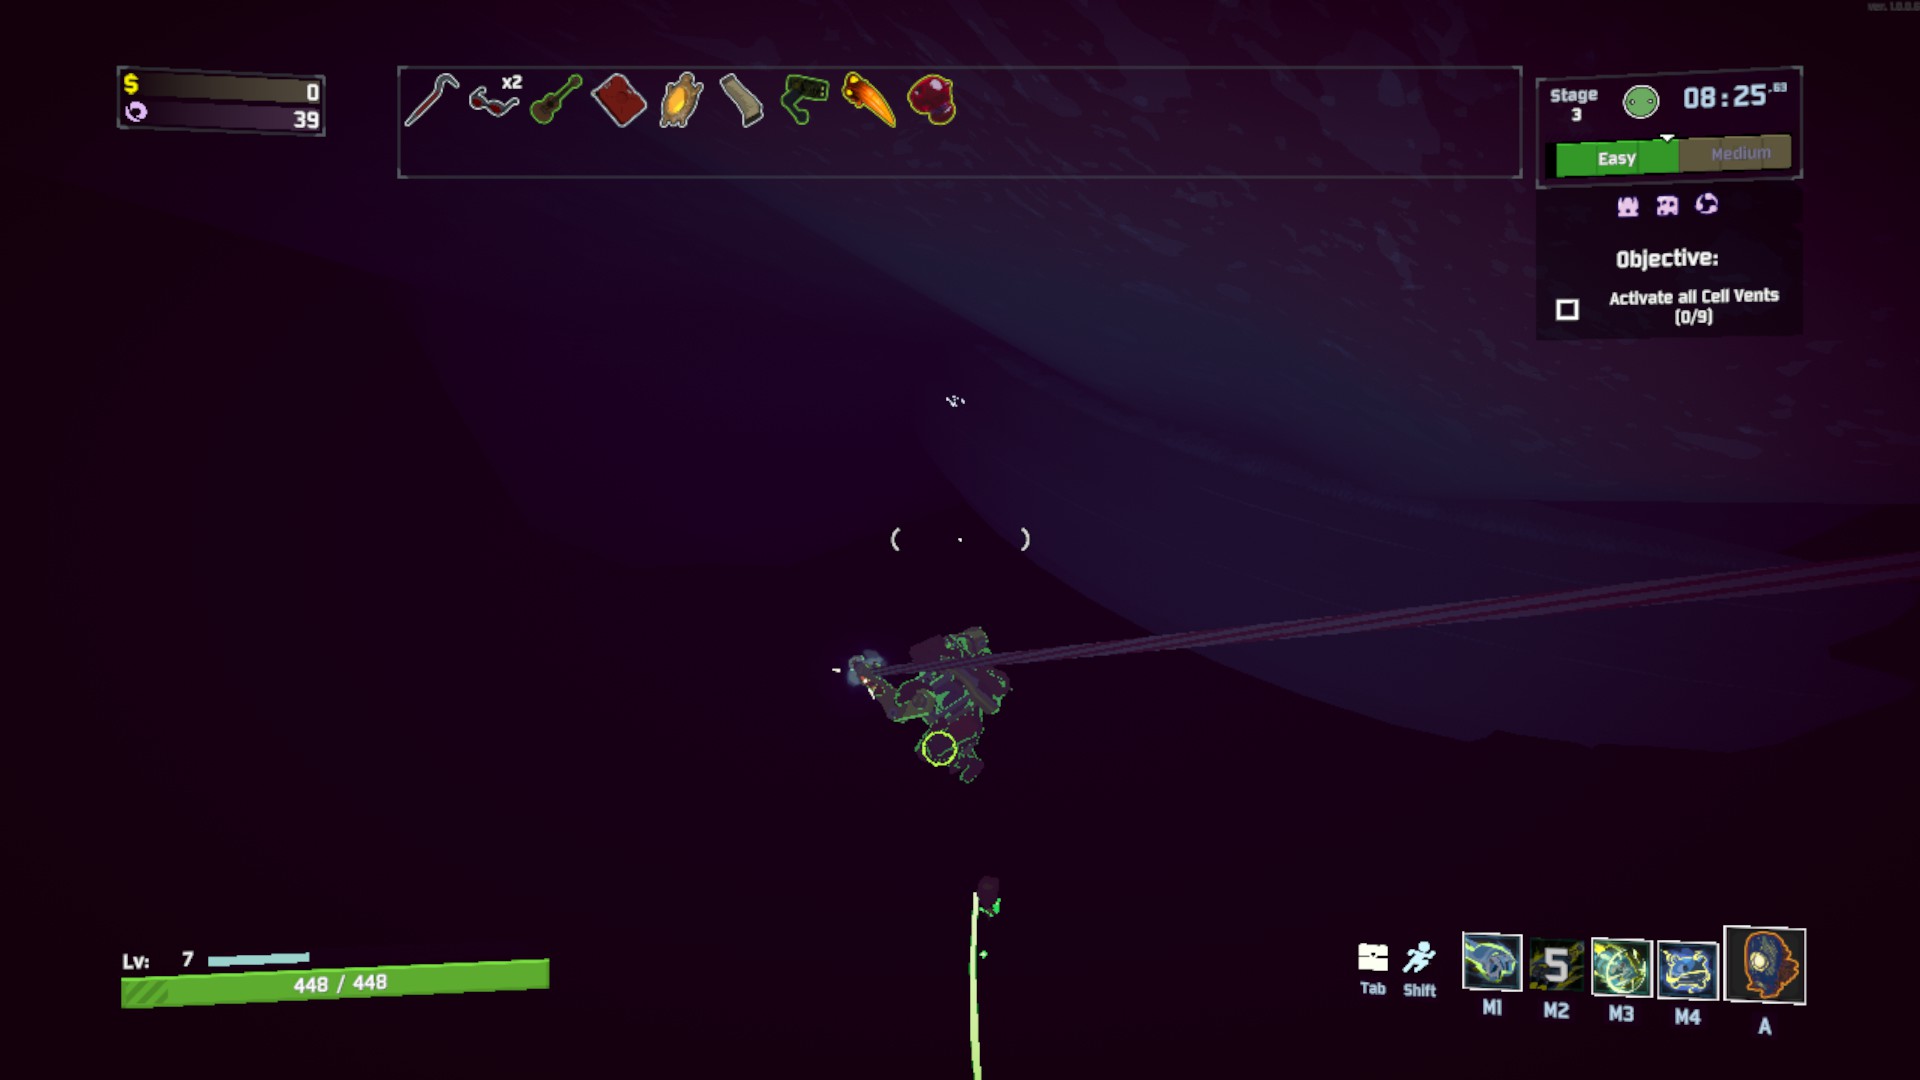
 Requires good mobility to be reached, Loader strongly recommended, Huntress or Mercenary with movement items can also reach it (or stacking up a lot of Hopoo Feathers with any character)
The log is nested in one of the hoops on the center of the island.
It's still there after defeating the boss, so no need to rush.
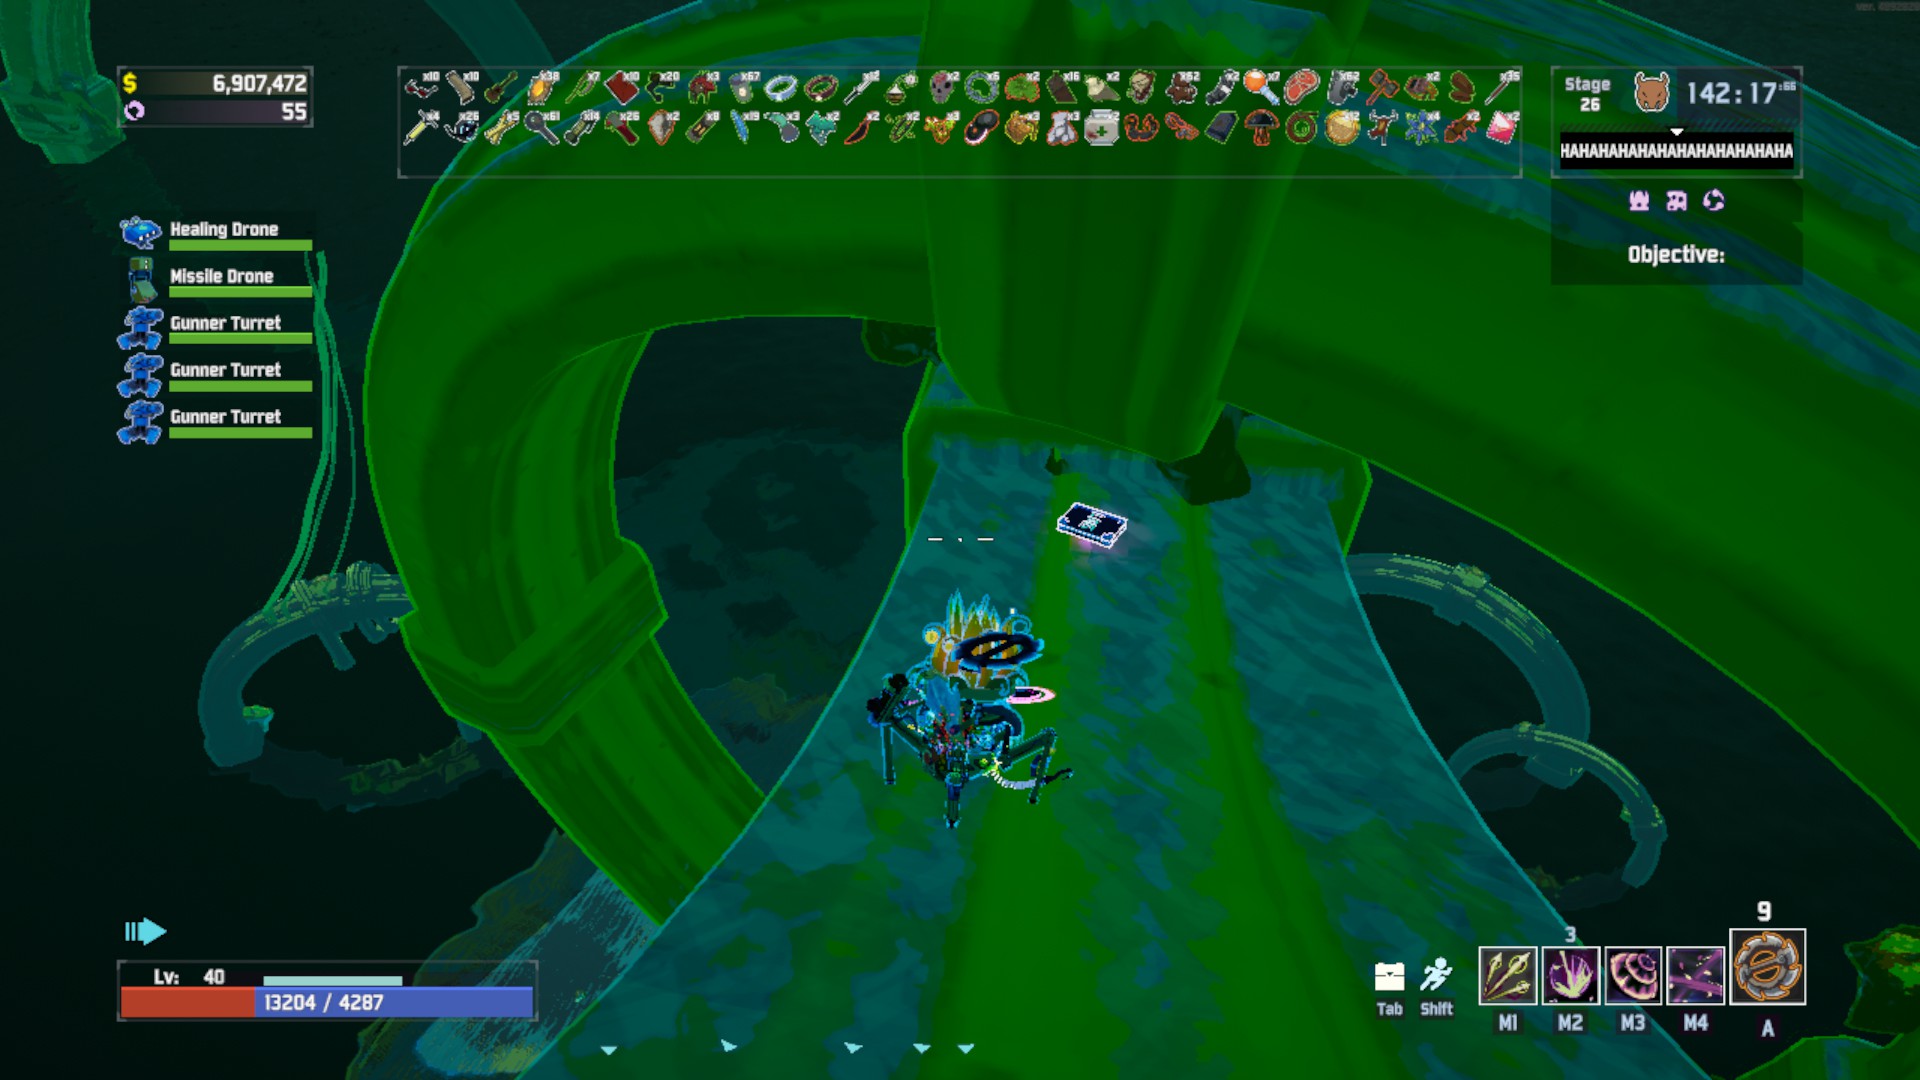
 Very easy to get too, especially before activating the Artifact Reliquary.
The log is just under the platform where the jump-pad is, and very visible.
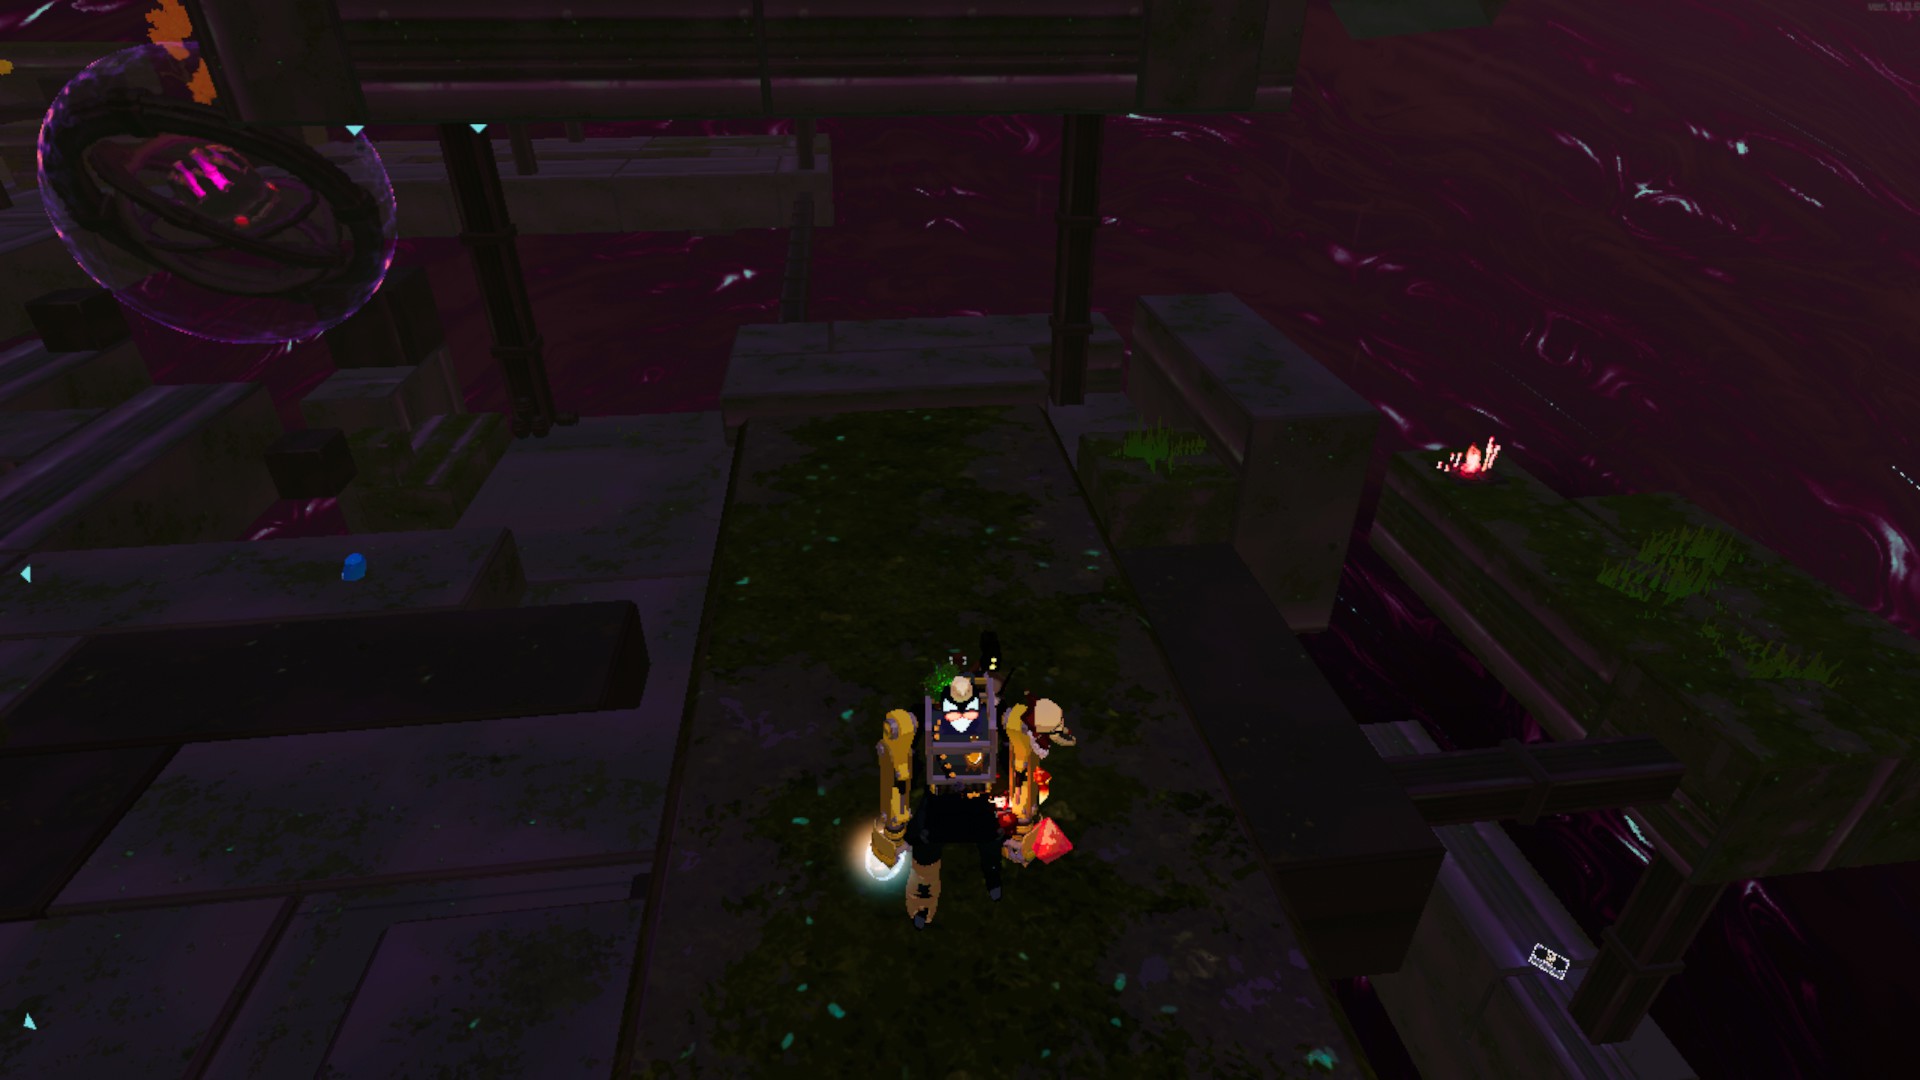
 On the Island where you spawn, go backwards (opposite from the obelisk) and down.
The log is an a small islet underneath the island
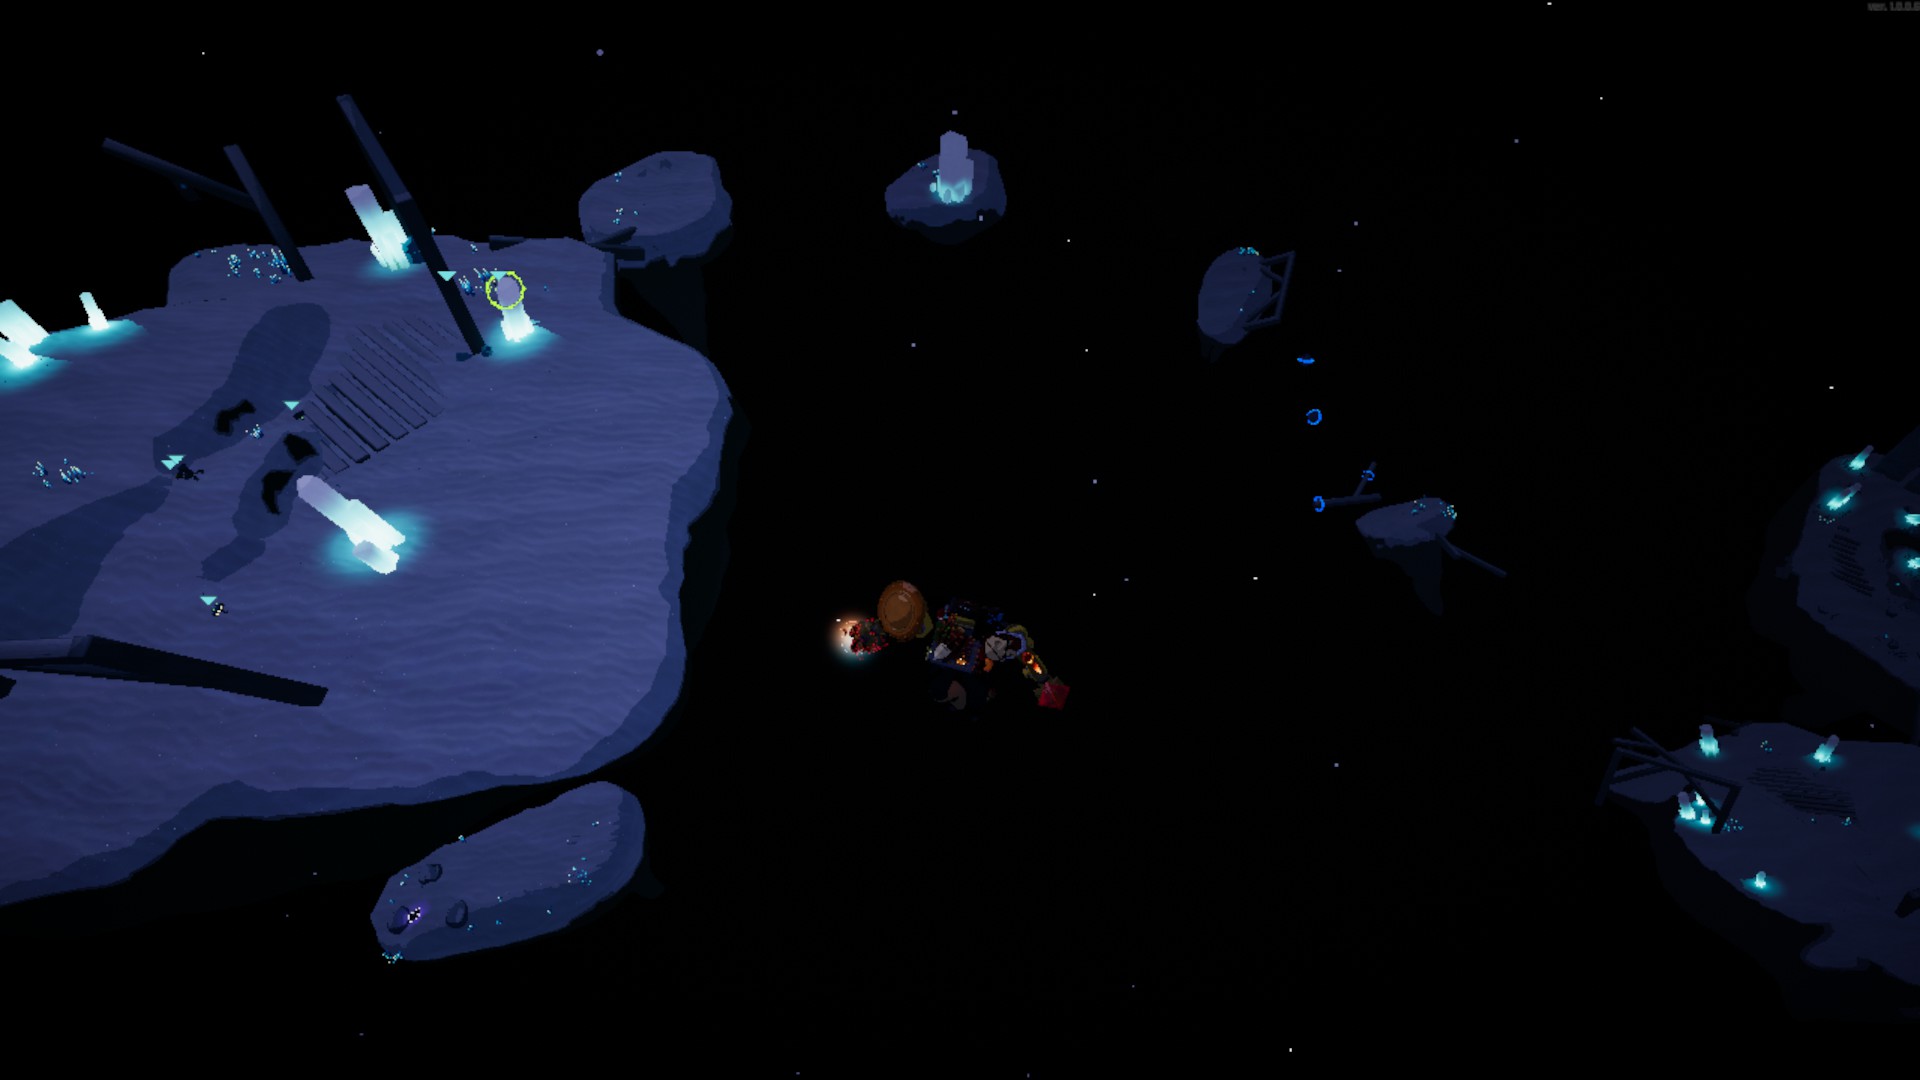
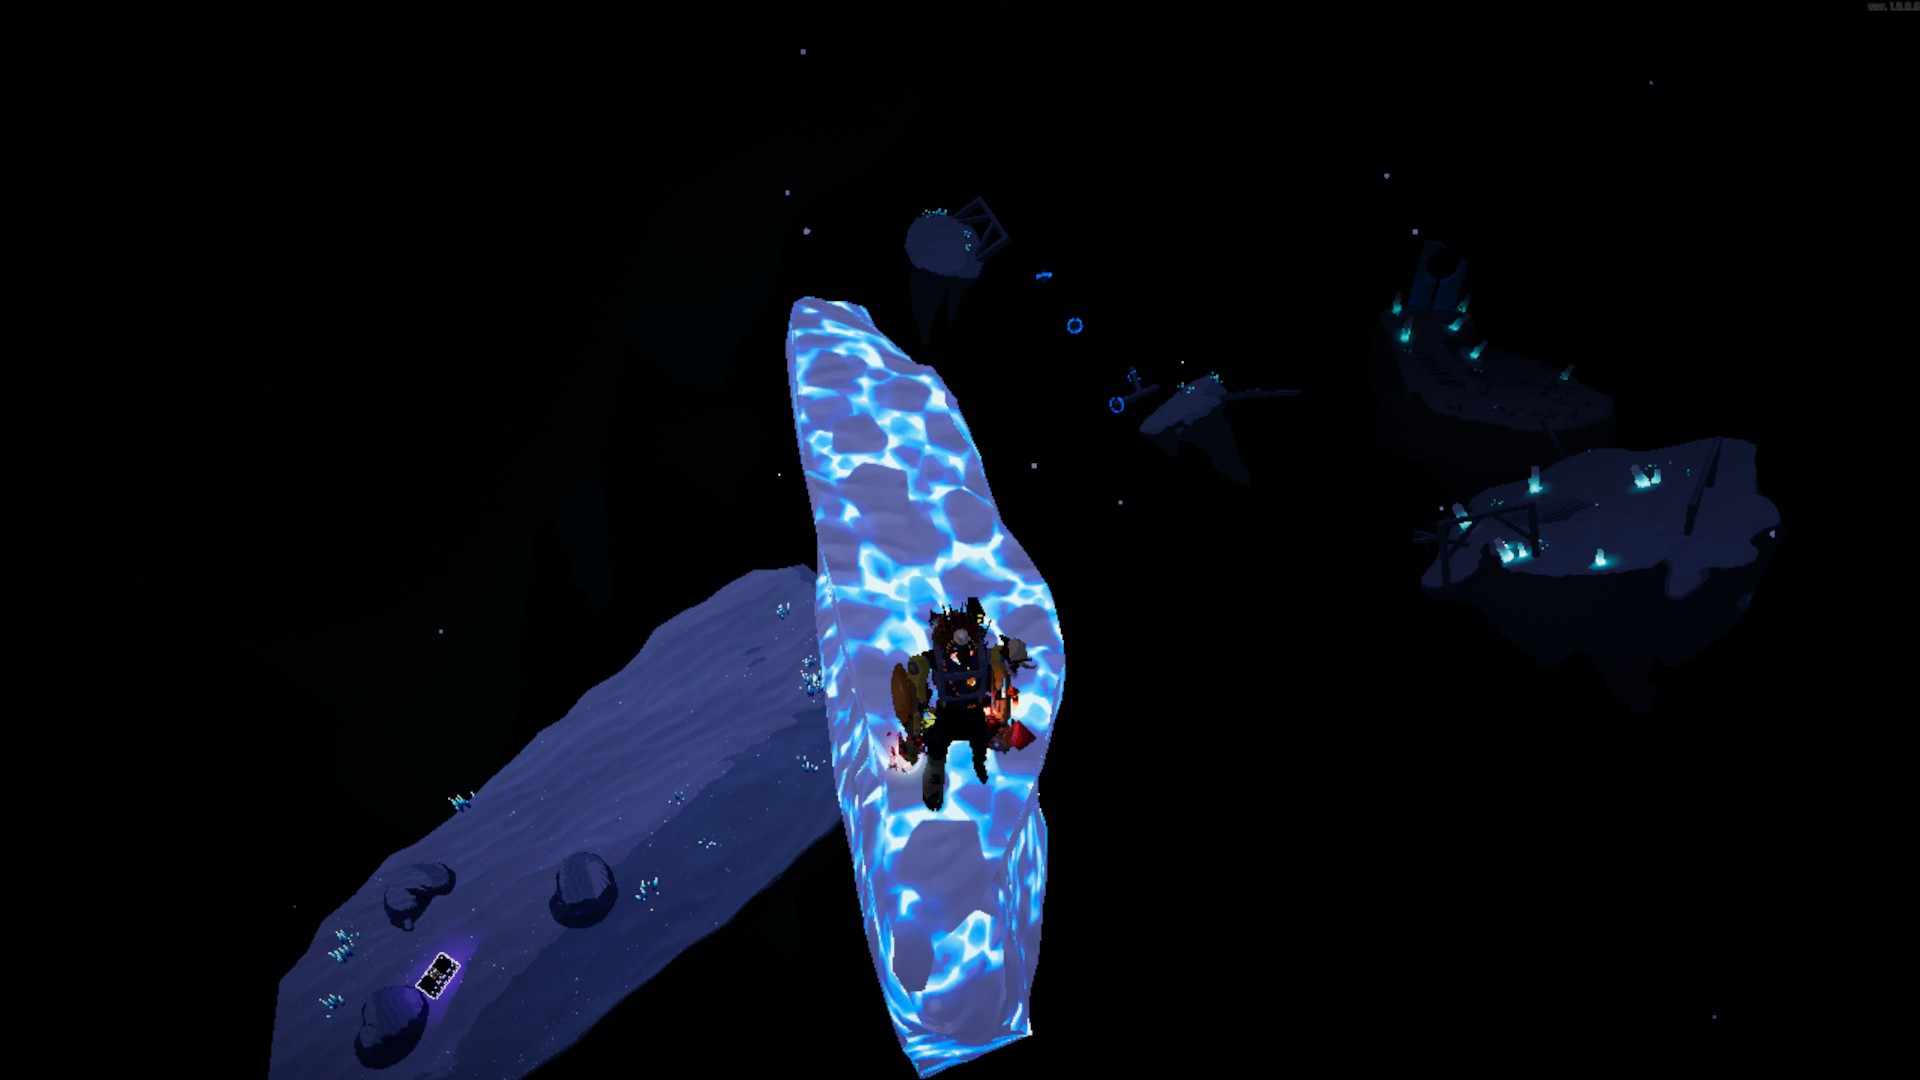
 Technically not hard to reach, but make sure you don't kill the boss before getting it, otherwise it might be impossible to reach.
It is situated very far away, at the opposite point from where you spawn. Just go in a straight line from the spawn point towards the boss, and keep going for a long time.
It's behind a small white rock.
High Quality Map:
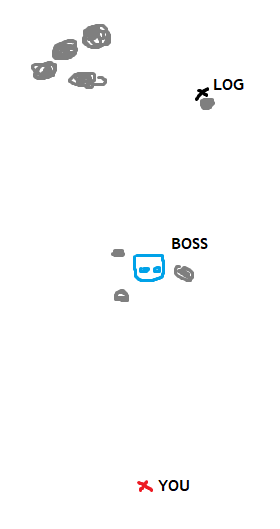
 You need to reach it before 5mins have passed, so ignore every enemy and make sure you have a very fast survivor.
It's on Mitrix' Island, in the center of the structure below
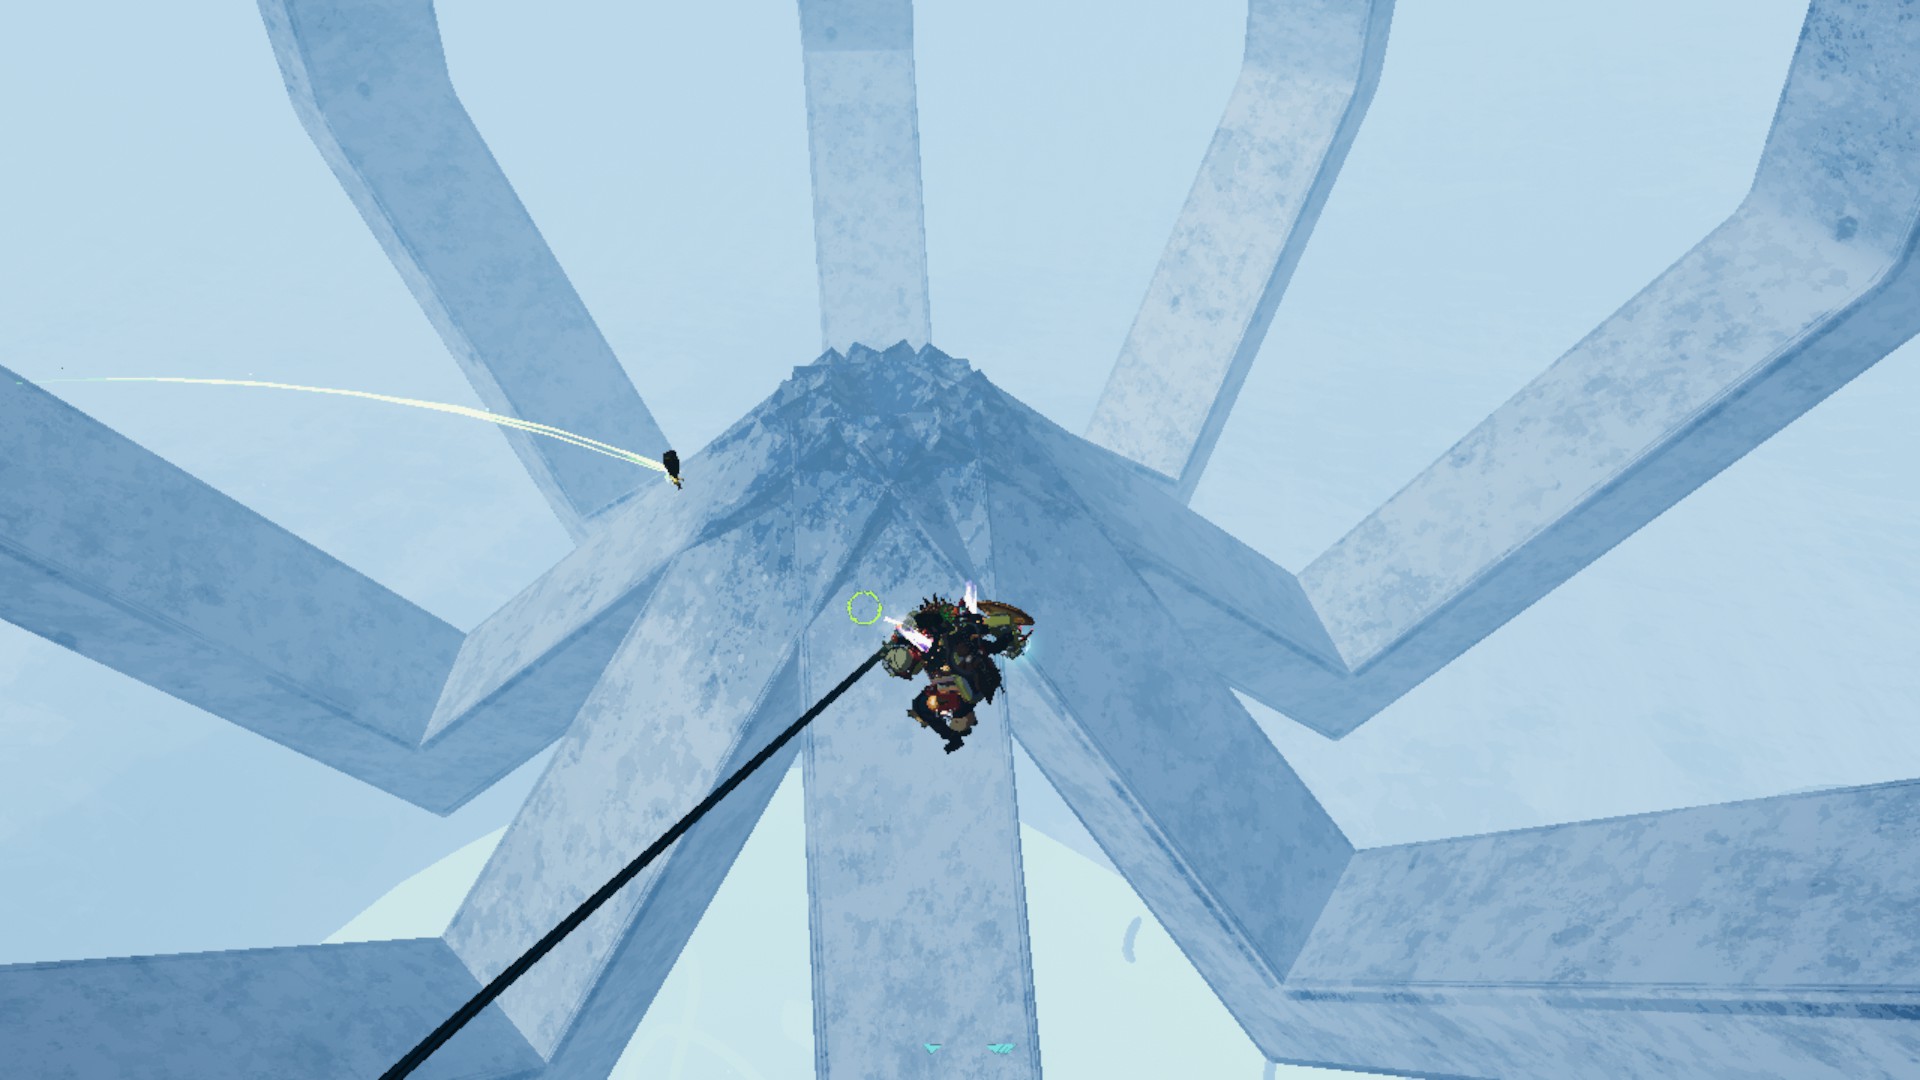
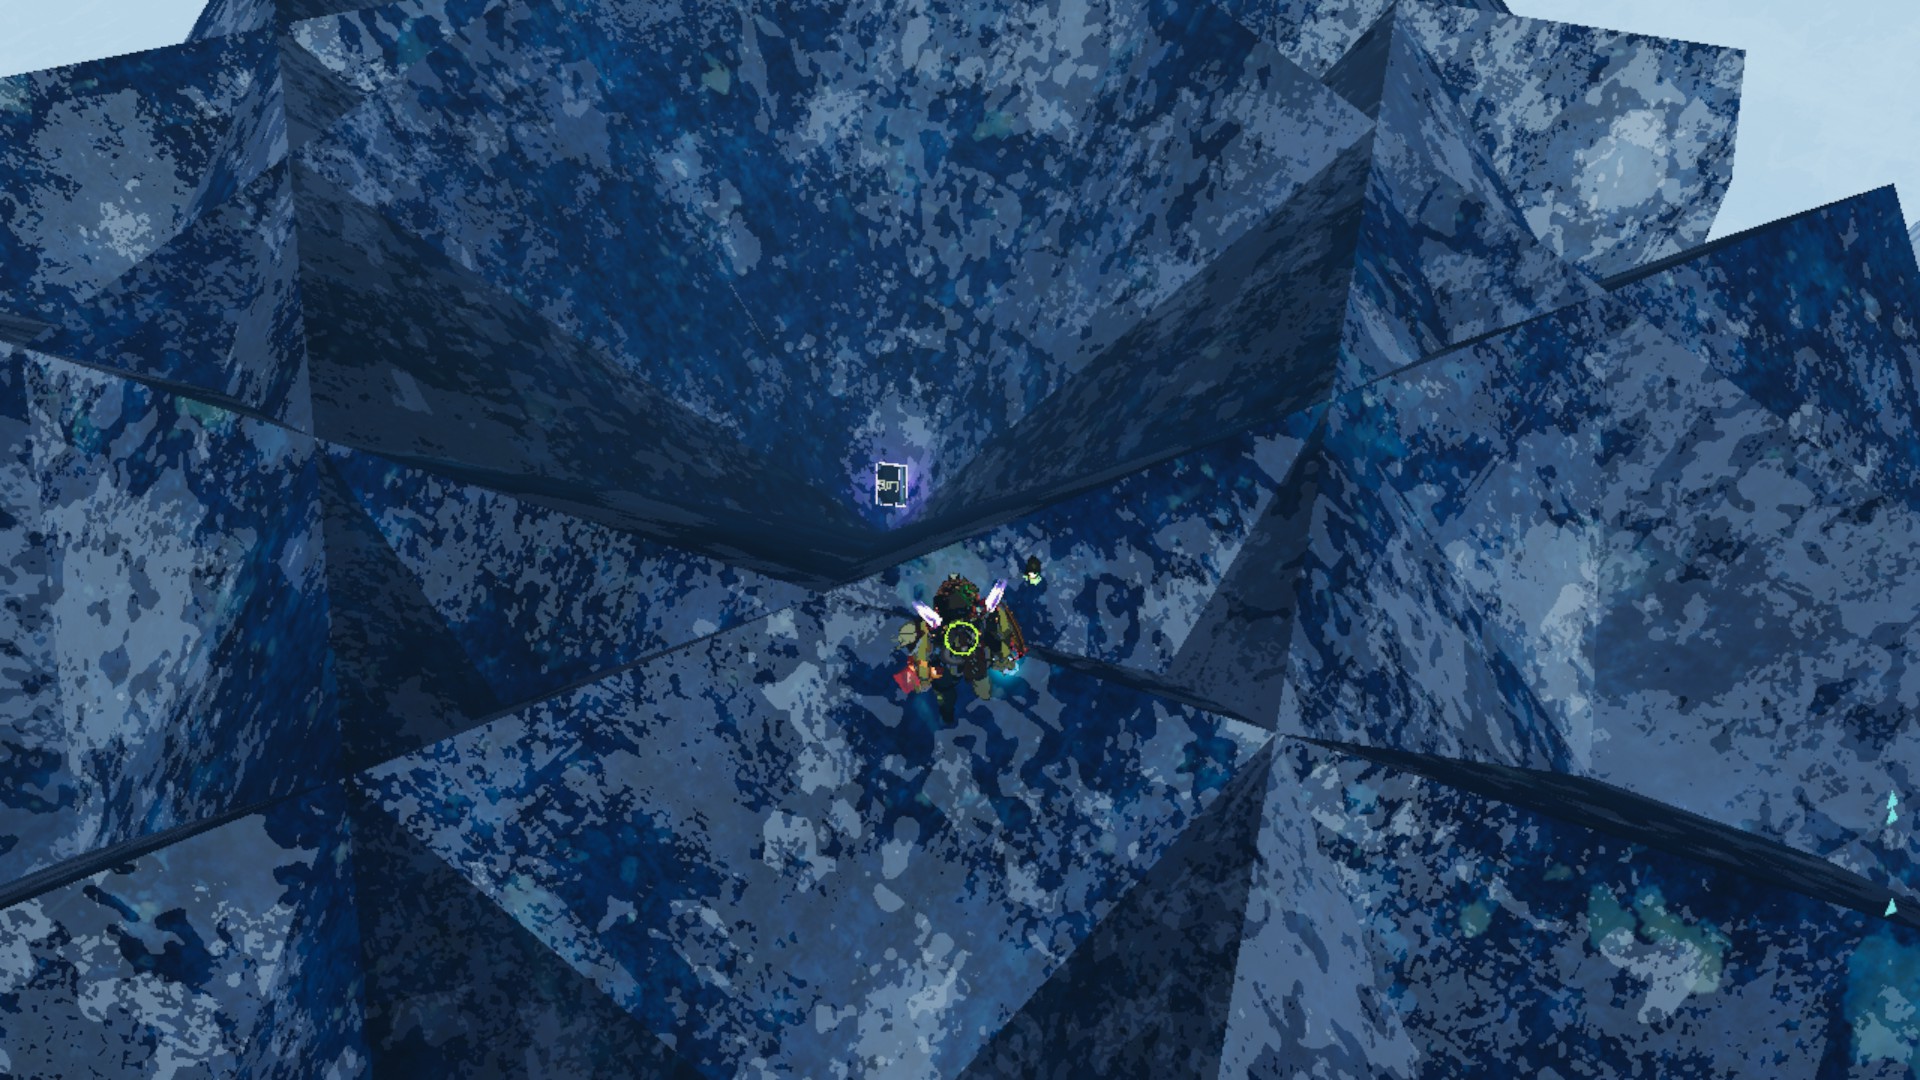
Hidden Realms however all have a very specific location for their environment log, which I will detail here.
Because of her insane mobility and lack of fall damage Loader is always the best choice for these logs
Hidden Realm: Bazaar Between Time
Spend a lunar coin on a newt altar. Enter the blue portal after the teleporter event
The log is between one of the big rings and the pillar of the platform.
Reach the ring and jump towards the log.
Hidden Realm: Void Fields
Enter the black portal from within the Bazaar
You also need to reach the log within 5 minutes of reaching the level, so just go straight for it without starting any cell.
Go towards the arch on the right side of the map (viewing from the portal)
Go down and slightly to the right
Hidden Realm: Gilded Coast
Pray to a gold altar. Enter the gold portal after the teleporter event.
The log is nested in one of the hoops on the center of the island.
It's still there after defeating the boss, so no need to rush.
Hidden Realm: Bulwark's Ambry
Activate and enter the Artifact teleporter underneath Sky Meadow.
The log is just under the platform where the jump-pad is, and very visible.
Hidden Realm: A Moment, Fractured
Enter the Celestial portal, which appears on stage 8 and then every 5 stages afterward.
The log is an a small islet underneath the island
Hidden Realm: A Moment, Whole
Inside A Moment, Fractured, obliterate on the obelisk with the beads of fealty.
It is situated very far away, at the opposite point from where you spawn. Just go in a straight line from the spawn point towards the boss, and keep going for a long time.
It's behind a small white rock.
High Quality Map:
Commencement
Take the teleporter on Sky Meadow while it's oriented towards the moon.
It's on Mitrix' Island, in the center of the structure below
Going Deeper
Comments and Trivia
God Build:The general idea of the god build is to stack a huge amount of damage with a lot of mobility, and decent healing.
- Damage mainly consists of Proc Chains, enhanced by Crits + 1 Death Mark (With a bunch of other items to always trigger it) + 1 Brilliant Behemoth + Hammering Justice, as many 57 clovers as reasonable, and if you know what you're doing Shape Glasses too.
- Proc Chains consist mostly of ATG, Ukulele, Bands, and Molten Perforators. The chains essentially amplify the damage of the initial hit very strongly.
- Healing and defence should mostly be in the form of Harvester's Scythes, Topaz Brooches and/or Aegis Shield, and invincibility bears
Quantity
Items
A lot
A few

Just one

Trivia:
- MUL-T's "Janitor" skin is inspired by the HAN-D from RoR
Going Deeper
- Risk of Rain 2 Wiki[riskofrain2.gamepedia.com]
- Woolie's Begginer videos
- Woolie's Survivors Guide
🏆
Beat Risk of Rain 2's 100% run?
Flex it — let your friends know you pulled it off.
More Risk of Rain 2 guides
- Предметы ROR2★ 5 (1.8k)92k views4.9k ♥29 minUpdated Mar 11
- [+DLC] Открытие всех персонажей и получение их навыков в Risk of Rain 2★ 5 (1.2k)82k views4k ♥11 minRussianUpdated Jun 5, 2024
- Качественные моды для RoR2★ 5 (724)47k views1.8k ♥13 minRussianUpdated Jun 15, 2024
- Всё о DLC Alloyed Collective [RU]★ 5 (183)21k views427 ♥14 minRussianUpdated Jan 23
- Wandering CHEF Cookbook!★ 5 (387)18k views906 ♥4 minUpdated Jul 9
- ГАЙД НА ВСЕ ДОСТИЖЕНИЯ 100%★ 5 (413)15k views1.2k ♥21 minRussianUpdated Dec 2, 2025


This guide was created by its original author on the Steam Community. Are you the author and want it removed? Request removal.