Overview
A guide that will help outline and detail all the achievements that can be gotten in the game if you’re aiming for completion!
Change Log
8/7/20 – Added in the bios for Stealing the Diamond, and Infiltrating the Airship (as well as the achievements for the latter.)
8/8/20 – Added in painting locations for Stealing the Diamond, the bios and achievements for Fleeing the Complex, and have begun working on the Completing the Mission bios and achievements.
8/9/20 – Guide now has all bios and achievements covered.
8/9/20 – Added in a missing bio obtainable through the Portal Painting fail in CtM.
8/9/20 – Added in a missing bio that can be obtained in ItA after using the Prototype disk.
8/20/20 – Added in a missing bio in Escaping the Prison, as well as information regarding the security guard in Infiltrating the Airship.
10/13/20 – Fixed a few typos and small bits of missing info, courtesy of a few people in the comments (you know who you are.)
Before commenting/reading
PLEASE read the whole guide if you’re someone only here for the bios, ALL of them have been outlined by now. I’ve been getting a lot of comments and even friend requests to help, when the bios are clearly shown in the guide. PLEASE double-check the guide if you really can’t find your missing bios, I’m working on other games and guides right now, and I can’t always be awake 24/7 trying to help those below. Also, stop going directly to the comments without actually reading the guide, your comments will likely be ignored, unless I’m editing something here.
EDIT1 – 8/11/20: Thanks for showing your support! We’ve recently hit the 50 rewards mark, and I thank you all.
EDIT2 – 8/17/20: Wow, 100 awards! You guys are the best!
EDIT3 – 8/27/20: 200 awards?! Amazing!
EDIT4 – 5/28/21: Its been nearly a year since this guide’s been out, and people seem to keep asking where bios are, despite what I put above. Doge and skeleton comments (or anything relating to them) are also being used to clog the comments, and provide nothing to the guide or comments section, aside from just taking up space. So as of now, these comments are being deleted. I get notified everytime a comment is set for this page, just to be greeted to these spammy comments. No, I will not unsub from the comments, because I genuinely like the people that read my content and give me feedback.
Breaking the Bank (Achievements)


Breaking the Bank (Bios)
Breaking the Bank has 5 bios, making it the shortest of all the games in the collection. Henry’s is automatically unlocked at the start, meaning you’ll only need to get 4 of them.
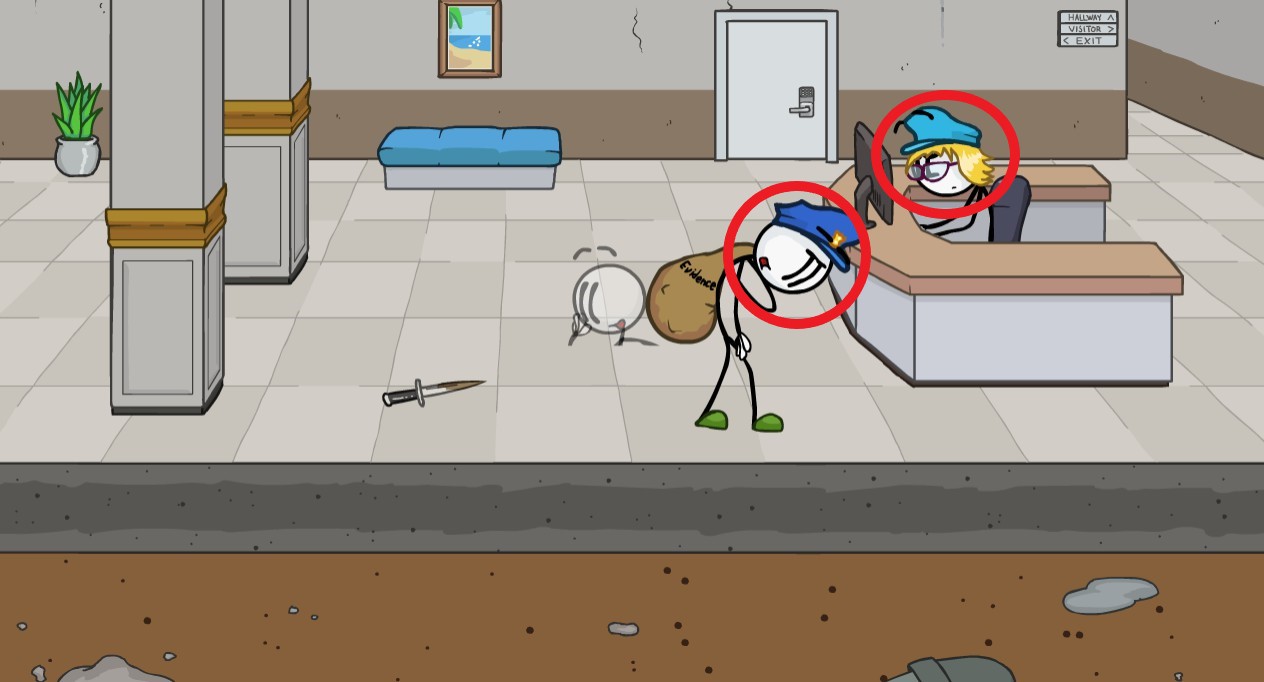
After clicking the disguise bag, right-click both of the cops as they come to pick up the bag.
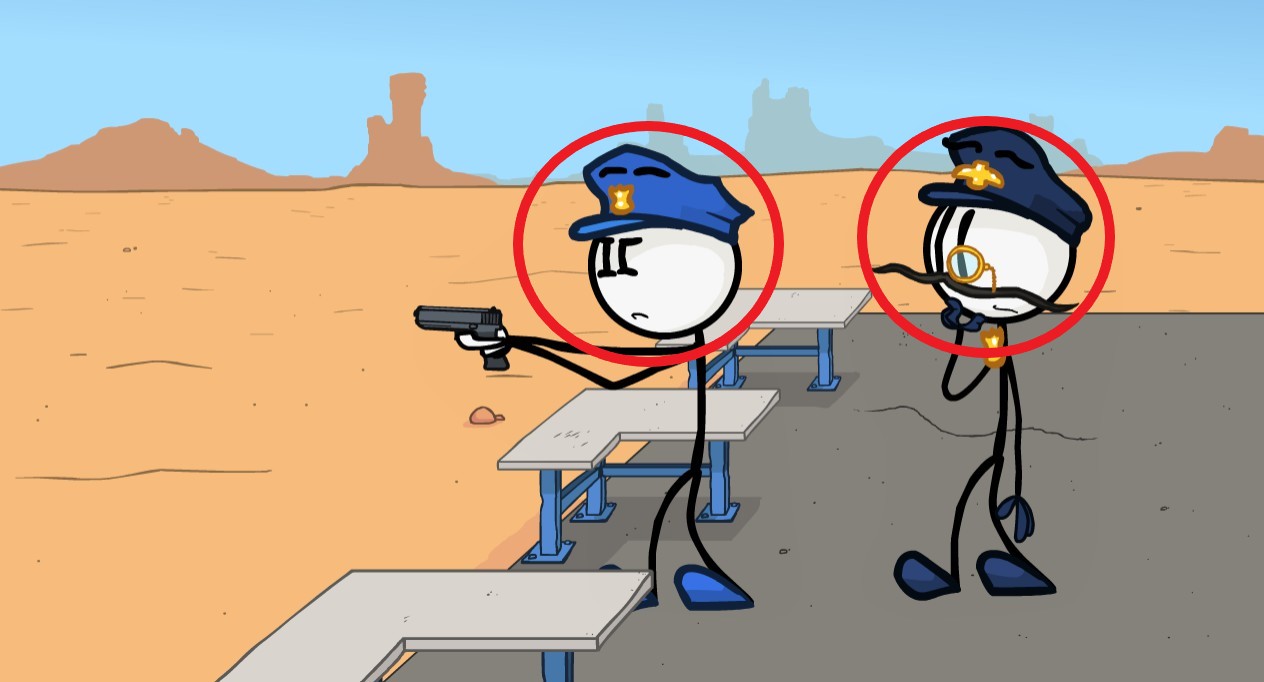
Before the armored truck enters the bank, right click both the security guards.
And that’s it, for Breaking the Bank!
Escaping the Prison (Achievements)


Escaping the Prison (Bios)
As with Breaking the Bank, Henry’s is given automatically at the start of the game. However, any games from this point on will only have one cutscene listed as to where you can find them, due to most characters appearing multiple times in future games.
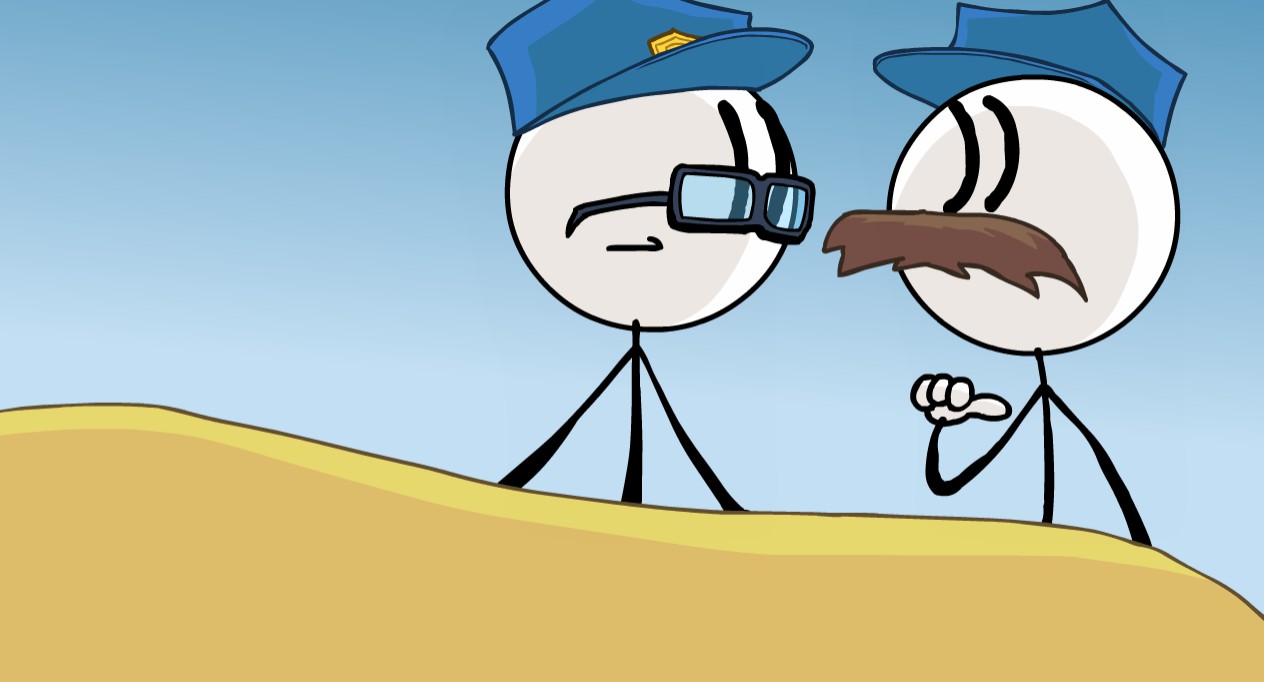
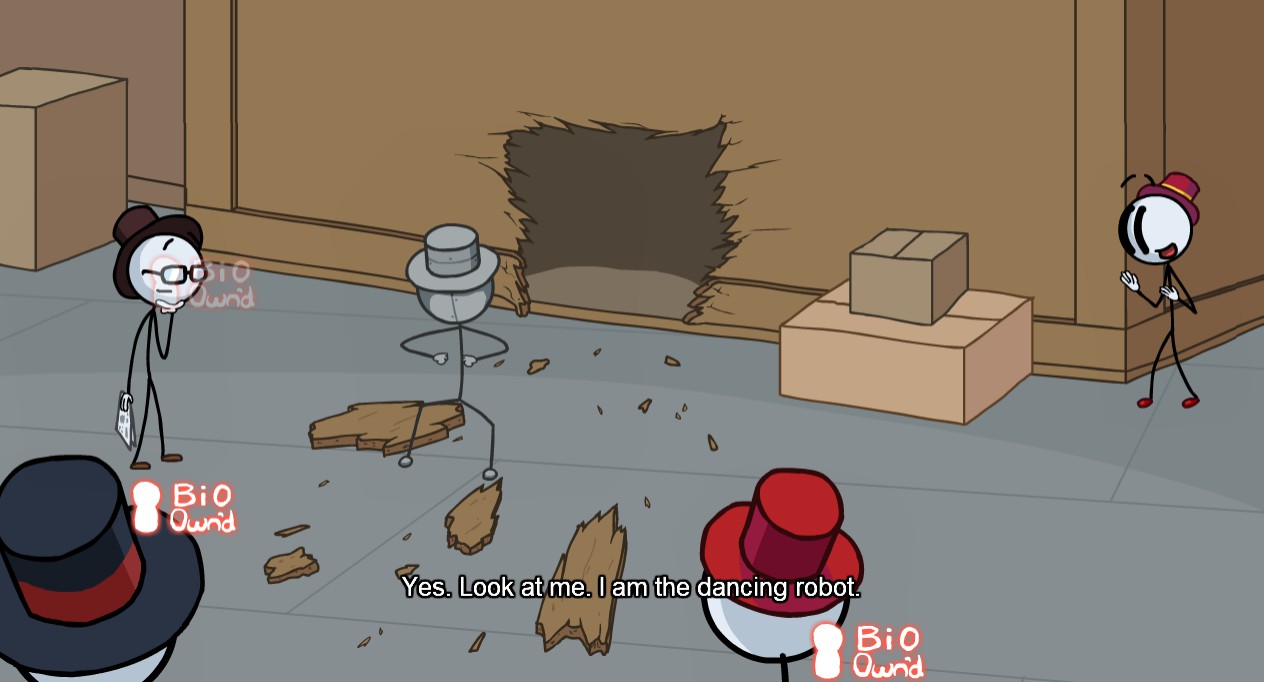
Right-click both of the officers in the intro.
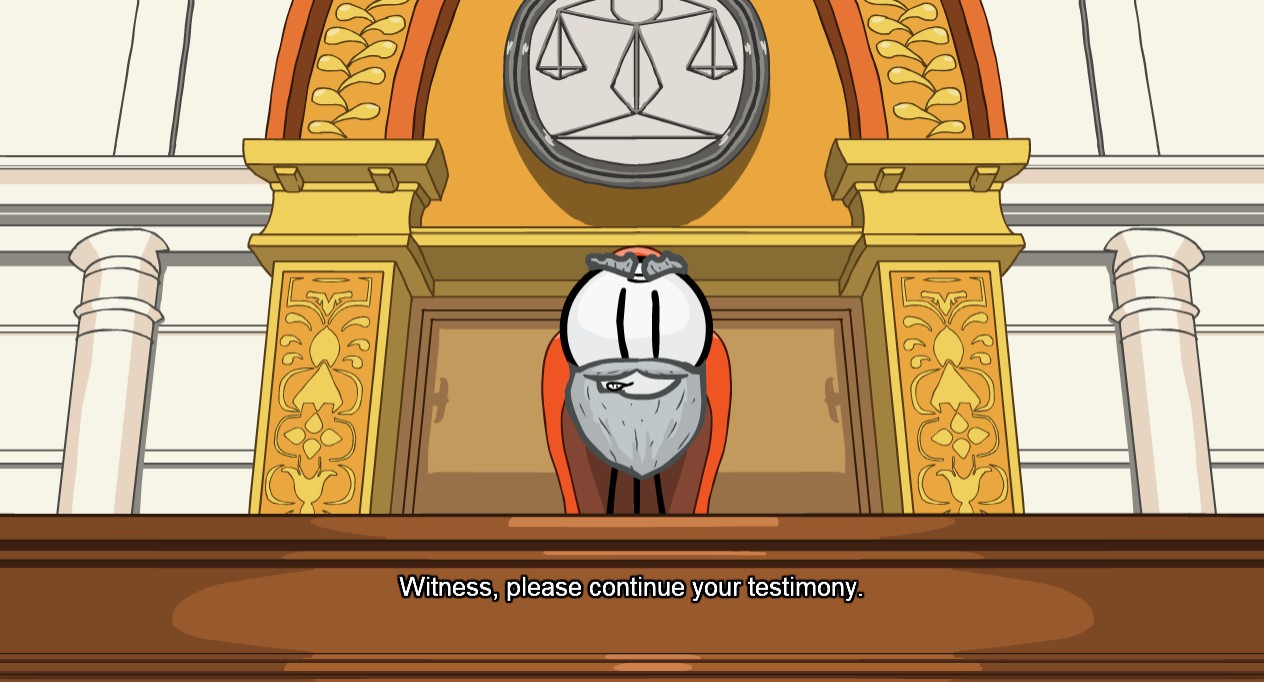
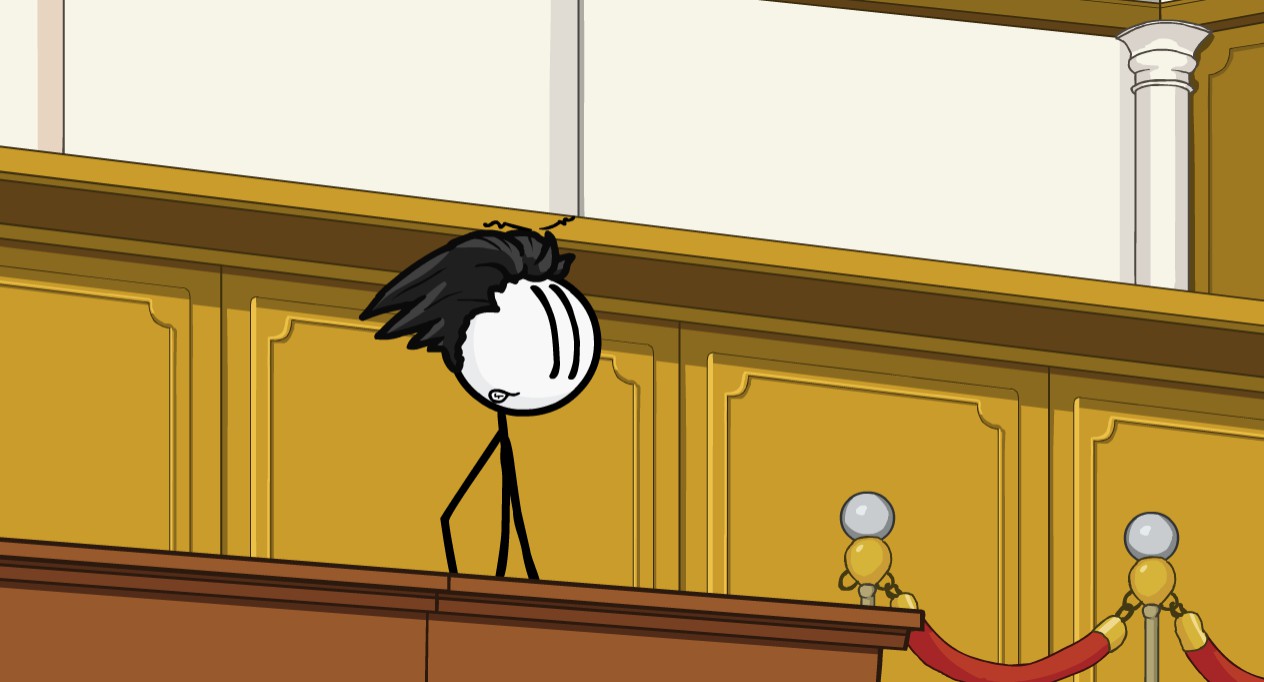
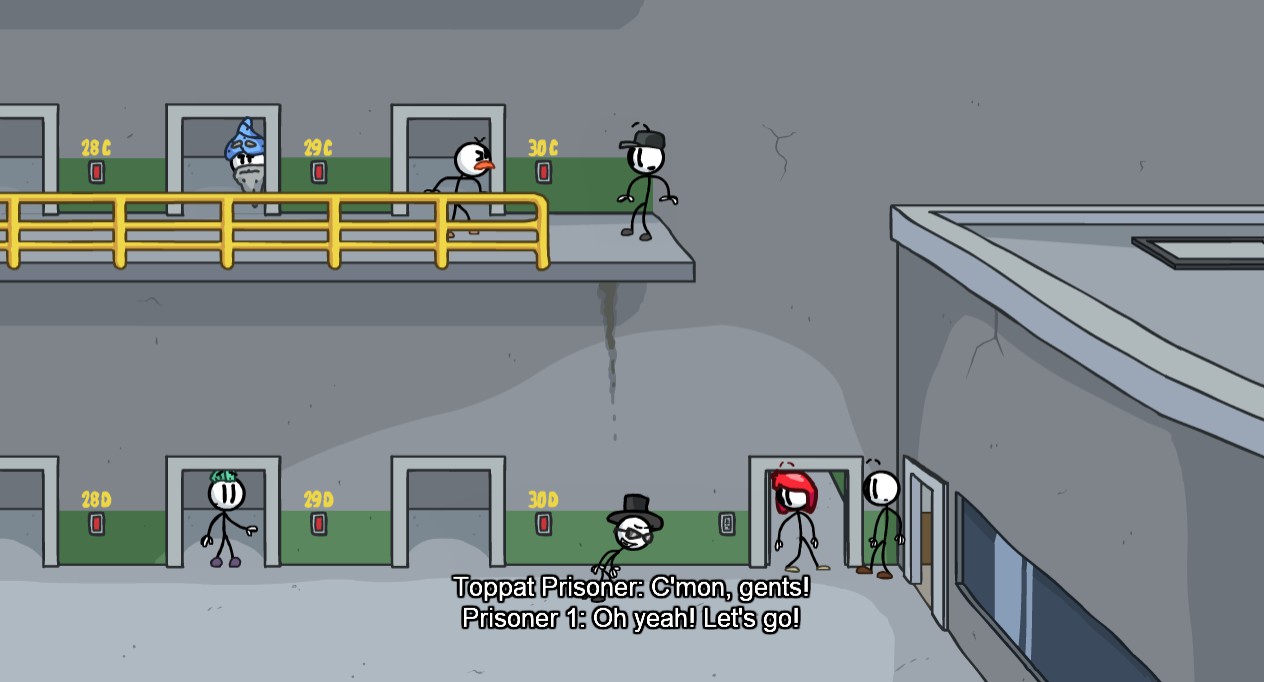
Right-click everyone you see in the Courtroom after choosing the Cell Phone.
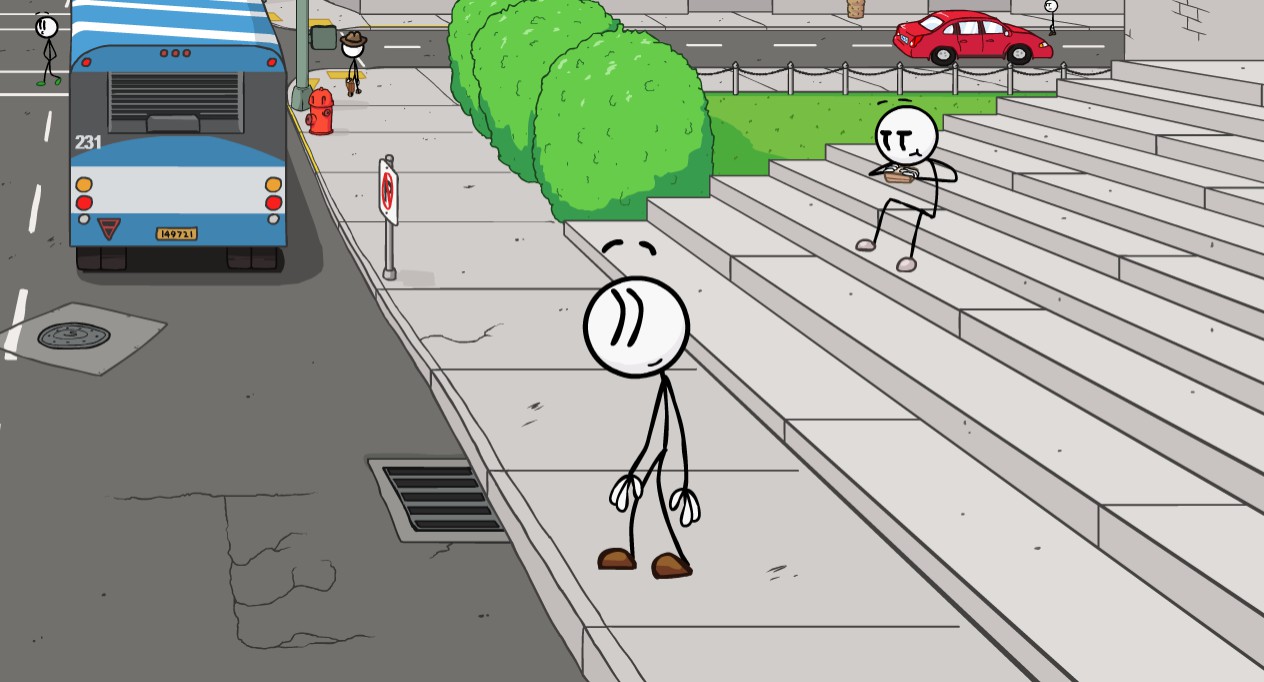
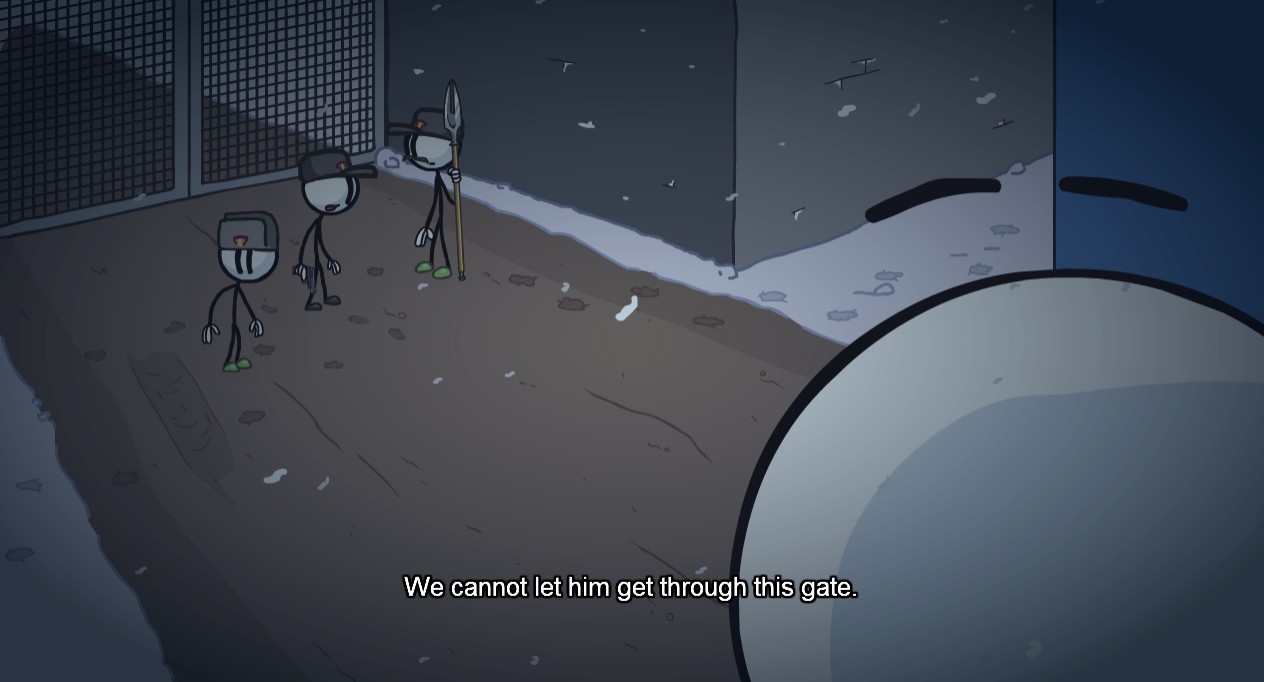
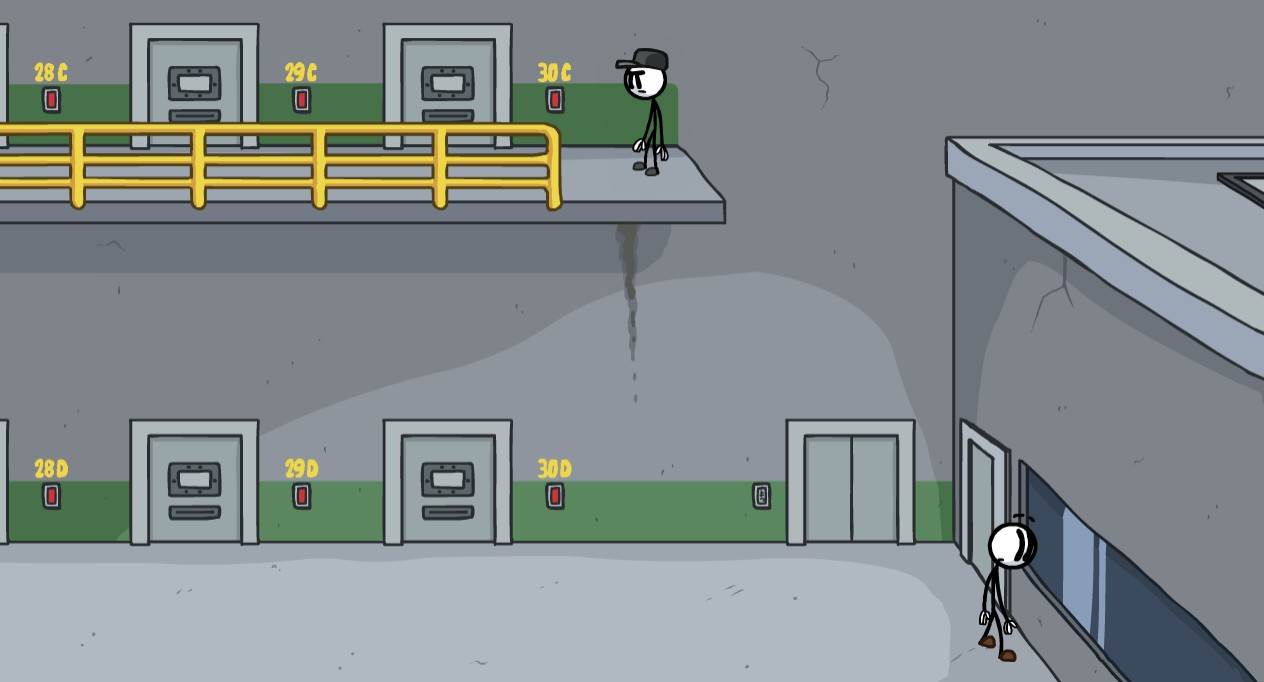
Right-click everyone after exiting the Courtroom. Be aware that the man by the bus is barely visible, and comes into view on the left side at the last second.
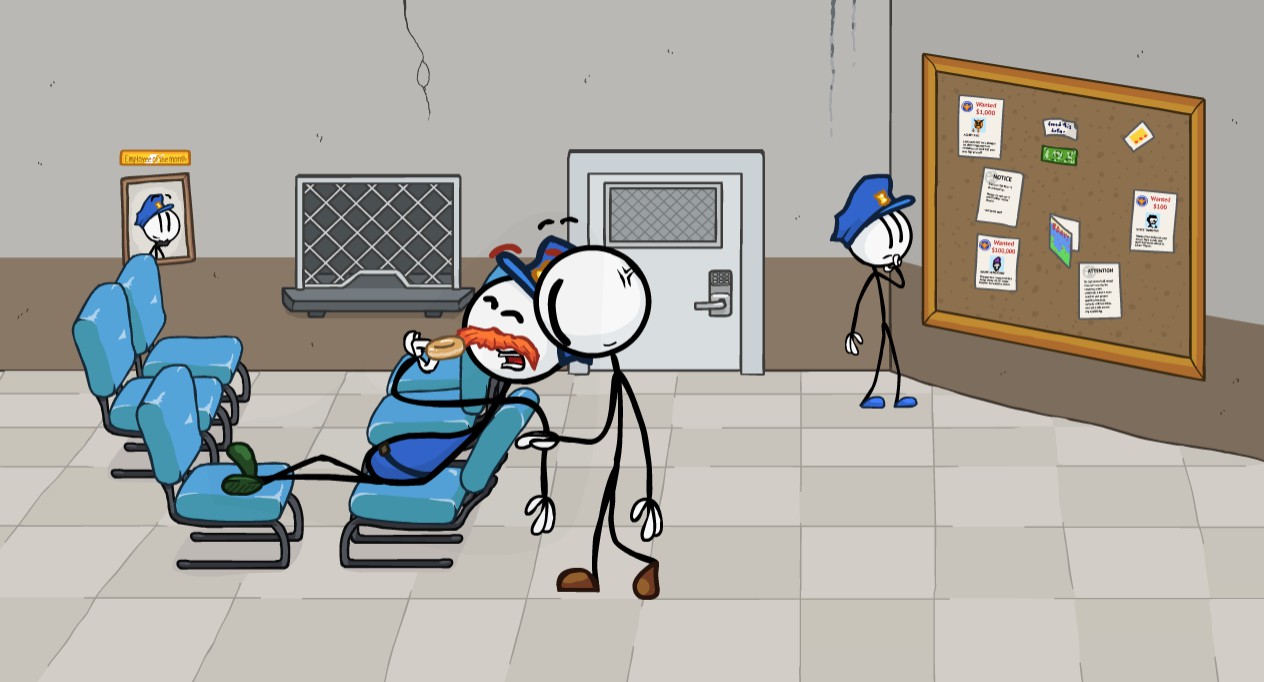
After reaching the Back Lobby, right-click both officers as they appear on screen before the quick time event, or after clicking the down arrow of the first event.
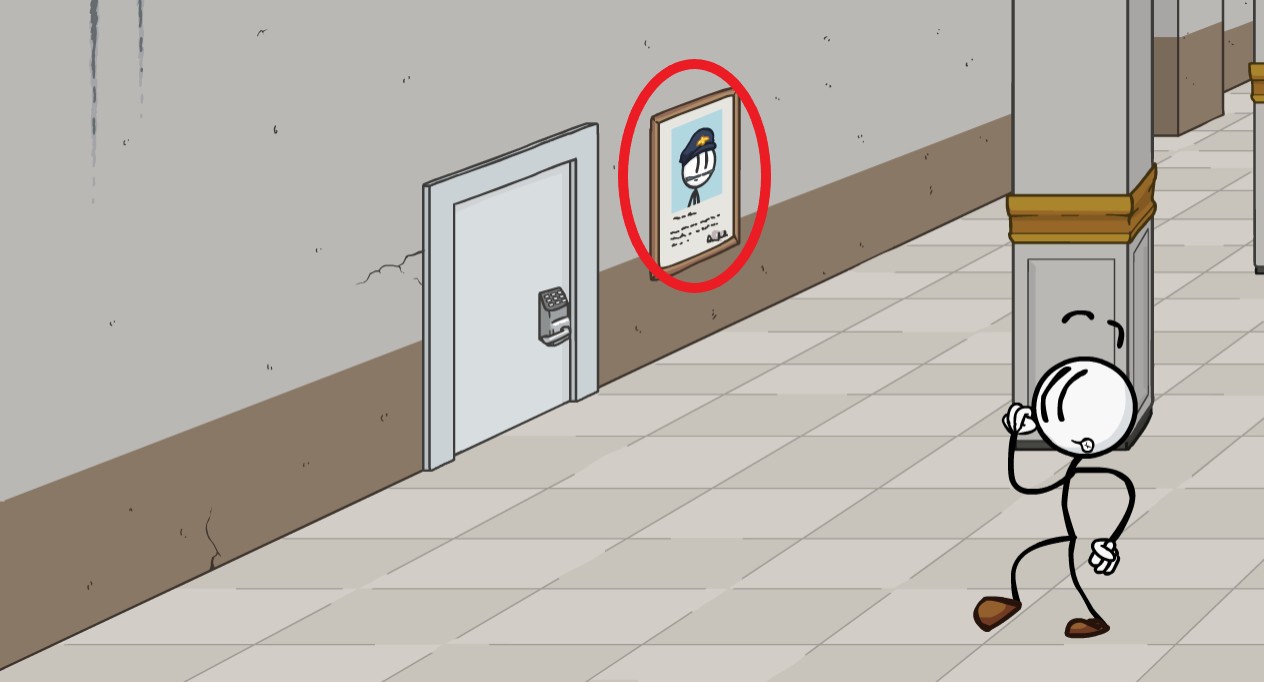
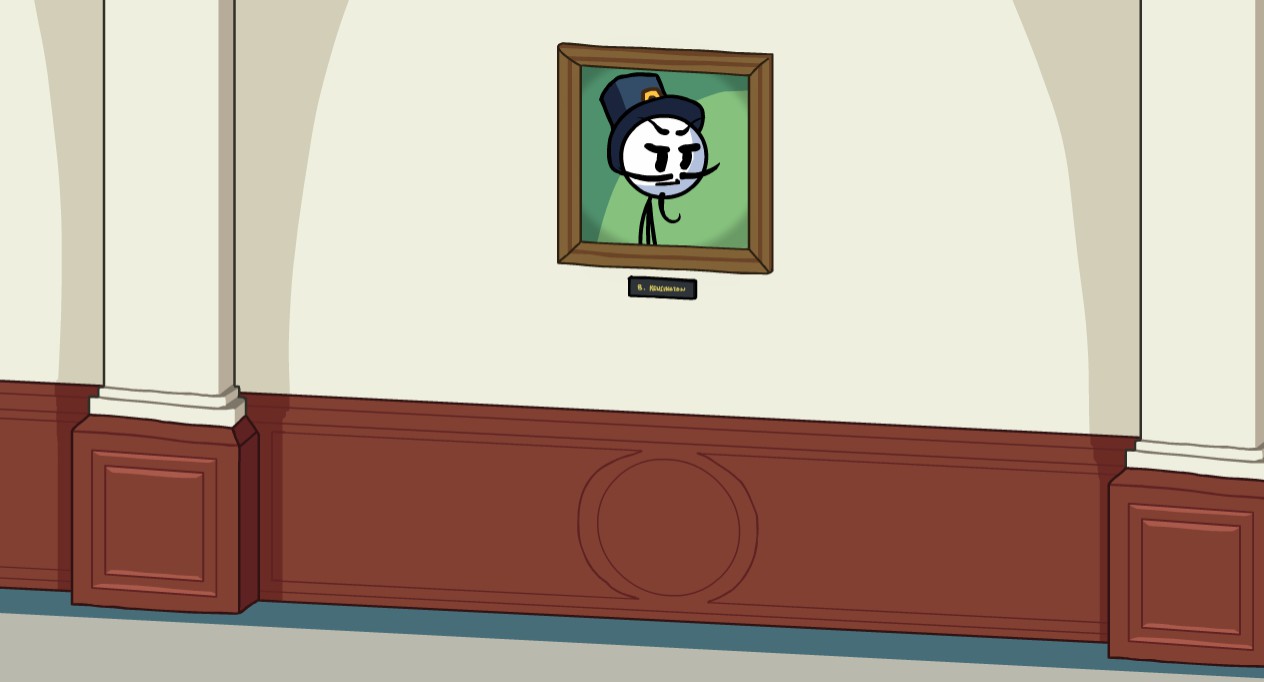
Before or after clicking the arrow towards the wall, right-click the man on the portrait.
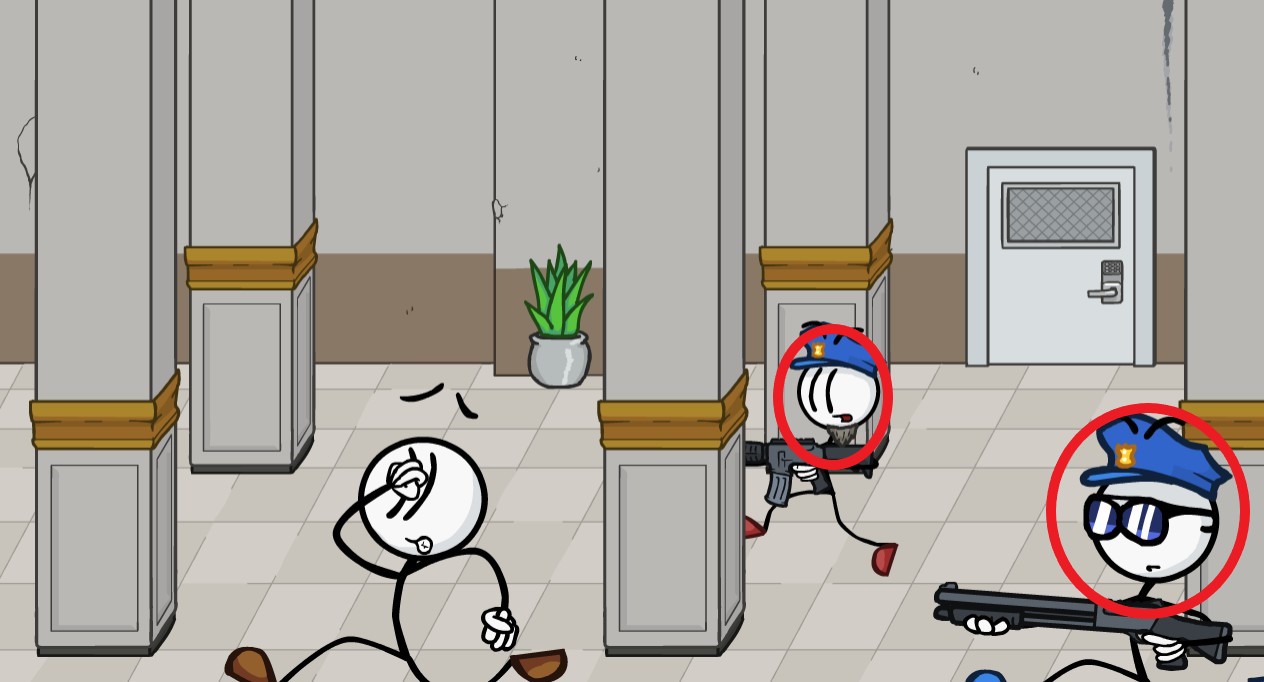
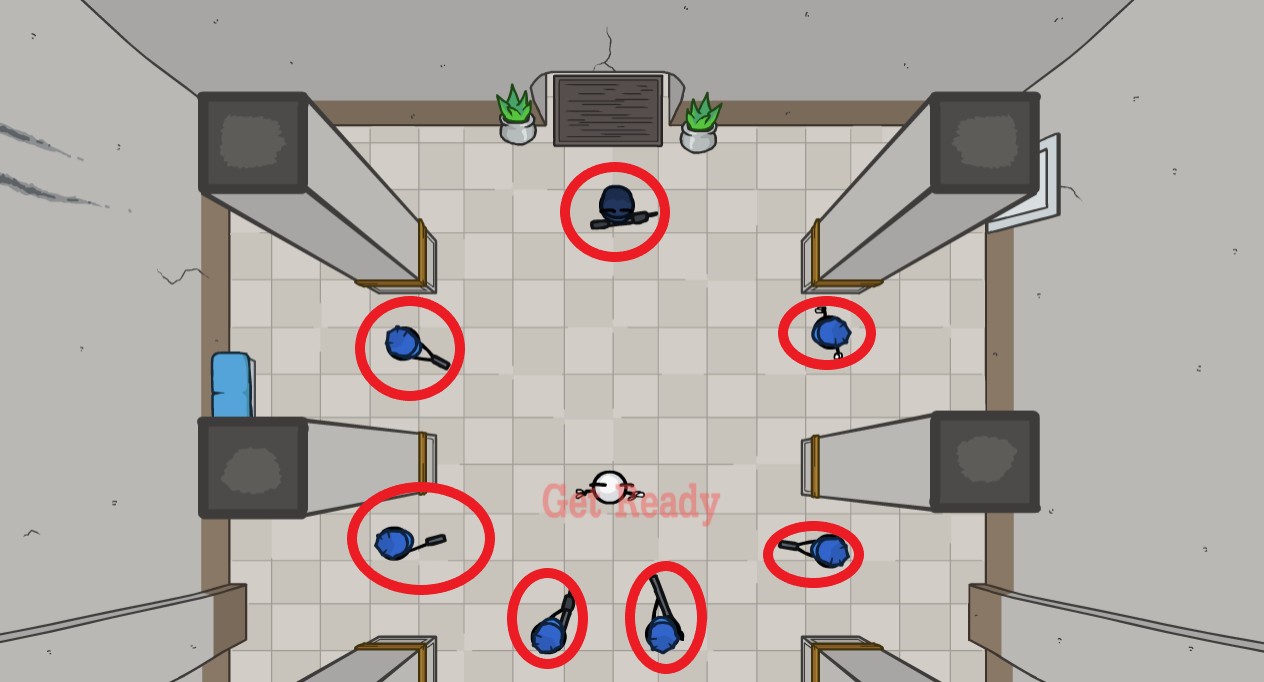
Right-click ALL the officers before the quick time event starts.
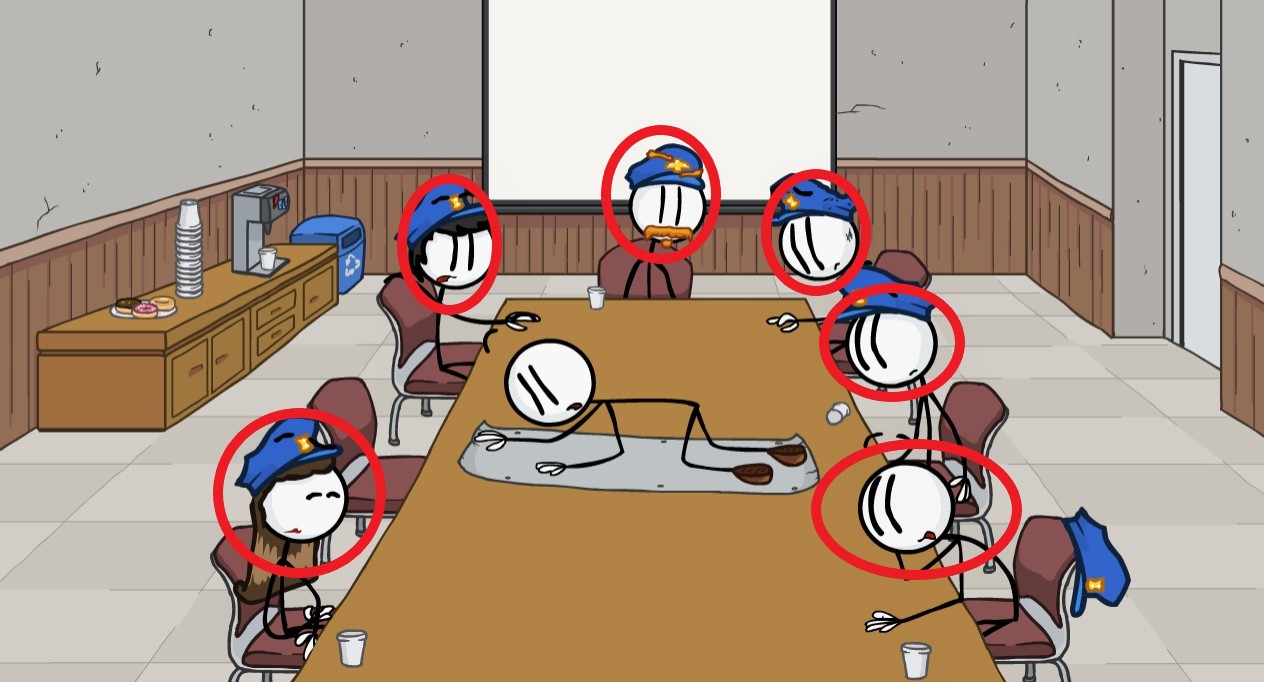
After choosing the Ocapitator, right-click everyone in the screenshots below, including the skeletal-stick figure.
Right-click both officers before entering the Closet, or during the Belt of Grenades cutscene.
After using the Chair in the closet, go to the left pathway in the airduct. Be sure you’re quick, as you need to right-click ALL the officers in the room.
Pick the Teleporter, and right-click all the officers as soon as they appear before the failure message.
Pick the Rocket Launcher and right-click the man before the rocket comes back.
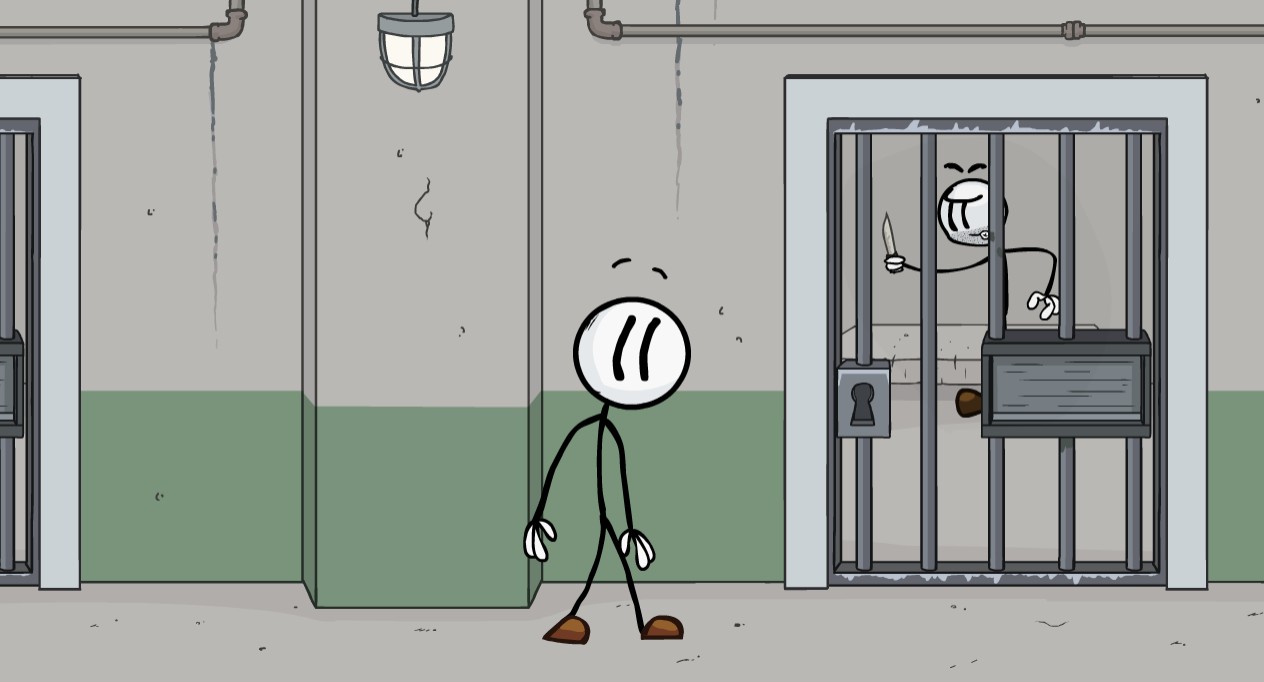
Pick the NrG Drink, and right-click the prisoner with the knife.
Towards the end of the NrG Drink cutscene, click the portrait.
Stealing the Diamond (Achievements)


Alternatively, you can watch this video to help out.


Stealing the Diamond (Bios)
As usual, Henry’s bio is unlocked at the beginning. This game isn’t particularly difficult with the bios, as it actually has less than Escaping the Prison!
Right-click both of the guards.
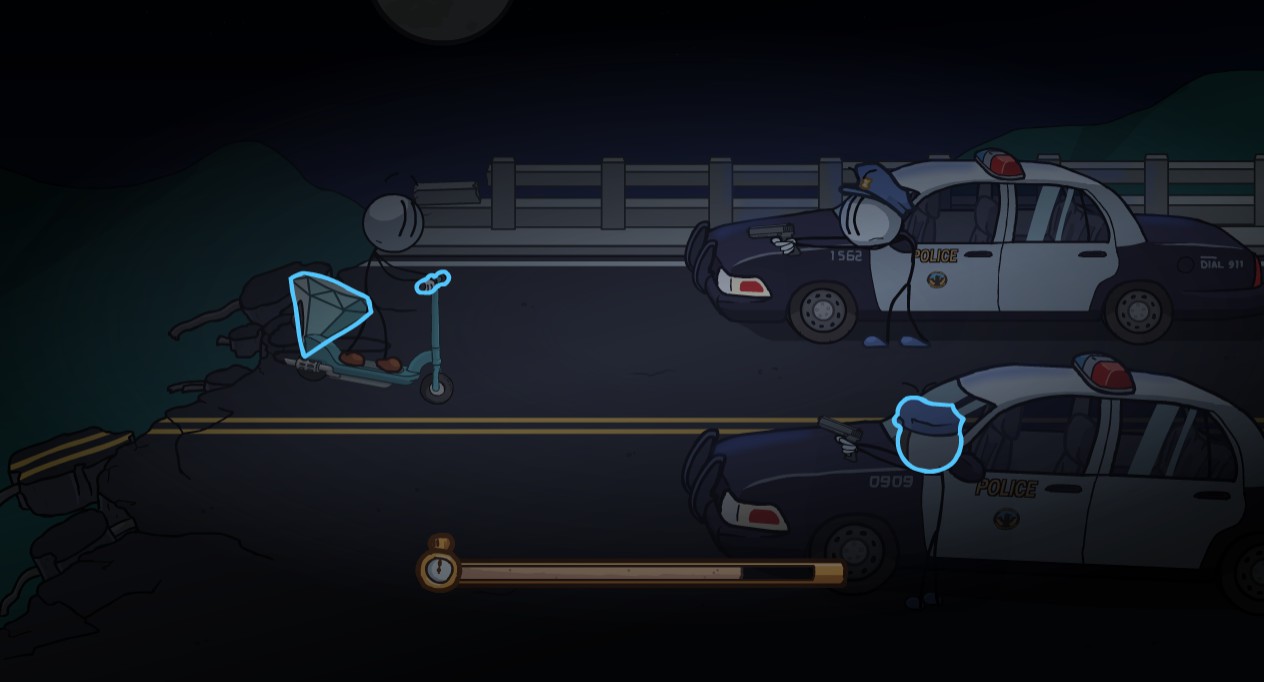
After ramming one of the guards, click both guards. Be sure to be quick with the one on the right, as he only peeks out for a split second.
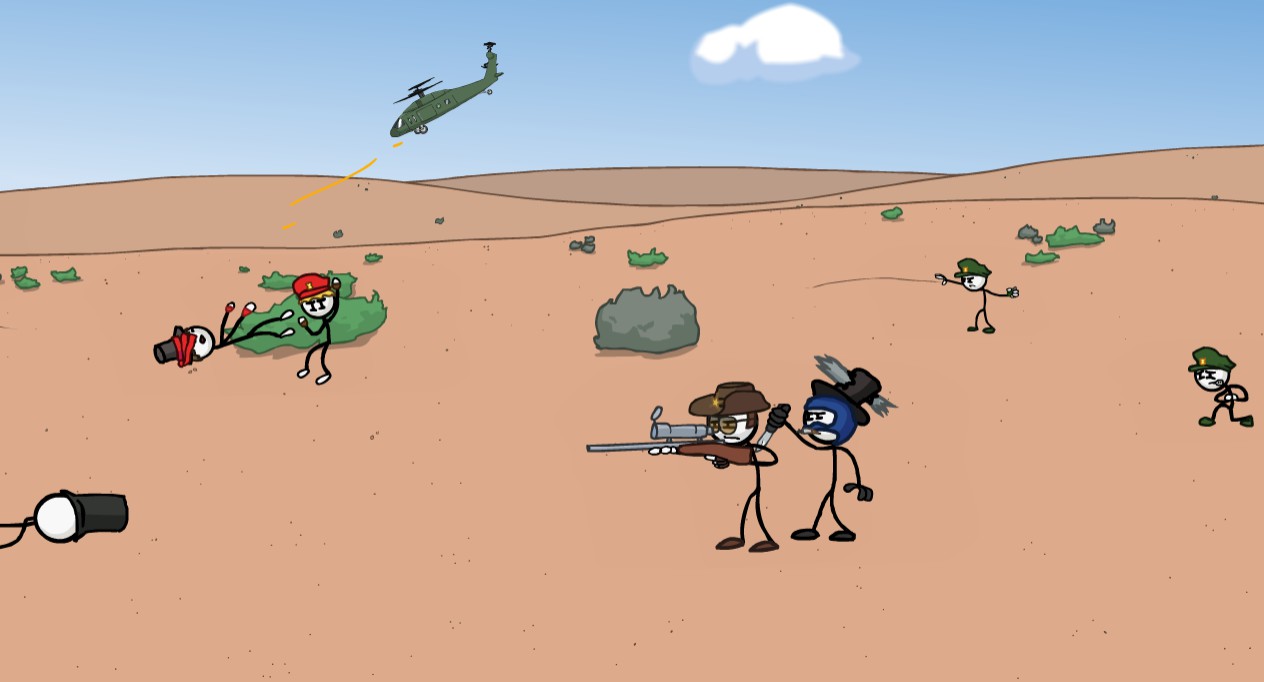
Click the helicopter pilot, and the sniper.
Click the top officer. Right-click the other if you missed them earlier.
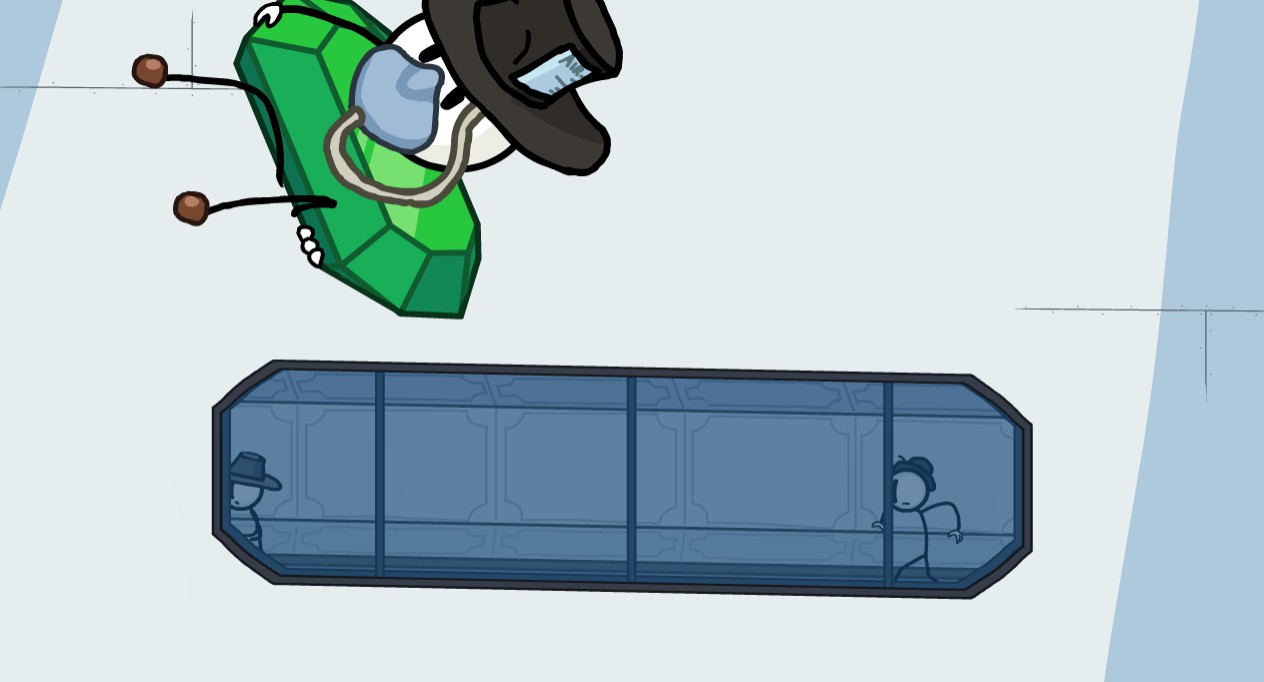
Right-click the guard on top of the roof.
Right-click the guard leaning against the steps.
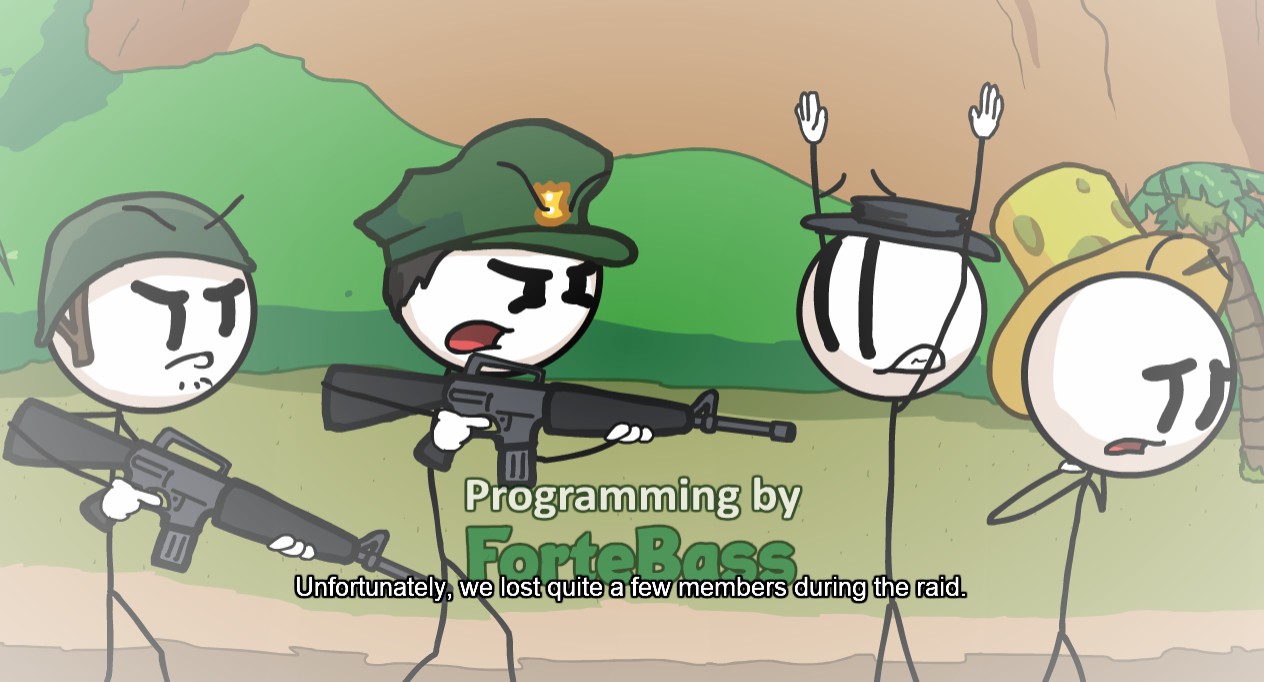
Click the right most officer, before the pterodactyl picks him up. If you missed the other two guards, they’re clickable here.
Click the officer in the doorway.
Right-click the guard if you missed him from earlier.
Infiltrating the Airship (Achievements)


Infiltrating the Airship (Bios)
Henry’s is unlocked at the start. This game is going to be slightly more difficult to get all the bios in one take, as there are cutscenes present in which there are several characters on screen for short periods of time. So be sure you’re quick with your fingers!

Click on both the captain and soldier.

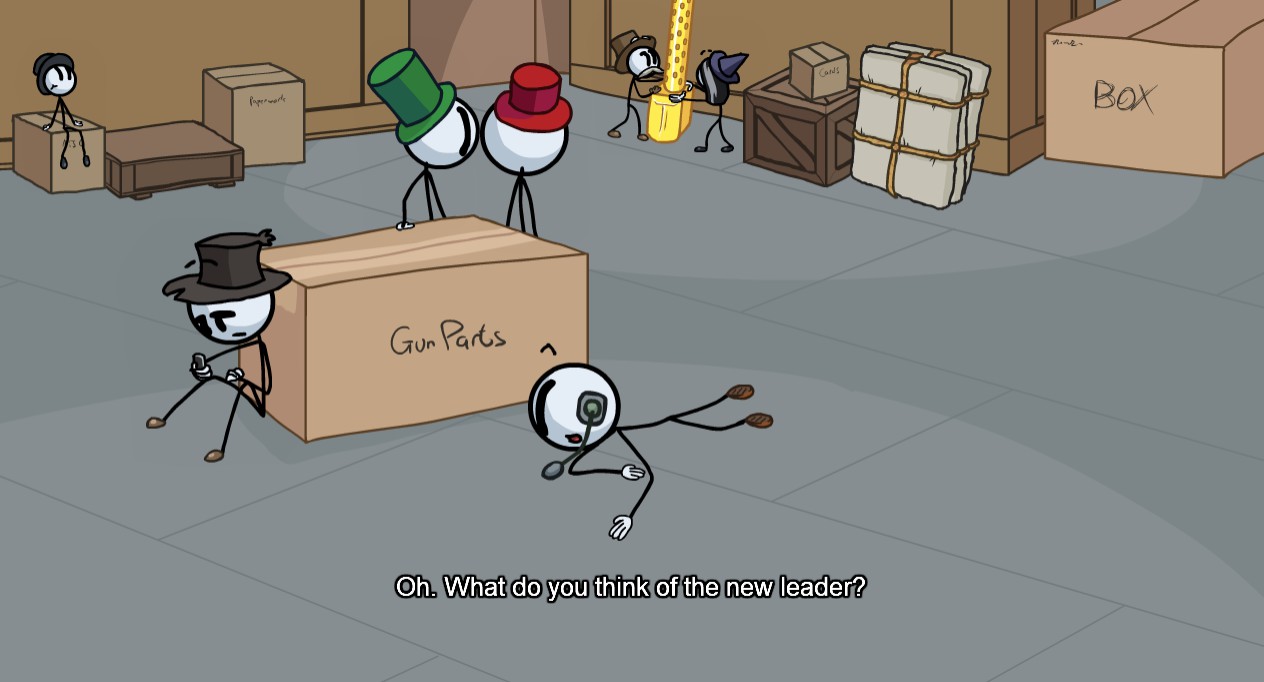
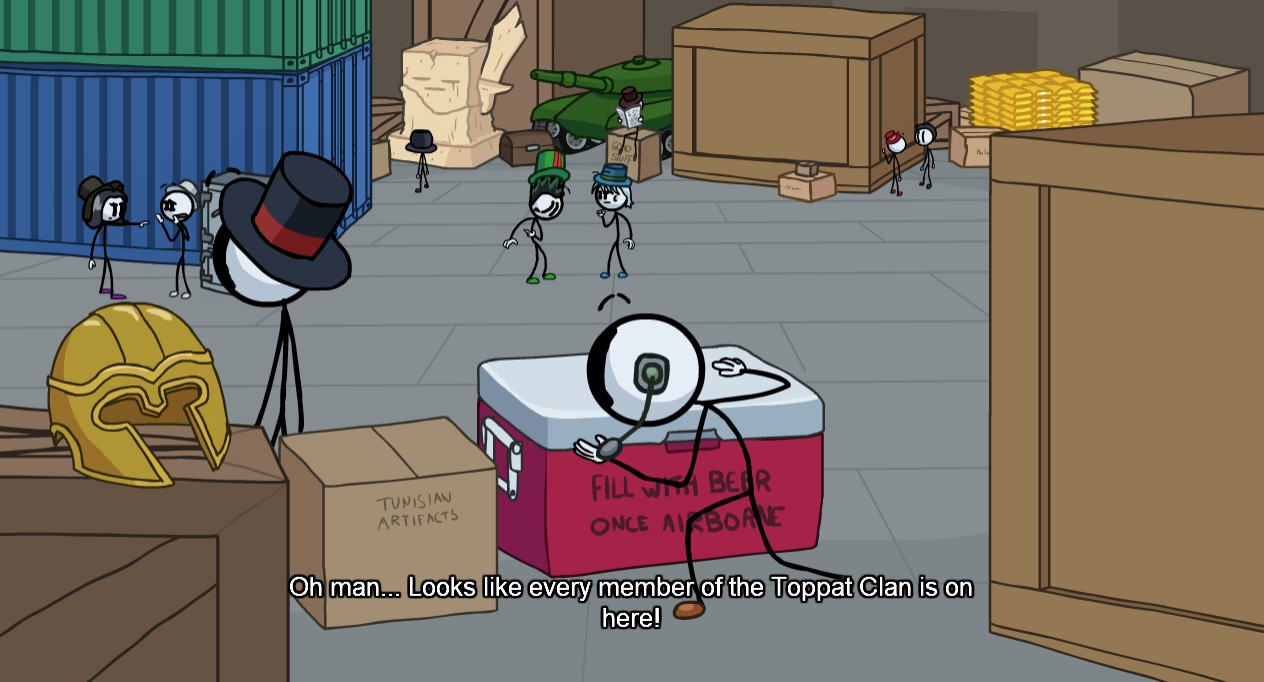
Click on ALL of the Toppat members shown.
In the right-most cell, right-click the officer. Even after freeing him, you can still click where he was before. If you still can’t find him, try using the Cannonball and go from there.
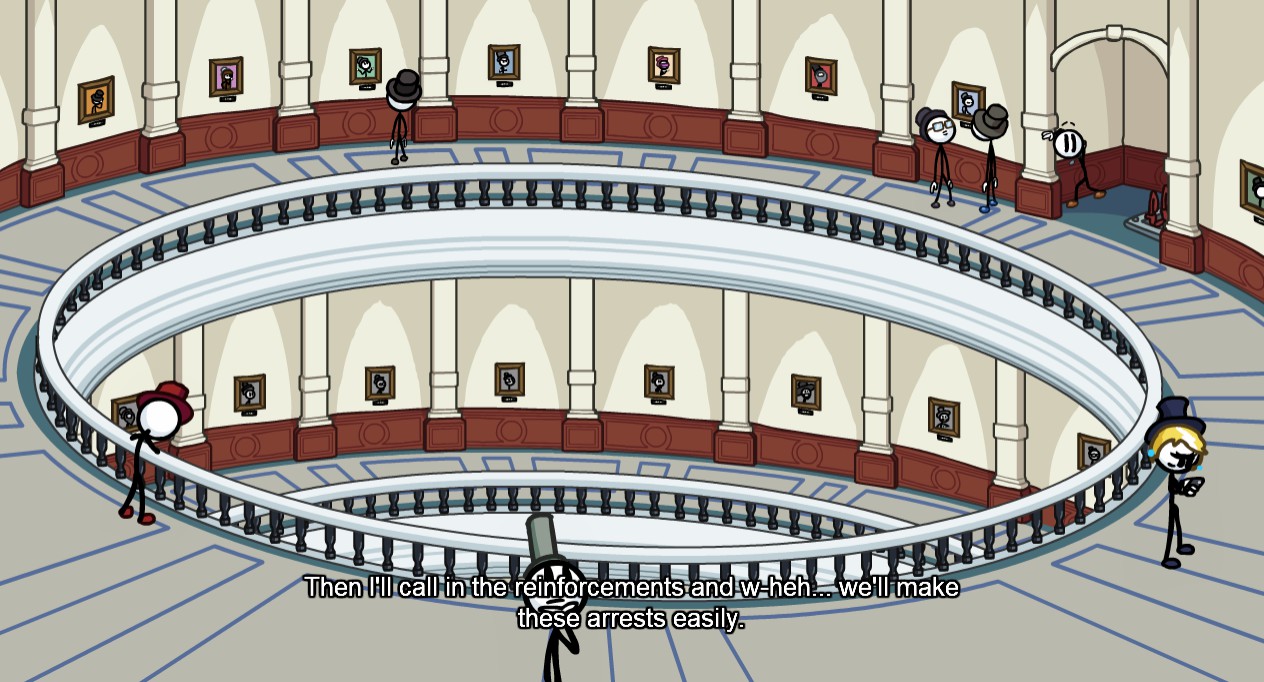
Right-click on ALL the portraits in the hall, as well as the Toppat member who tries to stop you.
While on the Outer Wing of the Airship, use the Propane Tank and right-click the Toppat member before the failure message comes up.
Right-click ALL the soldiers here.
Right-click on all the Toppat members here. Beware that the white-hatted person with the pipe runs off screen very quickly, so this may take a few tries.
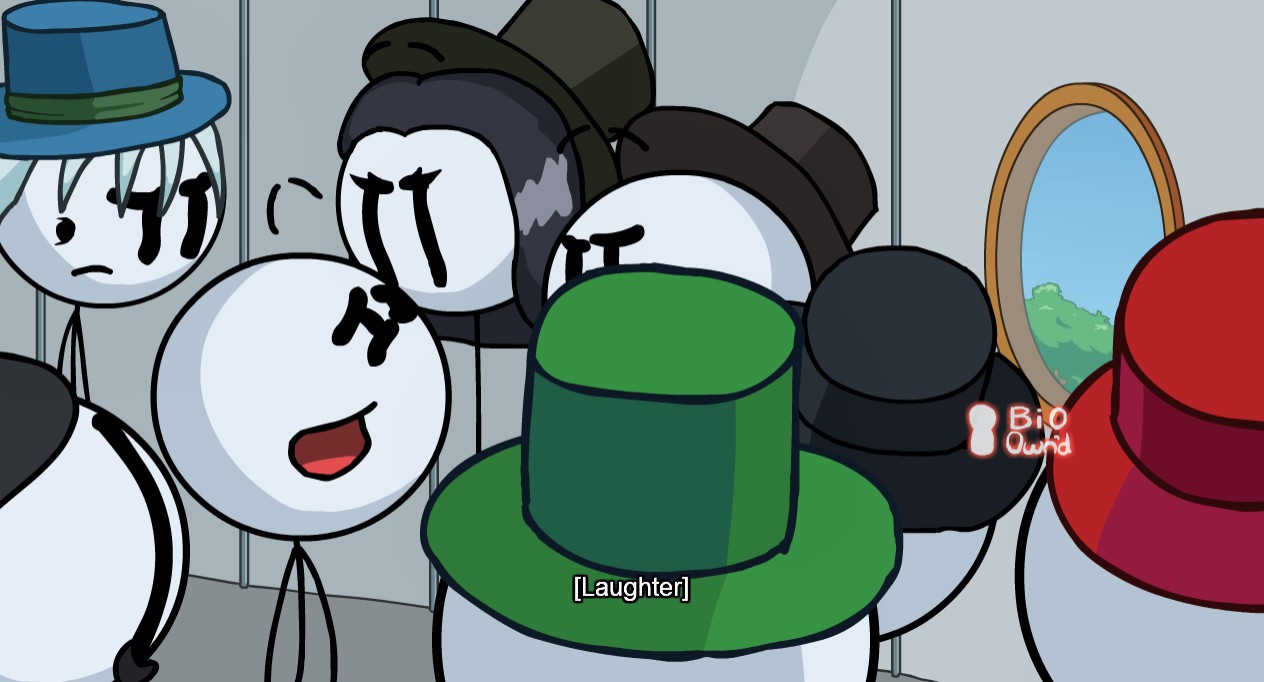
Right-click on EVERYONE here. May take multiple tries.
Right-click on both the people before given the Center for Chaos Containment choice.
Pick the disk that has “D.E.B.” written on it, and click on the wife and son in the portrait.
Click all of the armored soldiers after picking the “Prototype” disk.
Click the Toppats before they get vaporized.
Knock on the hatch, and right-click the Toppat member.
Use the disguise, and right-click EVERYONE at the table.
Right-click the guy stuck in the elevator.
Right-click the guy trying to open the door.
Right-click the blue-hatted guy at the table.
After re-routing the power, right click the guy in this room.
Before given your choices, right-click both of them. If you don’t get them, clicking the Banana Bomb gives you a second chance.
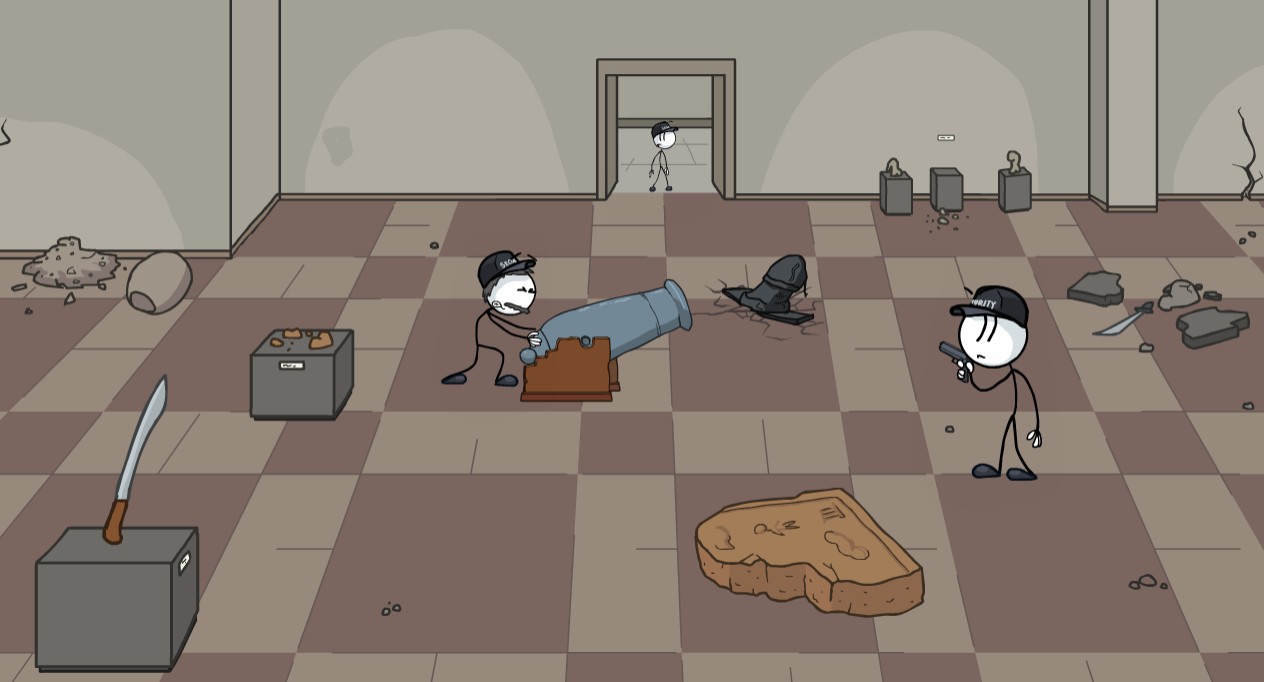
Click both of them before the cannonball gets into the ship.
Click EVERYONE here in the Cargo Bay. (If you somehow missed the leader on previous paths and the intro, he’s clickable here too.)
I think the people in this screenshot are new? They’re clickable, and the cutscene lasts a decent length, so I’d click them. Plus, you can get some of the ones you missed.
Fleeing the Complex (Achievements)


Fleeing the Complex (Bios 1/2)
As per usual: Henry’s bio is unlocked at the start. This game has a lot more cutscenes with a lot of people on screen in a short time frame, so be sure to get them.
RIght-click the man quickly behind Henry. If you miss him, you can get him again before being given your first set of choices.
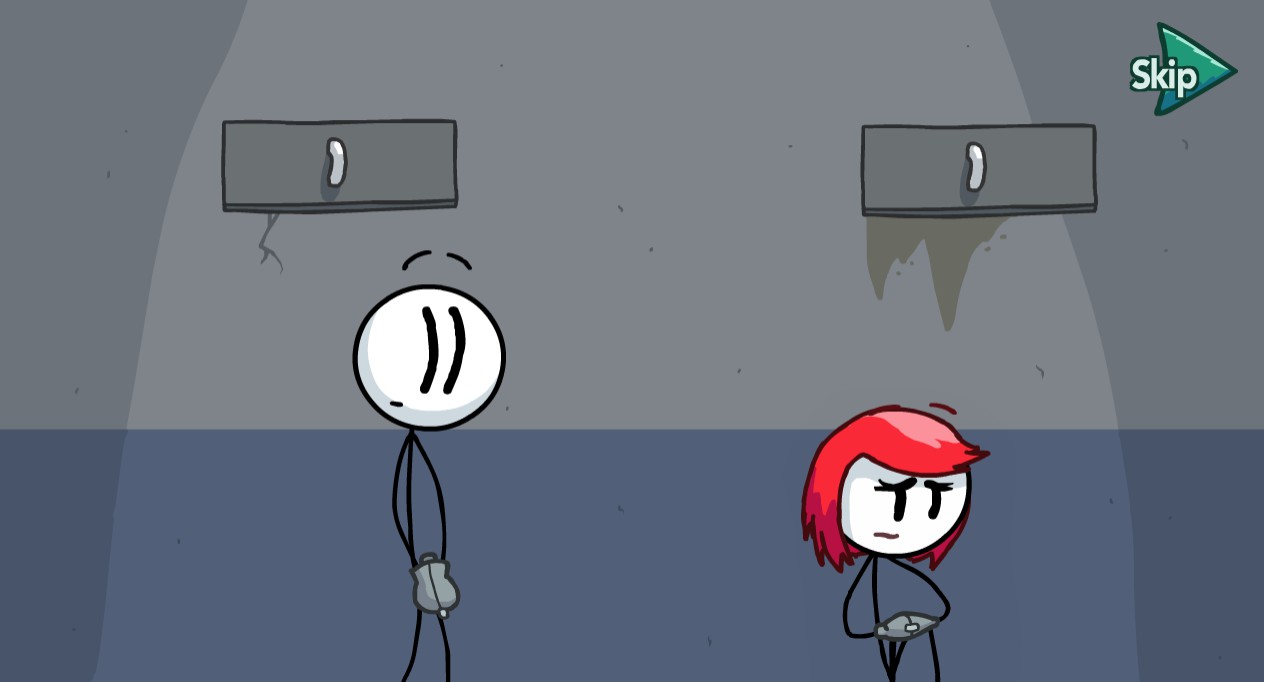
Right-click the redheaded girl.
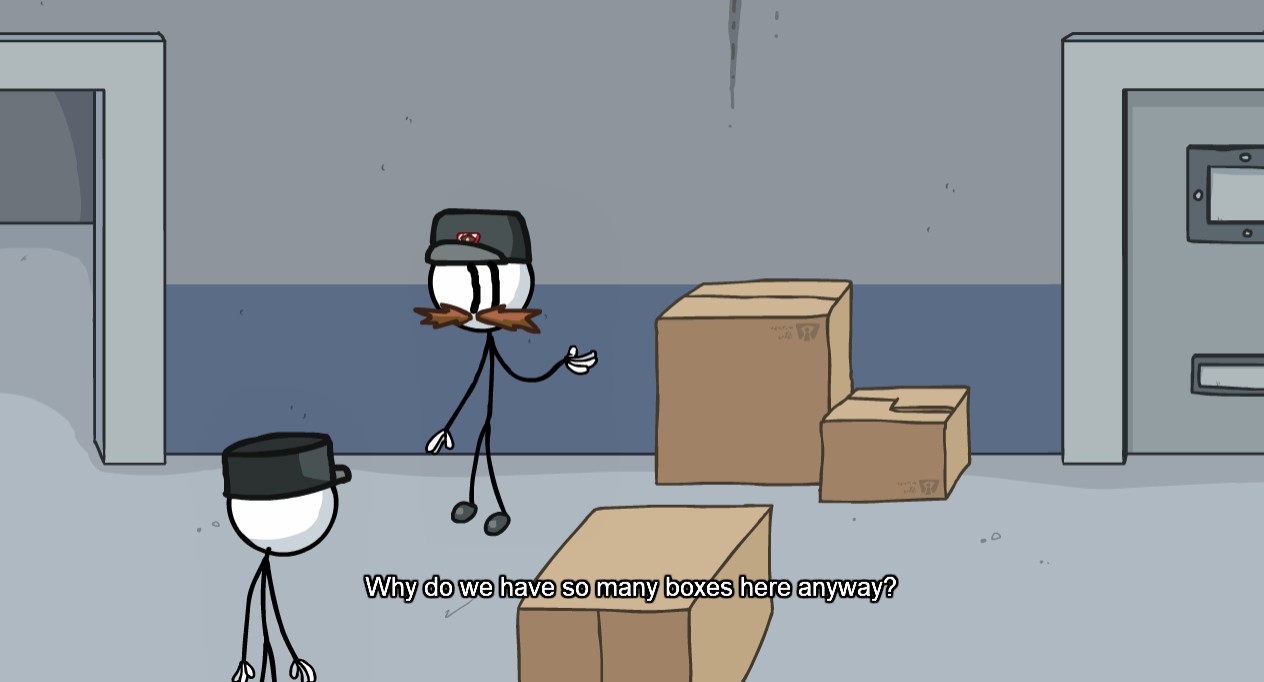
Pick Charge Tackle, and quickly right-click the guard. If you miss him, you can intentionally not pick anything for the quick time event and get him there instead.
Pick Acrobatics, then right-click both the guards.
After picking the item box, right-click the two guards quickly.
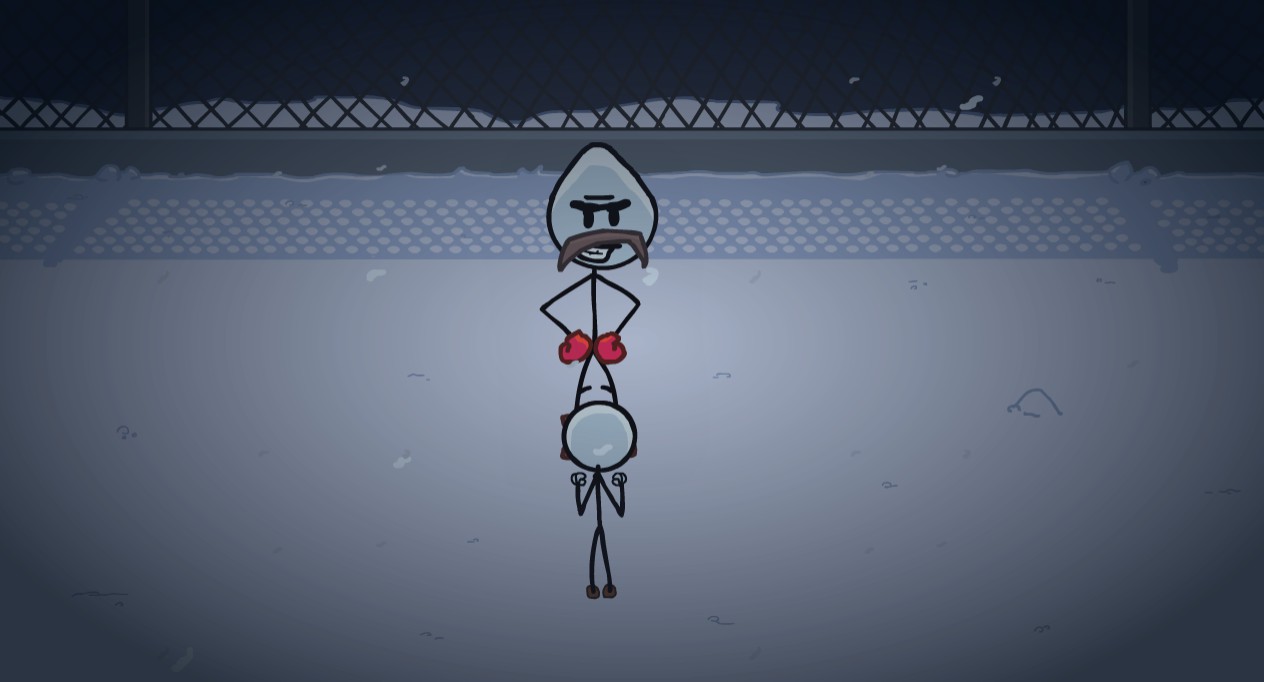
Click to fight the boxer, and right-cick him before the failure message appears.
Fight the tank, and right-click the guard.
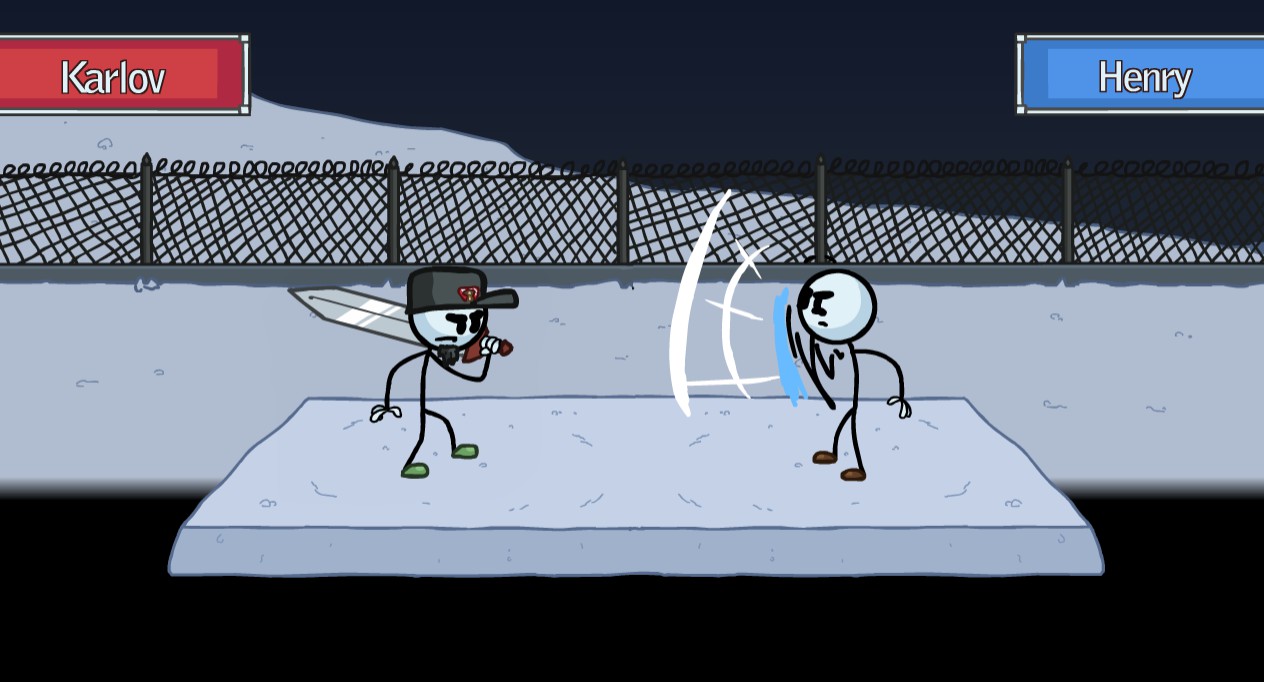
Fight the swordsman, and right-click him before he is defeated.
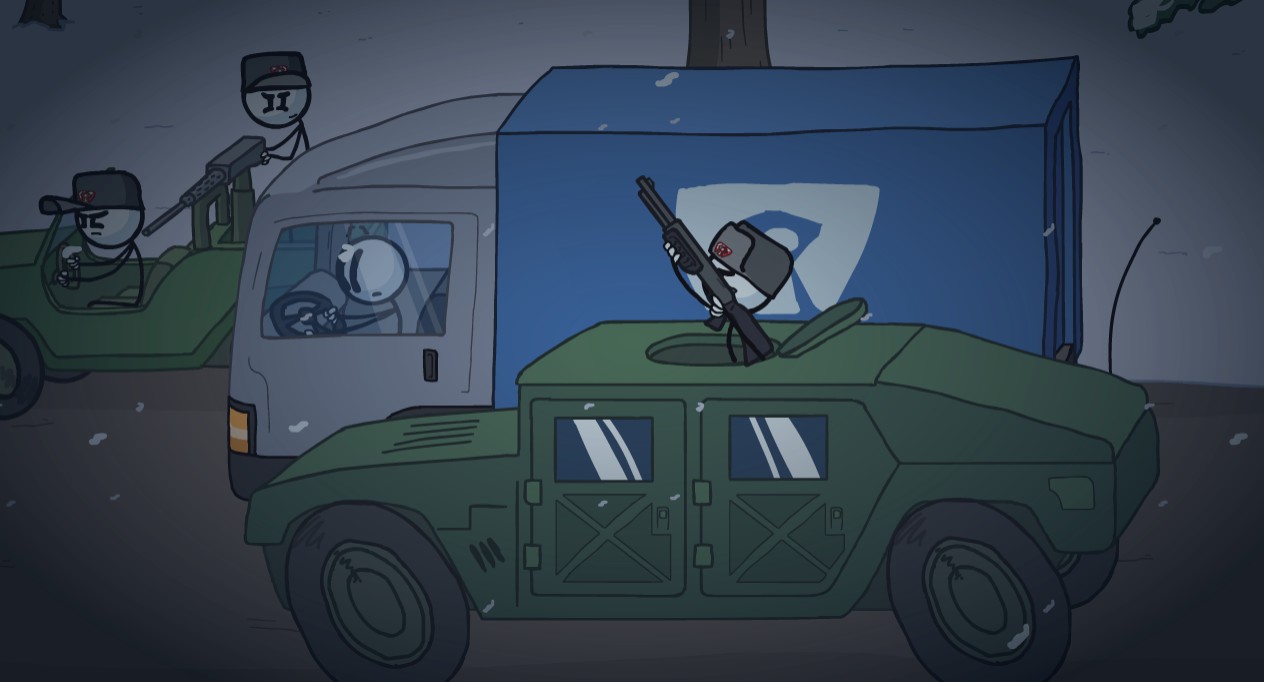
Right-click the driver, gunner, and the shotgunner.
Pick the bail option, and right-click EVERYONE. This also makes right-clicking the driver and gunner of the jeep easier.
As soon as you call the Toppat Clan, right-click the both of them.
Pick the Neurotoxin, and right-click EVERYONE in the scene.
Use the Drill Pod, and right-click all the Toppat members.
As soon as you call the Government, right-click Charles.
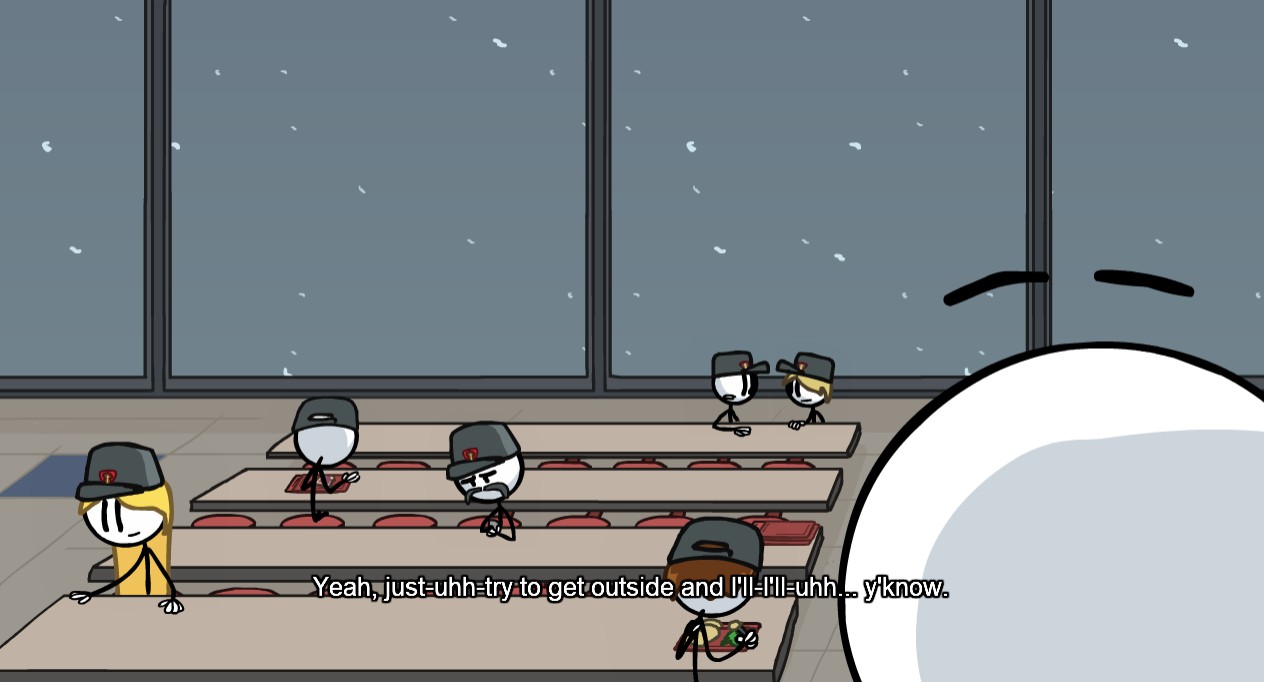
Alternative scene if you only need the guards at the front of the Cafeteria.
After using Flash, right-click on the guard.
Use the mini-helicopter, then right-click both of the guards before you’re given your choices. Alternatively, you can purposely click the upward arrow to click on both of them before the failure message pops up.
Right-click both guards after abandoning Ellie.
Right-click the guard on the floor above before being given your choices, or after using the Spring.
Use the Longshot, and right-click the guard before the failure message comes up.
Use the Button to call the Elevator, then right-click all four stickmen after the doors open.
Right-click both guards. Can also be done during the Leaf cutscene.
During the Leaf cutscene, right-click the man with the briefcase. If you’re going for the achievement, be sure to also left-click him.
Climb aboard the S.S. Annie, and right-click both the captain and sailor.
After using The Force, the cell doors will unlock. Right-click ALL the inmates, as well as the guard if you missed him.
Right-click the two inmates running out of the area before they go through the doorway.
Click both guards before or after using Toss.
Fleeing the Complex (Bios 2/2)
Right-click the convicts in the elevator after using Toss, or after using Pass By.
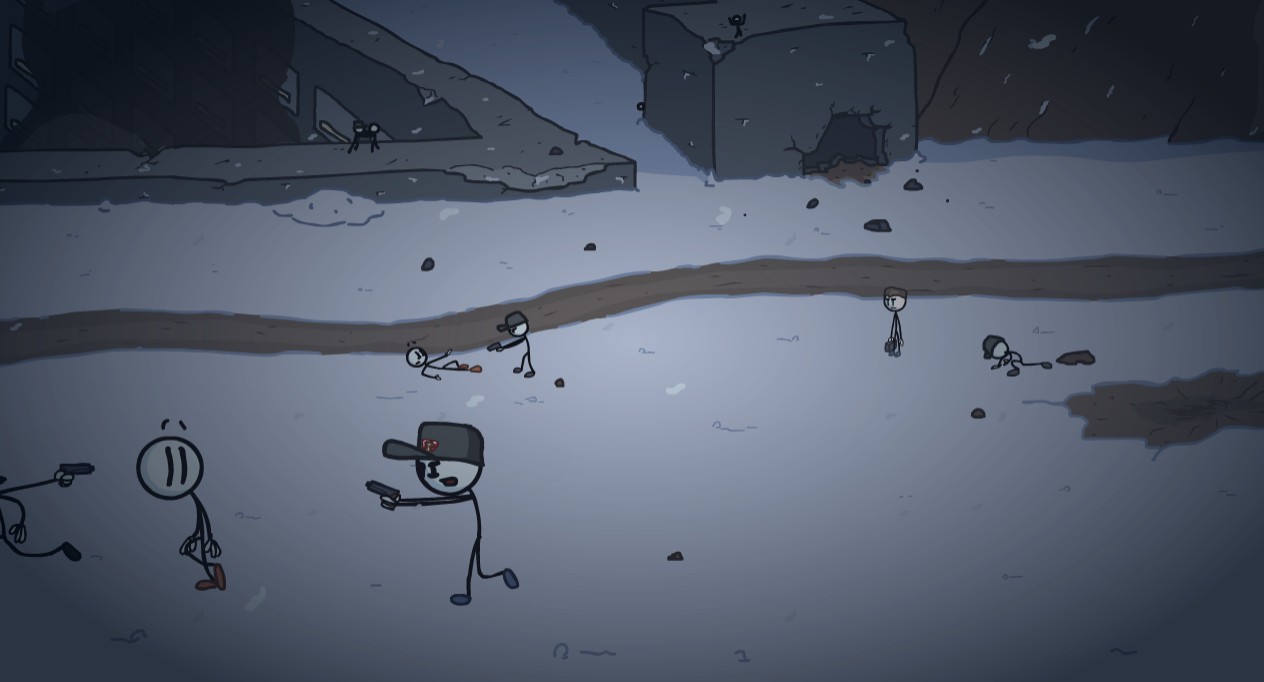
Right-click everyone in the cutscene, this may take multiple tries. If you’re looking for the officer behind the rock, he appears on the bottom-right near the end of the cutscene.
Click on the arrow pointing towards the truck, and right-click the three escapees inside before the door shuts.
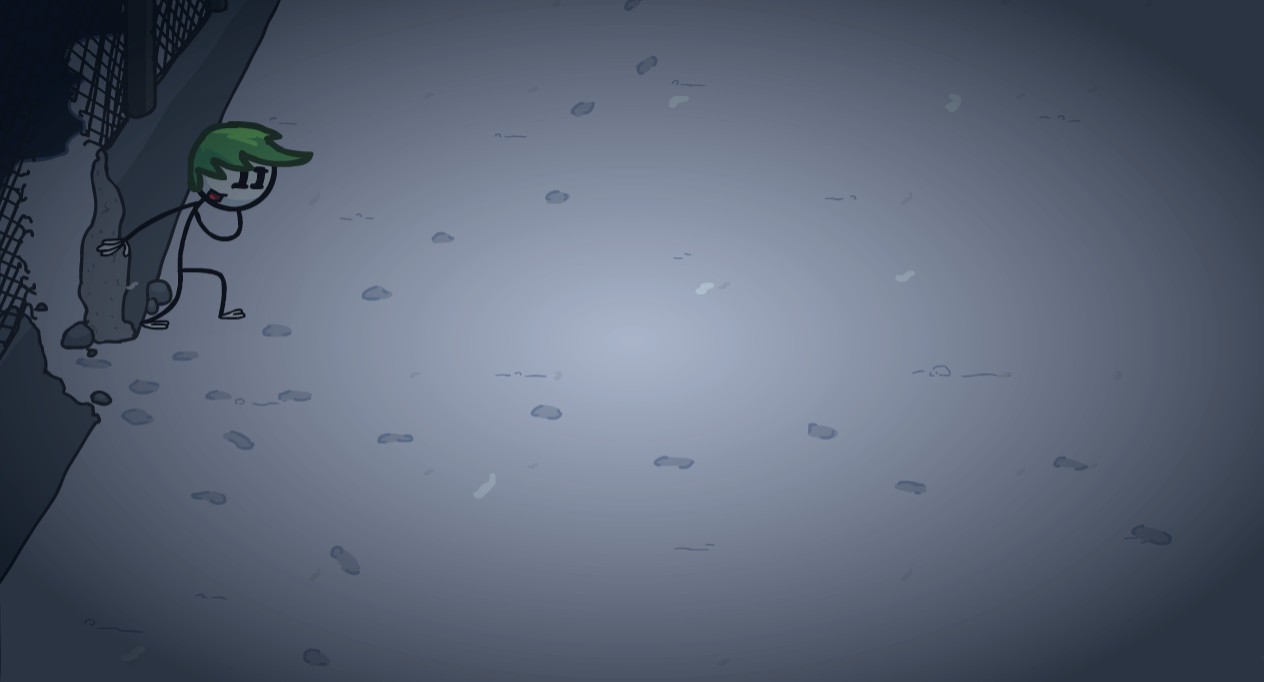
Click on the arrow pointing towards the fence, and right-click the green-haired stick figure.
Use the Cookie in Henry’s Cell, and right-click the stick figure that appears in front of him.
Completing the Mission (Achievements 1/2)


Completing the Mission (Achievement 2/2)


Completing the Mission (Bios 1/4)
Due to there being multiple intros in this game, there will be no intro section for this game, and instead the intro will be relegated to the beginning of each pathway.
Also, as usual, Henry’s bio is unlocked at the start of the game.
Click on both the soldiers. The left one gets covered up fast due to Henry blocking the way, so be quick.
Right-click ALL of the Toppat members.
Right-click ALL of the Toppat members before your choices appear.
Pick the TV Broadcast, and right-click both characters on the TV. In addition to this, you can right-click the Toppats.
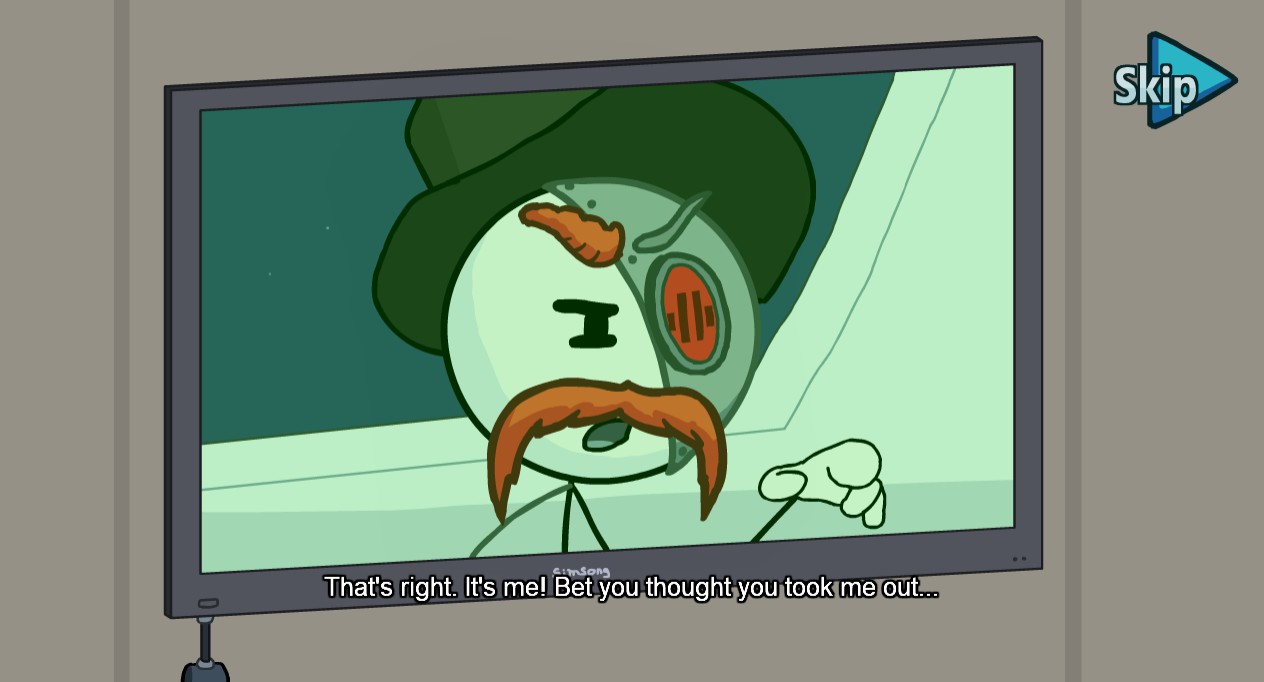
Right-click the Toppat members, as well as the Remote Toppat (the robot.)
Click both the Toppat members, and the portraits.
Click all the Toppats and the portraits.
Click all the Toppats here. The portraits don’t seem clickable, when I tested this scene five times.
Right-click the blue-hatted Toppat member.
In the Hall of Leaders scene, pick the Painting Portal, and right-click the portrait and Toppat.
During the ending cutscene, right-click the soldier and the three Toppat members.
Click the soldier. The blue-hatted Toppat member is here if you managed to miss him somehow.
Keep repeatedly using the lockpick, and a Toppat clan member will appear at the door, be sure to click him fast.
During the intro or through out this path, you can right-click him.
Right-click both of them after using the metal hat.
After picking a gun from the armory, you can click on all these Toppat members.
Simply right-click him. He also appears in the ending, in the case you miss him.
Right-click on the right-most Toppat, as well as Ellie (the redheaded stick figure.)
Pick the Very Accurate Targeting System, and right-click the helicopter pilot.
Click “Abandon” and right-click him.
Before or after picking your choices, right-click ALL 3 of them.
Click on ALL the soldiers. The people that’re further away don’t seem clickable.
Click ALL of the soldiers, including the one in the mech suit.
During the ending cutscene, right-click the soldiers, and ALL the Toppats.
After picking the Umbrella, right-click the Toppat in the control tower.
Pick the Parachute, then right-click the green-Toppat
Pick the Net option, and right-click the Toppat before the failure message.
Completing the Mission (Bios 2/4)
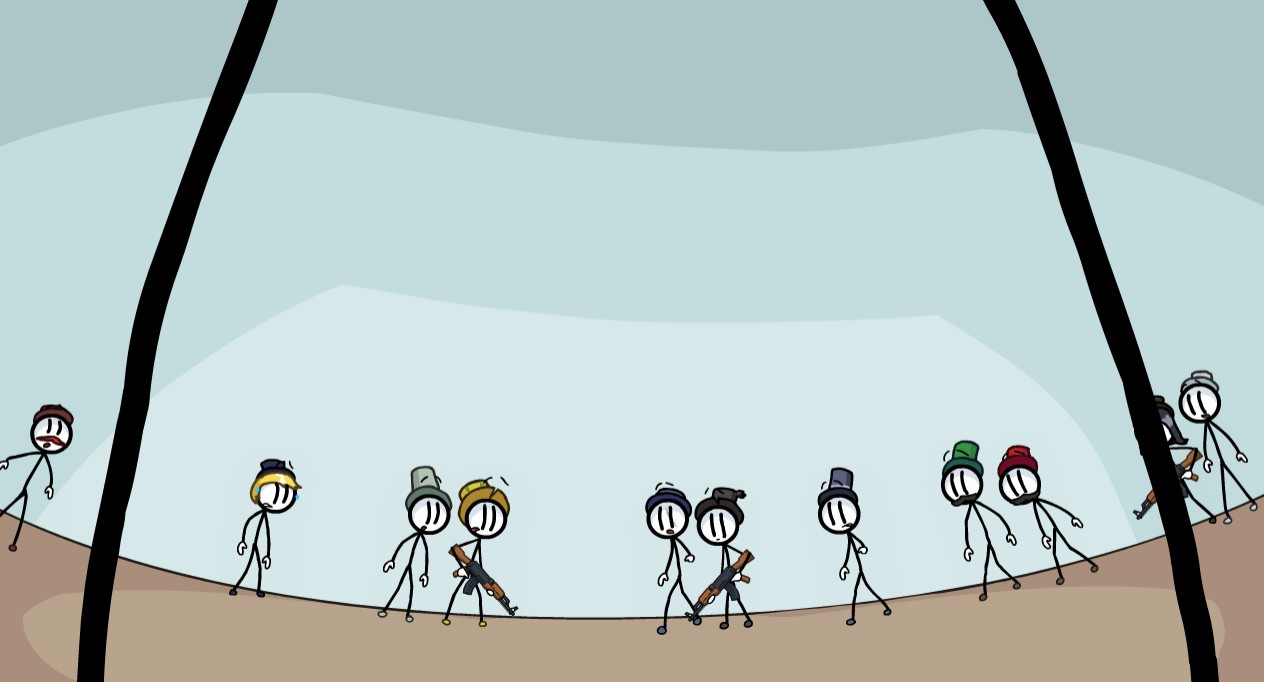
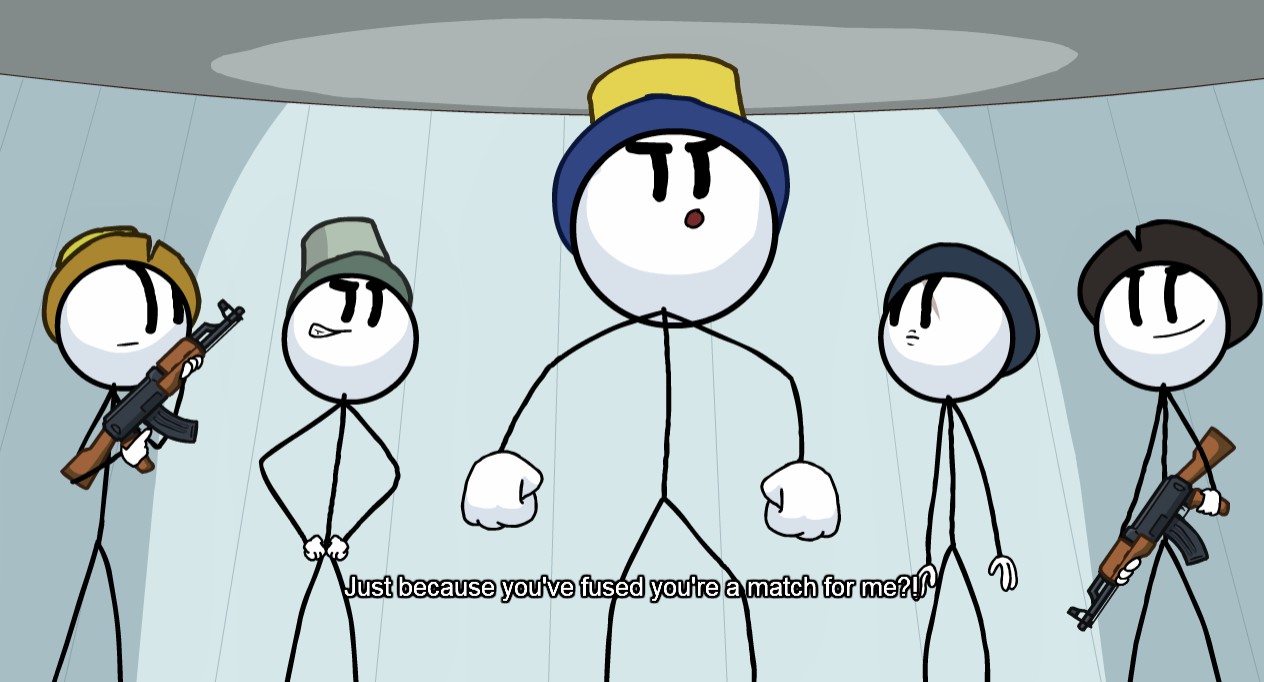
After picking the Fusion option, right-click everyone in the scene.
After picking the Diversion option, right-click everyone you see. This WILL take multiple tries, as there’s simply too many of them in one scene to get in one try.
Right-click on EVERYONE in this cutscene. There’s also a man on the right edge of the screen at the very start, which will likely be missed the first time around.
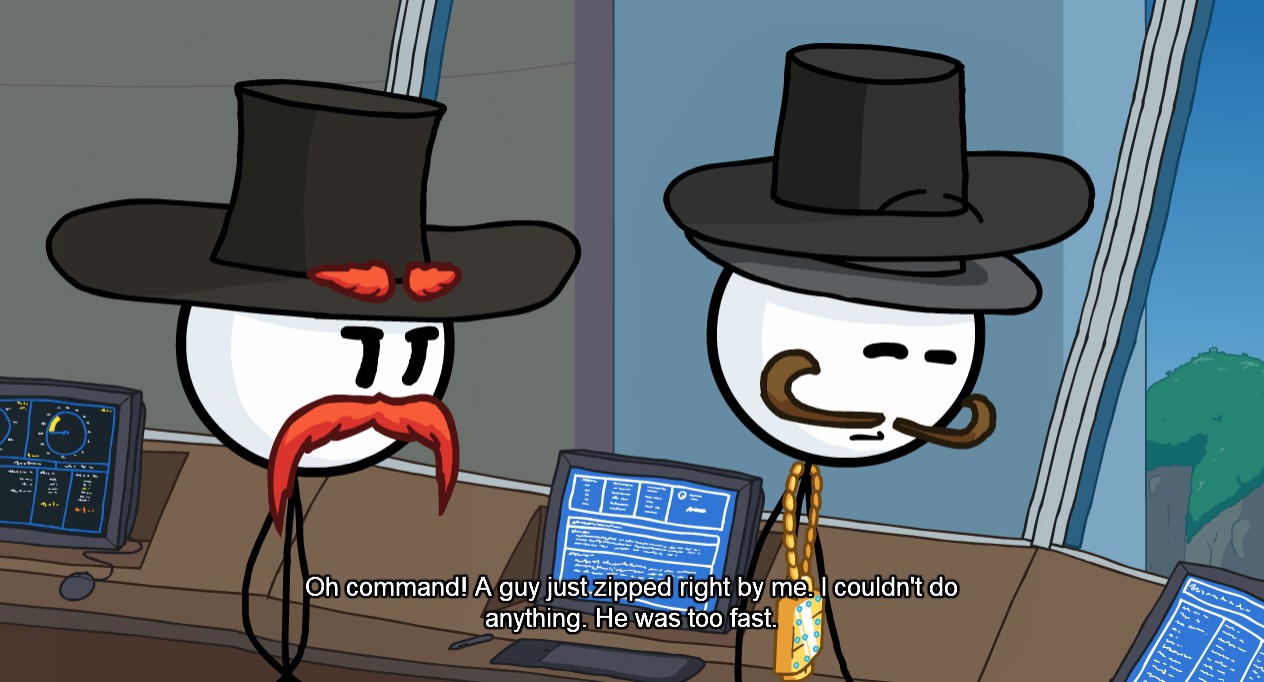
Click the Toppat in the window.
Click the Toppat on the left, and the leader in case you missed him.
Click both of the Toppat members.
Click him, if you missed him from earlier.
Click both of them.
In the “Tethered” scene, do nothing, and right-click both of them.
During the ending cutscene, click on EVERYONE. The scene with the stick figures and the portraits doesn’t seem to have anything clickable in it.
Click on the right Toppat. Click the one on the left if you missed him.
Click on both Toppats. Be warned that the one on the left doesn’t stay on screen very long, and will disappear very quickly.
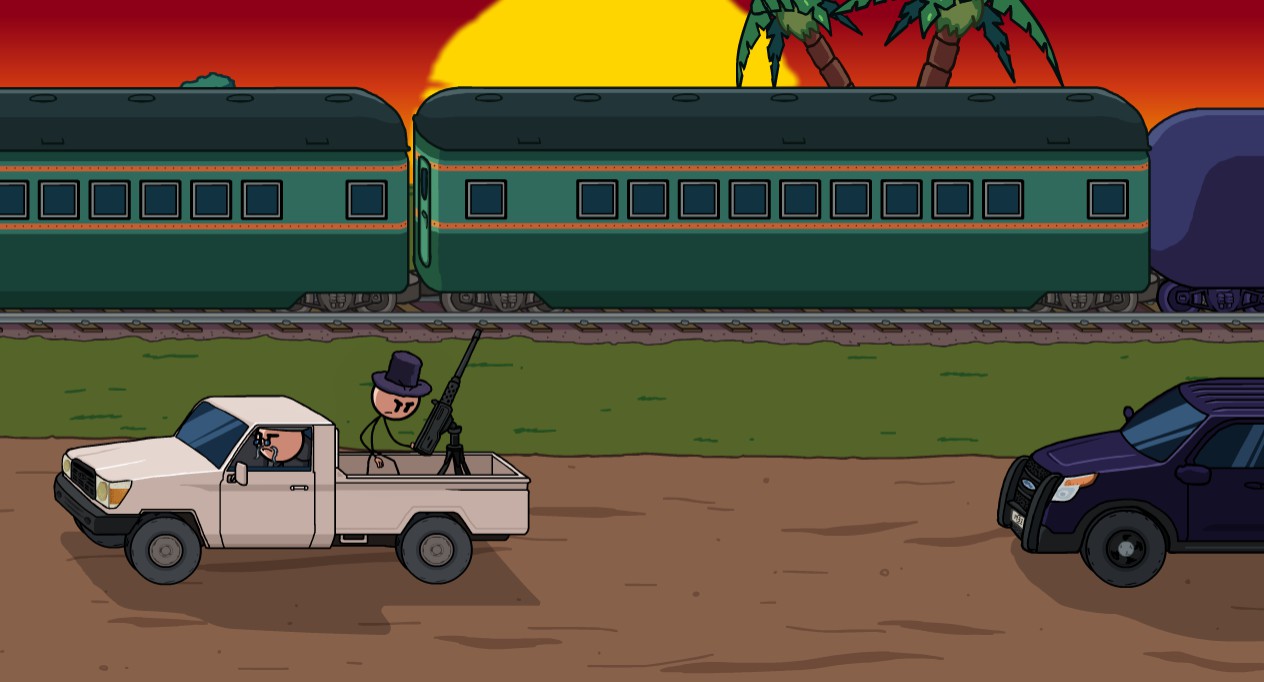
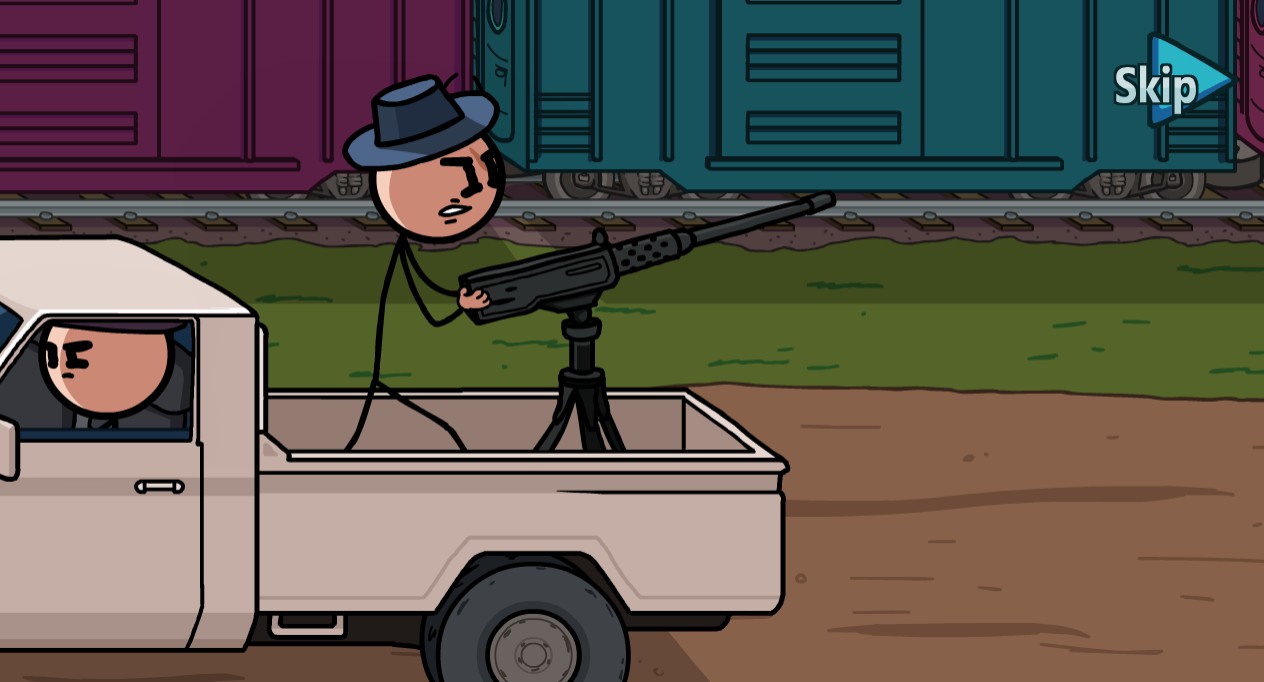
Click the driver and gunner of the white pickup truck.
Click the Toppat on the mounted gun.
Pick the Window option at the Traintop Sprint, then click everyone in the scene.
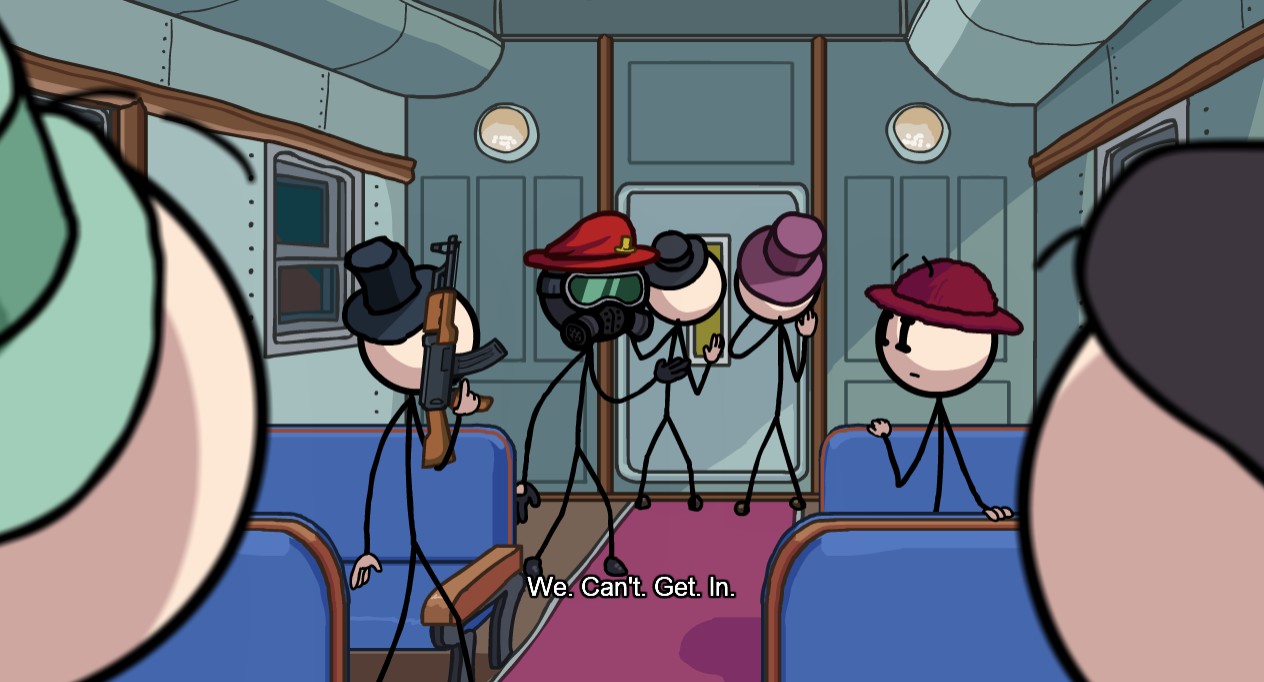
Click both the Toppats you see behind the door.
Click the Toppat outside the train, and the one from the window.
During the ending cutscene, click these two Toppats.
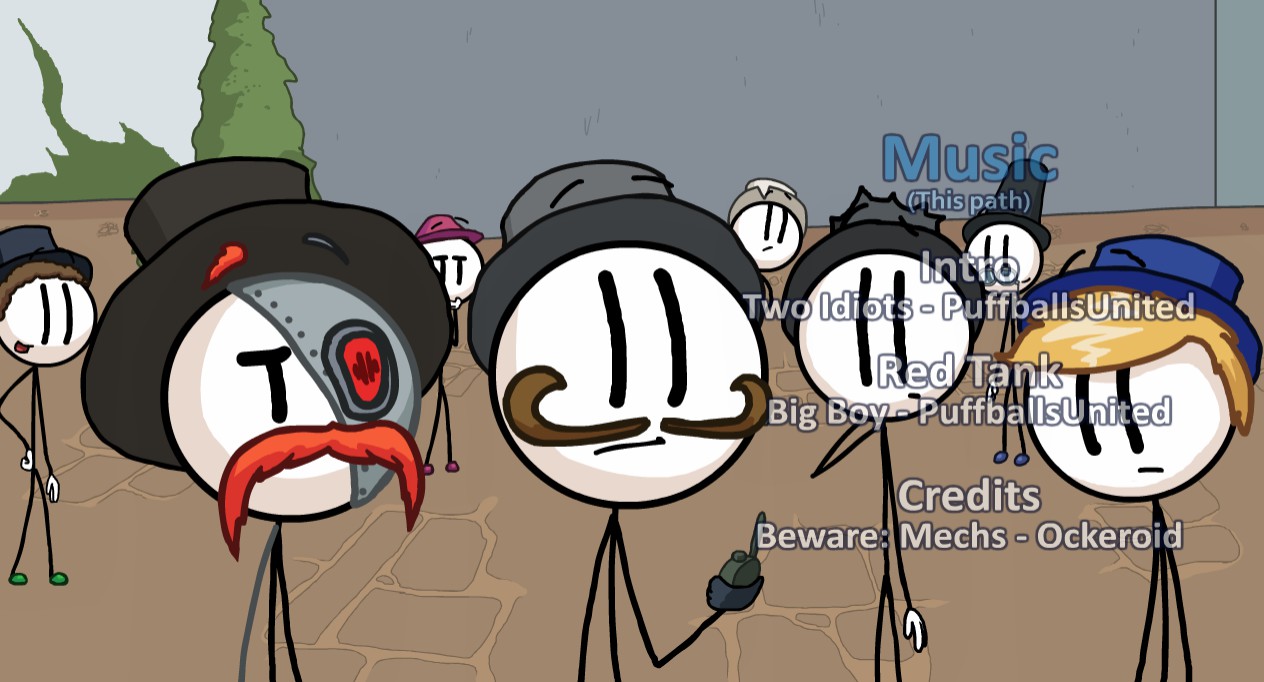
In the intro cutscene, click the tank driver.
Click the two soldiers in the helicopter. If you miss them, they both appear in the next scene before being given your next set of choices.
Click him before he calls in the tank to fire.
Completing the Mission (Bios 3/4)
During the Time Machine cutscene, right-click both of the soldiers above Henry.
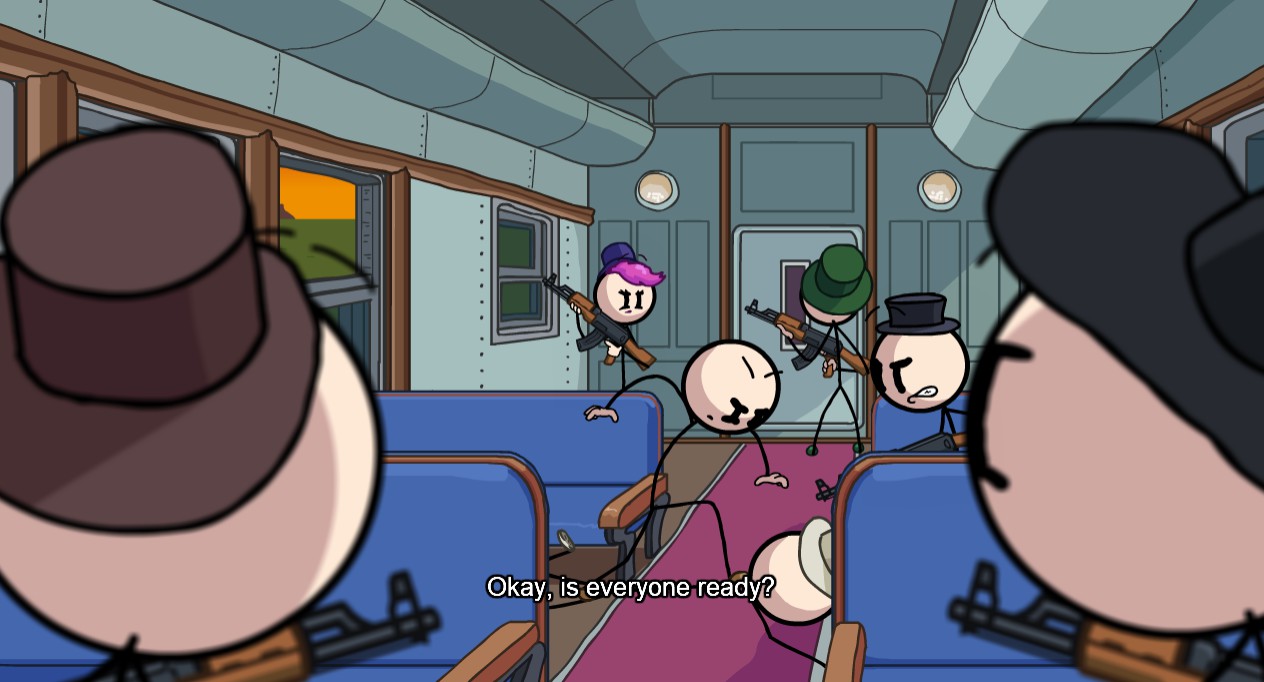
During the ending cutscene, there’ll be a lot of Toppat members to click on. Be sure to get them!
Click on everyone you see in the intro cutscene.
Click him before being prompted to pick a choice.
Pick the top-left button while in the Center for Chaos Containment Mobile Unit, and right-click the phantom sniper.
Click on the soldiers here. Be sure to get the ones in the helicopter and by the destroyed tank.
Click on the soldiers near the top-left corner of the screen.
Click everyone in this scene. Most if not all of them have bios.
Click everyone here if you missed them. The security guard is also new, so make sure you click him.
Completing the Mission (Bios 4/4)
As soon as Henry wakes up, right-click her.
In the Showdown scene, pick the Spirit Forme, then right-click the spirit whom is summoned by Henry.
In the Claim Revenge scene, pick “Drop,” then right-click all the Toppat members. They disappear quick, so be sure to click them fast.
Click the driver and gunner of the white pickup truck if you missed them from another path.
Click the Toppat on the mounted sword gun.
During the intro, right-click the captain’s face.
Right-click both of the Toppats.
In the Passenger Car, pick the Sit option, and right-click the green-hatted Toppat member.
While on Top of the Train, click the option to go back into the window, and right-click the Toppat member before the failure message comes up.
Right-click him after using Free Transform, and when the train stops.
During the intro, click everyone you see at the bar, including the person at the table near the right-hand corner.
Right-click all the Toppat members before they’re beamed away.
After you get through the vents, one of the Toppat members will trip before you’re given your choices. Right-click him quickly.
Right-click everyone inside the pod.
After picking the middle pod, you can right-click this Toppat member.
During the ending cutscene, right-click the soldier.
In the Intro, click EVERYONE you see. This is after Henry jumps out the helicopter.
Right-click the captain on the left.
Right-click everyone here if you missed anyone. Personally, I do it just in case.
Click ALL of the Toppats here.
Click all of the Toppats here.
In the Bounty’s Fate scene, pick the Rewire option, and click on him at any point when his cybernetic eye is blue.
During the ending cutscene, click the soldiers.
And lastly: click both of the Toppats and the soldier. The soldier emerges from the bush at the last second, so you need to be fast.
And that’s all of the bios!
Closing Thoughts
This guide was a pain to write, as I had to replay through all the games again after having just completed them. But I knew it would be worth writing this.
I played these flash games a lot growing up, so I felt it would be best for me to write this guide for those looking to be a completionist like me. Aside from that, I hope I saved you a lot of time and stress trying to complete the collection, especially the bios. No need to rate, if you don’t want to anyway. But any ratings as well as rewards will be appreciated, as well as any comments giving positive feedback.
If I missed anything, be sure to tell me in the comments below! Aside from that, thanks for reading!

