Overview
This is the flow, with information, about custom 3D modeling for Tabletop Simulator.
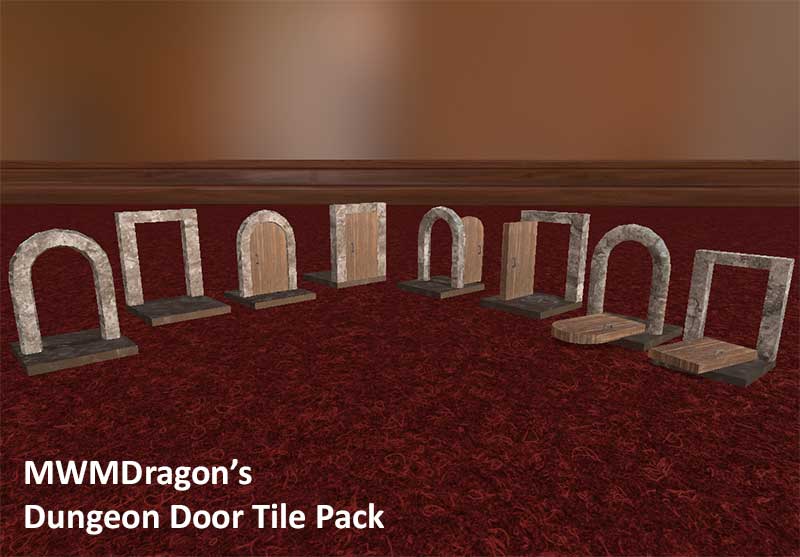
Custom 3D modeling for Tabletop Simulator
This is far from a comprehensive guide but it should get you started. I know the tools I’m using aren’t the best but they are the ones I’ve decided to use. I am in no way a pro.. infact, I’m far from it as these are some of my first 3D models and my first texturing attempt.
This is the actual model being created in a fast and free modeling program called Wings3D[www.wings3d.com]. Just make the model look however you wish not worrying to much about size. You do need to pay attention that you keep it fairly simple so it will load quickly in game, the tetures do the detail for you later on. Export the model as an .OBJ file.

This is where we use a great program available on steam called Aartform Curvy. Import the model from the .OBJ file you exported from Wings3D. I scale the model to the correct size, using 6 squares here as the height. You can also see that I’ve UVUnwrapped the model (got coordinates for the texture) and have marked where I need to place the textures on a texture template using little markings in differnt colors to tell me where to place the textures and what texture type to place there. From here I save the texture as a .BMP file to use as a template. I also export the model as an .OBJ to save sizing and UV coordinates.

In Photoshop[www.adobe.com] I load the texture template and the texture images I would like to use on the model. I then paste the texture images over the template and cut out the places I have marked so the texture images fill in the the correct spots. After Thats is done we save the texture as a .JPG file. I “save for web” just so it loads faster in game.

Using Curvy again I load the texture into the model to make sure everything looks right.. make any adjustments that need to be done. This also give you a preview of how it will look in game. if everything looks great then you are ready for the next step.

After all this work you should be left with the .OBJ file you exported from Curvy and a .JPG texture file you saved from photoshop. Upload these files to a web server or free webspace. Open Tabletop Simulator and import them as a custom model.

As you can see, this isn’t hard at all. The software cost a little bit of cash but you can find free software to do the exact same thing. I’d also like to suggest keeping your projects in release packs on steam workshop, if everyone released each model they did as a seperate mod things would get crazy fast.
Thank you for taking the time to read this guide, I hope to do more in the future. Please don’t forget to rate this guide and try my mods for various games!