Overview
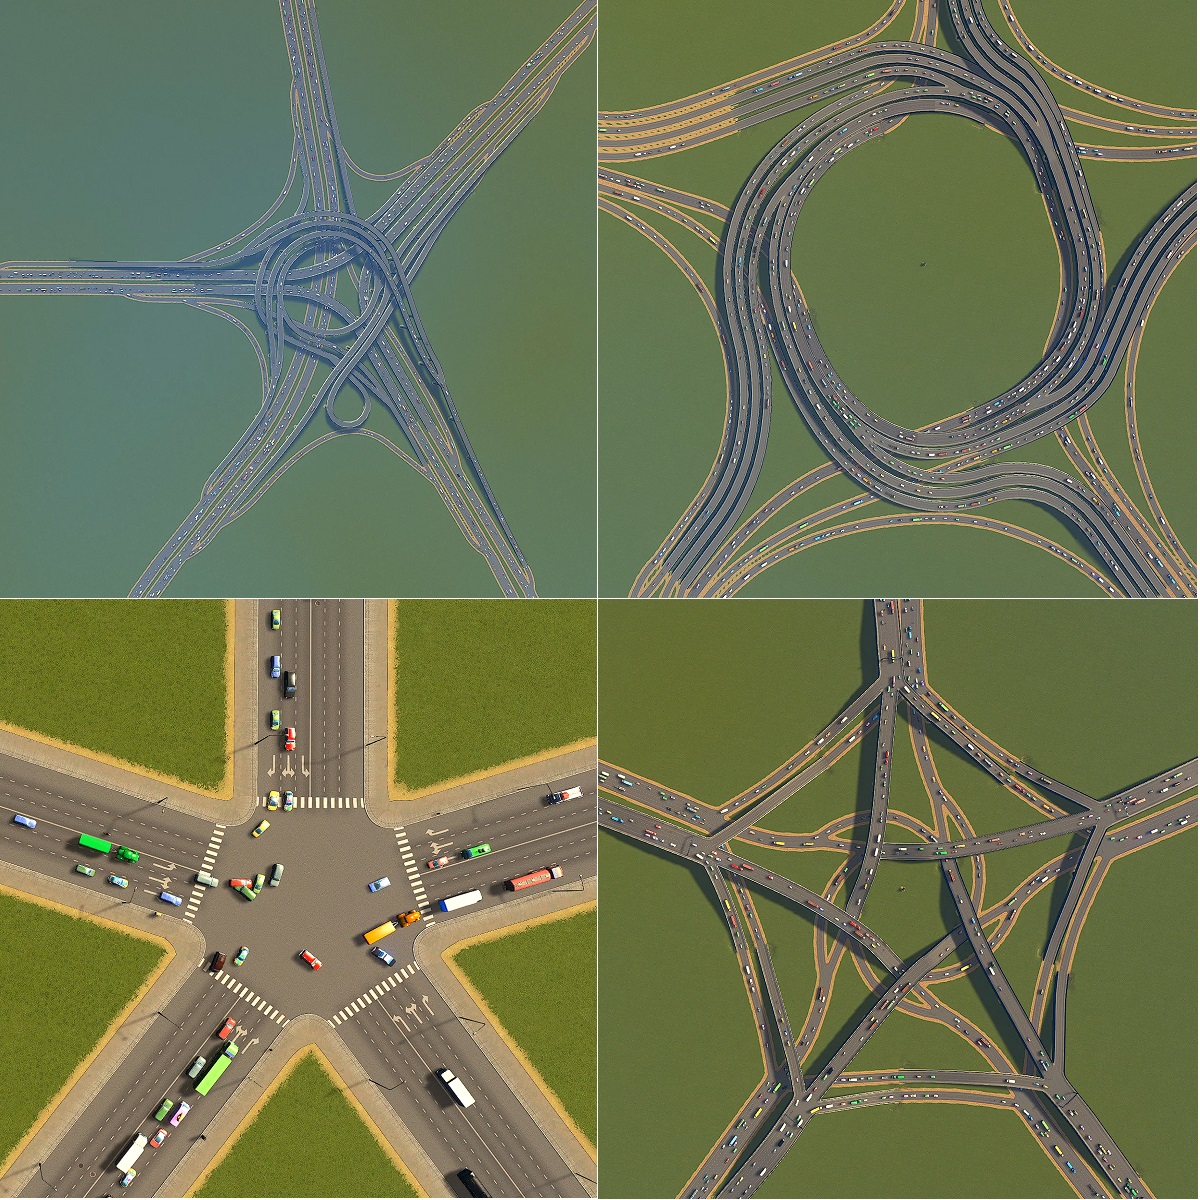
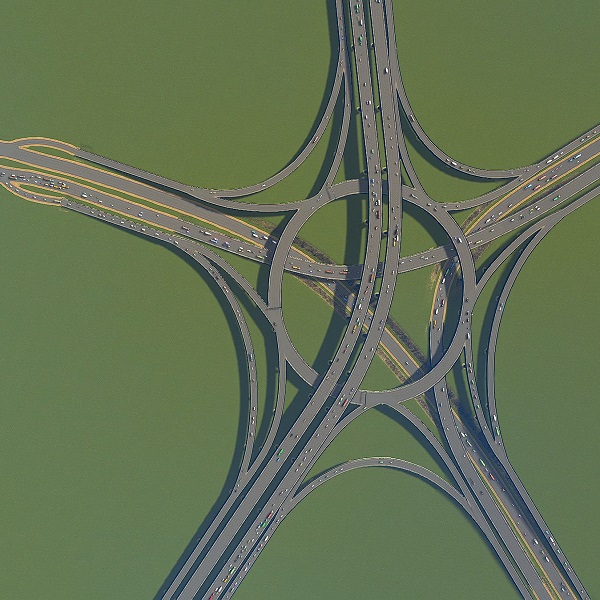
In this guide I look at 30 different 5-Way Intersections that can be found in the workshop. I run each intersection through the same test and measure its performance. After testing all the intersections I can rank them in order of performance.
Introduction
In this guide I look at 30 different 5-Way Intersections that I found in the Workshop. I test each one under the same conditions, and measures it’s performance.
To do this testing, I created an intersection testing map (based on this one) but which has lots of small towns around the edges and can easily be made to funnel most of the traffic through a central intersection, in additional to outside city traffic.
I used various mods, including the Network Extensions 2 DLC, Mass Transit, Traffic Manager: President Edition (TMPE) and a small custom mod I developed myself which counts and logs the number of vehicles passing over a road section.
This guide also has an accompanying video to see the intersections in action:
Setup
To work out the score for each intersection I developed a small Traffic Counting Mod which counts the number of vehicles entering the intersection and vehicles leaving the intersection every minute. To do this I designate two different sets of roads, one for leaving the intersection and one for entering. Then it tallys up the entering and leaving counts every minute. To get the final score I get the per minute average for each intersection for the duration (14 minutes) of the test.
To allow me to more directly compare between intersections of different sizes, the road segments that were used for counting were placed quite far from the centre of the intersections, having them in the same place for each intersection makes direct comparisons more correct, but it does introduce a lag, this can be seen in the graphs. The intersections have no output vehicles in the first minute, it’s only in the third minute that we can see the output fully catching up the initial input vehicles.
To run the tests I created a starting point that I go back to each time for the tests. I didn’t just let the game run and swap in new intersections, I also didn’t let the game run with dead-ends, this would lead to vehicle confusion and could lead to vehicles de-spawning in the middle of the intersection.
The intersections that are are built for 4-Lane (and wider) highways have an advantage when it comes to traffic flow, they can simply handle more traffic. I couldn’t just restrict those intersection to 3-lane highways at their entrances/exits as they were not designed to have additional bottlenecks in those areas. So, I created 2 different scenarios, one for 3-Lane highways and one for 4-Lane Highways.
A key point for these tests is that they are not actually not a single test, it is two different sets of tests, one for the intersections that use 3-lane highways and one for the intersections that use 4-lane highways. I use the same basic road layout and map setup for each of the tests, but because the roads are different, I needed to create two different starting points. I used a high-performing intersection to let both starting points “bed-in” before creating the actual testing starting points. So the 3-lane and 4-lane starting points have had a few days of game time to diverge before the tests themselves started, which means that we shouldn’t really compare the 3-lane and 4-lane tests. It looks nice to have them all together in one video, but they are not directly comparable.
This is actually the biggest variable in the tests, handling lane merging and diverging. For every intersection I set up TMPE lane-crossing rules for every single road segment in and around the intersection. I set up what I think might be the best rules and let the test run, then I re-run the test if I think I can make improvements. No24 and no30 gave particular problems as the optimal configuration is not obvious, and these ones took many attempts to get a good score. Most of the other intersections took just 2 or 3 attempts at most.
One of the disadvantages of controlling lane changing so tightly is that slower traffic holds up faster traffic because the traffic is usually not allowed to switch lanes. Usually this does not matter as switching lanes in an intersection almost always slows traffic down, I say almost, because there is one big and distinct exception, intersection no.30. This intersection has multiple 3-lane roads to carry vehicles in multiple directions, this allows vehicles to speed up and pass others in the middle of the intersection. Because of these wide roads, this is the only intersection where switching lanes like this can lead to an advantage, which is why this intersection performs better than the rest, although, big caveat, this intersection took a lot of attempts to balance the lane switching to get it to perform to this level.
The Intersections that allow u-turns can have a small but distinct advantage compared to intersections that do not allow u-turns. Because a percentage of the traffic does desire to make a u-turn, if they are allowed to make that u-turn early on, then that traffic can exit the intersection quickly and it also will not get in the way of other traffic trying to merge at another part of the intersection. However, I think that the only interchange where this might be a significant advantage is no15 “Timboh’s U-Pentagon Interchange”.
I think this is quite small but I don’t have hard numbers, when I get a chance I’ll update this section with details.
At the suggestion of a rew readers I added an Efficiency score for each intersection. At the moment I’m using a simple “efficiency = (cost)/(vpm)” calculation. It does the job to convey the importance of having a properly designed intersection instead of just relying on using lots of big roads.
However, I’m not entirely happy with this simple calculation, I think it over emphasises the cost and does not put enough on the vpm value (it also means that the lowest score wins). I don’t want to make the calculation too complicated, but maybe something like “efficiencyScore = vpm – (10 * (cost)/(vpm))” would better balance the cost and vpm and it would also mean that the highest score would win. Anyway I’ll leave the simple calculation for now and see what the response is…
01 – 5-Way Intersection with Traffic Lights

- Creator: Bespoke
- Cost: 4000
- Size: 20 x 20
- Levels: 1
- Road: 6-Lane 2-Direction City
- peak: 229 vpm
- Starting Point: 3 Lane
- avg: 195 vpm

02 – 5-Way, Four Lane with Traffic Lights

- Creator: Bespoke
- Cost: 8000
- Size: 20 x 20
- Levels: 1
- Road: 8-Lane 2-Direction City
- peak: 275 vpm
- Starting Point: 4 Lane
- avg: 256 vpm

03 – Five-way Highway Interchange

- Steam Workshop Link
- Creator: HJC86
- Cost: 46980
- Size: 64 x 64
- Levels: 3
- Road: 3-Lane Highway
- peak: 607 vpm
- Starting Point: 3 Lane
- avg: 372 vpm

04 – 5-way Highway interchange (for use on very flat ground)

- Steam Workshop Guide
- Creator: Veo
- Cost: 69360
- Size: 64 x 64
- Levels: 3
- Road: 3-Lane Highway
- peak: 814 vpm
- Starting Point: 3 Lane
- avg: 411 vpm

05 – 5 way Roundabout
- Steam Workshop Guide
- Creator: Arisandi
- Cost: 189787
- Size: 180 x 140
- Levels: 4
- Road: 4-Lane Highway
- peak: 1096 vpm
- Starting Point: 4 Lane
- avg: 460 vpm

06 – 5 way pinavia

- Steam Workshop Guide
- Creator: tod_spam
- Cost: 50570
- Size: 96 x 96
- Levels: 2
- Road: 3-Lane Highway
- peak: 652 vpm
[*Starting Point: 3 Lane] - avg: 506 vpm

07 – Timboh’s Pentagon Interchange

- Steam Workshop Link
- Creator: Timboh
- Cost: 66170
- Size: 64 x 64
- Levels: 2
- Road: 3-Lane Highway
- peak: 748 vpm
- Starting Point: 3 Lane
- avg: 557 vpm

08 – Crazy 5-Way Intersection

- Steam Workshop Link
- Creator: Erazaa
- Cost: 124950
- Size: 64 x 64
- Levels: 6
- Road: 3-Lane Highway
- peak: 847 vpm
- Starting Point: 3 Lane
- avg: 650 vpm

09 – Ore Digger 5 way Interchange

- Steam Workshop Link
- Creator: Ted Tastic
- Cost: 83972
- Size: 120 x 100
- Levels: 4
- Road: 4-Lane Highway
- peak: 1169 vpm
- Starting Point: 4 Lane
- avg: 693 vpm

10 – 5-way Highway Interchange

- Steam Workshop Link
- Creator: Crys
- Cost: 48700
- Size: 64 x 64
- Levels: 4
- Road: 3-Lane Highway
- peak: 868 vpm
- Starting Point: 3 Lane
- avg: 719 vpm

11 – BP’s 5-Way Stack Intersection

- Steam Workshop Link
- Creator: elliot_gus
- Cost: 59350
- Size: 64 x 64
- Levels: 5
- Road: 3-Lane Highway
- peak: 868 vpm
- Starting Point: 3 Lane
- avg: 752 vpm

12 – PentaKnot 1.1

- Steam Workshop Link
- Creator: mrtree
- Cost: 60000
- Size: 64 x 64
- Levels: 3
- Road: 3-Lane Highway
- peak: 863 vpm
- Starting Point: 3 Lane
- avg: 776 vpm

13 – 5 Way Star Stack Interchange

- Steam Workshop Link
- Creator: Gojulas2k
- Cost: 94342
- Size: 120 x 110
- Levels: 3
- Road: 3-Lane Highway
- peak: 996 vpm
- Starting Point: 3 Lane
- avg: 781 vpm

14 – 5-way JCT-4

- Steam Workshop Link
- Creator: e_motch
- Cost: 171350
- Size: 96 x 96
- Levels: 3
- Road: 3-Lane Highway
- peak: 911 vpm
- Starting Point: 3 Lane
- avg: 803 vpm

15 – Timboh’s U-Pentagon Interchange

- Steam Workshop Link
- Creator: Timboh
- Cost: 62020
- Size: 64 x 64
- Levels: 2
- Road: 3-Lane Highway
- peak: 976 vpm
- Starting Point: 3 Lane
- avg: 804 vpm
Comment:
See the note in the Setup section about u-turn intersections. This intersection in particular has a slight advantage because of this. This isn’t necessarily a bad thing, just something to take note of.

16 – 5-way Nautilus Interchange

- Steam Workshop Link
- Creator: SkiiBum
- Cost: 147904
- Size: 110 x 140
- Levels: 3
- Road: 3-Lane Highway
- peak: 987 vpm
- Starting Point: 3 Lane
- avg: 843 vpm

17 – 5-Way Interchange

- Steam Workshop Link
- Creator: Soruvisu
- Cost: 65170
- Size: 60 x 60
- Levels: 2
- Road: 3-Lane Highway
- peak: 1075 vpm
- Starting Point: 3 Lane
- avg: 845 vpm

18 – 5 way CloverTurbine

- Steam Workshop Link
- Creator: Arisandi
- Cost: 177840
- Size: 160 x 155
- Levels: 4
- Road: 4-Lane Highway
- peak: 1155 vpm
- Starting Point: 4 Lane
- avg: 849 vpm

19 – five-lane

- Steam Workshop Link
- Creator: Hideri Kanzaki
- Cost: 61635
- Size: 64 x 64
- Levels: 4
- Road: 4-Lane Highway
- peak: 1203 vpm
- Starting Point: 4 Lane
- avg: 885 vpm

20 – 5 way Turbine + 5 way Rail (No Tunnel)

- Steam Workshop Link
- Creator: Arisandi
- Cost: 402480
- Size: 180 x 215
- Levels: 4
- Road: 3-Lane Highway
- peak: 1073 vpm
- Starting Point: 3 Lane
- avg: 886 vpm

21 – Modified Hartford

- Steam Workshop Link
- Creator: SkiiBum
- Cost: 125621
- Size: 150 x 105
- Levels: 4
- Road: 3-Lane Highway
- peak:1090 vpm
- Starting Point: 3 Lane
- avg: 924 vpm

22 – 5-way intersection

- Steam Workshop Link
- Creator: QB
- Cost: 71920
- Size: 64 x 64
- Levels: 4
- Road: 4-Lane Highway
- peak: 1212 vpm
- Starting Point: 4 Lane
- avg: 942 vpm

23 – 5 way Interchange

- Steam Workshop Link
- Creator: Arisandi
- Cost: 114629
- Size: 75 x 96
- Levels: 3
- Road: 4-Lane Highway
- peak: 1167 vpm
- Starting Point: 4 Lane
- avg: 959 vpm

24 – Kapok

- Steam Workshop Link
- Creator: nazcor
- Cost: 75260
- Size: 64 x 64
- Levels: 4
- Road: 3-Lane Highway
- peak: 1063 vpm
- Starting Point: 3 Lane
- avg: 971 vpm
Comment:
This is the highest performing intersection for 3-lane highways, and this intersection took a lot of playing with the lane-changing feature of TM:PE to optimise it for the test. In particular this one took about 6 different attempts to balance the lane merges to get this output.

25 – 5-way attempt

- Steam Workshop Link
- Creator: QB
- Cost: 53360
- Size: 64 x 64
- Levels: 5
- Road: 4-Lane Highway
- peak: 1265 vpm
- Starting Point: 4 Lane
- avg: 974 vpm

26 – 5 Way Interchange Flower

- Steam Workshop Link
- Creator: General Grievous
- Cost: 73650
- Size: 64 x 64
- Levels: 2
- Road: 4-Lane Highway
- peak: 1490 vpm
- Starting Point: 4 Lane
- avg: 1045 vpm

27 – Pinavia 5-way interchange

- Steam Workshop Link
- Creator: ifaq
- Cost: 116897
- Size: 110 x 110
- Levels: 2
- Road: 4-Lane Highway
- peak: 1529 vpm
- Starting Point: 4 Lane
- avg: 1049 vpm

28 – 5 Way Interchange Pentagram

- Steam Workshop Link
- Creator: General Grievous
- Cost: 68900
- Size: 64 x 64
- Levels: 2
- Road: 4-Lane Highway
- peak: 1461 vpm
- Starting Point: 4 Lane
- avg: 1050 vpm

29 – 5-way Pentagon Intersection (IMT)

- Steam Workshop Link
- Creator: RichAntDav
- Youtube:
- Cost: 58650
- Size: 64 x 64
- Levels: 2
- Road: 4-Lane Highway
- peak: 1339 vpm
Starting Point: 4 Lane - avg: 1065 vpm

30 – 5 way cloverstar interchange – Network Extension upgrade

- Steam Workshop Link
- Creator: FightBiscuit
- Original Steam Asset
- Original Creator: 3nƒ0я¢3я
- Cost: 275168
- Size: 190 x 190
- Levels: 5
- Road: 6-Lane Highway
- peak: 1395 vpm
- Starting Point: 4 Lane
- avg: 1165 vpm
Comment:
The use of wider highways does give this intersection an advantage over all the other intersections, see the “TM:PE Lane changing rules” note in the “Setup” Section. Note, it took a lot of TM:PE adjustments of lane management to get it to perform to this level.

Also check out…
Before I get to the conclusion, please feel free to check out my other, similar guides:
.
Most Efficient 3-Lane Intersections
Note: Lower scores are better, see Setup section for how this score is calculated
In order from Most Efficient to Least Efficient…
- no.10 “5-way Highway Interchange” by “Crys”, Efficiency Score = 67.73
- no.17 “5-Way Interchange” by “Soruvisu”, Efficiency Score = 77.12
- no.15 “Timboh’s U-Pentagon Interchange” by “Timboh”, Efficiency Score = 77.13
- no.12 “PentaKnot 1.1” by “mrtree”, Efficiency Score = 77.3
- no.24 “Kapok” by “nazcor”, Efficiency Score = 77.5
- no.11 “BP’s 5-Way Stack Intersection” by “elliot_gus”, Efficiency Score = 78.9
- no.06 “5 way pinavia” by “tod_spam”, Efficiency Score = 99.9
- no.07 “Timboh’s Pentagon Interchange” by “Timboh”, Efficiency Score = 118.8
- no.13 “5 Way Star Stack Interchange” by “Gojulas2k”, Efficiency Score = 120.8
- no.03 “Five-way Highway Interchange” by “HJC86”, Efficiency Score = 126.3
- no.21 “Modified Hartford” by “SkiiBum”, Efficiency Score = 135.9
- no.04 “5-way Highway interchange (for use on very flat ground)” by “Veo”, Efficiency Score = 168.7
- no.16 “5-way Nautilus Interchange” by “SkiiBum”, Efficiency Score = 175.4
- no.08 “Crazy 5-Way Intersection” by “Erazaa”, Efficiency Score = 192.2
- no.14 “5-way JCT-4” by “e_motch”, Efficiency Score = 213.4
- no.20 “5 way Turbine + 5 way Rail (No Tunnel)” by “Arisandi”, Efficiency Score= 454.2
Most Efficient 4-Lane Intersections
Note: Lower scores are better, see Setup section for how this score is calculated
In order from Most Efficient to Least Efficient…
- no.25 “5-way attempt” by “QB”, Efficiency Score = 54.8
- no.29 “5-way Pentagon Intersection (IMT)” by “RichAntDav”, Efficiency Score = 55.1
- no.28 “5 Way Interchange Pentagram” by “General Grievous”, Efficiency Score = 65.6
- no.19 “five-lane” by “Hideri Kanzaki”, Efficiency Score = 69.6
- no.26 “5 Way Interchange Flower” by “General Grievous”, Efficiency Score = 70.5
- no.22 “5-way intersection” by “QB”, Efficiency Score = 76.3
- no.27 “Pinavia 5-way interchange” by “ifaq”, Efficiency Score = 111.4
- no.23 “5 way Interchange” by “Arisandi”, Efficiency Score = 119.5
- no.09 “Ore Digger 5 way Interchange” by “Ted Tastic”, Efficiency Score = 121.2
- no.18 “5 way CloverTurbine” by “Arisandi”, Efficiency Score = 209.5
- no.30 “5 way cloverstar interchange” by “FightBiscuit”, Efficiency Score = 236.2
- no.05 “5 way Roundabout” by “Arisandi”, Efficiency Score = 412.5
Conclusion
The best performing 5-way intersection overall is no.30 the “5 way cloverstar interchange – Network Extension upgrade” by “FightBiscuit”, however, this interchange is very large, expensive and required a lot of Lane Management TLC to get it to perform at the top level. No’s 28 and 29 perform pretty much the same and are much smaller and cheaper and also require a lot less lane management.