Overview
This guide will provide the basic information on Mirrors Edge for a beginner (i.e. weapons, disarms, parkour moves, story, and chracters). Let’s get started!
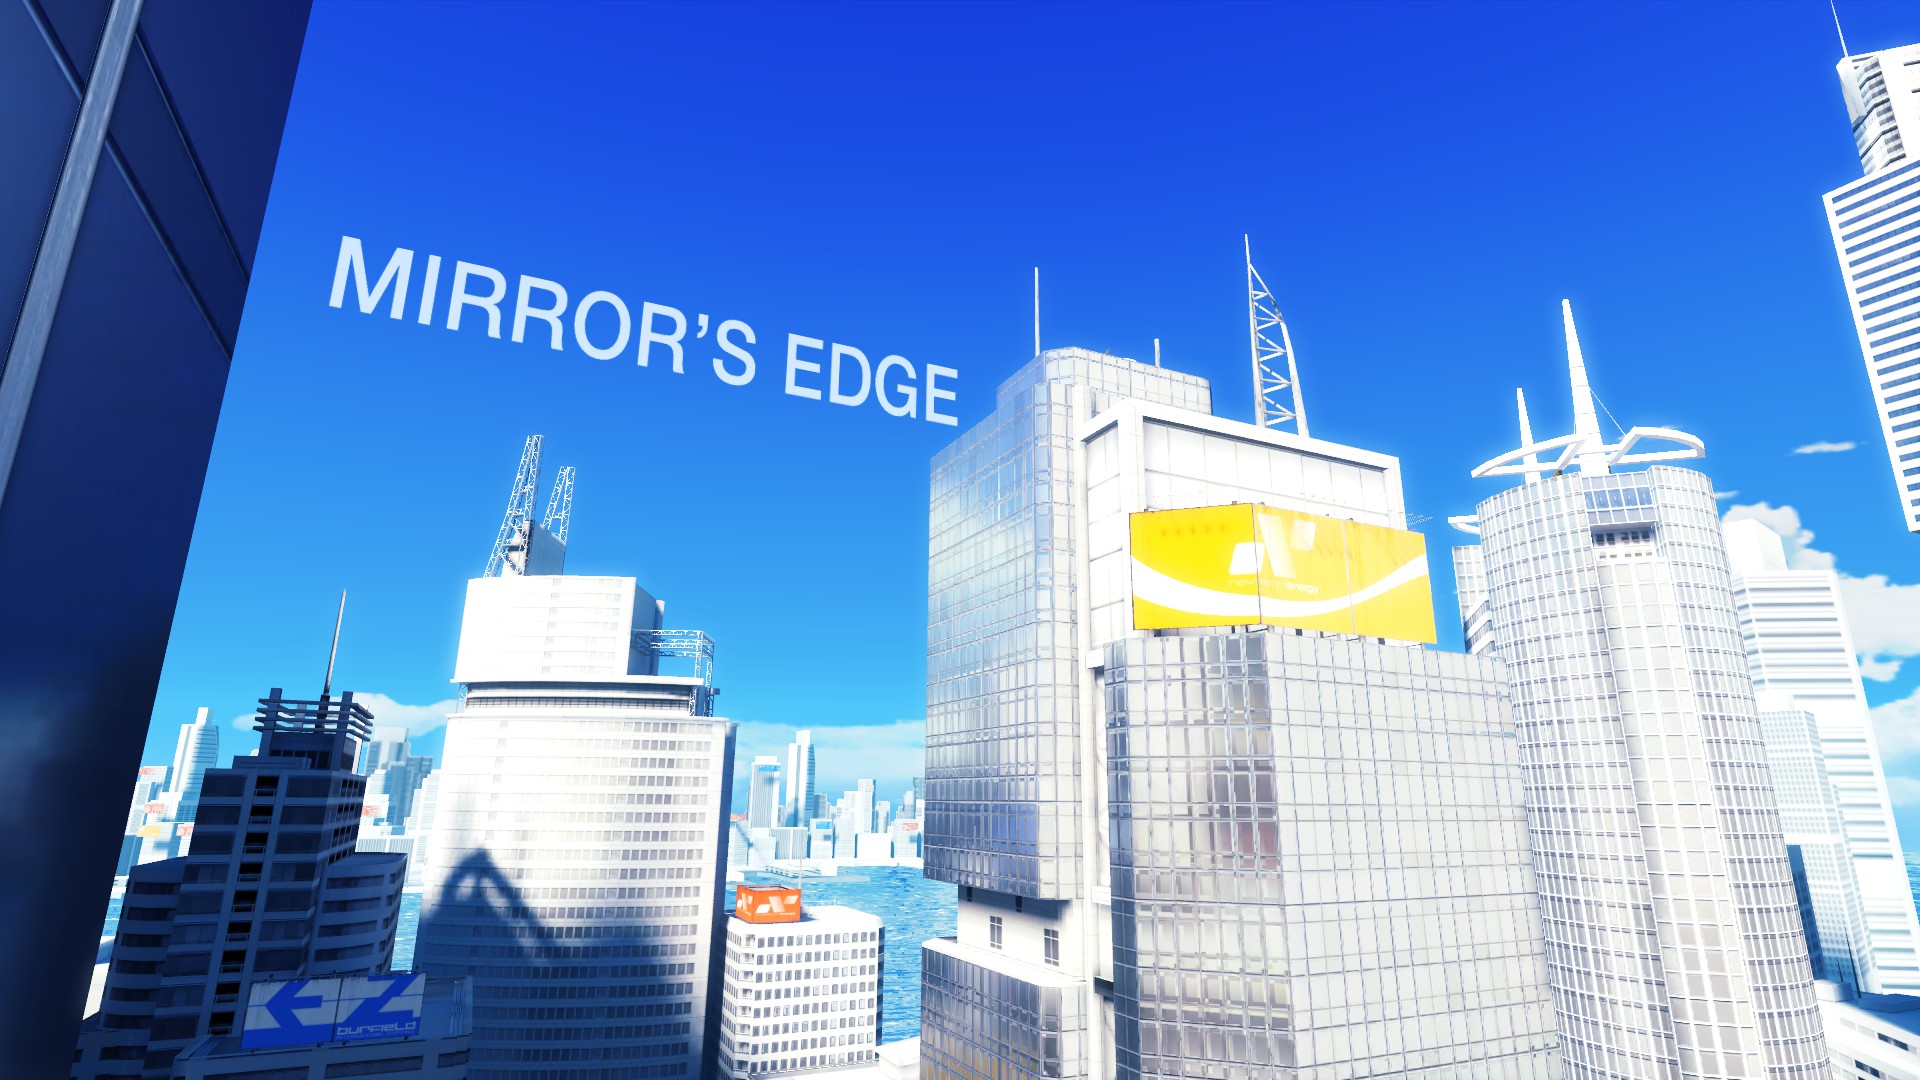
What is Mirrors Edge?
Mirror’s edge is a First-Person, singleplayer, parkour, action game. The main goal of the game is to figure out who has framed your sister for a murder she did not commit, and discover more about a secret project called “Project Icarus,” whilst escaping the blues of the dystopian society.

Characters
This section covers the many different characters and items you will come across during the game.
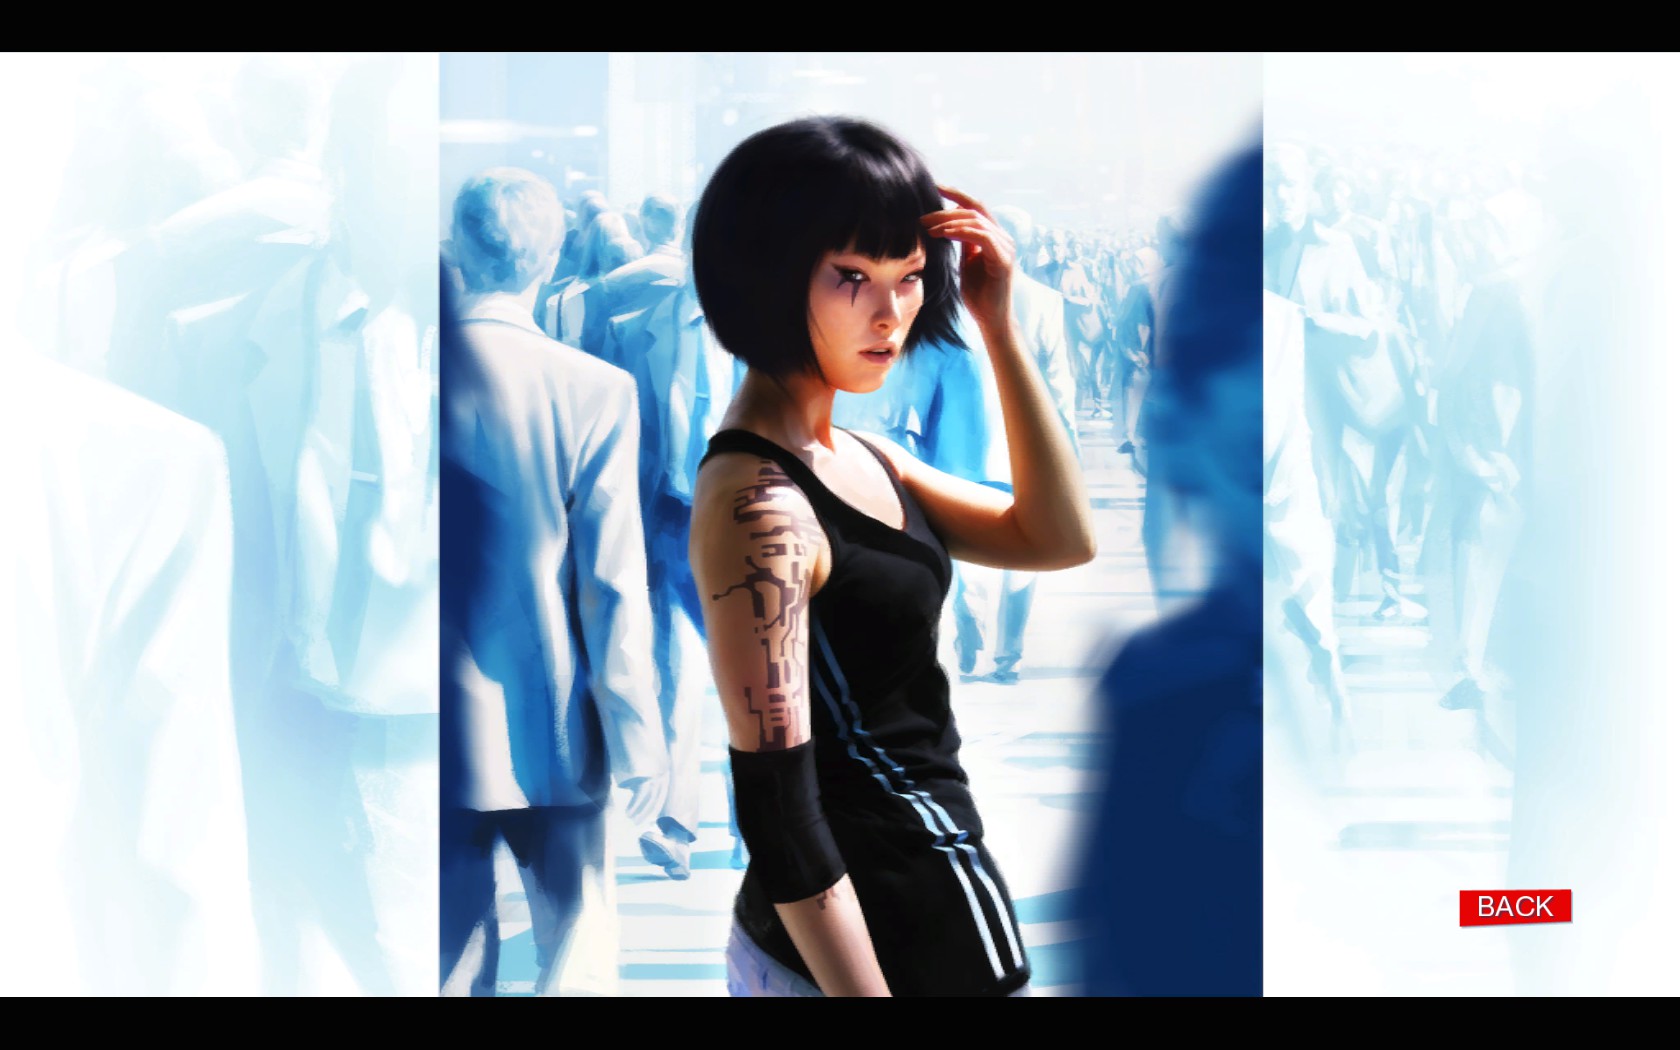
Faith:
The hero of our story, Faith, is a spontaneous, smart and emotionally strong young woman. Having already seen a lot of life at an early age, she understands the what is really going on behind the scenes in the dystopian society she lives in. When she was young she found the runners. Merc brought her in to the group and began to train her. He saw something special in her and boy was he right.
Merc or Mercury:
The brutal and strong leader of the runners Mercury (referred to as Merc in the game) is the one who took Faith in as a little girl. He frequently speaks to you over your earpiece. So when he says something, most of the time you should listen (well except for the swear words…)

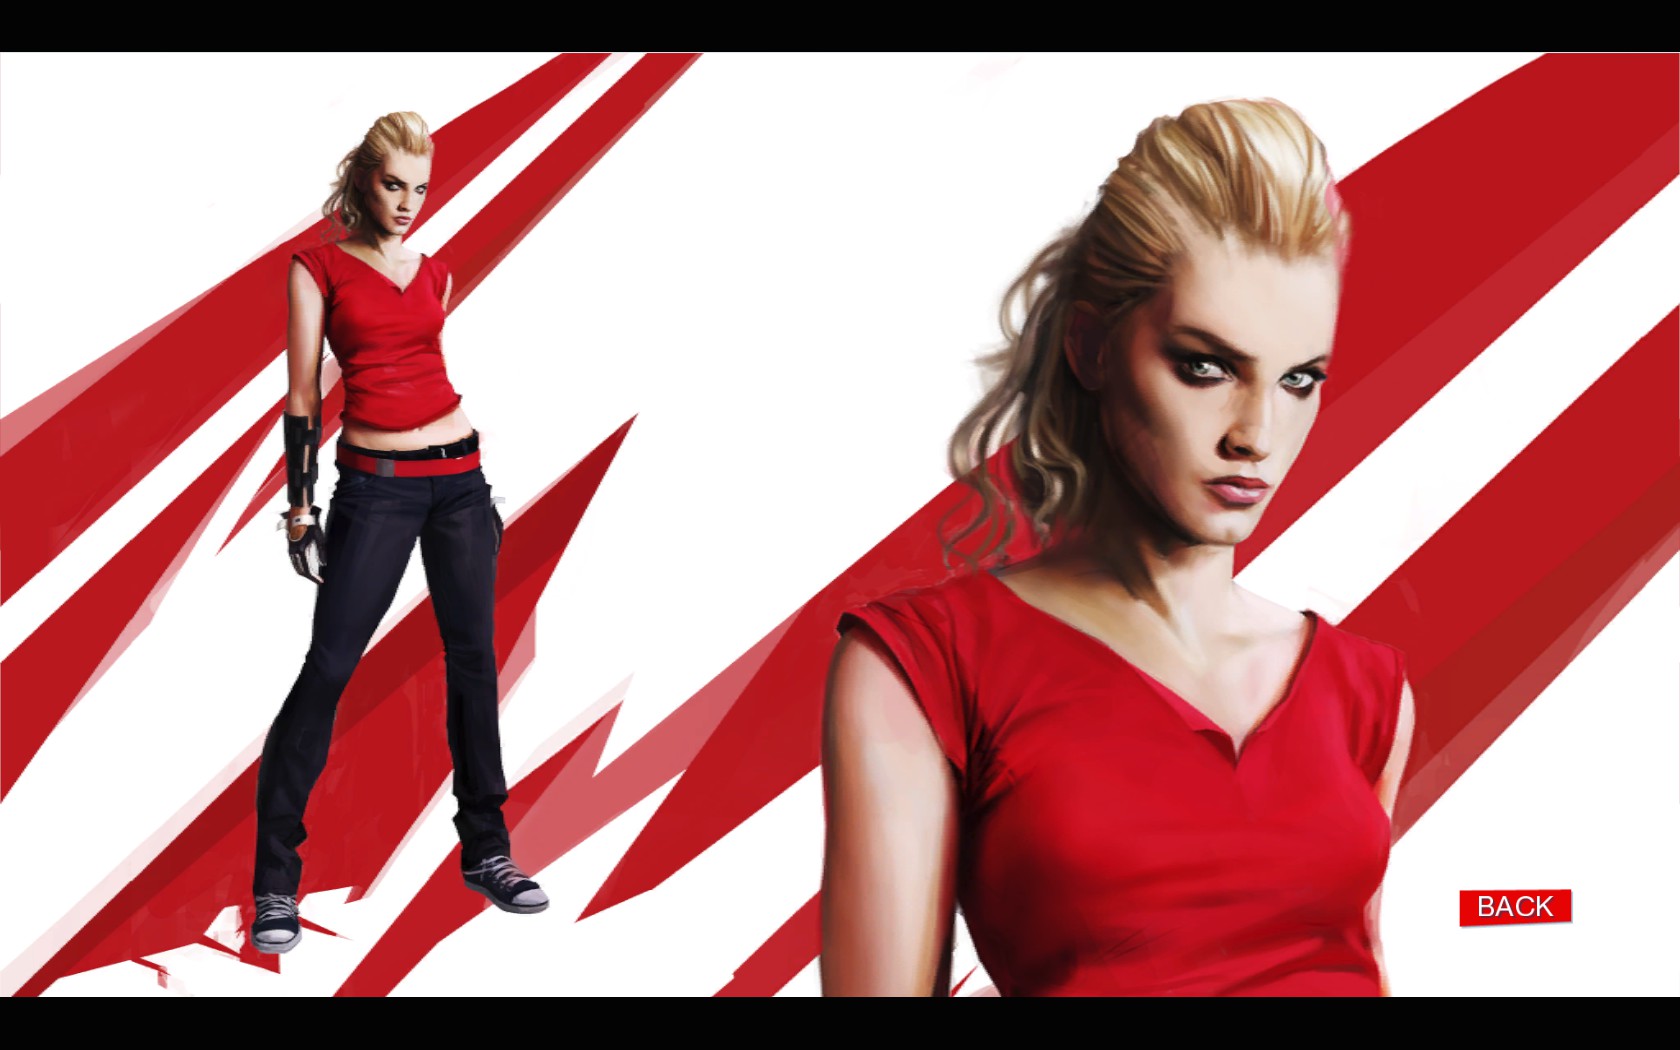
Celeste:
Your best friend out of all the runners. You’ve entrusted much information to her about your parents, sister, and childhood. She other than Merc is the closest thing you have to family.
Kate:
Your sister…the only family you have left. She was last seen at a major crime scene and has been convicted of homocide. Your goal…to rescue her, and find out who tried to frame her.
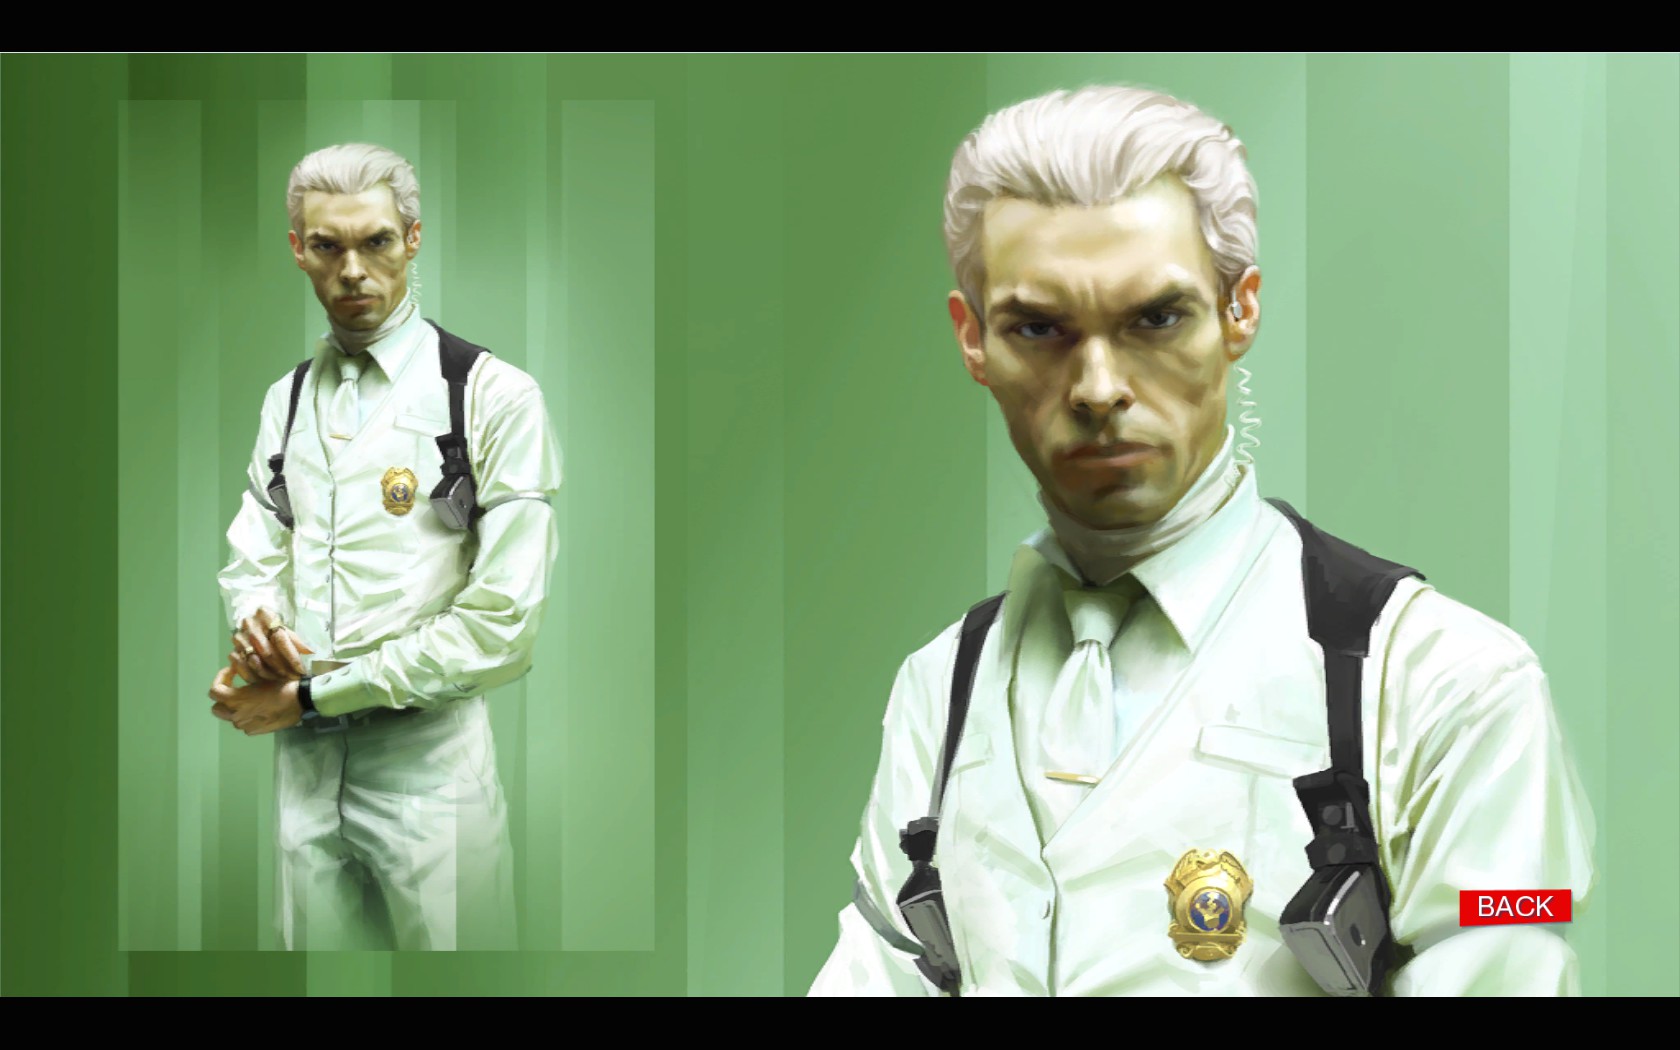
Miller:
Miller is the Kate’s leader in the Police Department. While cunning and shrewd, the recent arrest of Kate Connors his closest deputy has shaken him up a bit and made his weary and suspicious of everyone he comes into contact with. He no fool though. He usually knows an enemy when he sees one. Be careful around him as he is still a blue an not to be trusted.
Jacknife:
An ex-runner that just wants to see the underpivleged of the city he and Faith live in get more rights and respect in the community.

Ropeburn:
An ex-wrestler who has more to hide than many belive he does.

Menu Screen
The Menu Screen has 4 sub-menus that should look like this:
Story sub-menu: From the Story sub-menu you are presented with the three following options:


1. Continue Game: Select this, if you would like to continue your previously started game.
2. Play Chapter: Select this, if you would like to replay one of the games chapters.
Note: You can only replay chapters you have previously completed.
3. New Game: Choose this, if this is your first time playing the game!
Race sub-menu: From the Race sub-menu you are presented with two options:
1. Time Trial: Select this option if you would like to participate in a time trial.
Note: To record and post your scores to the leaderboards you must have a valid EA/Origin account. You may either sign into an existing account or if you do not have one, you can create one in game. If you do not sign into an account your scores will be stored offline/locally.
2. Leaderboards: Select this option if you would like to view the leaderboards.
Note: To post your scores to the leaderboards you must have a valid EA/Origin account. You may either sign into an existing account or if you do not have one, you can create one in game.
Options sub-menu: From the Options sub-menu you can choose from the following choices:
1. Video: Choose this option to change the video settings for the game. Within the video menu you are provided with the following options:
A. Brightness: Use the slider to adjust the in-game brightness.
B. Contrast: Use the slider to adjust the in-game contrast.
C. Resolution: Use this option to choose the resolution that best fits your monitor display and aspect ratio. Higher resolutions may impact performance.
D. Vertical Sync: Turn this setting on to lock your framerate to that of your monitor. Turn this setting on if you are seeing in-game texture tearing.
E. Texture Detail: Use this choice of options to change the quality of the in-game textures. Higher texture levels may impact performance.
F. Graphics Quality: Choose from the many different graphic qualities. Higher qualities may impact performance.
G. Anti-Aliasing: Change the anti-aliasing for smoother or more rigid textures. Higher levels may impact performance.
H. PhysX Support: Turn this setting on if you are an Nvidia Graphics card user. Enabling PhysX will add in little details to the game’s experience and enhanced in-game physics. Make sure your graphics card has PhysX support before enabling. Enabling this option may impact performance.
2. Audio: Choose this option to change the audio settings, such as the Master Volume, the Voice Volume, and the Sound Effects volume.
3. Controls: Choose this option to change the game’s key bindings.
4. Game settings: Choose this option to change the game’s difficulty, enable/disable runner vision, change your speed unit from MPH to KPH, or enable/disable the reticule.
Note: The game has 3 difficulty settings (Easy, Normal, and Hard) but the Hard difficulty is only available after beating the game a minimum of one time.
5. Gamepad Setup: Choose this option to change the layout of your Gamepad and other controller settings.
Default Controls
The default controls for the game are as follows:
W: Run forward
S: Run backwards
A: Strafe left
D: Strafe right
Spacebar: Jump
Note: The longer and harder you press the spacebar the higher and longer you will stay in the air.
Q: Turn 180 Degrees
F: Zoom in scope
Note: This key only applies to the sniper rifle in the game.
E: Interact with Item
Note: Press this key to interact with wheels, elevator buttons, and other buttons.
Left Click: Attack/Parkour action key
Right Click: Pick up weapon/Drop weapon/Disarm enemy
Mouse Y Axis: Turn or Look Left
Mouse Y Axis: Turn or Look Right
Mouse X Axis: Look Up
Mouse X Axis: Look Down
Shift: Duck/Crouch/2nd Parkour action key
Alt: Redirect view to correct direction
Note: If you are lost, or are having trouble figuring out where to go next simply press this key to point you back in the right direction.
Ctrl: Walk
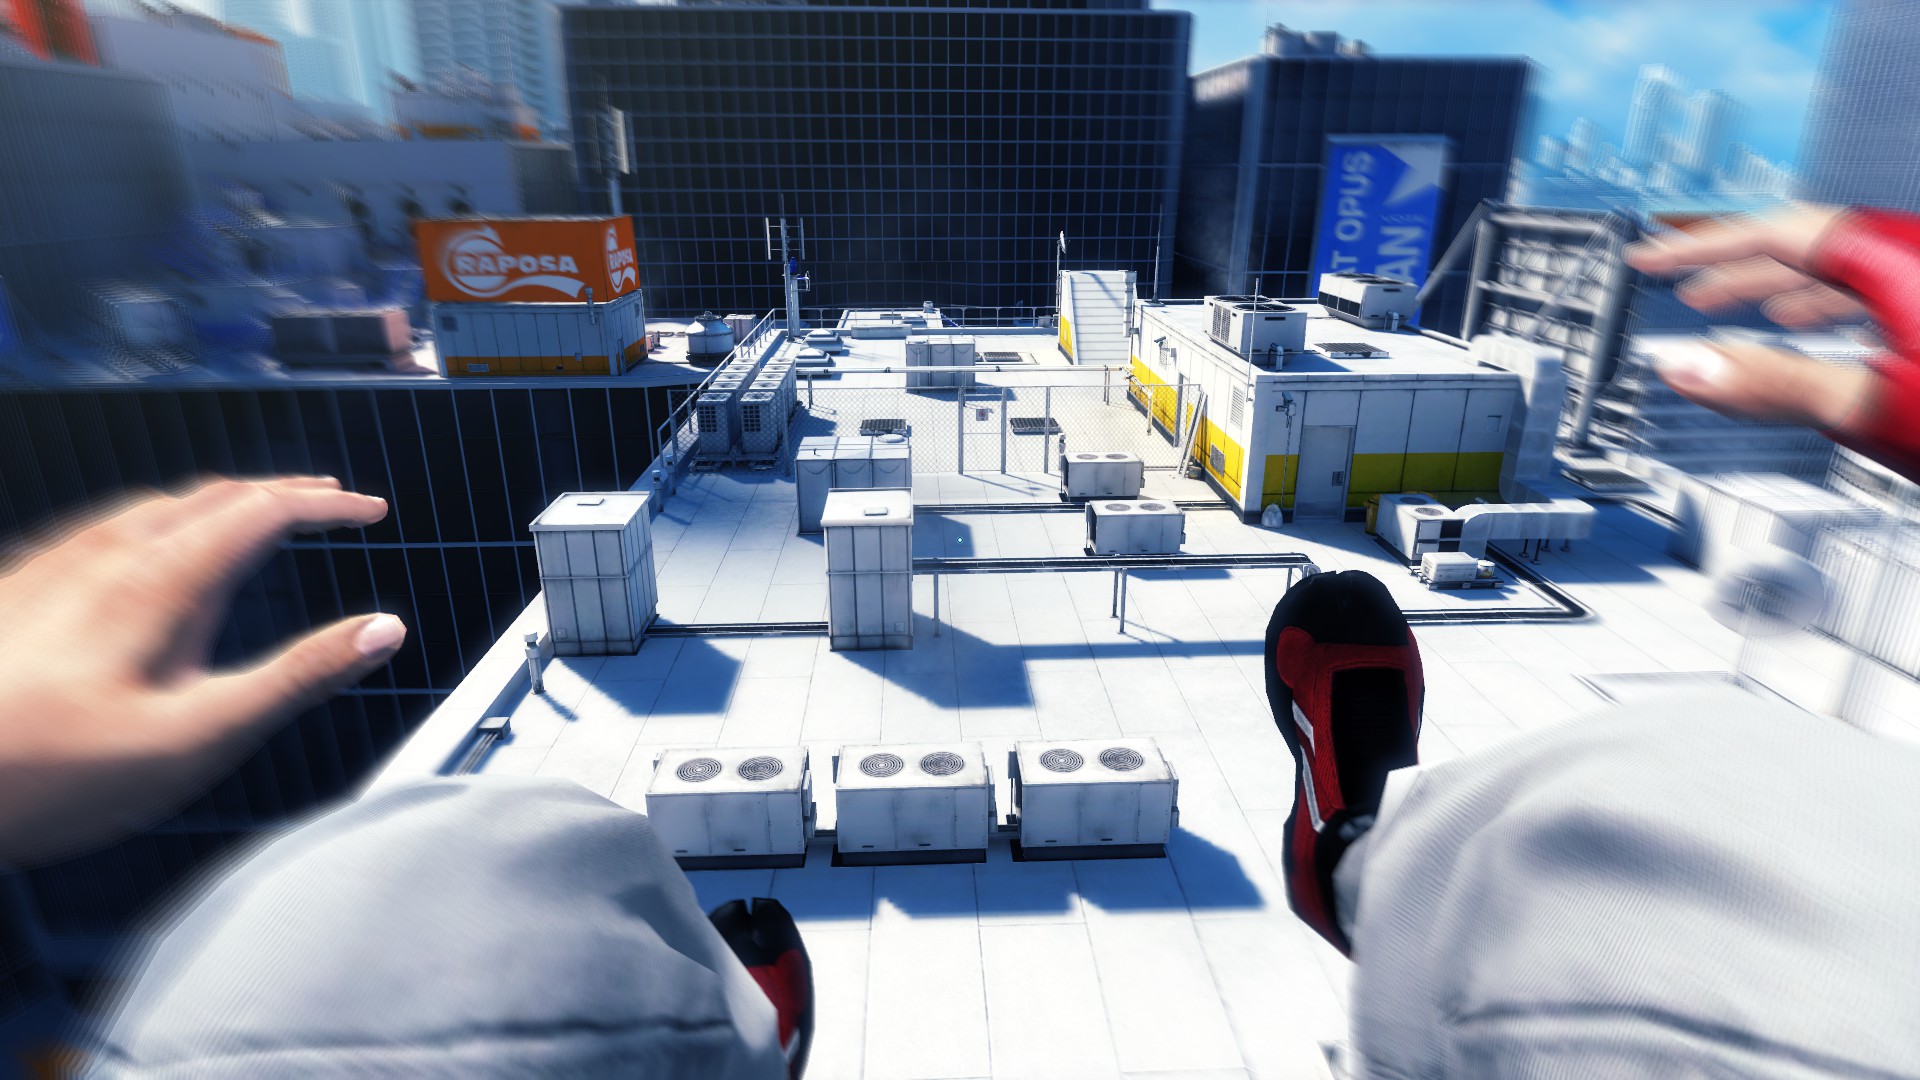
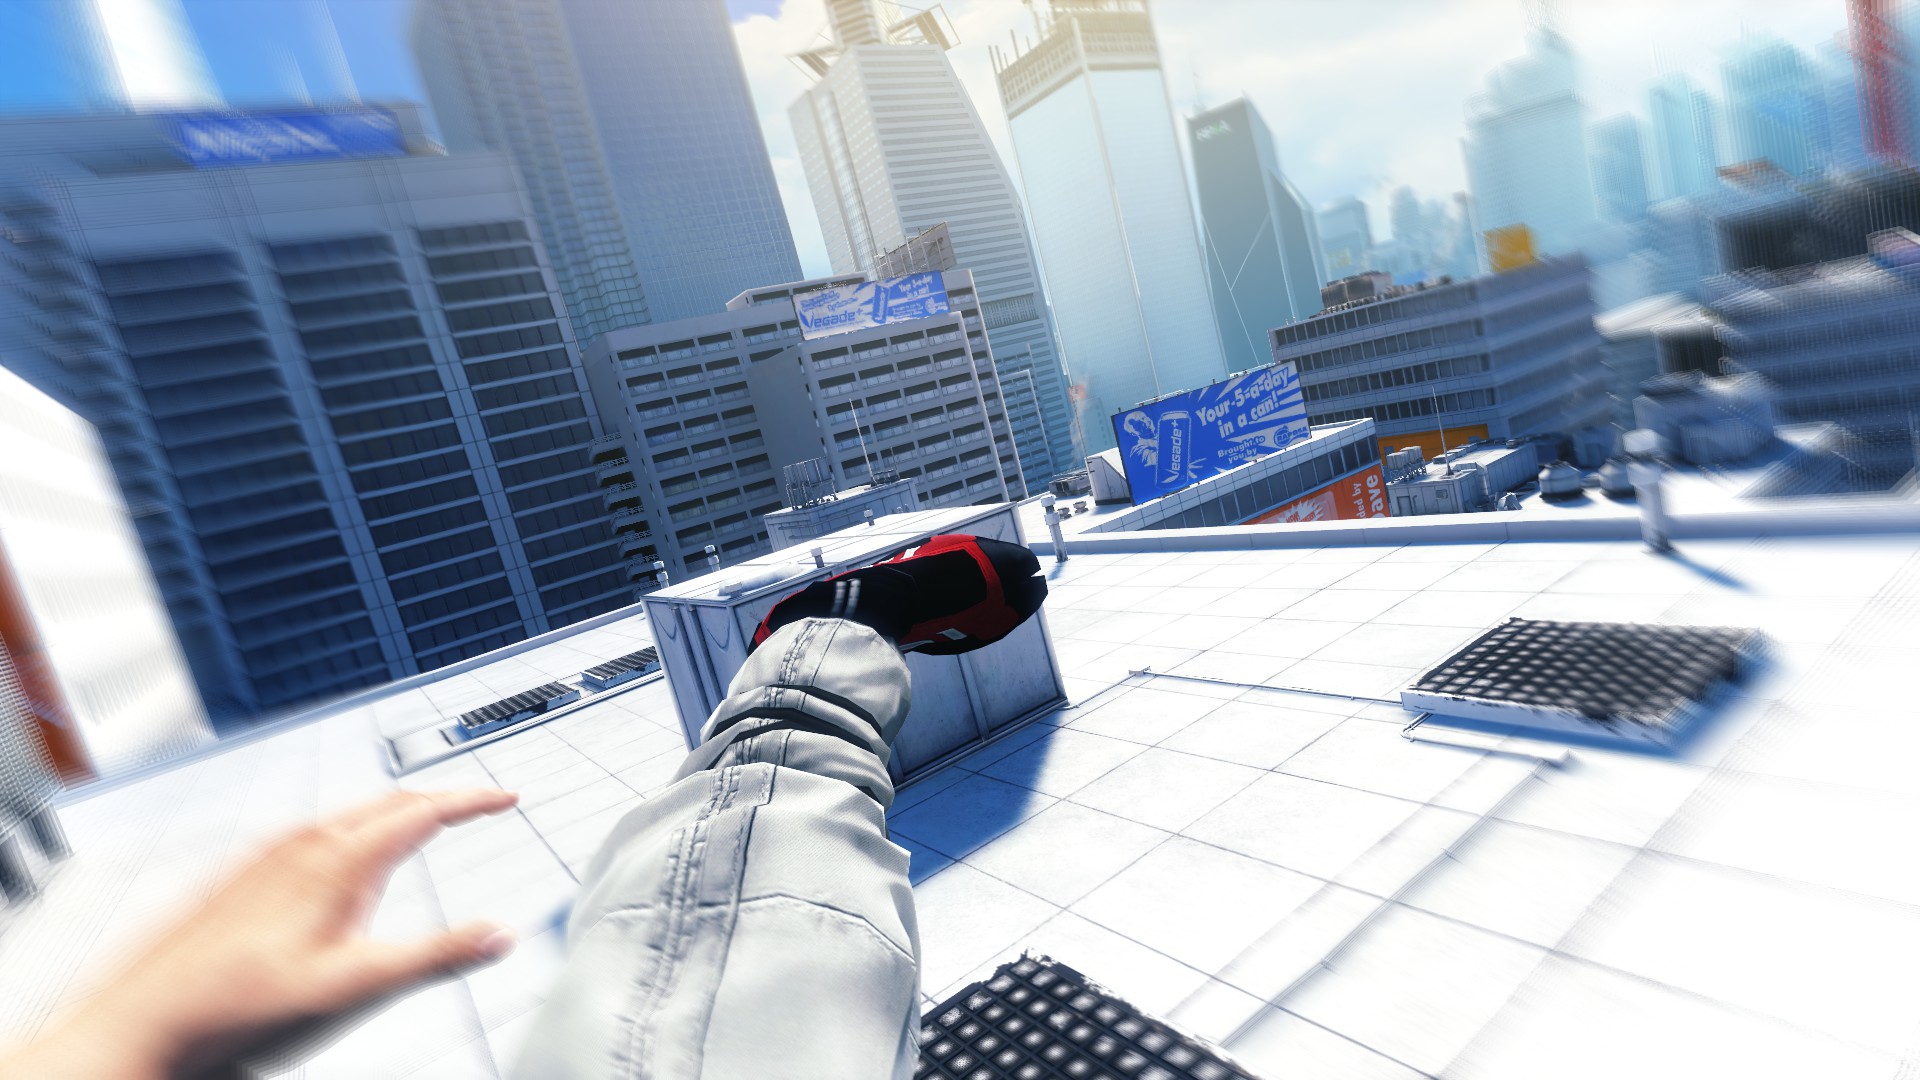
Parkour Moves
Wall run: 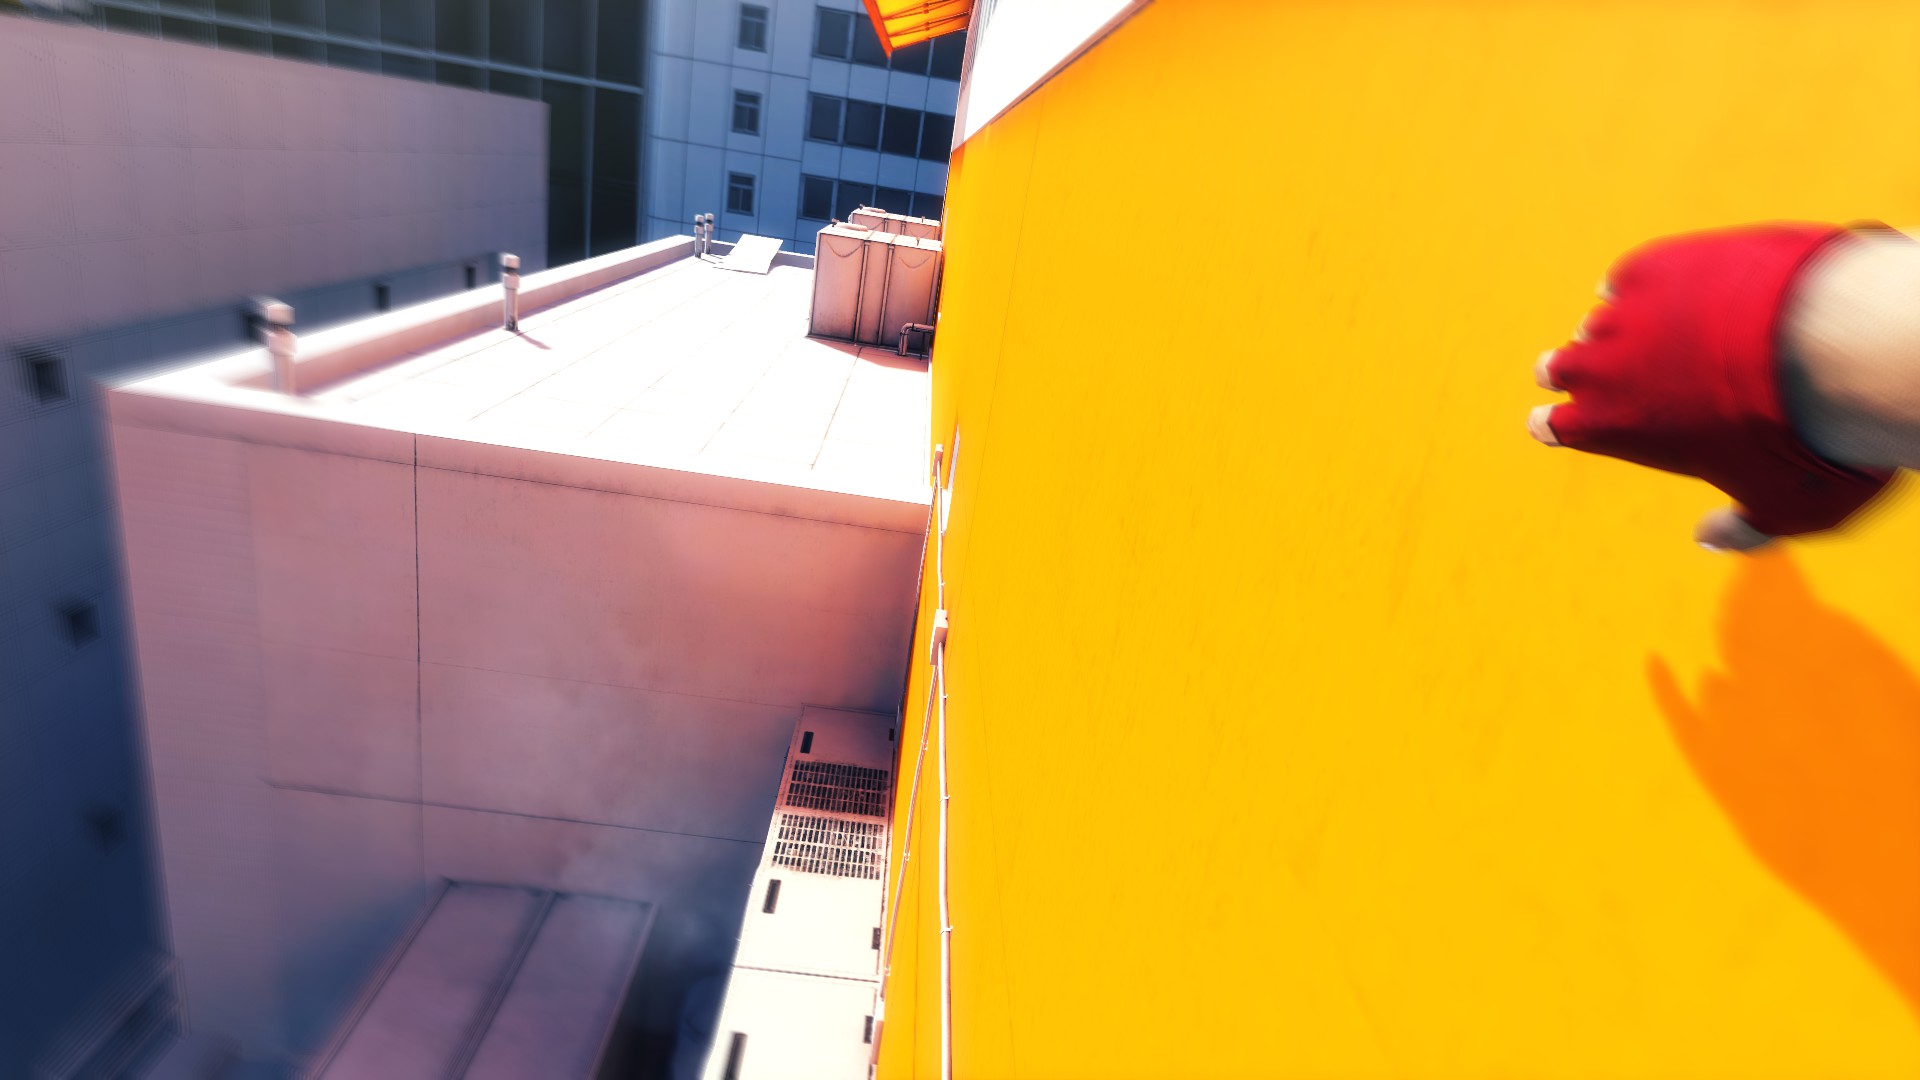
(Default) Key Combination: W+SPACEBAR
Slide: 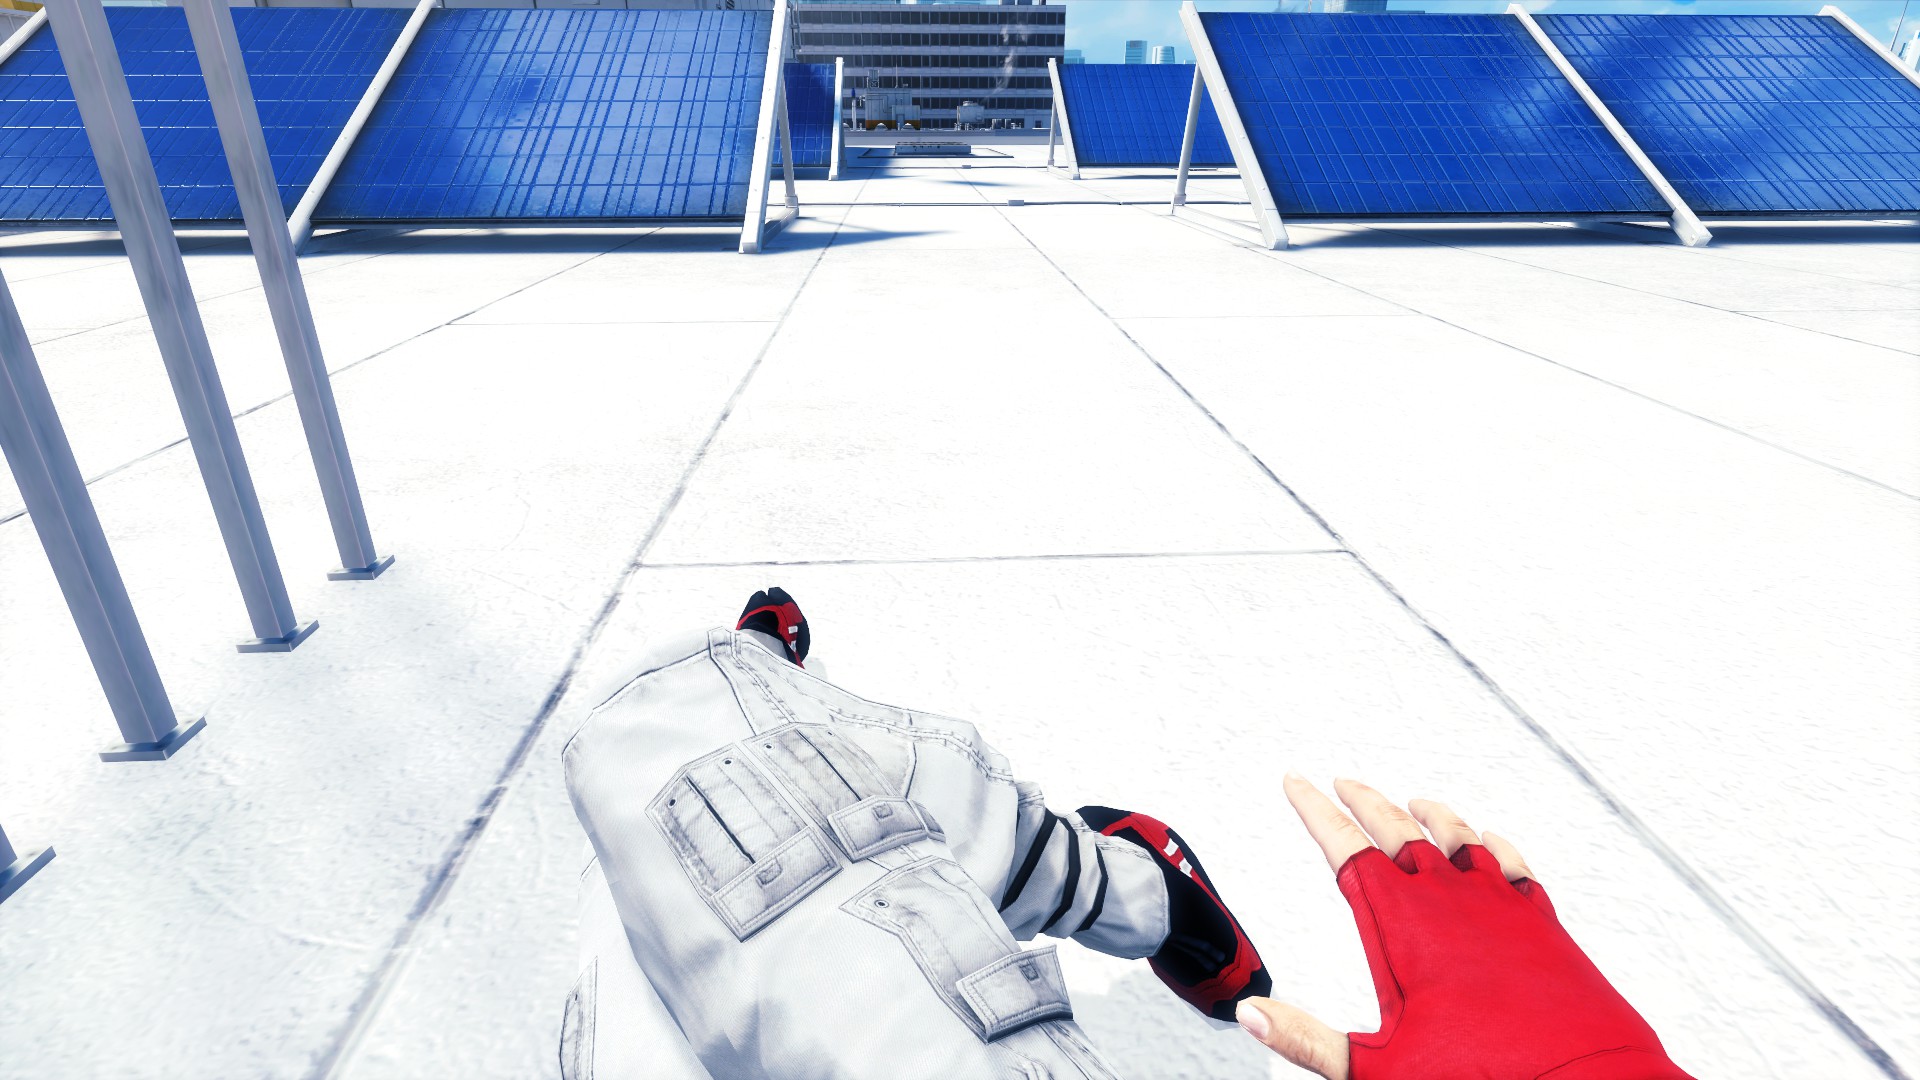
Note: The longer you hold the SHIFT key, the longer you will slide.
(Default) Key Combination: W+SHIFT (Hold)
Long Jump:

(Default) Key Combination: SPACEBAR+SHIFT
Low Vault:

(Default) Key Combination: SPACEBAR (before a lower placed obstacle)

High Vault: 
(Default) Key Combination: SPACEBAR (before a higher placed obstacle)
Rope Slide: 
(Default) Key Combination: SPACEBAR (aim crosshair or vision at the rope)
Roll: 
(Default) Key Combination: SHIFT (press right before hitting the ground)
Pole Climb: 
(Default) Key Combination: SPACEBAR (aim crosshair or vision at the pole)
Kick/Slam Open Door: 
(Default) Key Combination: LEFT MOUSE BUTTON
Disarm: 
(Default) Key Combination: RIGHT MOUSE BUTTON (when the enemy’s weapons turns red)
Kick Off Wall:

Note: If you are still confused as to how to perform this move, take a look at the game’s introductory tutorial. It explains it really well.
(Default) Key Combination: W+SPACEBAR+Q

Pole Balance: 
(Default) Key Combination: W+A/D+W
High Jump: 
(Default) Key Combination: W+SPACEBAR
Enemies
There are 7 enemy types in the game. There are as follows:
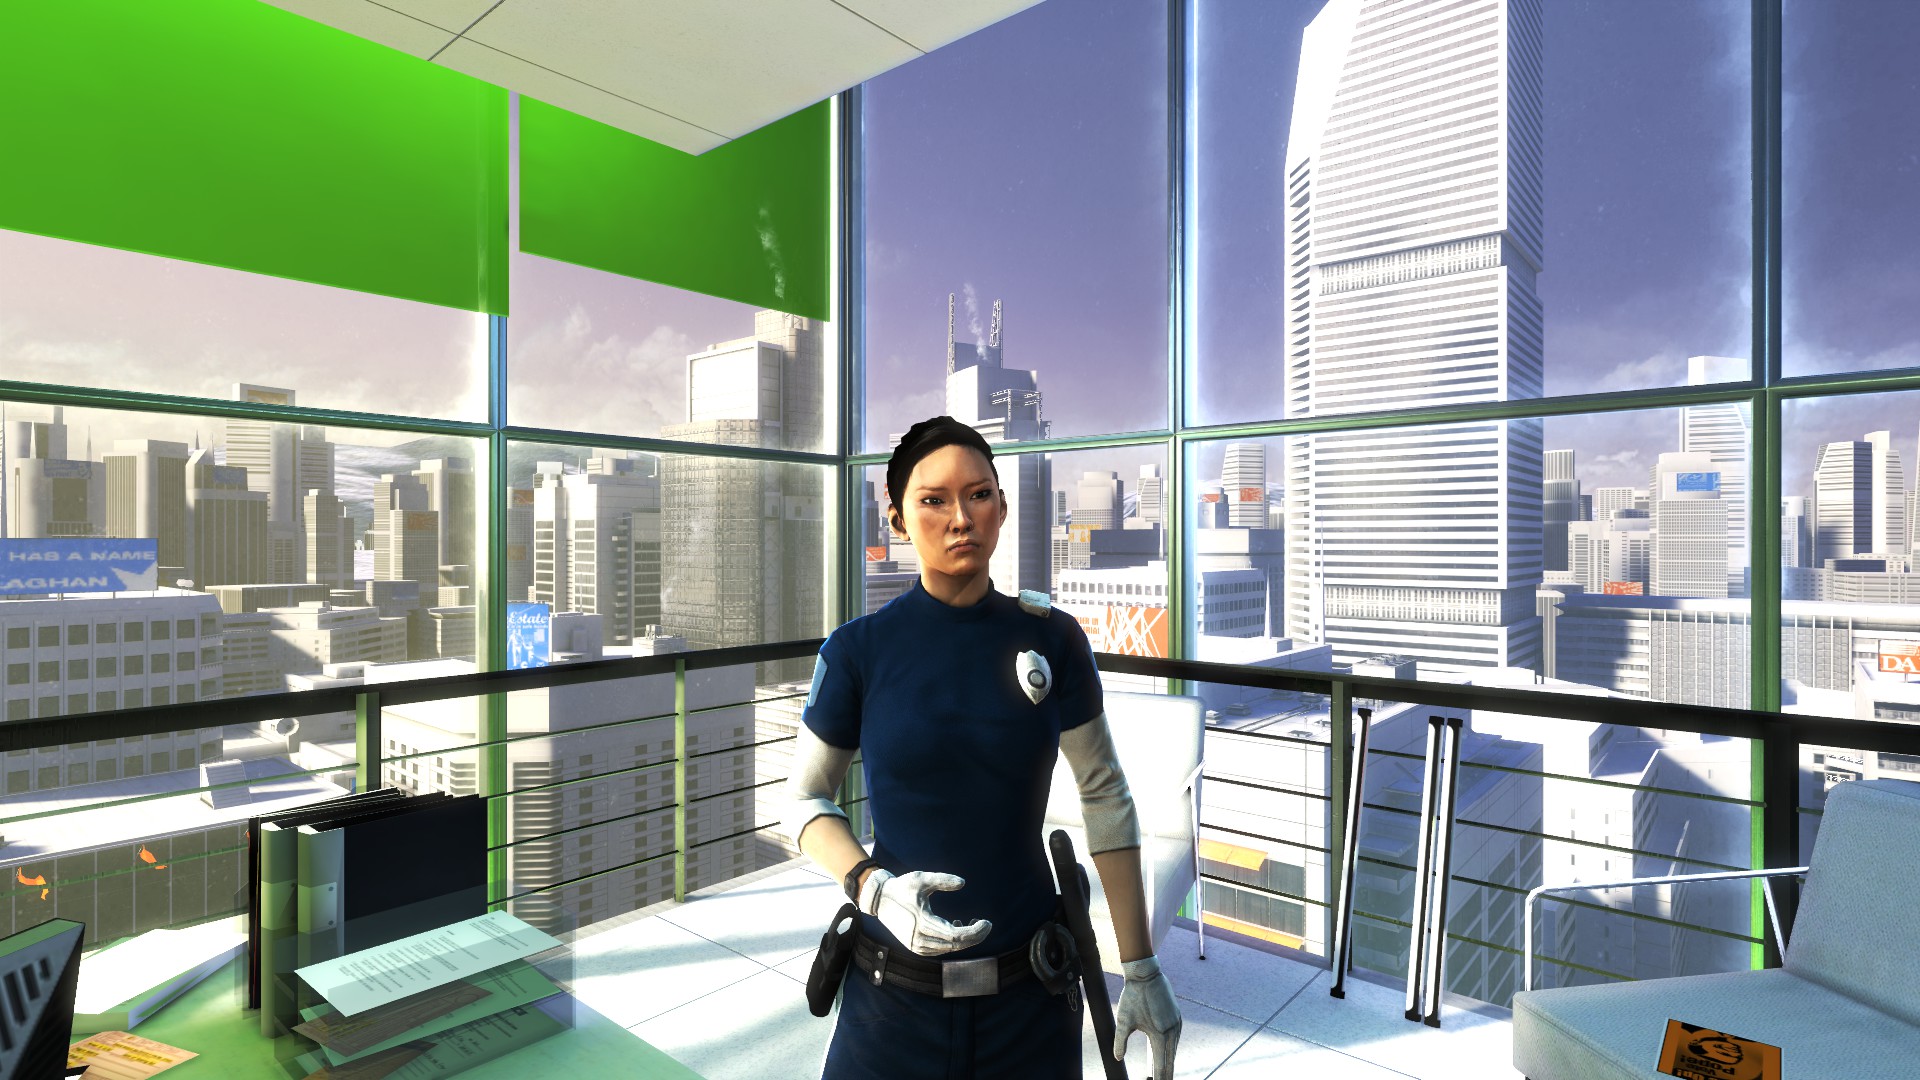
Police Officer:

Riot Officer:
Sniper:
Pursuit Cop:


S.W.A.T.
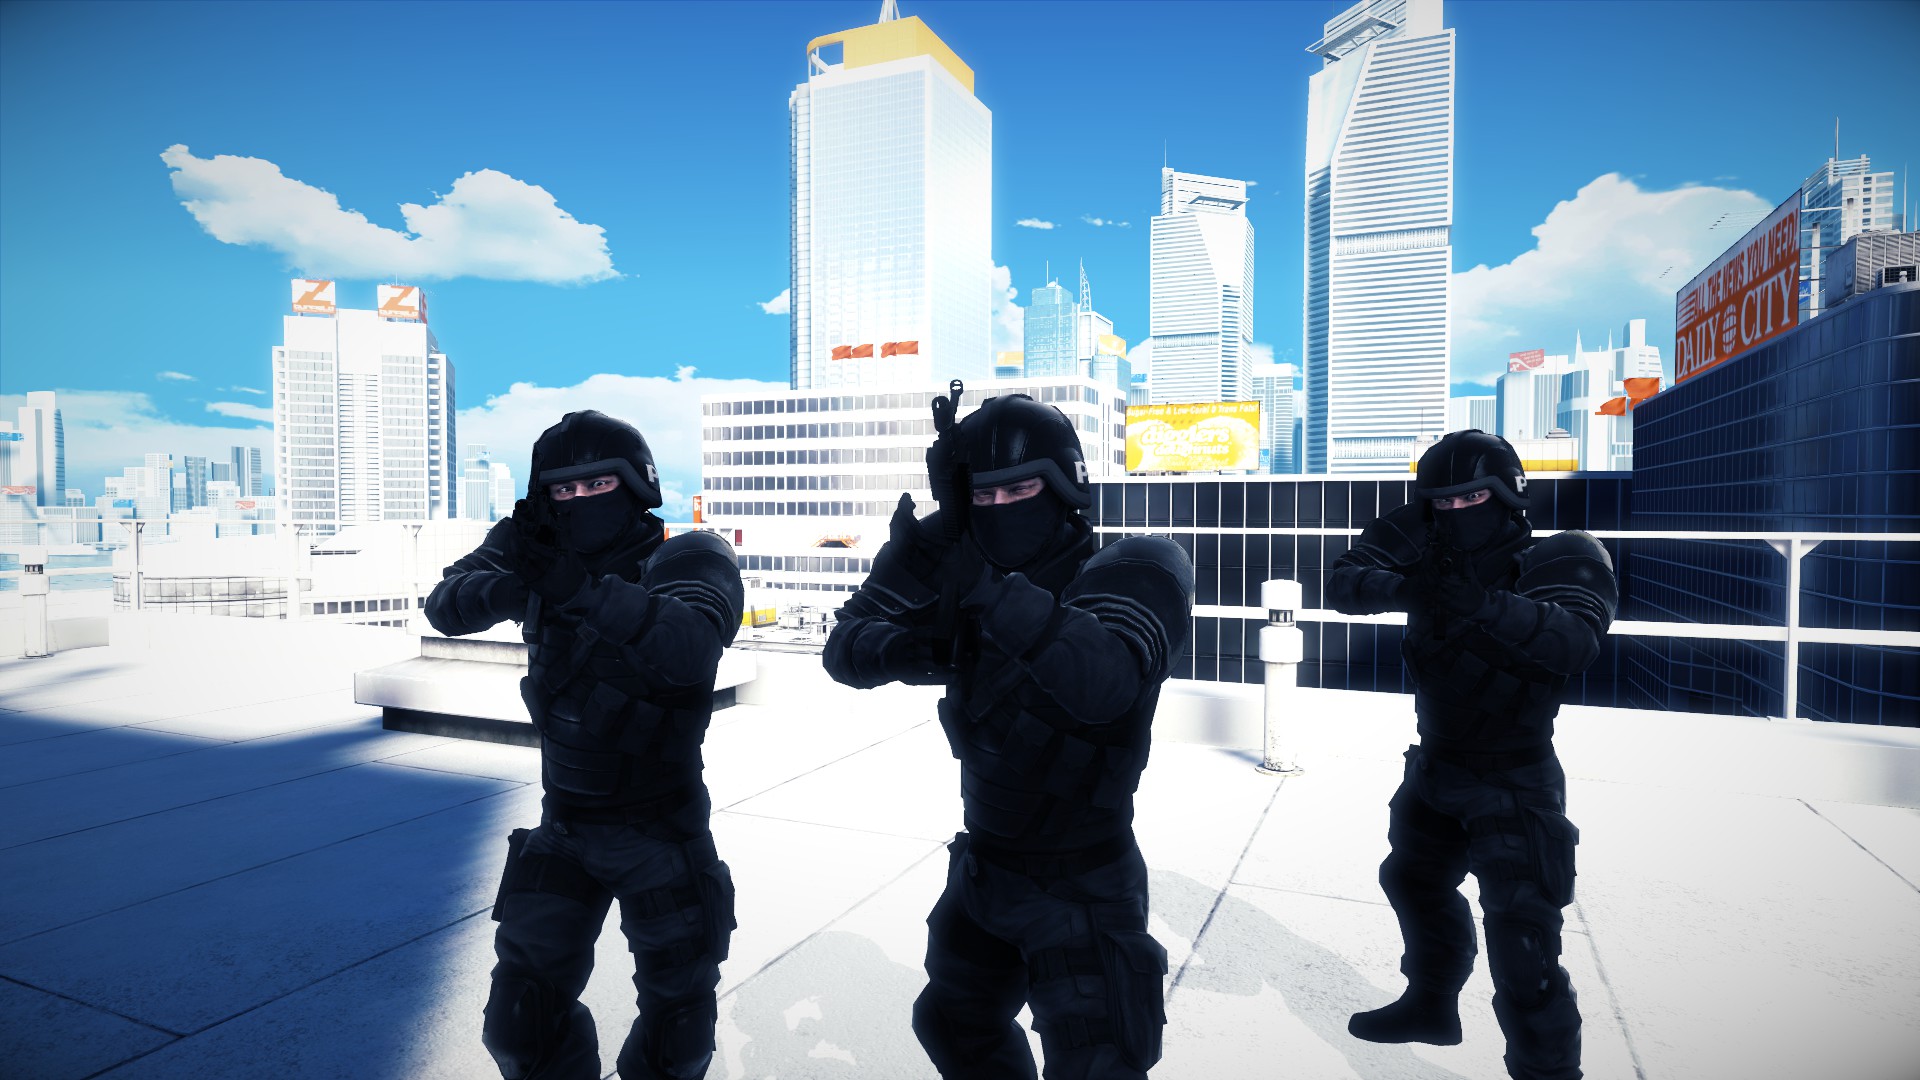
Heavy S.W.A.T.

The Assassin: 
Helicopter
Combat
Punch:
Punch: To do a single punch just press the left mouse button once. If you press the mouse button two or three times you will have a double and a triple punch. Punches are the fastest type of attack but are extremely weak on enemies. In addition they require you to get up close and personal. If you end up being that close to an enemy it would probably be better to perform a disarm.

Jump Kick: 
Jump Kick: To perform a jump kick simply get a good starting movement and then press the spacebar followed by a left click. Jump kicks are powerful and push the enemy farther away from you but require you to get up close. To perform an effective jump kick try to have a decent amount of speed built up. Also try press the left mouse button a little bit before reaching the enemy’s vicinity.
Stationary Jump Kick:
Stationary Jump Kick: To perform a stationary jump kick you must be completely immobile. To complete the action simply press the space bar and then the left mouse button. This move is very powerful but not very effective in a large group of enemies. Try to use is as a way to get distance from the cops or gain yourself time to run.


Slide Kick:
Slide Kick: To enact a slide kick, get a decent running start, then hold the SHIFT key, followed by a left click. This method of attack is best used when trying to avoid the crossfire aimed at you during a chaotic engagement. After performing this move, you are able to throw a kick straight to the face of the enemy by pressing the left mouse button once in range.


Wallrun Kick:
Wallrun Kick: A successive wallrun kick requires two things: timing and speed. To perform a wall run please refer to the “Parkour Moves” section. Once running on the wall simply press the left mouse button when in range. After performing this move you can usually disarm the enemy by pressing the right mouse button.
Disarm:
Disarm: This handy little move is excellent for close range situations and areas where you need a little more “firepower.” To performs disarm get close to the desired enemy. He should begin to performs some kind of a melee attack. When his weapon turns red, immediately press the right mouse button. The rest is all up to Faith. After performing a successful disarm you will recieve the enemies weapon. To drop the weapon simply press the right mouse button.
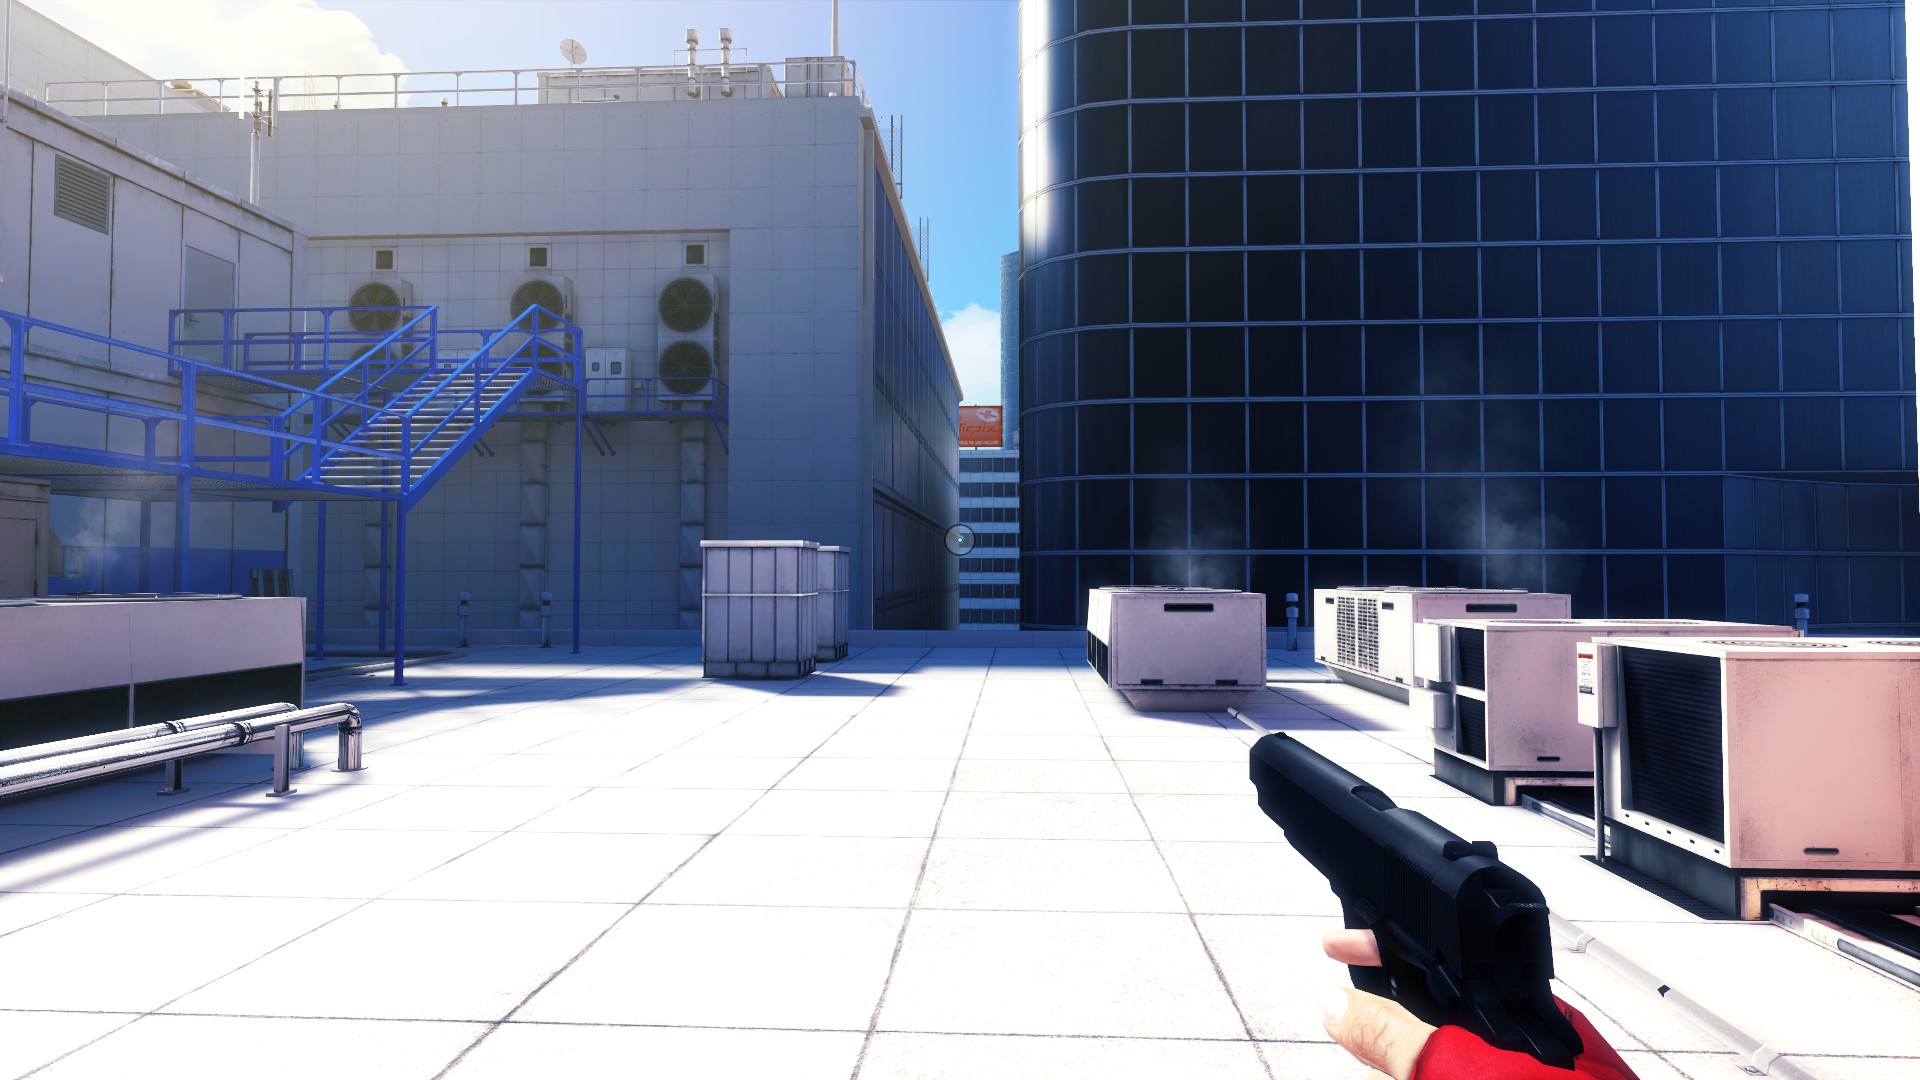
You will come into contact with many weapons throughout the game. After performing a disarm you will receive that enemy’s weapon by default. If you defeat an enemy in hand to hand combat, they will surely drop their weapon leaving it for your use. Depending the situation it might be better to use them or leave them alone. If it is a pistol, I recommend always picking it up as it does not slow you down in your running. All other weapons, well…it depends on the situation. The next few sections will cover all the weapons in the game.
Pistols
Colt M1911 Handgun:
Glock 18 Triple-Shot Handgun


SMG
Steyr TMP Machine SMG:
Heckler and Koch MP5:
Heckler and Koch G36C SMG:


Shotguns
Neostead 2000 Shotgun:
Benelli M3 Super 90 Shotgun


Rifles
FN SCAR Assualt Rifle


Machine Guns
FN Minimi Machine Gun


Sniper Rifles
Barrett M95 Sniper Rifle


Conclusion
Thank you for reading this guide! I hope it has helped you immensely. Please feel free to Rate Up and leave comments! If you have any questions or concerns please let me know via the comments or my profile. Thanks and God Bless!
Special Thanks to AGRESSIVEMOOSE: [link]
Other Useful Guides!
More Mirror’s Edge Guides:
Enemies, Combat and Weapons in Mirror’s Edge:
[link]
Counter-Strike Guides:
A Beginners Guide to Counter-Strike: Source
[link]
A Beginners Guide to Counter-Strike 1.6
[link]
How to disable blood guides:
How to disable blood on Counter-Strike
[link]
How to disable blood on Counter-Strike: Condition Zero
[link]
How to disable blood on Counter-Strike: Condition Zero Deleted Scenes
[link]
How to disable blood on Counter-Strike: Source
[link]
How to disable blood on Portal
[link]
How to disable blood on Team Fortress 2
[link]
How to disable blood on Garry’s Mod
[link]
How to disable blood on Estranged Act 1
[link]
How to disable blood on Insurgency: Modern Infantry Combat
[link]
Enabling Low Violence mode on Left 4 Dead 2
[link]
“How to” Guides
How to fix Star Wars Battlefront II crashing
[link]
Steam OS Guides
A Beginners Guide to Steam OS (Alpha)
[link]