
Overview
A simple (but detailed) walkthrough & guide that’ll get you all the CGs and Achievements/Trophies. Spoilers kept to a minimum!
Introduction
Update 10/2/19: Out of concerns that it may be potentially misleading, I’ve updated the guide’s name to make it less so. Just for the record, the original title was “100% Complete CG, Walkthrough and Achievement Guide”.
Welcome to my guide! The purpose of this guide is to show you how to collect every CG, Achievement, and Route. Basically 100% the game, if you will.
There seems to be a lot of misinformation and confusion about some of the routes, endings and achievements out there, so this guide is intended to be as in-depth as possible while being as simple, straightforward and easy to understand as possible. It is my first guide too, so please bear with me if I make any mistakes or don’t have it formatted as well as it could’ve been.
Because this guide will also be as spoiler-free as possible, no CGs will be posted here – if you want to see the CGs, play the game and earn them yourself. The ONLY things I will be spoiling are the selections you will need to choose, any notes regarding getting the endings, and the achievements. That’s it.
Speaking of CGs and Achievements, there are a lot of CGs that you will earn common to all routes – those will not be listed in this guide as you will earn them naturally. Likewise, there are achievements for things that you will naturally be doing anyway (whether you follow this guide or not), like starting each of the three visual novels or earning half of the CGs. Those will not be specifically listed in the guide either.
In any case, here’s an explanation on how the guide is formatted:
- Selection you will choose. – Reward(s), such as missable CGs and Achievements
- Selection you will choose if it’s a date event.
- Notes regarding a selection (say, if a choice leads to a bad ending) will be italicized like this.
Lastly, wherever I have <Selection does not matter>, I really do mean it, as I have done multiple test playthroughs and have always ended up on a desired route regardless of my choice.
With introductions out of the way….what do you say we get this date started?
How To Play
There are two types of events across all 3 games: Date Events and Sub Events.

Date Events are events you can view with each of the datable girls. These are Tohka, Kotori, Origami, Yoshino, Kurumi, Rinne, Kaguya, Yuzuru, and Miku. Each Date Event expends a time icon in the top-left corner of the screen. When all time icons have been depleted, the main story advances.
Sub Events are events with characters other than those named above. These do not expend any time icons, however you can only view two of them at a time. Viewing one will get you Noisy Neighbors; view ALL of them for Date A Side-story.
Tip: To help get the latter achievement, save at every map, and after you use your first time icon. Do your two sub events, reload, and repeat until you’ve seen all possible sub events on that map before proceeding with the story. (Just make sure you quit out and save your system data at some point!)
Default Controls
Note: At this time, controller assignments cannot be rebound despite the game seemingly letting you.
*These buttons are swapped when the Language is set to Chinese or Japanese.
Achievement/Trophy List
Trophies/achievements that have been spoiler’d out here are Hidden Trophies in the PS4 version of the game – hover or tap to reveal them. However, this will not be the case in the rest of the guide, so be forewarned.
About the Memory Menu
In order for events to show up in the Memory menu under Gallery, most (not all, but most) of the time you will need to select and READ ALL THE WAY THROUGH EVERY CHOICE presented to you in a given selection, until the next scene. (Skip Mode can help with this.) For the various versions of “Dinner and a Report” after your first date in Arusu Install, this means reading until the start of the next day.
If there’s a Memory event missing, chances are there is a choice you didn’t make or text you didn’t read all the way through in a given event. For example, Memory 128 in Rinne Utopia. For some reason I didn’t read all the way through the following scene after picking Be quiet and stay by her side. in the preceding selection in Tohka’s route (that being at Lake Outskirts). Therefore I was searching for how to get that memory event and ended up stumbling on the solution I did.
This guide does NOT cover how to get every last little Memory event, as you will be getting most of them by playing the game normally. I will, however, point out a few of the more obscure events that you probably won’t come across playing normally.
Rinne Utopia & the Bad Ending
I just want to go ahead and point out that, despite what this guide may tell you, you CAN date multiple girls, just like Shido does in the anime – and still end up on a particular girl’s route. I BELIEVE this is determined by the number of date events you’ve seen with the girl in question – the girl you’ve dated the most after the final date event on Friday, June 30th will be the route you see. However, if you don’t date a single girl more than the others*, you will see
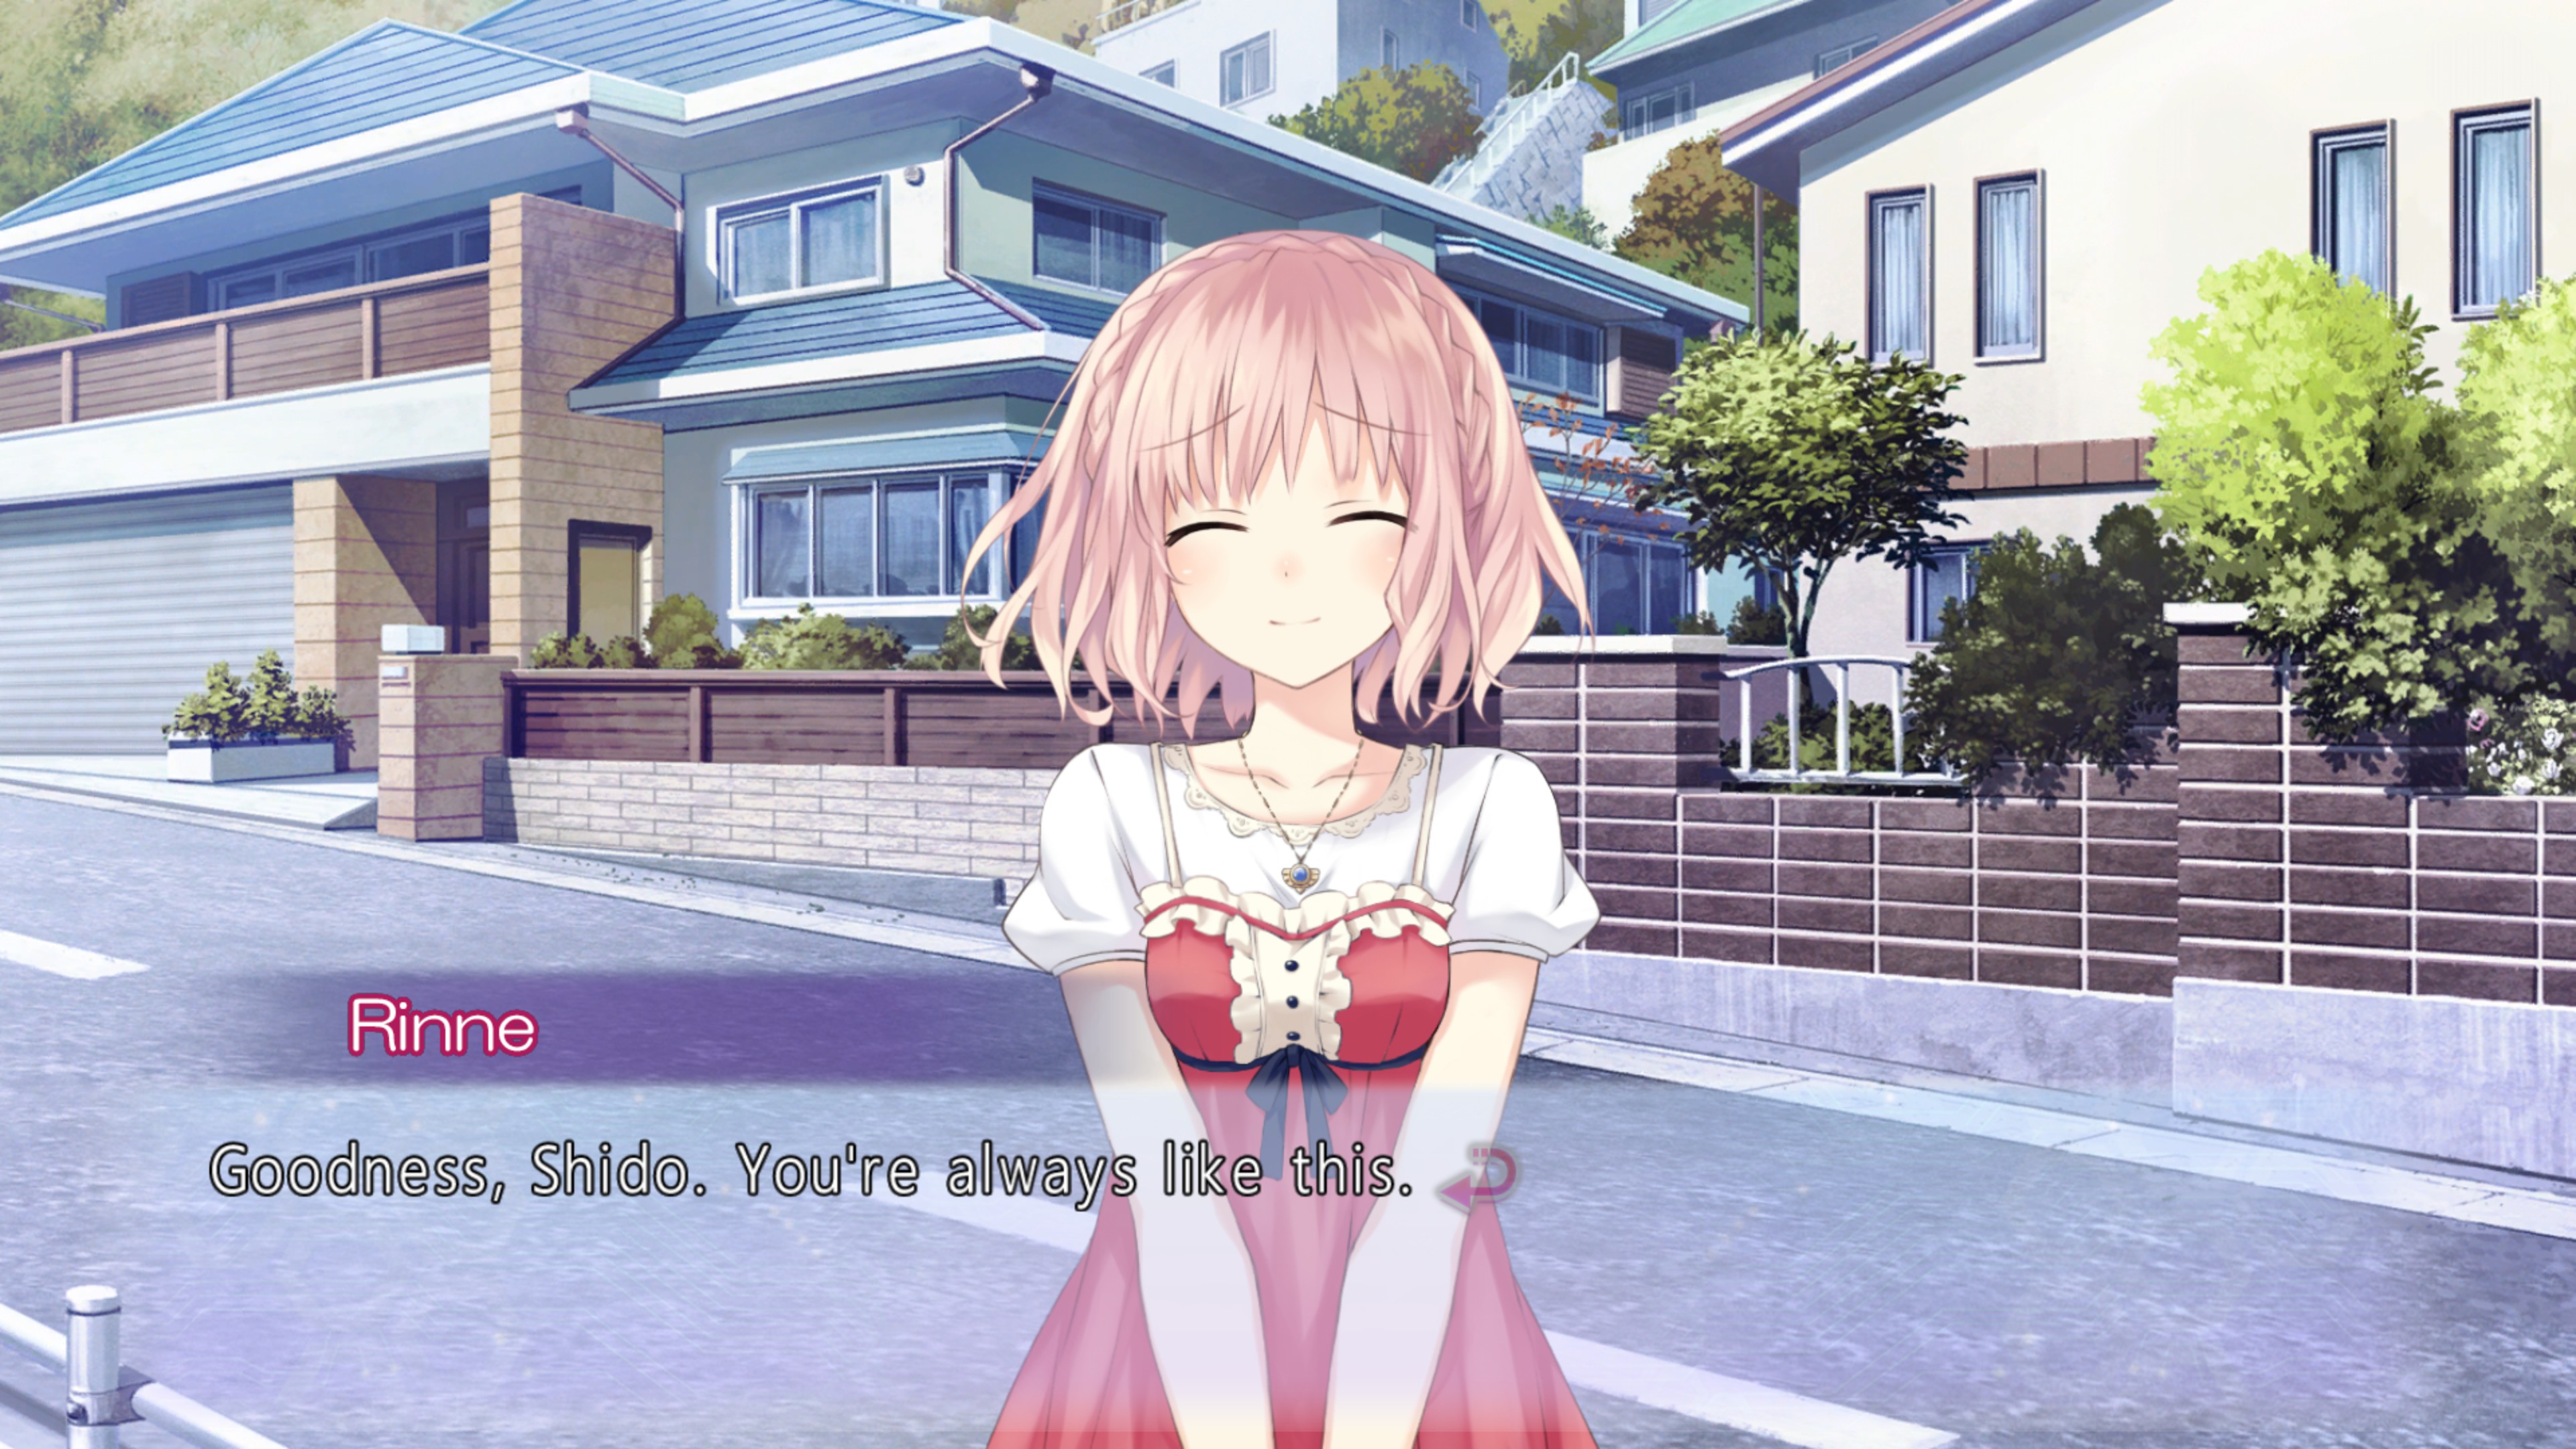
[i.imgur.com] with Rinne instead.. This is the BAD ENDING.
This is based purely on my own observation though, so I could be wrong.
*For example, say you date Tohka 4 times, Yoshino 2 times, Origami 2 times and Kotori 1 time. You should be on Tohka’s route. But if you date Tohka and Yoshino 3 times each, then Shido can’t decide on either one, leading to the bad ending. At least, I BELIEVE this is how it works based on my playthroughs of the game, but, again, I could be wrong.
This does not apply to Rinne’s route however, as her route is the conclusion of the main story.
Note: Initial selection during the prologue does not matter.
• Tohka Yatogami
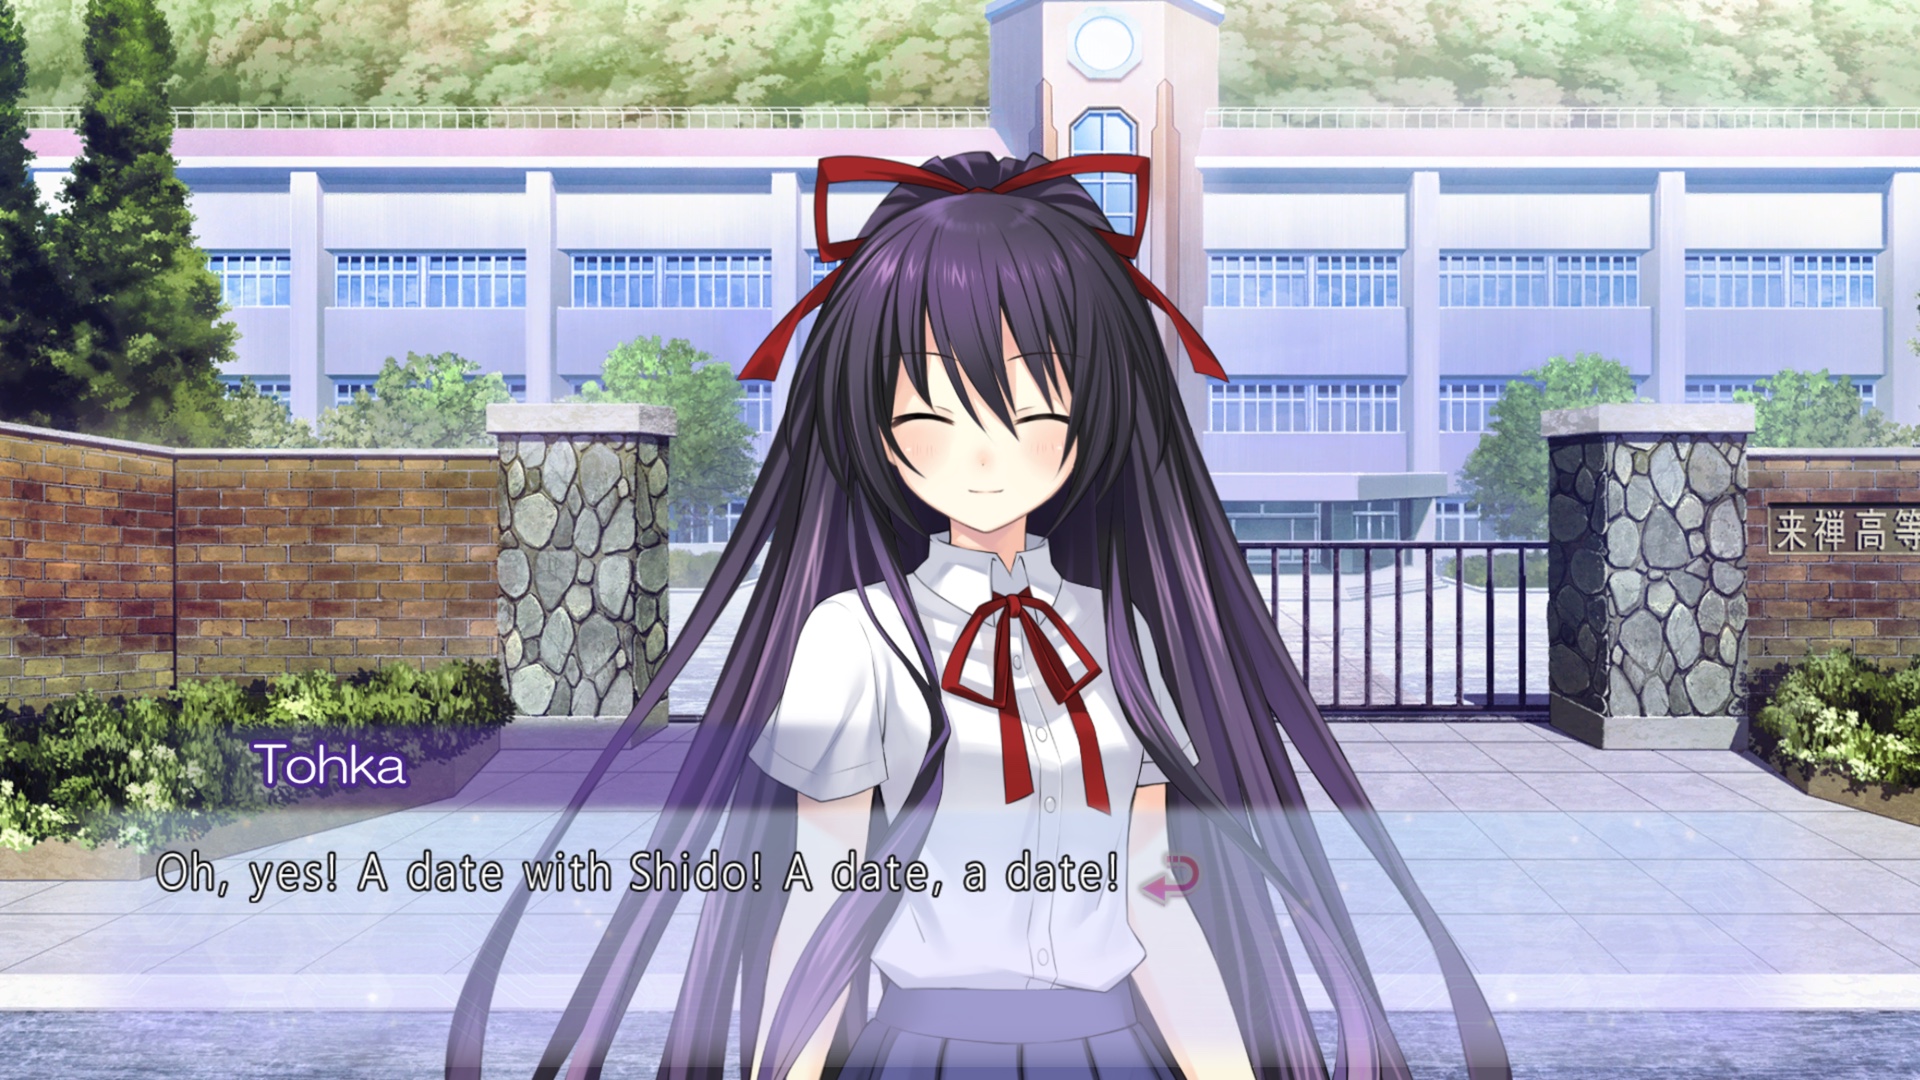
- School Front
- Then, why don’t we stop by the bakery? – CG
- Residential Area
- <Selection does not matter>
- Cheer for Tohka – CG
- Hallway
- Tohka’s acting strange, so I’ll stop here. – CG
- It bothers me, so I’ll go on a bit longer. – BAD END
- Tohka’s acting strange, so I’ll stop here. – CG
- Itsuka House
- <Selection does not matter>
- Head to school early. – CG
- <Selection does not matter>
- There is a hidden event that can occur if you select Run for it.. To view it, you will need to, still in Tohka’s route, date Kotori (once she’s unlocked of course) on the 2nd date for June 27th – that is, the date event before this event – and choose “I like them both the same”.
- Offer her Rinne’s bento. – BAD END
- Hallway
- I’ll believe in Tohka and wait. – CG
- Residential Area
- Slide down the slide. – CG
- School Front
- 3-D blockbuster! Sci-fi Adventure! – CG
- It’s here! A classic summer horror movie! – BAD END
- 3-D blockbuster! Sci-fi Adventure! – CG
- Lake Outskirts
- <Selection does not matter>
- Take Tohka.
- Train Station Front
- Peek into the Udon store. – CG
- Just a childhood friend.
- Someone I’m interested in. – BAD END
Pick up. – Tohka BAD END
Don’t pick up. – CG + Tohka’s Wedding
• Yoshino
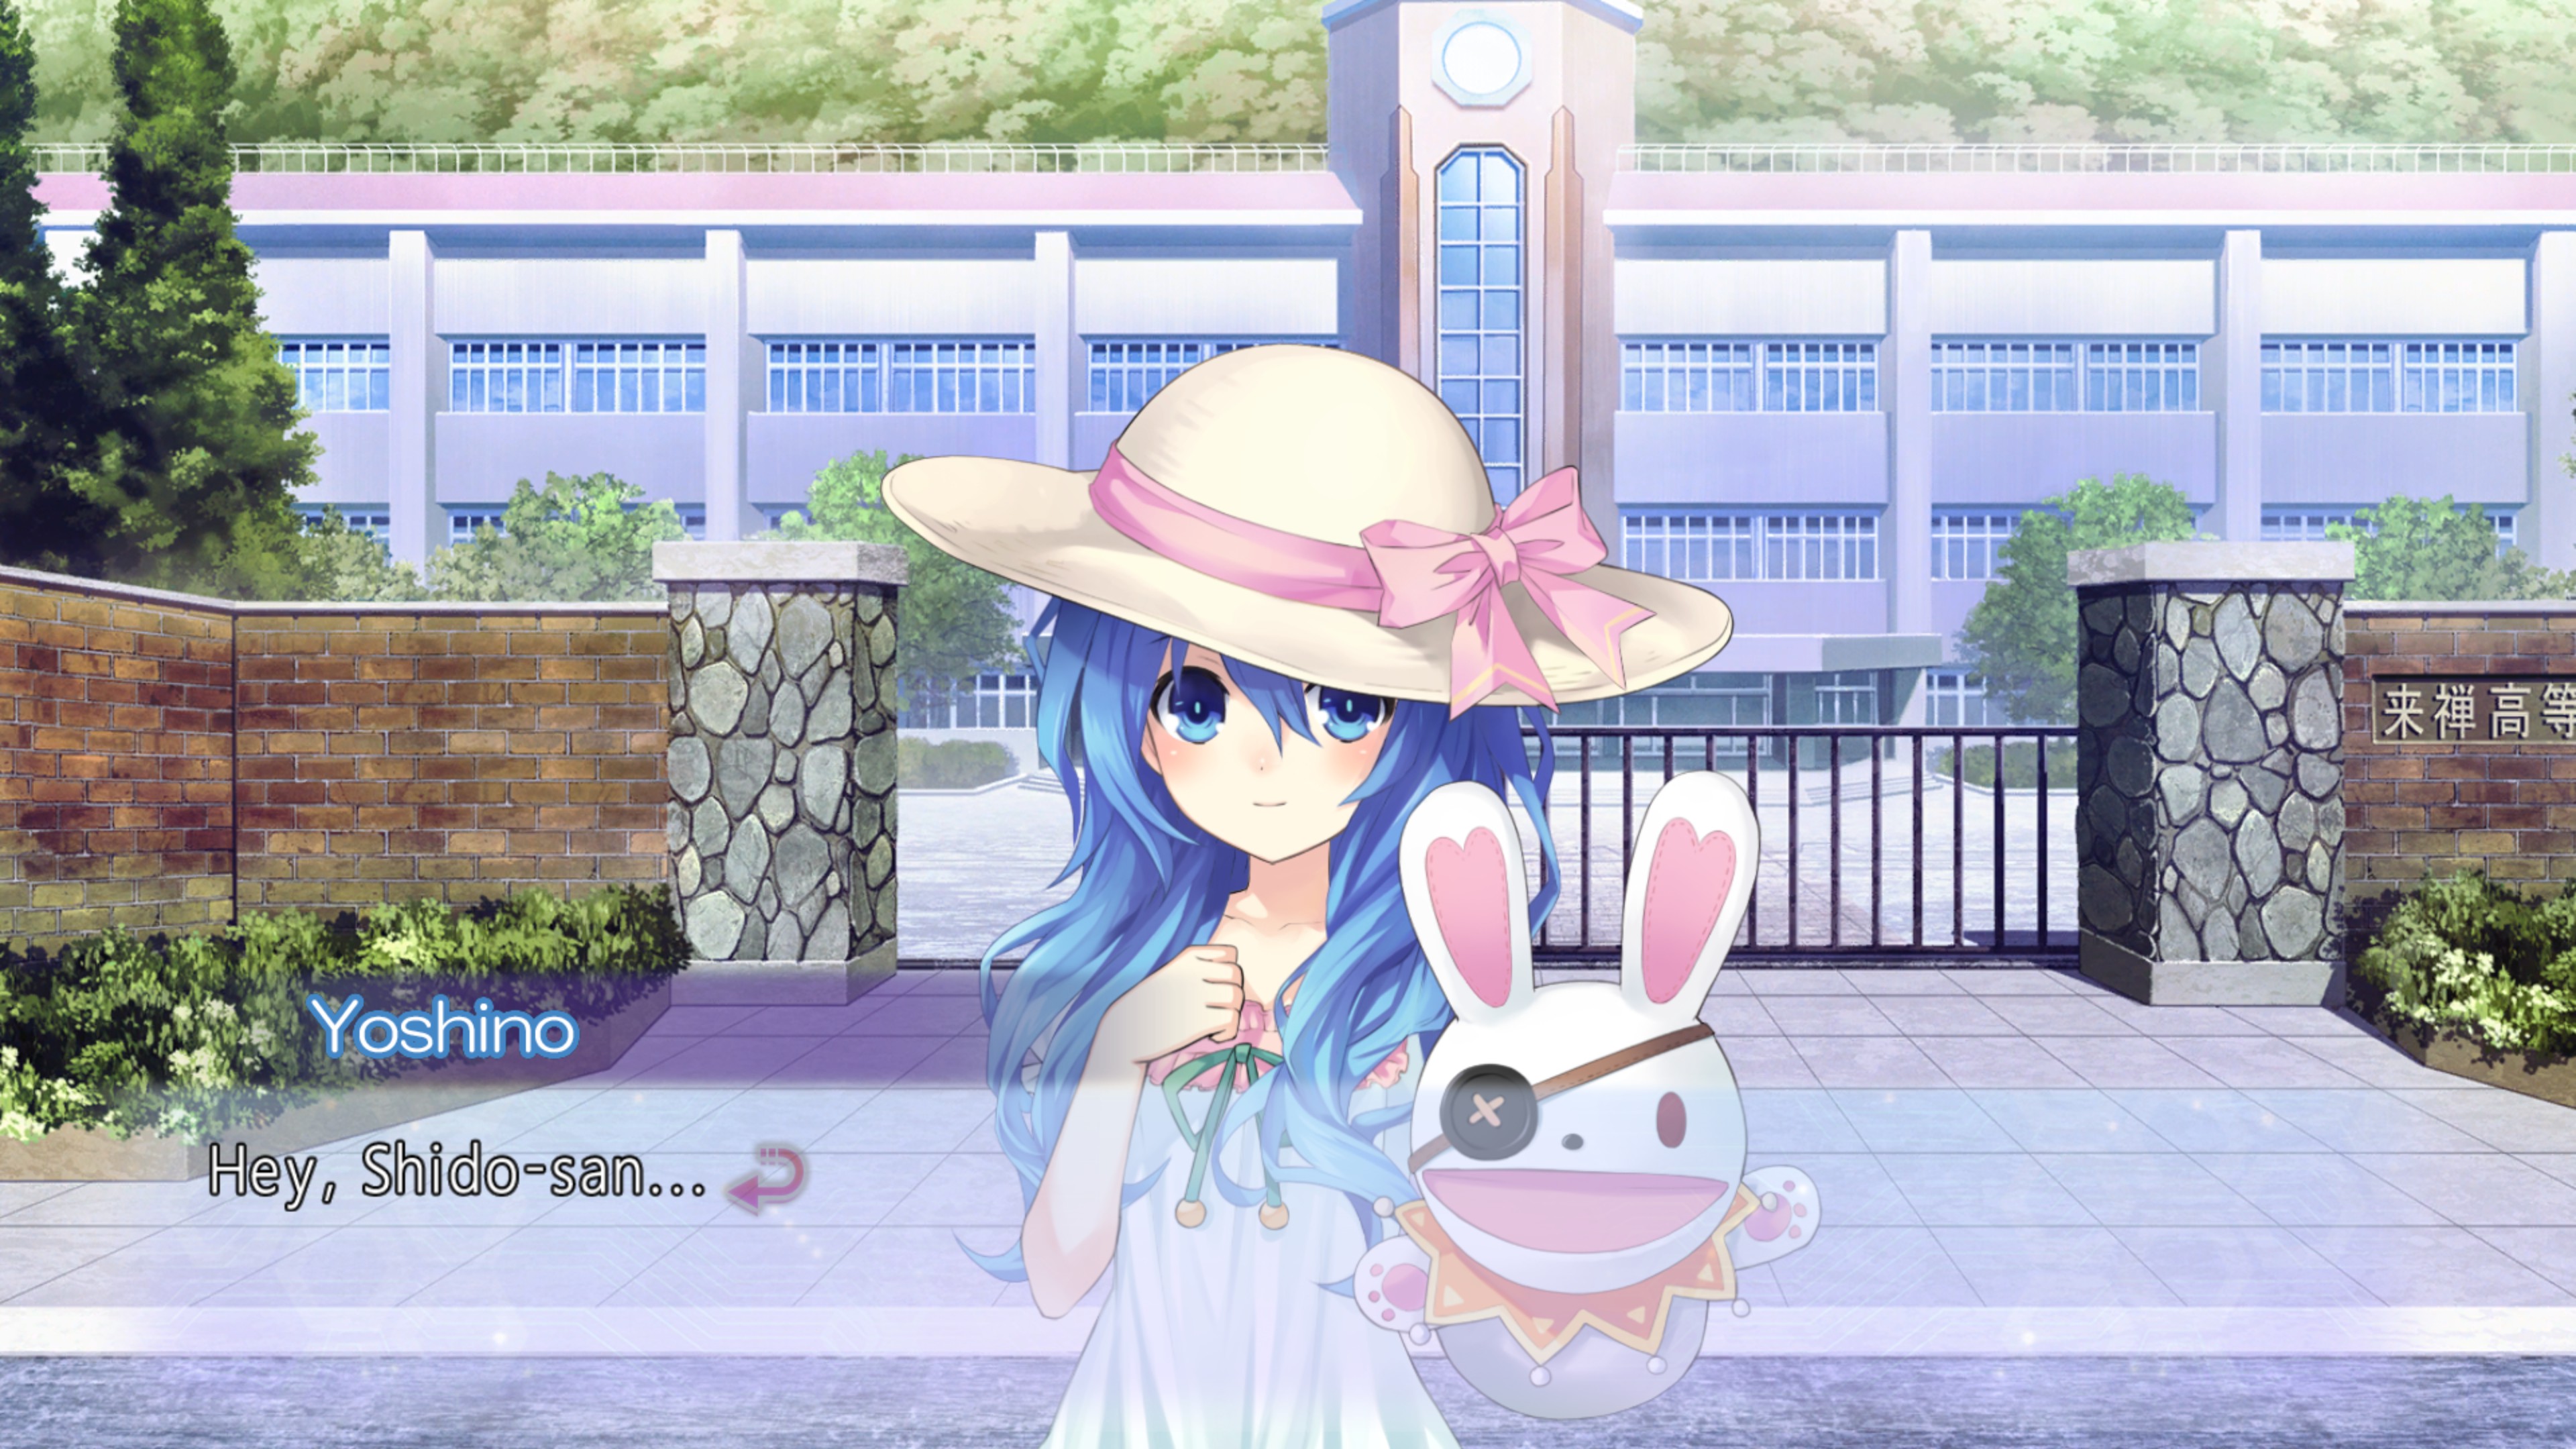
- Hallway – CG
- <Selection does not matter>
- Itsuka House
- <Selection does not matter>
- <Selection does not matter>
- School Front – CG
- <Selection does not matter>
- Train Station Front
- Check up on Yoshino at the Fraxinus. – CG
- <Select all 3 options>
- Classroom – CG
- <Selection does not matter>
- Itsuka House
- <Selection does not matter>
- Landing – CG
- <Selection does not matter>
- Itsuka House
- Watch the sunset. – CG
- Take Yoshino.
- School Front
- <Selection does not matter between the first 2 choices.>
- Just pretend she wasn’t there from the beginning. – BAD END
- <Selection does not matter between the first 2 choices.>
Pick up. – Yoshino BAD END
Don’t pick up. – CG + Yoshino’s Wonder
• Origami Tobiichi

- Rear of School Building
- <Selection does not matter>
- School Front – CG
- Cheer for Origami – CG
- Rear of School Building
- <Selection does not matter>
- Hallway – CG
- Head to school early.
- Rear of School Building
- <Selection does not matter>
- Classroom – CG
Note: There is an event with Kurosabe you can only see on Origami’s route at the Shrine, and you can only see it now. It’s not required for Origami’s route, but it is required for seeing all the sub-stories and memory list completion.
- Train Station Front
- <Selection does not matter>
- Shrine – CG
- Go with Origami.
- Residential Area
- Run after Origami.
- Wait for Reine’s analysis. – BAD END
- Run after Origami.
- About you, Origami.
- Play it off. – BAD END
Answer. – Origami BAD END
Don’t answer. – CG + Tobiichi’s Family
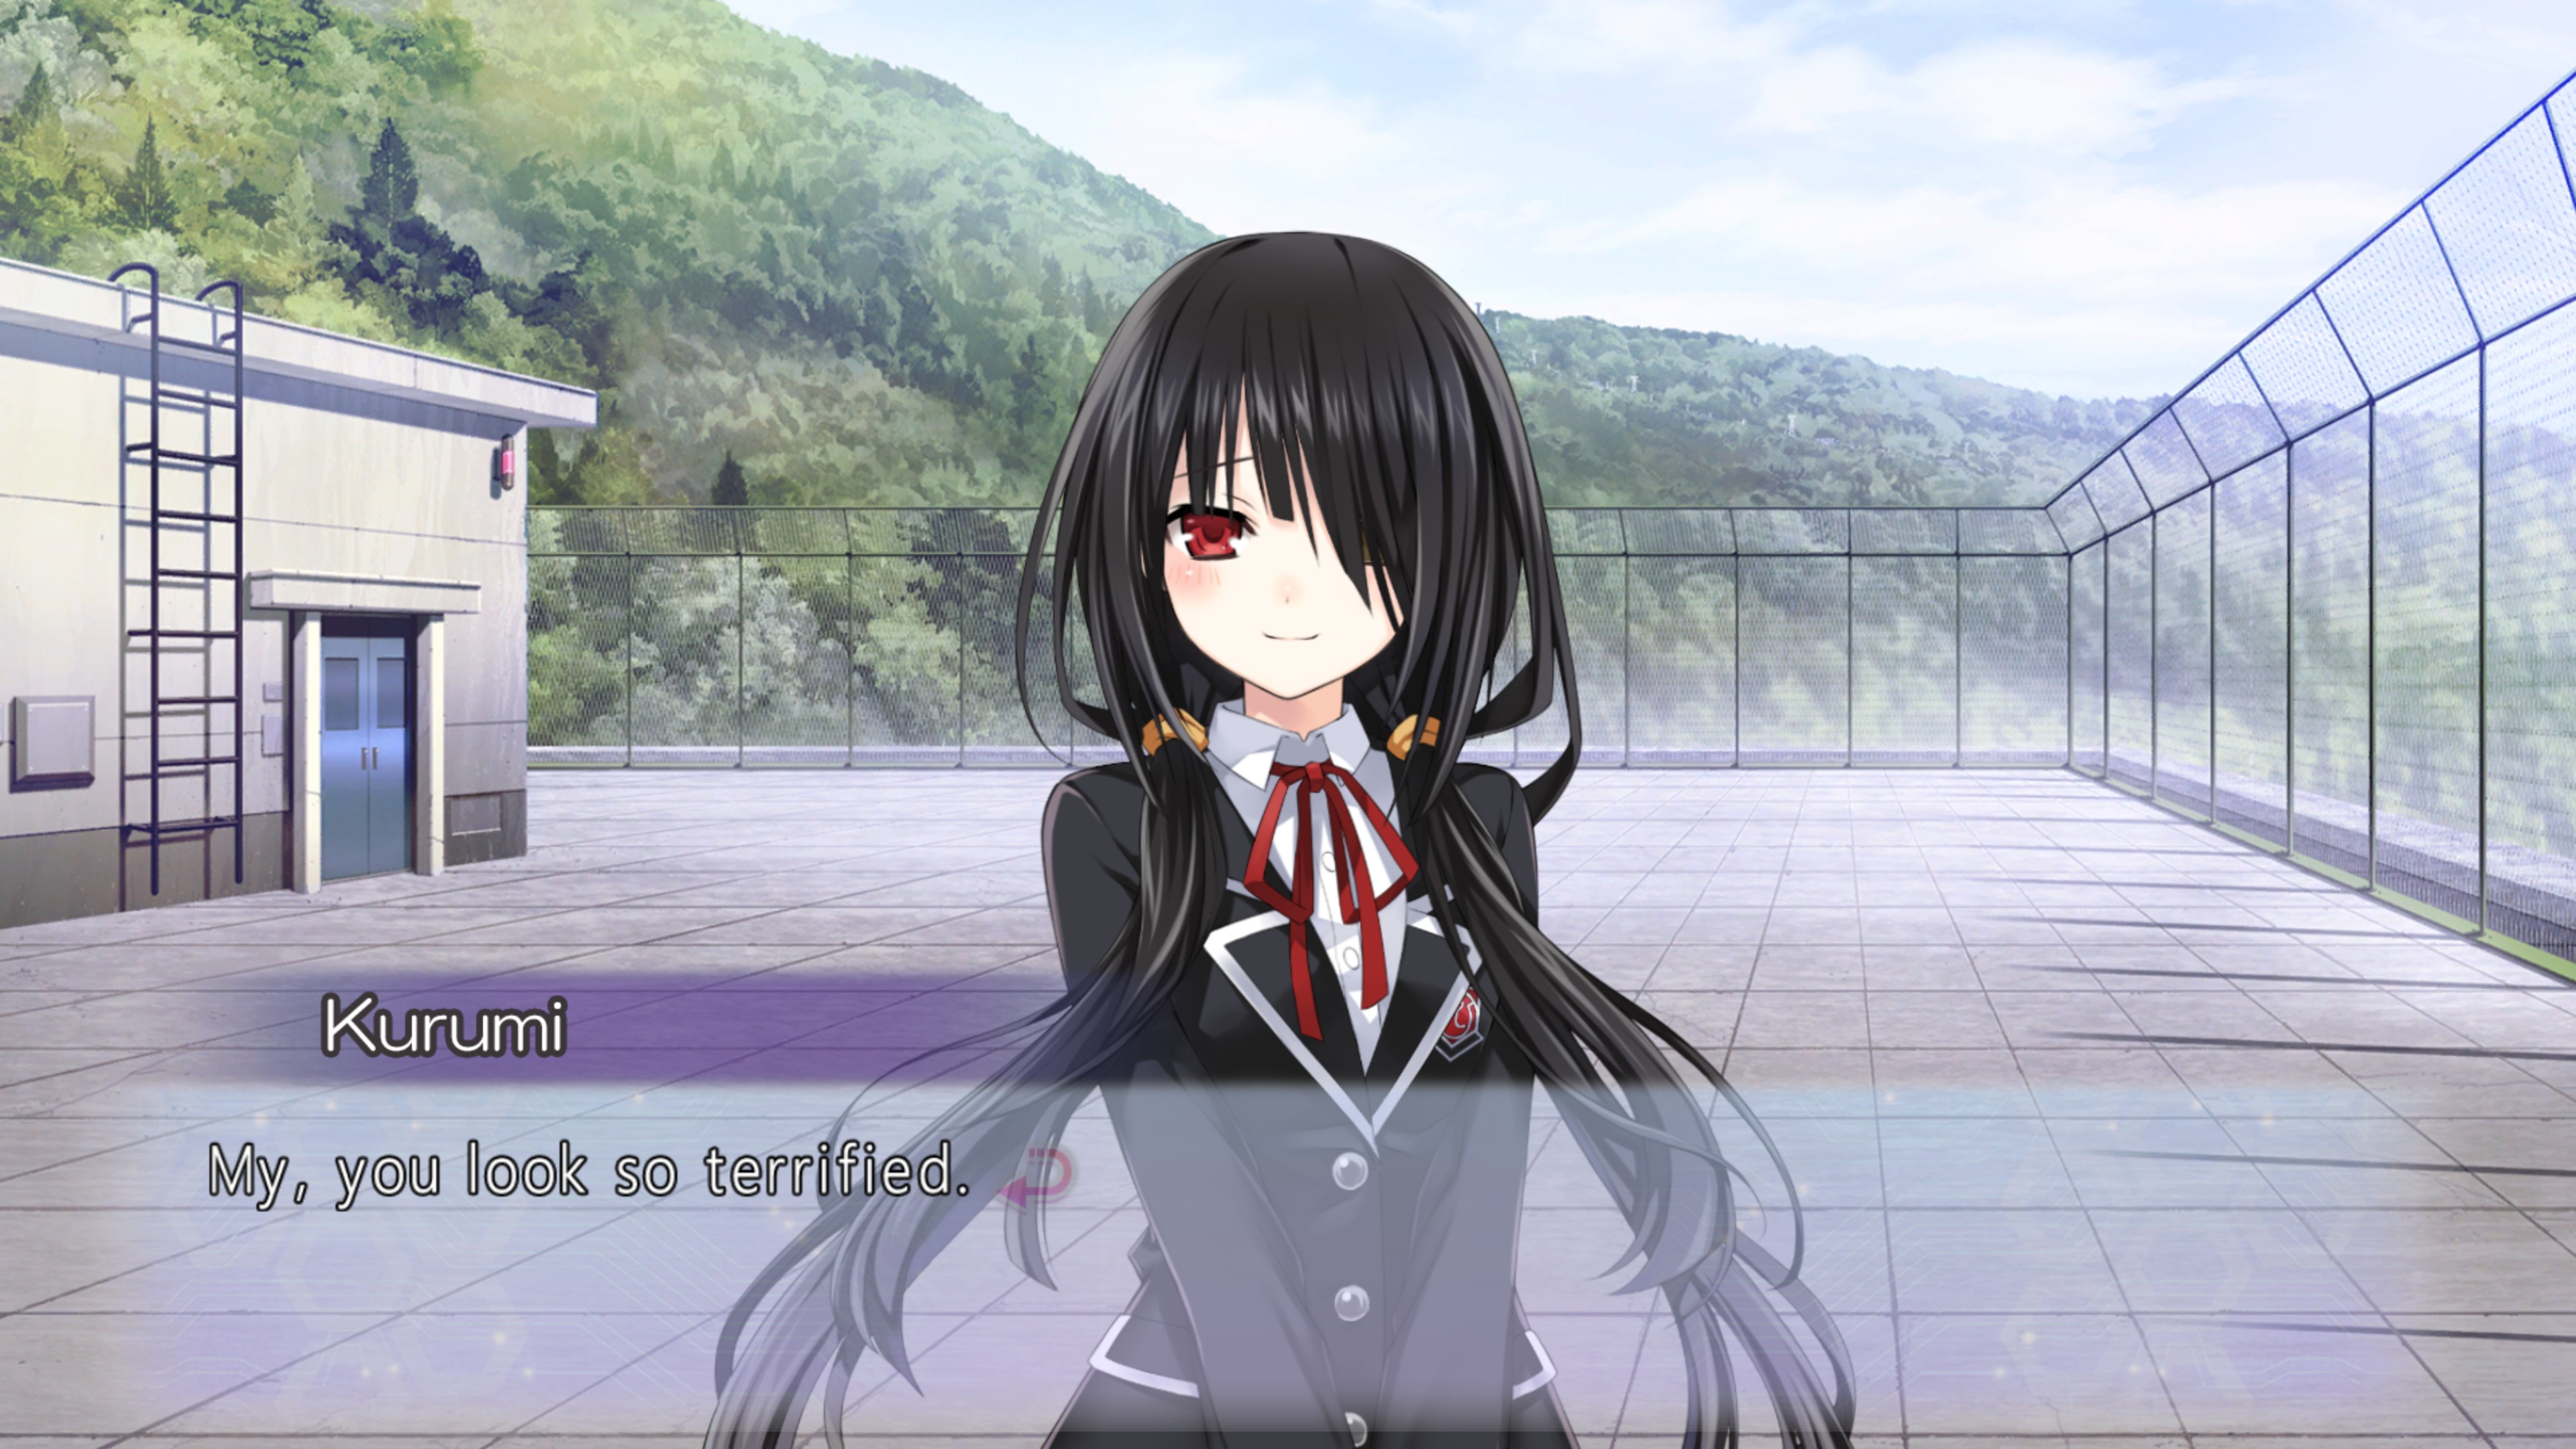
• Kurumi Tokisaki
Not available until you clear either Tohka, Yoshino, or Origami’s route for the first time.
- <Date selection does not matter, as Kurumi is not available yet.>
- <Date selection does not matter, as Kurumi is not available yet.>
- <Selection does not matter>
- Classroom – CG
- <Selection does not matter>
- Residential Area
- <Selection does not matter>
- Head to school early.
- Rooftop – CG
- Neo Tengu Tower
- <Selection does not matter>
- If you choose Something’s off., the selection afterwards (Go/Don’t go) doesn’t matter.
- <Selection does not matter>
- Classroom – CG
- Residential Area
- Go alone.
- Classroom – CG
- …Don’t know.
- Want to seal you. – BAD END
- Consider you as an “enemy”. – CG + BAD END
Answer. – Kurumi BAD END
Don’t pick up. – CG + Kurumi’s Remants
• Kotori Itsuka
Not available until you clear either Tohka, Yoshino, or Origami’s route for the first time.
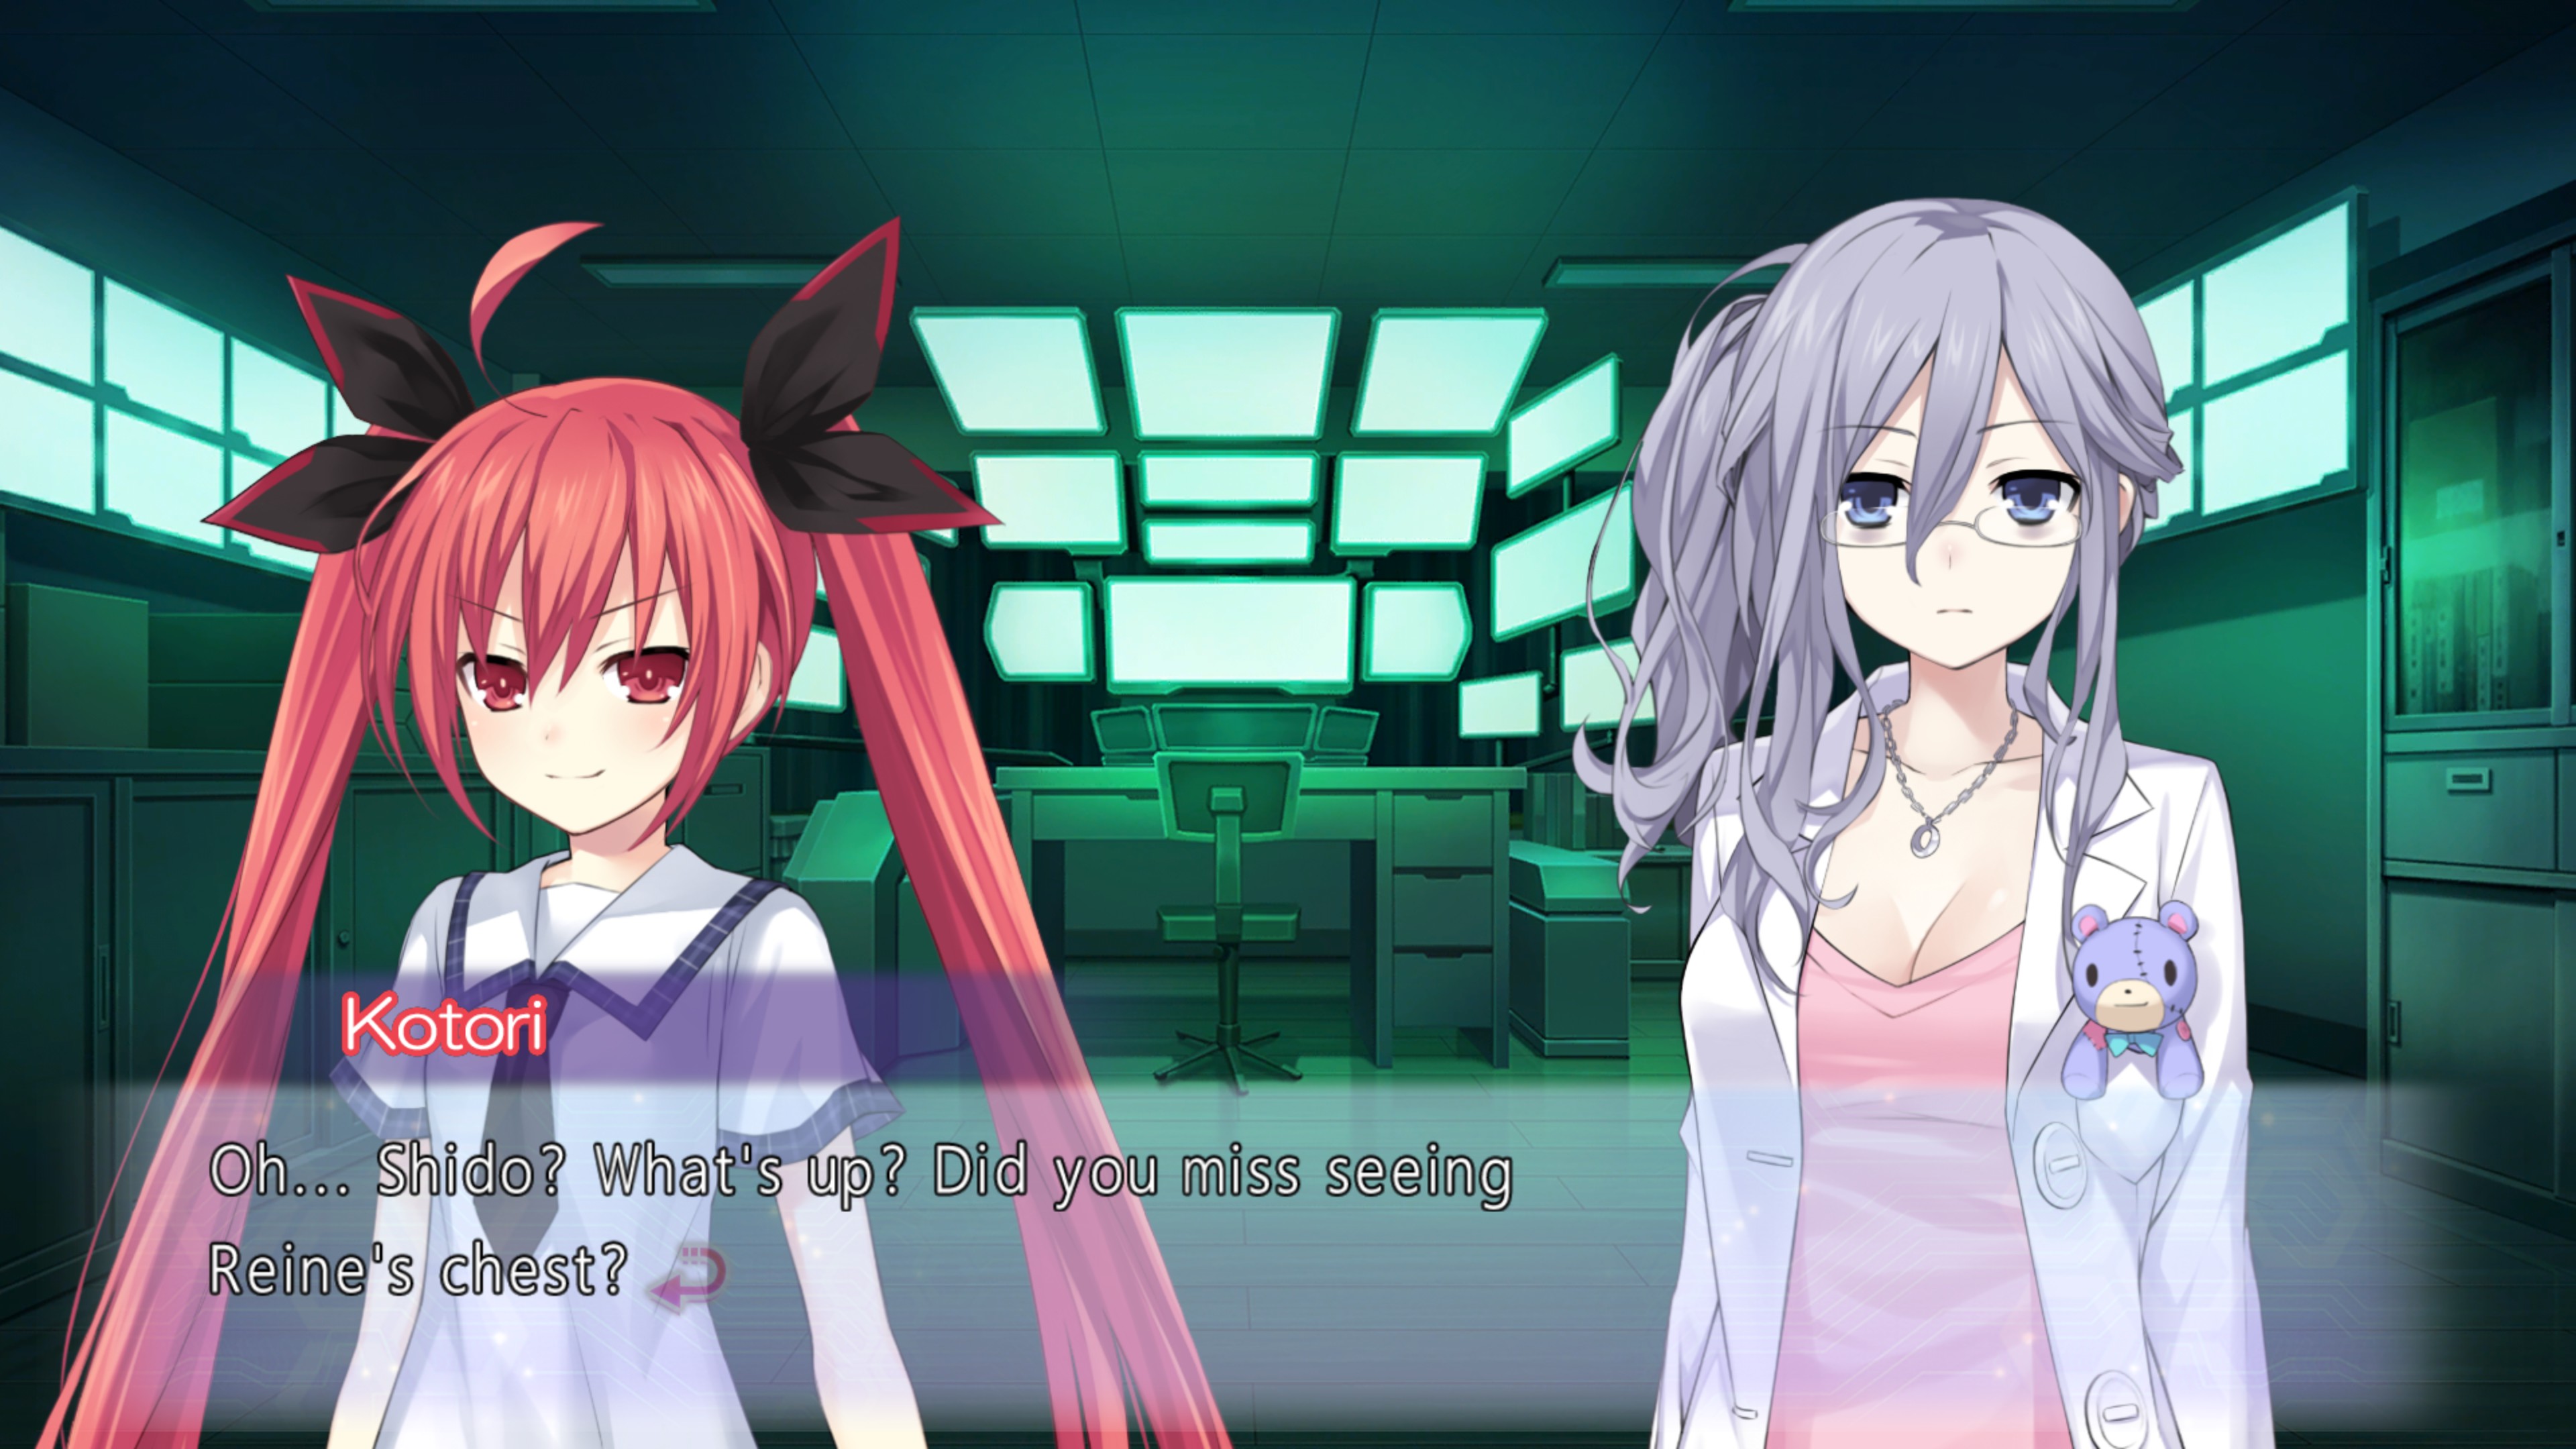
- Landing
- I still can’t let it go.
- Landing – 2x CG (one in this event, one in the next)
- <Selection does not matter>
- Physical Preparation Room
- Takadai Park – CG
- Head to school early.
- School Front – CG
- <Selection does not matter>
- Train Station Front
- <Selection does not matter>
- Hallway – CG
- Train Station Front
- <Selection does not matter>
- Go with Kotori.
- Hallway
- Lend a hand. – CG
- <Pick either of the first two choices>
- You seem busy. – BAD END
Answer. – Kotori BAD END
Don’t pick up. – CG + Itsuka’s Fortune
• Rinne Sonogami
Not available until all other routes are cleared and both their good and bad endings have been seen. (hint: At the last selection for each route, save, pick one, read to the end and save system data. Load, pick the other, read to the end and save.) Also, you cannot skip the prologue as some of the text within has changed.
- Classroom – CG
- Train Station Front
- Try the intercom. – BAD END
- Cheer for Rinne – CG
- Landing – CG
- Tengu Tower
- Worry about Rinne.
- Ask Rinne something. – BAD END
- The days I spent with everyone.
- The days I spent with Rinne. – BAD END
- Can’t live like this.
- Want this to last forever. – BAD END
Enjoy the rest of the story (and the fanservice from some of those CGs….Shido, you lucky bastard) from here and you’ll earn Rinne Utopia and Rinne’s Memories. A bonus MEMORY event, #205, will be added to the Gallery. View it to earn a CG and Rinne’s Fantasia.
Arusu Install & the Bad Ending
Like Rinne Utopia, there is a selection in the prologue that has no effect on determining which route you end up on. However, Go on a date with Tohka., Go on a date with Origami., Go on a date with the Yamai sisters., Go on a date with Miku., Ask Kotori for help., Just run away., and Hurry home. will all result in CGs with the respective characters – the last two being Kurumi and Yoshino, respectively. Don’t forget to play through the other options at some point for the MEMORY events!
Also like Rinne Utopia, it IS possible to date multiple girls and still end up on a desired route. However, unlike Rinne Utopia where all that really mattered were the seeing the date events (and choosing her to accompany you to Neo Tengu Tower that one night), this game is a lot more picky about it. The selections matter just as much seeing the date events. Hell, it’s possible to always date and select Kotori for example, and still end up with the bad ending. That’s actually happened to me a couple of times while writing this guide. It’s THAT picky.
If you see
[i.imgur.com] after the 4th day, this is the bad ending. You will need to see this at least once, and if you’ve seen all of the bad endings in Rinne Utopia as well, you’ll get World on Repeat.
• Tohka Yatogami

- Hallway – CG
- Just watch without helping.
- <Selection does not matter>
- Shopping District – CG
- A tea set.
- Tohka
- You can be in my class.
- Ask Tohka to help.
- Infirmary – CG
- Make her smell some food.
- Tohka
- Infirmary – CG
- Bust, waist, hips.
- Stay put.
- <Pick either of the first two options>
- Sit and watch.
- Wait for her to say something.
- Casually block the gust.
- Enka, a song of the people.
- Help her.
- Approach her. – CG + Tohka’s Adieu
- Yes, this is the good ending, despite what the text may lead you to believe. It’s absolutely hilarious how dumb Tohka is sometimes.
• Yoshino

- Residential Area- CG
- Oh, I’ll have her cheer me on.
- <Selection does not matter>
- Itsuka House – CG
- Wash her body.
- Yoshino
- You can be in my class.
- Ask for Yoshino’s cooperation.
- Train Station Front – CG
- That new swimsuit looks good on you.
- Yoshino
- Itsuka House – CG
- Show her how supportive I can be.
- Yes, you did.
- Within reason.
- I like how youthful you are.
- It’s okay.
- Of course.
- I like you the way you are. – CG + Yoshino’s Playground
• Origami Tobiichi

- Infirmary – CG
- Is the teacher not here?
- <Selection does not matter>
- Classroom – CG
- Stepping into the forbidden garden with Tonomachi.
- Origami
- You can be in my class.
- Ask Origami for help.
- Shopping District – CG
- It’s important to smile.
- Origami
- Shrine – CG
- Pray.
- Distract yourself.
- Remove my hand.
- Never mind.
- Return the bag to Origami’s desk.
- Keep listening.
- Scream for help.
- I’m forgetting something.
- Do some small talk.
- Stay like this.
- Smell the clothes I’m wearing. (Yes, seriously)
- You could also select What the hell, wear ’em..
- Sniff them. (Yes, seriously)
- Step inside.
- Ask for forgiveness.
- My room is dirty. – CG + Origami’s Desire
- You could also select I’m hungry..
• Kurumi Tokisaki
- Park – CG
- Bust out my ultimate forbidden trick.
- <Selection does not matter>
- Rooftop – CG
- Wanted to see you Kurumi.
- Kurumi
- You can be in my class.
- Consult with Kurumi.
- Residential Area – CG
- Take a sneak peek.
- Kurumi
- School Front – CG
- Food. I would’ve loved to tell you to pick Perverted things. here, considering I think it matches Kurumi’s expression in the CG perfectly, but that has gotten me the bad ending most of the time.
- Just apologize.
- Might as well have her undo the top part
- Don’t tease me!
- There’s no use… Let’s give up.
- Stay quiet and see how she reacts.
- Do as she asks and put sunscreen on her
- The CG will not unlock in the Gallery unless you select Might as well have her undo the top part, as that has a 2nd variation of the CG. I would suggest saving, selecting Might as well have her undo the top part, read to the next scene then reloading.
- Please.
- Kurumi, help me! – CG + Kurumi’s Duo
• Kotori Itsuka
- Takadai Park – CG
- No, I’ll just watch out for her.
- <Selection does not matter>
- Residential Area – CG
- I’ll play a trick on her.
- Kotori
- Why don’t you go to the next class?
- Ask Kotori to help.
- Hallway – CG
- For those of you who don’t know, or haven’t seen Season 2, Shiori is basically Shido genderswapped. He shouldn’t be able to do this on his own, but then again, considering what’s revealed in Maria’s route, and how these random events happen in the first place, it’s no surprise that she would show up at some point. Still, glad to see her in the game regardless.
- It made me want to bully her.
- Kotori
- Residential Area – CG
- I was buying a comic book.
- Fire her up
- Continue working
- <Pick either of the bottom two selections>
- I-I can touch her a little right?
- Be kind and give her advice
- Poke fun at her
- Vacation in the southern islands
- I’ll stay still so she won’t wake up – CG + Kotori’s Journey
• Yamai Sisters

- School Front – CG
- Yuzuru, I choose you!
- <Selection does not matter>
- Rear of School Building – CG
- Ask them to go run an errand.
- The Yamai Sisters
- Why don’t you go to the next class?
- Ask the Yamai sisters to help.
- Park – CG
- Hang out with them just a little longer.
- The Yamai Sisters
- Train Station Front – CG
- <Pick either Kaguya or Yuzuru>
- <Selection does not matter>
- I want to spend time with Kaguya.
- Next time, let’s invite Yuzuru.
- <Selection does not matter>
- I want to spend time with Kaguya.
- I hope it’s just you and me. – CG + Kaguya’s Stroll
- <Selection does not matter>
- I want to spend time with Yuzuru.
- Next time, it’ll be the three of us.
- <Selection does not matter>
- I want to spend time with Yuzuru.
- Just you and me again. – CG + Yuzuru’s Lover
• Miku Izayoi

- Itsuka House – CG
- Yes.
- <Selection does not matter>
- Hallway – CG
- Relay with Senpai.
- Miku
- Why don’t you go to the next class?
- Ask Miku to help.
- Itsuka House – CG
- Press it.
- Miku
- Classroom – CG
- Yes, we are.
- Yeah. (Holy ♥♥♥♥, Miku….)
- <Pick either of the bottom two selections>
- I’m not prepared yet.
- <Pick either selection 1 or 3>
- I’m sorry, myself.
- I suppose a little longer couldn’t hurt?
- Isn’t it still early?
- Rub her shoulders.
- But, I had fun. – CG + Miku’s Shyness
• Maria Arusu

After you have seen every character’s good ending, there will be a new scene after the prologue. Selecting Nod. will begin Maria’s route (and therefore the true ending of the game), while selecting Be quiet. will return you to the other routes.
There’s only one ending regardless of the selections you make, so sit back, relax, and enjoy the exciting conclusion of the story! Not to mention a..um…certain side, let’s say…of Maria, that makes me wish she was playable in the Neptunia series.
After this, you’ll earn Arusu Install and Maria’s Realization.
Rio Reincarnation & Miscellaneous Trophies/Achievements
You must first see the Digest scenario and get Shido’s Digest before you can begin Rio Reincarnation. If you haven’t seen Seasons 1 or 2 of the anime, beware that they will be spoiled heavily in there. (Also, they use “DEM Company” instead of DEM Industries for some reason…yeah I don’t think the game has the best localization quality, but that’s just my opinion….)

Once again, the 1st selection doesn’t seem to have any impact on which ending you see. Also, NONE of the date events matter to getting any of the specific endings, however all of the date events on the 1st day have CGs attached to them. Therefore, this part of the guide begins at the selections following the 2nd day’s dating events.
As for the character endings and selections themselves, honestly you can mix/match any of the choices (with two exceptions; see below) and end up with any one of the three character endings. I don’t know exactly how the game determines the character ending you see once you pick I thought about Rio., but here’s how I got each of the endings:
• What if you actually have a crush on me? Just kidding.
• …Sorry, I cant really put it into words.
• I think you’re right.
• I can’t let that happen.
• I thought about Rio. – CG + Rio Reincarnation
• How should I know?
• …I don’t want to give up.
• Everything isn’t always about being right.
• I can’t let that happen.
• I thought about Rio. – CG + Arusu’s School Days
• What if you actually have a crush on me? Just kidding.
• …I don’t want to give up.
• Everything isn’t always about being right.
• I can’t let that happen.
• I thought about Rio. – CG + Marina The Romantic
By clearing any of the above endings, you should also earn Maestro Aficionado and Remember Our Days.
As for the bad and true endings, there’s really only one thing you need to select in each instance, regardless of the selections you made prior. For the BAD END, all you need to do is select It’s easier if I let that happen. in the 2nd to last selection. It’s that simple. Similarly, all you need to do for the True Ending is select I don’t need this anymore. in the final selection. It does NOT count towards the World on Repeat achievement/trophy but you DO need to see it for 100% completion.
Seeing the True Ending will net you not only 2 CGs, but also the following achievements: Rinne’s Mitosis, Emotional Cycle, and Data Live. If you’ve seen all the sub-events necessary for Date A Sub-story, go to the Memory menu and, assuming you’ve seen everything (which you should), you’ll earn The Days We Spent.
Either way, after all that, congratulations! That’ll be Date A Completionist, which for Steam users means another Achievement list complete, and for PS4 players, a Platinum Trophy!
Conclusion/Thanks for Reading
Honestly, I love DATE A LIVE. Watched all 3 seasons and want to see a 4th one not made by JC STAFF, and still want to see the Mayuri Judgement movie dubbed. Love Tsunako’s artwork and waifus, with me preferring the DAL waifus over even the Neptunia girls, Noire included. (Noire is still best girl of course.)
I was ♥♥♥♥♥♥♥ ecstatic when IFI announced that they would be bringing all three DAL visual novels West, because while I, like many of you, have been asking for them in English for years, I never thought we would actually get them. It may not have had a dub but honestly I was glad to have them in English at all – not to mention with a Limited Edition – so the lack of a dub doesn’t bother me much. And I enjoyed reading all three of them. Idea Factory International, if you’re reading this, I seriously hope you’ll consider localizing DATE A LIVE Ren Dystopia after it launches in Japan in 2020. Preferably with a dub, but if not I understand.
As for the guide, my goal was to make it in a simple, easy-to-follow format while being as detailed as possible, and considering this was a bit of a passion project that took a couple of weeks to do all on my own after my initial playthroughs, I hope it came across that way to you, the reader. This my first (and at the time of writing, only) guide, so there’s bound to be some mistakes and/or things I can – and will improve upon.
Comment down below if you have any questions or suggestions on how I can improve the guide to make it the best it can be.
Thanks for reading, and I hope you enjoy(ed) reading and following it as much as I had fun making it.