
Overview
How to Unlock the Achievements and where to find the Arena Tokens and Secrets in the game
Achievements
THERE IS ALWAYS A FIRST TIME: Start a New game
WHATEVER IT TAKES: Use the Broken Buddy Bot you find at the Halket Hangar as a Gold Offering in Witherberg or the Kettle Gate like you would Gold items
NICE GUY: Return and talk to Shongololo at the Train Station in Zozo 5 times while you progress the main story of the game, you’ll receive the Achievement and the Train Tracks area opens up with 2 Gold items to loot.
GOOD BOY!: Find the Prawn egg in Slag at the Noxious Gate and give it to Ishmael at the Overlook in Witherberg

PIMP MY RIDE: Buy all available items at the two shops in Witherberg and the Kettle Gate (you’ll need to find Gold items for this) –> Need the Heat Shielding, Agnate Military Transponder, Electrical Shielding, Fusion Reactor, Fuzzy Tik Dice, Box of Cigarettes and Hula Maiden so your ride ends up looking like this:
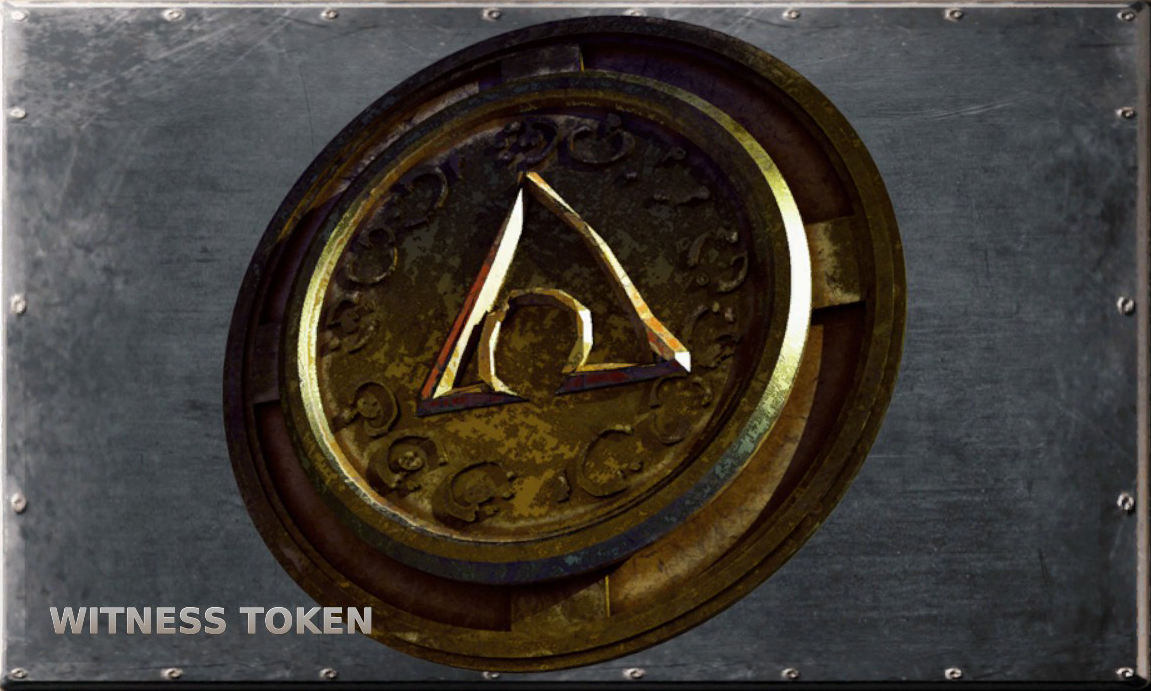
WITNESS TO ME: Give Lebanon’s list to Mina in Witherberg instead of Thabs at the Kettle Gate
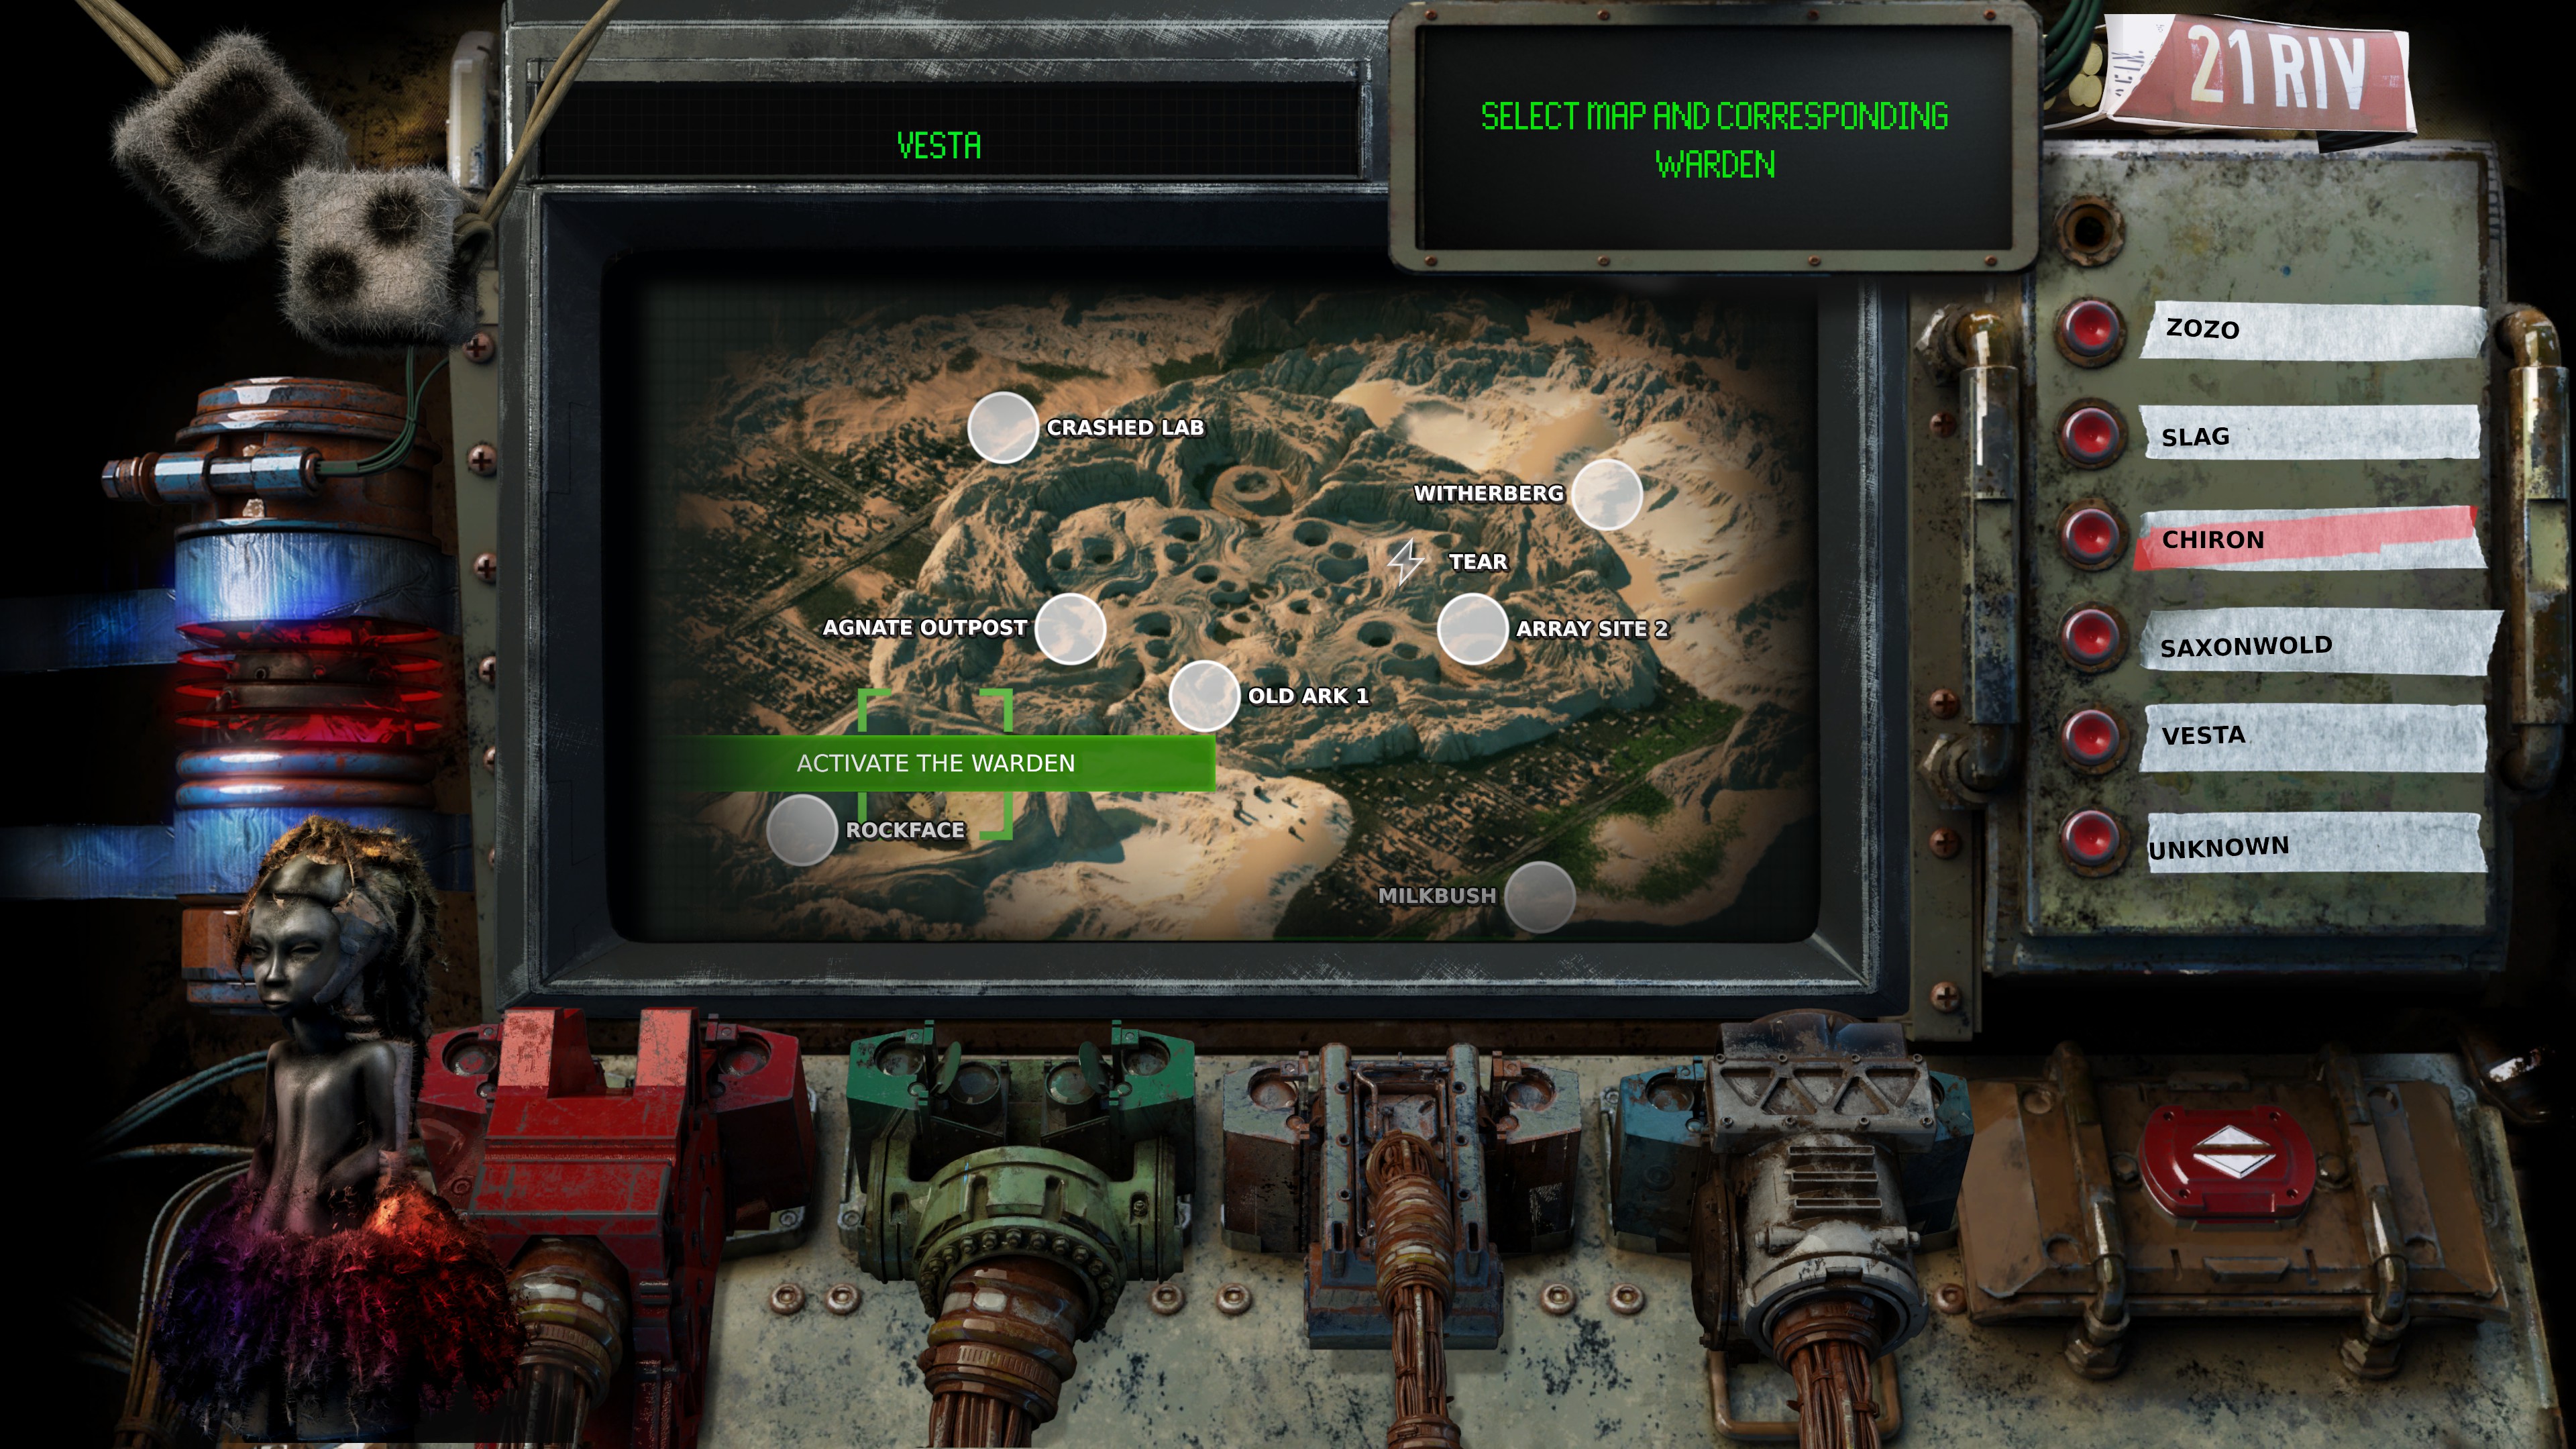
METAL MASTERS: Get the Agnate Core Cartridge from the Bone Yard in Chiron by talking to the Agnates, Upload data into it at the Agnate Outpost by taking over the robot via the console, use it on the Fley Mainframe in Slag to Upload the data, then get a Blank Token from finishing the Biome Seeding device Quest in favor of Dr. Anna Taylor and imprint it with Agnate
HIGH EXPLOSIVE: Complete at least one Arena match in The Arcade, go to the Fighting Pits outside at the top of the screen and talk to Don after seeing the blood in the arena. Then when you reach the Ion Control room in Chiron, you can Nuke the place from Orbit. (This can only be done before you finish the 5th Arena fight)
MERCURY RISING: Use two Red Mercury items on The Array, one from Grave in the Kettle from the Arena Quest and the other from the Moss or Nest in Unknown for the Biome Seeding Device Quest, then look at the Terminal
DEVlL: Beat the 5 Arena fights
FAREWELL: Give the Caecus Map Data to the Chiznyama
I SEE MY ‘DA: Give the Caecus Map Data to the Hanasi
IT’S A FEATURE, NOT A BUG: Upload the Nest Virus given by Nest Beta into the Command Module
SALAD BAR: Give the Biome Seeding Device to the Moss
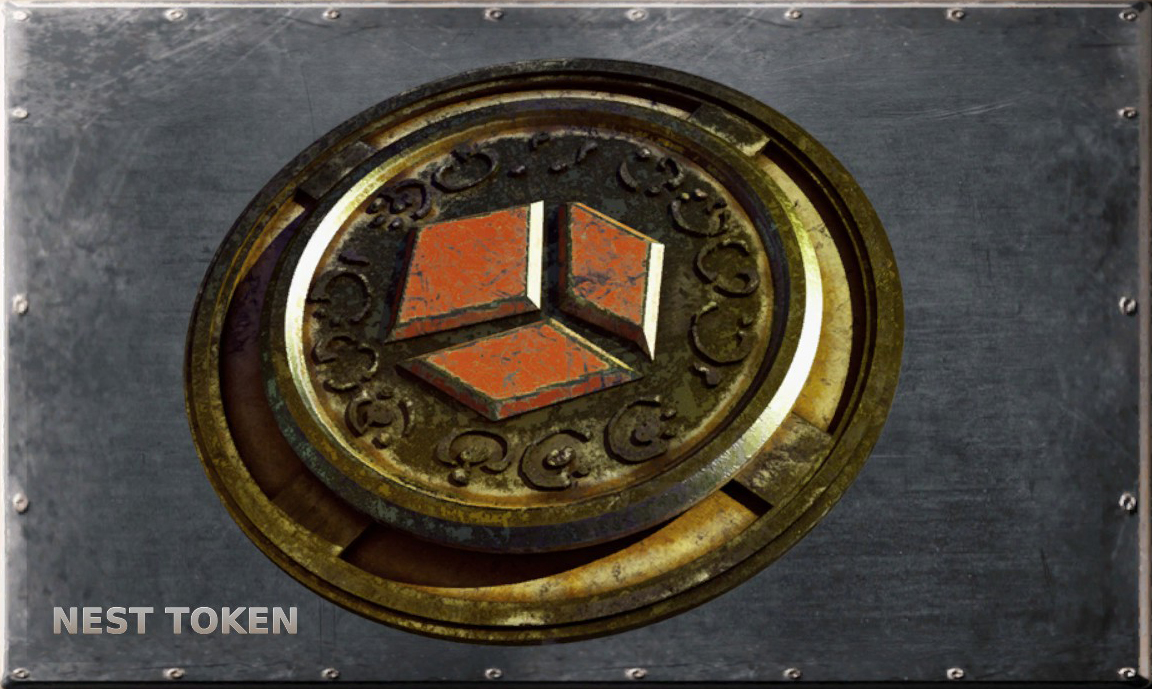
CURRENT SPECIALIST: Give the Biome Seeding Device to the Nest
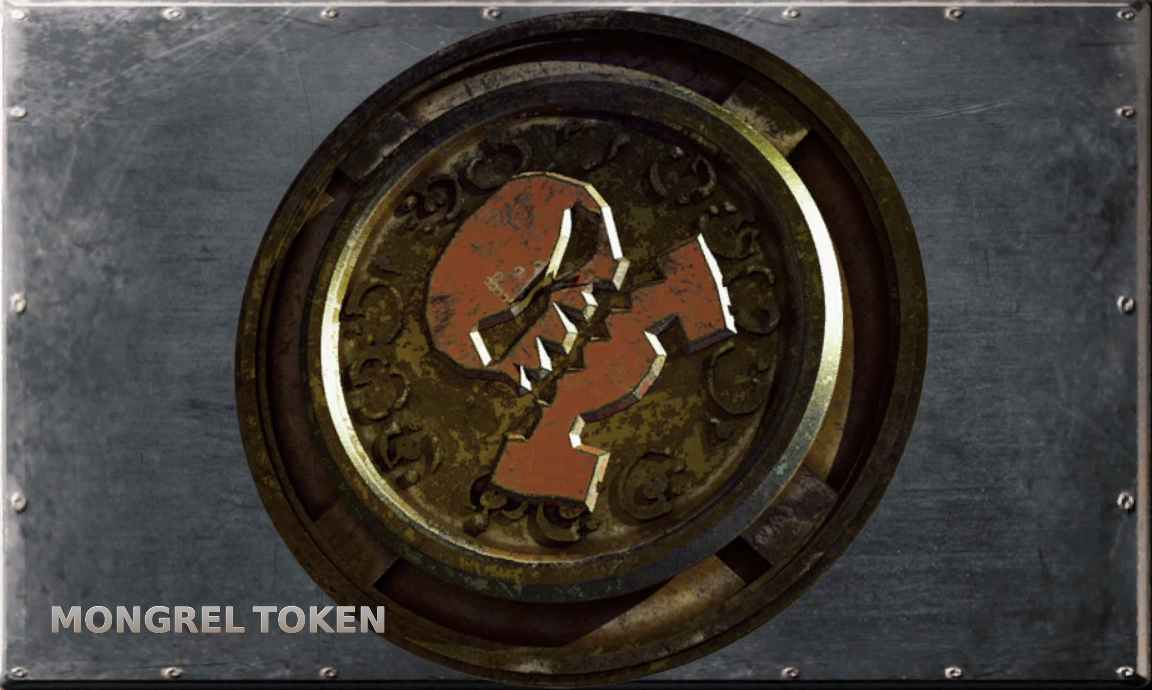
BRAAI TIME!: Give the Ion Cannon Controller to the Mongrel
YOU MAGMA ME CRAZY!: Give the Ion Cannon Controller to the Fley
YOU ARE A PLAGUE, AND WE ARE THE CURE: Use Protonanite at the Fley Hatchery Mainframe in Slag, then give the Ion Cannon Controller to the Mongrel, go and talk to the Children of One in the remains of Fley Scoria
WE ARE A PACK!: Be nice to Pooch throughout the game and she’ll stay.
YOU MEAN NOTHING TO ME: Be mean to Pooch throughout the game and she’ll leave.
BROTHERS IN ARMS: Be nice to Don throughout the game and he’ll stay.
I DON’T FORGIVE YOU: Be mean to Don throughout the game and he’ll leave.
For TEMPLE OF GENEROSITY, TEMPLE OF COMPASSION, TEMPLE OF SELFISHNESS, TEMPLE OF WRATH, DESOLATION and A POSSIBLE FUTURE check the last Section.
Arena Tokens
These unlock Faction-specific Units in the Arena Minigame at Bulwark, you’ll need at least 2-3 to stand a good chance against some of the final enemies.
Hanasi or Chiznyama depending on who you give the Caecus Map Data to (can also alternatively be imprinted on the Blank Token at the Fley Mainframe)


Mongrel: Open the Gateway to Baas (Chiron) and go back to the Noxious Base to talk to Commander Swart
Witness: Give Lebanon’s list to Mina in Witherberg
Caecus: Spare the Caecus and you will find a Caecus Token on the ground where their base used to be once you’re able to reach Babel (can also alternatively be imprinted on the Blank Token at the Fley Mainframe)

Nest: Help Nest Beta by uploading the Nest Virus into the Command Module
Moss: Get the Mossling from The Root, and BEFORE combining it into the Biome Seeding Device scan it at the Fley Hatchery Mainframe in Slag and then load it into the Blank Token you get from completing the Biome Seeding Device Quest by giving it to Dr. Anna Taylor

Agnate: Get the Agnate Core Cartridge from the Bone Yard in Chiron, Upload data into it at the Agnate Outpost, scan it at the Fley Hatchery Mainframe in Slag and then load it into the Blank Token you get from completing the Biome Seeding Device Quest by giving it to Dr. Anna Taylor

Fley: Use Protonanite at the Fley Hatchery Mainframe in Slag, then give the Ion Cannon Controller to the Mongrel, go and talk to the Children of One in the remains of Fley Scoria

Priest: Once you’ve gotten the DESOLATION Ending (see last Section), starting a new game will give you the Priest of Tribulations Token.
Secrets
There’s a Hidden room in the game that you can only reach if you fulfill all conditions.
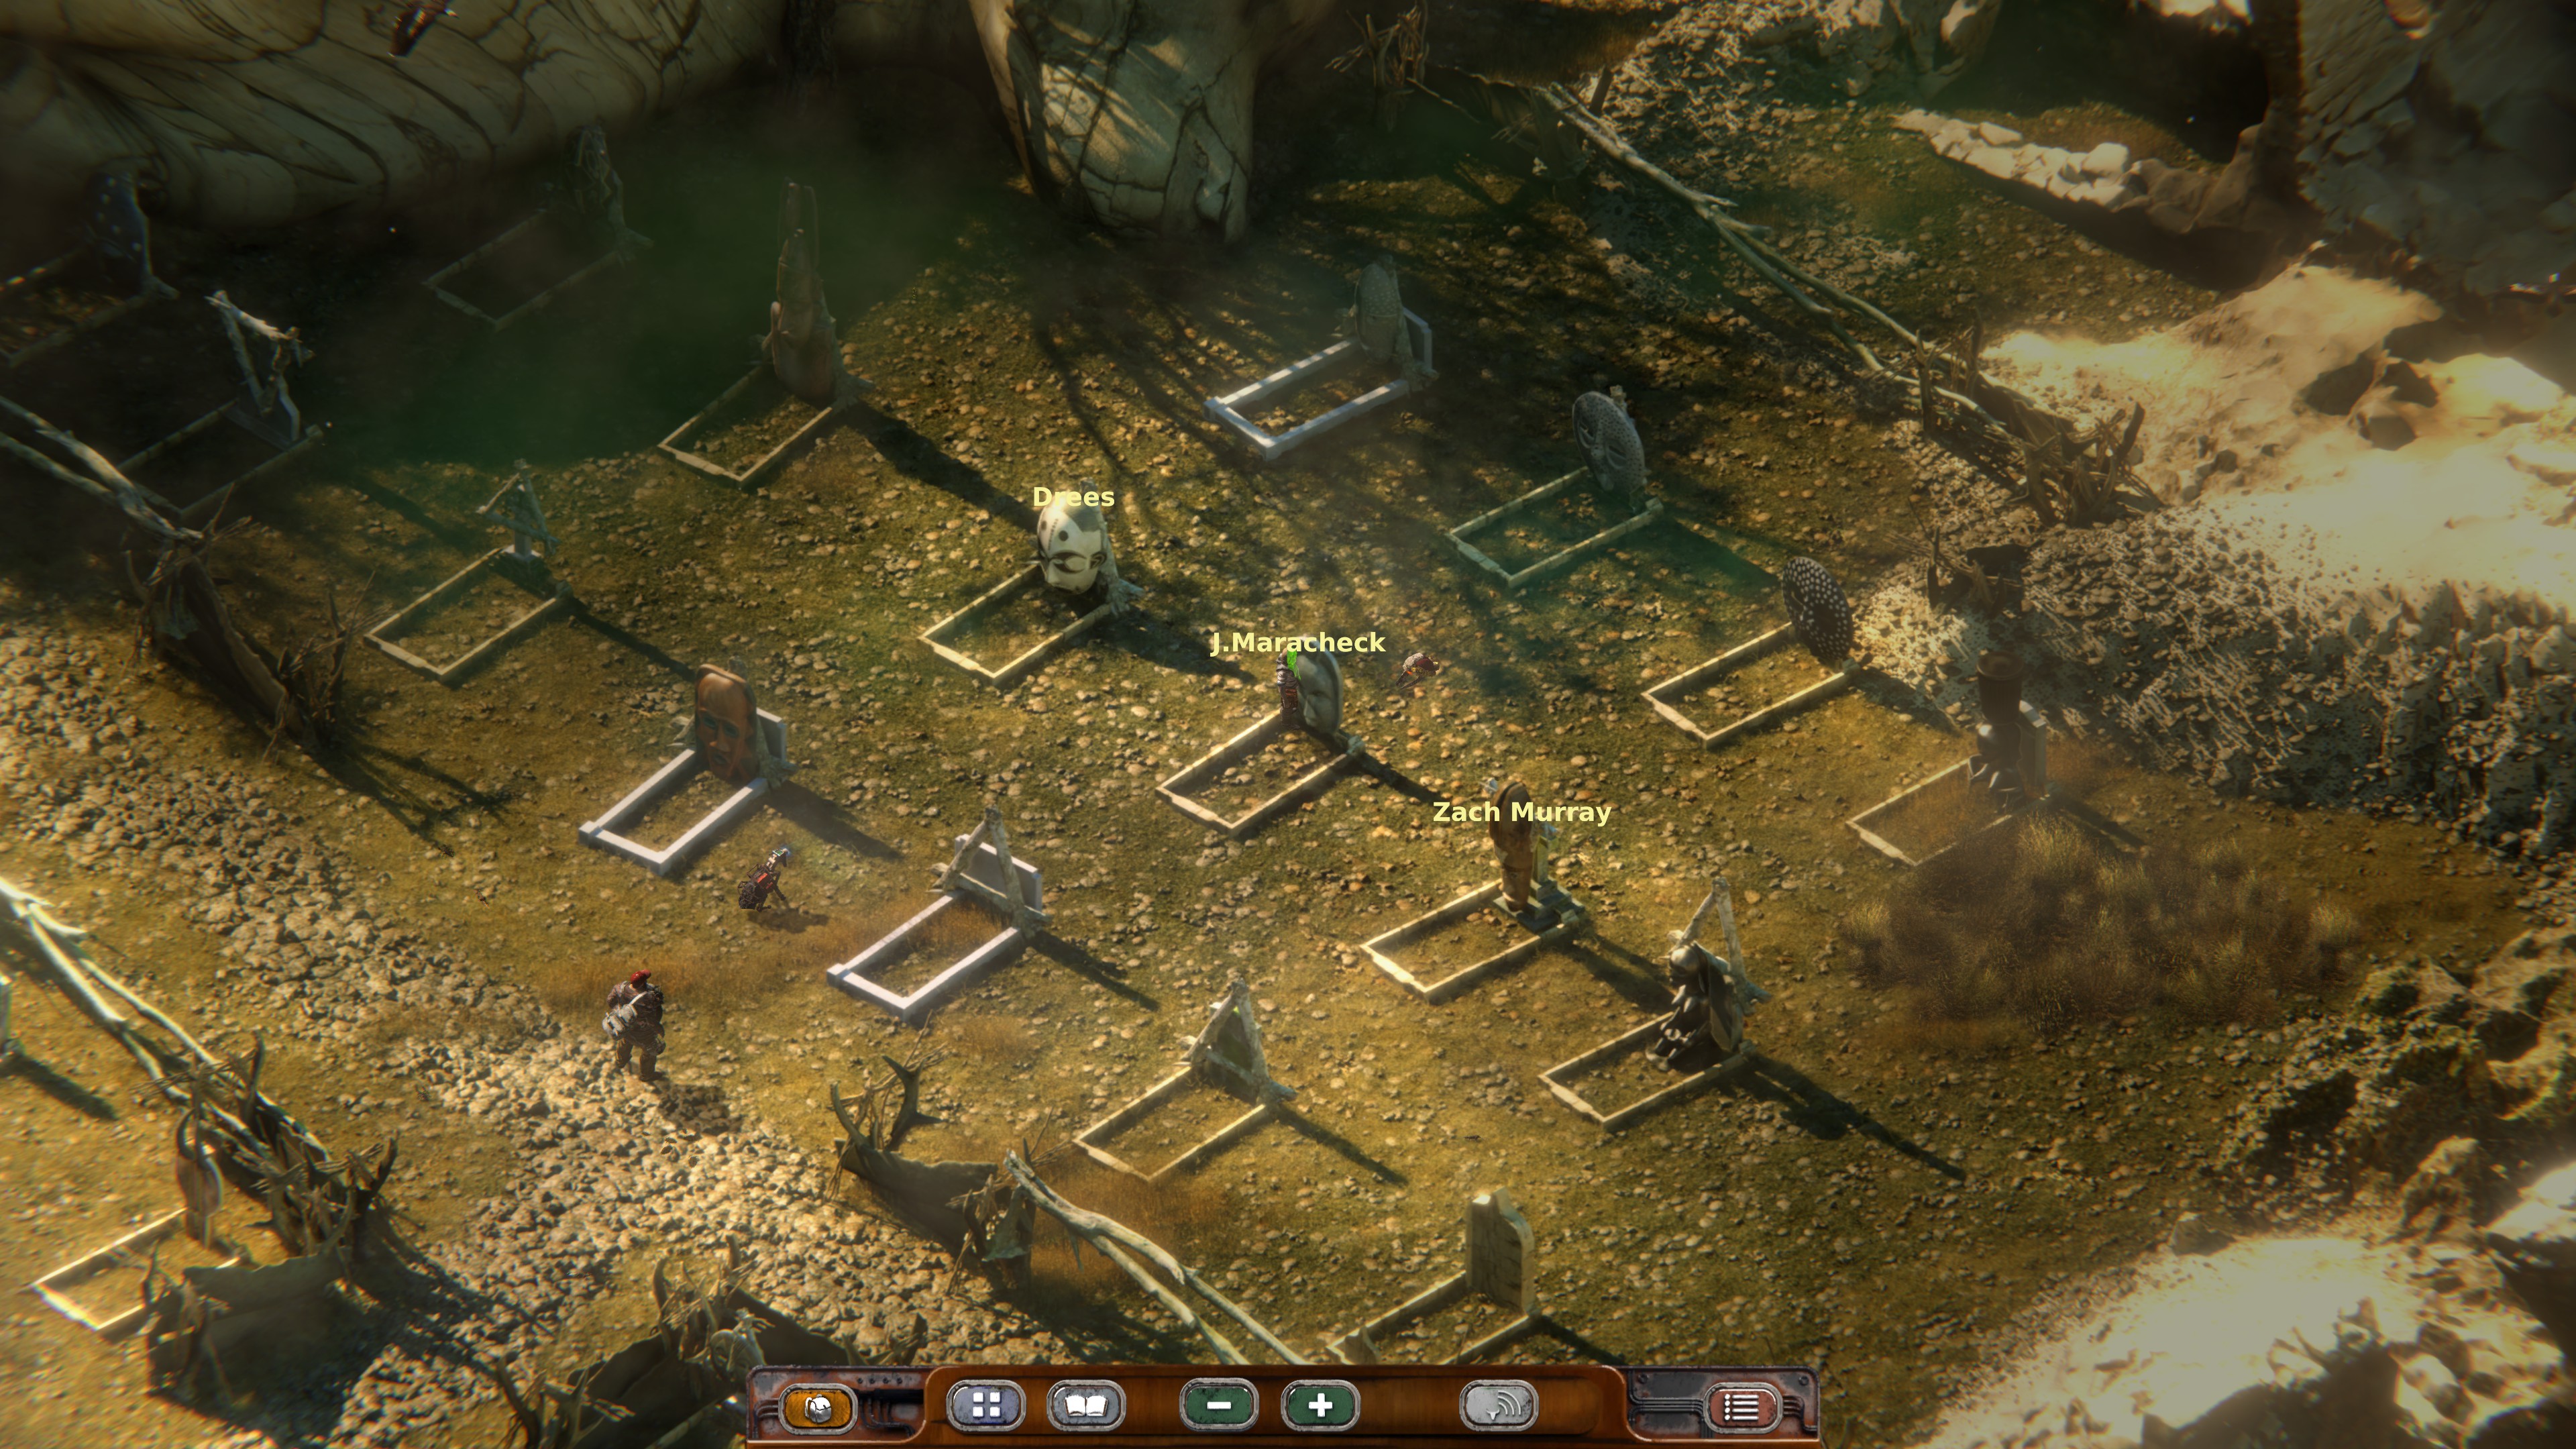
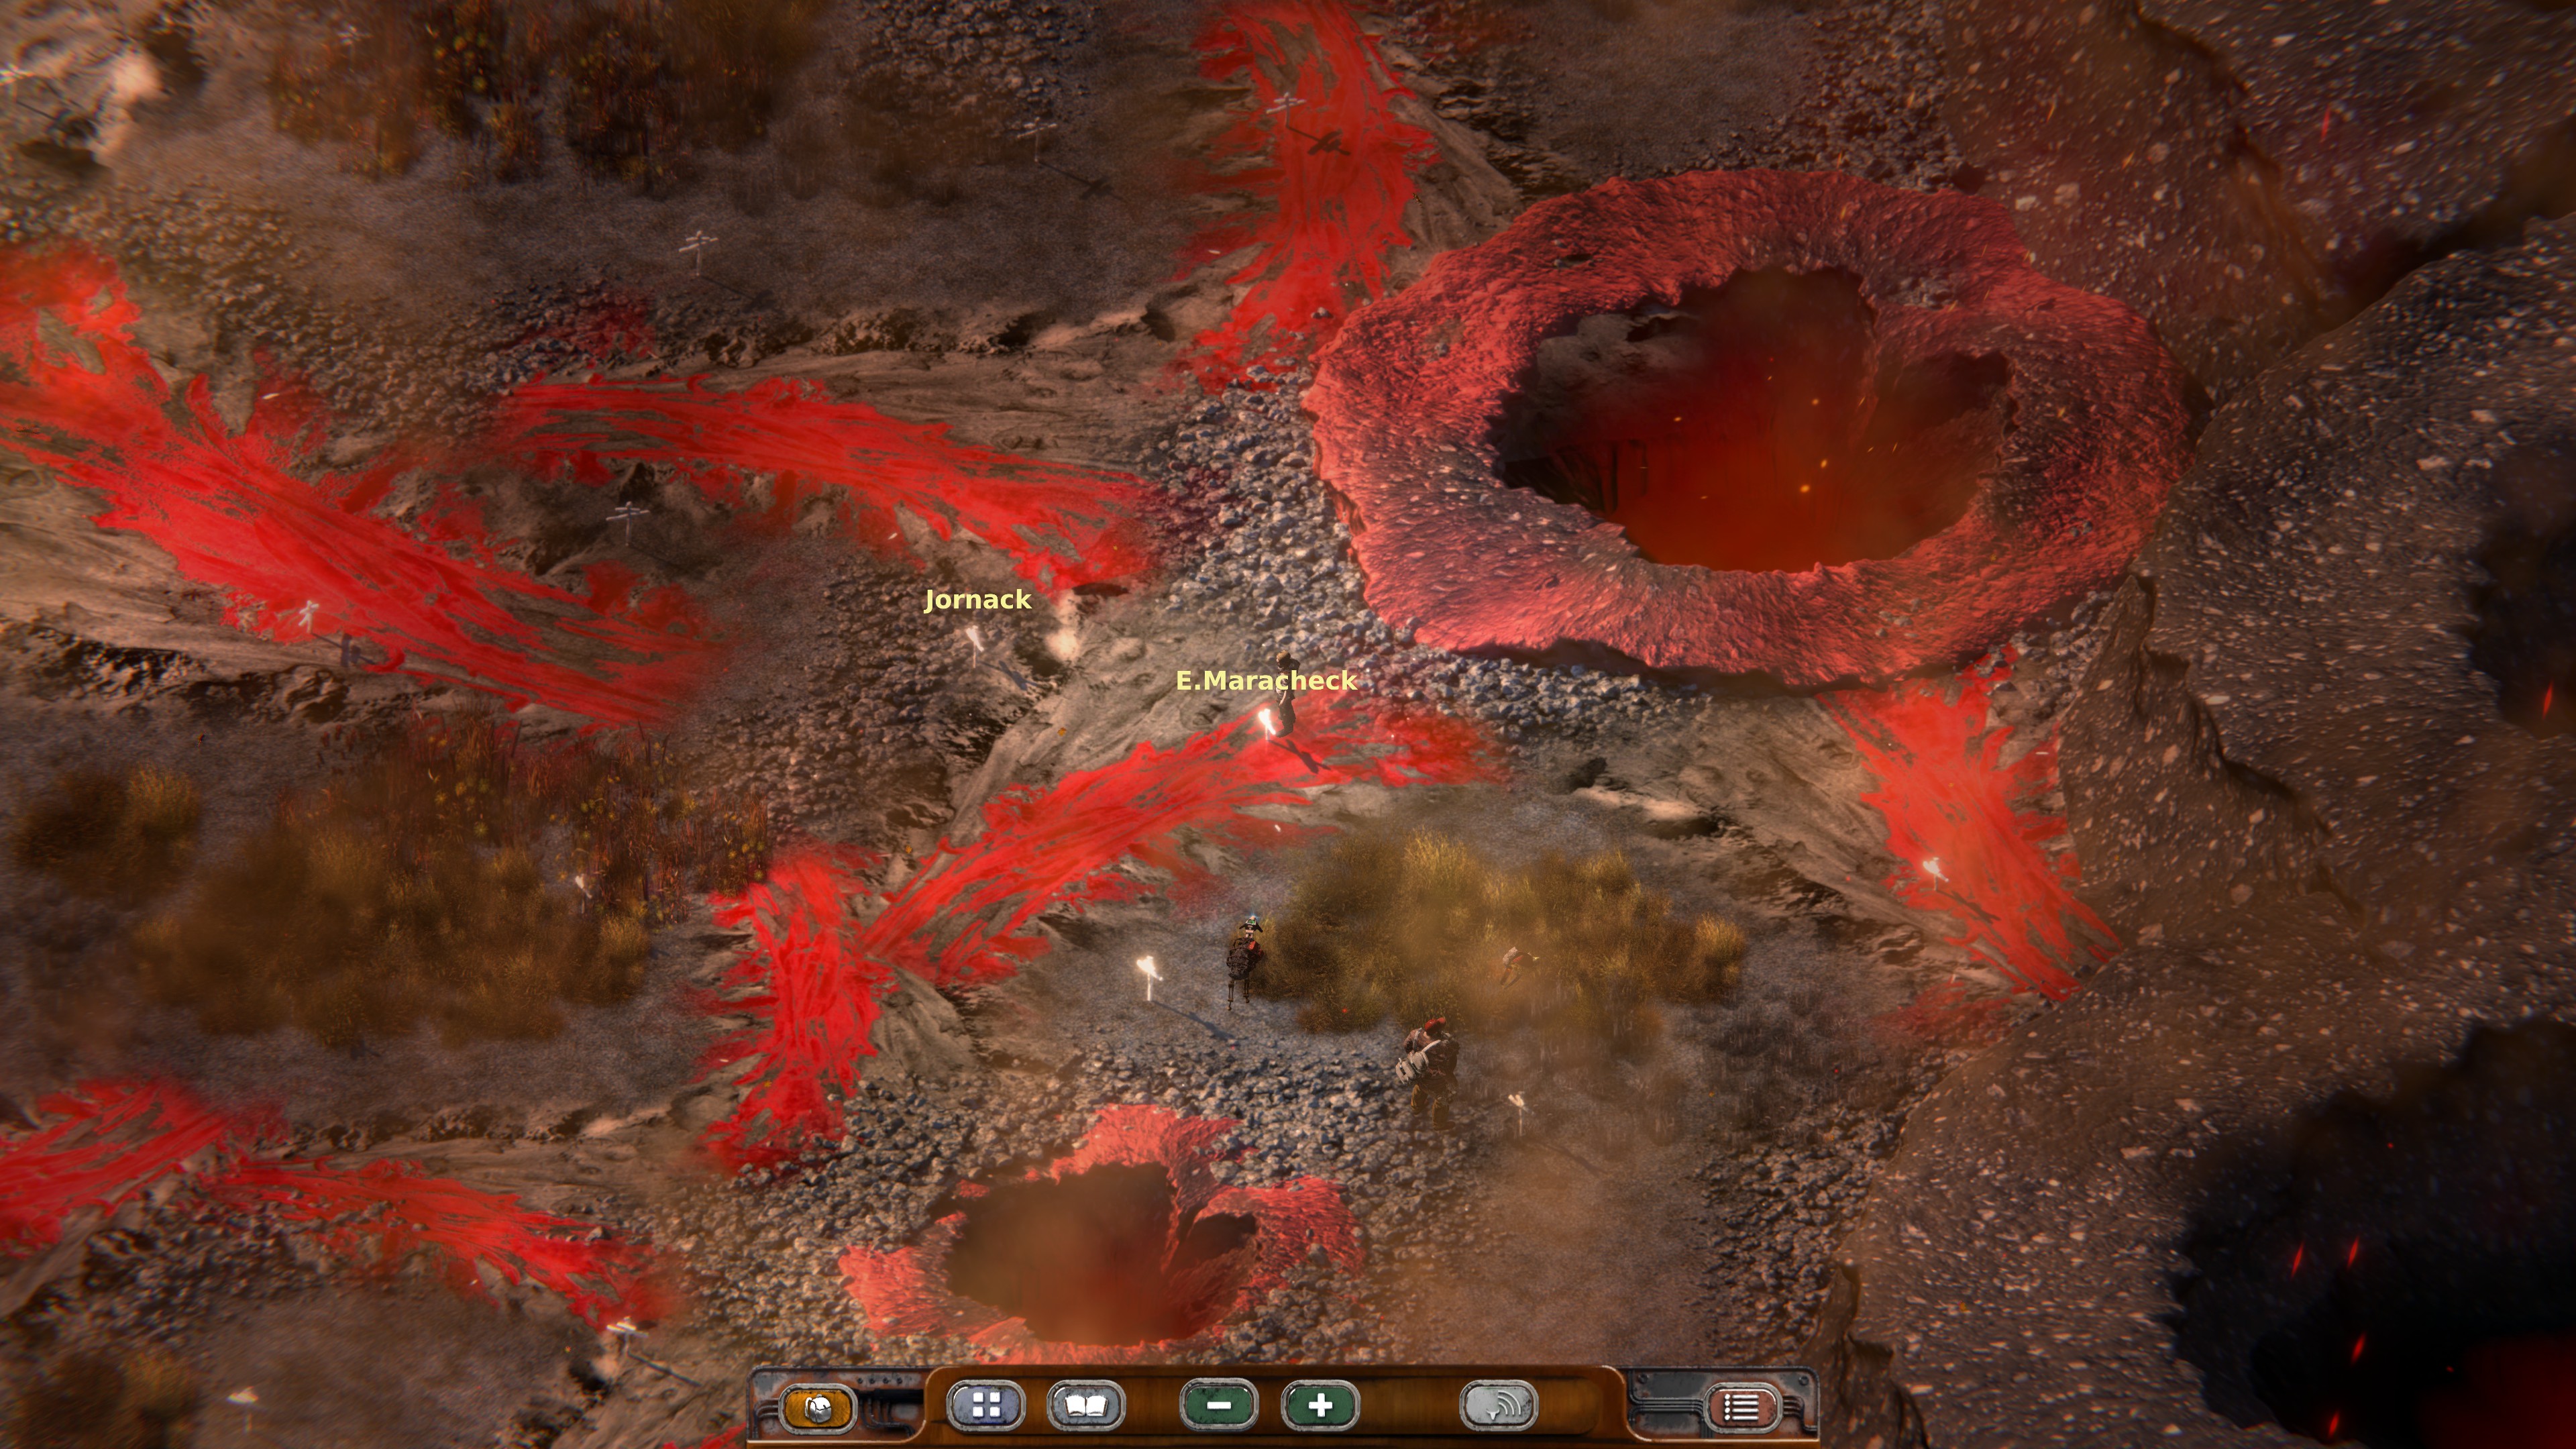
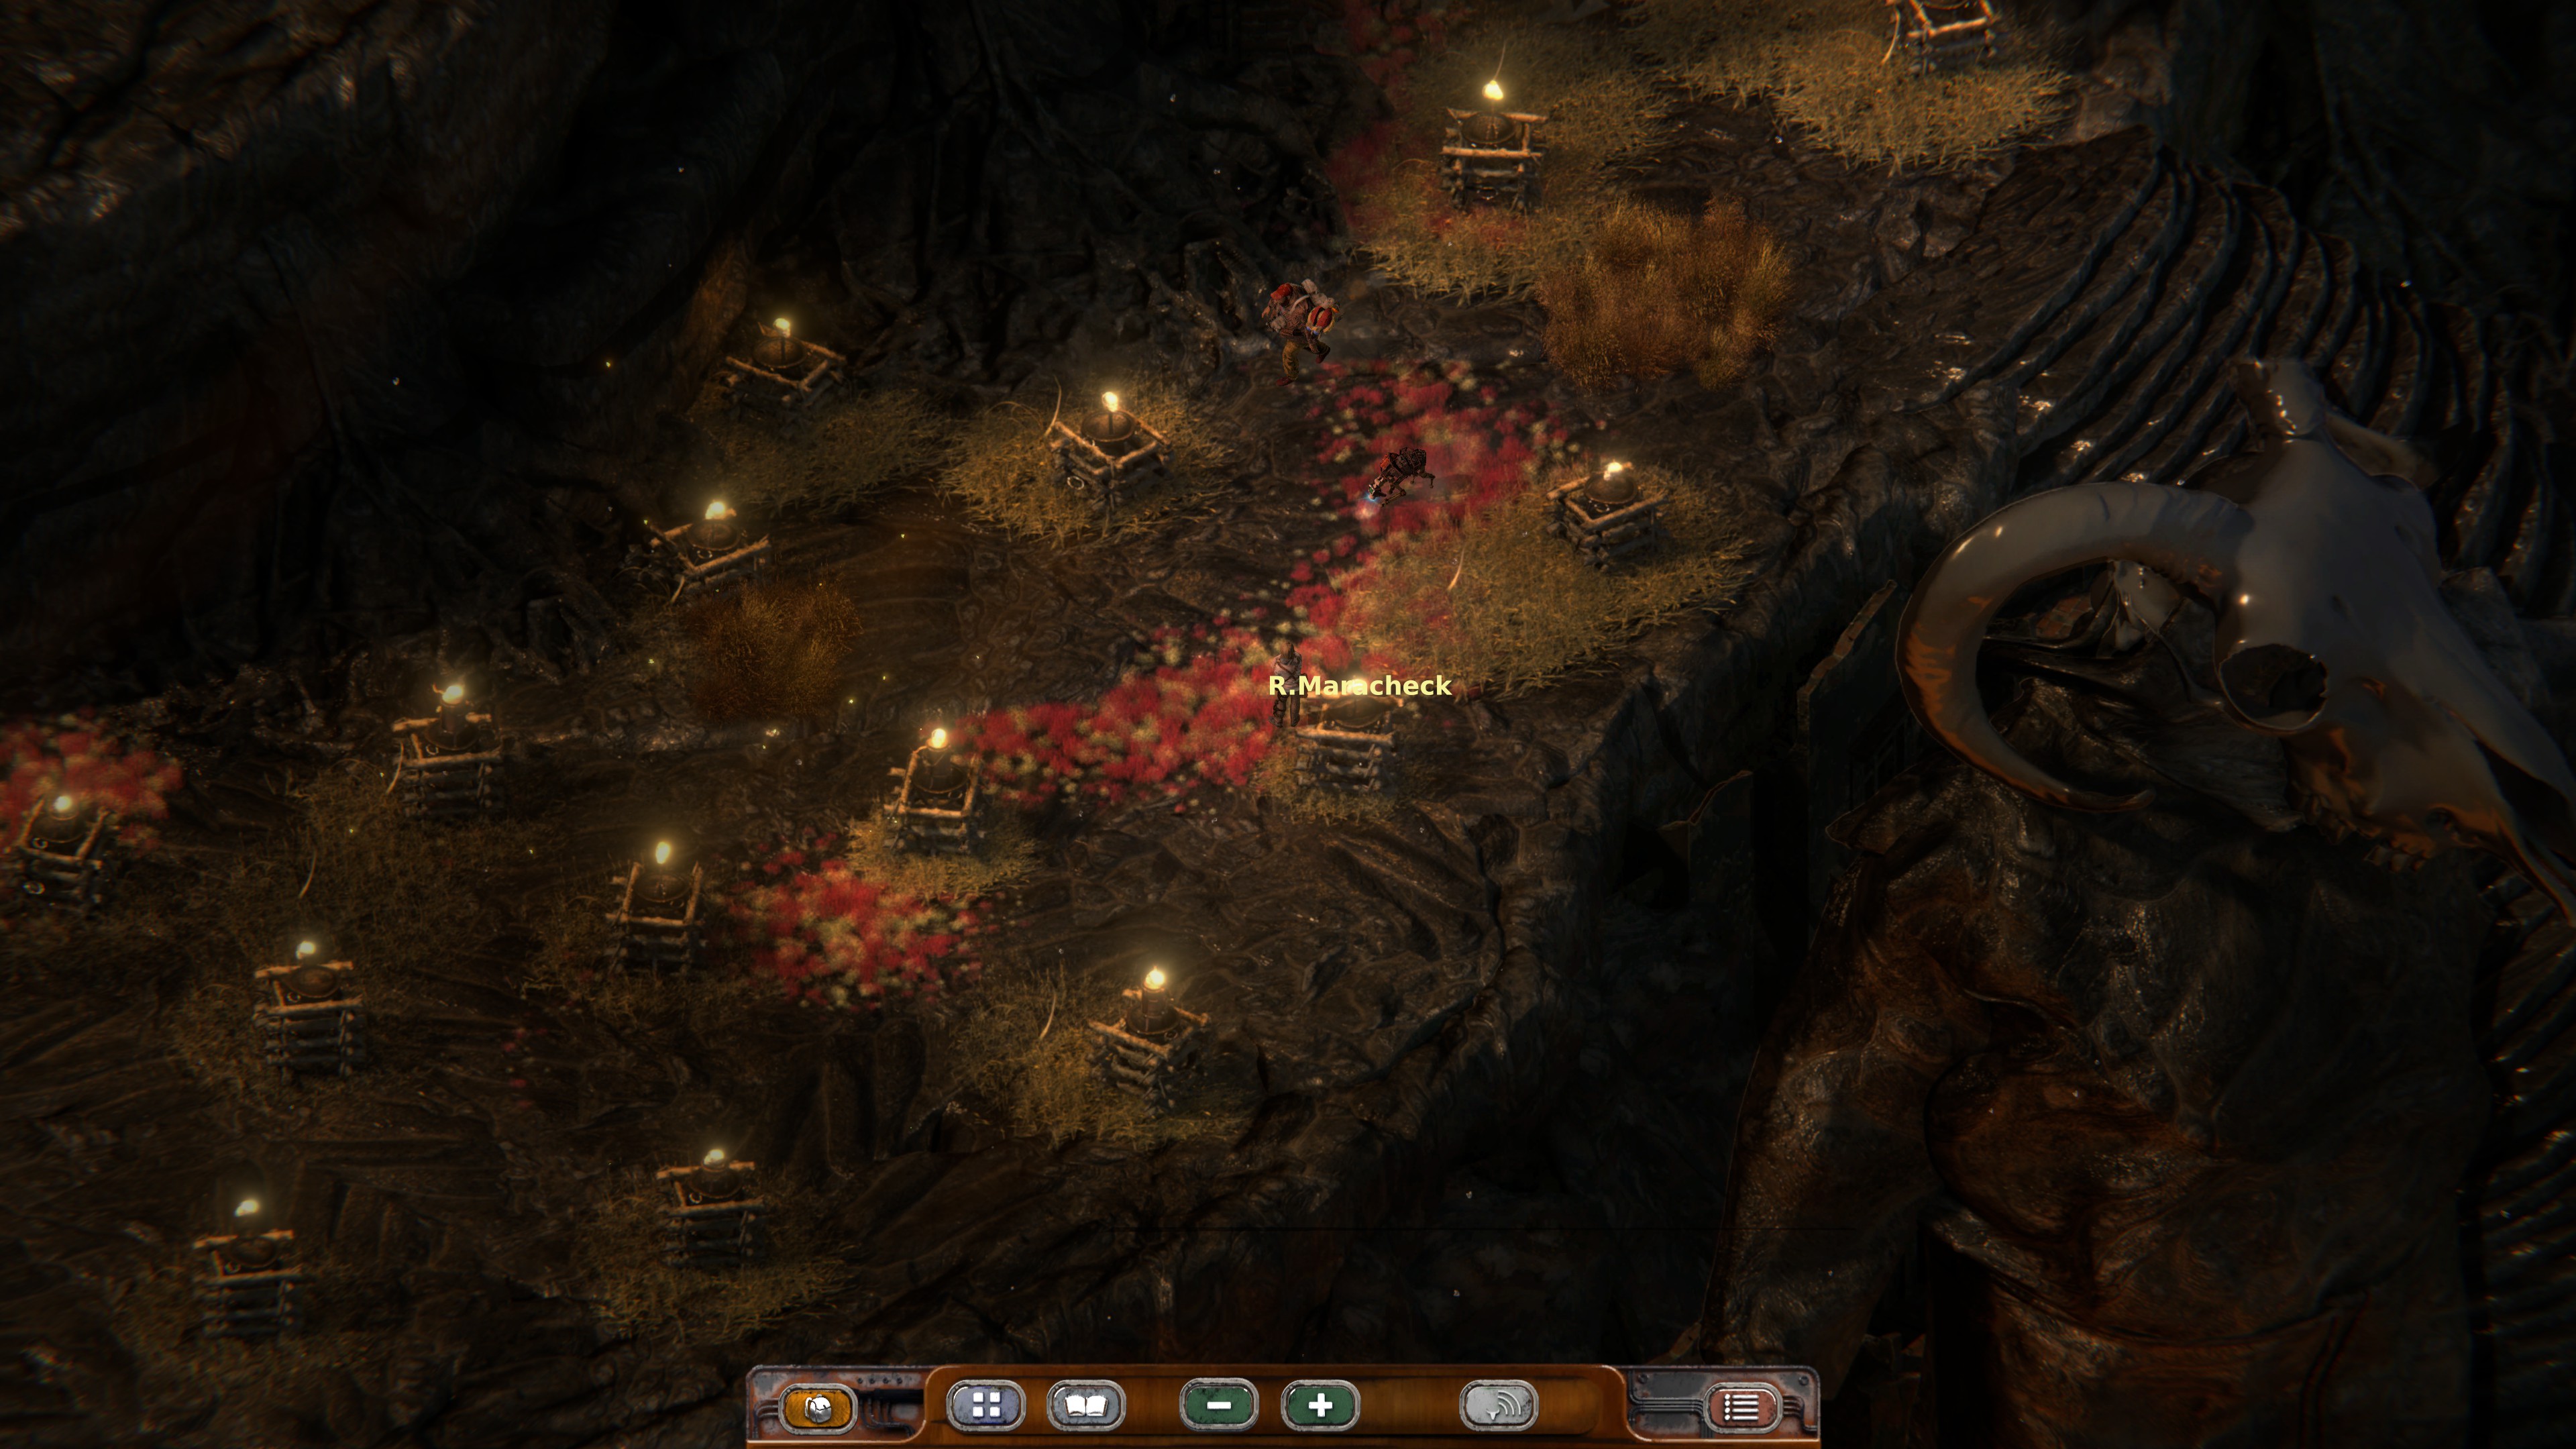
First, you need to find all graves named Maracheck in the game and click them so they play a Melody:
Travelers Grave Yard in Saxonworld: J. Maracheck
Klemens Urnfield in Chiron: E. Maracheck
Charnel House in Slag: R. Maracheck
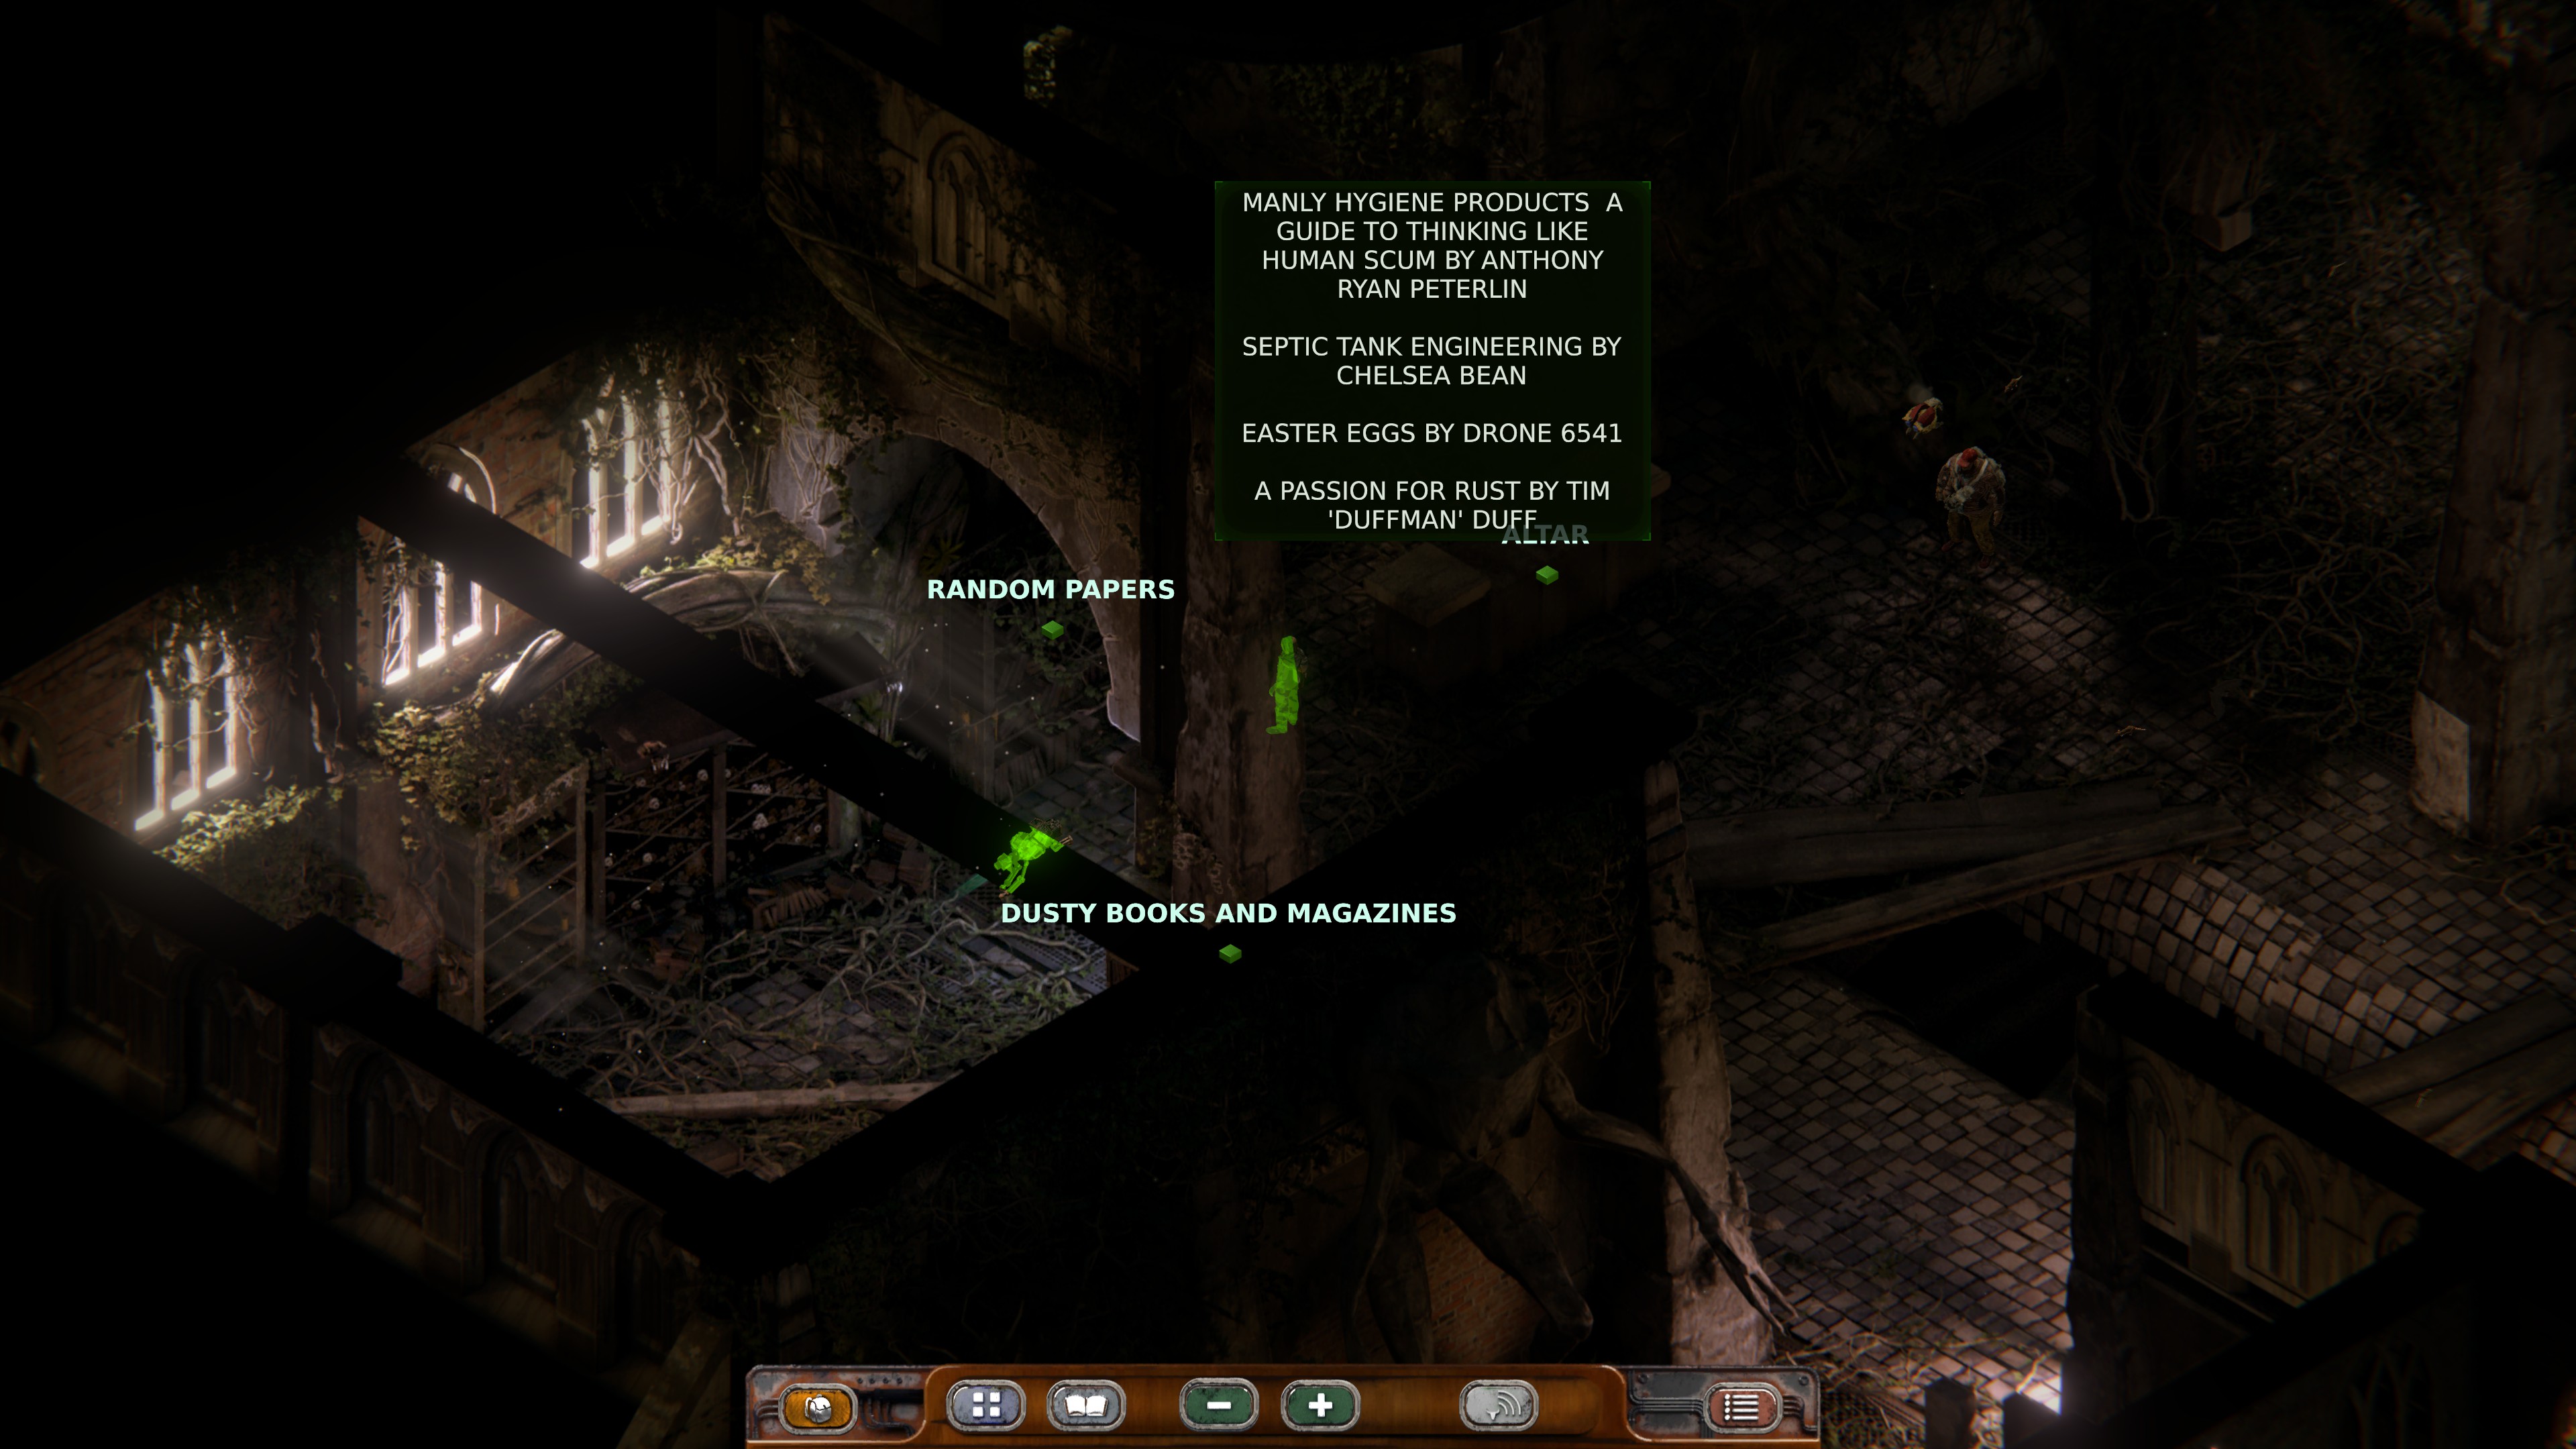
You also need to have input two Red Mercury items into The Array and to have found the hidden Easter Egg code in the Boneyard Glossolalia (6541):
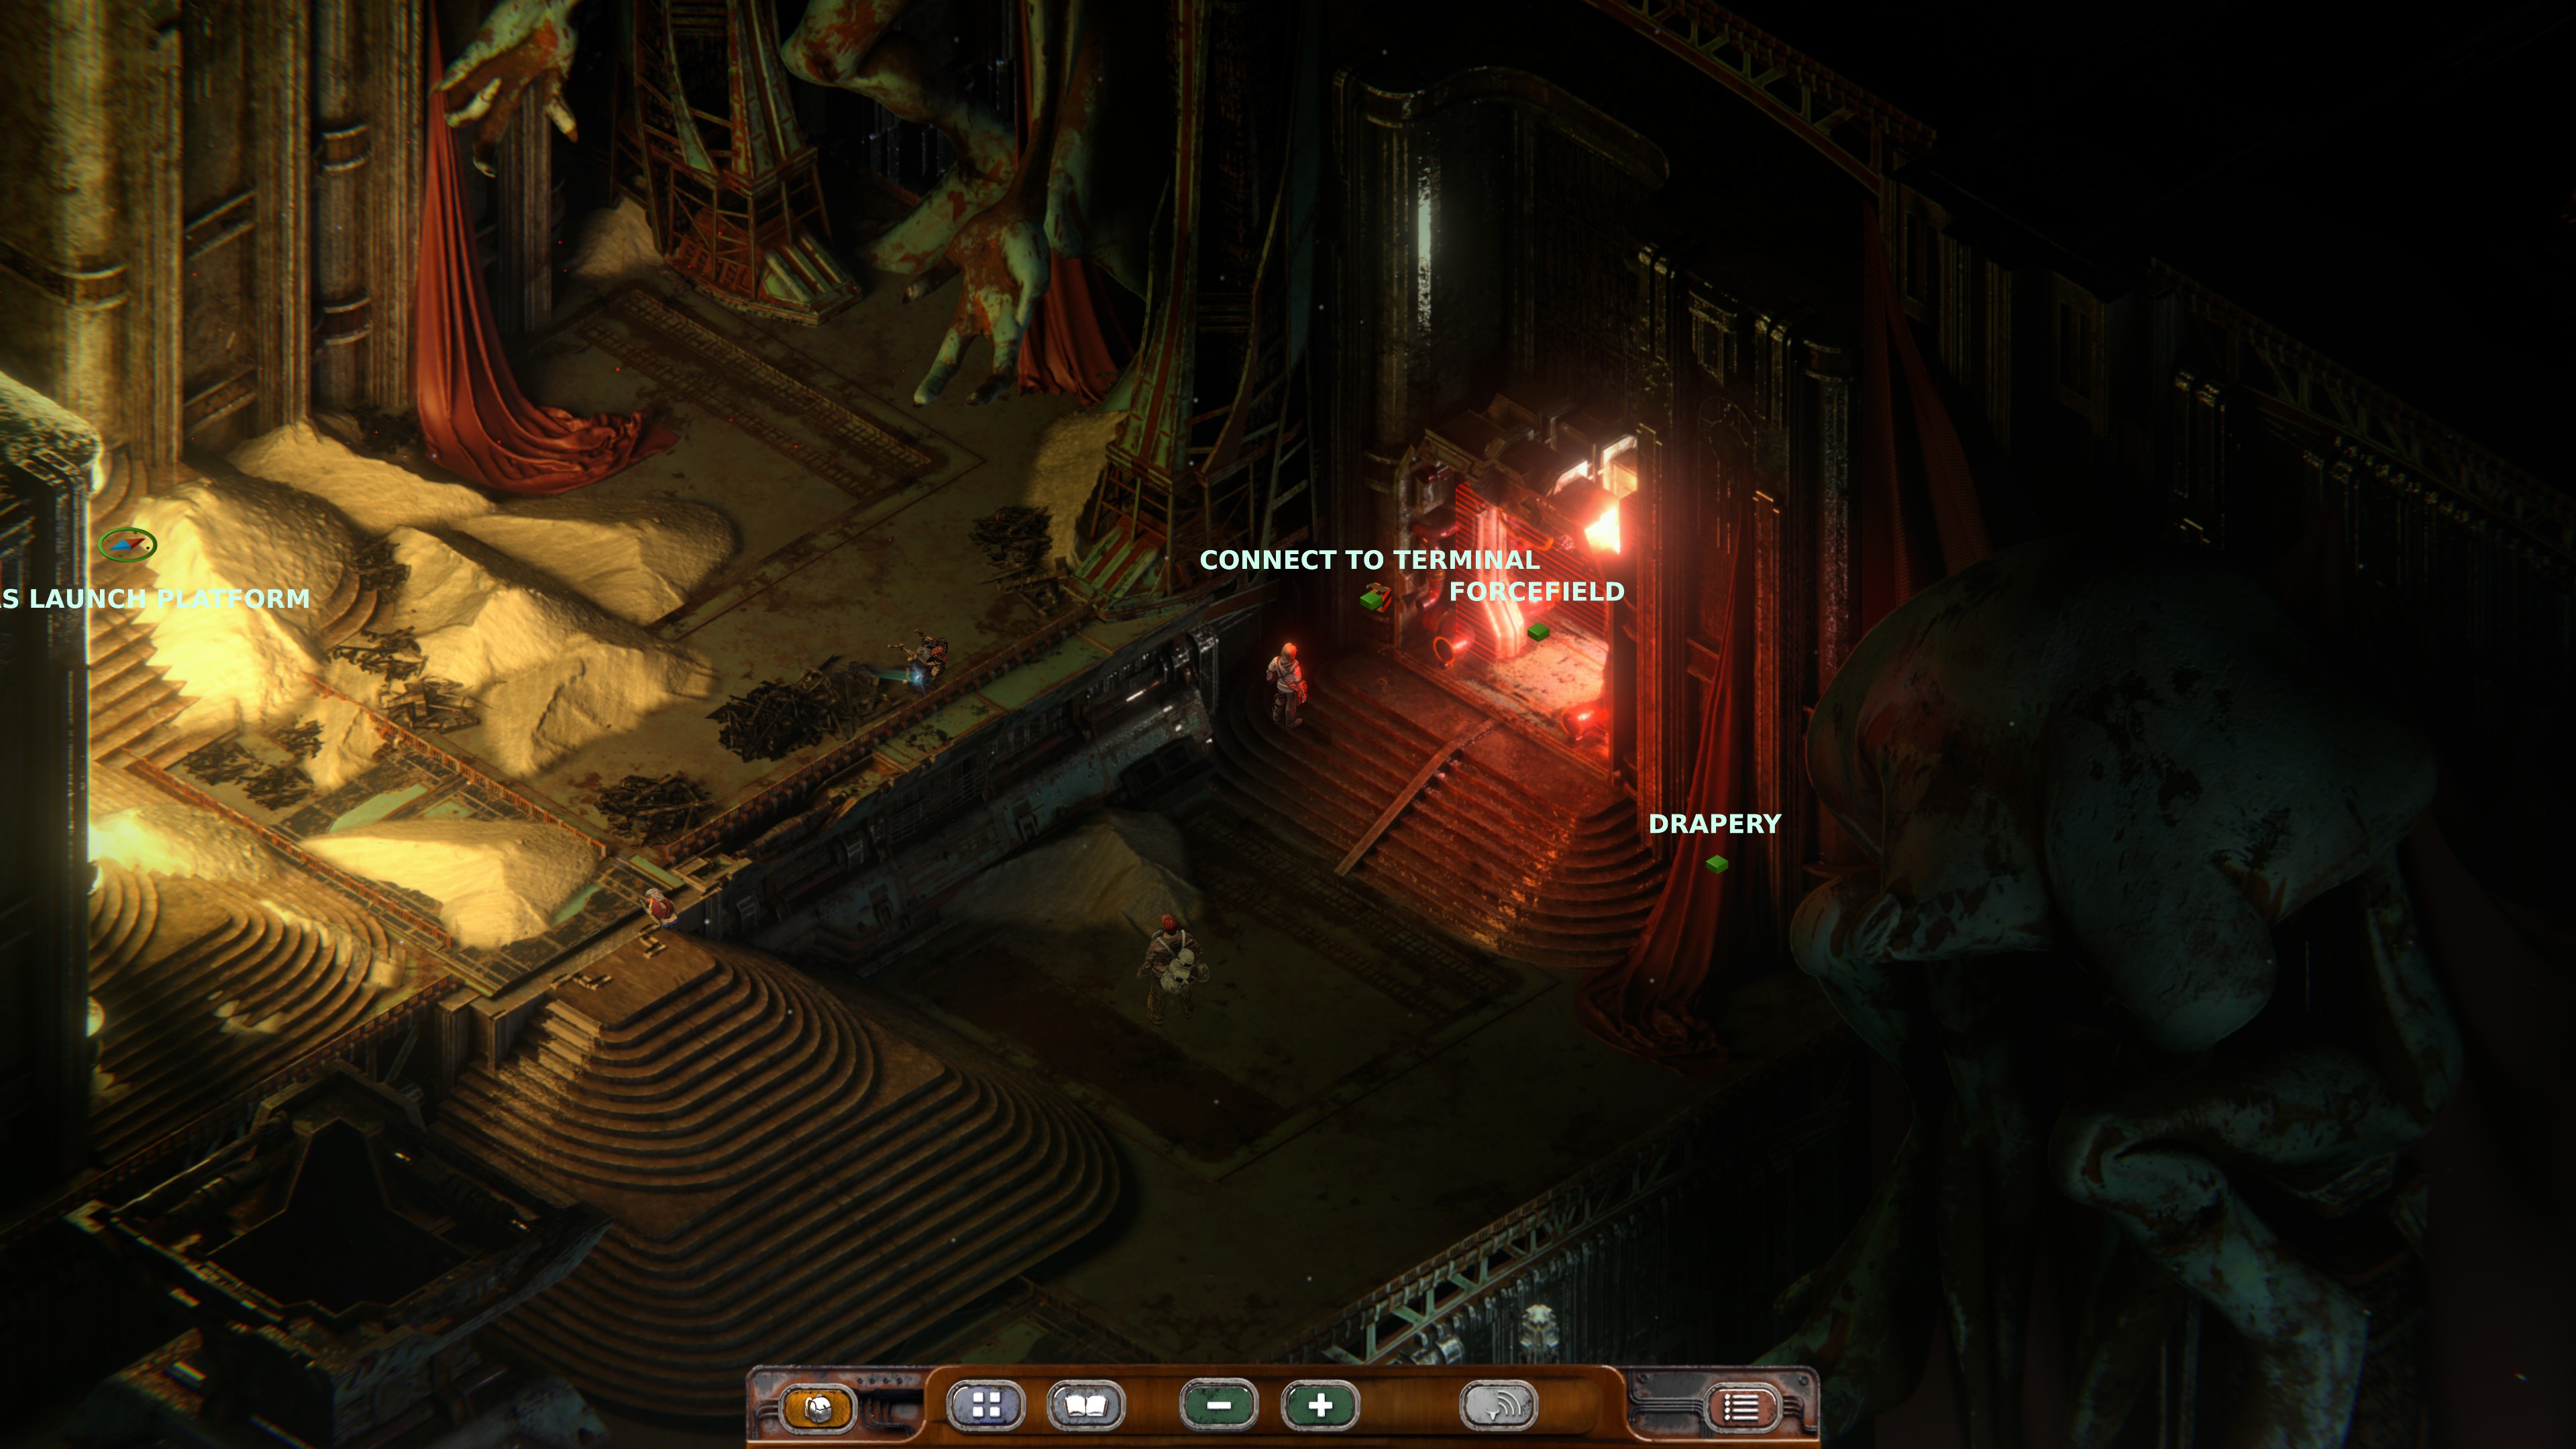
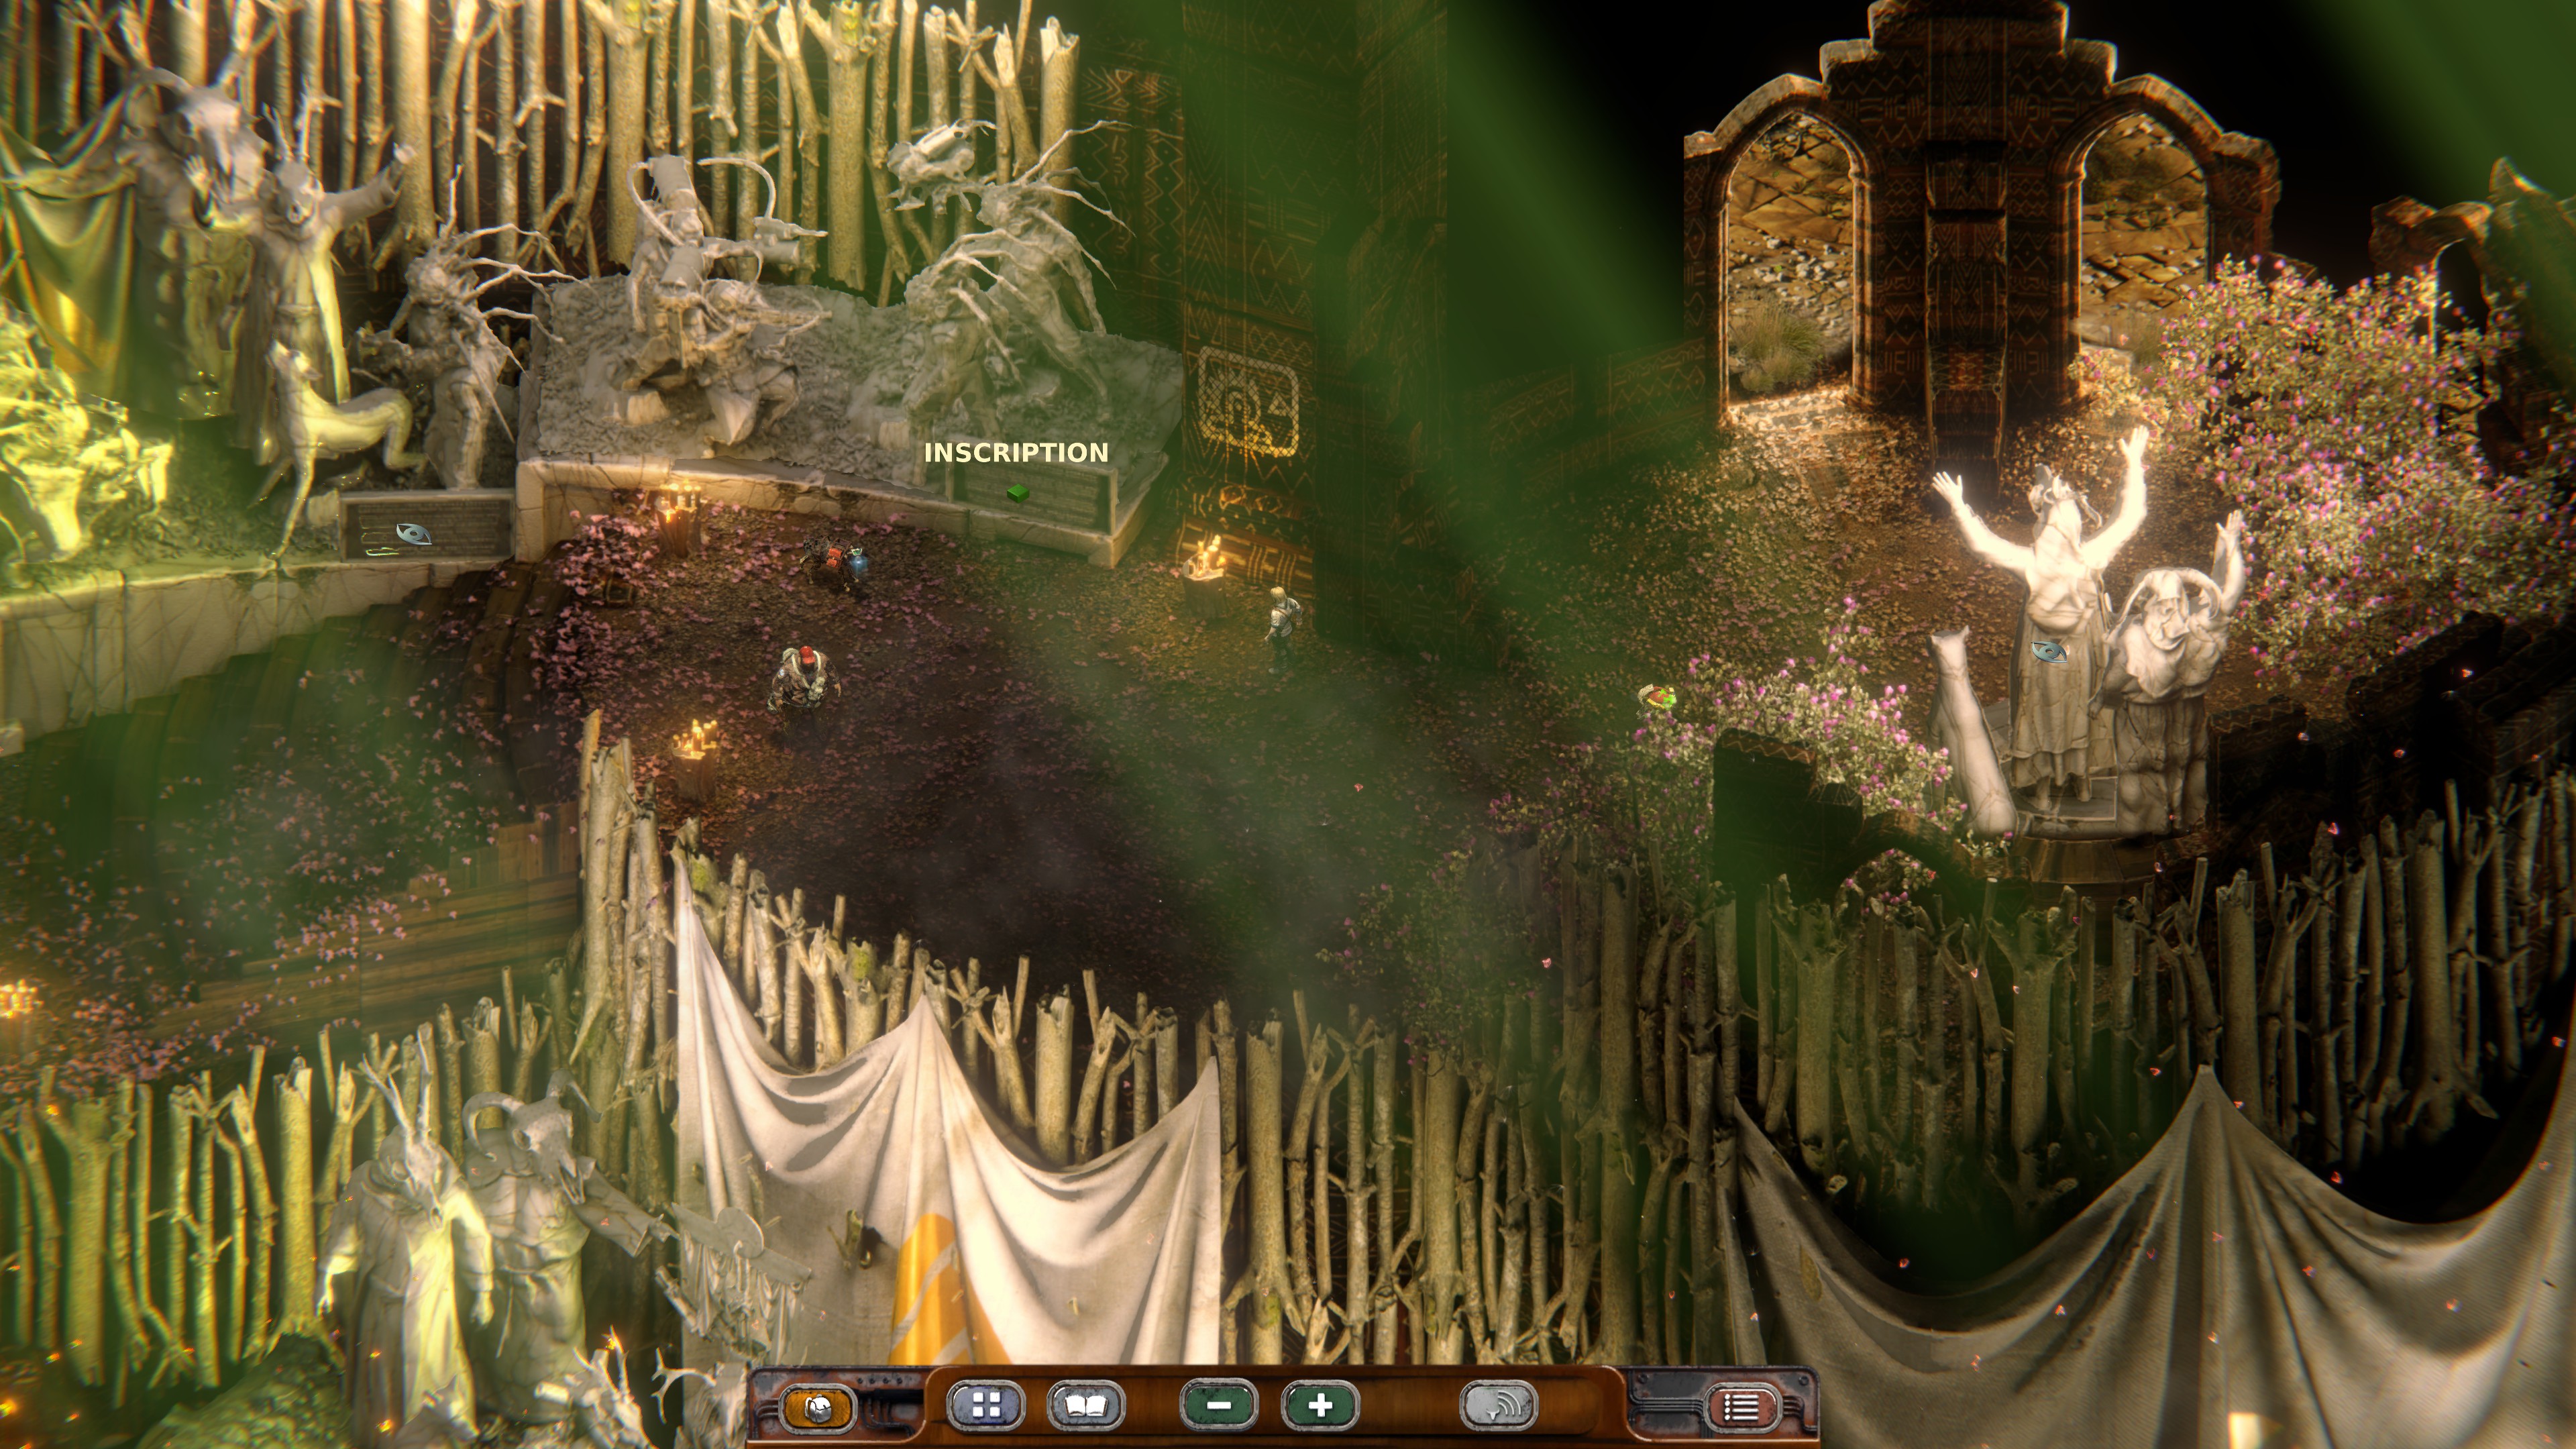
If you’ve done all that, go to the Baas Launch Platform in Chiron, enter the Ion Control room and the red door inside should now have a usable Terminal besides it, Input the Easter Egg code into it for a STASIS-themed Secret:
Temples and Simulacrum
To get the different endings and associated Achievements you need to complete the game four times with the Simulacrum (the item you find at the beginning of the game in your inventory, that tracks your Karma and is influenced by your choices in conversations) at different Levels from White to Red.
Right at the end of the game you’ll enter different Temples in Babel based on the Color Level of your Simulacrum. The best approach here is two playthroughs, one “Good” and one “Bad” where you keep your Color Level between White and Blue during the first (and are nice to your companions) and between Yellow and Red during the second (where you can be mean to your companions) and just save a few conversations where you can change into either before you head for the Finale.
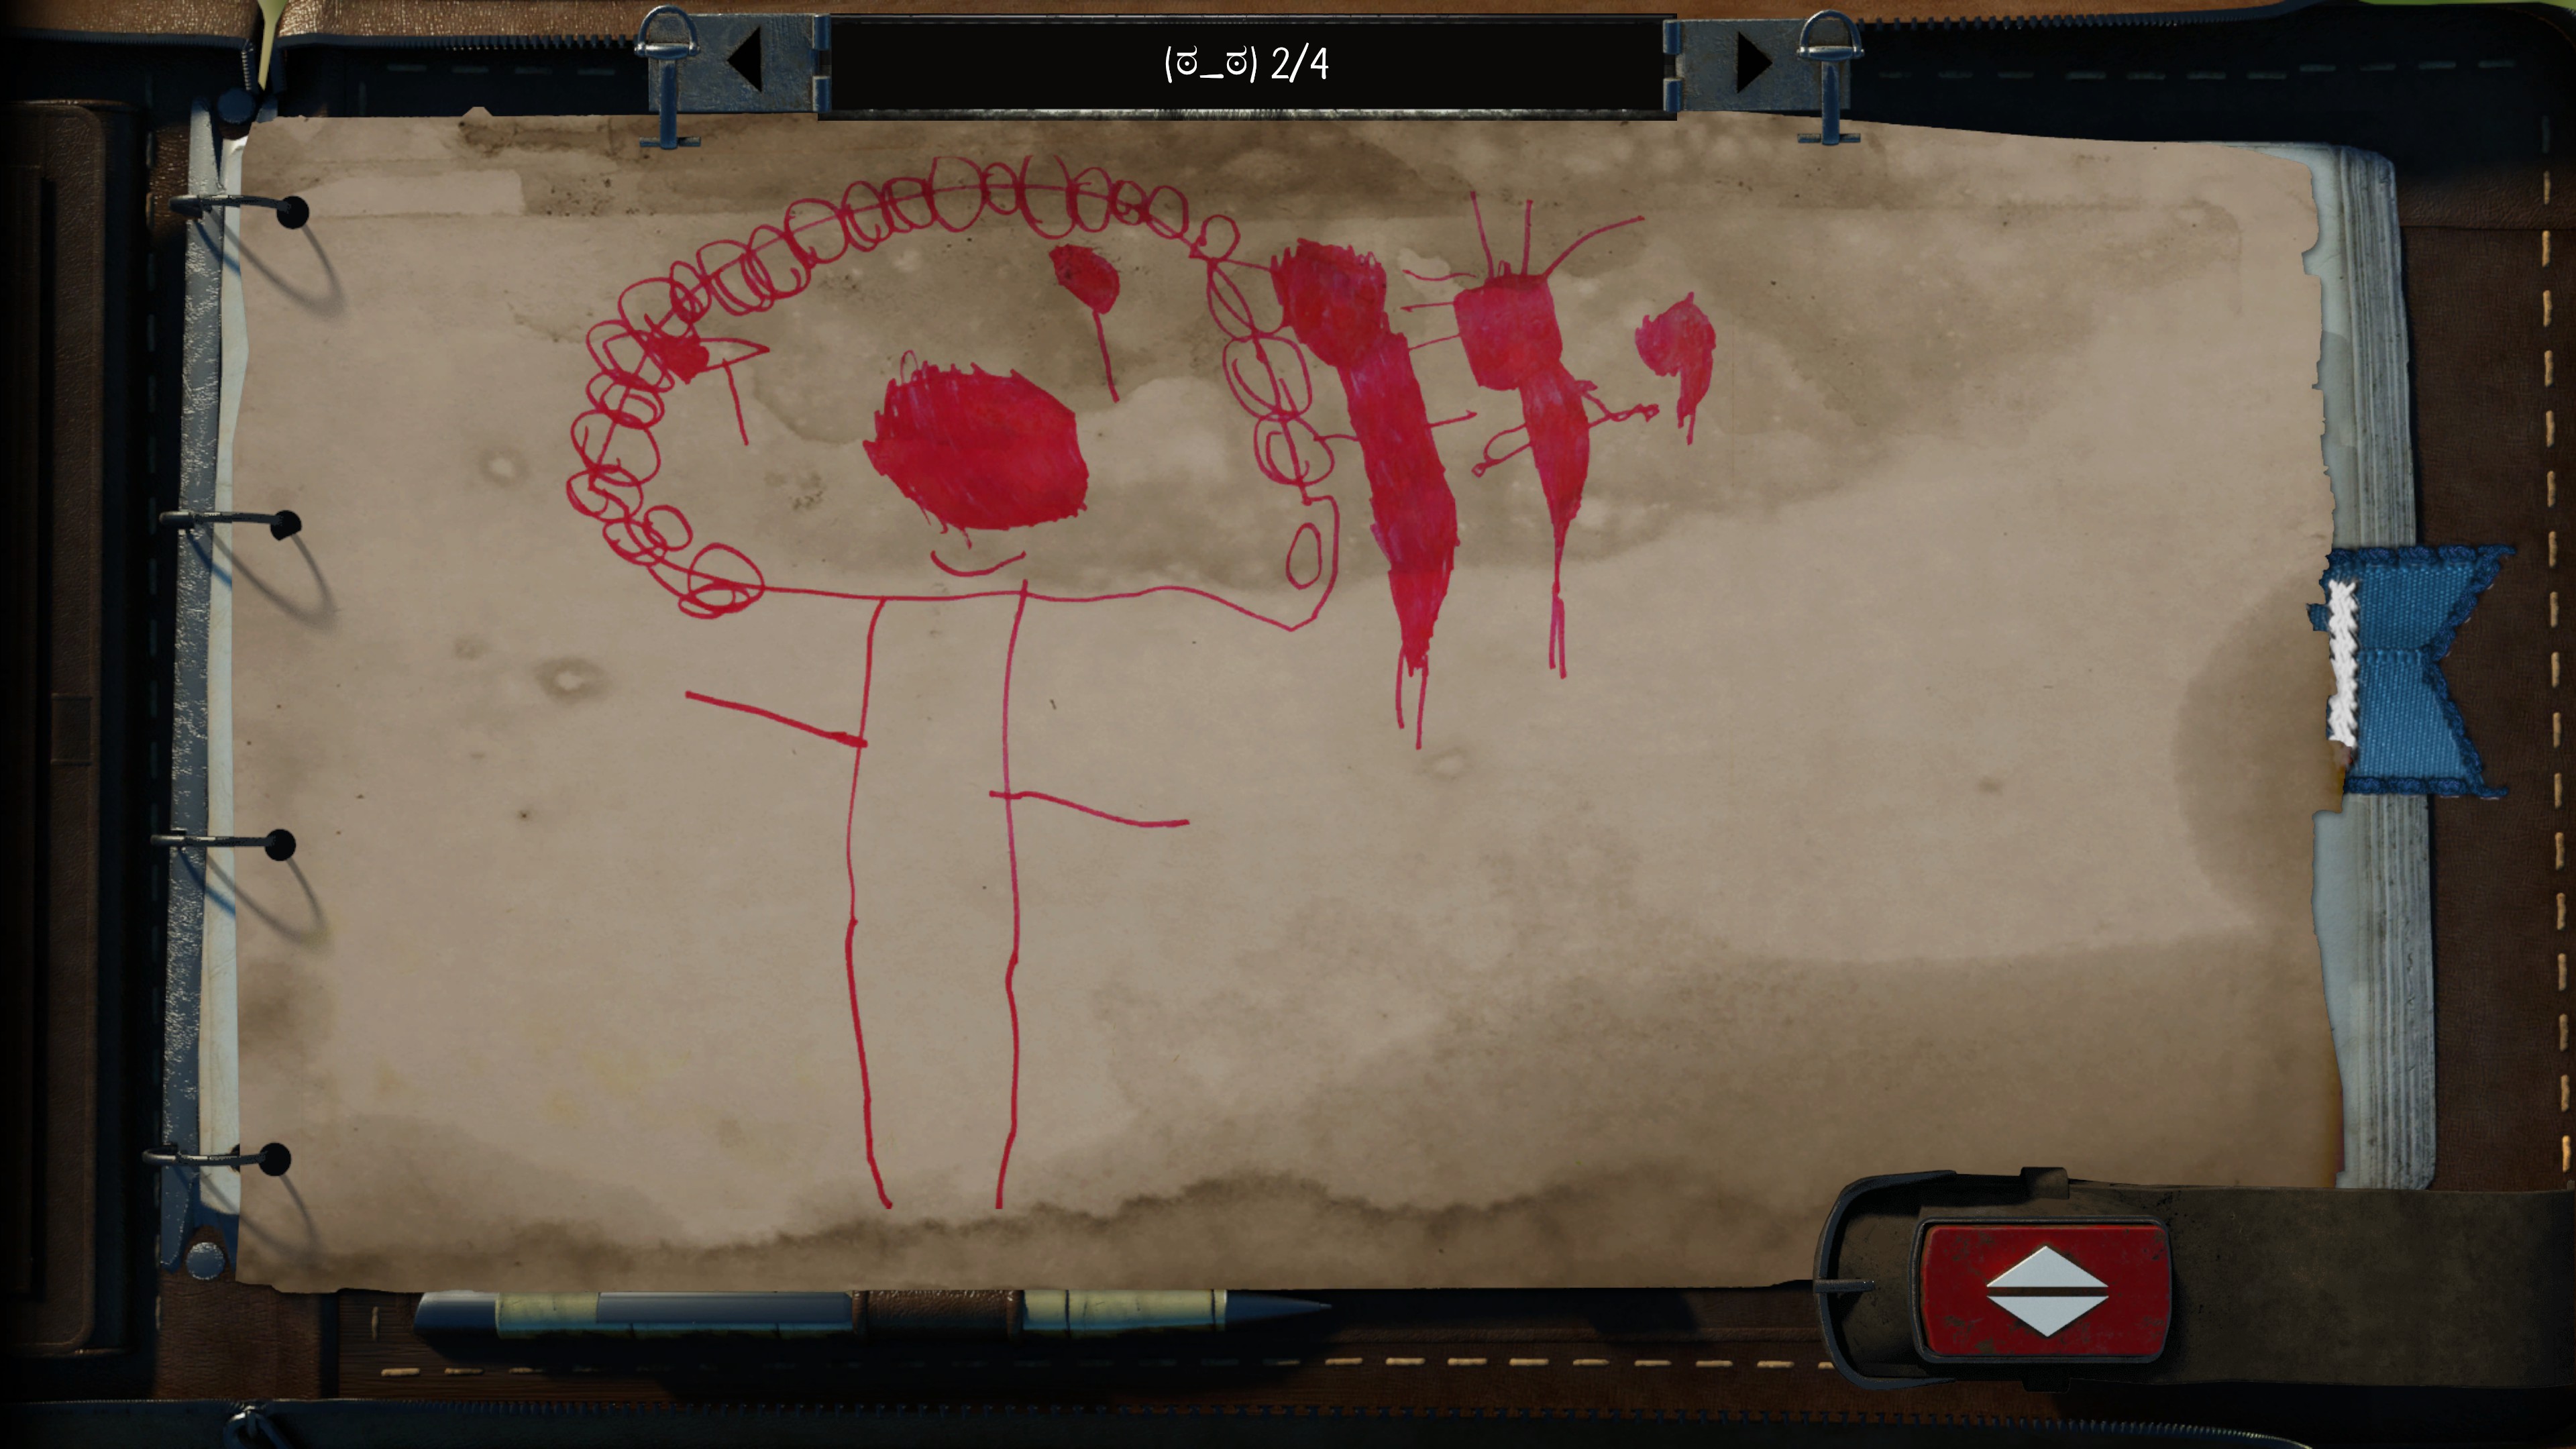
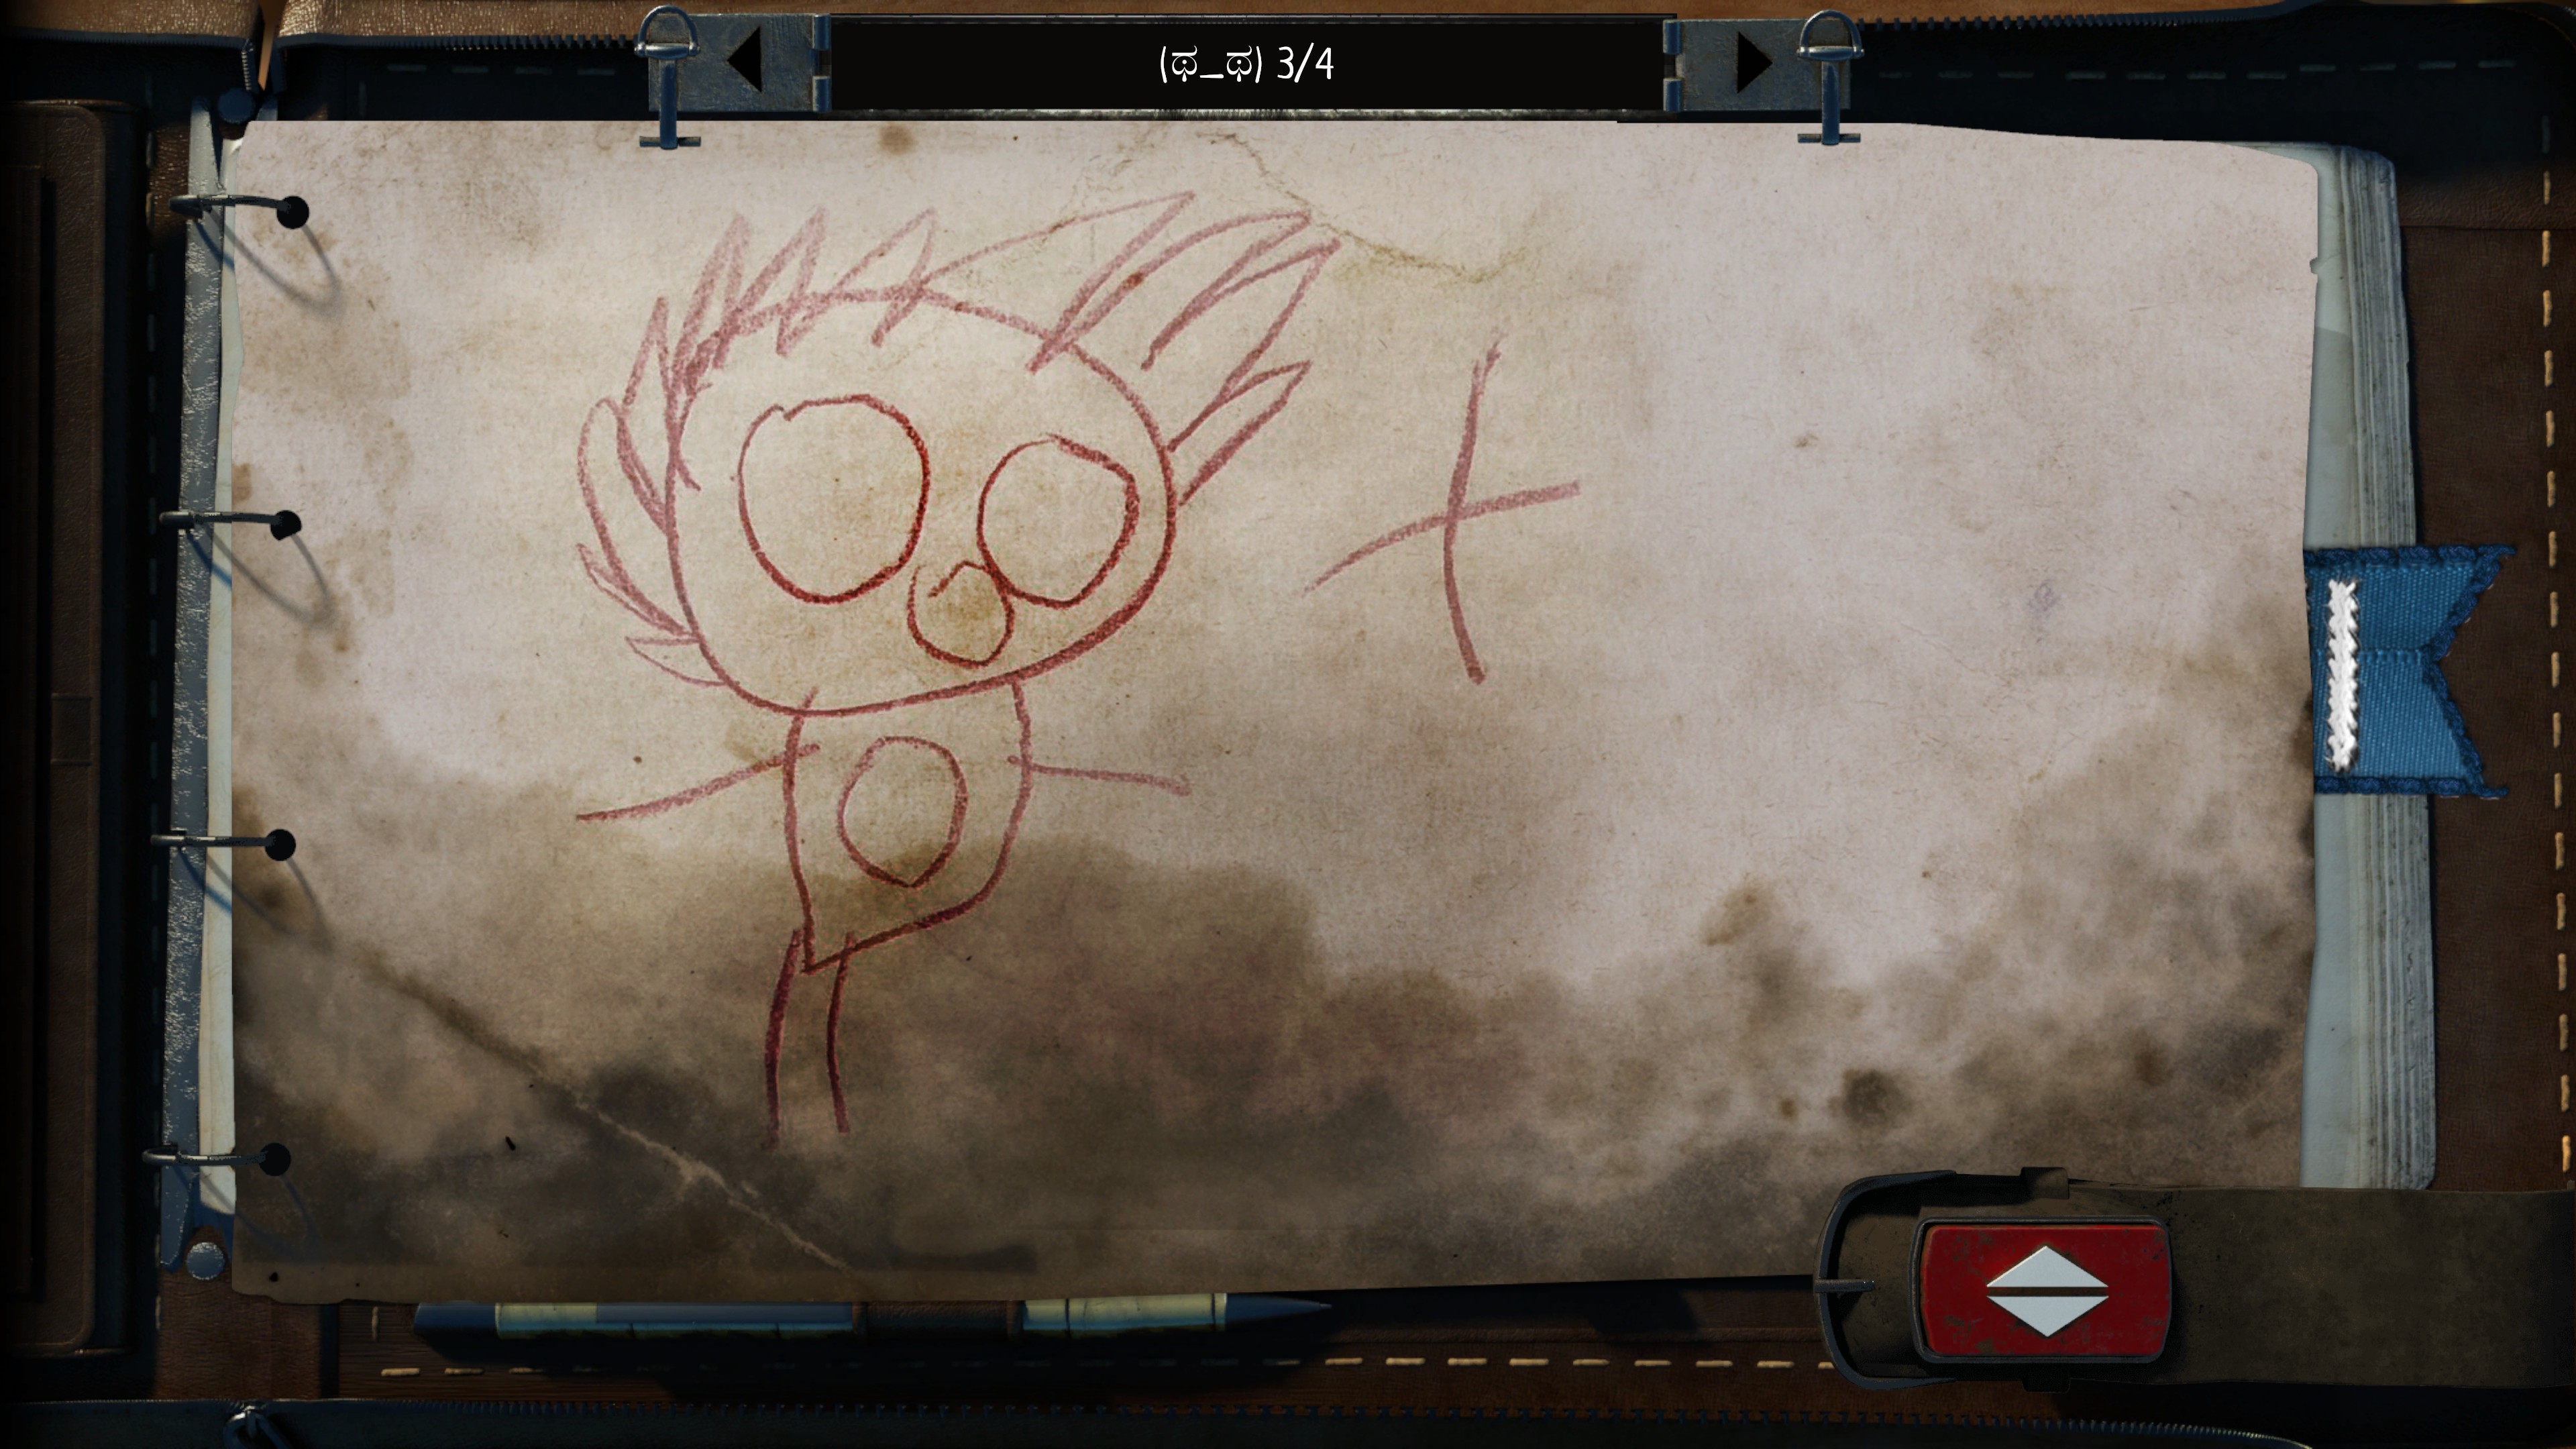
You can collect hidden sketches during each of these endings, when you got all four of them you will be able to get the “A POSSIBLE FUTURE” Achievement by starting a new game and playing until the time jump on the Penrose. Also note the changing symbols on different parts of the walls in the different versions of the Temple for another Secret.
Temple of Generosity: Simulacrum at White Level


Temple of Compassion: Simulacrum at Blue Level

Temple of Selfishness: Simulacrum at Yellow Level
Temple of Wrath: Simulacrum at Red Level
Desolation: Once you’ve finished the game with the 4 available Simulacrum-based endings, you can get the “DESOLATION” Ending by finishing the game a 5th time (a Reload will work).
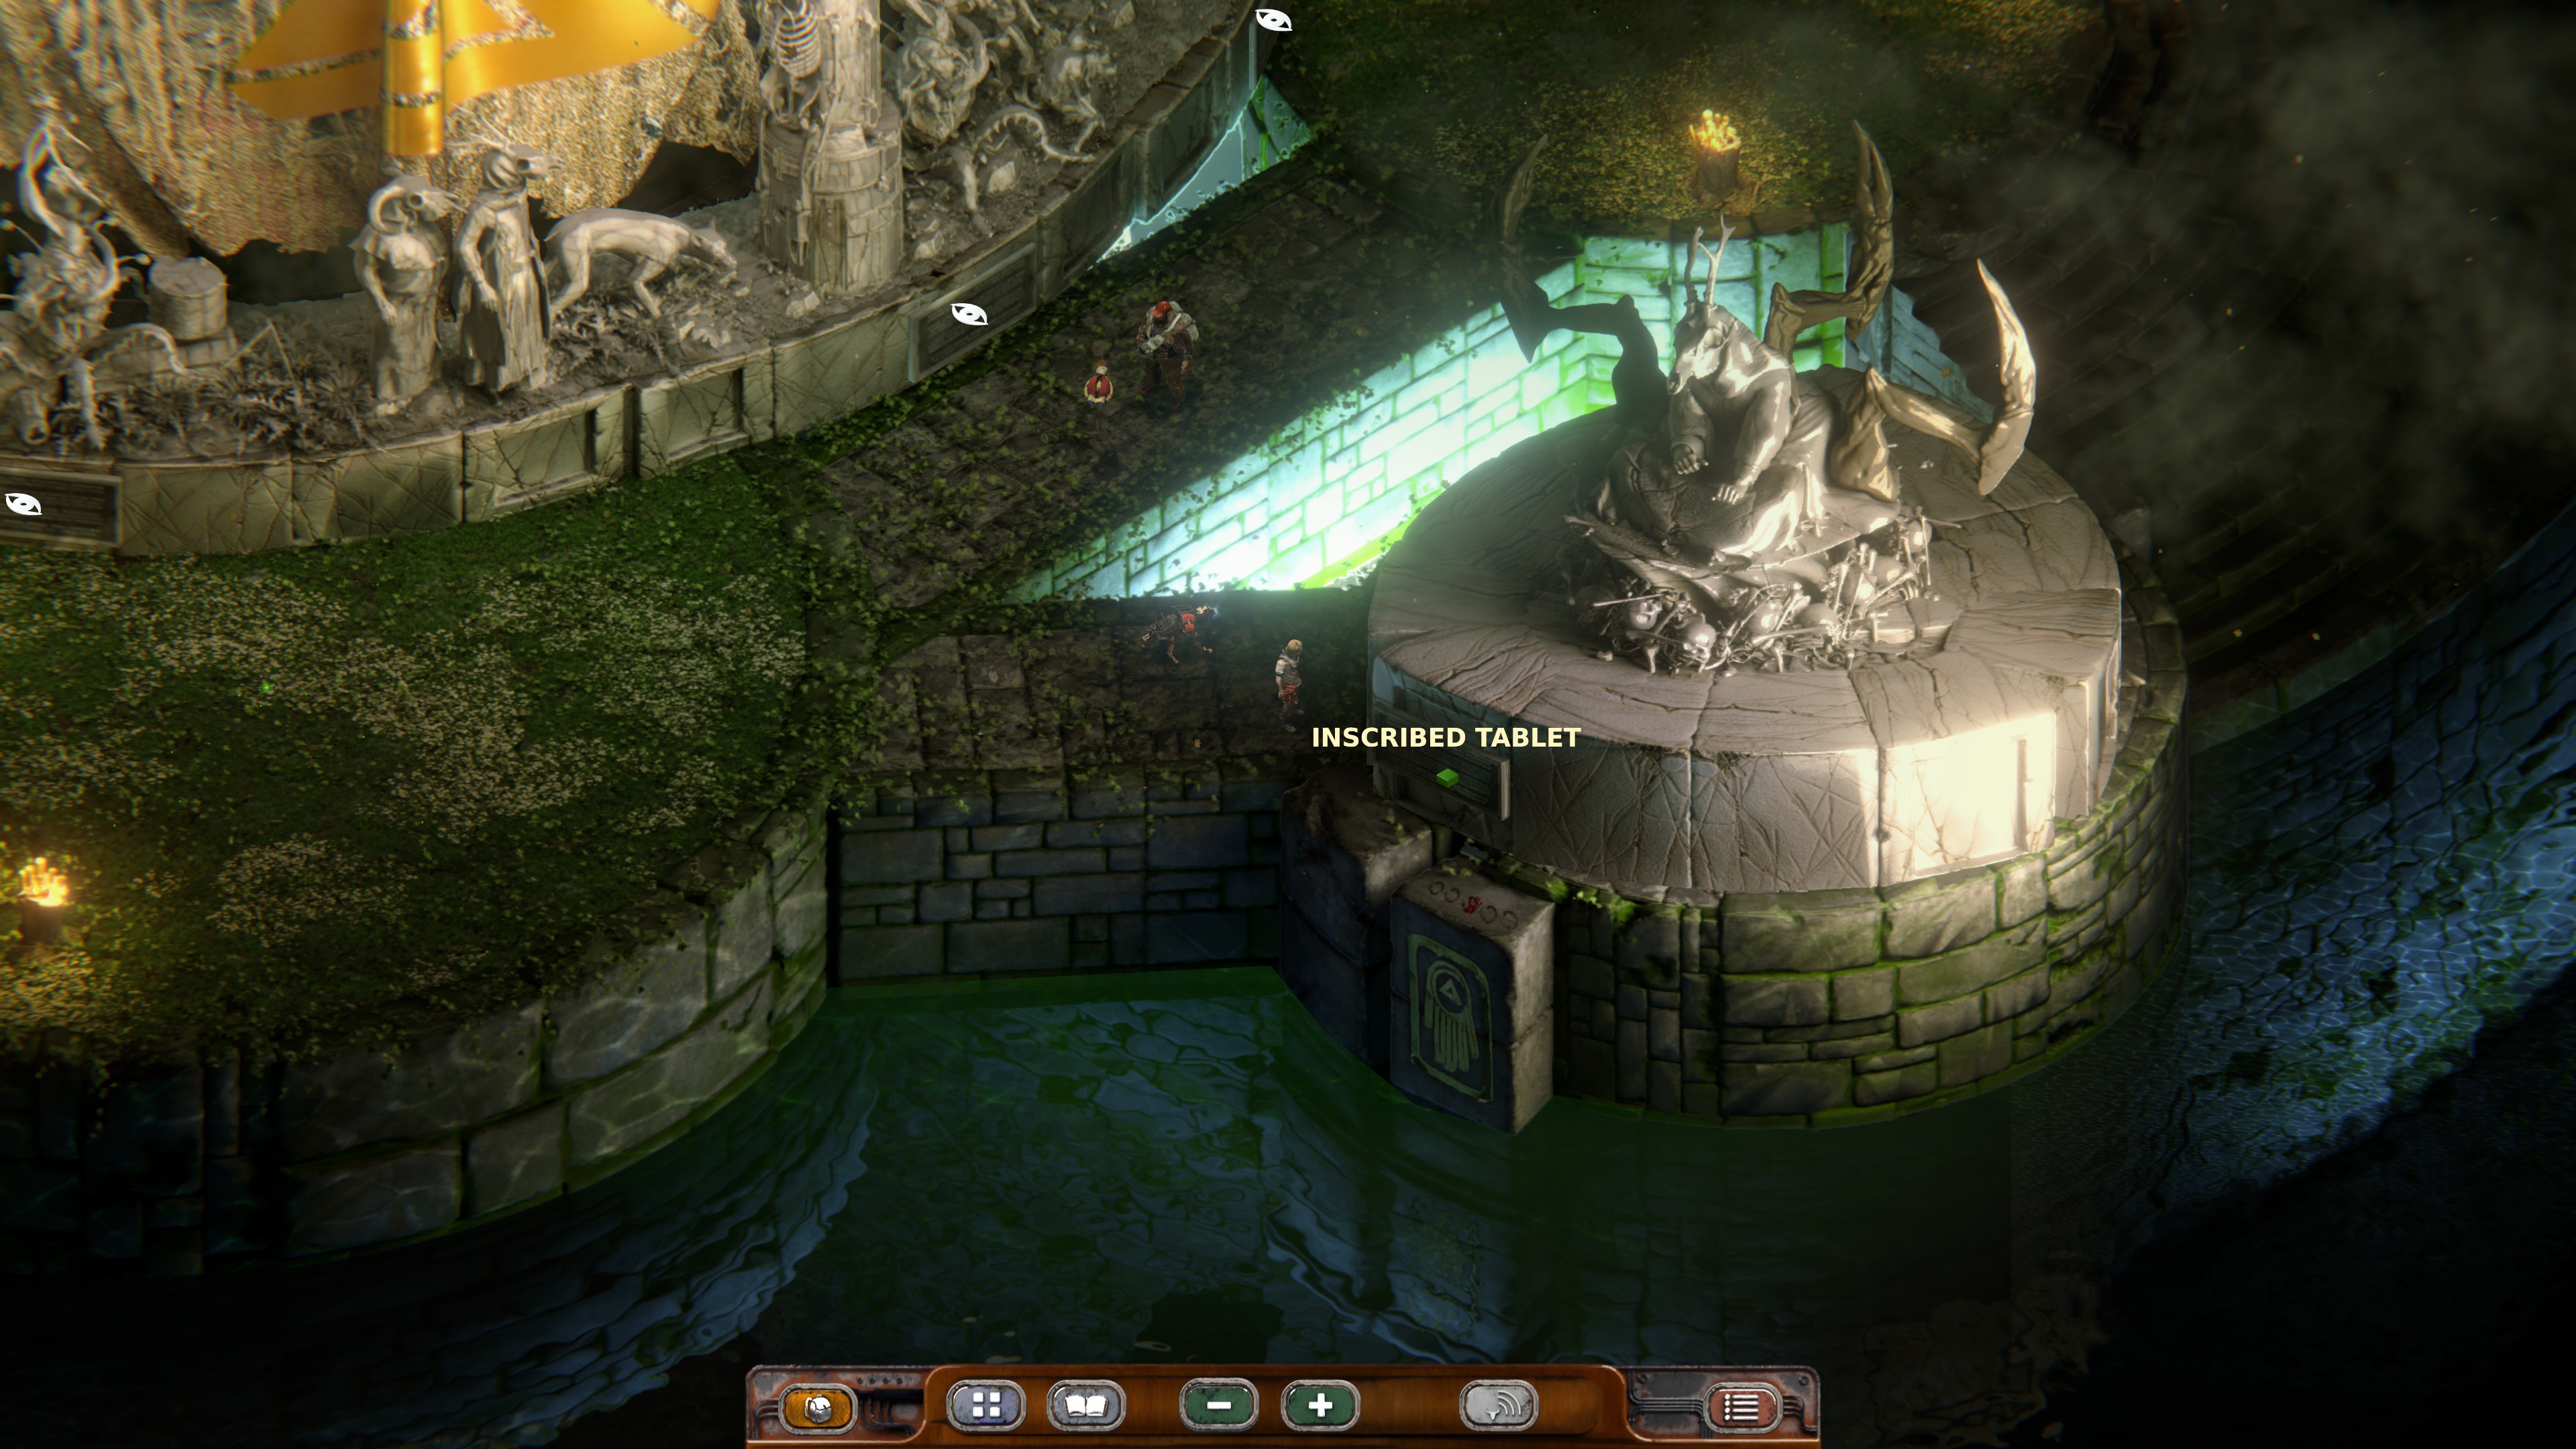
Once you’ve finished the game at least once and got all the Symbols for the Temple-related Secret together from the 5 different Endings (or once you’ve looked them up) head to the Hanging Nexus in Zozo, walk North to the Reclaimed Nature section and you will see a glowing piece of rock near a Rock Outcrop with a “Use” symbol:

Input the Sequence: (1) Sun, (2) Head, (3) Glove (Down), (4) Hand (Up), (5) Burning Man and hit “Visit the Penrose” for a short fourth wall breaking talk.
