Overview
Most of them are very illusive and you wonder why you managed to finish the game without getting more than like 1 or 2.
About this guide
I haven’t got all of them myself here on PC out of lazyness, but i managed to do on the consoles and i believe they work just as the same here. I’ll update the guide along the way as it’s required to do so.
PS.: Egg Reverie Zone has no specific achievements attached to it
Translated versions!
If you have / plan to do a translated version of this guide, yes, you can. Feel free to contact me if you want me to create an icon just like this one but with your country flag.
Nevertheless, send me your guide once it’s published so i can post it here.
Português do Brasil
[link]
Русский
[link]
Español
[link]
Superstar

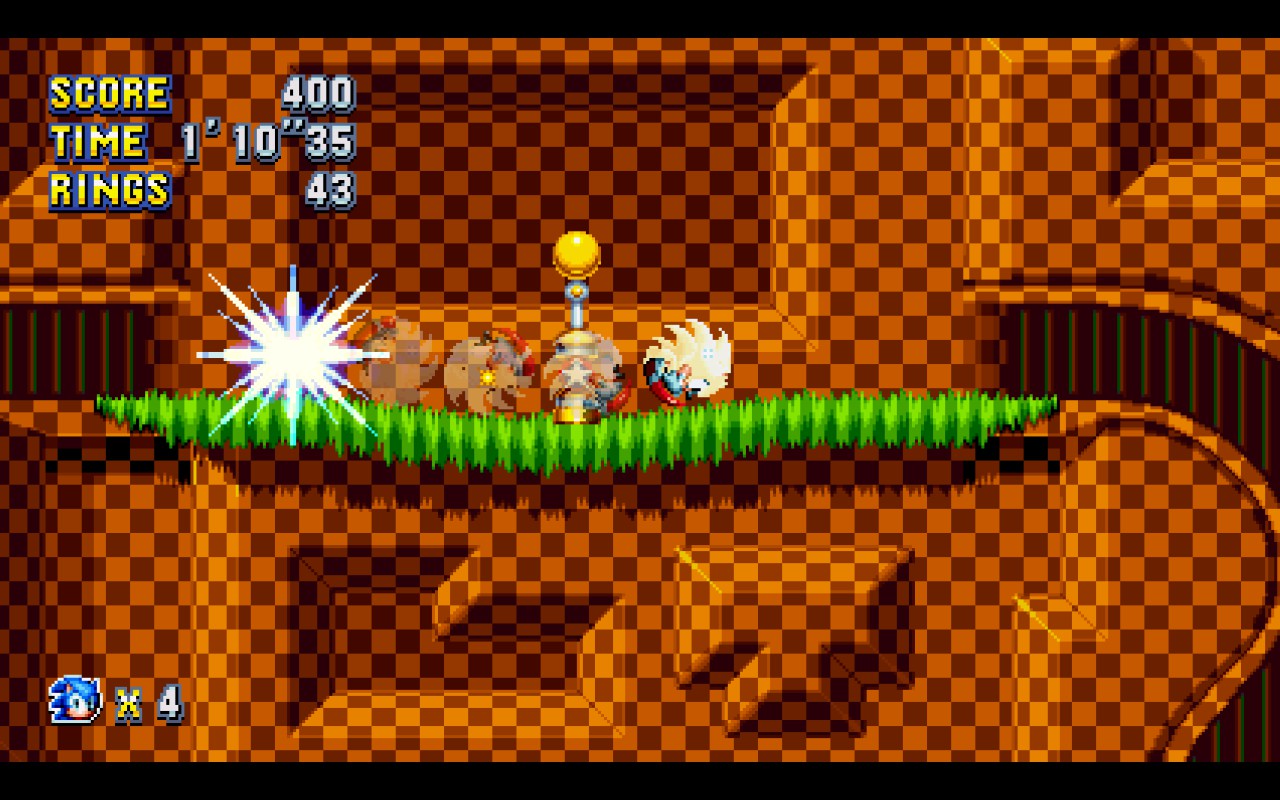
This one makes it looks like the achievement isn’t working. But it’s because they forgot to be specific on the description. You have to go VERY FAST through a star post making it spin 10 times.
Also, if you’re trying to get this achievement, DO NOT jump into the pole stars until it has finished spinning or it won’t work.
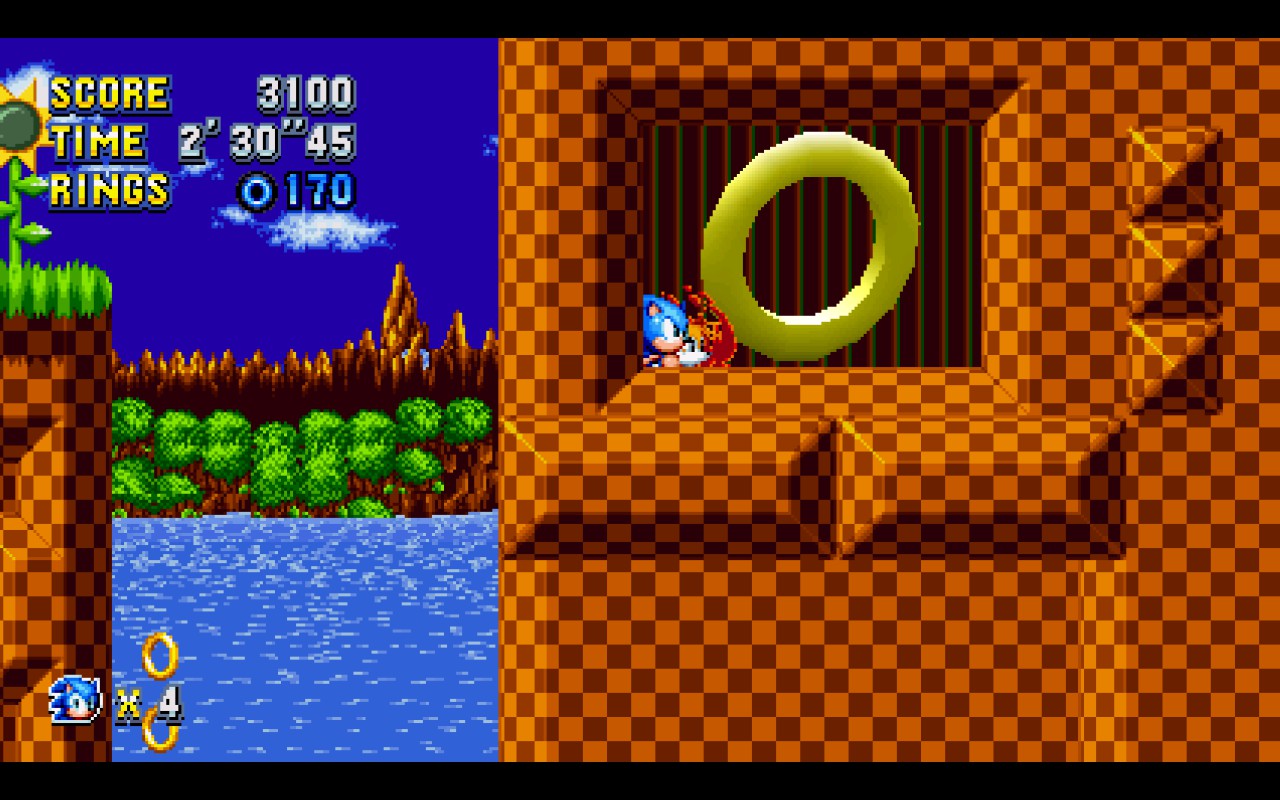
My recommendation is to attempt with THIS starpole on Green Hill Act 1. It’s right after the first one you find, and between two “S” tunnels.
Doing it with a Super character will make it easier as well, since the pole will spin more when more speed is applied to it.
That’s a Two-fer

Whenever you finish an act that has a Goal Plate which falls from above, people used to Sonic 3 (& K) already know you can bounce it around a little and sometimes when it hits the ground, a monitor pops out.
That’s what this achievement is about. There are 2 monitors hidden on each of those sections. If you manage to get BOTH out before the goal plate falls elsewhere and the act ends, you get this achievement.
These are the positions for the Green Hill Act 1 monitors.
Thanks Mama Bird for sending me this screenshot.

See You Next Game

Simply put, just finish the whole game with any character and any ending and you’ll get this during the final cutscene.
Sonic Bad Ending
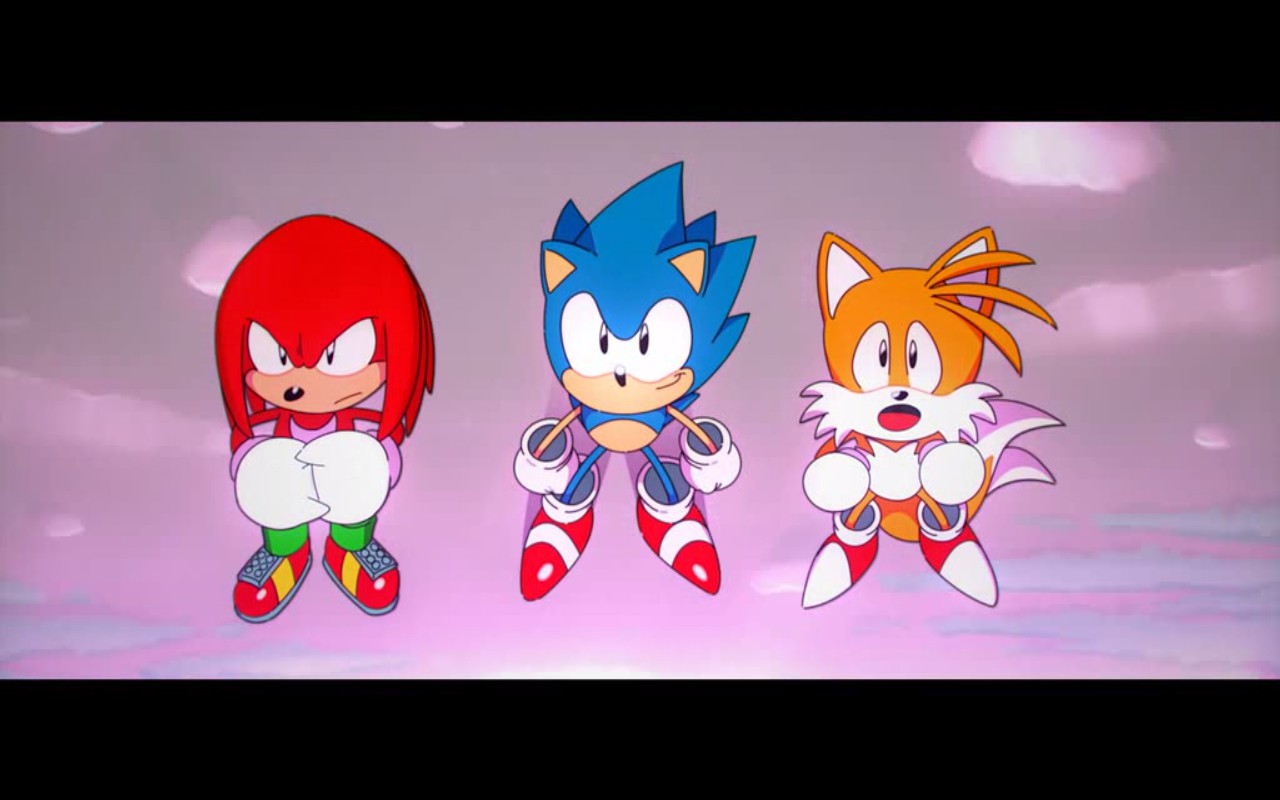
Tails Bad Ending

Knuckles Bad Ending
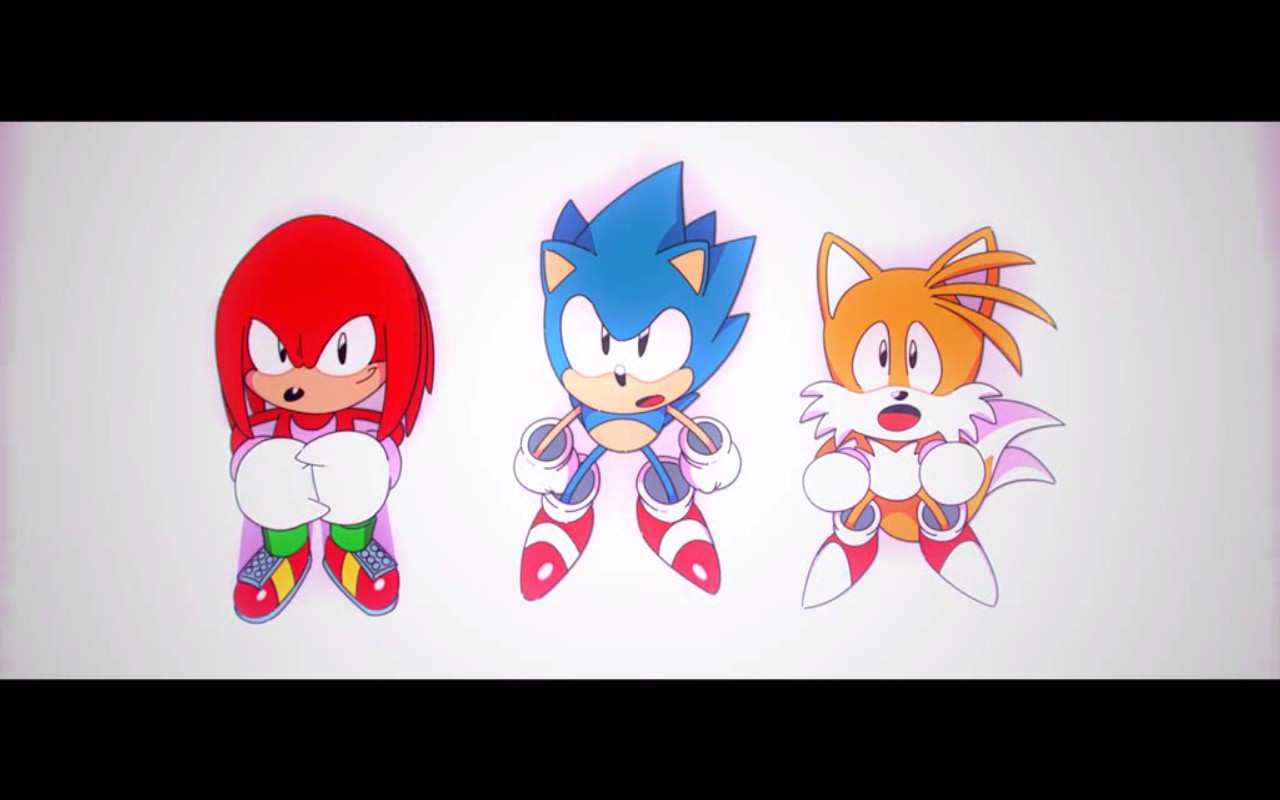
Super Sonic Good Ending


Magnificent Seven

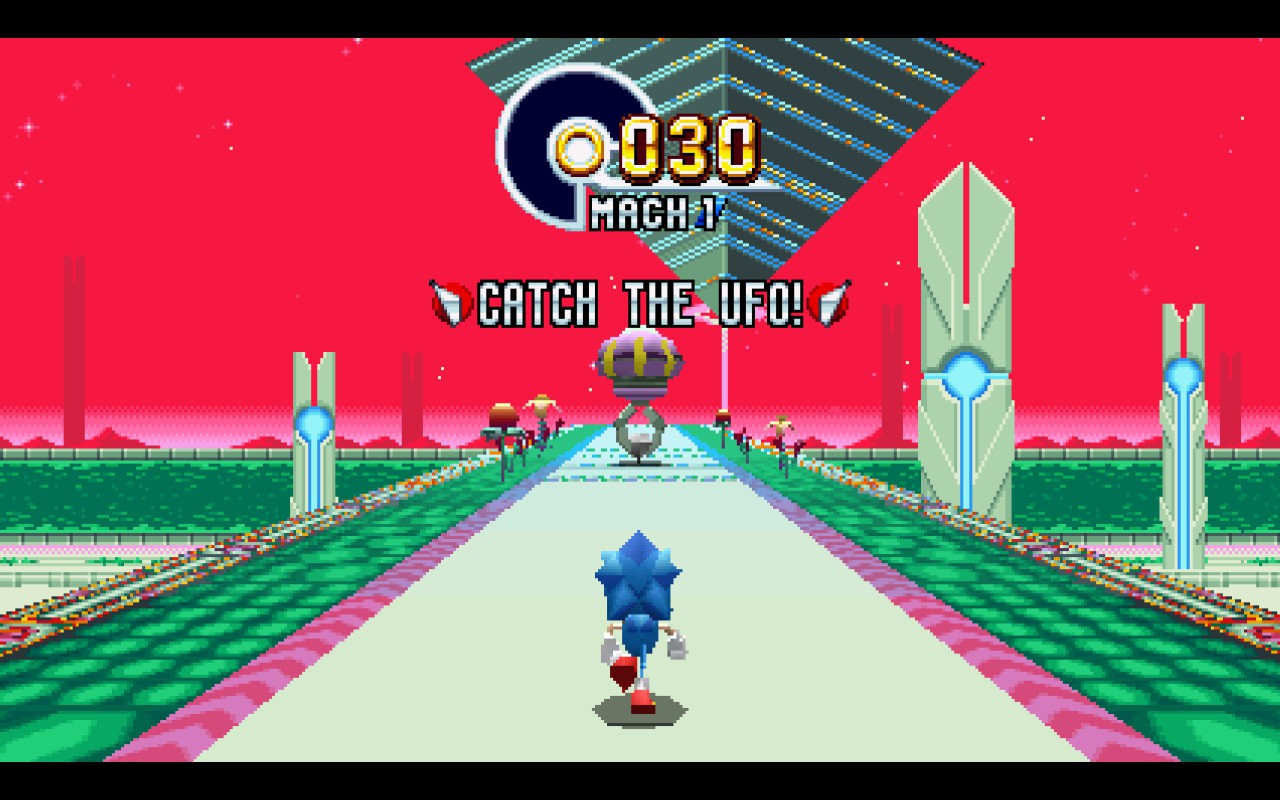
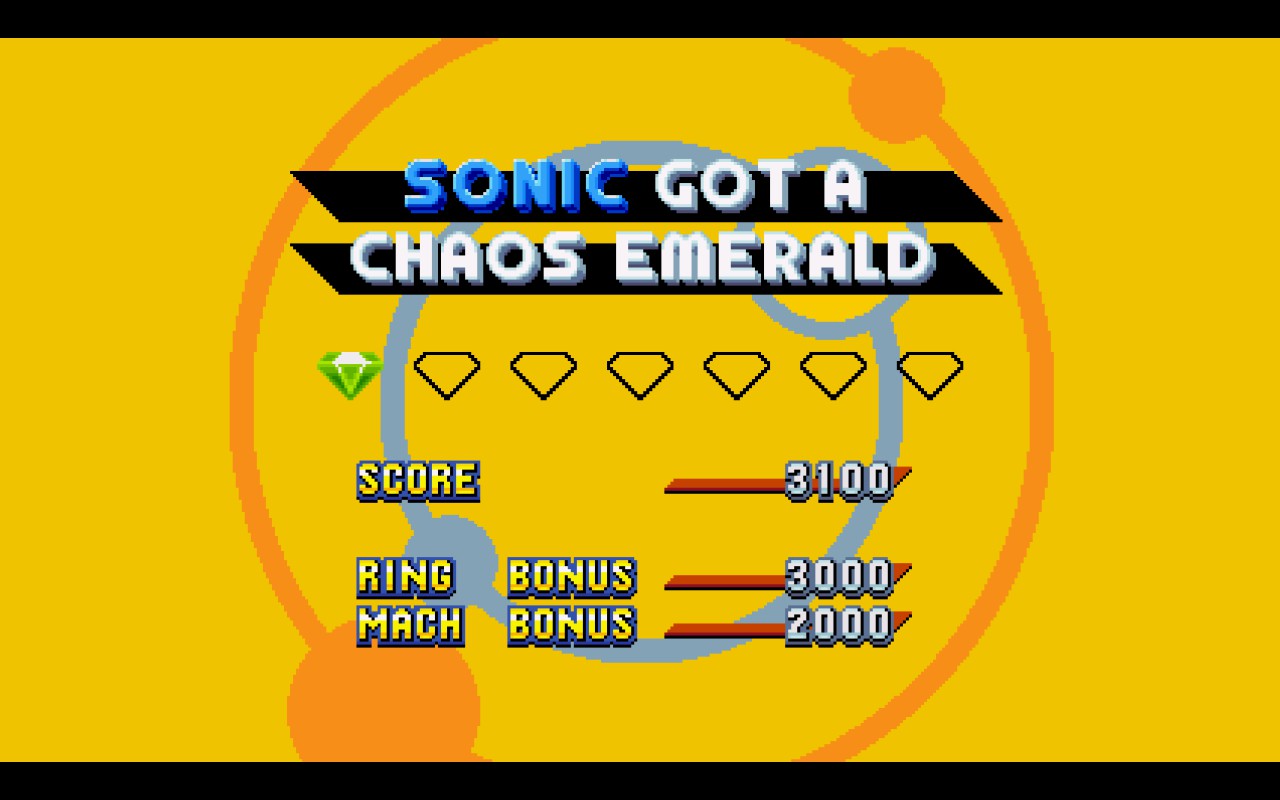
GLORIOUS SEVEN, even! *ahem*. Find a few of the giant rings, each zone has at least 1, and a few of them have 5! Try your chance on the UFO Special Stages (NOT Blue Spheres!) and get all the emeralds. This not only unlocks this achievement but also unlocks Super Sonic / Super Tails / Super Knuckles depending of which main character you’re playing as. The A.I. controlled Tails doesn’t transform, though.
After you finish the game, you can select any stage you want on that same save slot. I recommend following this guide to learn an easy way to get access to a big ring fast:
[link]In case you don’t feel like doing this “legit”, the “Developer Menu” allows you to easily access every single special stage anytime. But it kinda kills the propose of the challenge. I’m just leaving this here because i know people would post it on the comments:
[link]Full Medal Jacket

This is the second hardest achievement in the game for me.
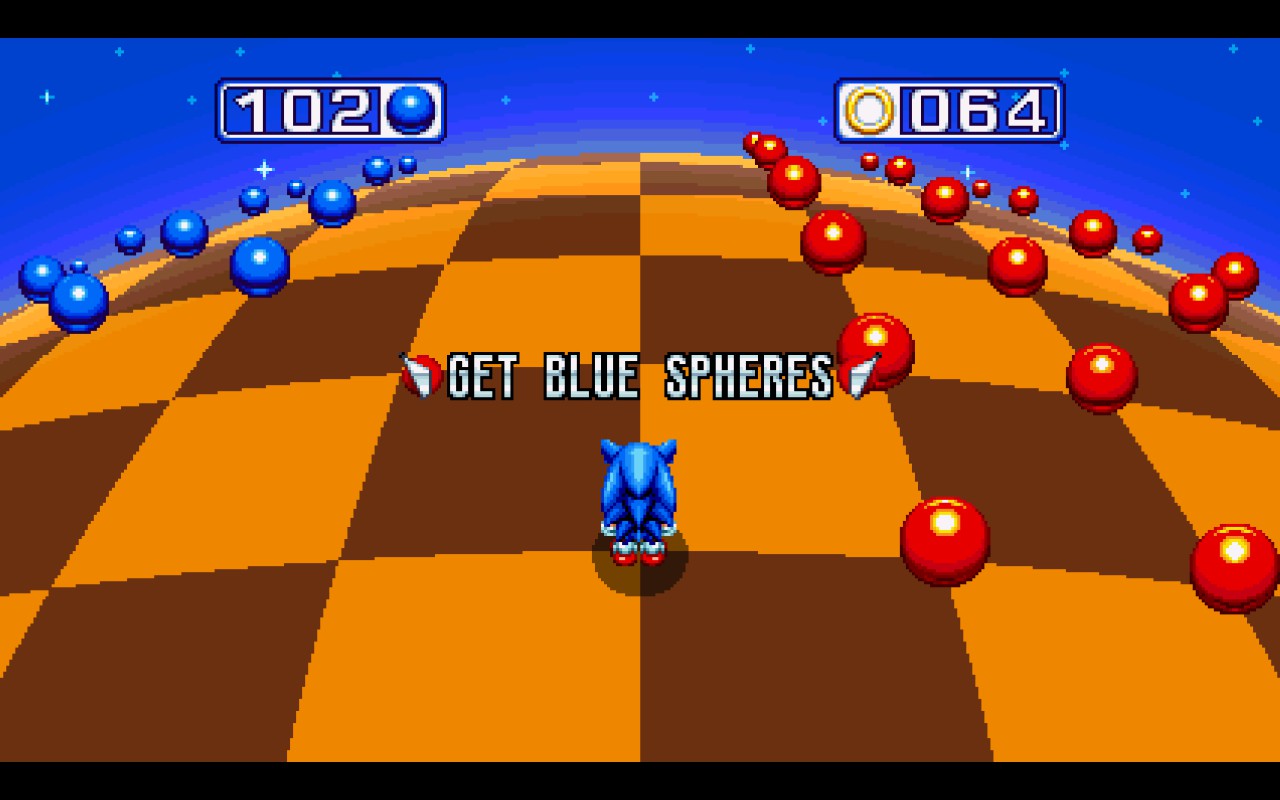
Touch any star pole on any zone when you have at least 25 rings and a star cloud will appear on top of it. Jump in to get to the Blue Spheres stage.
As pointed by Final in the comments, the good thing about the starpoles is: Once you come back from one, every single other pole in the stage will be “usable” again, even if you’ve already entered previously.
If you’re playing as Tails, check this guide for a tip to quickly switch between two starpoles that are very close to each other:
[link]If you’re not, then just use the Green Hill Acts 1 e 2 starpoles (I’m not embedding these due to the fact the guide has already too many videos embedded):
In case you’re not used to Sonic 3 (& K), your character runs automatically while all you do is press left / right to change its directions (UP also works to get back to the track when a star ball bounces you off moonwalking) and you can also Jump. if you press the jump button at the right time and hold it, you can jump over 2 spheres even.
Collect all the Blue spheres, making them Red, then don’t touch them anymore. If this achievement is the only one you’re aiming for, don’t bother collecting rings, as they are not required. focus on getting to all the blue spheres without touching any red ones, and you’ll get a Silver medal once the number of blue spheres on the top left has run out.
PS.: The Gold/Yellow Spheres are safe to touch, but they will spring you off very fast ahead, making you touch a red sphere if you’re not careful! Whenever you touch one, keep your eyes on the road and prepare to react within less than a second if necessary.
Now, keep doing this over and over. There are a total of 32 different Blue Spheres stages, but dont worry about wiping your save, the Medals are stored regardless of save. You can check yours on the “EXTRAS” section of the main menu.
Once you collect all of them, you get this achievement. This may take a while.
If you do it right, all the spheres will become rings and be automatically collected even if you ignore the rings.
(Thanks Reince Priebus for pointing me out my mistake on these last two pharagraphs)
Also there are a few other uneven formations that are not squares but can still be turnt into rings if you keep touching the borders only.
I’ll later post a guide explaining all of this in detail, but you can find that info easily on the internet.
No Way? No Way!

If you thought the getting all the Silver medals wasn’t hard enough, try your hands on this one.
Same rules as above. Get 25 rings, Star Post, Jump in to Blue spheres.
Before attempting this challenge, i recommend you to:
- Get used on how the Blue Spheres work;
- Get perfectly used on every single possible format of spheres you can turn into rings and the ones you cannot;
- Get used to avoid a few traps;
- If possible, get used to the specific stage in hand you’re trying to achieve the gold medal;
- Train yourself to react fast;
- Remember you gotta collect the rings BEFORE collecting all the spheres, so leave at least a 2×2 square or a non-square line of blue spheres for LAST;
It may confuse a lot of people if they leave a large square for last and try to turn them into rings. sure you get all the blue spheres but the rings are left behind, as the game forces the special stage to end and you get a Silver Medal. And if you DON’T turn them into rings, you also get a Silver Medal.
This also happened on the old Sonic 3 (& K) The only difference being: If you finished the stage you’d get an emerald regardless, but finishing as perfect would give you a “Perfect Bonus”.
This may get frustating down the road, but just keep trying and you’ll eventually get it.
Different than the original Sonic 3 (& K) games, The rings counter shows how many rings you need to find, just like the blue spheres. Once it goes to 0, you get this “PERFECT” message then you’re allowed to collect any left over blue spheres to get your Gold Medal
PS.: You get nothing if you touch a Red sphere, even if you have already got the “PERFECT” message.
Also as reminded to me by Jamos05, if you get a silver medal on any stage, you cannot attempt gold for the same stage until you clear every single other of the 32 stages, either by silver or gold medals. Then when you enter on it again, it will replay ONLY the ones you’re missing gold medals on.
Now It Can’t Hurt You Anymore (Green Hill Zone)

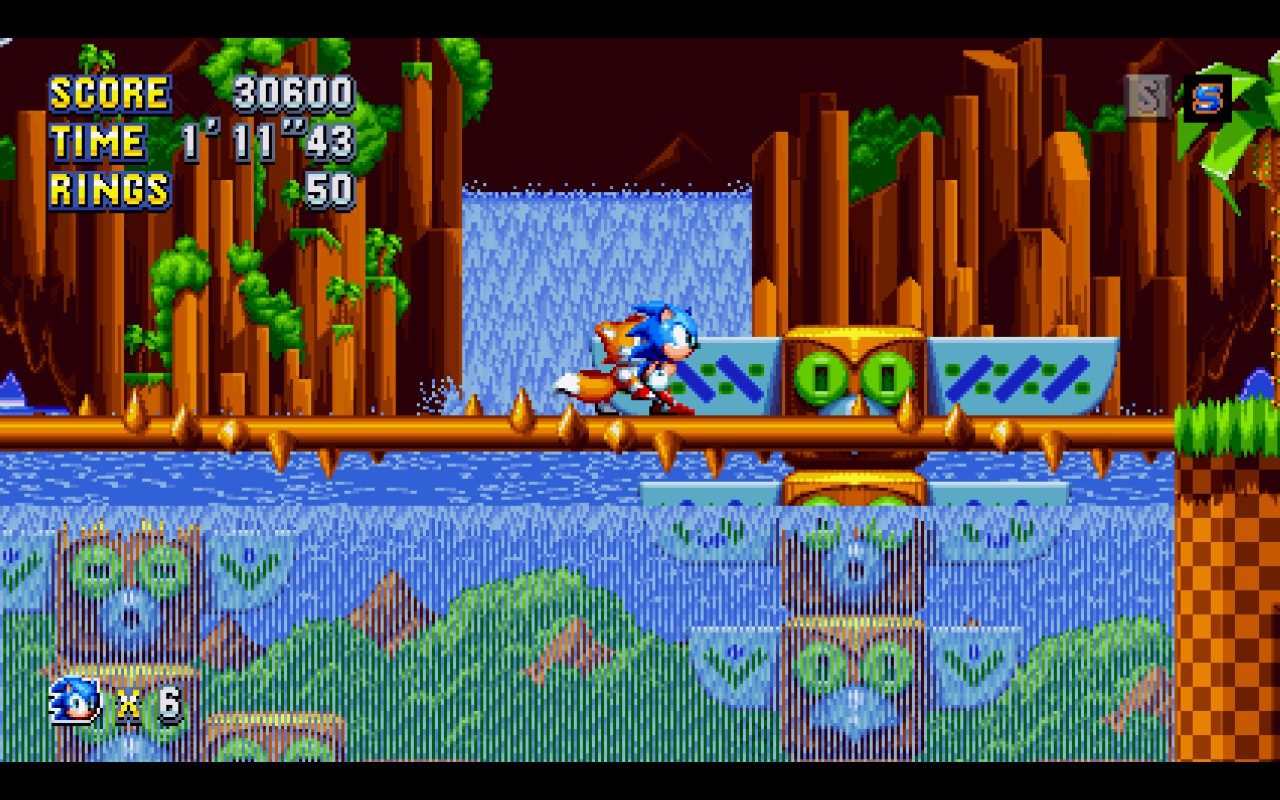
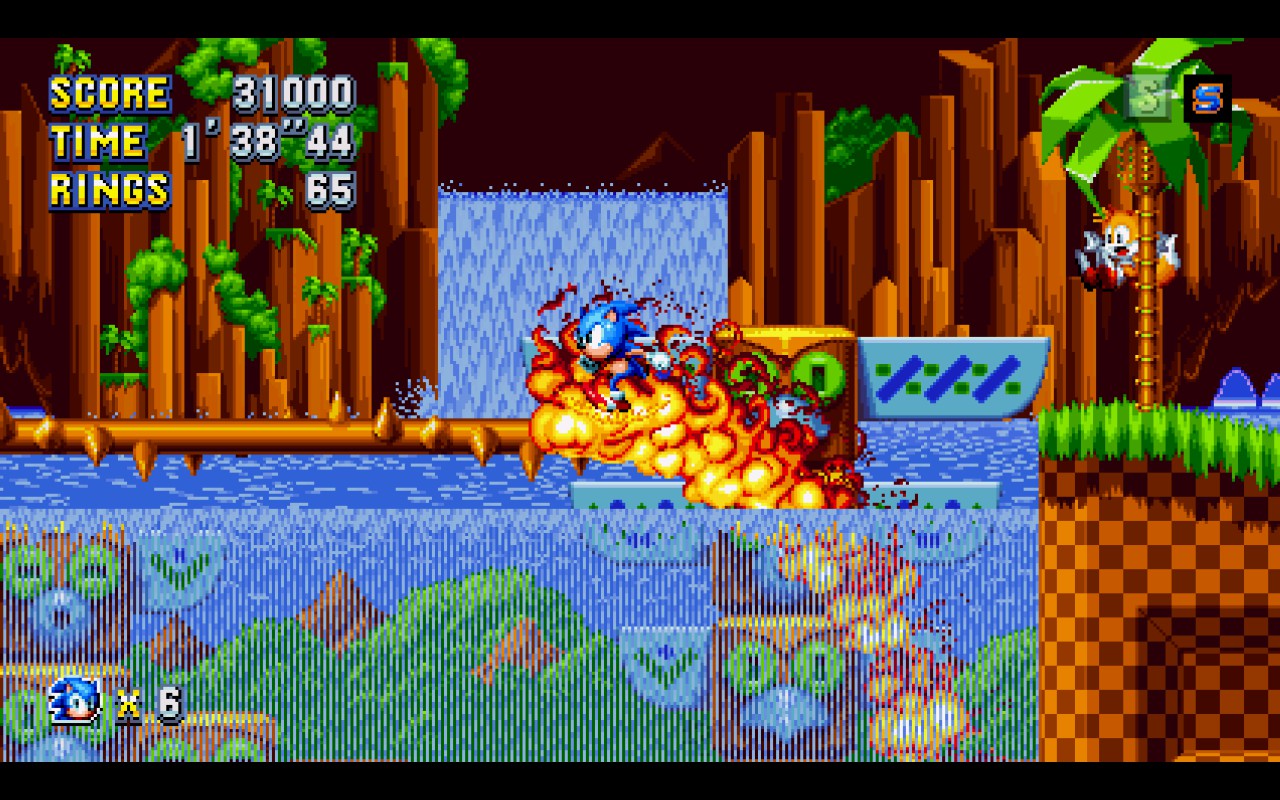
This one is quite simple and you probably already got it by accident. On Green Hill Zone – Act 2 There’s a part with that bridge with spikes that spin around making it hard to cross if you’re not careful.
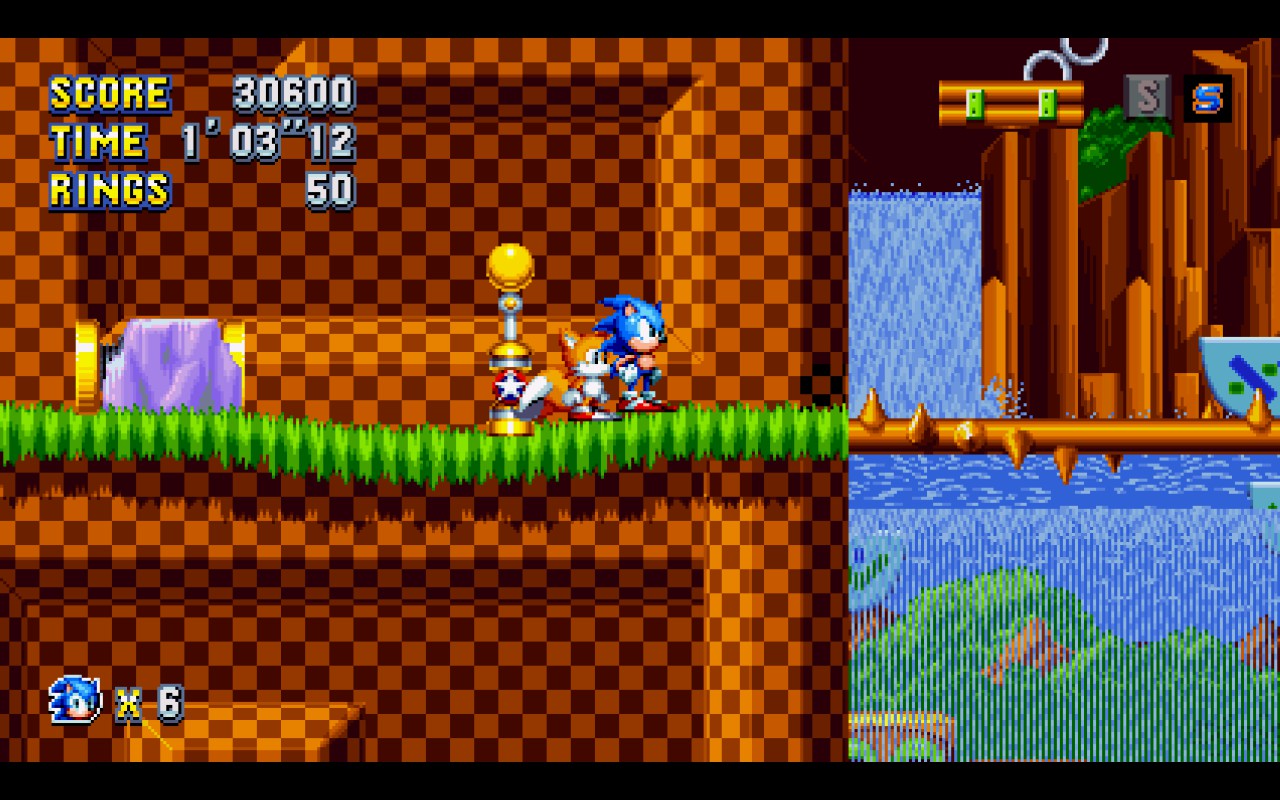
Cross the bridge and you’ll eventually find a Fire shield monitor behind a waterfall it’s on plain sight, hard to miss. Get the fire monitor and go back to said bridge and touch it anywhere with the fire shield on. You’ll burn the bridge down and get the achievement.


Triple Trouble (Chemical Plant Zone)

The image in the achievement is a bit misleading, but at least tells you the correct zone. At the end of Chemical Plant Zone – Act 2, you’ll find a very unusual boss battle ( Puyo-Puyo / Dr. Robotnik’s Mean Bean Machine ).
Also, as reminded by cinemamonster on the comments, There’s also a hidden Puyo Puyo minigame which is unlockable if you manage to get at least 20 medals total, either gold or silver. This achievement also works in there.
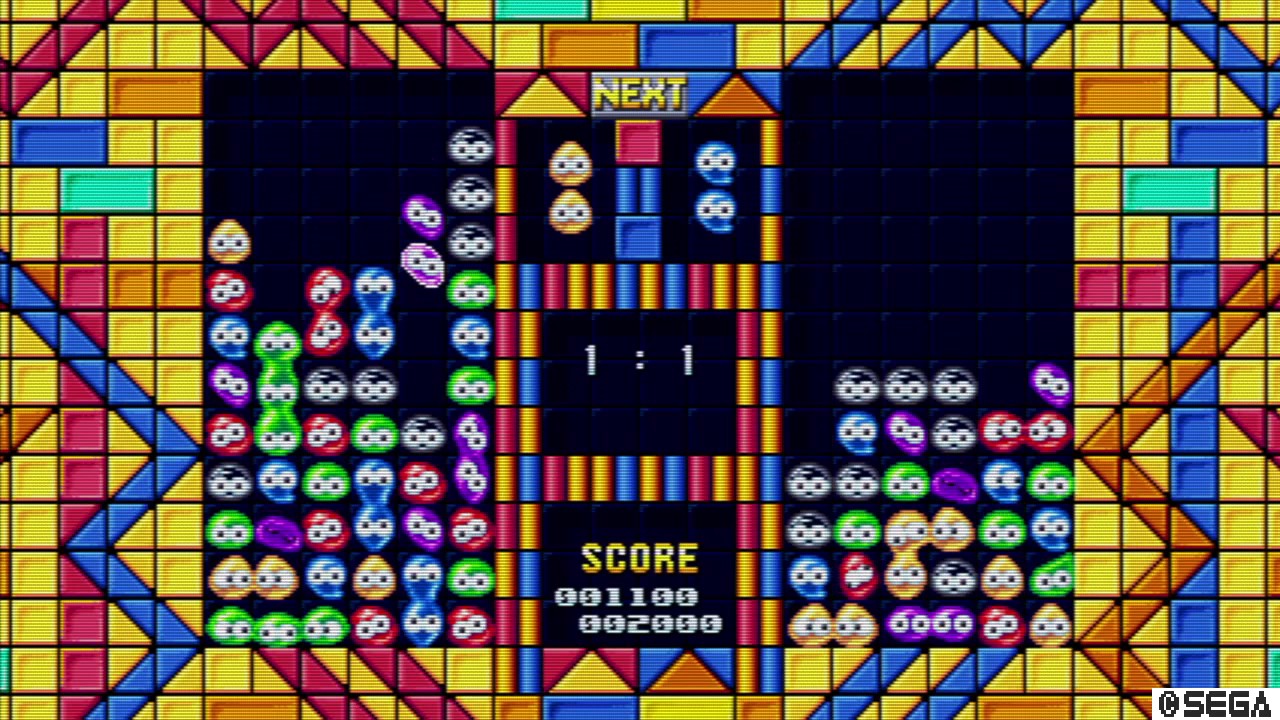
Puyo-Puyo isn’t exactly like tetris, there are a few differences. You can check this following guide or video to learn more about it:
[link]I highly suggest you watching the video because this achievement requires you to know how CHAINS work.
That said, just get a 3 chain combo on the Puyo Puyo boss.
Here’s a video made by https://www.youtube.com/user/Shadiochao/:
His combo happens during 0:30 of the video, and it’s not a triple but a quadruple combo:
Fun fact: There are actually a range of other “advanced” methods to play, if you’re really curious you can check them at https://www.youtube.com/user/SegaAmerica/search?query=Puyo+Puyo.
The Most Famous Hedgehog in the World (Studiopolis Zone)

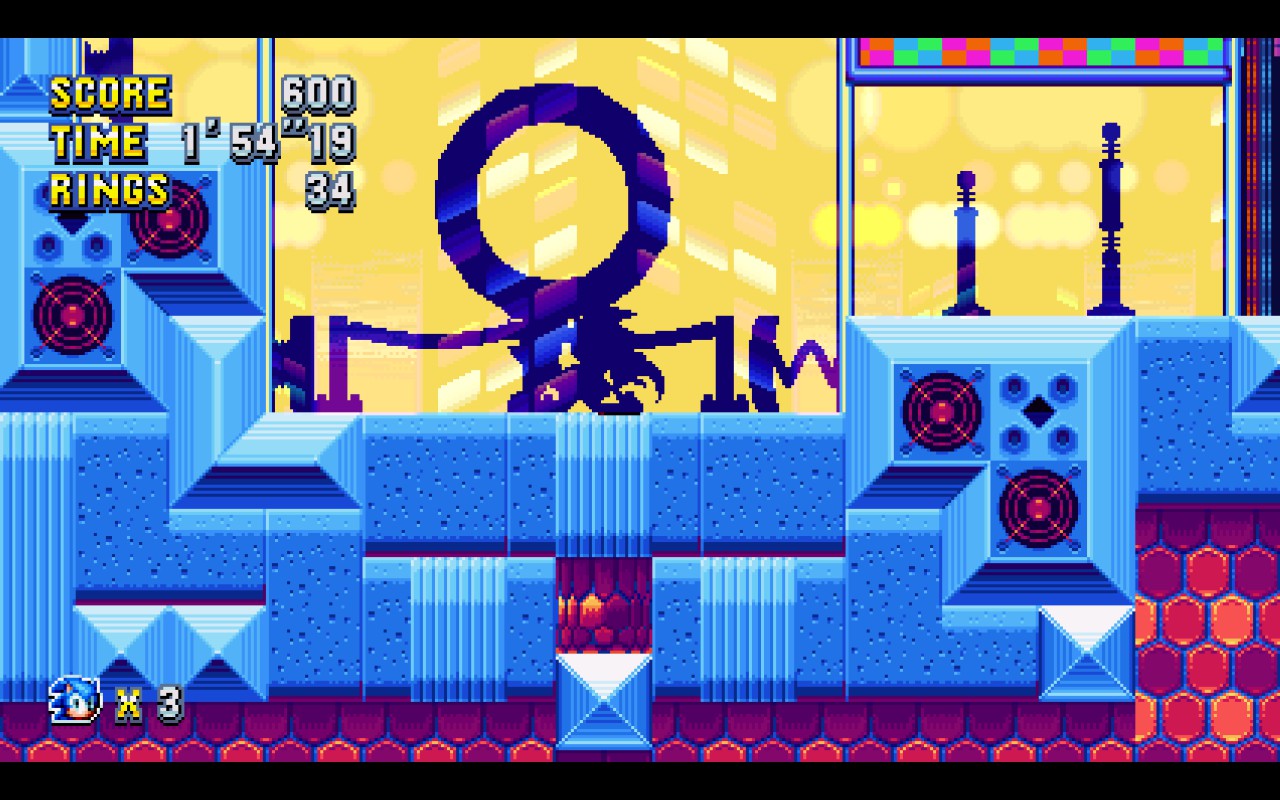
This is quite simple. Anytime during the Studiopolis Zone, you’ll eventually find a badnik that flies around taking pictures, and dispite my previous statement, it does indeed attack.
Try to find a spot where it can’t reach you like in this picture and let it take about 10 pictures of you without moving and you’ll get the achievement.

Yeah, you can get this one with Tails and Knuckles as well, dispite the achievement name.
Window Shopping (Flying Battery Zone)

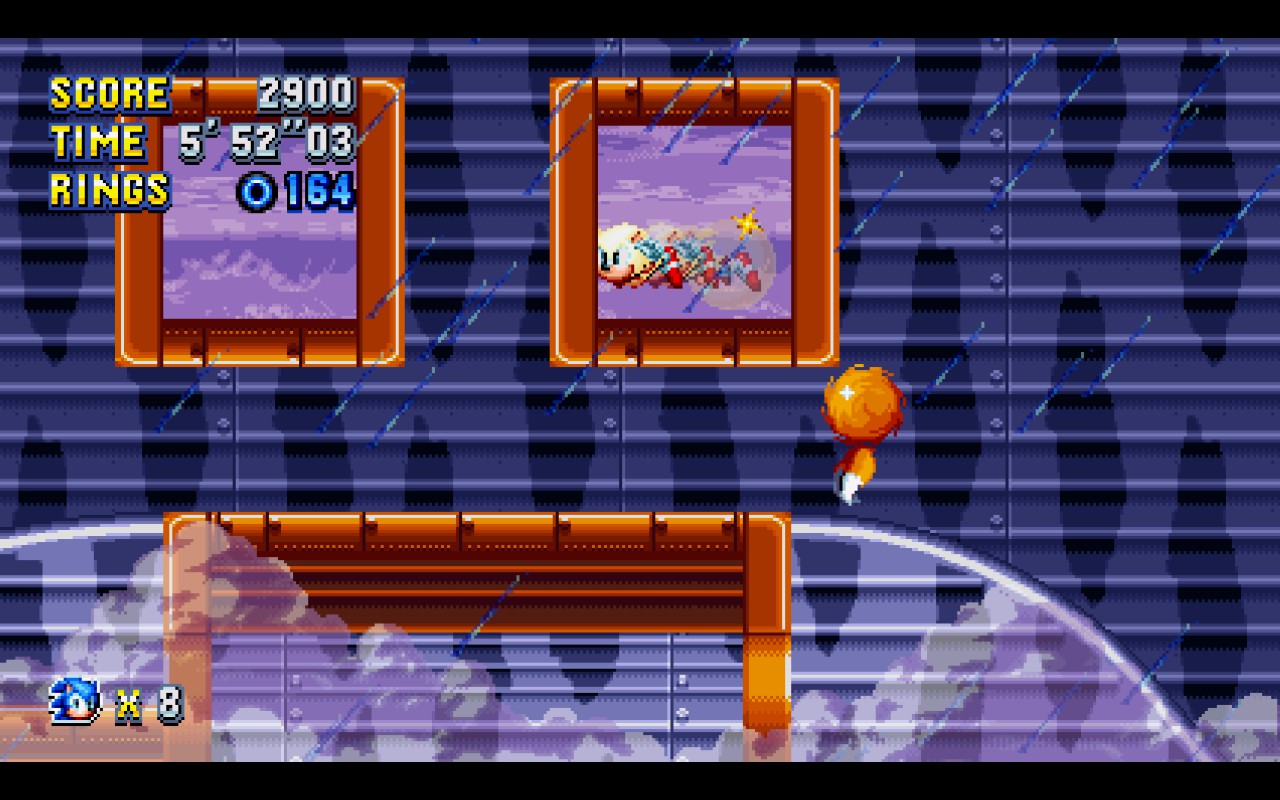
Go to Flying Battery Zone – Act 2 and remember to always take the upper route possible and you’ll eventually come to a set of two windows jump on either and you’ll come back through the other one, giving you the achievement.

Here’s a video made by https://www.youtube.com/user/Shadiochao/:
Crate Expectations (Press Garden Zone)

On Press Garden Zone – Act 1, there’s a part where you can find a Fire Shield monitor. You can use the fireball ability (press jump twice) to smash any crates with a orange-ish border.
Smash the crates right next to that monitor and you’ll enter a small alcove where you can also smash other crates to find a ring monitor and a spring. Somewhere during this proccess you’ll get this achievement.
Here are a few images in order showing the path you must take under Act 1 to get to the said alcove. (Don’t mind about time / rings consistency, these were taken on different runs)
Thanks Zweat for sending me these!


Here’s a video made by https://www.youtube.com/user/Shadiochao/:
King of Speed (Stardust Speedway Zone)

No Sonic game with achievements is complete without an achievement to finish something under a minute.This time on Stardust Speedway Zone – Act 2, you know, the PRESENT version. (thanks Ikagura for the rectification)
Finish that act under 1 Minute to get this achievement. You can Esc > Retry as much as you want. It takes either luck or knowing the stage inner layouts to get to the exit fast. A Super character might also help you since you’ll always be faster in super form.
Here’s a video made by https://www.youtube.com/user/Shadiochao/:
Boat Enthusiast (Hydrocity Zone)

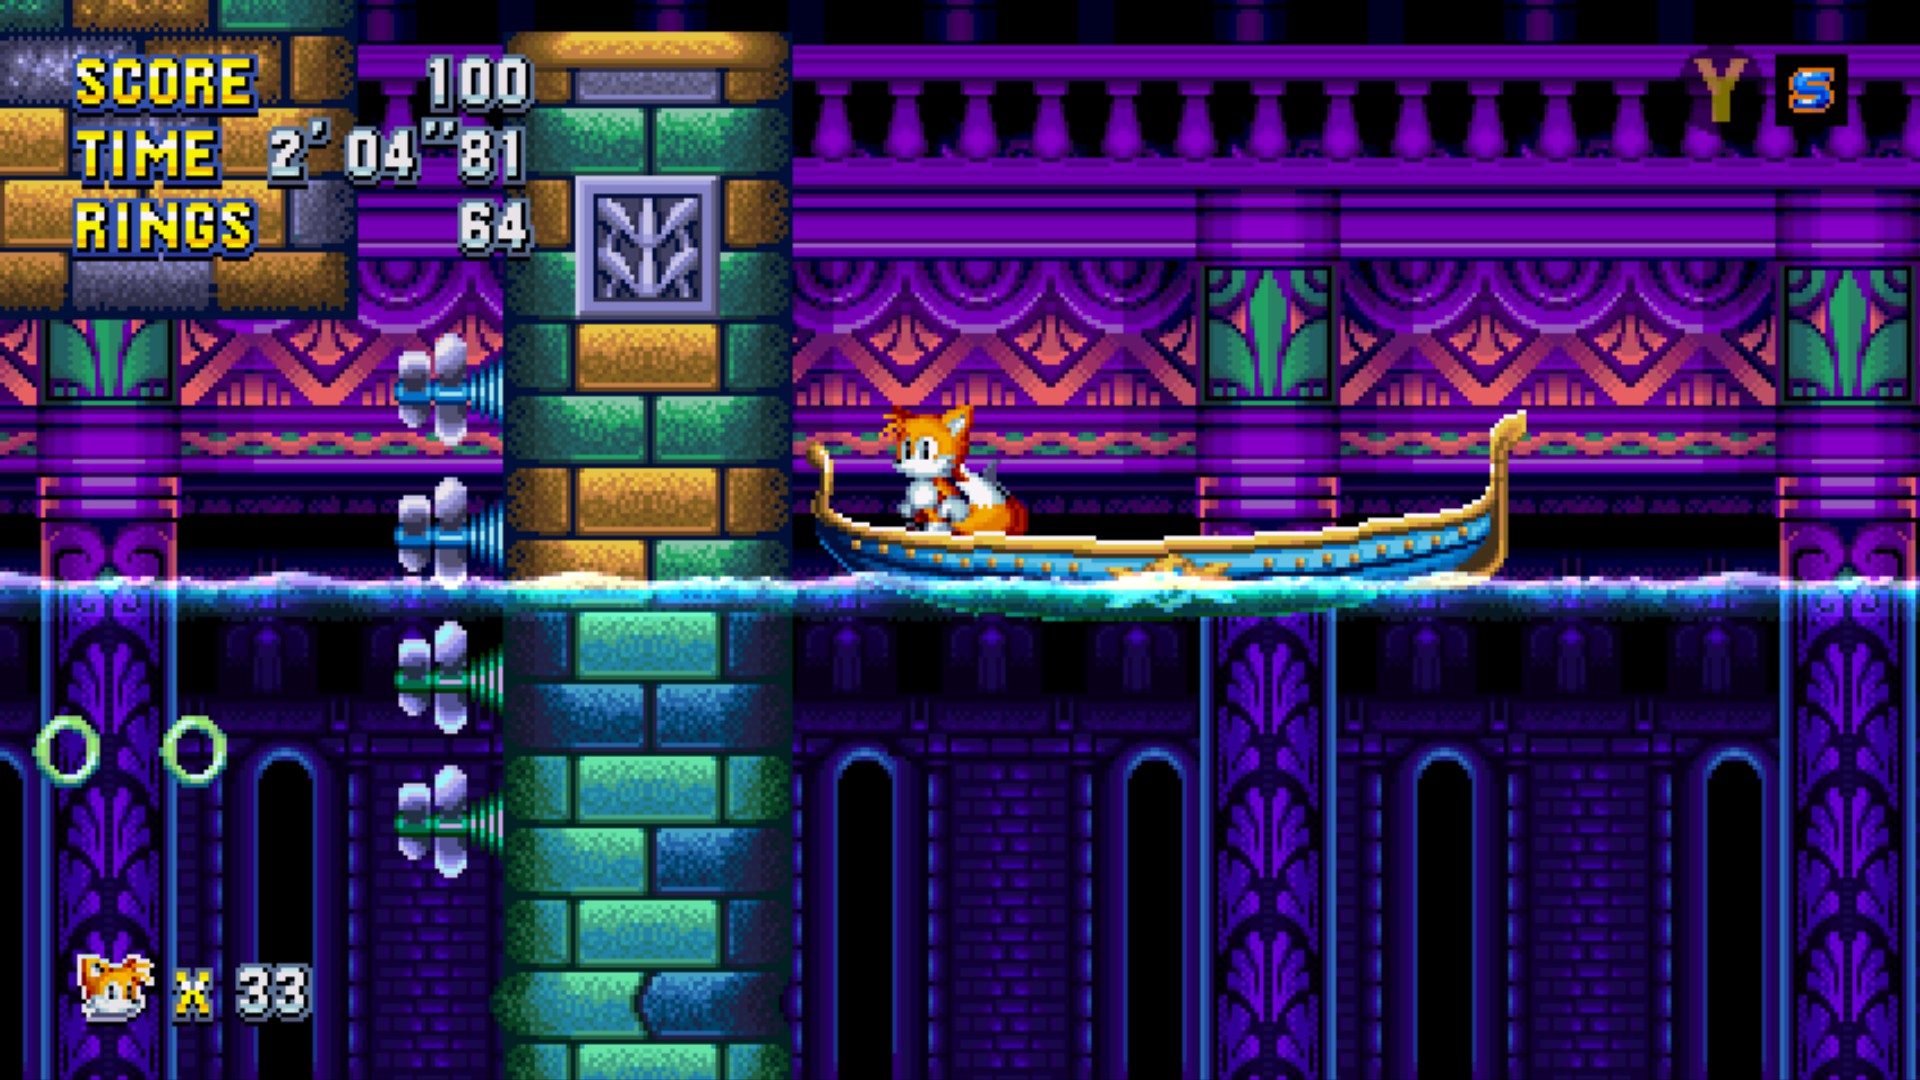
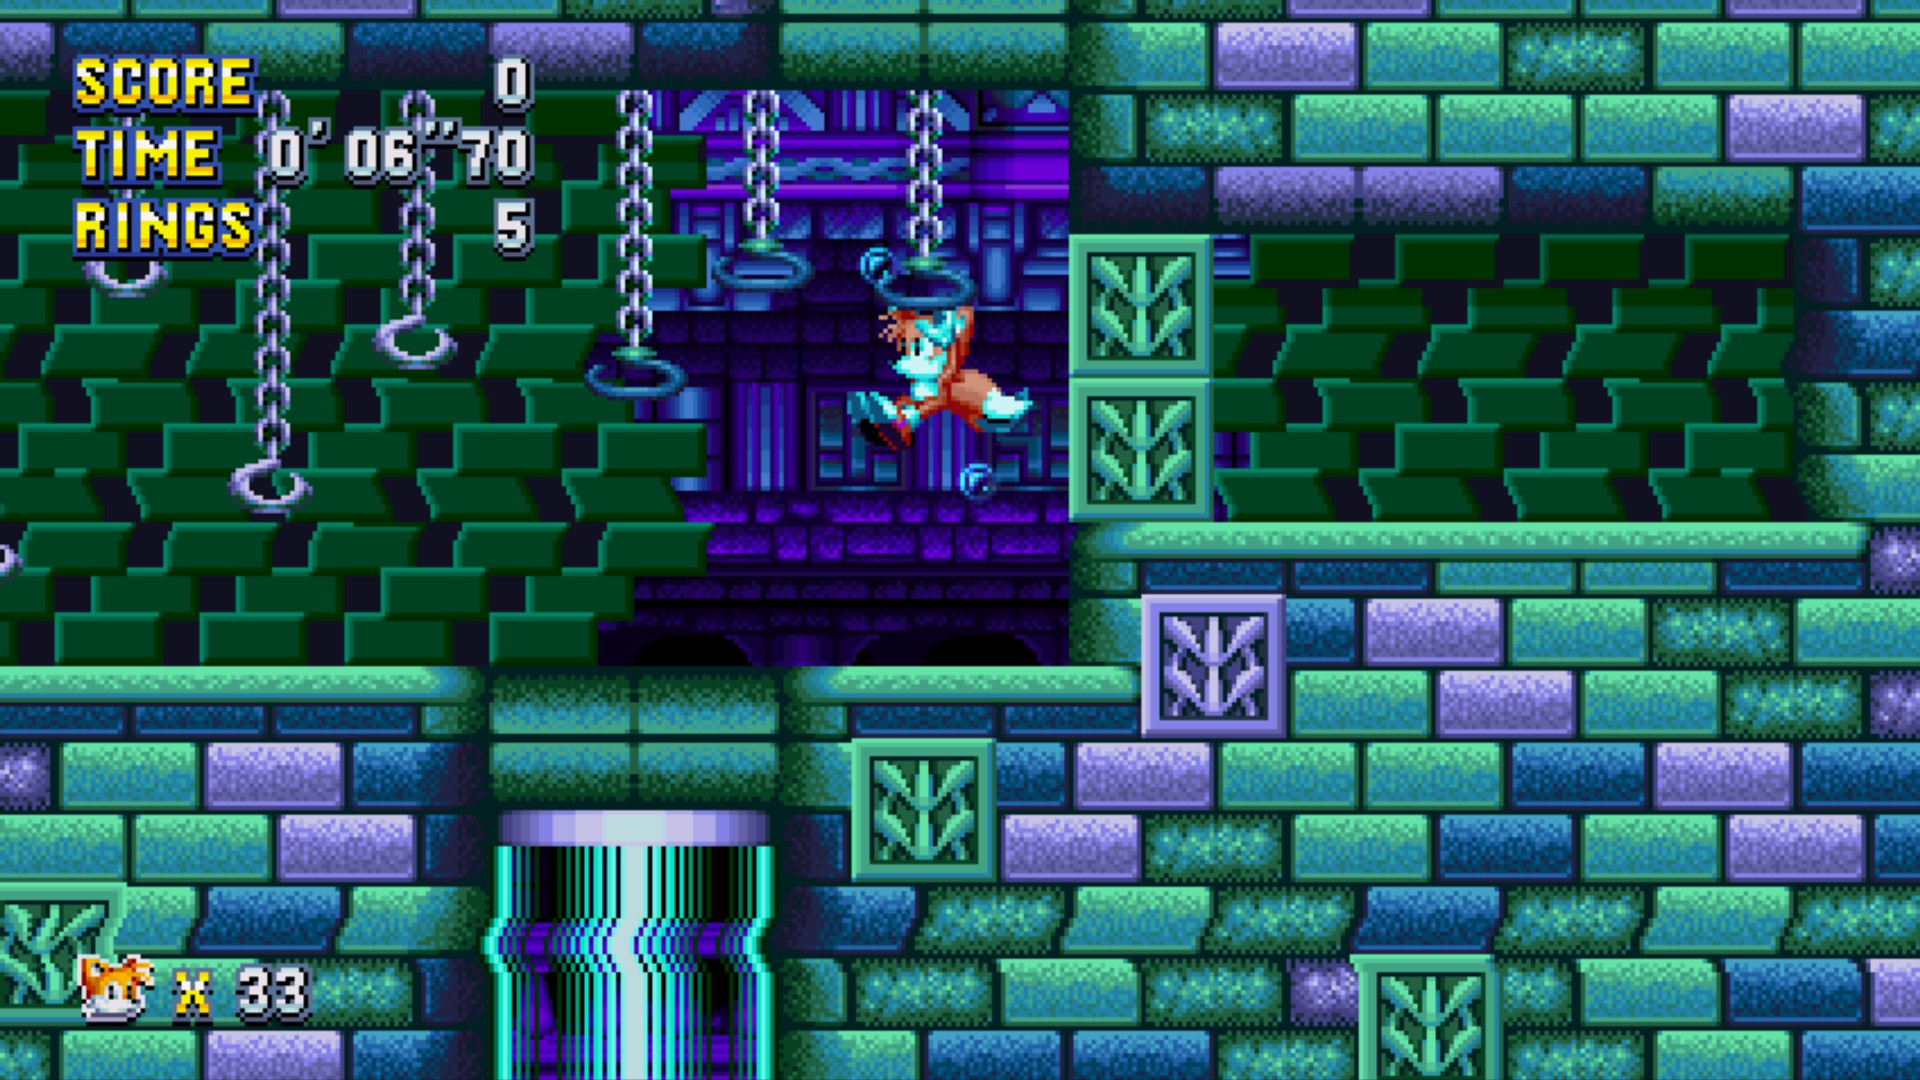
Hydrocity Zone – Act 1 has 4 BOATS hidden within the level. Find at least 3 of them and ride on them. You should trigger the achievement while riding the 3rd one.
Zweat provided these screenshots and video to help us find the path to all 3 boats:


The Password is “Special Stage” (Mirage Saloon Zone)

Right at the beginning of Mirage Saloon Zone – Act 2, you’ll find a giant barrel. Push it away to fall through the floor and ride through Eggman’s cologne to get to a giant ring (even if you have all the emeralds already) and you should trigger the achievement.
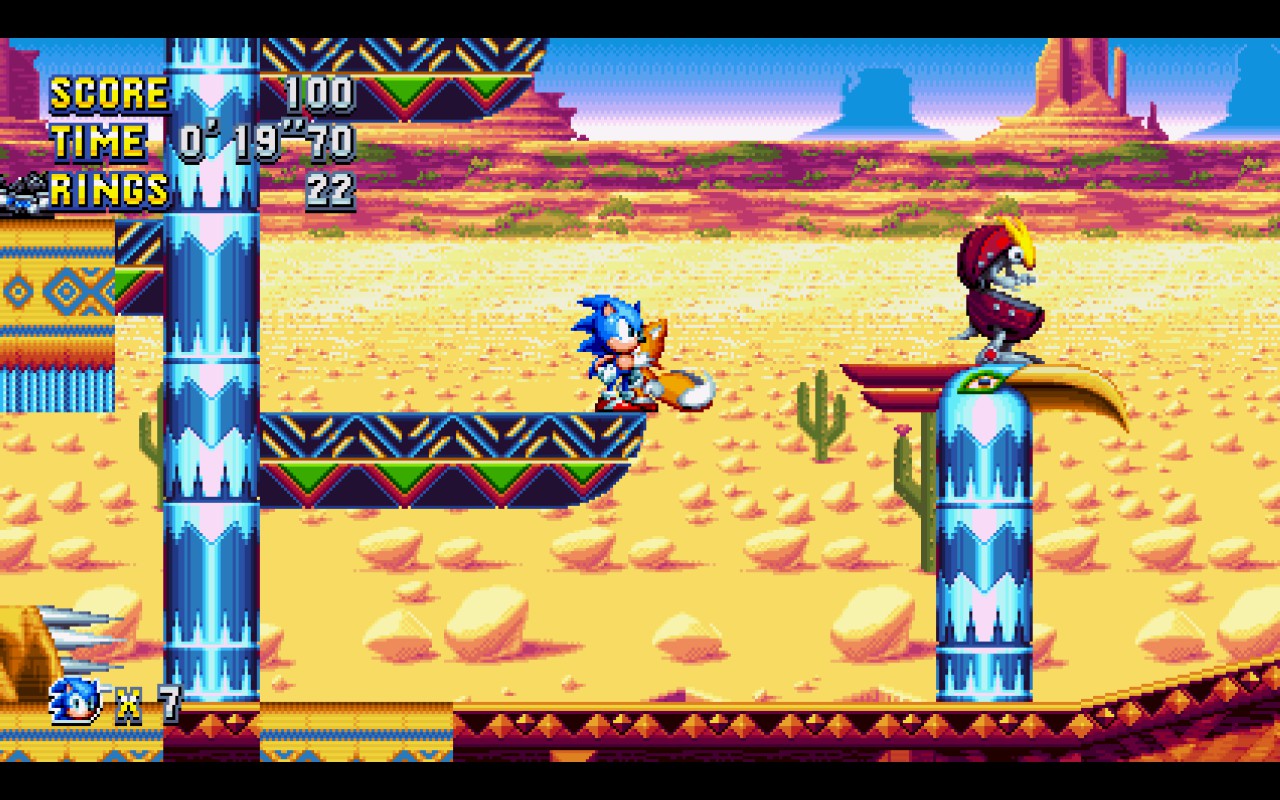
Now, right after the first bar with stools, you’ll see this barrel, push it to fall into one of those Robotnik’s cologne things and run through it to get to the big ring, unlocking the achievement no matter if you already have all the emeralds or not.


Be fast after activating Robotnik’s cologne as it will stop spraying once the bottle is empty.
Here’s a video made by https://www.youtube.com/user/Shadiochao/:

Secret Sub (Oil Ocean Zone)

This one is harder to understand, but basically, during Oil Ocean Zone – Act 2 (the one after the yet unnamed floating utility robot that toss a wrench) try always going through the lowest route possible to the point where you can dip into the oil ocean.

As mentioned by SLEVEN in the comments, there are Two Pendulum Platforms swinging right before the area where you can dip to find the sub.
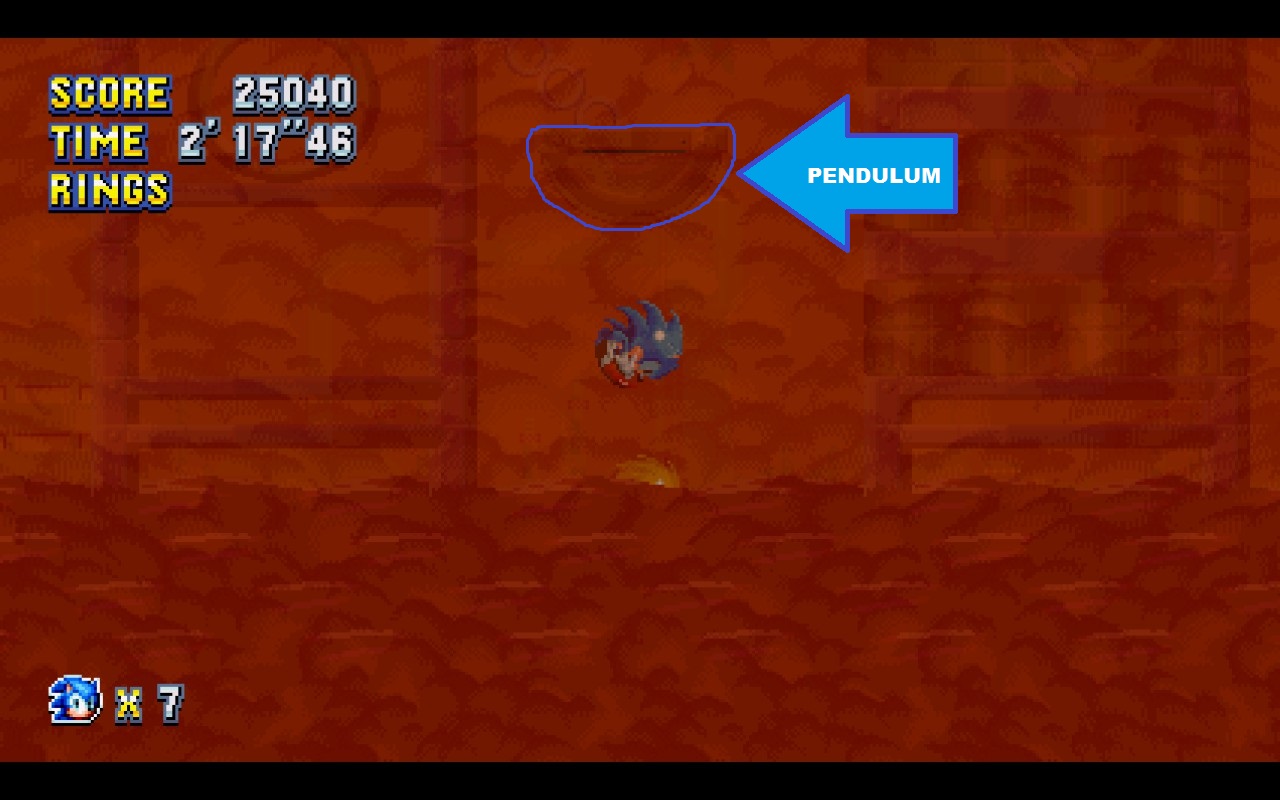
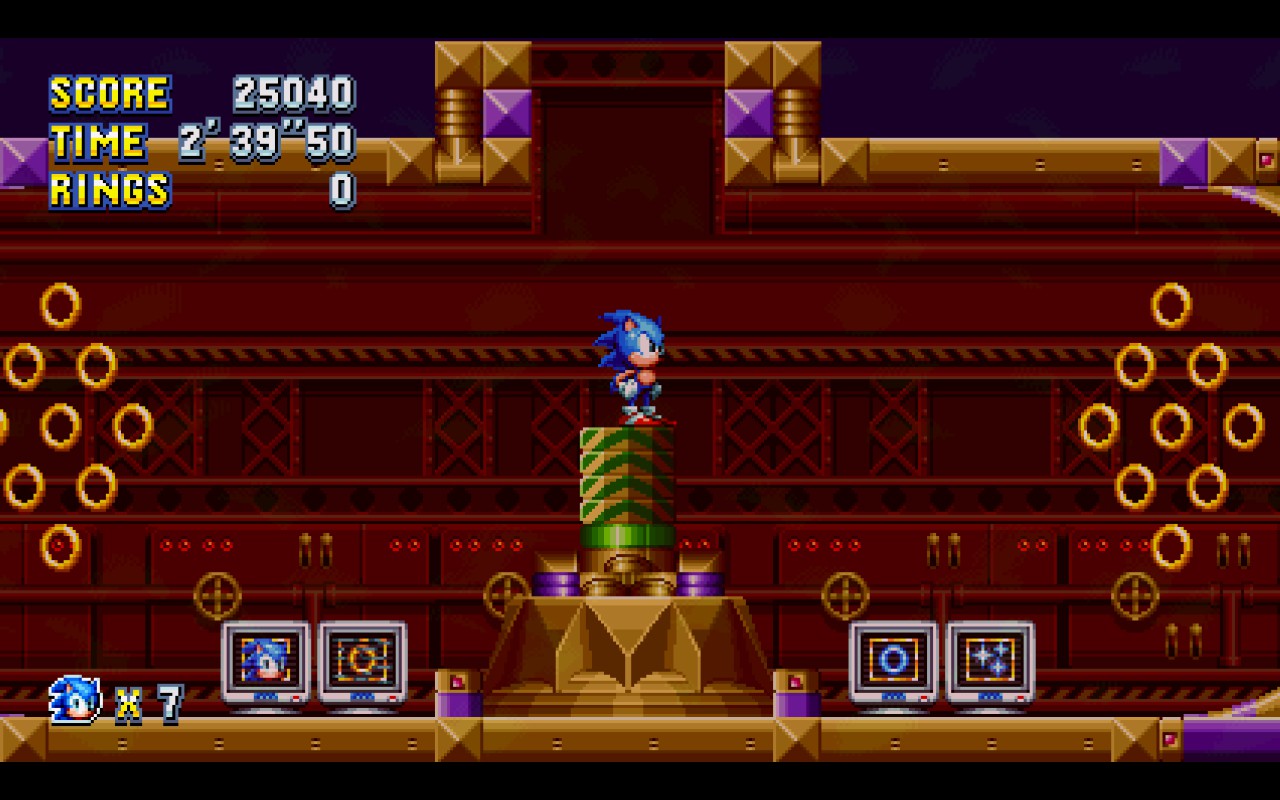
There’s a plataform where you can squeeze yourself to DIVE INTO THE OCEAN and reach a secret alcove where you’ll find a single lonely submarine. Hop in to get the achievement. Just be careful to not hit the hurt trigger since you have to let yourself sink a bit under the oil ocean.

Once inside, you’ll trigger the achievement and have access to a bunch of goodies.
Here’s a video made by https://www.youtube.com/user/Shadiochao/:
Without a Trace (Lava Reef Zone)

On Lava Reef Zone – Act 1, keep going until you find a set of plataforms that “walk” when you hop onto them. One of these plataforms is required to use to cross the lava safely. If you use them, you’ll most likely crush a Rexon (the purple snake from the lava thing) and trigger this achievement.

Thanks Zweat for sending me this screenshot and video!
PS.: As mentioned by Oliver As Latias in the comments, this one can also be achieved during Act 2, as there’s also a Rexon near a pair of walkers. That one seems to also lead for a big ring.
Collect ‘Em All (Metallic Madness Zone)

At the Boss Fight of Metallic Madness Zone – Act 2, you can touch the dial to summon a mini enemy. To get this achievement you need to summon all 8 of them without killing any between this proccess.
This can be proven hard as Amy robot is destroyed with one hit. If you manage though, just destroy all of them without dying.
PS.: As mentioned by leadbman in the comments, this achievement MIGHT trigger even if you have destroyed a few of them, as long as you DON’T LAND THE FINAL HIT ON ROBOTNIK BEFORE GETTING ALL OF THE MINI ENEMIES. I have yet to test that to be sure. I’ll be glad if anyone can confirm this as well.
PPS.: Once they are all summoned, you can let Tails A.i. or 2nd player be free to help you out.
Thanks Zweat for sending me a video on how to do it:
Professional Hedgehog (Titanic Monarch Zone)

Simply put, Beat Titanic Monarch Zone – Act 1 without getting hit or dying (by crushing or any other instant death means)
This is much easier to be done if you already have a “Super” character, as you are invencible to any harm except instant deaths.
- You can let Tails or Knuckles A.I. follower get hit all you want; (Thanks Scott!)
- You are allowed to use a Super character;
- The explosions at the end of your Uber driver Eggrobo ride won’t count as a hit;
- Touch electric sparks if you have a Thunder shield or is in Super Form;
- Touch any hazard while in Super form;
- Reload the stage through Developer Menu all you want. (Thanks Assburgers and LDD714 for confirming this)
- You CAN’T get hit in any way while NOT in super form;
- You CAN’T die by bottomless holes, crushing or any other kind of instant death, even as Super form;
- You CAN’T have any kind of cheat active like debug mode. (Thanks The Dukling for testing this!);
- You CAN’T run out of time;
- You CAN’T press Enter > Restart; It counts as a RETRY, thus invalidating the attempt. If you wanna retry press Enter > Exit then select the stage again or just use Esc > Restart from the Developer Menu;
- You CAN’T lose your shield while in not super form. Even if you don’t lose rings, still counts as a hit;
- You CAN’T enter any Blue Spheres stages as confirmed by SuperSaiyanBlu and Main Theme – ARMS – Music. Thanks, guys!
- You probably CAN’T enter any Special Stages either. you can grab the big ring if you already have all the emeralds, though;
Here’s a video made by https://www.youtube.com/user/Shadiochao/ showing how you can get it even without a Super form:
Credits
A lot of people have approached me to help with this guide in some way.
- SLEVEN is creating small videos to help people understand some of the tricky achievements better. Give them a follow:
https://www.youtube.com/channel/UCFAra6_eVyumQiP1zZys2jA – Twitch[www.twitch.tv] – Mixer[mixer.com] - Got a few other videos from https://www.youtube.com/user/Shadiochao/‘s channel without authorization. if you want me to remove these, just contact me so;
- Zweat has a heart as big as Knuckles’ gloves and managed to record the videos this guide was missing. Thanks man!
- Thanks Mama Bird, Ikagura and Zweat for sending screenshot(s)
- Thanks to all these other people who helped me with either precise info rectification on a few stuff and / or feedback testing. These help a lot to make the guide as accurate as possible:
ThelVAce, Ikagura, Zweat, leadbman, Reince Priebus, cinemamonster, The Dukling, Final, Scott, Dan ^__^, Oliver As Latias, Litdaze, The Cat-Lord, Smoker Megadrive, Assburgers and LDD714.
Conclusion and Update Log
Hope this helps people getting a quick reference to achievements while in-game (me included lol).
Since the guide is still a work in progress, if you feel like sharing a screenshot or a video that you’ve created, feel free to add me or to say in the comments.
All times are GMT -3 / UTC -3 / BST -4
August 30th, 2017
- Created guide and added all the basic info required – 10:42 am
August 31th, 2017
- Added a couple of screenshots and rectified a few texts – 10;46 am
- Added a bunch of images and rectified a few texts – 10:51 pm
September 1st, 2017
- Added video(s) made by SLEVEN – 00:56 am
- Added Credits section – 01:11 am
- Added A BUNCH of screenshots and few rectifications sent by the community. Thanks, guys! – 01:34 pm
- Added a few videos by https://www.youtube.com/user/Shadiochao/, soon to add more, i need a lunch break. – 02:36 pm
September 2nd, 2017
- Added more rectifications sent by the community – 11:46 am
- Added videos made by Zweat, thanks, man! – 5:50 pm


