Overview
The BEST Castle Crasher guide on Steam
Mandatory Level Completions
Note: This guide works on both Normal and Insane mode. Requires multiplayer with at least 1 person with the levels already completed.
Here are the names of the levels that are REQUIRED to be beaten in order to get your white or gold skull. Everything else in the game is just filler.
Castle Keep
Barbarian Boss
Thieves’ Forest
Catfish
Pipistrello’s Cave
Parade
Cyclops’ Fortress
Lava World (You can exit to map on Cyclops’ cutscene)
Industrial Castle
Dock (You can exit to map on the Pirate Ship)
Desert Chase
Sand Castle Roof
Corn Boss
Medusa’s Lair
Ice Castle
Final Boss (As soon as the Credits show you can exit to map)
IMPORTANT TO NOTE:
The Final Boss will have to be beaten TWICE in order to unlock a skull. Beat it the first time to unlock the level. QUIT OUT of your current game session and start a new game. All level’s except the Pirate Ship should be unlocked (Just play through the dock and exit on Pirate Ship again). Beat the Final boss again and your appropriate skull will be unlocked.
If you MISS or are not credited any of the level’s I listed above this will obviously not work. In that case complete the level’s on my list that were either missed or not credited and then once all that is done beat the boss TWICE again like in the Paragraph listed above.
There are 36 levels in total in Castle Crashers and you only have to actually play through 16 of them (17 if you count beating the Final boss for the second time).
If you’re good enough you can pull off stuff like this.
Stat Distribution
Stat distribution falls into 2 general categories:
Low Damage/High Experience – Used by players who more focused on reaching level 99 then completing the game. Done by simply putting no points into strength and using melee as a primary means to attack. Enemies with high health will yield more experience per kill as experience is generated per hit. Note: Enemies that are dead but are still being hit, DO NOT give experience!
High Damage/Quick Kills – Used by players who are looking to get through the campaign quickly. This involves putting points into your primary means of attack. Whether it be strength, magic or agility. On the good side, the more difficult stages later in the game are easier to handle at lower levels and take less time to do. Below is a build I used to quickly solo normal mode with all my characters.
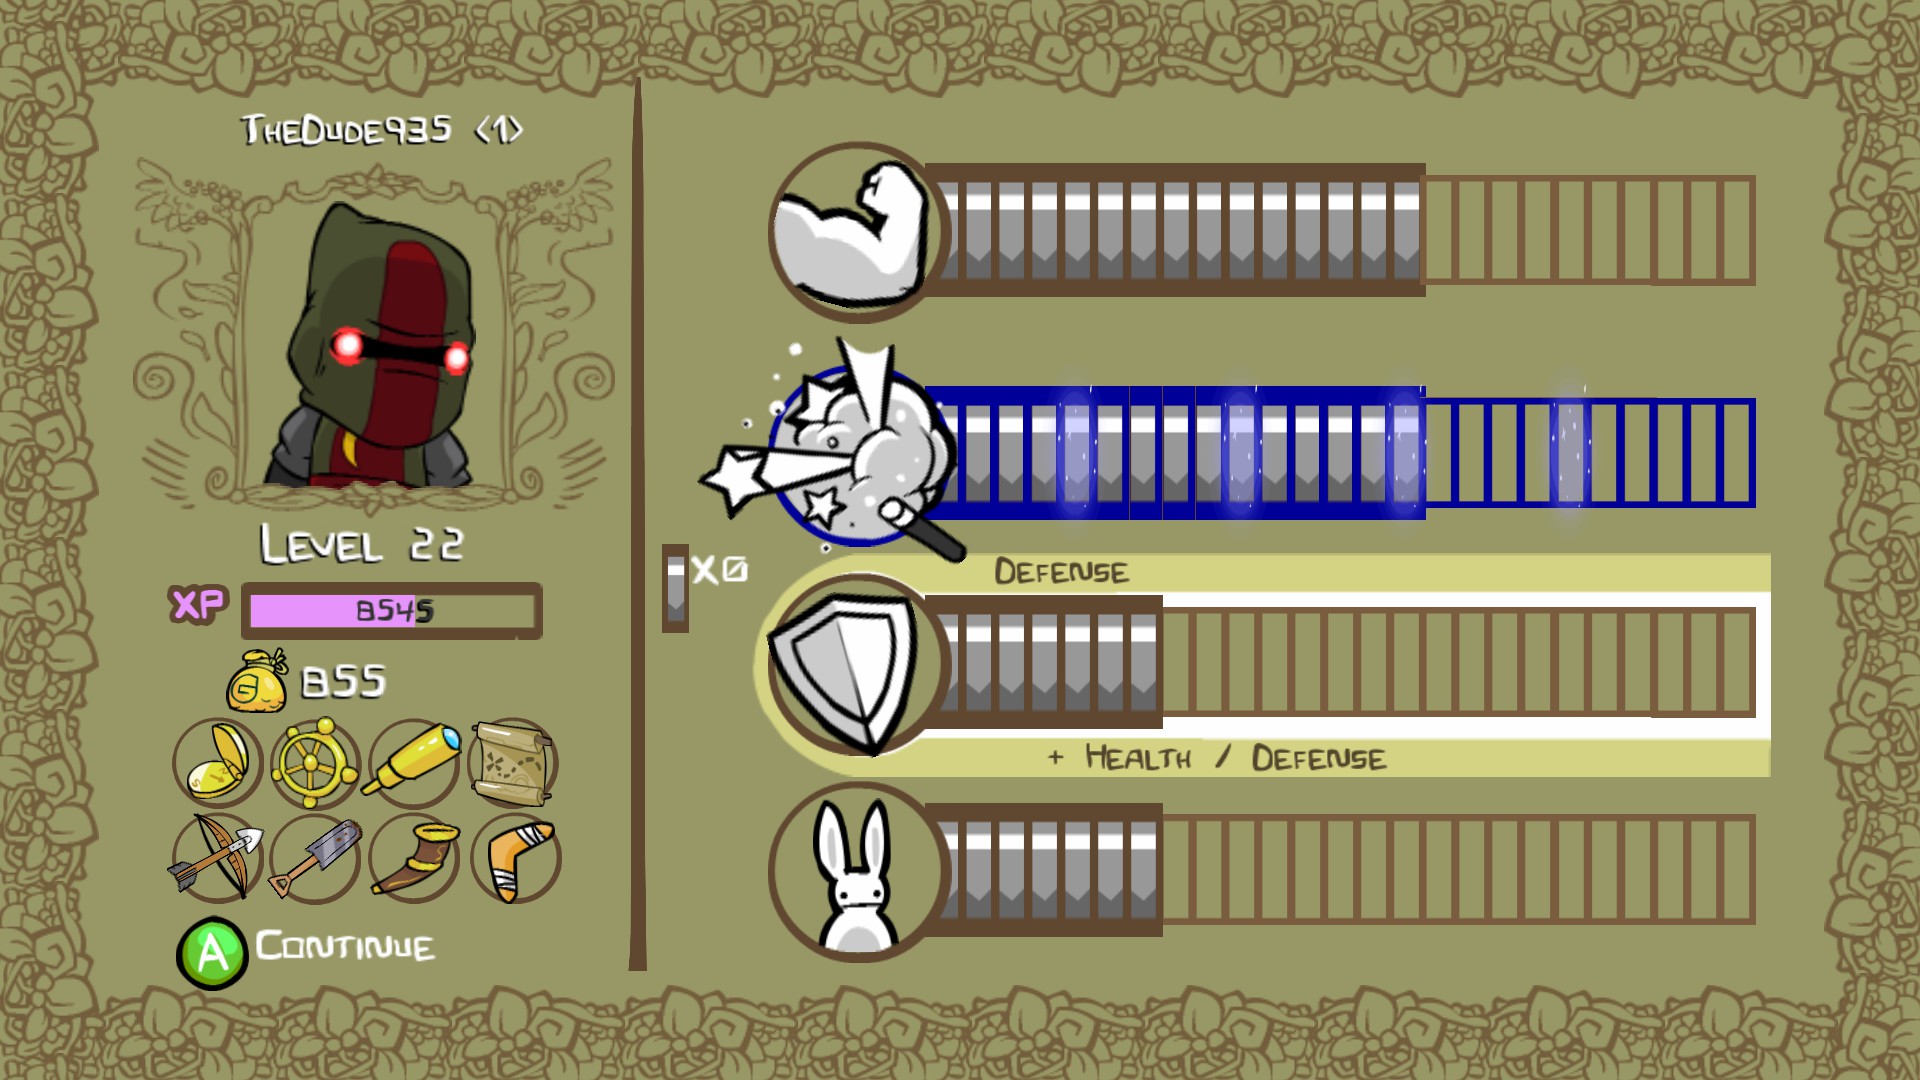
All points go into Magic (15 to be exact), this will bring you to the 3rd highlighted line and allow you to use the X,X,X,Y combo to devistate enemies early in game.
All points go into Strength (another 15 to be exact), this will bring your strengh exactly in line with your magic. 2x X,X,X,Y,Y should pretty much kill any type of the normal enemies you encounter on normal mode
At this point, the decision where to put points is entirely up to you, but I highly recommend putting points alternatively into defense and agility (again to 15) before maxing out strength and magic. On a normal playthough (non speed run, beating all the levels) without dying, you should be in your low to mid 20’s by the time you reach the final boss.
Combo Locking & Air Juggling
This section will be by far the most important part of the guide. If you can not effectively combo lock or air juggle enemies you are wasting your time attempting to beat insane mode. This section makes insane mode go from impossible to possible. Following the rest of our guide makes insane mode go from possible to easy.
Combo locking is a fairly simple concept and easiest to do when your characters are below level 50. This works for all characters but with the Blue Knight and Iceskimo there is an easier combo to preform due to there Ice elemental, magic infused hit.
The Combo for all characters below level 50 is X,X,X,Y,Y-X,X,X,Y,Y,Y. The first button combination should end with your character spinning his weapon like a windmill and done correctly the enemy will not be knocked down. The second combination is repeated right after and is exactly like the first except with the additiion of pressing Y a third time which will end the combo with your enemies knocked down in position. Repeat the combo until your enemies are dead.
With regards to the blue knight and Iceskimo, their combo is simplified with the assistance with the freezing action of their magic infused hit. All that needs to be repeated for their combo is X,X,X,Y with the last hit freezing your enemies in place. The freezing resets the hit counter so this combo can be repeated infinitely until your enemies are dead. The best part about these characters is it can continue to be done even after Level 50 unlike the other characters. NOTE:This combo also works on beefy characters (start the combo by using magic to freeze them in place first!)
Once characters reach level 50 they can no longer preform this combo and instead preform a spin attack (with the exception to the Blue Knight and Iceskimo). The spin attack always finishes with a knock down, so the combo can be repeated.
Air juggling is another essential skill and does have certain advantages over combo locking in insane mode. It can pin more enemies than a combo lock, and even help get enemies positioned in front of you. The downside is you leave yourself open to attack from bombs and splash magic. Also mastering air juggling takes time, but even mastered, playing online with any sort of internet or fps lag can make it impossible to juggle for long periods of time.
To air juggle, you need to understand the rotation of attacks your character does in the air. Simply attacking enemies in the air using the X button you will swing your sword using a forehand and backhand swing alternatively with each button push. when you begin to start falling pressing Y after completing a forearm swing will cause a spike attack which will keep you steady at your current height. If you wish to get higher in the air, pressing Y after a backhand swing will do a knock up attack which will make you character go higher in the air. If you wish to learn to juggle the best place to practice is Parade on insane mode.
Once mastered, you should easily be able to hold an air juggle on the last boss while he is flying around in his ball form, and juggle him in one spot while he is in spider form.
Weapons and Animal Orbs

The Black Mace offers the most magic and the greatest possible amount of magic and magic regen from any weapon. It will allow you to spam your magic more often, meaning more damage from the splash spells or healing from the King.

Dual Prong Sword has no negative stats. The increased strength and defense will offer good increase in damage and defense allowing you to survive longer.

Snakey Mace gives no reduction in strength and a large increase in magic. This weapon can be used with the X,X,X,Y,Y combo you get at level 50 for the maximum amount of damage. The -2 defense can hurt if you are prone to taking damage but the increased agility will allow you to move faster to dodge or get into position.

Glowstick has really high magic and defense which will allow you to cut down enemies with your magic and still remain rather tanky.

Crit has a 1% chance to do four times damage. It really shines when using X,X,X,Y,Y on stationary targets like bosses. The spiralling finish of the combo (Level 50+) does a large number of hits each with its own chance to crit. NOTE Crit also affects damage from other sources such as animal orbs, fall damage (including enemies who are chasing you and hit a geyser in Lava World for example, even though you did no actual damage to them) and the boomerang, but not magic or arrows.


Other pets can increase stats like strength, agility and defense. The Yeti also makes you immune to the frozen status and greatly reduces damage taken by icicles. If you have trouble with the Ice King, give him a shot. Use what you prefer.
AI/Enemy Patterns
This section will explore the basics of enemy patterns and movements in order to better prepare you for handling multiple types/volumes of enemies without taking too much or no damage at all.
What is Role Changing?
Not all enemies act the same. Some actively pursue the player, some prefer to use ranged attacks. These roles govern how each enemy acts. When an enemy changes roles, a new set of rules are given to the AI which in turn changes how that enemy acts. Roles are determined at the beginning of an encounter but it is important to note that they are not set in stone. During the course of a fight enemies can change their role, given that certain conditions are met. There are currently 3 known conditions in Multiplayer that will trigger a role swtich.
They are:
1)An enemy is critically wounded.
2)An enemy dies.
3)A Friendly player is killed (which also includes auto using a potion).
When an enemy changes their role, they may or may not also change which player they focus on. This is why it is important to fight away from other players in multiplayer because it gives you and your friends more time to react to different role changes and target changes.
The longest part of this section, but the most important given the number of them you will encounter. Regardless of skin, they all follow this general pattern and can be identified into 3 roles.
1.Focused Attacker: These are the enemies that are directly focused at attacking you, they will walk directly at you and enter your melee range and either attack you with magic or melee. Identifying them is a priority as an unchecked focus attacker will result in taking damage. This is especially true when a role change takes place, as an unsuspecting enemy can quickly engage and land a couple hits on you.
2.Ranged Focus: These enemies will pose an indirect threat to you. They will line themselves up either behind the focus attacker or you, but stay outside melee range. They will use arrows or magic when the opportunity is there. Using the edges of the map can manipulate these enemies into non threating positions, or make it easier to line them up to initiate either an Air juggle or combo lock. It’s important to be aware of followers as the opportunity to attack is there or they can quickly switch roles and become a focused attacker.
3.Followers: These enemies are generally non threatening. They hang back outside of both melee and range attacks, usually standing above or below the player. If the Player is using a lot of movement they can be prompted to attack, even swap into a Ranged Focus or Focused Attack role. Once again, using the sides of the level can manipulate their movement and positions.
Can you spot the enemies roles below??
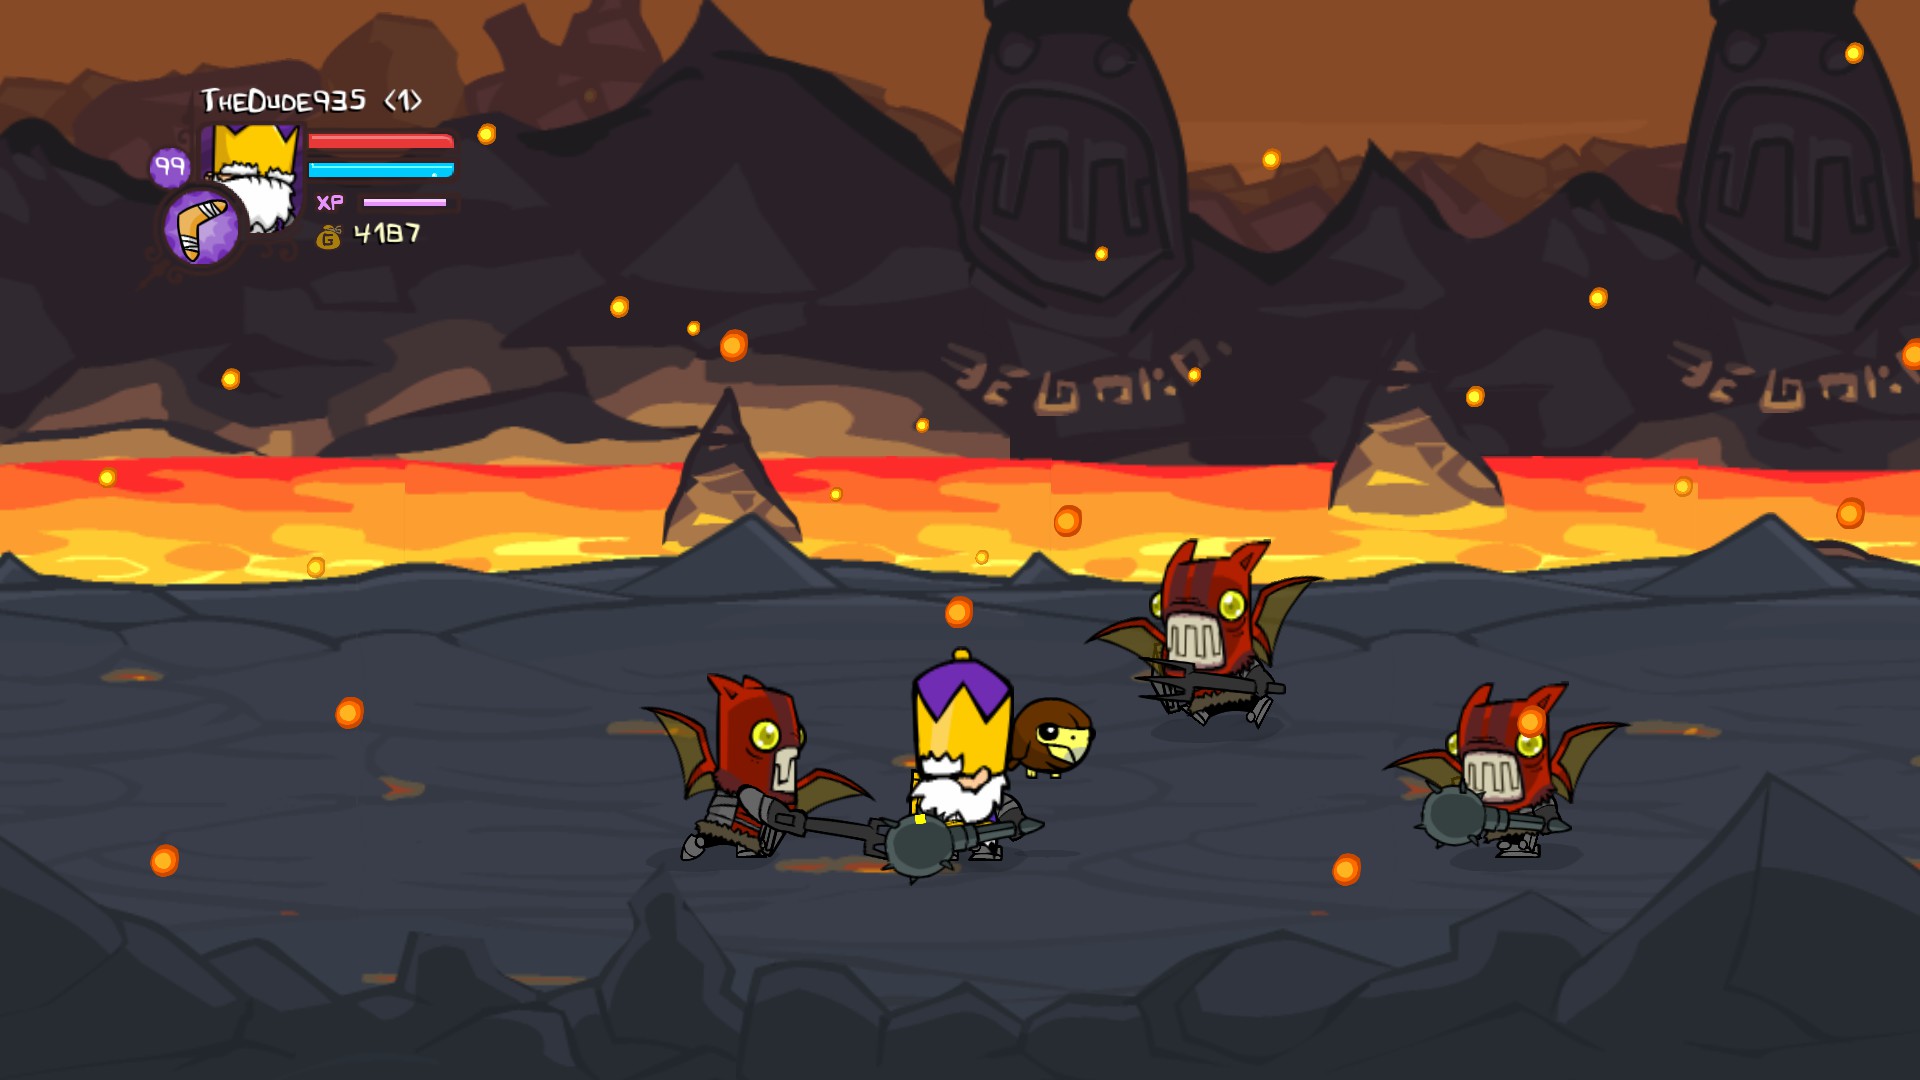
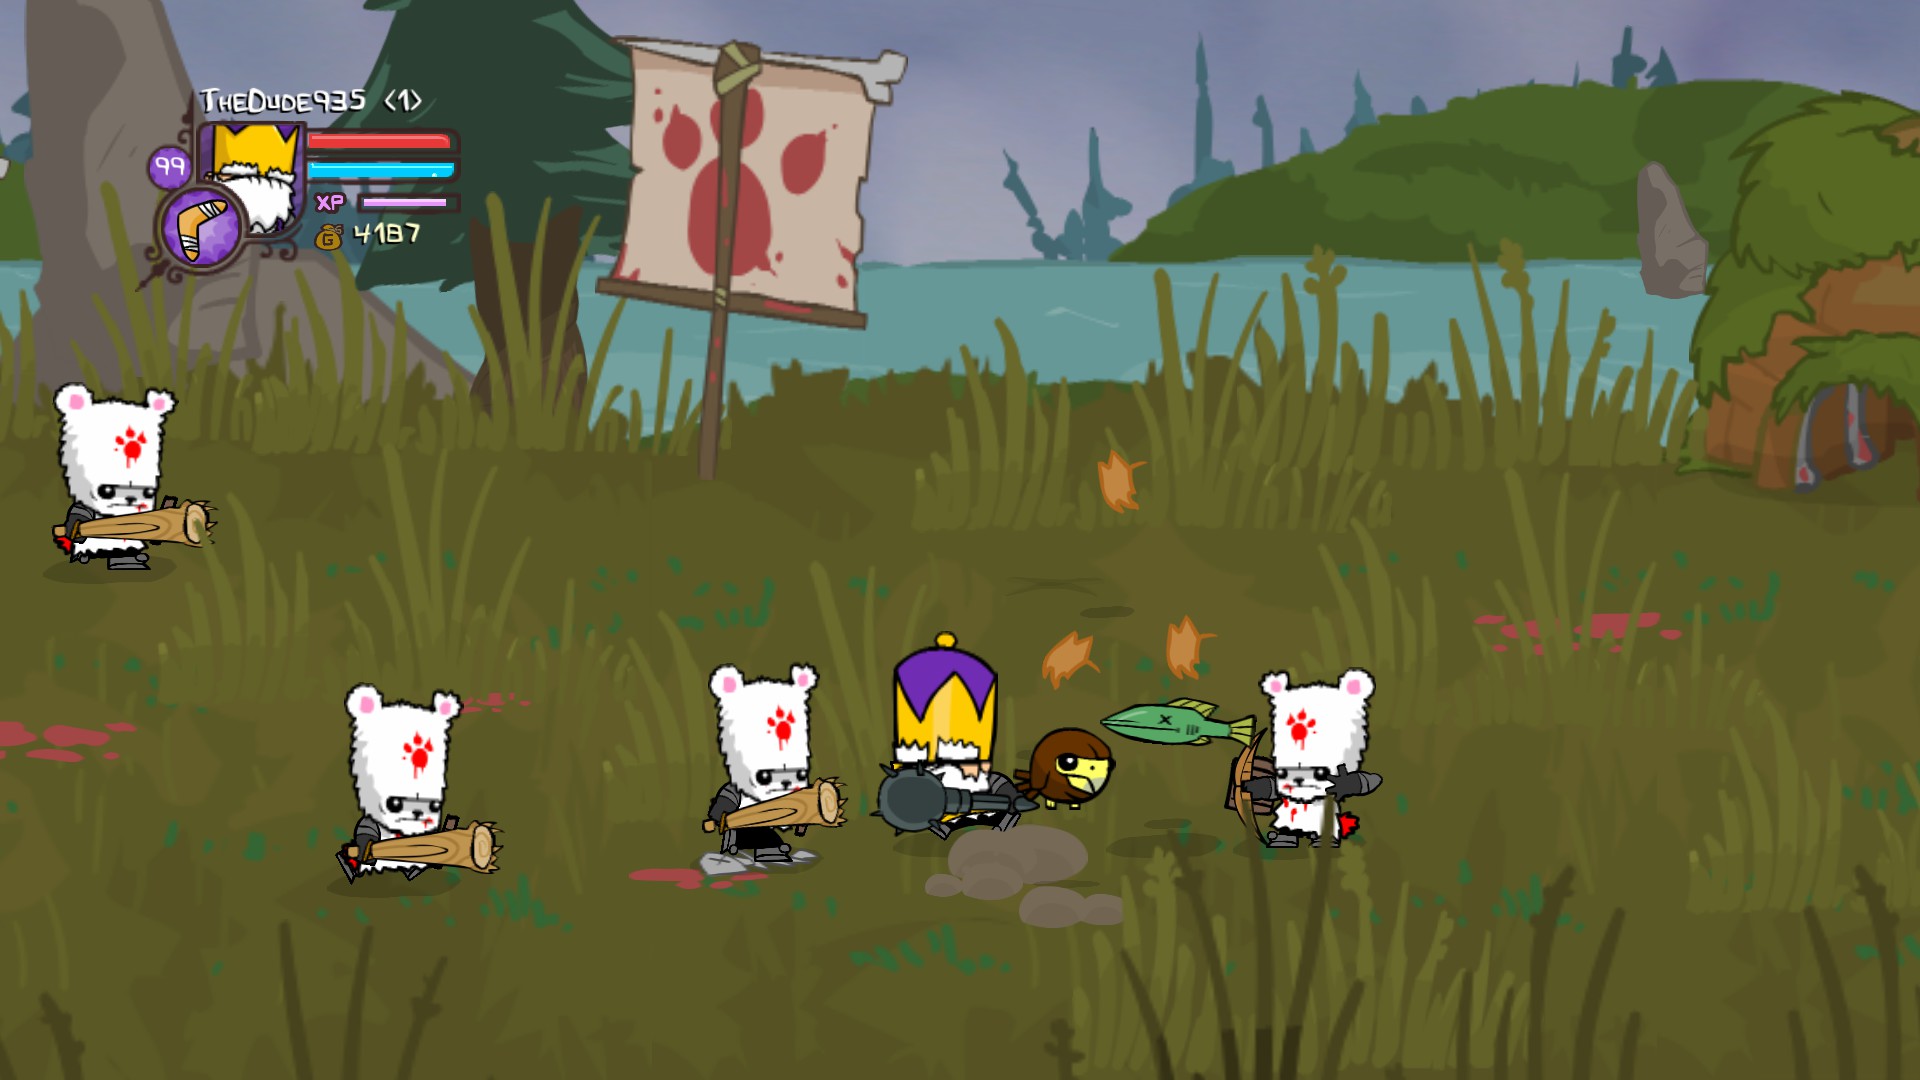
They will always target a player as a Focused Attacker. When role switching occurs, Beefies will simply shift there focus to another player. This makes it possible for Friendly player’s who are not targeted to attack the beefy without getting immediately focused on.
Like Beefies, Fish will focus attack a character until a role switch occurs. Strong splash magic or arial attacks are highly recommended as Fish have an odd hit counter and have the potential for an “auto hit” on ground based combo’s.
Scarabs are a unique bunch. There focus will cycle randomly between players and is not based off the role switching guidlines listed above. Scarabs always perform a role switch during each attack phase. This means that a role switch occurs when Scarabs burrow and also when they pop back up. Player’s will have to be ever vigilant on who is being targeted at all times.
Damage Avoidance/ Multiplayer Etiquette
Follow these tips to help reduce the amout of damage you take and become a valuable partner to play with.
It goes without saying keep your enemies in front of you at all times. Use the very top or very bottom of the playable area to help position multiple enemies. Never stand on top of an enemy that’s knocked down as they will magic jump you every time.
Enemies will divide themselves depending on how many players are playing. It’s much easier for each person spread apart to deal with 2-3 enemies than to be bunched together and have to deal with the attacks of 7-8 enemies at once, especially on insane mode.
Blocking prevents damage from the majority of attacks in the game. There are a few instances where blocking won’t work i.e from splash magic type abilities and throws to name a few. It is extremely important to know when and what to block if you want to be successful at any and all stages of the game. Blocking nullifies all damage and increase your survivalbility when used correctly.
This is a huge pet peeve of mine, yet virtually everyone I’ve played with does it. In normal mode its not such a big deal but on insane it’s very bad for 2 reasons:
1. If a combo is inturrupted and knocks away an enemy it can lead to positioning issues, which can lead to unnecessary damage being taken repositioning them and makes killing enemies take much longer.
2. If you’re using a combo on an enemy and someone else decides to attack with you, the hit counter on an enemy may not be given the chance to reset and the enemy will be given a free “auto hit” which will either hit one or both of you guarenteed.
3. If a role switch occurs it may be impossible to determine which enemies are targeting you and which aren’t. In most scenarios either you or the person you are standing next to will take damage.
This also includes the dinosaur (Forest Entrance) and the Horse (Flower Field). They move slower than even a non mounted player with no agility and a weapon with negative agility on it. Also riding them will only allow you to do basic attacks which is useless in comparison to combo locking or air juggling an enemy.