Overview
Basic tutorial for aircraft construction in Brick rigs
Intro
The intended purpose of this guide is to give examples for how you could go about building an aircraft and maybe even inspire some new ideas and some awesome new creations. A guide can only teach you a tiny bit. If you are truly interested in building aircrafts then I suggest you talk to other builders and tear their creations to pieces, brick by brick in order to see how they solved an issue you have been having.
Fuselage
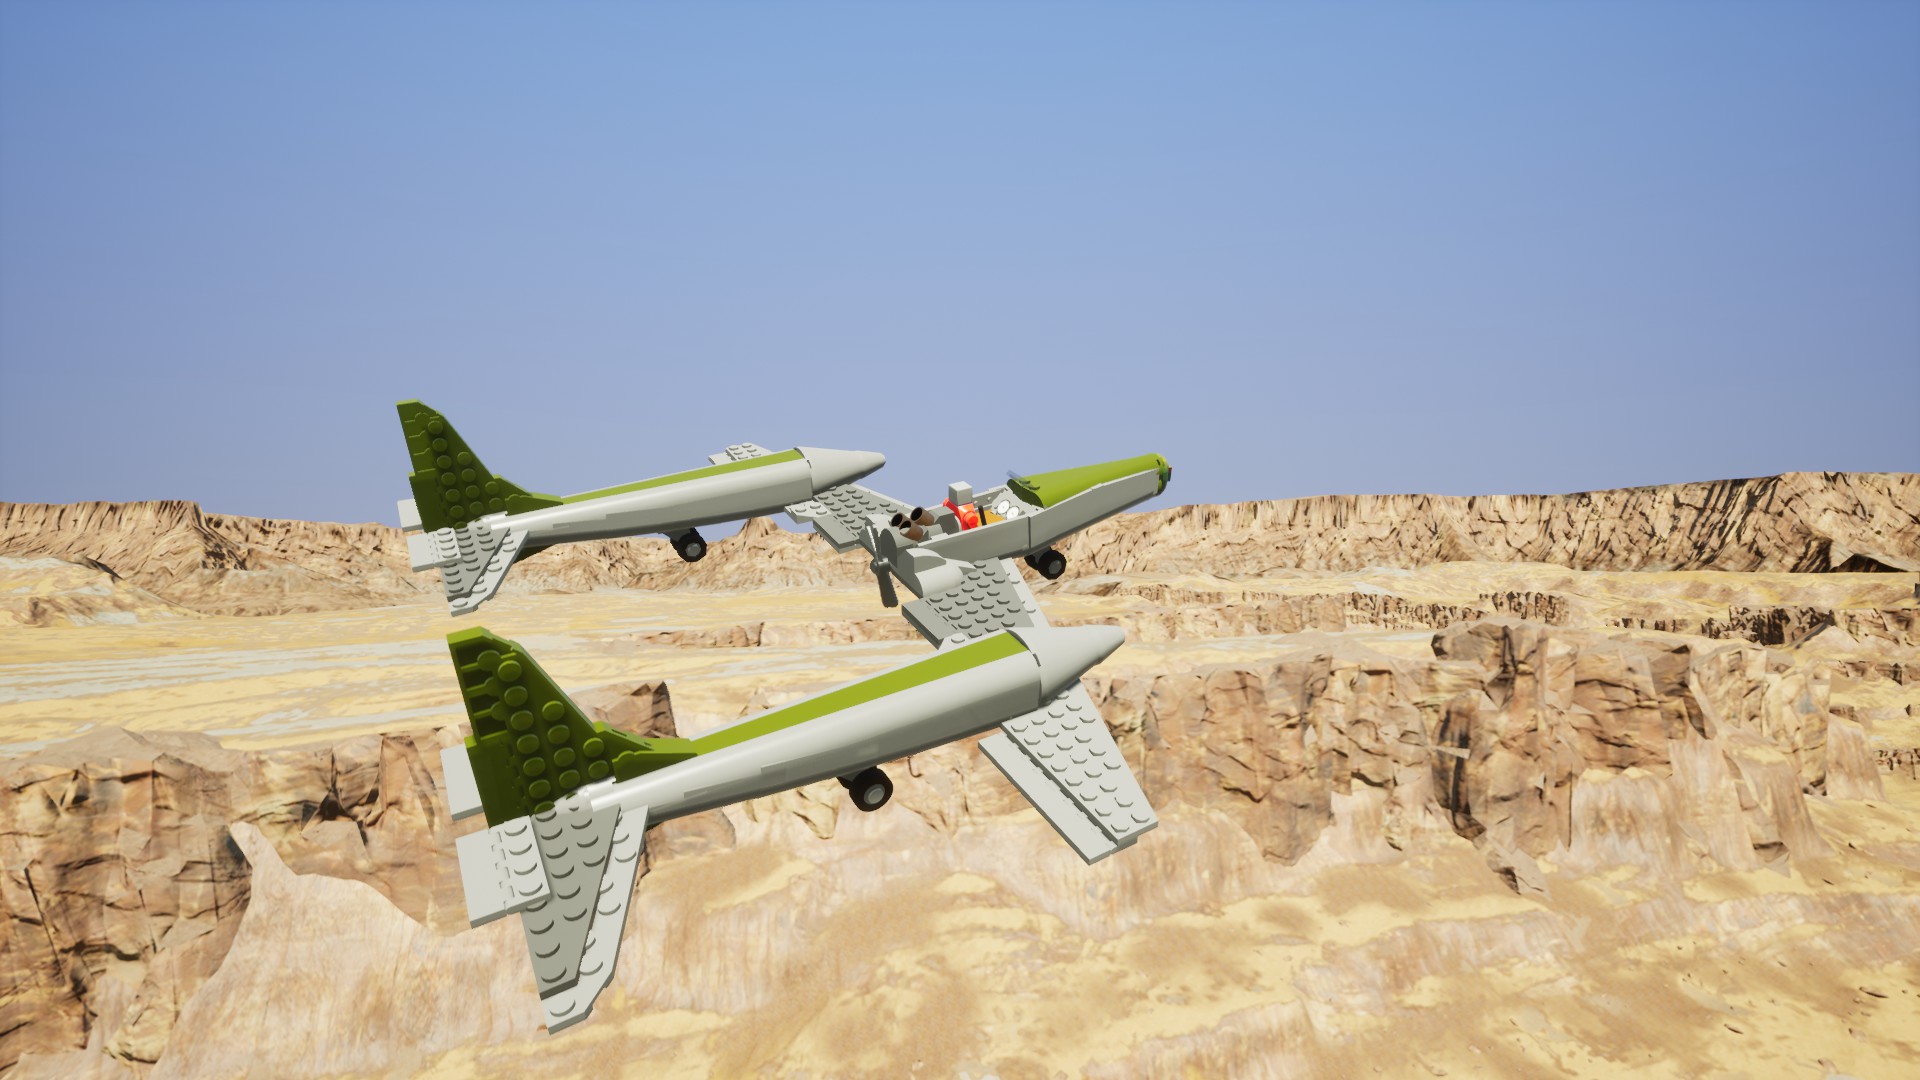
There is no one way to design an aircraft’s fuselage. My way of doing it is to simply start building whatever comes to mind. I might borrow aspects from a plane I once saw in a movie or such but the idea is to let your creativity flow. Others might try to build a replica of an influential aircraft from the past or maybe one that exists in our present time. The point is, when it comes to choosing design there are no wrong options.
To get in on a more technical level there are multiple ways of constructing the fuselage. From my own experience, most people leave their own touch on their creations and prefer to use certain brick combination in order to accomplish the intended shape. I will take you through a couple in the following segment.
The method I use is one which includes a lot of rounded slopes and a bunch of redirectors I also tend to build very thin exterior walls thus leaving a lot of room for interior work. In this example below you can see a cut out of how I construct my fuselages.
And in this picture, you can see how I place redirectors in order to make it work.
This method allows me to construct smooth fuselages that incrementally converge to a single point. There are of course easier ways to construct a good-looking fuselage and you don’t have to build the walls paper thin.


This while of course not as smooth as the previous option is another way of building a fuselage and it doesn’t necessarily even need any redirector work at all.
In this example, the creator Batduck has used actuators instead of redirectors to achieve the angle he needed for the tail section of his plane. This too is a viable option. He also uses sloped bricks instead of flat bricks to achieve the sloped sides of the fuselage.


Cockpit design
When it comes to designing planes in Brick Rigs cockpits are amongst the most difficult things you have to build. Because there is a lack of thin bricks the frame of the cockpit will usually be too thick, making it difficult to see through.
A really good cockpit will require a lot of redirector work and patience. The problematic issue with glass in Brick Rigs is that when you clip two different materials or colours they will flash like crazy and that looks bad. So, when placing your glass bricks you want to make sure that no clipping blocks are visible anywhere.
Here is one example of a plane using flat smooth bricks for the cockpit.
And here is another example by the creator Trance with a similar design
And another example by the creator TomLoco and Alex that have made a cockpit using solid pieces and actual windscreens thus not requiring redirectors.


Lift
Lift can in this instance be two things. Lift generated by wings or vertical lift generated by blades or rockets. In any case it’s a no brainer that this is pretty much required when you intend to build a vehicle that is supposed to fly.
So, you might ask. Where should I place my wings rotors or whatever? There is a simple answer for that. Centre mass, always place your lift centre mass. If you place your wings too far front, your plane with loop backwards and if you do the opposite you simply won’t take off. Now this might be easier said and done and you might be like. Dude I want to place my wings here, in the front. Fear not, there is a solution to your problems that I will go over in the next chapter.
Other than that, there isn’t very much to say about lift. Wings are easy to make and I’m sure you’ll figure it out.
Flight control surfaces
Flight control surfaces aka. Flaps are essential for the operation of your airplane. All in all, you need three separate functions. Pitch, yaw and roll. In Brick Rigs, there are only two functions that are labelled, pitch and yaw, in this case yaw functions as roll.
You need to place a roll flap on each side, the further out the better they function. On the right side of the aircraft the flaps need to be set to -1 input scale otherwise it won’t do as intended. You can leave the operational angles as they are, if you increase the angles too much they will work more as airbrakes than anything else. The input axis should be set to “View yaw (Alt)” if you want to turn the plane by pointing your mouse in a certain direction.
Pitch flaps can be place either in the front or in the back. Traditionally pitch flaps are placed in the tail section of the aircraft. Pitch controls the elevation of the aircraft and that’s also why they are called elevators, not to be confused with the escalator. All you need to do is to set the input axis to “View pitch (Alt)” If you have built an aircraft with poor balance you can use redirectors to place the elevators at an angle thus permanently trimming the aircraft to fly straight. An example of this can be seen below.
Lastly you need yaw. Yaw flaps should be placed on the tail of the aircraft, this controls the turning of the aircraft. The tail in itself is vital as it prevents the aircraft from going into a flat spin. You can either choose to set the input axis to “View yaw (Alt)” or “Steering Alt” In steering mode you can use it with A and D which will give you more control on the runway but the aircraft will generally operate better with View mode enabled.

Propulsion
There are three ways of generating forwards momentum. Rockets are the most effective way of going forwards but it requires a lot of fuel. Propellers will run automatically in operation mode and will thus not necessarily require input. And custom propellers will do essentially the same thing as ordinary propellers but less efficiently in smaller scales. Propulsion is quite self-explanatory but I will include an example of how a custom propeller might be constructed. This propeller is of Batduck’s design.

Thank you for reading my quick tutorial on aircraft construction. If you have any comments or questions please leave them below.
-Rain