Overview
One of the most top-rated guide for XCOM: Enemy Unknown. A comprehensive combat- and base management guide for rookie Commanders, as well as more experienced Commanders. This guide details skill tree-paths, alien abilities, rules of engagement, psionic abilities, class roles, easter eggs and much more.
Origins
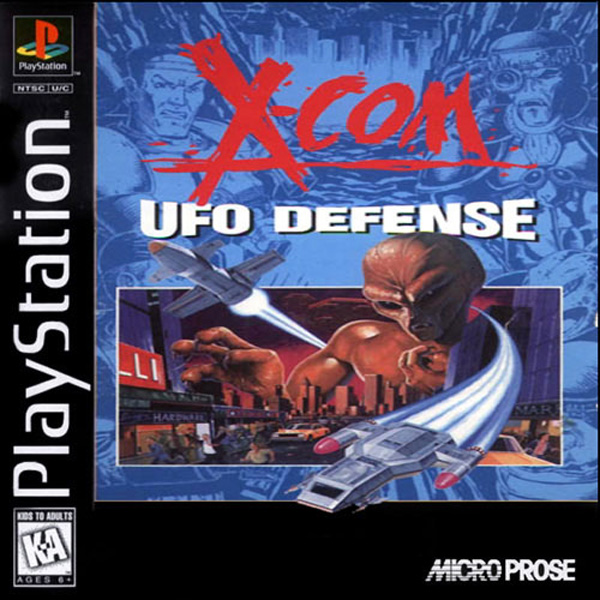
The 1995 Playstation port of X-COM: UFO Defense.
Preamble
optimal strategy [′äp·tə·məl ′strad·ə·jē] (mathematics)
One of the pair of mixed strategies carried out by the two players of a matrix game when each player adjusts strategy so as to minimize the maximum loss that an opponent can inflict.
Welcome to the Extraterrestrial Combat Force Project, Commander. The Earth’s defense is now in your hands.
Welcome Commander, I suggest that you play with some of the Second Wave options enabled, specifically: Hidden Potential, New Economy and Not Created Equally. This makes for more variety and spices up the game and also makes it easier. The latter makes it so that you can pick the soldiers with the most stats to get the most bang for your buck. I also think you should play the game with Ironman Mode enabled, especially if you already have beaten the game without Ironman Mode enabled. To make things even more heartbreaking when you lose a soldier I suggest that you spend some time customizing your squad-members and give them nicknames. Have fun! I might as well also apologize in advance for any spelling mistakes and/or grammatical errors; English is not my native language. And feel free to tell me how wrong I’m in the comment section. I suspect some might disagree with me, because I have only completed the game on Classic difficulty with Ironman Mode enabled. This means I can’t guarantee that all of this information will be viable on Impossible, but if you are one of those people (a.k.a. the 1.0 %) then you may want to look elsewhere.
This game is clearly designed for consoles (for example you can’t set way-points that’s why the computer calculates the shortest distance between A and B) that’s why I recommend playing it with a controller. If you want to play a competitive tactical turn-based strategy game I recommend Frozen Synapse instead, a game that works much better with mouse and keyboard. And if you are wondering about any specific things that I don’t cover in this guide head over to XCOM Wiki[xcom.wikia.com].
This is beside the point of this guide, but if you want to disable the intro movies, turn off multiplayer voice chat or anything like that you should go to PCGamingWiki[pcgamingwiki.com]. And lastly, If you want to watch a XCOM: Enemy Unknown walkthrough I recommend Beaglerush’s walkthrough. He’s both entertaining and informative, i.e. the best of both worlds.
XCOM Headquarters
- Europe (4) – halves the price of your Workshops and Laboratories, saving you §65 for each Workshops and Laboratory. It also contains four countries, which means if you start here, you can sacrifice three countries on Abduction Missions and other continents can be saved. Recommended for those who build many early Workshops and Laboratories.
- South America (2) – gives you instant interrogations and autopsies, it will save you three to five research days each. It’s not recommended as start continent, if you can, acquire it with satellites instead (you only need 2 of them).
- North America (3) – drops the price of Interceptors from §40 to §20, and their maintenance from §20 to §10. The savings from this bonus are quite significant and increase as time goes on.
- Africa (3) – increases XCOM total monthly income by 30%. The bonus is very powerful in early and late game, when you have a lot of countries covered with your satellites. At the start of the game this bonus gives §210 instead of §165. It can be a good start continent because you get more money in early game. Comes recommended as a good all-around continent bonus.
- Asia, Beagleville (4) – decreases the cost of all projects in the Foundry and Officer Training School by 50%. Improves your infantry ability early game, but drops off later in the game. And the savings from this comes a bit late into the game, that’s why I don’t recommend it. There’s one nice thing about, it contains 4 Council members so you can lose all of those members and still keep the bonus.
Our dear Mother.
“Hostiles spotted.”
Before one of your squad-members becomes a Colonel make sure to bring along at least one soldier that has been with you from the first mission because you need to rank him up in order to get access to Officer Training School. The most important upgrades are Squad Size, Wet Work, Iron Will and maybe Rapid Recovery if your main soldier has been wounded. At any rate, you may also want to pick out the soldiers with the highest stats and use them.
Personally I like to color code my squad after what class they are. My Support is white, my Sniper is red, my Heavy is green and my Assault is yellow. I know they have different armor decors depending on what class they are but on the battlefield I just find that it helps me remember what their individual roles are.

You are in no danger when you haven’t engaged any enemies. When you engage aliens you see their cutscene. Meaning that when you haven’t engaged any enemies you can move freely, but keep in mind that you are going to need cover when you do see enemies. The safest (and the best) way of engaging enemies is to have full-cover or at least half-cover for all squad-members and then inch forward with one squaddie at a time. If you want to be really careful you can make sure that when you move into an uncharted area you do it when all of your squaddies have full APs (action points: everyone has two of them at the beginning of each round). If you do it this way and you encounter enemies everyone in the squad will have two APs except the one who moved forward who will have one AP. Don’t dash into a disaster. Why do you want to Overwatch when you are inching forward you ask, because sometimes aliens will walk into your LOS (line of sight also known as the colored area of your screen) and when they do, you want to have a chance of maiming some freaking aliens.
If you are super effective you will be able to kill the aliens that are close to your squad, but one or two aliens might survive the first turn and they may retreat. When they retreat your soldier will tell you so and you will see the poor b*stards screaming for help. This means that you have to count your aliens and your wishes. Use whatever you want Warhammer miniatures, coins etc. just make sure you count your aliens. If you don’t clean up after yourself there might be some Thin Men out there looking for you and they will sneak up on you and attack.
As a rule of thumb when positioning your squad I would say Assaults first then Heavies then Support and last Snipers. Assaults need to be close to enemy so that they can Run & Gun and maybe flank the enemy easily without getting your own squad-member flanked in the process. Heavies need to have a clear line of sight in the direction of the enemy, you will during the mission see in what direction the enemy is (this is indicated by the sound wave symbol on screen), to make sure that your Heavy can if need be pull out a big ol’ rocket and send those aliens to the moon. Supports fit nicely in the middle so they can smoke and maybe take a few shots if need be. And lastly, but definitely not least, Snipers in the back because they need to stay out of range and thus out of harm’s way. This can however be very hard to do -especially in the early game- because you have to rely on the terrain which does not always cooperate.
“Kill confirmed!”
First thing to do after the enemies have scurried around and got themselves some cover -like they always do- is to determine who poses the greatest threat to your squad. When doing this you have to take into account enemy type, distance from your squad-members (for instance if an alien is close to one of your squad-members that alien could flank you) and the range of their weapons (for instance if three of your squad-members are in LOS of an enemy and you Hunker Down on two of them the alien will attack the one with least cover).
They didn’t even get to experience their very first cutscene.
First thing to do when you are ready to attack is to explore your options, i.e. tab through your squad-members and see what options you have at your disposal. The second thing is that you should think about how needs the EXP (Experience Points), capturing possibilities, who is the safest (if they are not safe you need to move them) and what’s your Plan B. You will have an optimal plan (i.e. Plan A) that will give you the most money (by not using explosives), give EXP to the needy and minimize the risk of losing veteran soldiers. Of course Plan A will only work in a perfect world, or should I say storm. But as any Commander will tell you things don’t always work out and the world is not perfect. That’s why you have a Plan B. You first priority as a Commander is to get your troops home safe and sound, and when there are lives on the line you do whatever you have to do to survive. If all else fails use explosives to destroy cover, destroy vehicles so they explode next round (if you see a flame on a vehicle they will explode the next turn) forcing the enemy to move thus triggering a Overwatch reaction shot, or blow all of the aliens sky high with a well-placed rocket to the face. By the way there are two ways of getting EXP a) killing aliens b) surviving missions. That’s why it is a good idea to bring along one rookie if you want to give the rookie EXP without having to babysit him or her.
Pray to the dice gods and hope that you have minimized the risks that your soldiers take on battlefield enough, so that no one dies. If you some gets wounded or worse gets killed don’t worry this is game about risk management, not risk elimination. What I’m saying is that you will lose soldiers and your soldiers will get hurt, but you have to keep on pushin’ ‘cus Earth ain’t gon’ save itself.
There’s no time limit, except for on Bomb Disposal missions who effectively have a time limit. After finishing off some scumbag aliens make sure to reload and wait for your abilities to cool off. As long as you don’t move your squad Commander your squad should be safe, unless a group Heavy Floaters disrupt your reloading party by rushing into your LOS. Patrolling units are not pleasant.
Using the Arc Thrower and placing your stunned aliens in Alien Containment will grant you Research Credit. For example capturing a Sectoid will double the research speed for all Beam Weapons (see the Research section). But be aware that you put your soldiers in a lot of danger when trying to use the Arc Thrower because it has a very limited range. The range is indicated by a circle with small lighting symbols on it that you see when selecting the thrower on your HUD (heads-up display). I would advise you to be careful and try to use the Arc Thrower as much as possible, but keep in mind to have a Plan B if it fails.
My most successful tactic is to back the alien into a corner, meaning you have one soldier suppress the alien and the rest of the squad Overwatch -behind cover of course- and try to be fairly spread out if the aliens has grenades. I can’t guarantee this but, most of the time the alien simply does nothing at all or scream for help.
Rules of Engagement*
*Rules always have exceptions. That’s what makes them rules.
Before deploying:
- Always bring with you at least one Arc Thrower, one Medikit and one of each class.
- If you are going to do a very hard mission like the early Council missions, Terror mission or story mission remember to always bring your A-Team and your a-game.
On the battlefield:
- Always have a backup plan, a.k.a. Plan B.
- Always check what your options are for eliminating your enemies.
- Identify the greatest threat and put that enemy on the top of your kill list.
- Aliens will always attack the member of the squad that has the weakest Defense, so if you leave a guy standing out in the open it won’t help to Hunker Down with the rest of your squad.
- Remember to always position your Sniper on the high ground and your Heavy with a clear LOS in the direction that the aliens are coming from. This is why when we advance we always give our Heavy and our Sniper good positions and full-cover. Assault has Run & Gun and has to get dirty some time, i.e. get close to the enemy. Support can move into cover and shoot in one turn, unlike Sniper who needs 2 APs to shoot and Heavy who could have to shoot two times in a row or use a rocket. In practice this means that Support and Assault stand out in the open when no aliens have been engaged.
- Explosives are Plan B, unless you want to use them to remove cover from the aliens, so try to avoid killing enemies with them. If you kill enemies with explosives you don’t get any weapon fragments or any other item for that matter, except for Chryssalids ; those bastards don’t drop anything so you can blow them to smithereens. You should also praise the lord that grenades never miss; they will be your lord and savior.
- If you realize during a turn that you can’t kill all of the aliens try to minimize the risk of your squad getting wounded or killed by: moving into full-cover (or out of the aliens’ LOS), drop some purple smoke or Hunker Down. For your information, smoke makes everyone in the smoke cloud harder to hit, even aliens.
- Be very cautious when flanking, you don’t want to have to fight anymore enemies at a time then you have to. The safest way to flank is to either: flank close to the enemy (i.e. within your squad’s LOS) or flank with your back against the edge of the map or some building.
- Spread out your squad to avoid area of effect attacks, like Poison Spit. This can obviously be skipped if you are encountering enemies that don’t have such capabilities.
- If given the opportunity, try to use your Arc Thrower as much as possible, but remember always have a backup plan. You don’t want to take a Plasma Rifle shot to face when standing out in the open.
- There’s no use for excessive force, in practice that means that when the extra damage is not needed to kill an enemy use your pistol instead. That way you save ammo for targets that need to taste high caliber rounds.
- Make sure to keep track of the number of aliens you have engaged. Commanders do this so his or her squad doesn’t get surprised by an enemy that they engaged earlier.
- Listen closely for cues on what you are up against and pay attention to what direction the aliens are coming from, as to not get surprised or even worse flanked.
- Make sure to reload, wait for your abilities to go off cool-down and carefully contemplate if you should patch up your squad-members, or save it for disaster relief after the next engagement.
Things to note about the enemy A.I.:
- If the enemy didn’t dash, shoot or do anything else that requires 2 APs assume that they are on Overwatch, even if you didn’t directly see them Overwatch.
- Overwatch will most of the time just make sure the aliens don’t move. The A.I. is smart enough not to give you a free reaction shot.
- Hunker Down is literally a life-saver. The only thing Hunker Down won’t protect against is flanking. I know it makes it so that aliens can’t crit but you also lose the Defense bonus from cover if flanked and that is the primary bonus of Hunker Down.
Base Management
Your number one priority should be to get enough money (or whatever bloody currency this § is) to cover the Earth in satellites. If you play your cards right you could need 16 satellites, but it’s more likely that you will lose a few countries along the way. So make sure that you build enough Uplinks, Nexuses and satellites. You may want to visit the Gray Market and sell things that you don’t need because then you can invest in more satellites, which in the end will give you much more money, much earlier. Be careful though and make sure that you have enough materials to keep your scientists busy; you don’t want to ever stop researching. You can also get a lot of money by delivering on the requests of Council members, most of time it’s worth it and if you don’t need it you should definitely sell it, or if you can spare the materials to create the things Council members want and then sell it. The last way to get money is to select missions with cash rewards. You can also save a lot of money by only having enough equipment for one squad. It’s a pain to remove all of the equipment when switching squad-members, but if you want to save money you might want to consider it. My last tip is to start using your Arc Thrower immediately, because then you will get aliens weapons for free, instead of having to manufacturing them. You don’t need to research Alien Grenade, but all of the other alien weapons you need to research before you can use them.
I would put off the main story research projects* (they are indicated by PRIORITY) and make sure that I get some armor, weapons and some usable items for your Interceptors. If at all possible you want to skip all of the Laser Weapons (note that this is very hard to do when playing on Impossible) and instead upgrade all of the other things like armor, weapons, Interceptors weapons and usable Interceptor items. If you hang tight you will eventually encounter a Muton and if don’t blow it sky-high you can research Plasma Weapons by stunning him with your Arc Thrower. Getting an early interrogation is something you should try to accomplish.
*The one expection being Xeno-Biology and Arc Thrower, of course.
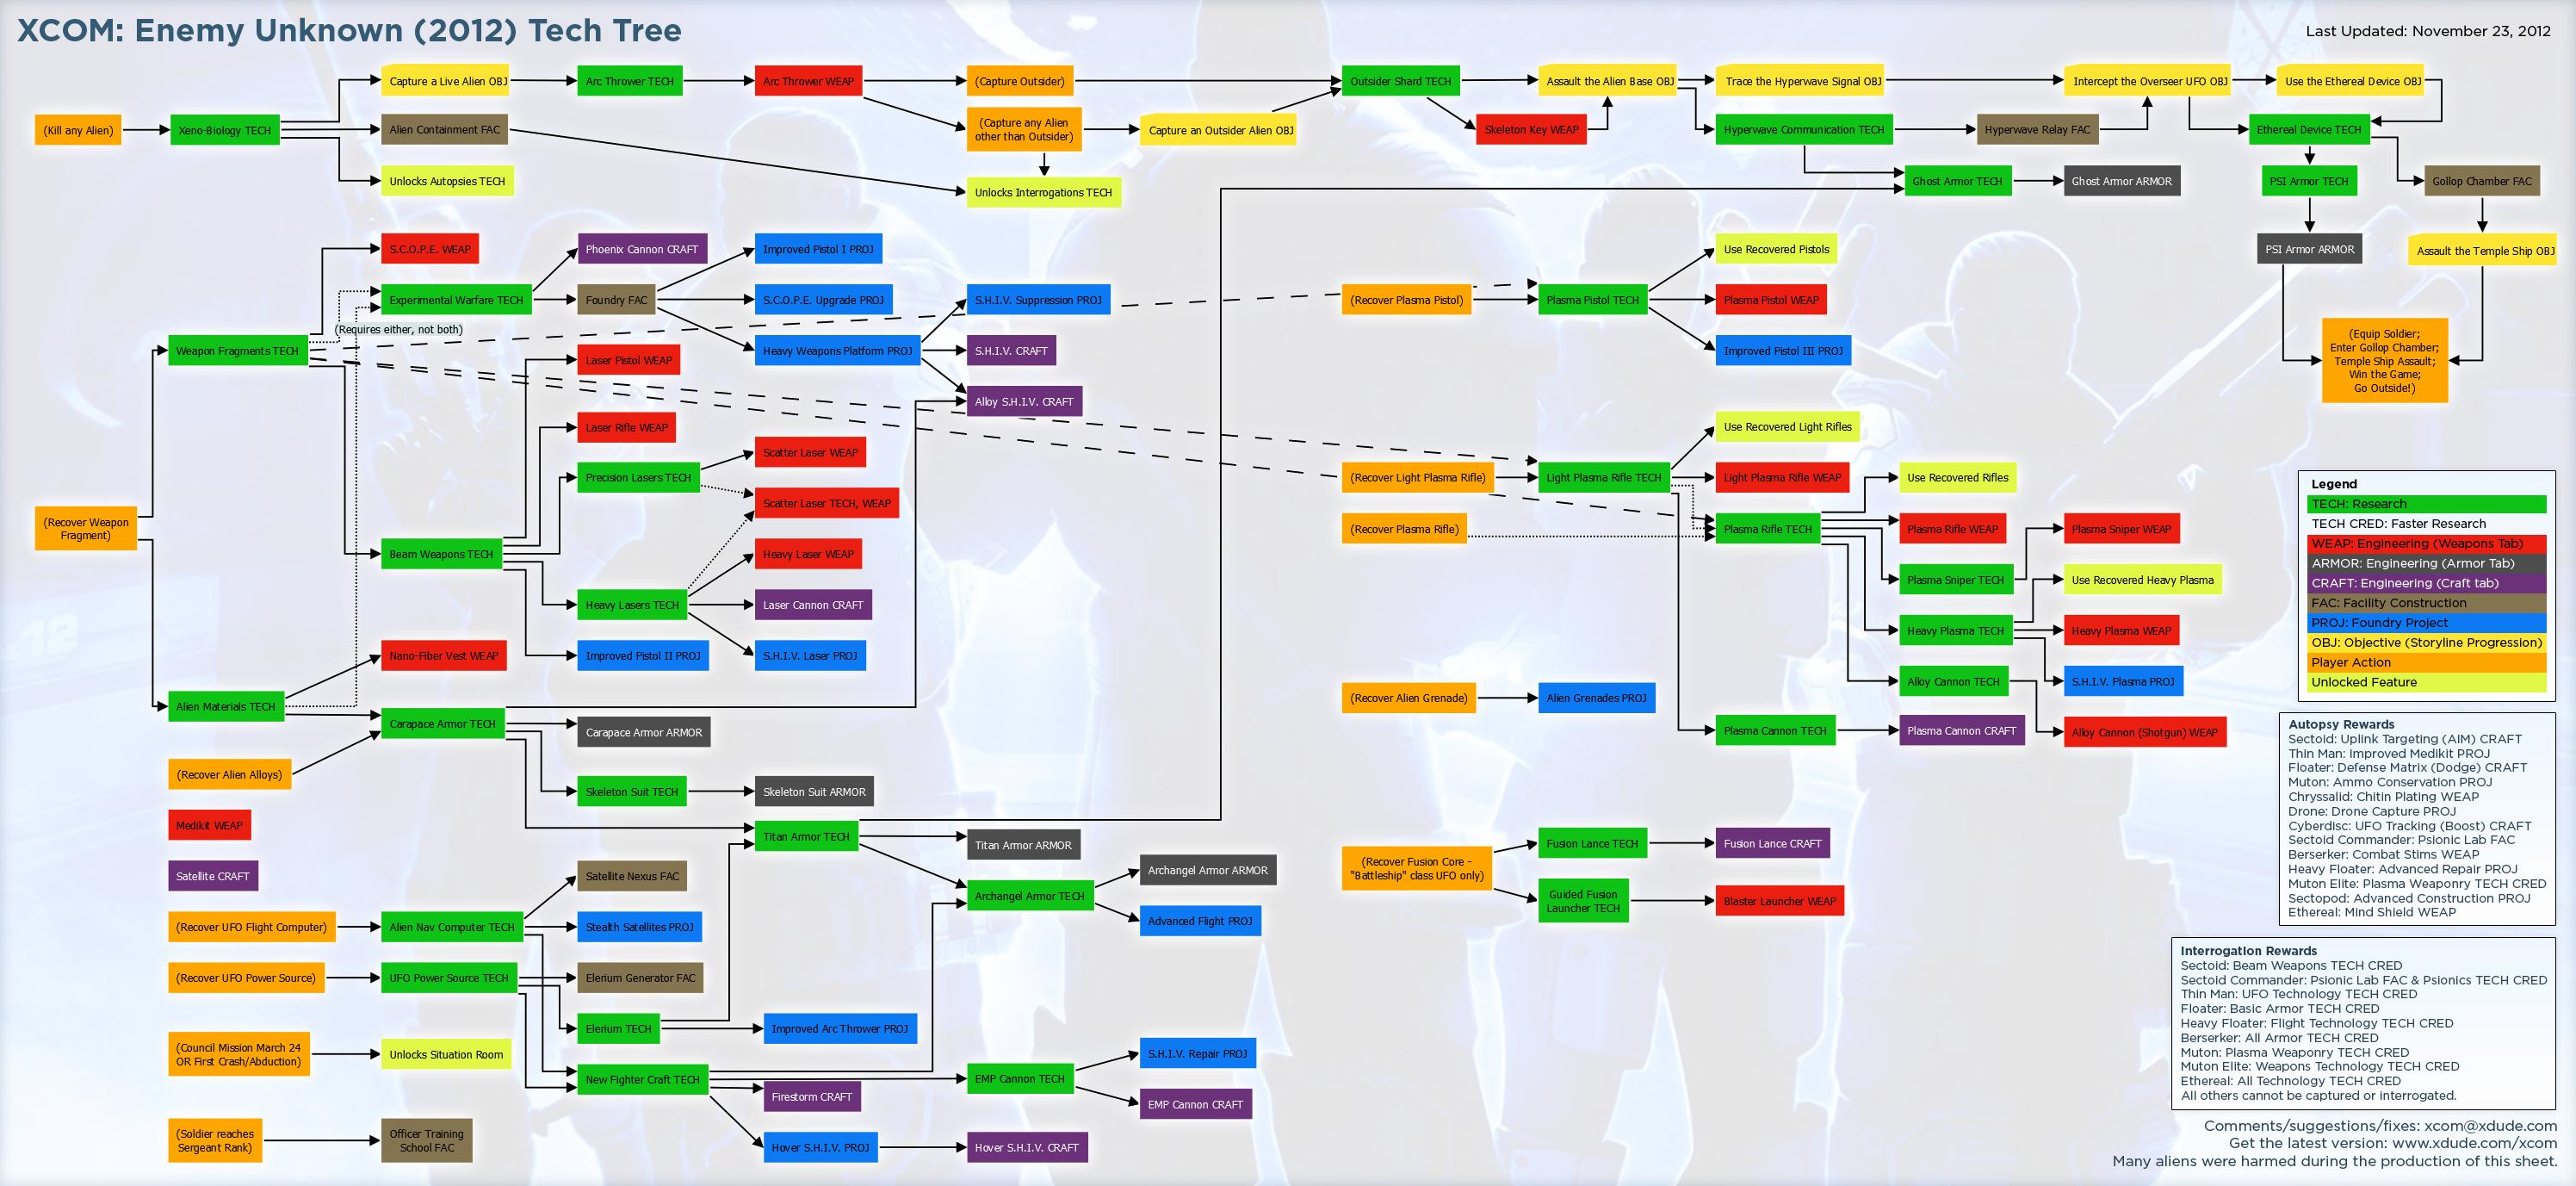
When choosing what to research make sure you research the best version, for instance if you had to choose between a Laser Rifle and a Plasma Rifle you would obviously choose a Plasma Rifle. There is a simply color pattern that tells you what’s best when it comes to weapons. From deadliest to least deadly: orange (e.g. Alloy Cannon), green (e.g. Light Plasma Rifle), red (e.g. Laser Rifle) and boring brown (e.g. Assault Rifle).
Simply put; upgrade all of the things that you use often, e.g. Medikits, Arc Thrower, etc.
Remember to keep excavating and building lifts to make sure you can place all your buildings that have adjacency bonuses adjacent to each other. I suggest you leave an extra column for buildings that are required for the story to progress. Additionally, quality over quantity, i.e. if you can build Thermo Generators and Power Generators go for Thermo Generators, if at all possible.
Remember to always keep building generators so that you can have a steady flow of construction going on in your ant-farm.
If a country gets a panic rating of five there’s a chance that they will leave at the end of the month. The only other way to make a country leave the Council is to fail a terror mission in that country. That’s why terror missions are really important. And the only way to fail terror missions is to either abort the mission or kill all of your squad-members.
It’s of great importance that you wait until the day before the last day of the month to launch your satellites, and that you manufacture them in advance. Don’t be an idiot (like me) and create them one at time, when you can order how many you like in a single order and it takes the same amount of time as producing one. In other words, an order takes ten days to complete regardless of how many satellites the hypothetical order in question contains. Good Commanders do this because you don’t know what is going to happen during the month. Ideally we don’t want to have to “save” Council members, by launching a satellites when they are at a panic rating of five; instead we want to make sure we get the best continent bonuses. There’s no point in being naive though, you’re not perfect you are probably not gonna be able to save them all. You need to know a lost cause when you see one. Chasing after all of the continents is just gonna make sure you end up with bad bonuses and in the end make you a worse Commander for it.
Target Extraction is one of the mission types that are featured in Council missions; the rest of the types are: Target Escort, Asset Recovery and Bomb Disposal.
There are four ways of reducing panic in a country or region.
1. A successful crash site mission will reduce panic in the country you completed the mission in by 2 points.
2. Some Council missions have panic reduction as a reward that you get if the mission is successful. The panic reduction affects the whole region (e.g. Europe) and reduces the panic by 1 point (usually).
3. Launching a satellite in a country will reduce panic in the country that you launched the satellites in by 2 points (or more if you a Council-member requested it). That’s another reason why we wait to launch our satellites until the last day of the month.
4. Doing the [mid-game spoiler]Alien Base Assault story mission will reduce panic by 2 points worldwide and you can do this mission at any time if you have the Skeleton Key. That’s why I would advise any Commander to do this mission when you have no other way of reducing panic. It’s basically a Get-Out-of-Everyone-Leaving-The-Council Card™ that you can use if you need to focus on other things and can’t pump out satellites every month.
5. A successful terror mission will reduce panic (by 2 points) in every Council members that’s a part of the region that the terror mission took place in.
World Broadcast Network, really?
This means that the optimal strategy is to keep as many countries from leaving as possible and also getting those satellites up and running as soon as possible, this means that Alien Nav Computer (for more information see the Research Tree) is a top priority. You will also need engineers (in early to mid-game you want to get these from mission rewards), Interceptors, Satellites Uplinks and Power Generators early game to get those satellites up and running. Remember to always cover your satellites with Interceptors otherwise you have to let pesky aliens escape your wrath and then alien ships will shoot down your very valuable satellites.
Class Breakdown
Role
The Heavy is Plan B when in a pickle. Heavy weapons guy will blast clusters of enemies and keep everyone alive when all else fails. The Heavy is also our best offence against robotic enemies i.e. Drones, Sectopods and Cyberdiscs.
Skill tree
Bullet Swarm vs Holo-Targeting
For +10 Aim it is not worth then it is better to take another shot. Buy a S.C.O.P.E. for your Sniper instead.
Shredder Rocket vs Suppression
Shredder Rocket is perfect for removing cover and maiming your enemies and late game it’s going to make in handy when the you meet stronger aliens. That being said Suppression is still a good ability as well, so you might want to have two Heavies one with Suppression and the other with Shredder Rocket.
You can stop an over-watched enemy from getting a reaction shot by suppressing him. If you don’t have Suppression available and you know the enemy has activated Overwatch you can dash to decrease their hit chance. That’s why we always remember to bring at least one suppressor with us on each mission.
HEAT Ammo vs Rapid Reaction
I think Rapid Reaction is very situational and because of the Aim penalty that reaction shot suffer from it’s highly unlikely that this skill will pay off.
Grenadier vs Danger Zone
Highway to the danger zone. Ride into the danger zone. [open.spotify.com] Top Gun references aside; ideally you don’t want to use grenades and grenade damage falls off pretty quickly. Daaaaaaaaaaaanger Zone is much better allowing you to suppress clusters of enemies or shred even more of them.
Rocketeer vs Mayhem
Mayhem is way better late game when you have all the cool tech. So instead of firing two rockets you can do more damage with one. I think Mayhem is a no-brainer.
Role
The Support is exactly what it says on the tin. He or she will prevent disasters and be there to patch you up when ♥♥♥♥ hits the fan.
Exhibit A of ♥♥♥♥ hitting the fan.
Sprinter vs Covering Fire
Sprinter is by far the best because it gives the ability to move further and then throw a smoke or a grenade (with Deep Pockets Support can pack a Medikit and a grenade). Given the aim penalty on Overwatch reaction shots Covering Fire is not that useful and very situational.
Field Medic vs Smoke and Mirrors
I would not trust an ability called Smoke and Mirrors [canned laughter]. Anyway, given my tactics I would go for Field Medic because then I only need one Support with me and can bring more damage i.e. Assaults, Heavies or Snipers.
Revive vs Rifle Suppression
Ideally you can prevent a potential kill with Rifle Suppression and you want your Heavy to be available to shred some aliens.
Dense Smoke vs Combat Drugs
It’s a hard choice but I would recommend Dense Smoke because it’s more versatile and Psi enemies are fairly rare.
Savior vs Sentinel
Again, it’s a hard choice to make. I would go for Savior to complete the perfect healing focused Support.
Role
The Assault will charge and flank the enemies dealing massive damage. Very high reward accompanied by very high risk. They are perfect for when you need to take out a dangerous enemy in just one turn.
Skill tree
Tactical Sense vs Aggression
It’s very rare that you have 4 enemies in sight (giving you +20 Defense), and if you are playing like this guide says you won’t. So because of this playstyle Aggression is much more useful in tight spots. Especially in the late game when taking out enemies in one turn is the optimal way of playing and then Aggression is perfect for ghosting up and shooting a Sectopod in the face.
Lightning Reflexes vs Close and Personal
No contest, you will undoubtedly encounter overwatched enemies as it’s a very common attack. And Ghost Armor completely negates Close and Personal.
Flush vs Rapid Fire
I’m having a hard time trying to see the purpose of Flush. It’s to random for my taste and the massive damage of Rapid Fire is too good to pass up.
Close Combat Specialist vs Bring ‘Em On
In the early game it is fairly hard to crit unless you flank (which could invite more enemies) and therefore Bring’Em On is weak early game. And pointless late game because a few points of damage does not matter. That’s why I’m going with Close Combat Specialist.
Resilience vs Killer Instinct
Resilience is amazing in a pinch when the aliens are lucky. Killer Instinct is also very good when you need to charge and take out a strong enemy like a Sectopod. It’s a hard choice, personally I would go with Resilience.
Role
The Sniper will stay in the back and deal massive damage, without putting his or hers on the line, high reward with very low risk.
Skill tree
Snap Shot vs Squadsight
No question about it, Squadsight it’s.
Gunslinger vs Damm Good Ground
Damm Good Ground is good, but only on open maps, and it’s a bit of a pain in the ass to set up. If you’re looking for a good early game perk I would go with Gunslinger, because then you can do an amazing amount of damage really early.
Disabling Shot vs Battle Scanner
Like I said earlier Flush and Disabling Shot are situational and I find them not so useful most of the time. With Battle Scanner -if you use it right- you can detect enemies from a distance without engaging them. With Squadsight you can snipe these enemies while they are unaware because the Battle Scanner acts an ally, it will literally warn you if you try to blow up your battle-scanner.
For your information Disabling Shot makes it so that dangerous enemies like Muton Elites and Sectopods can’t fire their main weapon, which buys you time to kill them. That’s worth considering when making this choice.
Executioner vs Opportunist
+10 Aim is not that much and I find it that there are very few times then my Sniper shoots at enemies that have below 50% health. Opportunist is amazing combined with Squadsight and Archangel Armor.
In The Zone vs Double Tap
With all of the aforesaid skills and Archangel armor Double Tap is a must. This will turn your Sniper into a no-scoping long-range killing machine. In The Zone is just too situational and you will Double Tap a lot because ideally you want your Sniper in the back protected by your other squad-members.
Although I don’t object to In The Zone it just doesn’t fit my particular playstyle and I’m sure there are some Commanders that swear by it.
Squad Tactics
After publishing this guide I got some well-deserved criticism and I learned something about my strategy. Ultimately it sparked this section so thank you http://www.reddit.com/r/xcom for providing that feedback. And I know this may sound weird coming from the guy who made the arrogantly called “The Optimal Strategy 2.0”, but hear me out first.
Originally posted by Wikpedia:Synergy is the interaction of multiple elements in a system to produce an effect different from or greater than the sum of their individual effects.
I would take squad synergy over my particular skill specification any day, because I wouldn’t say that any particular skill in one of the skill trees is bad, except Snap ♥♥♥♥. When I try to motivate my preferences (see Class Breakdown), it comes down to my peculiar strategy and is not at all an objective assessment. The main point is that the more your squad synergizes the better. Here’s an example of an alternative to my own recommendation; meet the Executioner also known as the Gunslinger who is always In The Zone. And his best friend the Shredder, who can take the HEAT and is known in his hometown of Badassery as the Grenadier a.k.a. the Rocketeer depending on whether he wants to blow alien scum mid to low high or sky ♥♥♥♥♥♥♥ high. Accompanying these two badass ♥♥♥♥♥♥♥♥♥♥♥♥♥ we have the Assault, who has an Aggression problem, with a Killer Instinct whose tagline is Bring ‘Em On.
The aforementioned group of collateral damage deniers is an alternative to my regular six man team that I described in Class Breakdown. All of classes still serve the same purpose but this time they do it a bit differently. This team, that I will call B-Team from now on, relies on a Squadsight Sniper that will wreck havoc killing everything that does not have cover. Speaking of, the main objective of our Heavy is to destroy all of the enemies’ cover, which should be simple with 1 Shredder Rocket and 2 regular rockets per battle. Finally we got an assault (or assaults) that will clean up after the Sniper, i.e. hopefully kill the ones that still are in cover or have been maimed but not killed.
My personal preferences are not very good in indoor environments or cramped maps that don’t allow for good high ground for my Sniper. No tactic is perfect and mine is definitely flawed on certain maps. On other hand the B-Team shines on almost all maps and does more collateral damage, but that’s the price you pay for badassery.
I would generally go with:
1 Support
2 Heavies
2 Assault
1 Sniper
The only rule of thumb that you need to stick to is to always bring with you at least one of each class. All of the classes have their roles and you will need them all.
Again, you can pray to the dye God that you will get one of each class and not 4 Heavies in a row. That’s one of the those “That’s XCOM baby”-things. Sometimes you are just unlucky early in the game and it could screw up the basis for your squad.
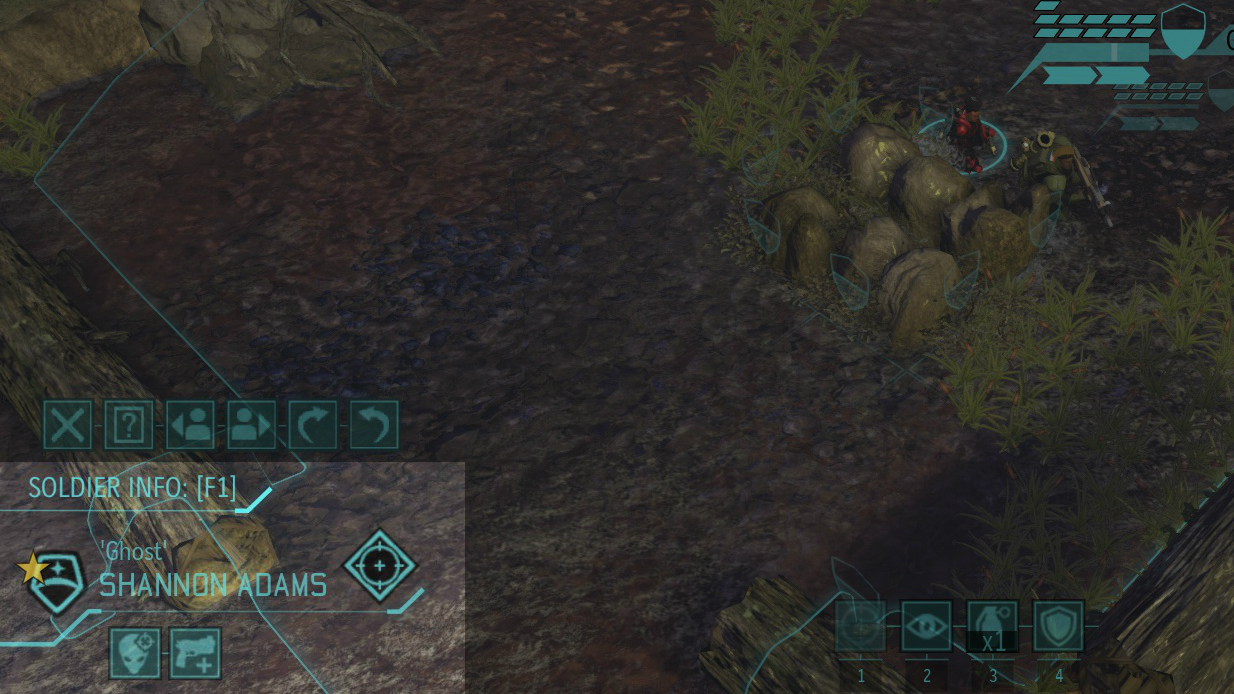
If you look at your HUD when on the battlefield and tab through your soldiers you will notice a star in the bottom left corner; this star indicates that this soldiers is the squad leader and if he or she dies the rest of the squad gets temporary Will debuff.
Combat Armor
Originally posted by Body Armor Tooltip:XCOM soldiers will appreciate it if better armor development is given a high priority.

I would advise you to skip Carapace Armor if you have access to Skeleton Suit, because it’s so much better. I wouldn’t give up Grapple and +20 Defense for 1 HP. That’s about it for the early game. For the late game I would get Ghost Armor for everyone except for Snipers who get Archangel Armor instead. I may throw on Titan Armor on my Support or Assault, if I want to be extra careful, but otherwise I find that Flame resistant and Poison immunity rarely come into play. During the late game Thin Men are easy to kill, and even if you get poisoned the damage is pretty weak, so it’s not that big of a problem and same goes for fire damage from exploding cars etc. Spoiler alert if you have not completed the game yet.Psi Armor combined with Mind Shield is a must when leveling up the Chosen One to destroy the last ship.
[/table]
*grants you invisibility for one turn or until an attack is made and if an attack is made while invisible you have 100% crit chance.
**carries 6 fuel units, or 12 if you research Adv. Flight Foundry Project in the Foundry.
***can also be achieved by equipping a Medikit
Sectoids & Venomous Enemies
This overview will cover all of the aliens’ abilities and may even contain some tips for slaying them. This may seem counter intuitive, but I would suggest that if you don’t want to read this enemy guide that you play the multiplayer part of XCOM: Enemy Unknown. You would have to always play aliens, but still. The multiplayer is okay and great for learning the aliens’ different abilities.
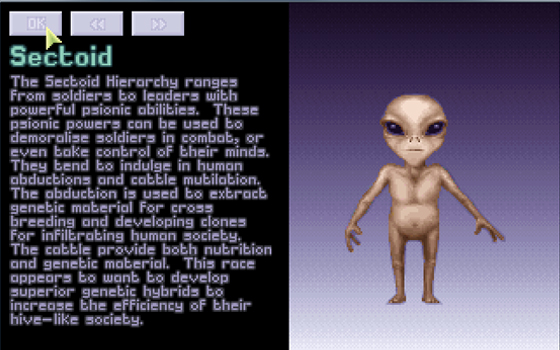
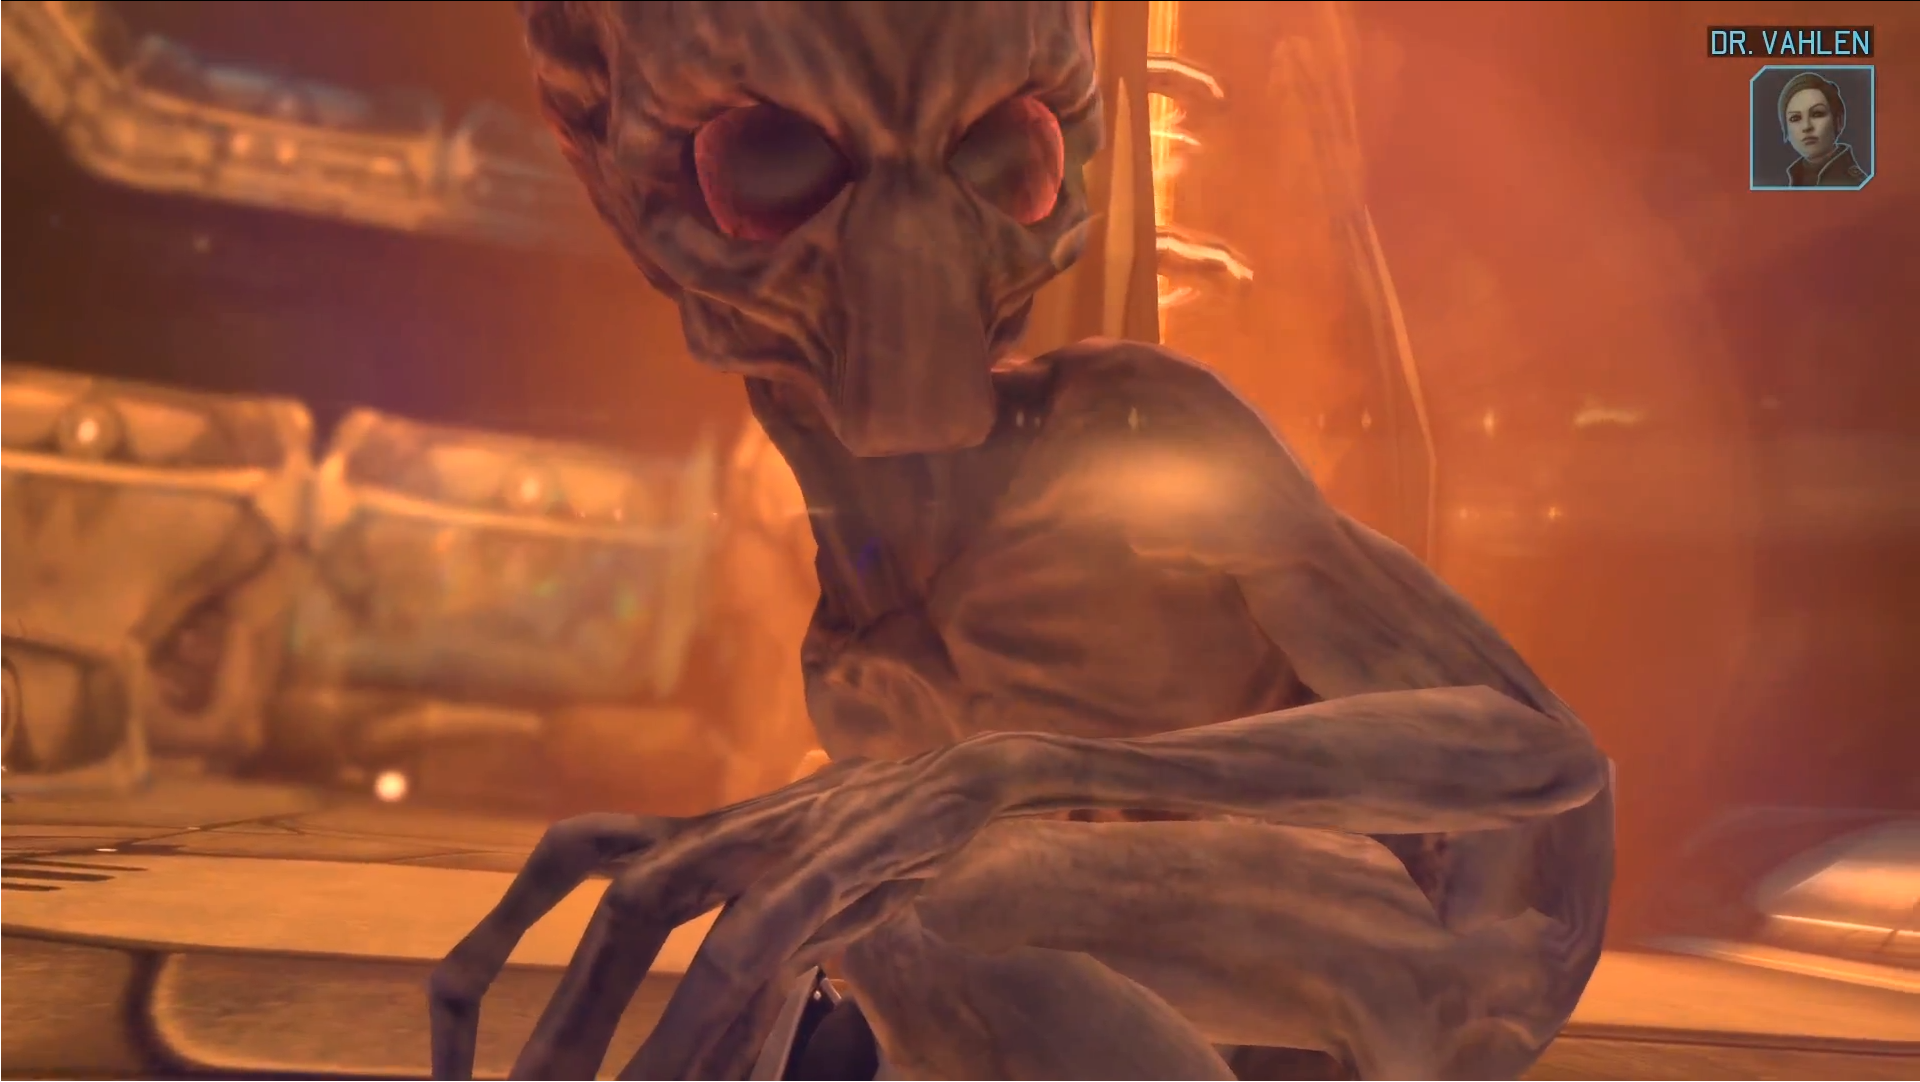
(Sectarian) Sectoid
The first alien you encounter, if you skip the tutorial mission. At any rate, these are small little buggers that will no doubt use Mind Merge and when they do that you need remember who initiated it and focus on him. You don’t even need to see it directly, you use the purple trail that the merger leaves behind to locate and destroy. Here’s a link[sphotos-a.xx.fbcdn.net] to the life-form report, Commander.
I’ll kill you for interrupting my deep and thought-provoking conversation.

Sectoid Commander
The Sectoid is first seen in the tutorial mission. Anyway, the chief will most likely use his psionics abilities, because his Plasma Pistol kind of sucks late game, so beware of that. If one of your squad-members are mind-controlled use whatever disabling and suppressing abilities you have at your disposal.


(Incredibly) Thin Man
Originating from the odd planet of Uncanny we got the vicious creatures the Thin Men. They are painfully accurate and awfully acrobatic enemies to fight. I still remember the time I manage to poison three of my squad-members and my controller – that I have hooked up to my PC – vibrated like all hell. Anecdotes aside, spread out, flank and stay out of that cloud. Here’s a
[i.imgur.com] to the life-form report, Commander.
How come the Thin Man is so uncannily thin? Get the Thin Man diet right now for 14.99$ at frauds.com.


Robotic Enemies
Cyberdisc
Try to save your Headshot for when the Cyberdisc is in open mode and keep your distance so the Cyberdisc does not simply fly past one of your squad-members and flanks him or her. If you have HEAT Ammo and Bullet Swarm make sure to use that Heavy to focus on the Cyberdisc when it’s in disc mode. While in disc mode the Cyberdisc reduces the chance of being hit by a critical hit by 60%.


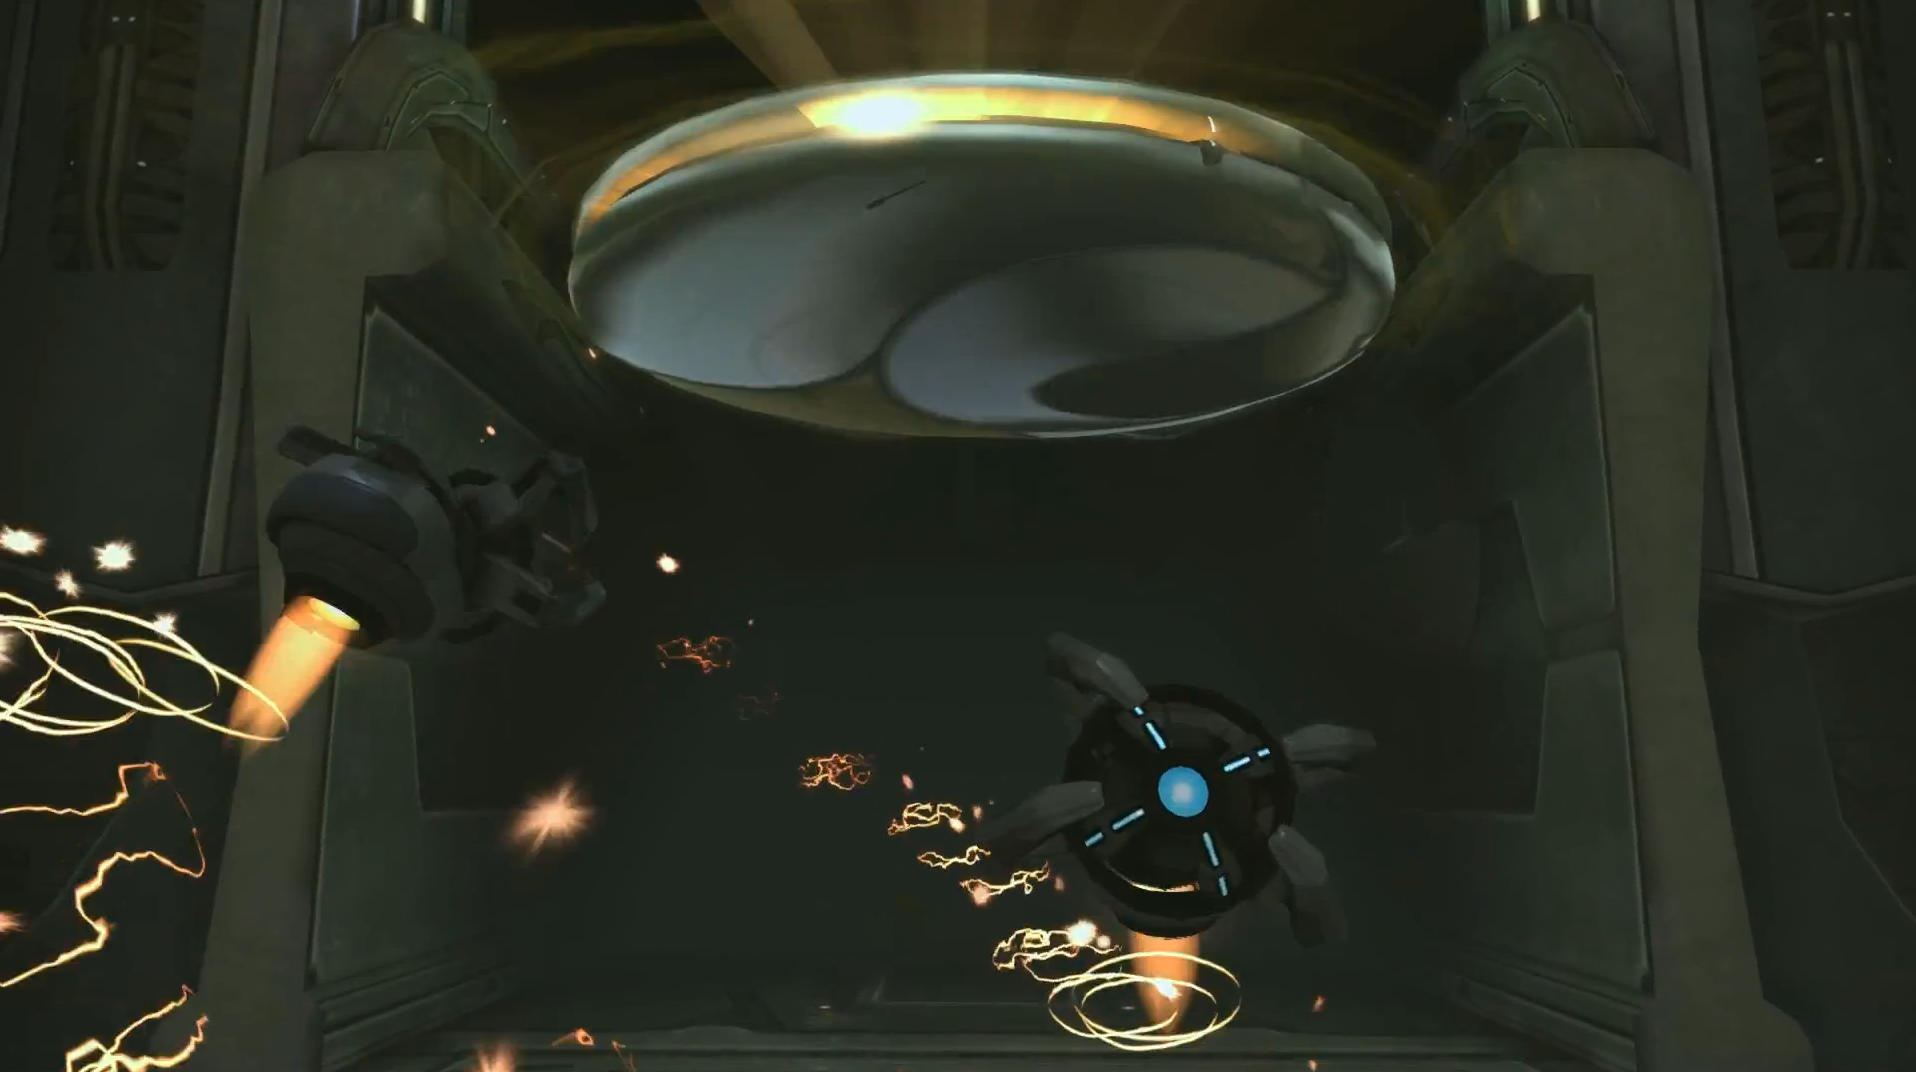
Drone
Should be killed in conjunction with or before the accompanying Cyberdisc or Sectopod.


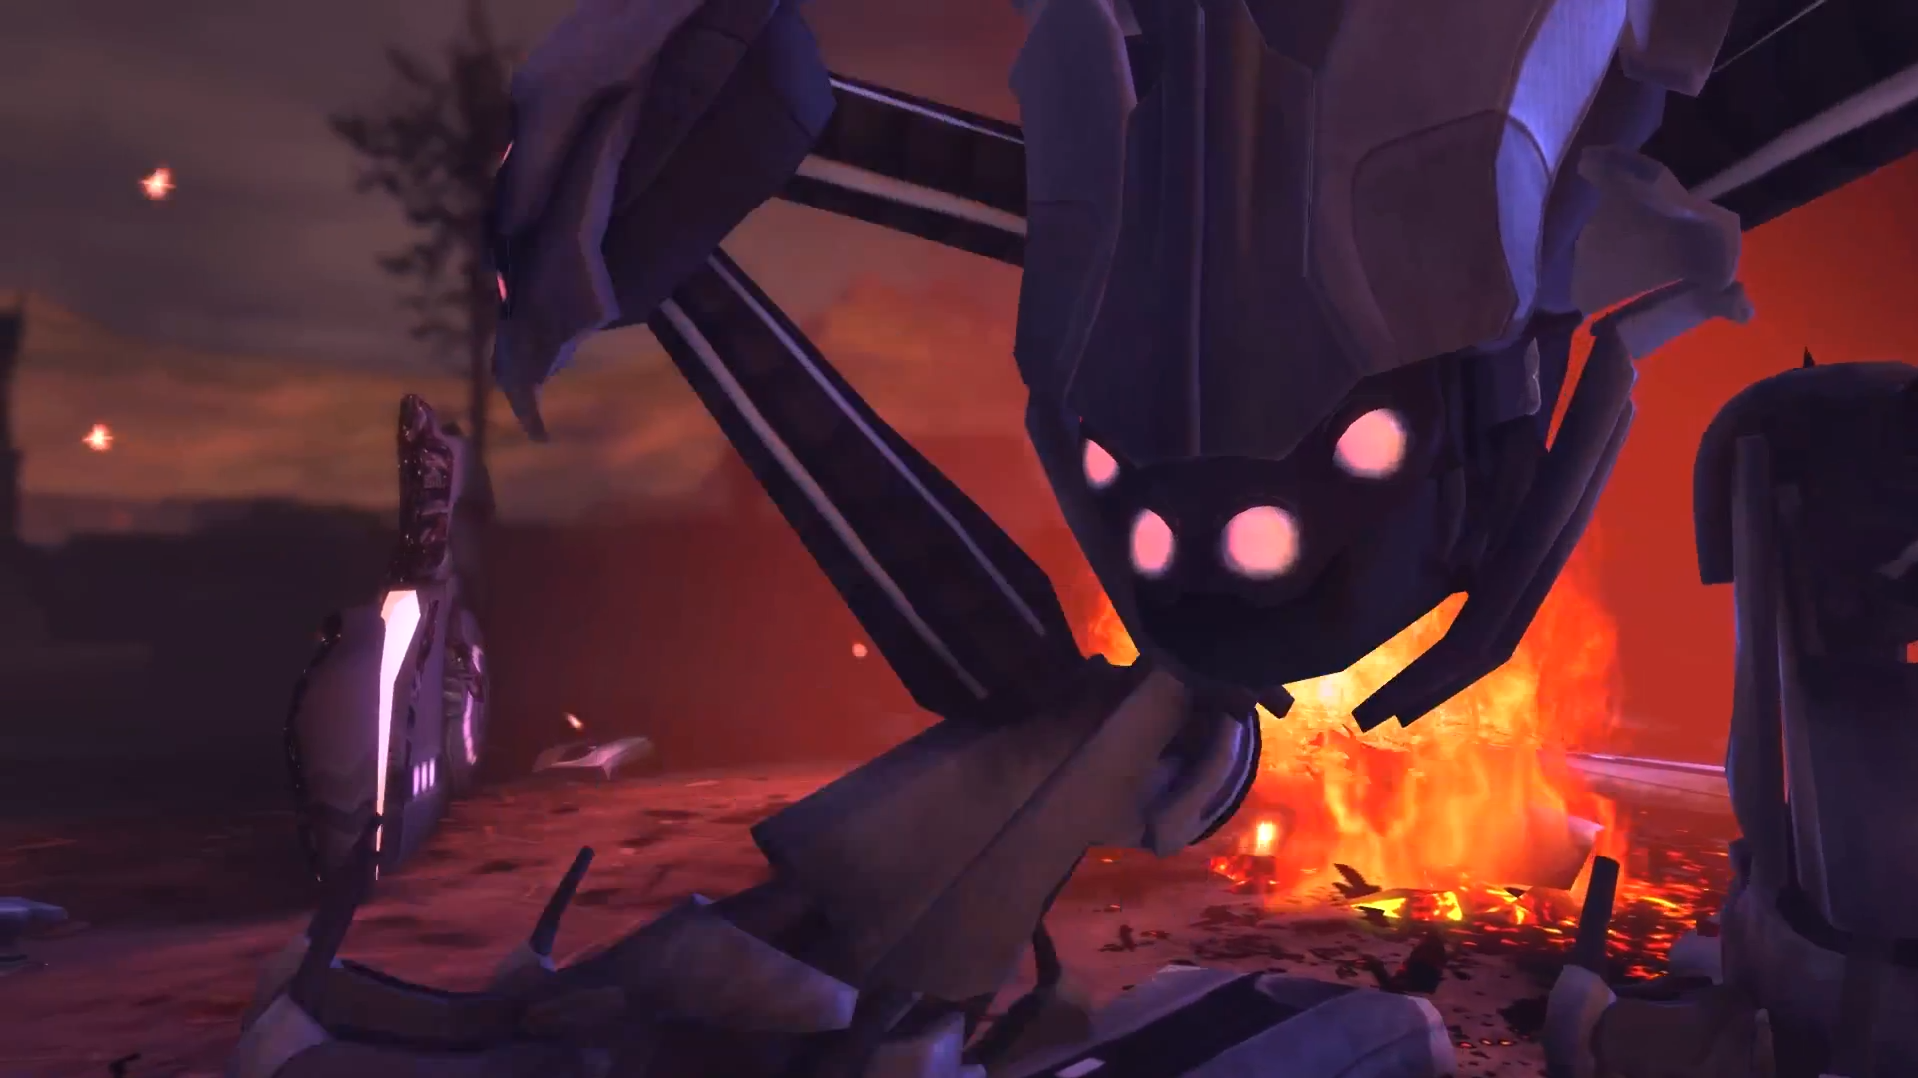
Sectopod
All Sectopods basically have Bullet Swarm because they can shoot two times in one turn if they don’t move. The Sectopod also has a 60% reduced chance of being hit by a critical hit. Fun fact: you can make the Sectopod hurt itself by after knowing it has activated Cluster Bomb move your squad close to the Sectopod. And then you wait for the Sectopod to Cluster Bomb itself.


Mutons
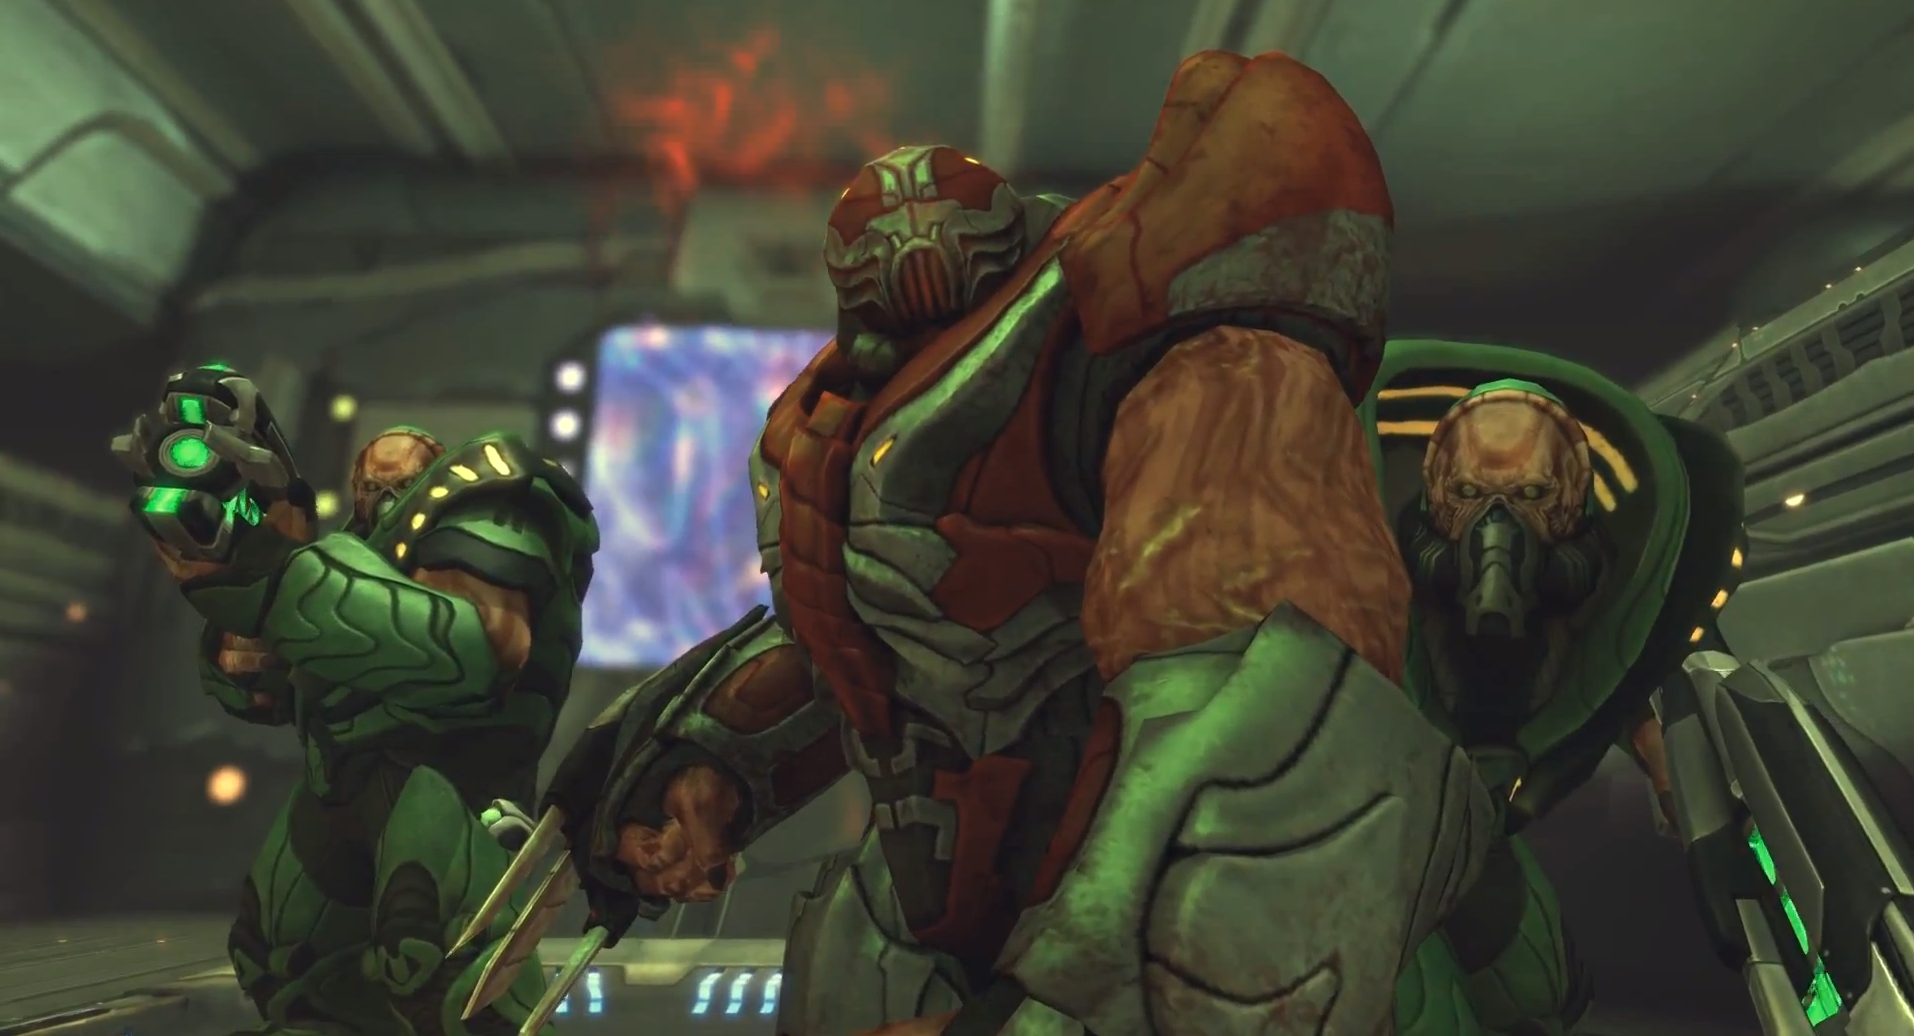
(Teen Age) Muton (Lacking-All-Characteristics-of-Ninjas Turtles)
Watch out for their Alien Grenades and make use of full-cover. If you Overwatch a majority of your squad be sure that one of them will use Blood Call. Mutons can be very lethal with their Plasma Rifles and should be blasted in the face before they can get to you. The gloves are off, so blow up their cover and let ’em have it. Here’s a link[images.wikia.com] to the life-form report, Commander.


Muton Berserker
This Muton type can only attack at close range and it is so hardcore that it reduces the chance of being hit by a critical hit by 20%. However, note that you can “move” the bersekers towards a soldier, by shooting it with that soldier. Using this method you can move the beserkers into range of other squad-members.


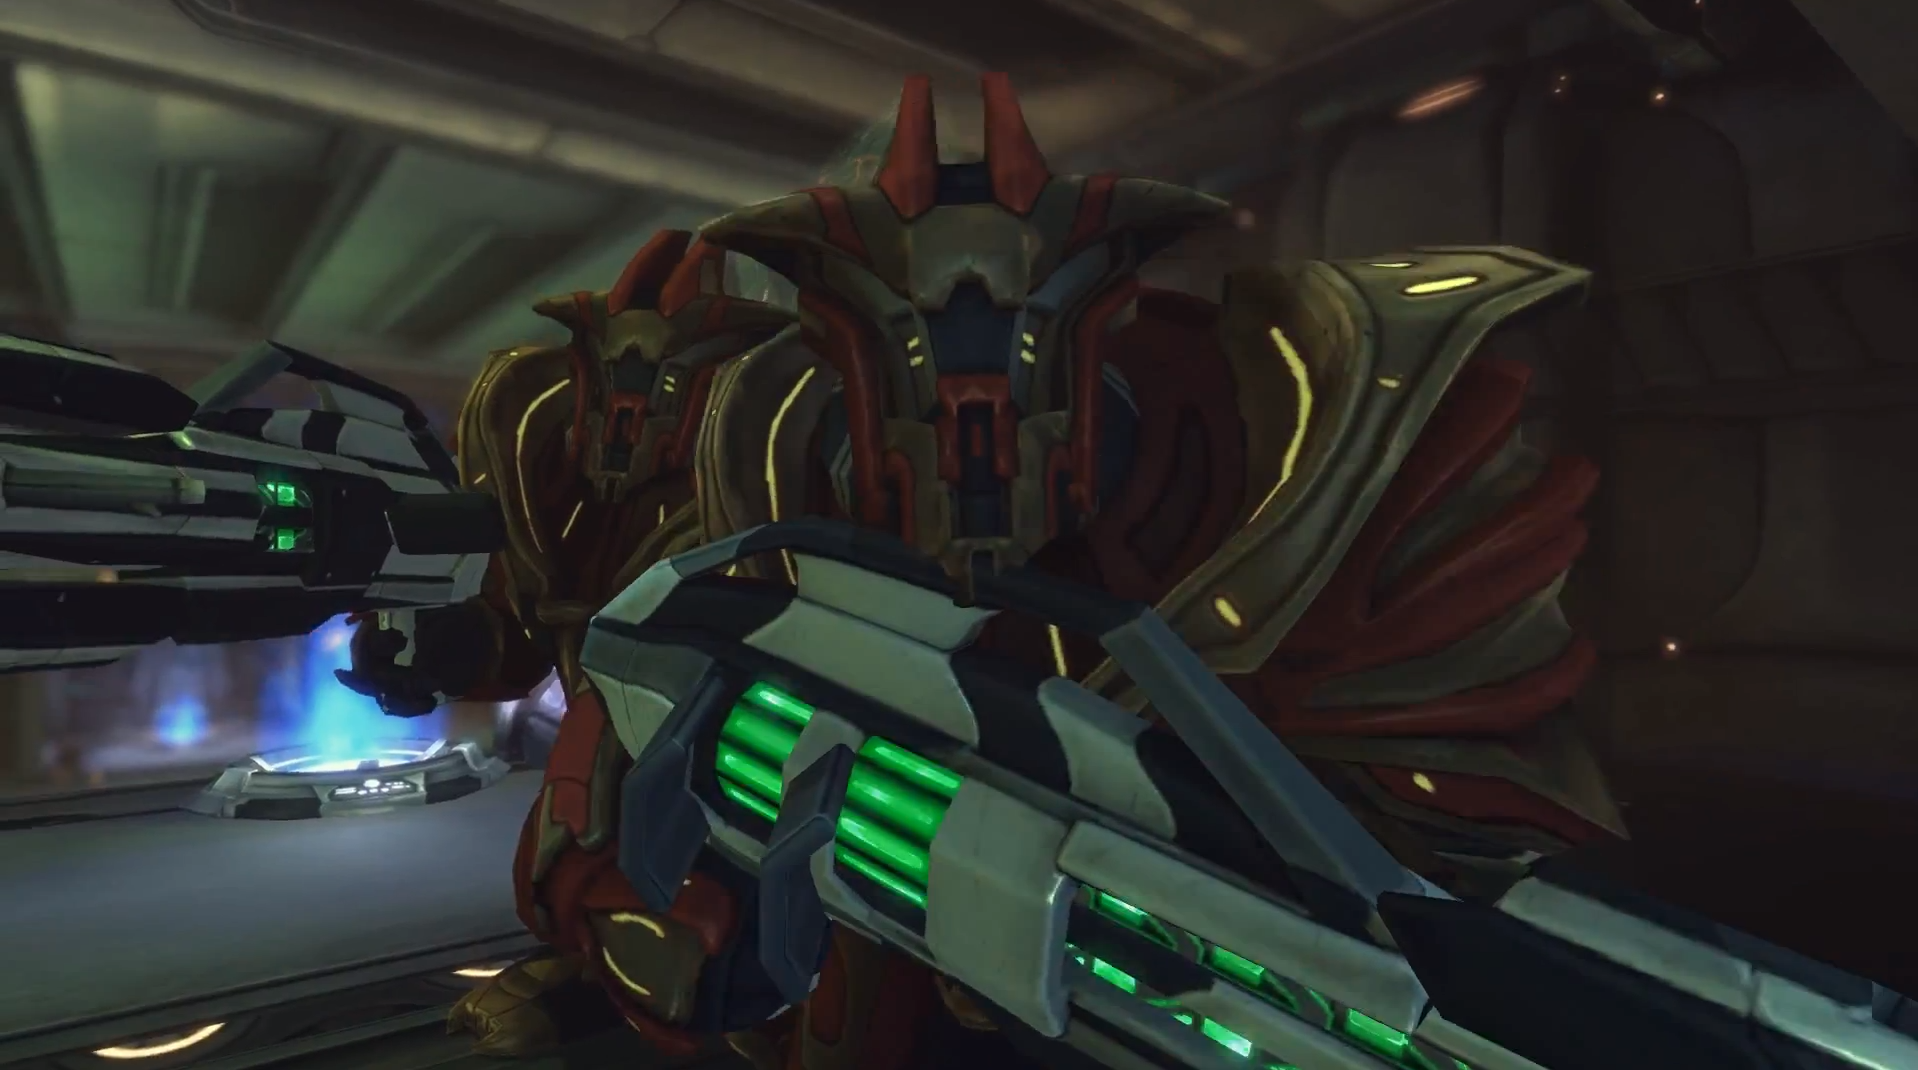
Muton Elite
Not that different from the regular Muton instead just more of everything, except for Blood Call.


Airborne Enemies
Floater
They certainly earn their name because they look like ♥♥♥♥. These so called Floaters can be really harmful if you get flanked by their Launch ability, avoid this by using Overwatch to protect your squad, just in case.


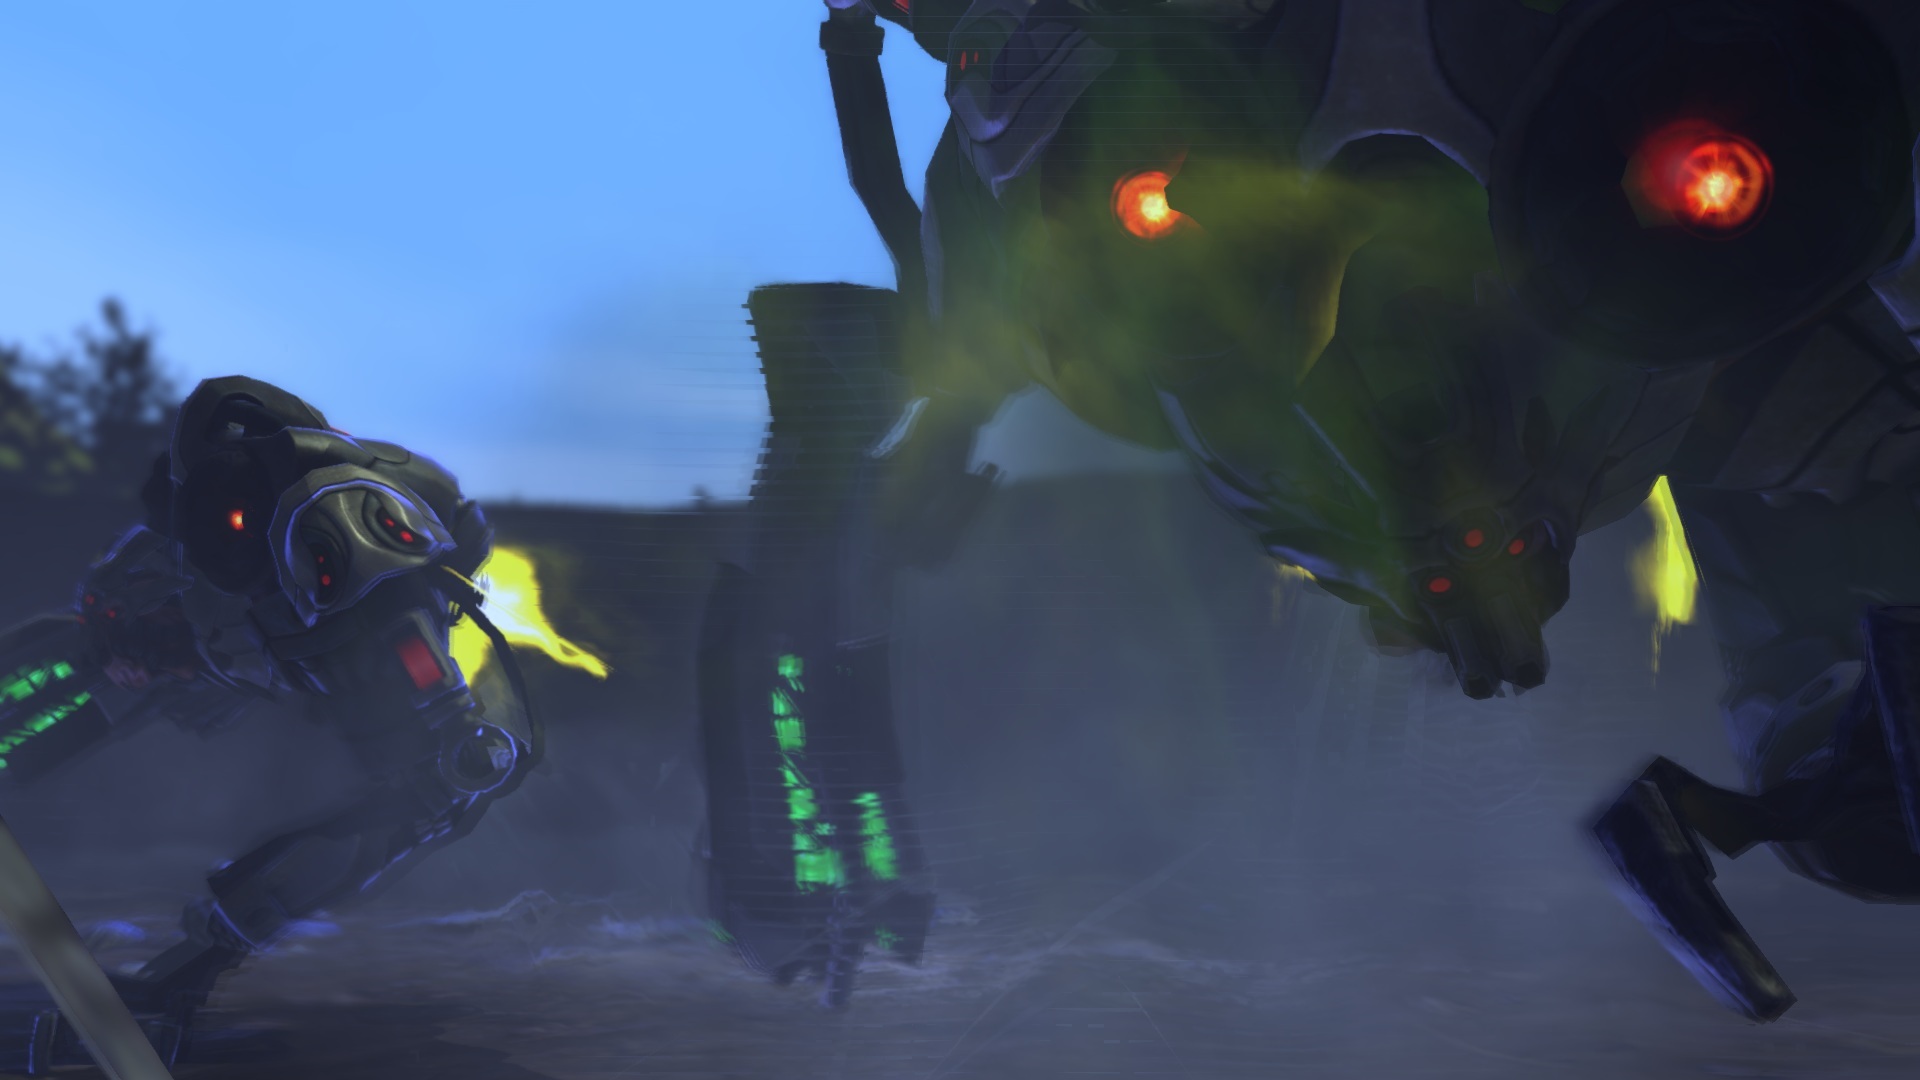
Heavy Floater
Much like the Muton Elite is not that different from the Muton is the Floater not that different from the Heavy Floater. The only thing to keep in mind is that these flying little ♥♥♥♥♥ can throw grenades like a champ. Their most deadly tactic is destroying your cover and then blasting one of your squad-members to kingdom come or flying past you and flank-killing your squad-members.


Miscellaneous Enemies
Outsider
First seen in the first UFO ship you shoot down. [mid-game spoiler] And will disappear from the game once you have completed the Alien Base Assault objective. This is first enemy you encounter that has a Light Plasma Rifle, which means this S.O.B. hits like a truck. Otherwise it’s a pretty standard enemy.
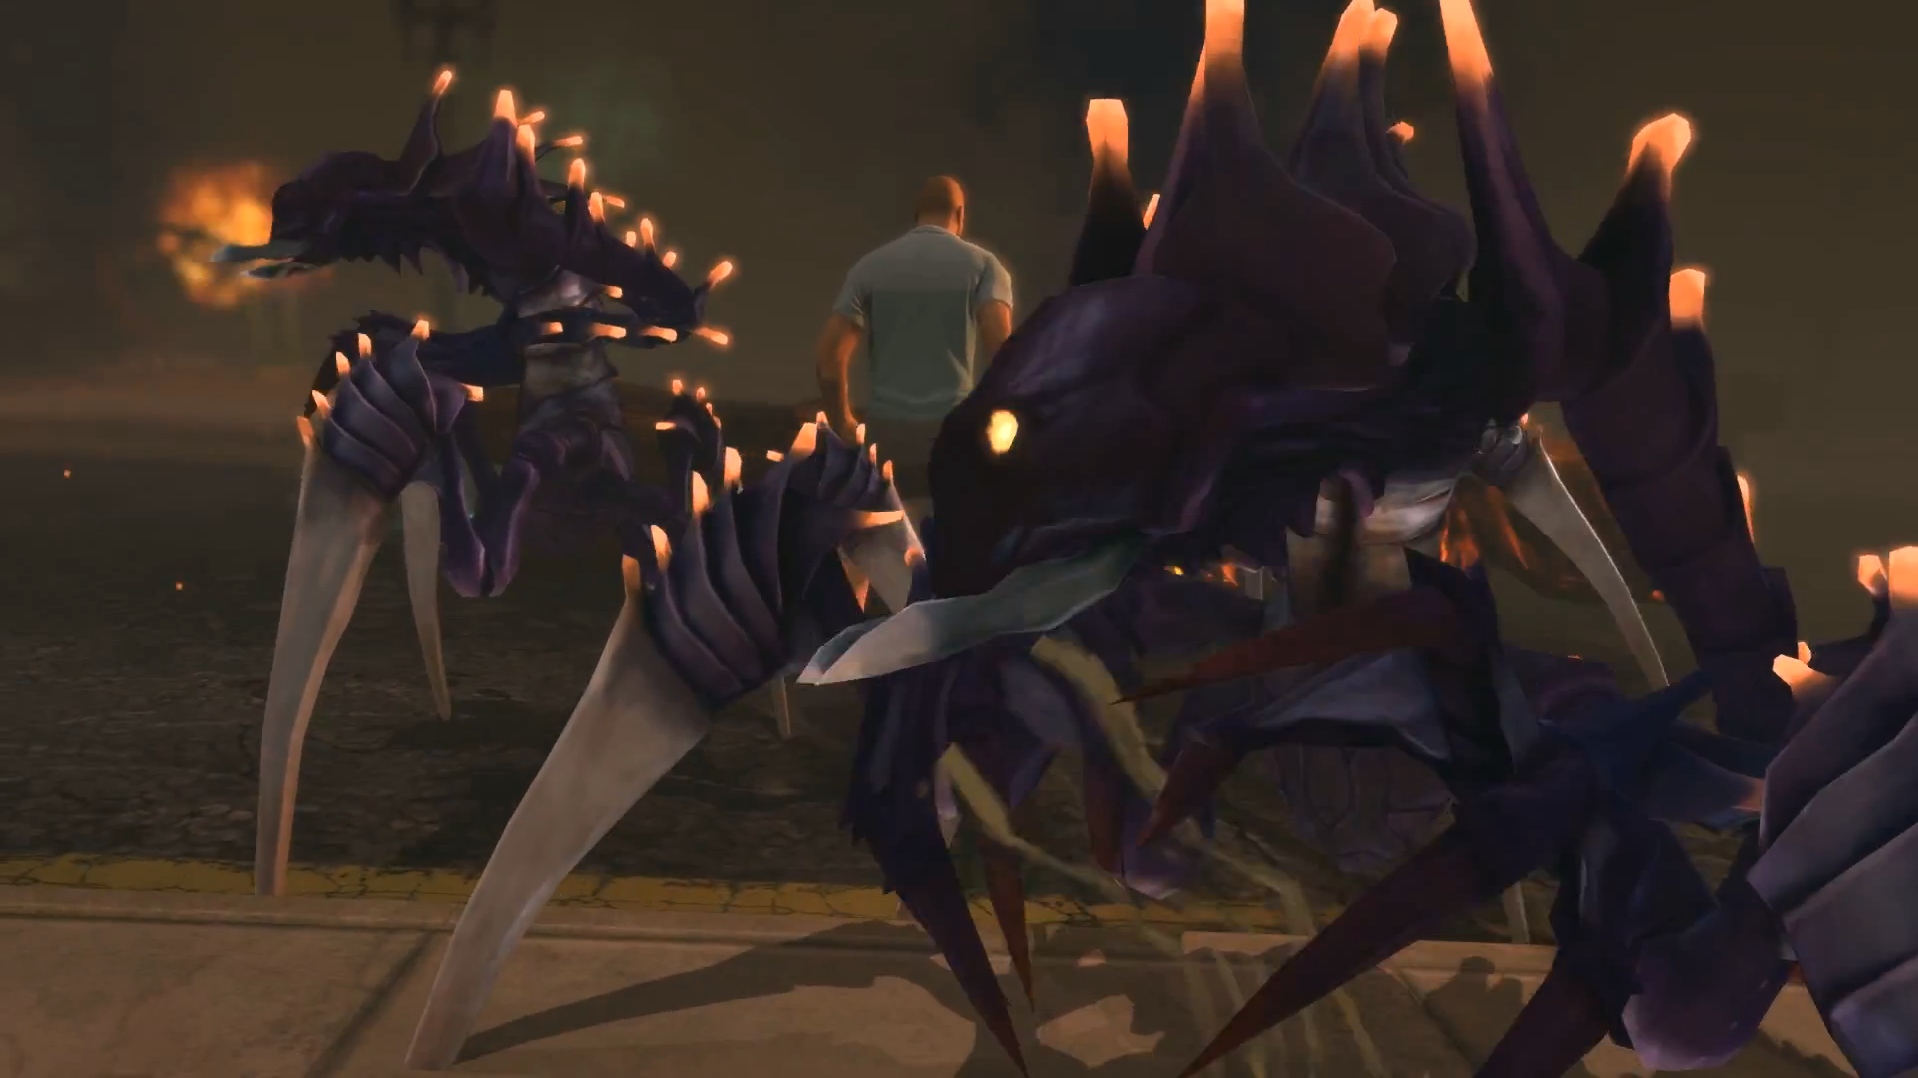
Chryssalid
Keep the Chryssalid at arm’s length at all times, that means move and shoot. And take note of the distance that one Chryssalid can move in one turn. You do not want the number of Chryssalids to increase, so killing those four-legged devil’s spawn is your top priority. Here’s a link[images.wikia.com] to the life-form report, Commander.


Ethereal
A formidable opponent on the battlefield that will require some cerebral thinking to defeat and if you don’t use the Ethereals’ own Alien Mind Tricks to turn the tide of battle in your favor you will have a hard time. Also Ethereals have a 60% reduced chance of getting hit by a critical hit, because they just don’t give a f*ck about your petty flanking (don’t try to flank ’em it’s impossible to flank aliens that can’t take cover). Ethereals’ also has a keen tendency to reflect shots back at ya, but there’s a big hole in this taste-your-own-medicine-ability. A hole that’s the size of a rocket or a maybe a grenade. Use this weakness to your advantage Commander, and feel free to scream “Reflect this motherf*cka!” while you do it.
Purple is such an unearthly color.


Psionics
Remember to always keep testing your soldiers every 10 days and you might want to test the ones with high Will because then his or hers abilities have a higher chance of being successful.
To level to your psionic powers you only need to do damage or if you pick Psi Inspiration you get EXP each time you use it.
Mindfray
A perfect ability when you want to capture aliens alive or when your Suppression or Rifle Suppression is on cooldown.
Psi Panic vs Psi Inspiration
Personally I like Psi Panic for very easy capture and disabling ability, but panic is a double-edged sword. Sometimes panic works in your favor and sometimes it all goes to sh*t because one squad-member panicked. Psi Inspiration is much safer and grants EXP each time you use it.
Telekinetic Field vs Mind Control
With Mind Control you can scout without sticking your neck out or have a grenade filled suicide party (it only lasts four turns) and kill the mind-controlled creature before he can scratch your shiny Psi Armor. It’s a difficult choice, Telekinetic Field has quite the effective range.
In his tongue he’s Peter…the Chosen One.
Easter Eggs
If you rename a soldier one of these names:
- Sid Meier[en.wikipedia.org] of Civilization fame.
- Ken Levine[en.wikipedia.org] of Bio- and System Shock fame.
- Joe Kelly[en.wikipedia.org] of Deadpool and Ben 10 fame.
- Otto Zander[lparchive.org] of Let’s Play X-COM: UFO Defense fame.
- Chris Kluwe[en.wikipedia.org] of beating Firaxis’ very own Garth DeAngelis in an online match fame.
You will get a supermega soldier, that looks like the person that are named after; this also disables achievements for the playthrough you activated it on.
If you hang out in your HQ you might hear this:
Some nut calling himself Commander Straker talking about SHADO operatives has been all over the airwaves.
This is a clever reference to the television series UFO[en.wikipedia.org] that Julian Gollop[en.wikipedia.org], the co-creator of the XCOM franchise, has said was a major inspiration in making UFO: Enemy Unknown (also known as X-COM: UFO Defense in North America). I say co-creator because Nick Gollop[www.giantbomb.com] was also a game designer on UFO: Enemy Unknown. Speaking of, obviously the [ending spoiler]Gollop Chamber in the game that you need in order to complete the game is named after the Gollop brothers.
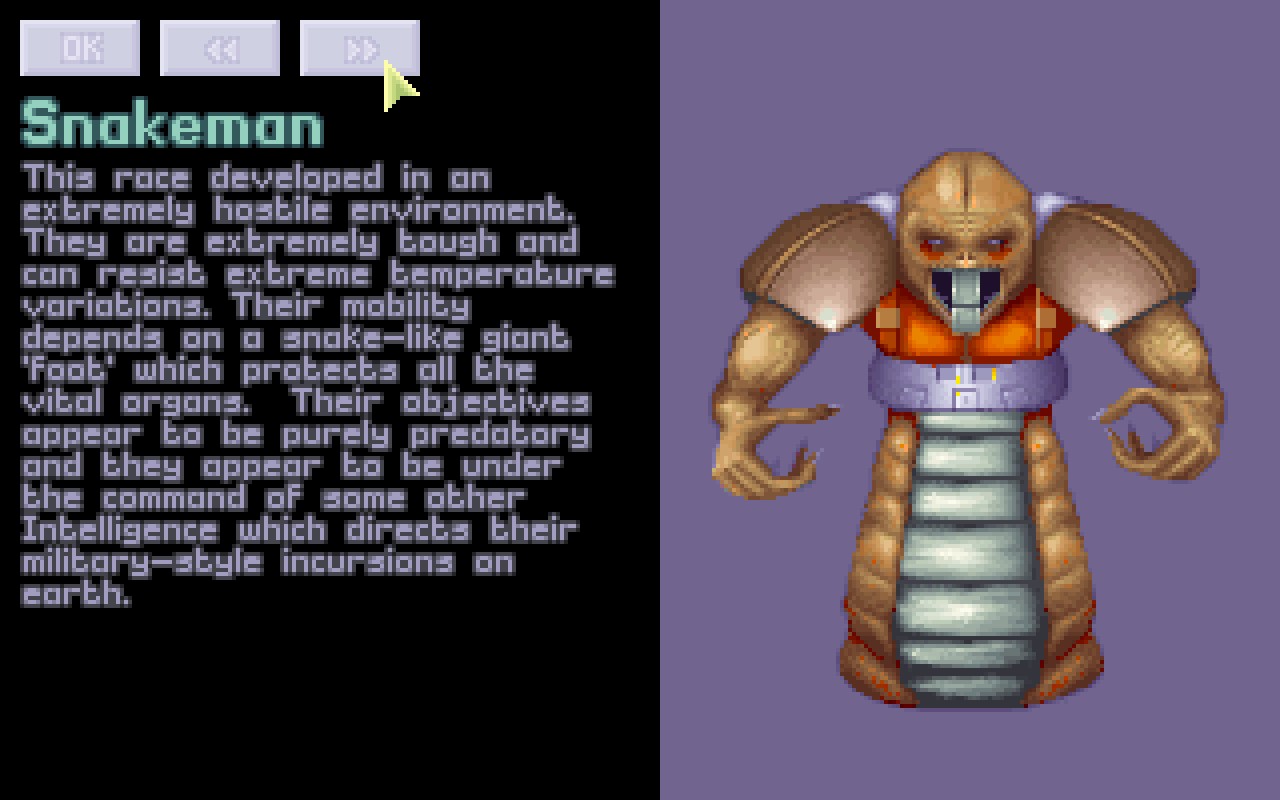
Thin Men with their reptile characteristics are a reference to the X-COM: UFO Defense’s Snakemen.
[imgur.com] you will notice the archival images from 1994 that are from UFO: Enemy Unknown/X-COM: UFO Defense.
Custom Name List
There’s a default name list that the game uses if you do not modify it. If you want to modify it you will have to go to:
%USERPROFILE%My DocumentsMy GamesXCOM – Enemy UnknownXComGameConfig
And open XComNameList.
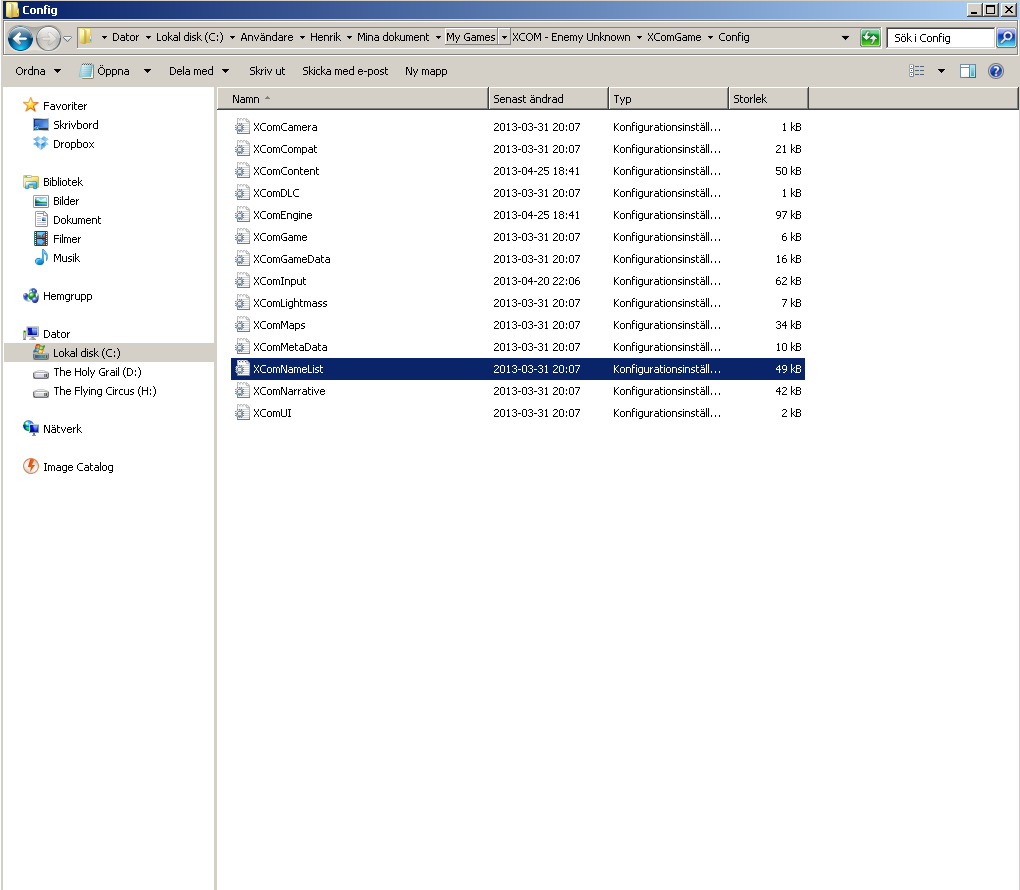
If you want to add a name write it like this:
m_arr[Country abbreviation][M for male, F for female, this is not included in last names obviously][First- or LastName]=[Insert Name]
Examples:
m_arrAmFFirstNames=Elizabeth
In plain English this is an American female with the first name Elizabeth
m_arrRsMLastNames=Petrov
In plain English this is a Russian male or female with the last name Petrov
(Famous) Last Words
I would say good luck Commander, but we all know the XCOM franchise is completely devoid of luck. And remember if you don’t succeed at first, try again. It took me well over 40 tries -with various difficulty levels and Second Wave options enabled- to get the hang on it.
I am watchful. I am relied upon.³
Further Playing

You knew this was coming. Go play the original which XCOM: Enemy Unknown is based on. You can purchase the game for 5$ or your regional equivalent. Available on Steam, GamersGate[se.gamersgate.com] and Amazon[www.amazon.com]. For your information, the game has three different names: X-COM: UFO Defense, X-COM: Enemy Unknown and UFO: Enemy Unknown.
This is a complete clone of the original that’s free to download, if you have an unmodded version of X-COM: UFO Defense. It’s also available on Haiku, I’m sorry that’s just amazing to me. Here’s the download link[openxcom.org]. Download it quick before they get sued[openxcom.org] out of oblivion, hehe.
This is sort of an unusual one, so I’ll let the developer give his pitch.
Originally posted by X@COM’s FAQ:A cross between X-COM and RL (an XCOMRL). Though certainly not a “pure” roguelike, X-COM possesses several important RL qualities such as turn-based strategy, semi-random battlefields, high replay value, permadeath (of a sort), and more.
The initial goal of X@COM is to put together a more-or-less faithful recreation of the original, though rendered using simple ASCII graphics. This first stage will of course also implement any interface improvements necessary to streamline play (the original had its notable few faults which most remakes attempt to correct). The second stage will expand on game content where p
possible, not in a way that affects balance or gameplay, but more to expand X-COM’s breadth (for example, a greater number of combat environments). An eventual third stage will add numerous optional settings and possibilities which give the game greater depth.
If you’re intrigued and like free stuff you can download it here[xcomrl.blogspot.se]. This freeware game is not done and if want to know the current state of X@COM you can go to the developer’s blog[xcomrl.blogspot.se].
I have to admit, this game is my personal favorite. Xenonauts is a remake or re-imaging if you will, with the addition of very detailed air combat, inventory and so on. It has expanded upon the existing mechanics that were in the original, like for instance multiple bases etc.. It looks really promising, yes it’s still in alpha. You can buy[www.xenonauts.com] Xenonauts via Humble Store or on Steam
You’ll find a surprisingly fair number of mods on nexusmods[xcom.nexusmods.com], it’s surprising because the mod support from Firaxis has been lackluster, and that’s me putting it nicely[www.gameranx.com]. Follow the instructions – make sure to backup your files as well – and you should be fine, or you could make your own.
The DLC is overpriced and lacking in both content and quality, like most DLC unfortunately. Let’s run through them. Starting with, XCOM: Enemy Unknown – Elite Soldier Pack, it adds a few customization options, for 4.49€, or your regional equivalent. If you ask me, this DLC should be included in the base game and I fail to understand why it was even a pre-order bonus. It’s an important part of the game to be able to customize your soldiers – the customization options for the base game are quite disappointing, therefore it seems unreasonable to sell it such a high price (relative to the content it provides). I would wait for it go on sale or if are living in EU1 or EU2 you might want to have a look at GMG[www.greenmangaming.com]. XCOM: Enemy Unknown – Elite Soldier Pack is also available on GamersGate[se.gamersgate.com], GameFly[digital.gamefly.co.uk], GetGames[www.getgamesgo.com],[/url] and Amazon[www.amazon.com].
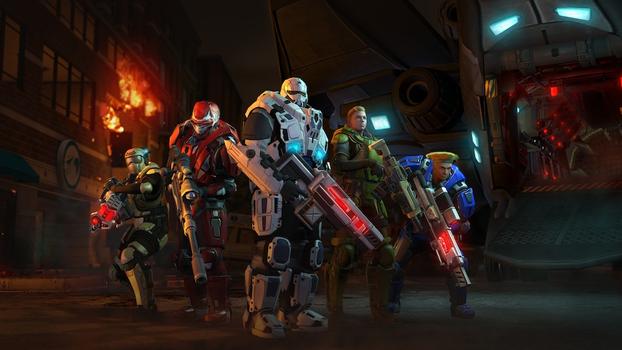
XCOM: Enemy Unknown – Slingshot Pack features new Council missions with a story and of course some new customization options as well. I don’t know about you, but Council mission are easily the worst part of the game. What I have heard so far -I haven’t dared to play it myself- it’s awful. The story is boring and it makes the game easier by giving you free tech. And it’s 6.49€ which doesn’t help, at all. If it’s a really deep sale then maybe, just maybe, I would consider recommending it, to my worst enemy.
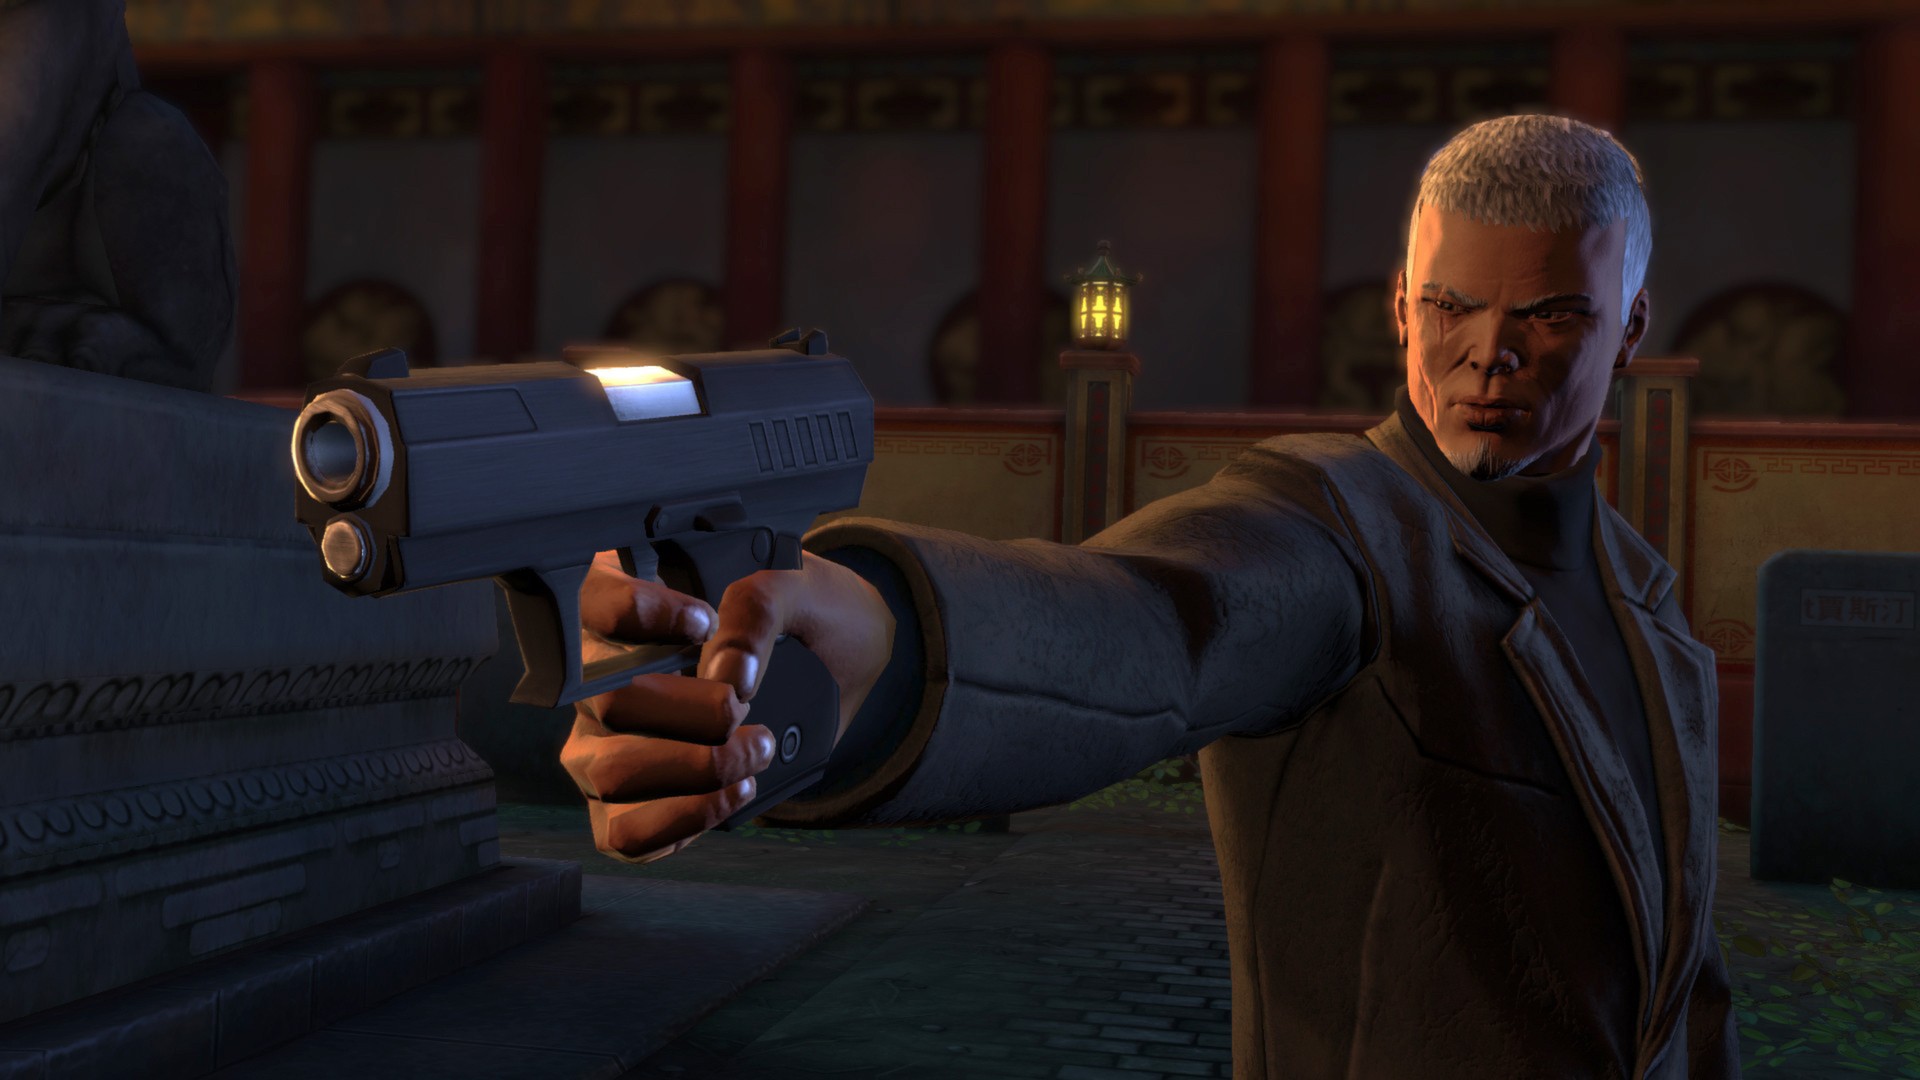
Like most DLC: if you liked Enemy Unknown you’ll enjoy Enemy Within. For more information see my upcoming guide about the expansion pack.
Shorthands
LOS
It’s a shorthand for line-of-sight.
AP(s)
Stands for action point(s).
LZ
Stands for landing zone.
Flank
It’s indicated by the yellow XCOM icon on the battlefield.
Captain
It’s indicated by the yellow star in the bottom left corner when you have the captain selected.
S**t
Is what you’ll say when you miss that +80% shot.
B*llsh*t
Is what you’ll say when a Thin Man crits your favorite squad-member in full cover while he’s hunkered down.
F*ck the world
Is what you’ll say when your Sniper misses two consecutive 97% shots.
Cr*p
Is what you’ll say when your Shotgun Assault fails to kill an enemy within point-blank range.
Psi
It’s short for psionic.
M*th*rf*ck*r
Is what you’ll say in a Jon Stewart-esque way to a Sectopod when it Cluster Bombs your entire squad.
F*ck my life/and(or) world.
Is what you’ll say when your Assault Rapid Fires with a Shotgun at point-blank range and misses both shots at 90+%
Citations
You have to give credit where credit is due.
¹ Couldn’t find an author, all I know is that it (probably) originated from the SA forums. If you know who made it feel free to leave a comment and I’ll give him or her credit.
² Rev3Games, 2013-08-13
³ Translated by Adam Shaftoe[www.pageofreviews.com], 2013-08-13
The screenshots are taken with either the Steam Overlay or FRAPS. And most of the information I found in-game, but sometimes I was lazy and read it on XCOM Wiki[xcom.wikia.com]. Big thanks to the good folks over at http://www.reddit.com/r/xcom for giving me some well-deserved criticism. The life-form reports are promotional material from the XCOM: Enemy Unknown’s Facebook page.
Readers’ Feedback
- Add a weapons section
- Add a SHIVs section
- Clarify how the Smokes work
- Discuss Long War Mod for XCOM: EU and XCOM: EW
- Tetris for Engineers
- Clarify Alien Grenade
okum 26 jan @ 1:01pm Ta bort
” I believe you don’t need to research Alien Grenade, but all of the other alien weapons you need to research before you can use them. ” true but if u got 1 grenade you can use it to research so it gets unlimited so all can use them for all chars not just 1 - Give more options and explain the use of Flush and In The Zone
=(FGR)=Sentinel 14 dec, 2013 @ 8:15pm
In the Zone is useful against units that CAN’T use cover in Enemy Unknown, such as the Drones that support Cyberdiscs and Sectopods. A sniper with this ability and a full clip could pick off both Drones and then open fire on the Sectopod or Cyberdisc to deal a fair amount of damage to it and kill its supporting Drones all in one turn. Since the only other ways to do this require sacrificing a grenade or a heavy’s rocket In the Zone can actually save explosives for other enemies=(FGR)=Sentinel 14 dec, 2013 @ 8:11pm
Actually Flush and In the Zone have some clever uses. If you have a sniper (especially one with Opportunist) on overwatch in range of an alien behind full cover, using flush does a small amount of damage and forces the alien out of their cover, triggering the sniper’s overwatch while the alien is out of cover to not only rob it of the defense bonus of its position but also granting an improved chance of a critical hit.
Ownership of Copyrighted Works
As to the legality of the use of copyrighted pictures, likeness and so on, I invoke the Fair Use doctrine.
“Not withstanding the provisions of section 106 and 106A, the fair use of a copyrighted work, including such use by reproduction in copies or phonorecords or by any other means specified by that section, for purposes such as criticism, comment, news reporting, teaching (including multiple copies for classroom use), scholarship or research, is not an infringement of copyright.”
I believe I comply with all of the four factors that are involved. I’m also not in anyway, shape or form a lawyer.


