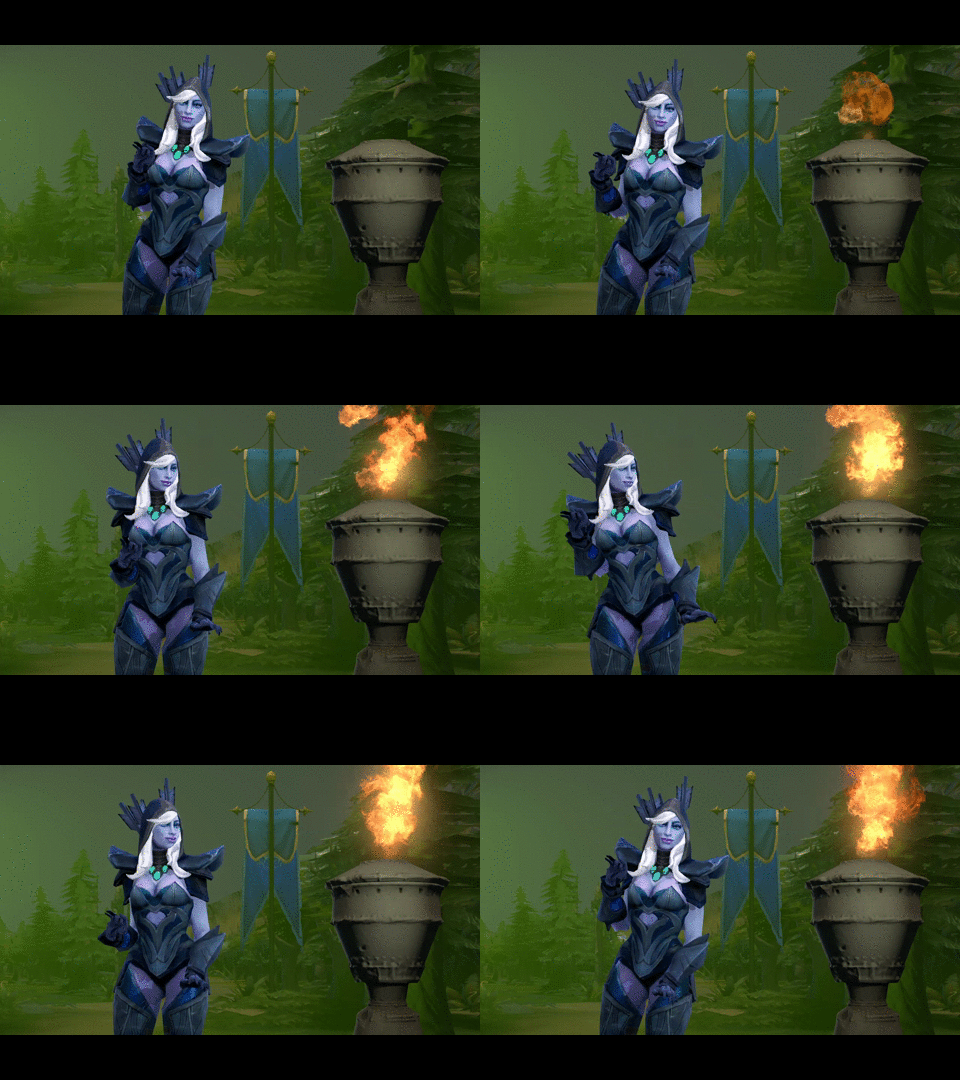
Overview
Learn about animation in SFM. This won’t get you a job at pixar or disney, but it will help you improve.
What is animation?
Animation is about time. It takes time to make and you have to time it right. It’s not easy but with tons of practice, you will learn.
I assume that you know the 12 principles of animation. If not, then see these videos
Also, if you are able to invest some money into this hobby you should check Digital Tutor’s tutorials: [link]
The graph editor
For animation, we use the GRAPH EDITOR,
not the MOTION EDITOR.
Why? Because you have more control over your stuff. Valve most likely added the motion editor to manipulate mocap animation.
Now, let’s step into it. When you see it for the first time, you will see a lot of lines that make no sense which of course, will make you confused.
First, let’s explore the left side of this monstrosity.
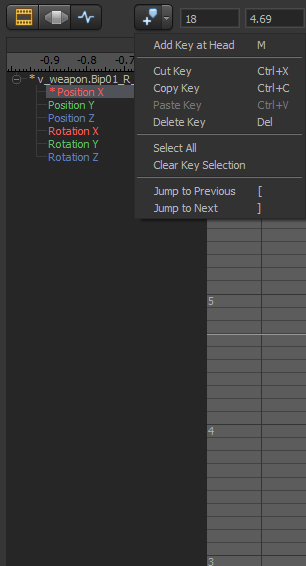
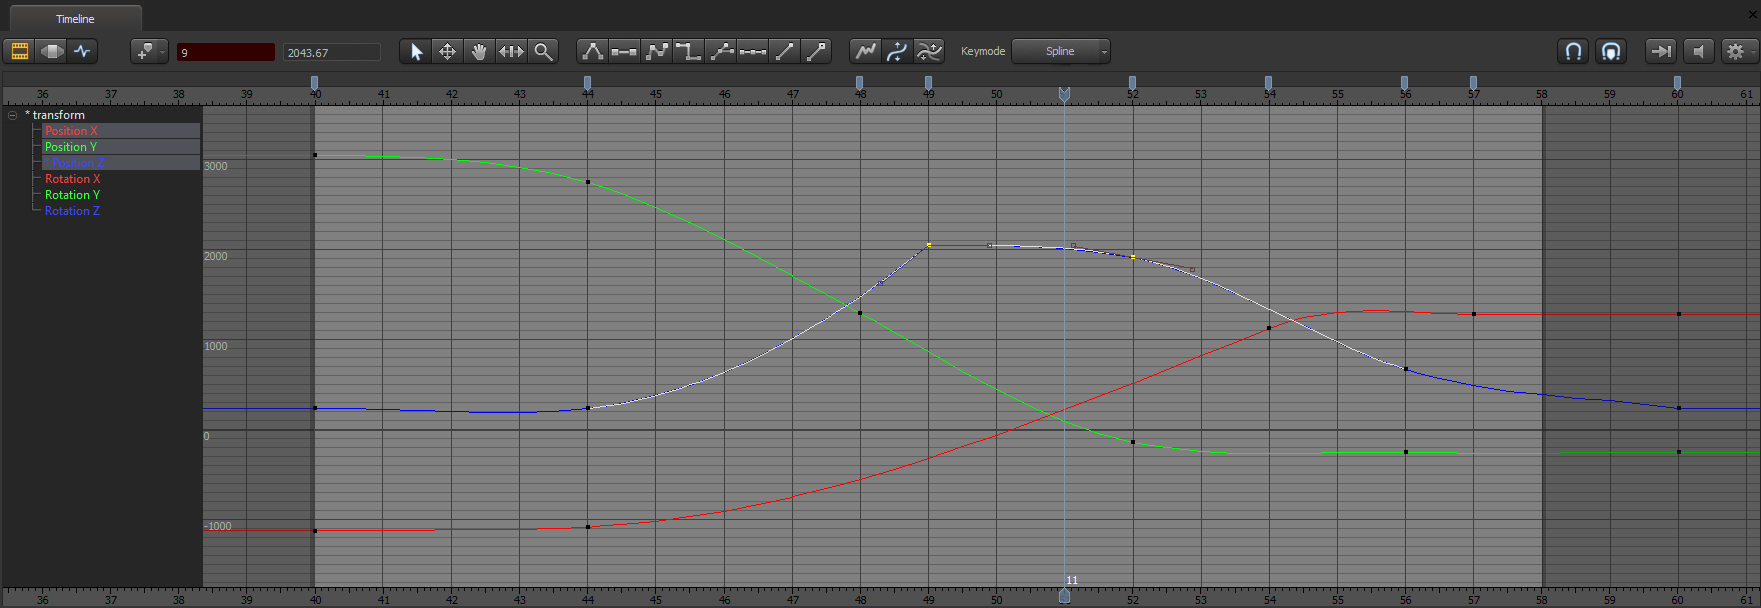
Down below, we see ‘v_weapon.Bip01_R_”. That’s a selected bone/joint, and the coloured ‘Position/Rotation X/Y/Z’ represent the vectors for each axis of that bone. With these, we move our model!
The plus sign on top is the bookmarks button. This inserts a bookmark and a KEYFRAME at the current frame. A KEYFRAME is a point on the timeline that indicates the position values of your model. We can scroll through bookmarks using the ‘[‘ and ‘]’ keys.

With these, the software gradually modifies values, the speed being based on the distance between them. Instead of pressing that button you can press M on your keyboard to insert one.
On the right side of the button, we see two numbers. 
The first one indicates the FRAME where the keyframe is placed, and the second one the POSITION VALUE.
Now let’s move to the right.
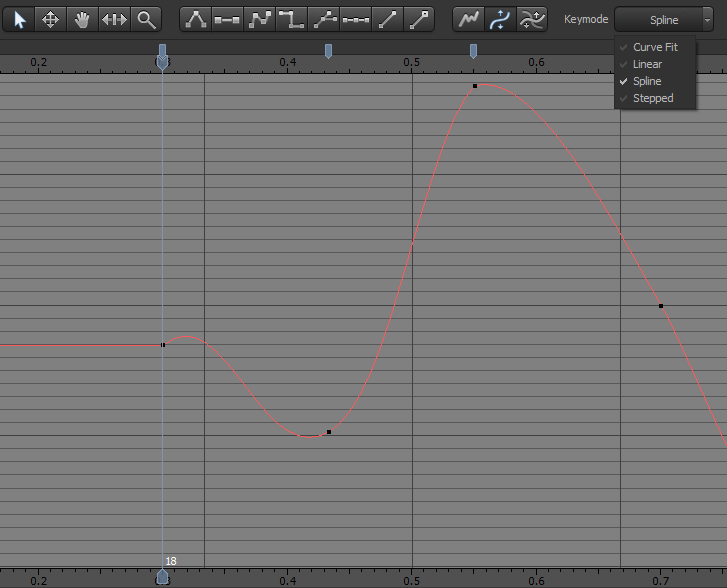
Next is the MOVE button that moves KEYFRAMES inside the GRAPH.
The hand, called PAN, moves the GRAPH around.
The SCALE button, ‘scales’ KEYFRAMES by moving them. Not very used, but it’s useful if you select multiple keyframes.
The ZOOM button will zoom into the graph, allowing you to see the curves in detail. Useful if you select multiple keyframes.
The next bunch of buttons are the tanget type. 
LINEAR
FLAT
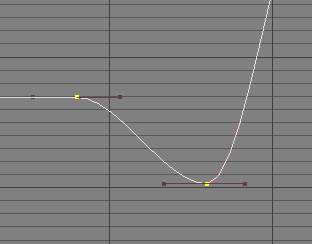
SPLINE
STEP
About unify tangents and equalize tangents I have no idea. I would like someone to explain them. Anyway, the last two 
An important thing is the keymode 
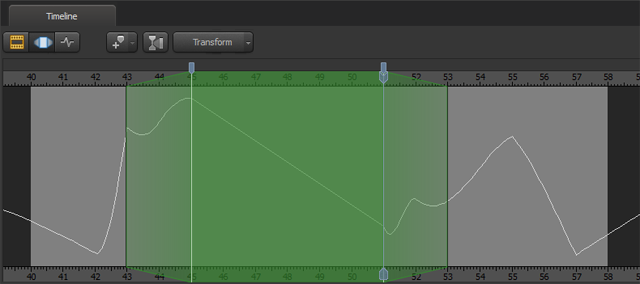
Let’s not forget the timestrip.
Small tip: if you go in the clip editor and right click one of the timestrips you can change the timecode: from seconds to frames and reverse.
How to make your animation look convincing
A convincing animation makes the spectator feel like that actually happened: he landed on the ground like a hero, he punched someone hard, he did something that looks somewhat realistic. First, you need to think of forces that influence your character/weapon/whatever’s movement. Also, you need to apply those 12 principles.
An easy way to make your animation look good is to act your own animation. Yes, in real life. Record yourself with your camera as reference and try to recreate those movements in SFM.
Example:
As you can see there is a phase called blocking in which you pose your characters before progressively refining your animation.
Creating good poses
Check Keith Lango’s tutorials about poses and good visual flow:
I recommend using EpicPen (google it) to draw poses on the screen. You should also check his other tutorials here https://www.youtube.com/user/keithlango and here [link]
Another good video about poses:
https://www.youtube.com/watch?v=ZmLkVtqjf1A
Tips and Tricks
Select a bone or a joint, press the circle with a dot inside it on the bottom bar of the viewport and on the orange circle, move the little bump on the left.
OR you can use my ret.arded method:
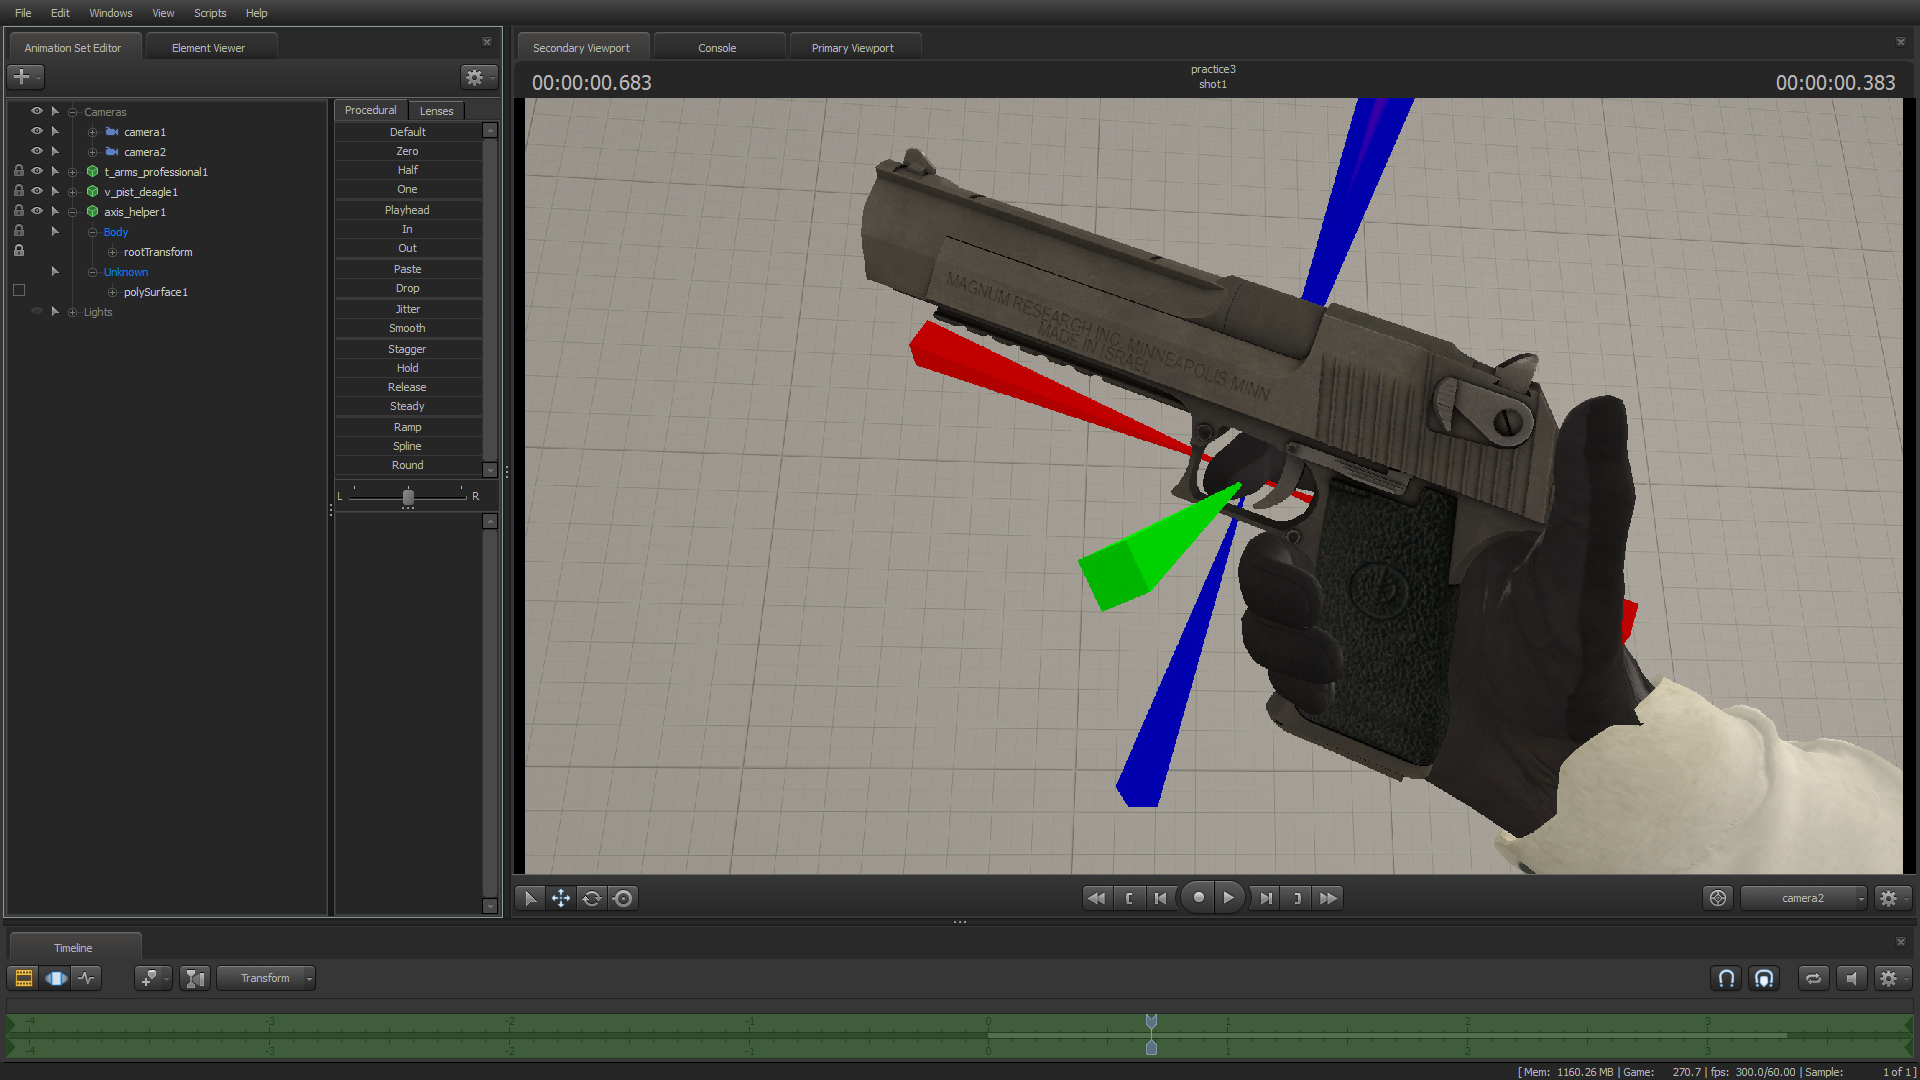
You grab “axis helper” from the models, place and line it up in the point where you want to control, lock the helper’s transform to the object’s transform then make the helper invisible. Now you control the object using the helper’s root_transform.
For example look at this:
The pistol’s controlling point is in the middle of the handle. With the axis helper I managed to control it from the trigger, reducing the effort 100 times.
Click “more options”.
First, to get the 1080p option you need to type this in the launch options: -sfm_resolution 1080 -w 1920 -h 1080
Tick the postporcessing effects you want to use. For depth of field and motion blur I recommend using 256 in the “# Samples” option. It looks better and removes the grainy ambient occlusion. Also, it’s better not to always use motion blur. You should especially use it for fast moving shots.
Let’s move to “Layoff Settings” tab.
You can override the frame rate if you want. Remember that it’s not obligatory to use 24 fps. It’s just traditional for movies, but since humanity is moving forward, you can use any framerate you want. REMEMBER! WHEN OVERRIDING THE FRAMERATE, OVERRIDE THE SHUTTER SPEED TOO! The formula is shutterspeed = 1/ (framerate * 2) OR 1 / framerate / 2
So, for 30 fps, the shutter speed would be 0,0167 and for 60 it would be 0,0083.
You’ve got 2 options: you either go in the clip editor and click this button 

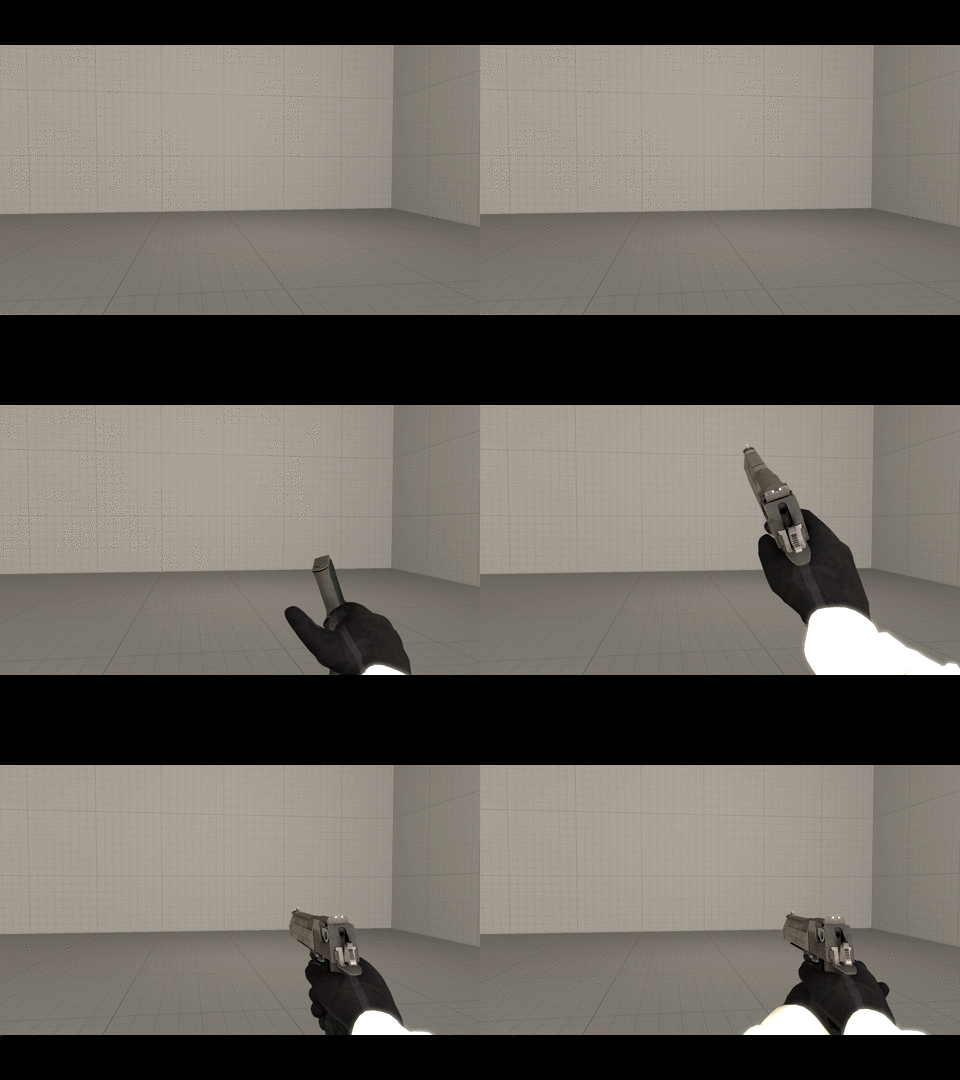
If you want to modify the keyframes, you will have to make sure that the first keyframe for each bone on your model is exactly the same as the last one. Now, you can combine the 2 techniques. If you want to just loop a couple of times, take the second keyframe from the beginning and copy paste it after the last keyframe (check the ending for an example).
You have 2 options again: create an actual slow motion animation or edit the clip’s time scale.
However I recommend combining the two because the animation will much more detailed and adjustable. Remember that the default value is 1.
I don’t recommend doing this in sfm. However, if you’re really into it remember that there is no good rig and it will take a lot of time. If you want to just do it on a character with an actual body, go ahead, it’s fun.
To do this, get a camera, a pair of hands, an object, place the camera behind the hands and the object in the hands. Adjust the FOV on the camera. For csgo hands I use 0.367728(double click on the slider to edit the value). Now simply animate whatever you want.
Ending
Thank you for reading this and I hope you learned something. If you didn’t learn anything new, you should continue animating. Don’t give up!
If you have questions ask in the comments.
