Overview
Want to make the most inaccessible base in the solar system? This guide helps you not screw yourself over.
Which Planet?

All that said, I still like building my base on Novus. Lithium on the surface/mantle, hematite in the caves, hydrogen and crystal meth in the atmosphere, and only like 3 layers of rock before the core.
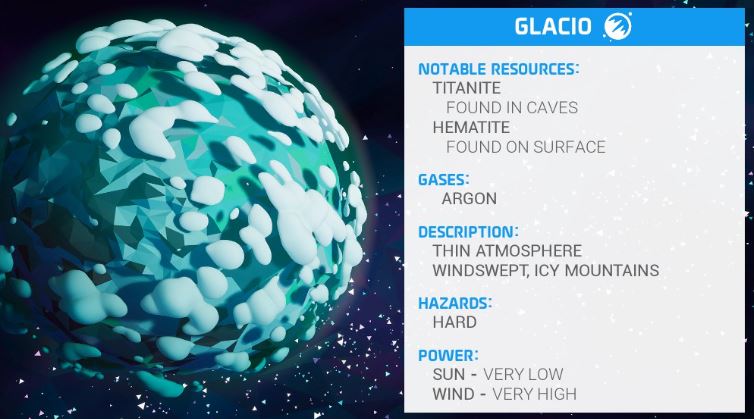
Glacio is better for a main base, and the moons are better for an astronium (or other resource) outpost, due to the fewer cave layers you need to ship stuff through.
Gravity Management
If you’re going to be spending a lot of time in the gateway engine, you need to learn how its gravity shifts work.

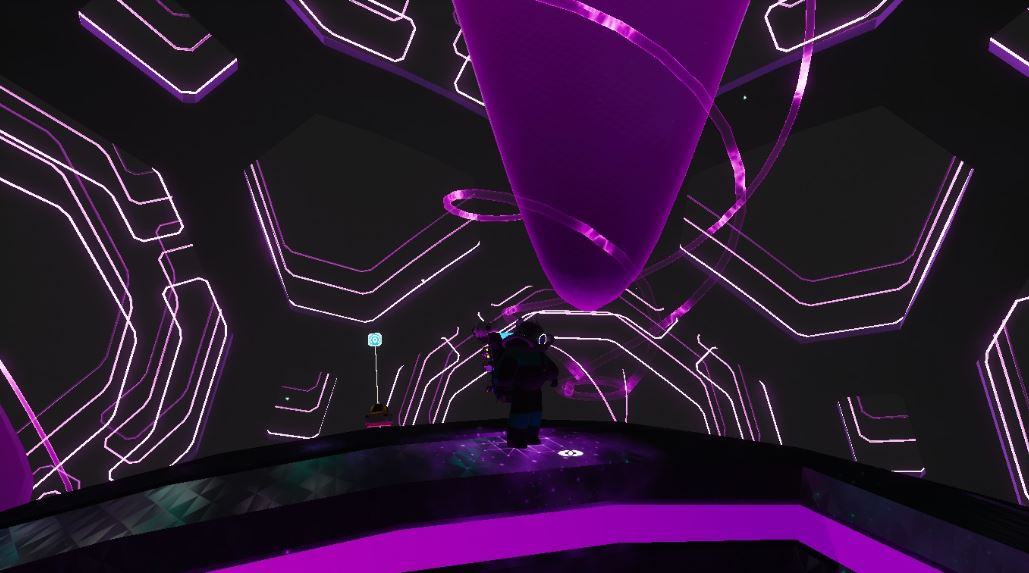
From the outside “shell” where the shield would be blocking entry, it will behave like normal planet gravity; pulling you in towards the nearest surface at a slow rate. Keep your character neutral to be pulled down the fastest.
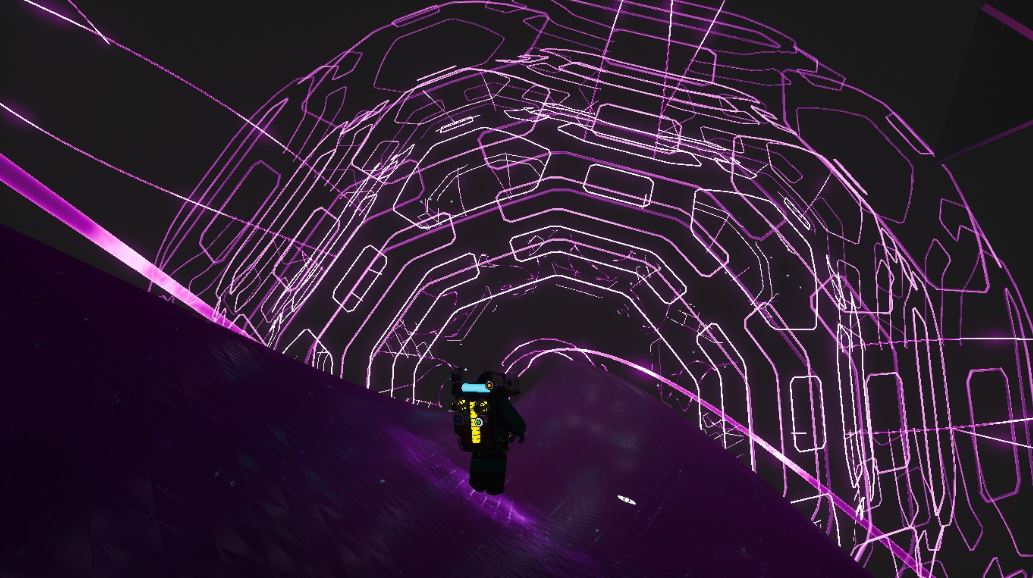
In the actual inner platform where the odd stone is, there are 2 hemispheres of gravity field that will pull you to whichever surface on the inside you are closest to before entering it. The inner gravity fields stop at the edge of the notched incline that separates the inner platform from the outside gravity. The exceptions are the gravity fields on the concave side of the walkways connecting the 2 hemispheres of the odd stone platform. For simplicity, we will call the odd stone platform gravity “Field A“, outside of the odd stone platform is “Field B“, and the walkway gravity that connects the 2 hemispheres is “Field C“.
Any horizontal momentum from Field A will be converted to vertical momentum in Field B, and vice versa. It is possible to perform a U turn to reach the other hemisphere by running and jumping into Field B, and turning a 180 to float over the hemisphere of gravity you were just on, then floating down into Field A again from the other side. Way more fun than crossing over with Field C.
With a hoverboard at max acceleration, you can convert enough momentum from Field A to Field B to launch all the way up into the outer core layer of the planet. Don’t do this if you don’t want to hit your skull on bedrock at high speeds. MR WONKA TURN OFF THE FAN!
No Floating Items
The first thing you should yeet down into the core with you is a platform, obviously. Don’t need no oxygenator, the entire core is marked as an area that doesn’t drain oxygen, to prevent someone dying while spawning a geometric tryptich, which reactivates the gateway engine’s shield.
Anyway, platforms and tier 1 power producers are the only things that stick to Field A, so anything else will need to be bolted down to a platform to avoid them floating away. Floating items can’t leave both hemispheres of Field A though, (unless they’re manually placed in Field B) because their horizontal momentum is always too weak. Floating items gravitate to the very origin of Field A, and upon reaching it, forget about the gravity and apply physics to the opposite hemisphere. In other words, items placed on the floor will slowly fall to the ceiling. If you just need to set something down, look up and try to place it on the ceiling, so it will apply physics on your hemisphere. Just be sure to not pick it up again.
Power Problems
So, you can’t get solar power miles underground, and you can’t just collect organic to power generators, or collect soil to make that organic on the fly.
Thankfully, wind generates in caves, all the way down to the core. Every planet has the ingredients to make medium wind turbines, but if you’re using it to power a main base full of automation, you’re gonna need bigger turbines, which might require another planet’s resources. Although at that point you’re probably at end game anyway, so you can just splurge on RTG’s to power everything.
Also, don’t neglect batteries. If RTG’s are too expensive, you can use medium batteries as a buffer when you need power when there’s no wind.
Other Things of Note

Whether you do that with a soil centrifuge or auto extractor, packagers are your best friend. See something worth some scrap in the caves? Package it. Auto extractor finally ran that astronium node dry? Package your setup and move it to the next node. Did you just find a shiny penny you want to steal? Smuggle it with a packager. They’re probably the most useful items in the game. And you’re probably gonna make a lot of RTG’s, so you’ll need a lot of graphene anyway.
Also, it’s good to have a hydrazine farm on any base.

Conclusion
I guess this ends the guide. Making a core base isn’t too different from making any other base, but the epic view makes it worth it. I’ll add more stuff to it if there’s anything important I missed.


