
Overview
A quick and easy guide on how to give planets with atmosphere a coloured sky when you land on them, instead of the default background. Great for realism, screenshots, or just plain enjoying the view from the ground!
Preface
Universe Sandbox ² has always been an amazing game, with a surprisingly stable physics engine and hours of time to be burned, destroying planets and creating stars. However, maybe you don’t always want to destroy Jupiter. Perhaps you just want to land on the surface of Earth and watch the sun set upon a grateful universe. (Yes, I did just quote Thanos)
Well there is one thing this game has always been lacking in: and that’s surface visuals. Especially when it comes to geological features and atmosphere, which are inferior when compared to something such as Space Engine. Back in 2015: the folks over at Giant Army posted an article showcasing a demo they were working on regarding Atmospheric Scattering[universesandbox.com]. For those who don’t know; atmospheric scattering is essentially the process which makes our sky blue. Unfortunately this feature has never been implemented into Universe Sandbox ² and as such we are stuck with the same boring black sky.
Actually… we’re not entirely stuck with a black planetary sky! There is one method that I found while playing around with the game which effectively fixes our issue. Keep in mind: this is by no means a permanent fix or a replacement for shaders, and can be a bit tedious if you’re constantly having to switch between surface view and space. This is simply an easy way to take nice screenshots on the surface of any planet you want. If the developers ever do implement an atmospheric scattering feature; then this method will become useless.
Nonetheless: let’s go ahead and kick things off in the next part of this guide. 🙂
If you’re interested in learning more about atmospheric scattering: go ahead and check these out!
1) Getting Started
First thing’s first: make sure you have Universe Sandbox ² opened and ready to go. That should be fairly self-explanatory so I won’t go into too much detail. Now you can use any simulation or planet you want, but for this example: I’ll be clicking ‘New’ and placing Earth in the centre of the grid and nothing else.

The nice thing about this method is you can use any planet you want! Earth, Mars, Titan, etc. The sky’s the limit with what kind of colour combos to use. You could even use a planet without atmosphere and give it a hot pink skybox – though – not nearly as realistic as some of the other options I suppose. x)
Anyways I’ll quit blabbering. As soon as you’re set up: proceed to the next section of this guide.
2) Configuring the Sky

Step 2) Click on the ‘View’ button located on the middle section of the toolbar. This will open up a sub-menu of several options for you to chose from. The one we’ll be working with today is the ‘Background’ option located to the left of the lighting selector and to the right of the ‘Grid’ option. Click on the ‘Background’ button.
Surface of Earth with default skybox.

Step 3) Next, you will see several skybox options to chose from. Different skyboxes do different things. Some of them are solid colours while others are textures. The one I typically use is the ‘Solid Black’ which should be to the right of “Nebula Red Cyan” and to the left of “Solid Dark Gray”. Any skybox with ‘solid’ in the name should be fine. Just make sure not to chose any of the textured ones like ‘Milky Way Bright’ as the textures used are not transparent and therefore the colours won’t show through.


Step 5) Once you’ve clicked on that; a menu should pop-up on the left that looks like this. You will see that there are many different settings located in here. However, the only ones we need to work with are as follows:
- Brightness
- Contrast
- Saturation
In the ‘Levels’ section of the Advanced Settings menu and:
- BaseColor
- Color1 *optional*
- Color2 *optional*
- Mode *only if switching between Solid Colour
and Procedural mode - AmbientLight
- Manual Ambient Colour
- Ambient Brightness *optional*
which are located in the colours section of the Advanced Settings. The only time we will use Colour1 and Colour2 is if we were to select Procedural in the ‘Mode’ sub-menu.
Step 6) The first thing we’ll edit is the BaseColor. This option controls what colour the background is, therefore, it controls what colour the sky is. Go ahead and hover over the coloured box right next to the ‘BaseColor’ text and then click on this box. Another box should appear giving you options to change the background.

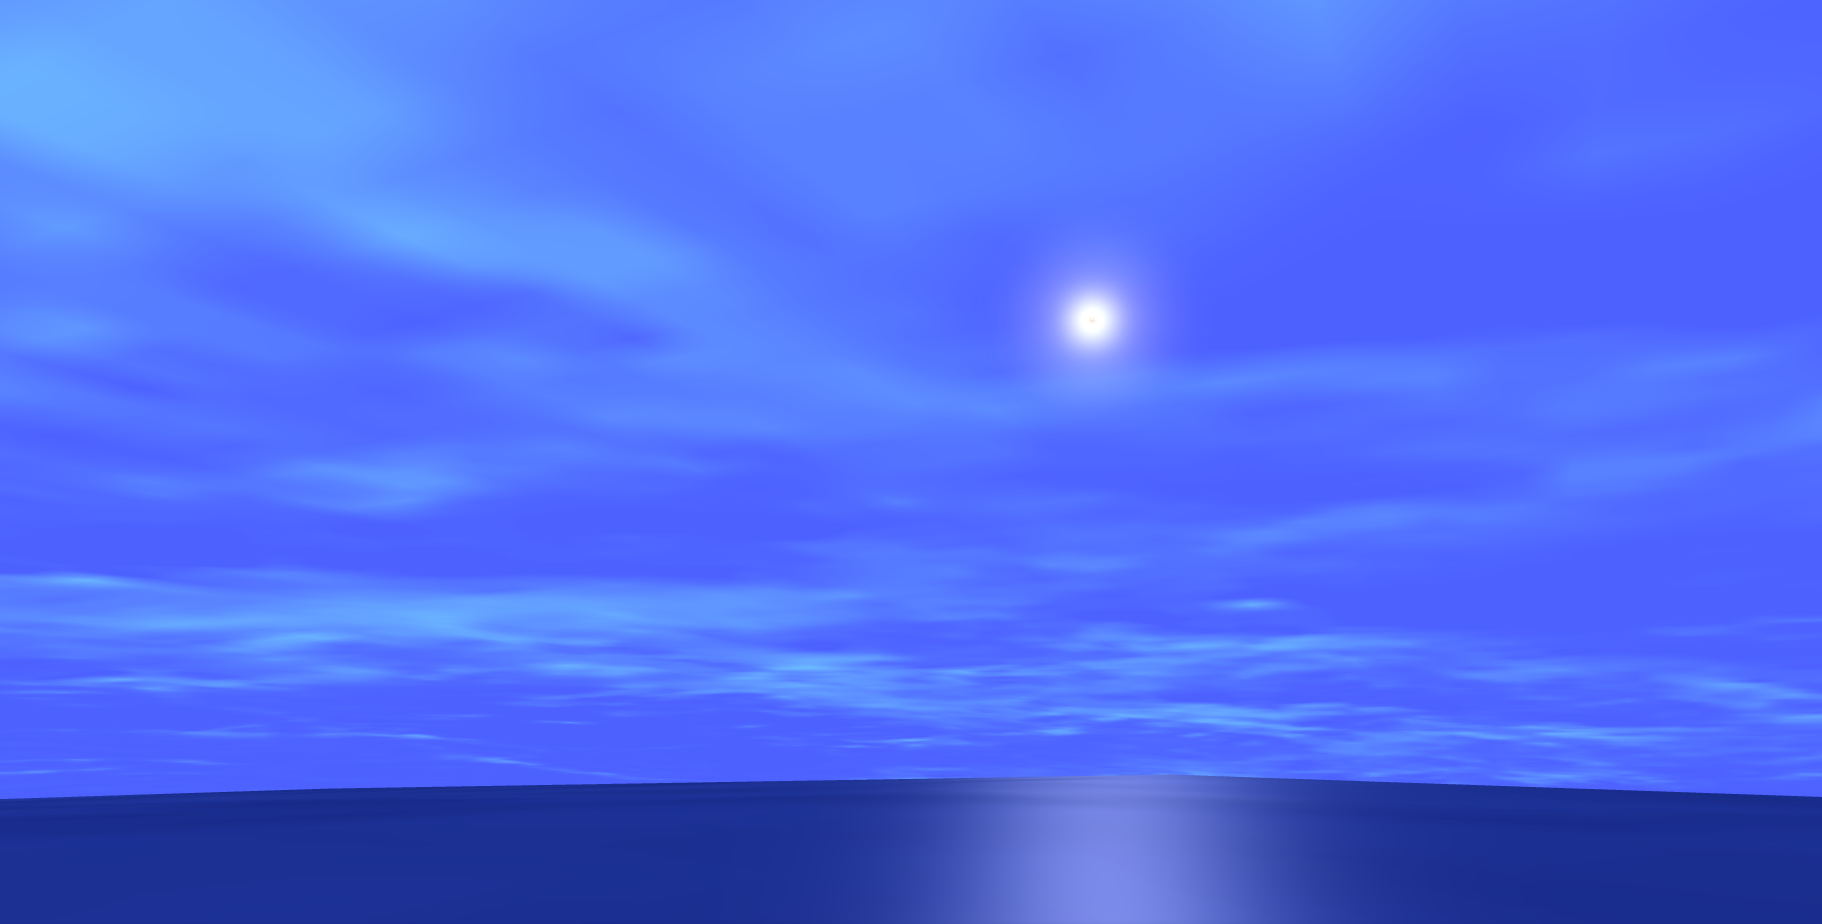
At the bottom of the newest box, there will be a place to enter in an HTML colour code. You may use any HTML code you want or use the slider to pick your colour, however I already have a code that gives an accurate depiction of what Earth’s sky looks like. Provided near the end of the guide: I listed HTML codes for Earth, Venus, and Mars, however as stated before you may use any colour you want. Anyways the code I used for Earth was #2d62cc .


3) Sky Colours I Use
These are the colour codes I’ve used for a few planet’s that you all may or may not recognize. I took a screenshot of Earth, Mars, and Venus’ atmosphere in a program called Space Engine then took samples of the average colour to get their HTML codes. Provided below are also the saturation and brightness settings I recommend.

HTML Code: #2d62cc
Brightness: 0.95
Saturation: 0.90
Ambient Brightness: 1.00

HTML Code: #E0B98A
Brightness: 0.75
Saturation: 0.80
Ambient Brightness: 0.50

(without clouds)
HTML Code: #d4b774
Brightness: 0.95
Saturation: 0.95
Ambient Brightness: 0.95

(with clouds)
HTML Code: #ebe2d8
Brightness: 1.10
Saturation: 0.95
Ambient Brightness: 1.00
NOTE: The colour of each of the atmospheres are chosen based on what I’ve seen from other simulators and from pictures online. These are my personal picks and you’re free to change the brightness, saturation, etc etc, to however you see fit. 🙂
4) Optional Settings
This is the section of the guide that covers the optional aspects of your sky. This includes Ambient Brightness, Saturation, and (BaseColor) Brightness. Fine tuning your sky will make your atmospheric scattering shots just that much more believable. For realism you’d ultimately turn down the intensity of the colours or if you want more of a fun and crazy look you can crank up the values. Ultimately this is just the values I find work best but honestly it’s whatever floats your boat. 🙂
For Saturation – I’d recommend keeping the value between 0.8 and 0.95. This will make the colours a little less intense and a little more realistic. On the other hand, if you want more intensity: I’d say the upper limit would be 1.25 before things get a little too crazy.
Ambient Brightness – which controls – you guessed it – the brightness of ambient colours. This will tone down the colours but once again make your shot slightly more realistic looking. I’d recommend keeping this value between 0.95 and 1. The lower you make the value; the less colour will be present.
Brightness – this controls how dark or light your colours are for your ‘BaseColor’. I.e what the entirety of the sky will look like. Toning this down will give your sky the final push to make your skybox as realistic looking as possible for a physics simulator. This value should be ideally kept between 0.8 and 1. Also if you want a darker coloured sky such as Mars then you’d decrease the brightness’ accordingly.

5) Known Issues w/ Method
One of the main problems with this method is that the sky blending is not perfect when it comes to darker objects. Therefore, when you’re looking at the moon from Earth: you can still see the dark side of it. This can be a bit annoying however there is a fix to this. Instead of placing the moon; place a golf ball and make it moon sized. It sounds ridiculous – I know, but the golf ball’s texture is extremely white and this cause’s it to be blended almost perfectly with the surrounding sky.

The only permanent fix for this so that any other object could be blended is if the developers implemented atmospheric scattering with proper shaders and unfortunately, Giant Army has no future plans to implement this feature as of Update v22.3. So for now we’re stuck with our trusty golf ball. 🙂
6) Just For Fun
Here’s a few atmosphere options I whipped together just for fun. They’re not here for realism per se but I just put them in here for you to have fun with. 🙂

HTML Code: #789e1e
Brightness: 1.00
Saturation: 1.00
Ambient Brightness: 1.10

NOTE: I actually used Procedural mode instead of Solid Colours for this one. Feel free to try it. 🙂
HTML Code: #3d1f3e
Color1: #3d1f3e
Color2: #563113
you can reverse the colours.
Brightness: 1.00
Saturation: 1.00
Ambient Brightness: 0.90
Conclusion

First and foremost, I’d like to conclude this guide by thanking you for reading it. I do hope that this guide has been informative for you, and that you have found a new way to liven up your Universe Sandbox ² experience. Go ahead and like the guide if you like it or dislike it if you disliked it.
If you have any questions for me regarding any part of this guide or the method itself; then feel free to leave a comment down below. Also if you happen to take any screenshots using this method: please leave the link below as well! I would love to see it! 😀