Overview
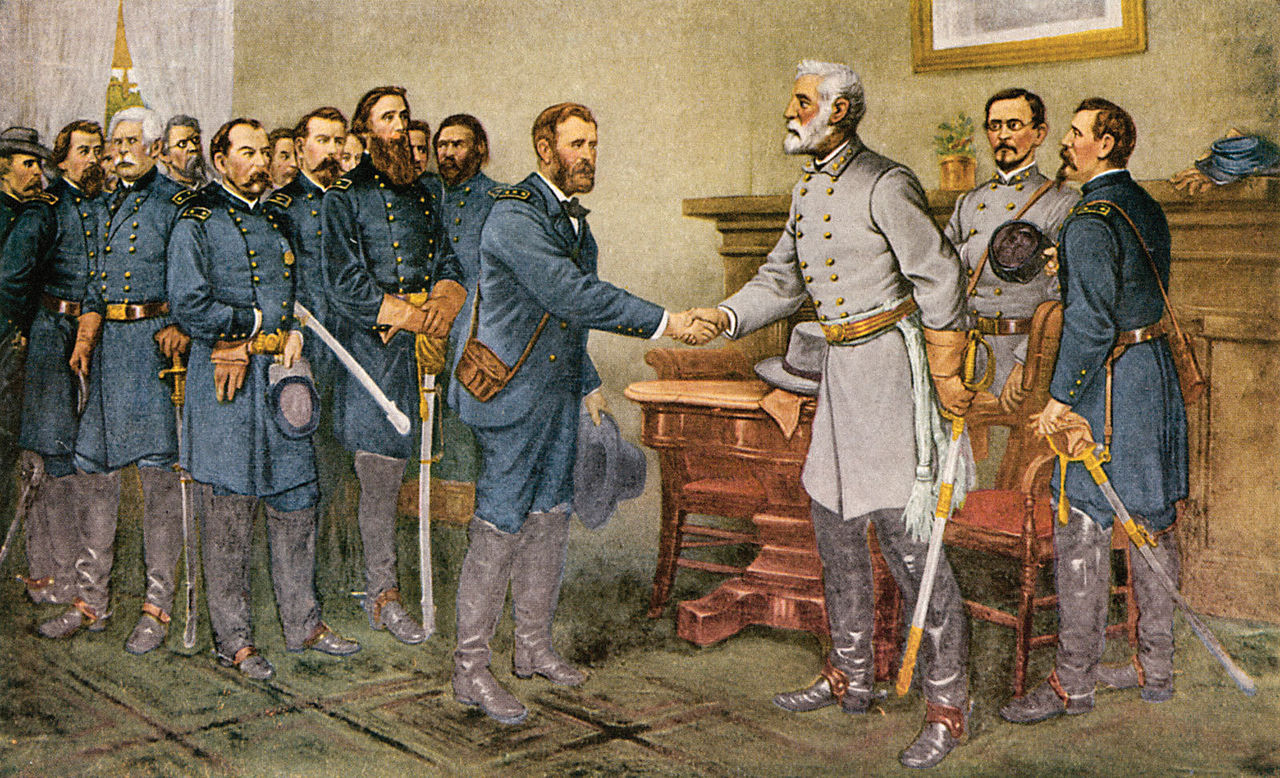
(THIS GUIDE IS FOR UNION GAMEPLAY) I wanted to make this guide as a bit of help for anyone who is struggling with Richmond. In my opinion, it is one of, if not the hardest battle in the game, and without proper preparing or management, the fight can crumble your forces and make you feel hopeless. I was prompted to make this guide as not many guides get to this point in the campaign. The battle is not impossible by any means, and a good strategy can make it easier on the player. I would like to give some basics and strategies on how to make this battle far easier. A small note that I am not an incredibly great player, nor is this strategy the definitive way to beat this battle. There are likely different strategies or methods that also work well, but I am going to explain what worked for me in this battle and should be consistent. I have played through twice to check that this strategy works consistently, and both times I was able to win. This guide is designed for newer players, so for you veterans out there, you can skip out on this guide or fact check me if you’d like. History In real life, there was never a Battle of Richmond with forts or the rest of the Confederate armies and Union armies clashing. Instead, Lee was forced out of Richmond due to a severe threat of being cut off from the rest of the South and the city (with Petersburg as well) was under siege for over 9 months. The Battle of Appomattox Courthouse saw Lee surrounded by cavalry and Union soldiers, trapping him in Appomattox and forcing him to surrender his entire army. Unforunately, the war does not end so easily In UG:CW. The enemies have fortifications ready and are not willing to give up Richmond without a fight.
First Phases, Day 1
Since there is no battle afterwards, it is advised to spend as much money and resources as you possibly can into building and beefing up your army. There is no longer a need to worry about casualties going forward except in the battle itself, so go wild! If your troops have been depleted from a previous battle, Harrison’s Creek and Georgia Railroad give a lot of money to replenish your corps with. Sell any extra guns or artillery pieces you are not using if you need money to replenish a brigade. In BG, I went in with 37,000 troops per corp, with 2,500 large infantry brigades making up the bulk with around 40-60 guns per corp. Skirmishers are very useful in this battle, and having 2 or 3 skirmisher regiments per corp is ideal. Calvary are nice to have for this strategy specifically, but limit it to 1 or 2 per corp. Harder difficulties or better management up to Richmond may make this number of troops or corps larger or smaller. Again, this is not the definitive strategy, and you may build and design your army as you wish, but this is what I had going into the battle.
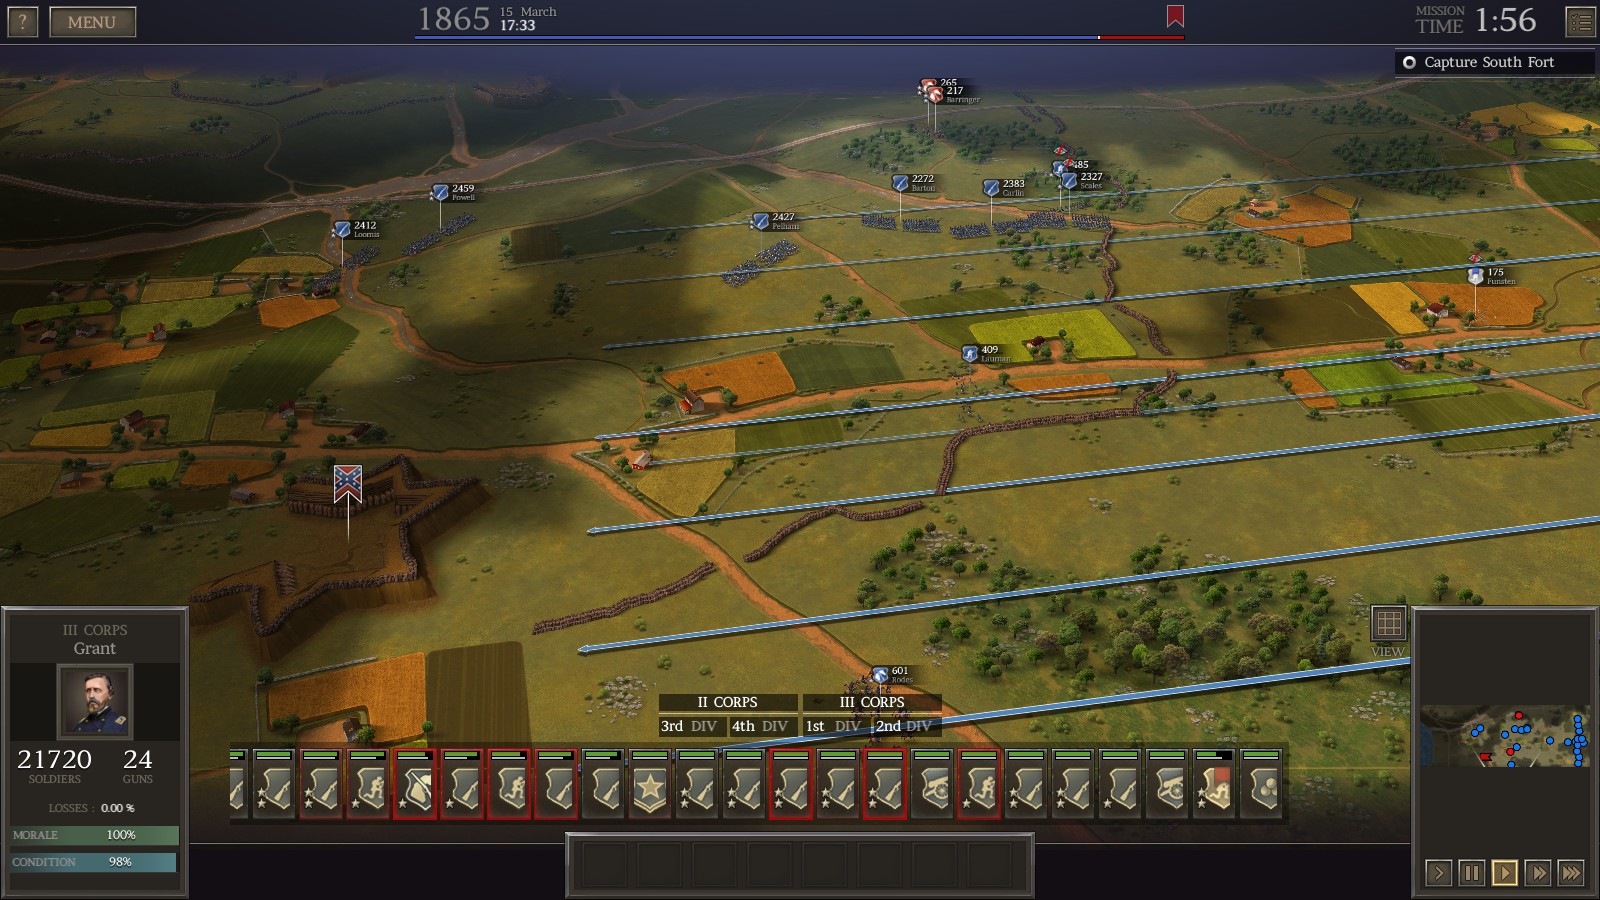
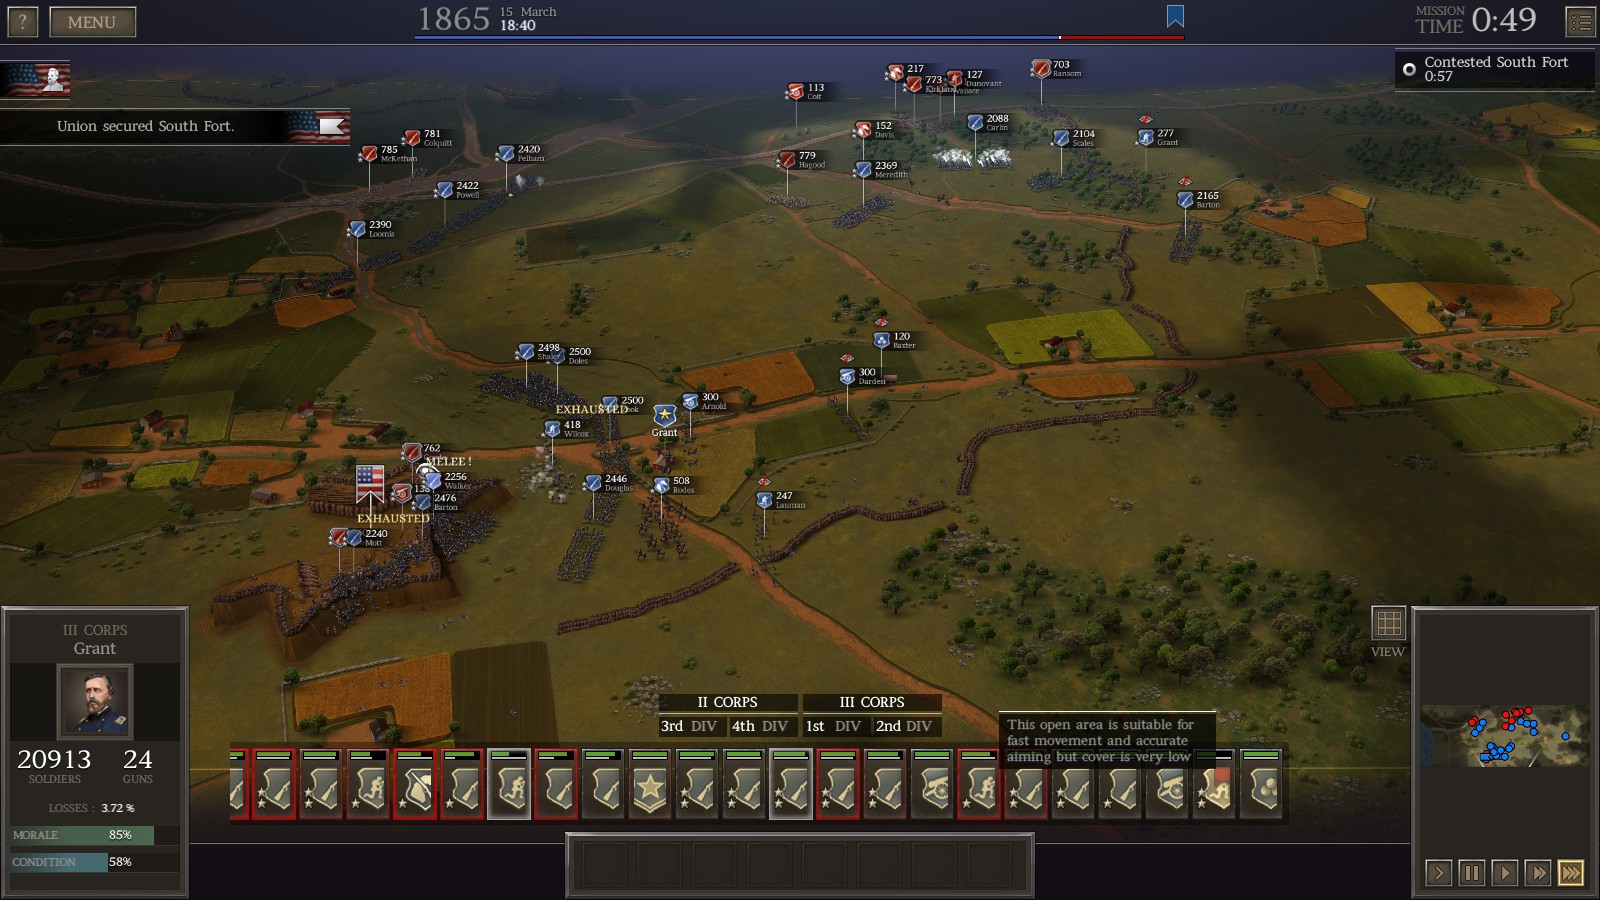
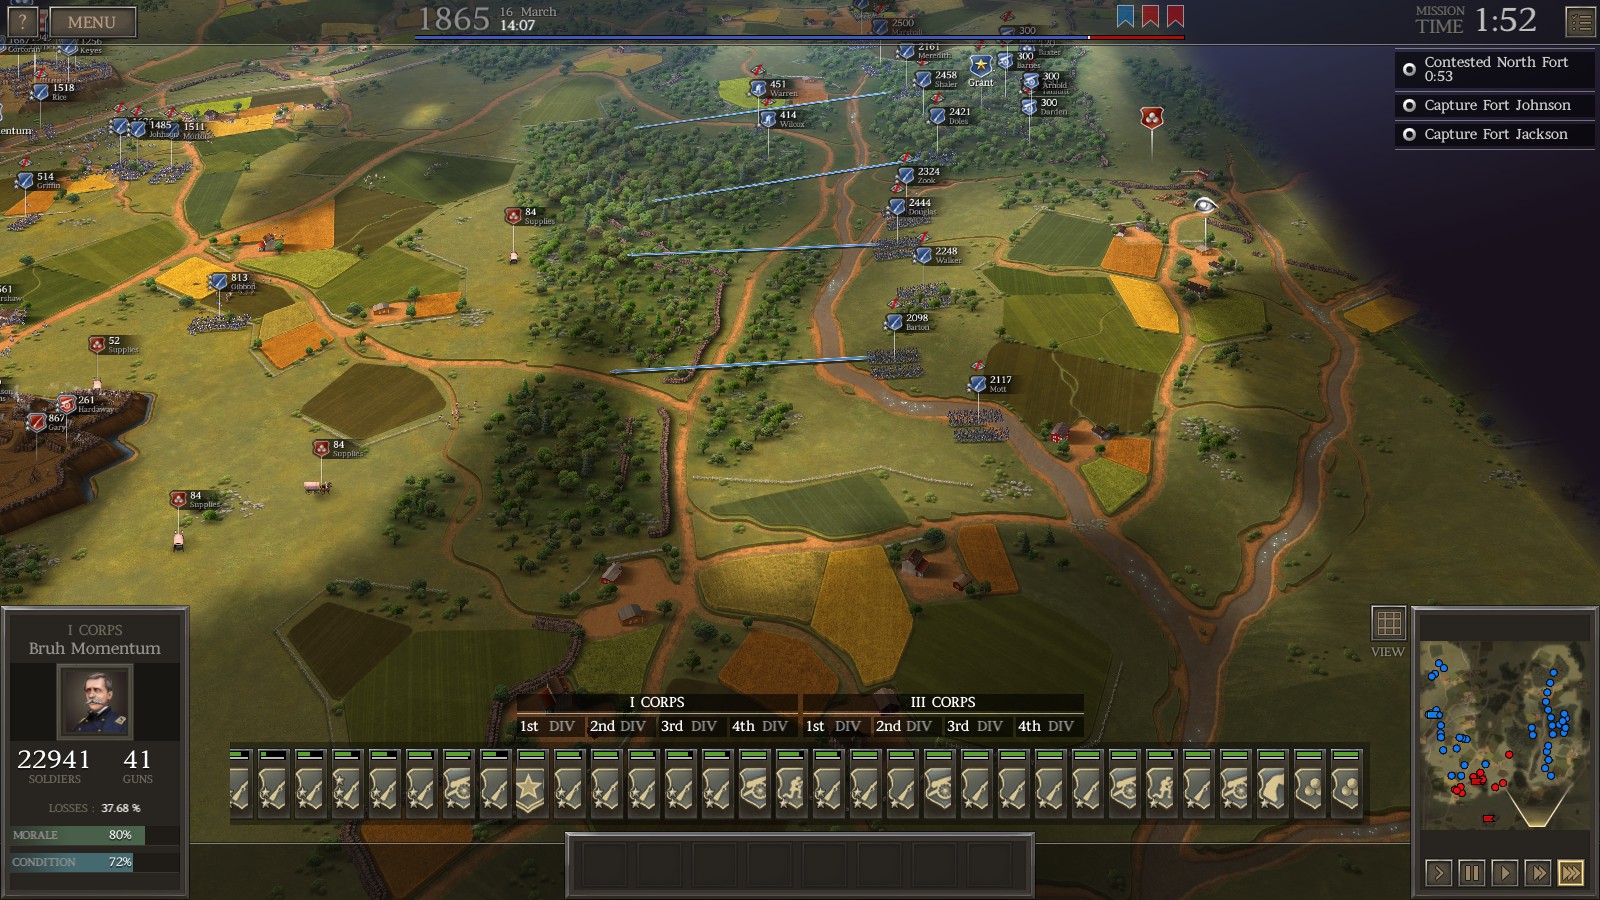
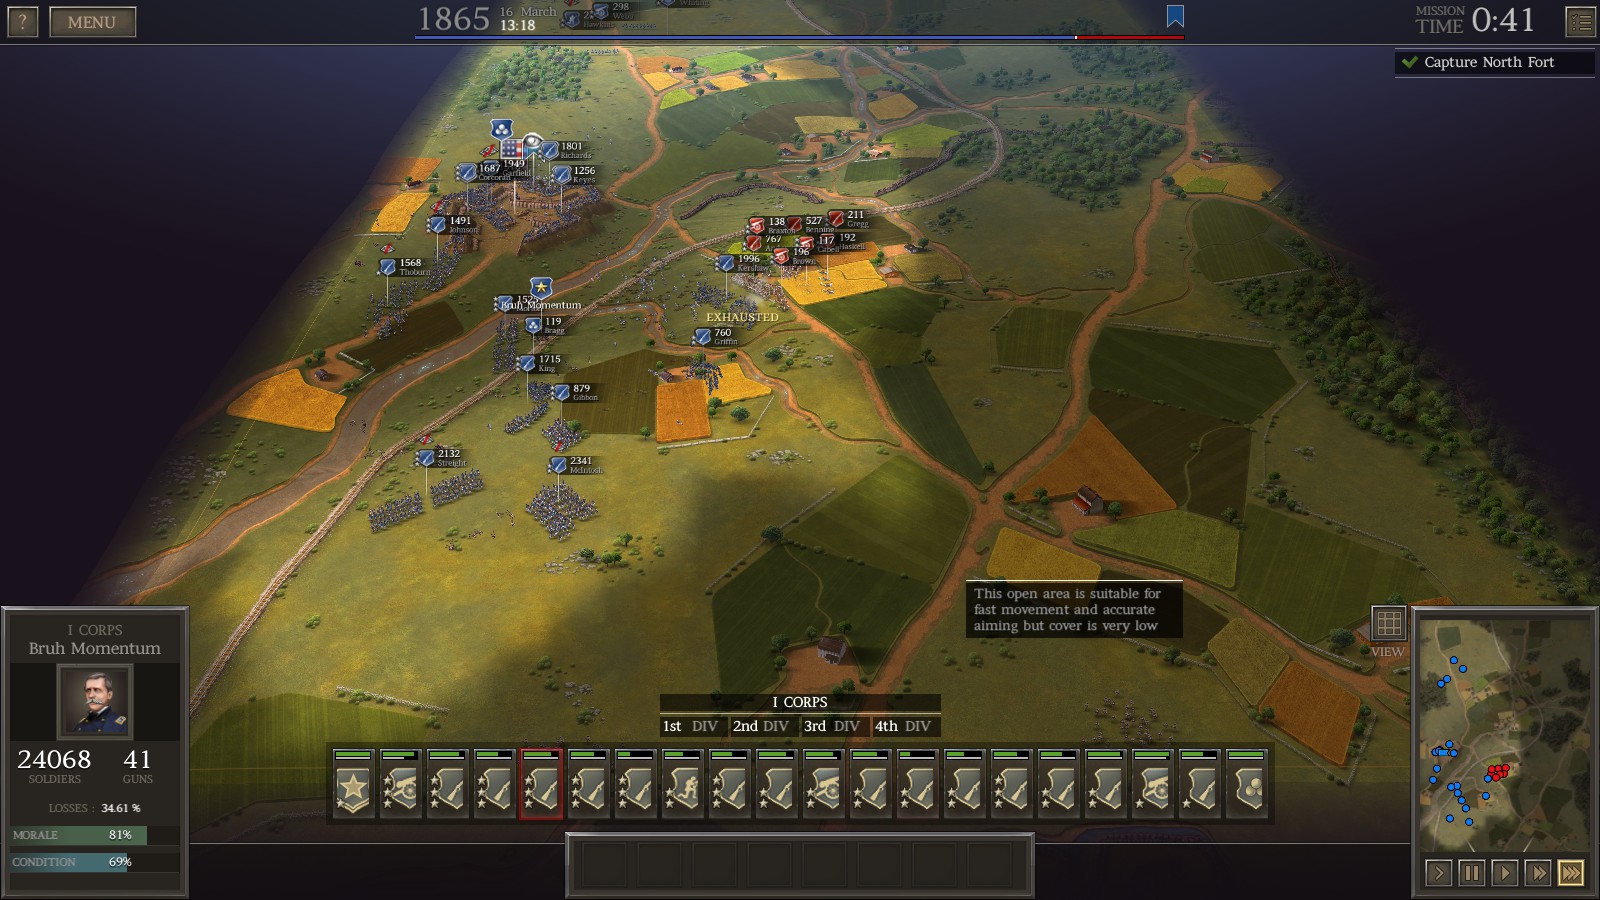
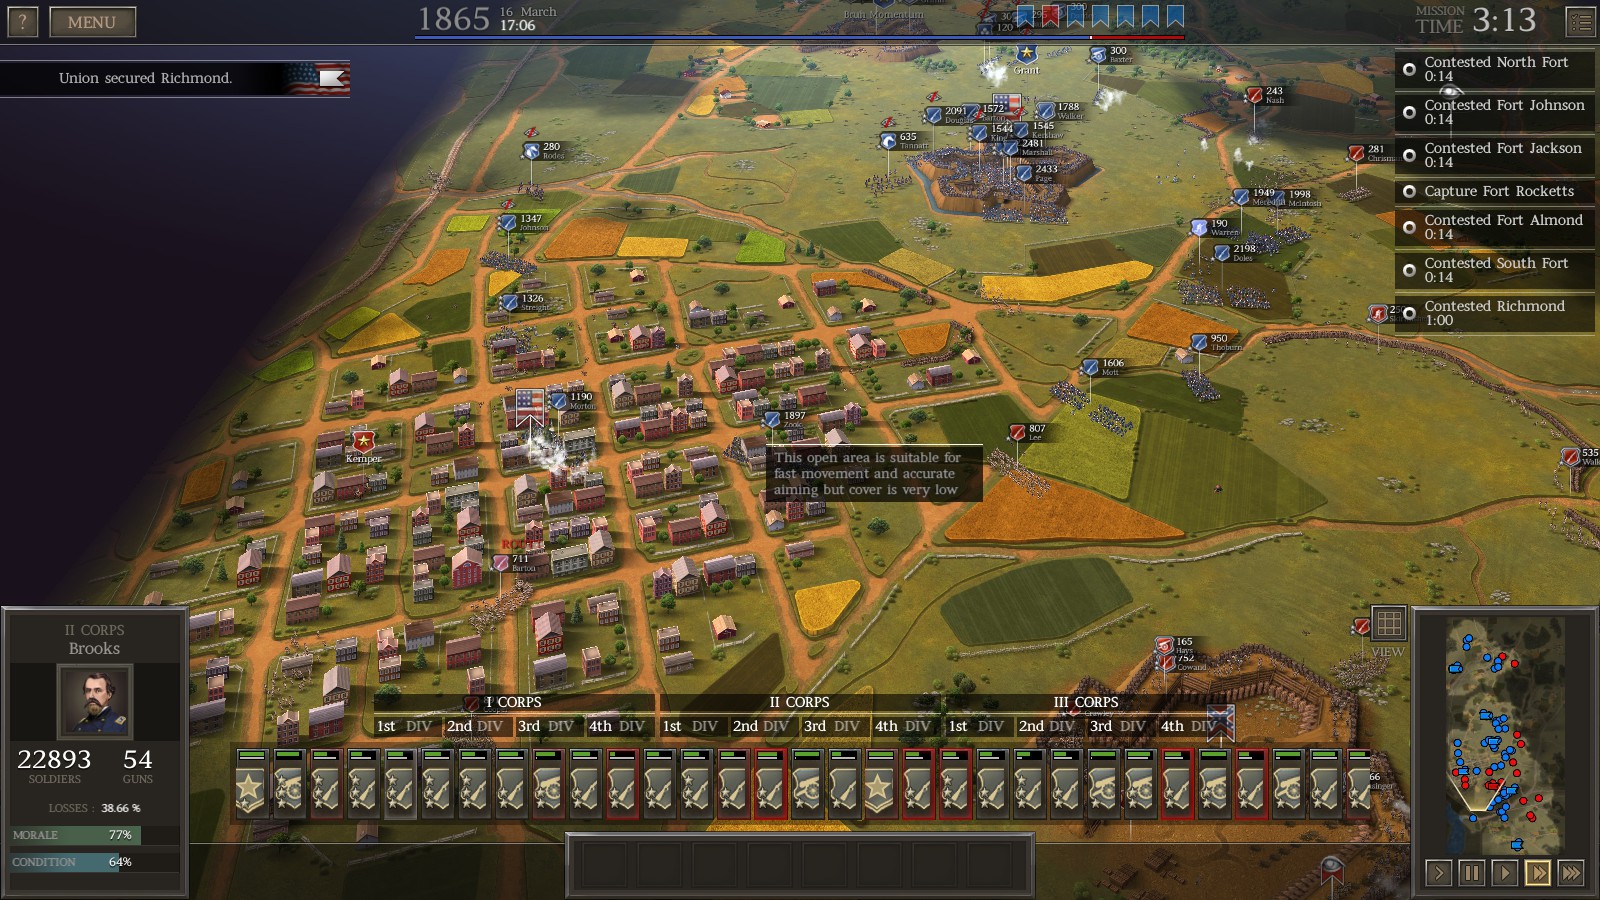
The battle starts similar to Mule Shoe and Harrison’s Creek(Petersburg). Your job is to capture 3 points on the map with a majority of your army and to hold them against Confederate reinforcements.
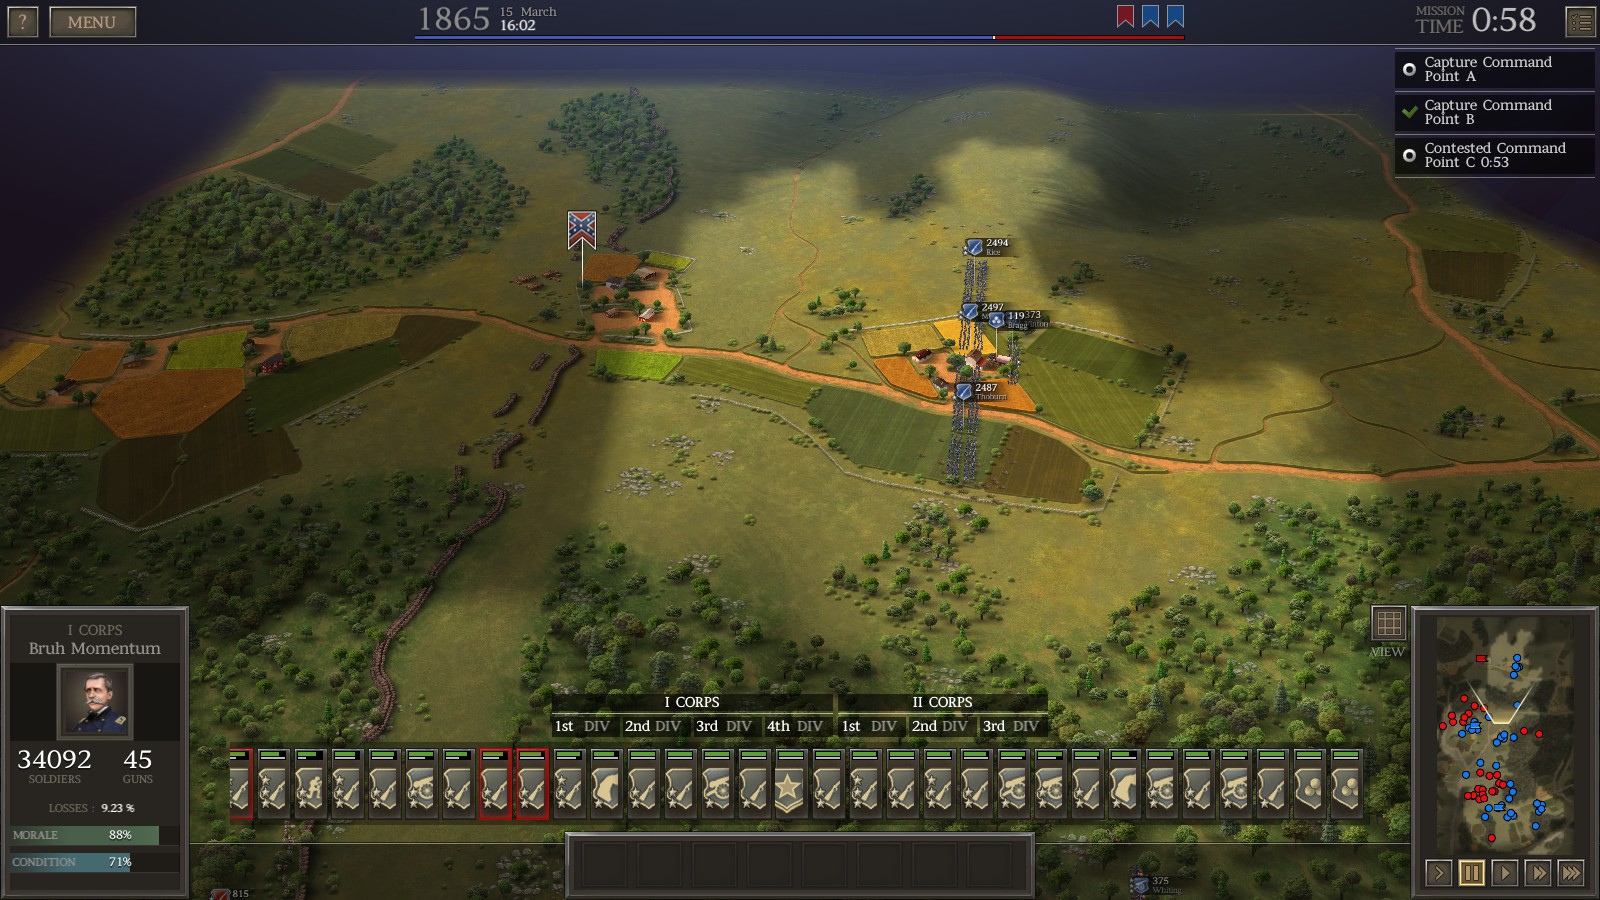
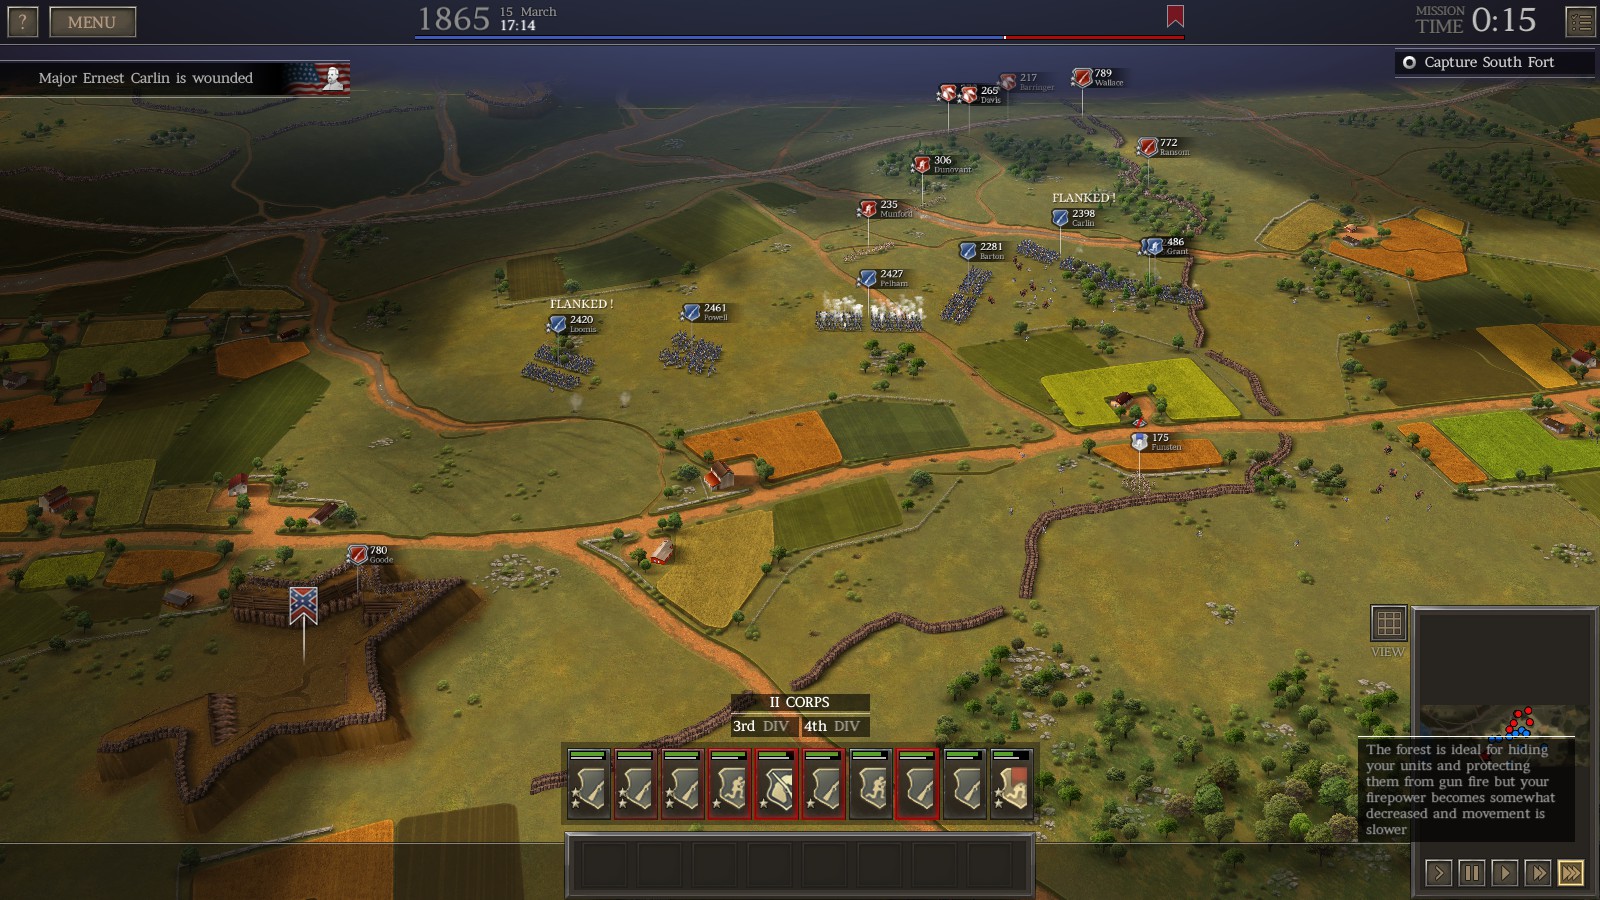
The Confederates have heavy fortifications in the north and some in the forest. It is best to completely ignore the northern objective for now, as it is simply not worth the men that die trying to push into fortified forests. Leave 2 or 3 brigades in the north for later, but do not place them close enough for the Confederates to attack you. Instead, you should place your troops near the forest on your eastern side and send your troops down to the middle objective, right here. The line is guarded by a very easily flanked brigade, and sometimes has just skirmishers on it who patrol the forest. It is best to attack and rout the enemy here, because this opens up the option to pierce through and roll the enemy line out from inside of itself. It is wise to do this as fast as possible and to move your troops west and south to rout the rest of the fortifications, because the Confederates will receive reinforcements soon.
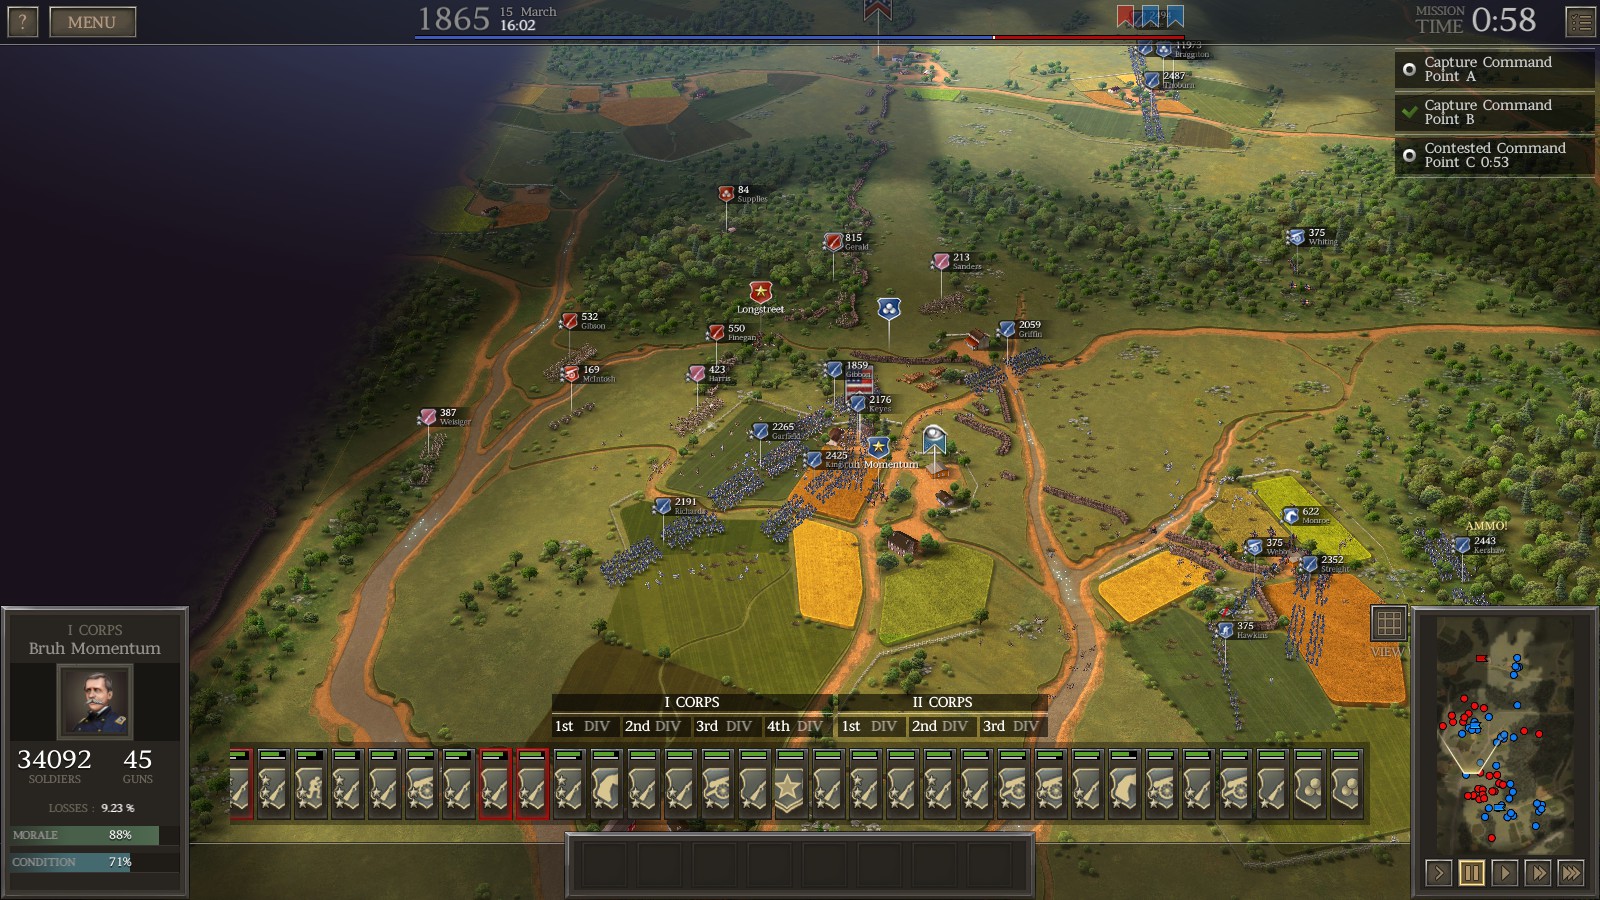
Once the battle opens up to the south, you want to pin down the right fortifications with a few brigades, and push through from this spot to rout the enemy and do the same method as before. The southernmost fortification can either have a small infantry brigade or skirmishers, and can be annoying but routed with a brigade moving to its back. Artillery can be used on whatever target you like, as long as it is helping you get through. You can see now that sending troops from the middle downwards is going to flank and rout most of the Confederate army in the South, but the battle is not over.
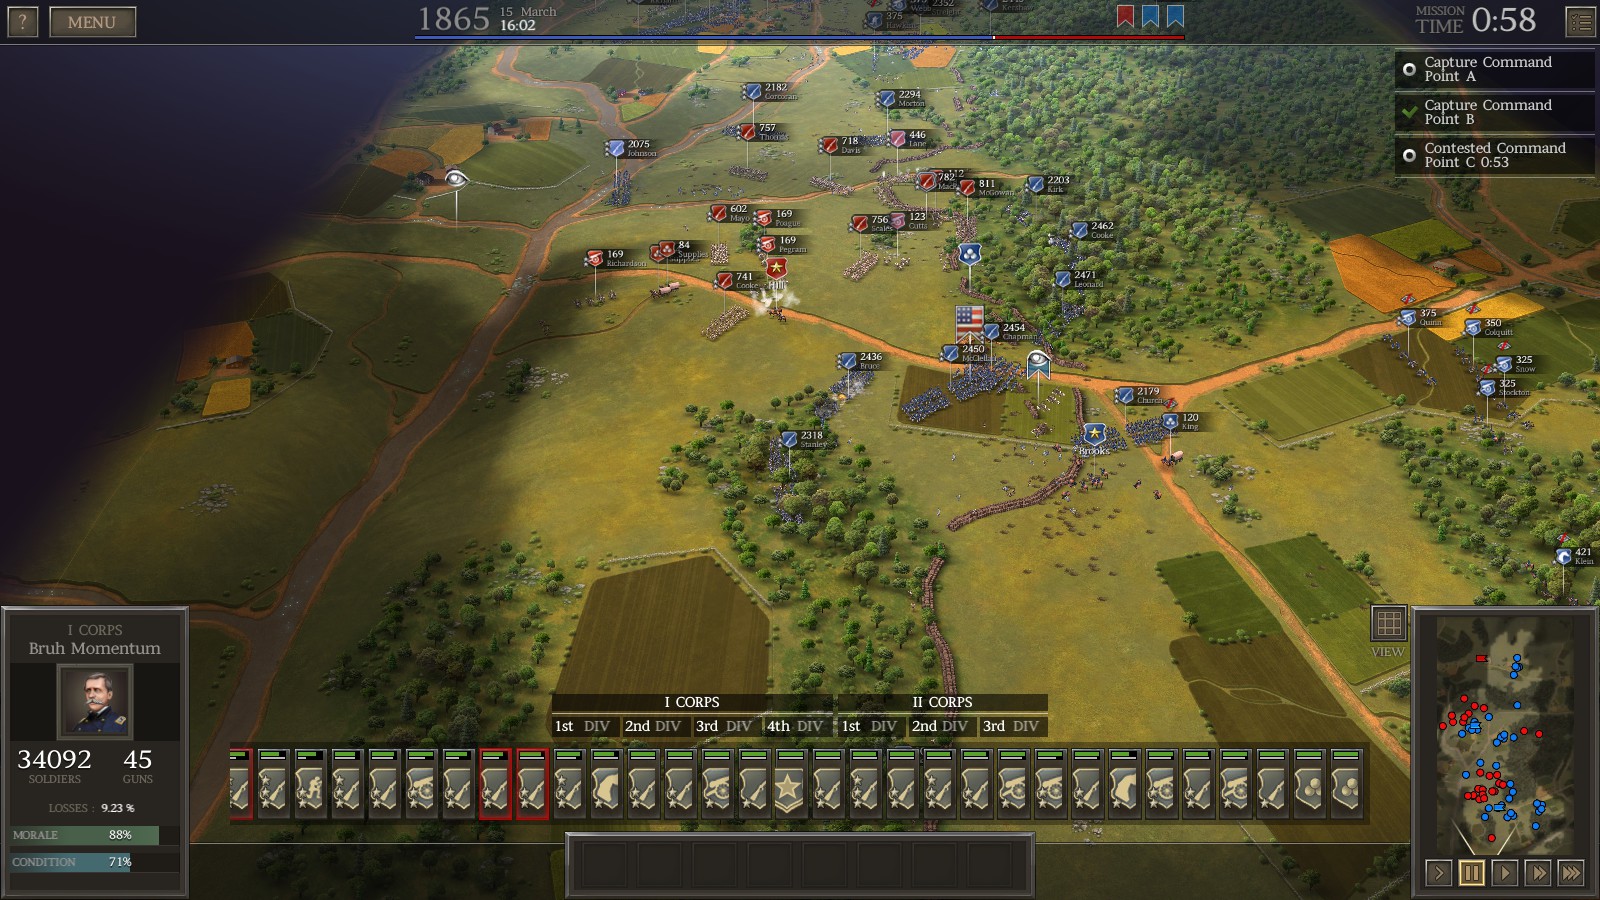
It is ideal to send troops northwest, as Confederate reinforcements will arrive from this direction and you will want to destroy them as soon as possible. I am moving north to destroy their infantry and skirmishers here as well, which is where the main plan of this strategy is revealed. Your job is to capture and eliminate as many Confederate brigades as possible, because when they are gone there will be almost nobody protecting Richmond later. It is incredibly easy to destroy the reinforcements as they come as long as you send 2 or 3 brigades to the Northern river. Ideally, you also want to destroy their artillery because it can prove bothersome later in the battle. After this quick phase, the battle will transfer over again.
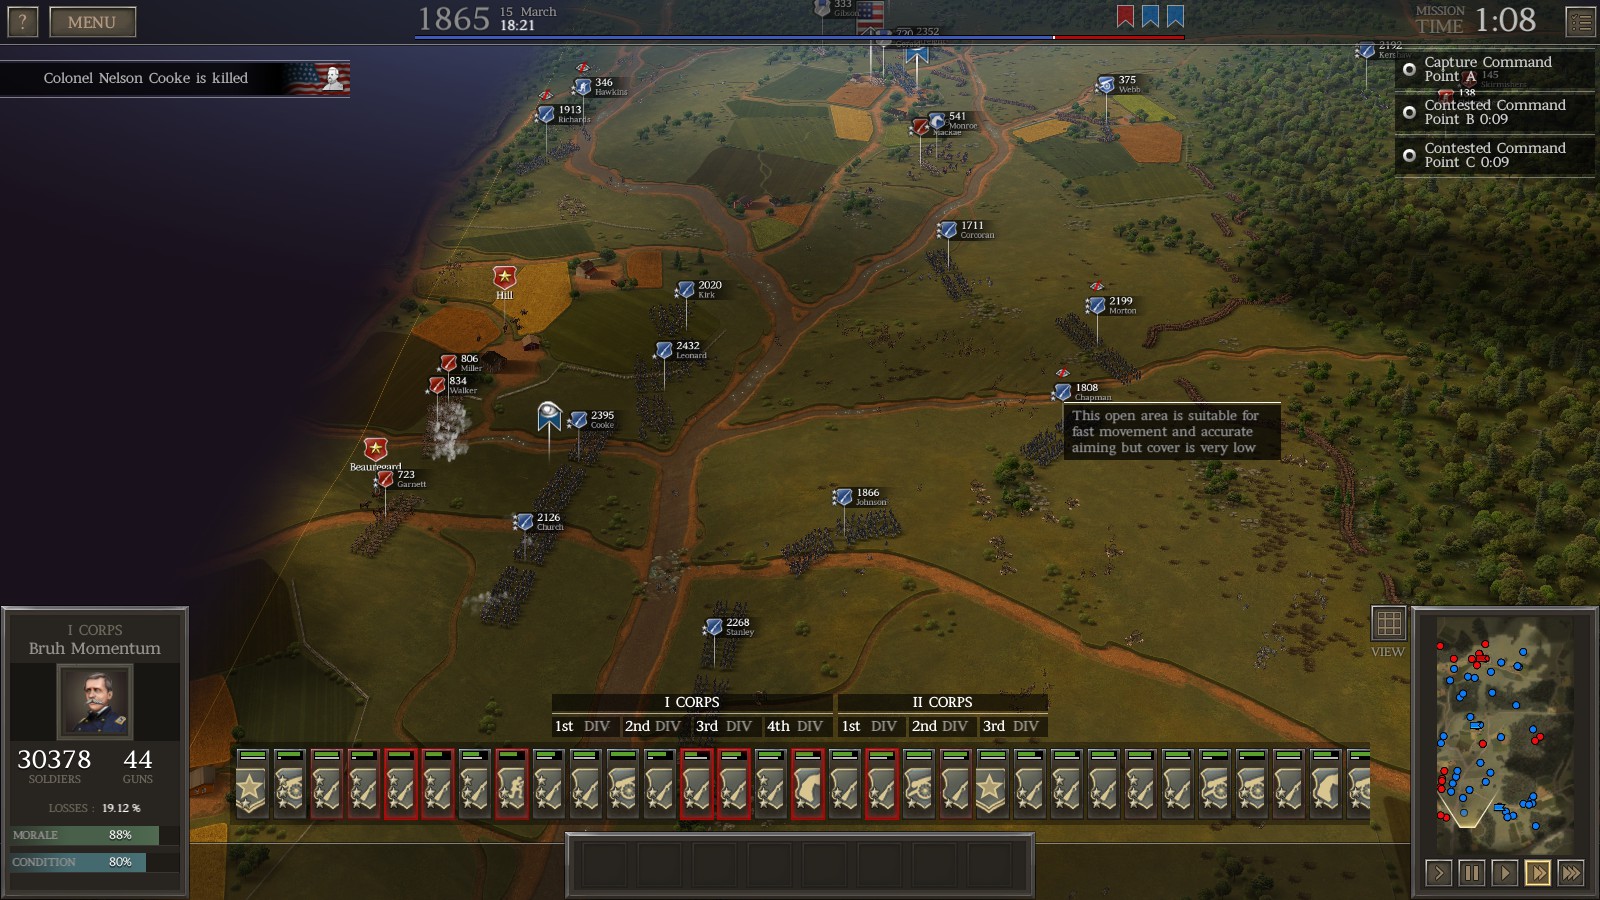
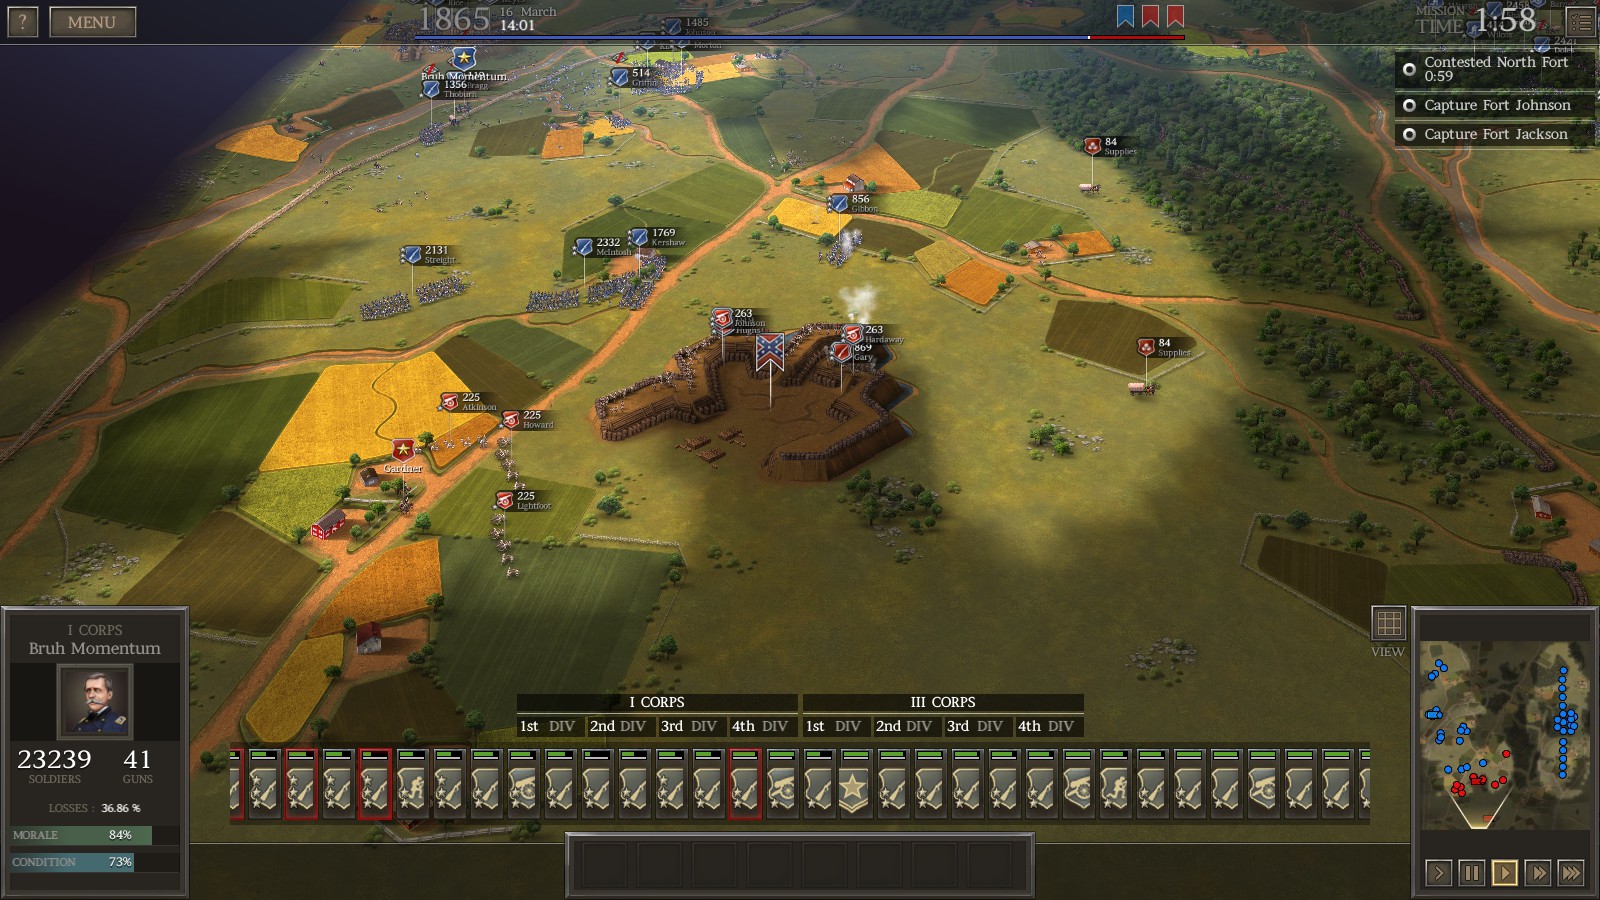
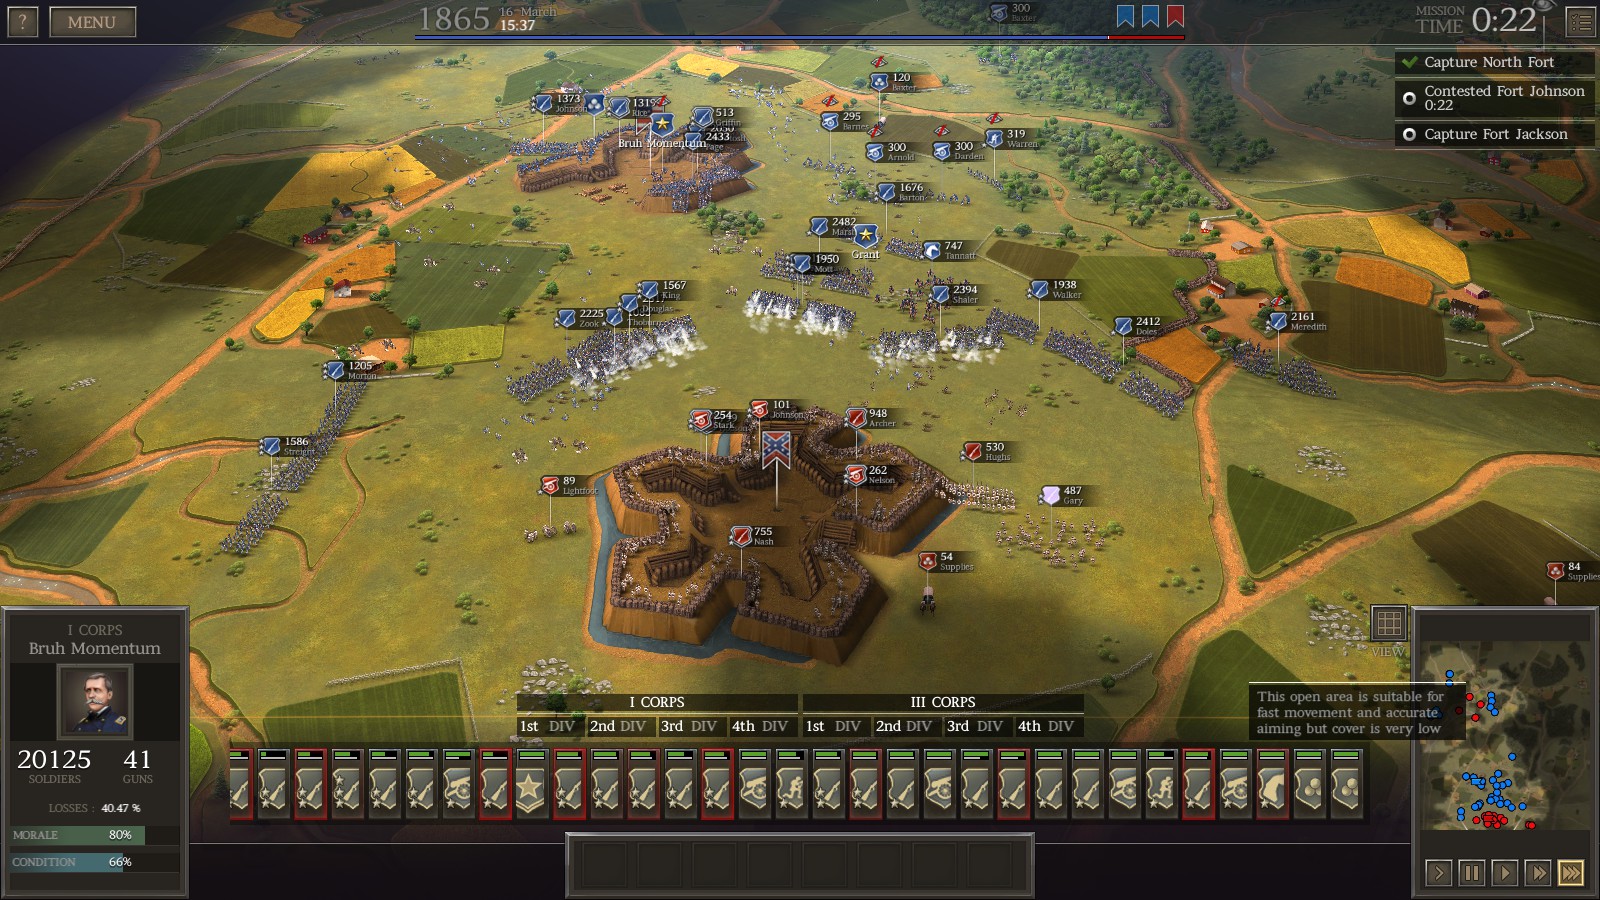
You will return to the northern end of the battle, where you must take the 3 points. By now you should have the middle and south objectives captured or almost captured, but do not let your guard down. You will have to wait a little longer for more reinforcements, but in the meantime you should move your southern troops toward the north to defend the middle objective, as you will capture quite a lot of troops and skirmishers will be wandering around. Some Confederate reinforcements coming from the west will try and retake fortified positions in between the north and middle objective, so you need to keep a few brigades on standby to stop anyone who tries. Keep a brigade or two in the forest east of the middle objective to dispatch the skirmishers there to stop them from harassing artillery or retaking captured troops nearby. In the south, you should meet A.P. Hill’s division with 4 or 5 brigades, and from here you can easily destroy his troops.
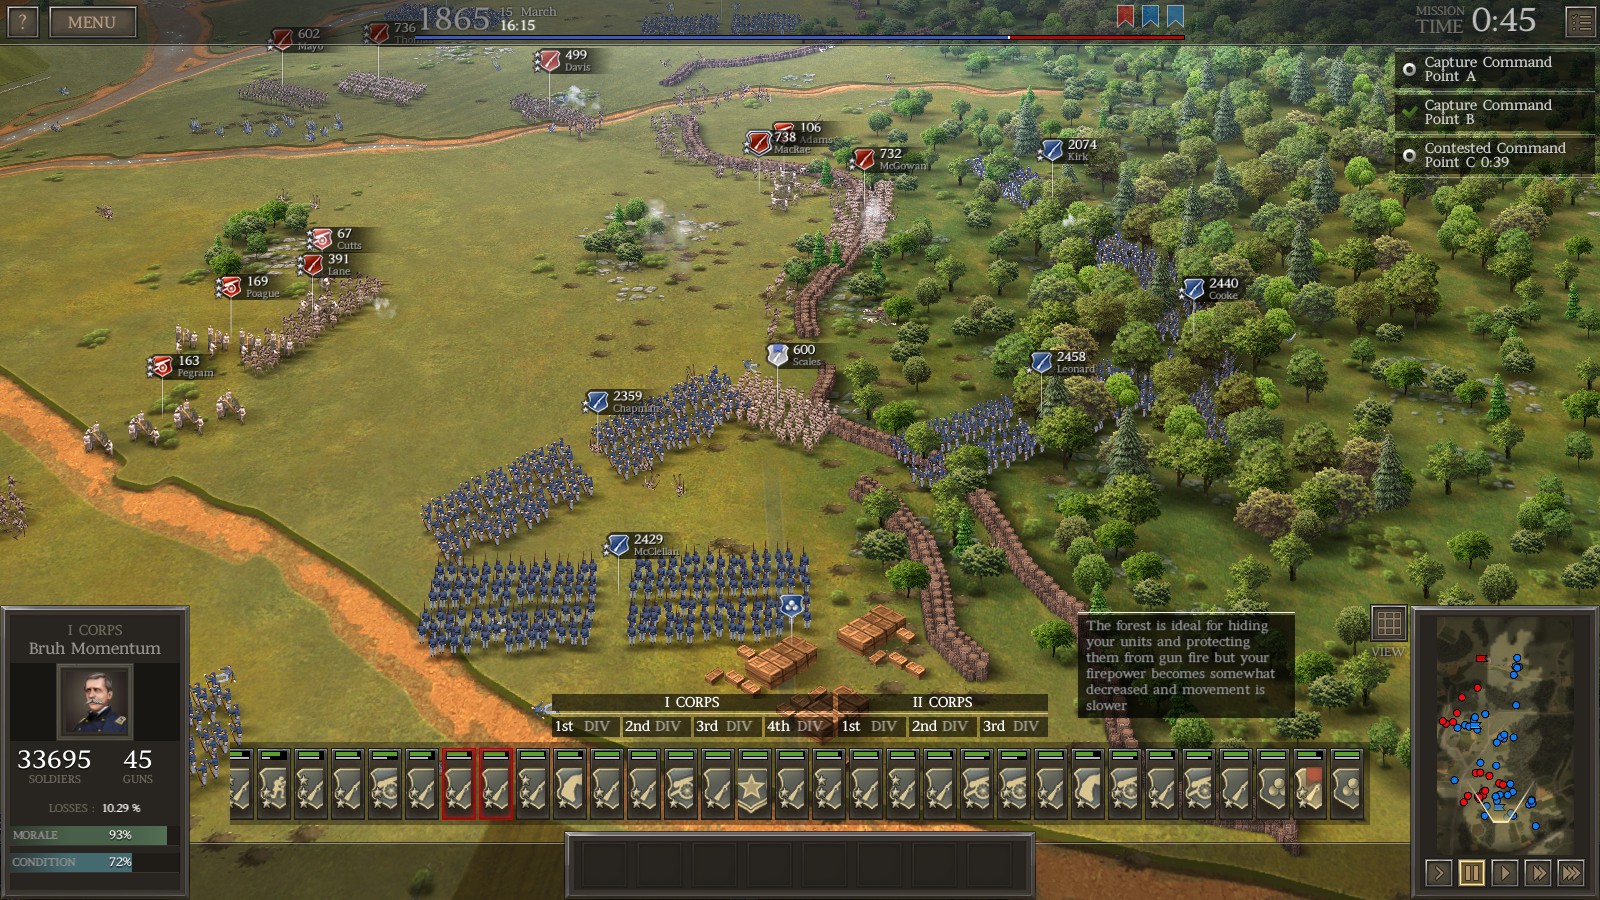
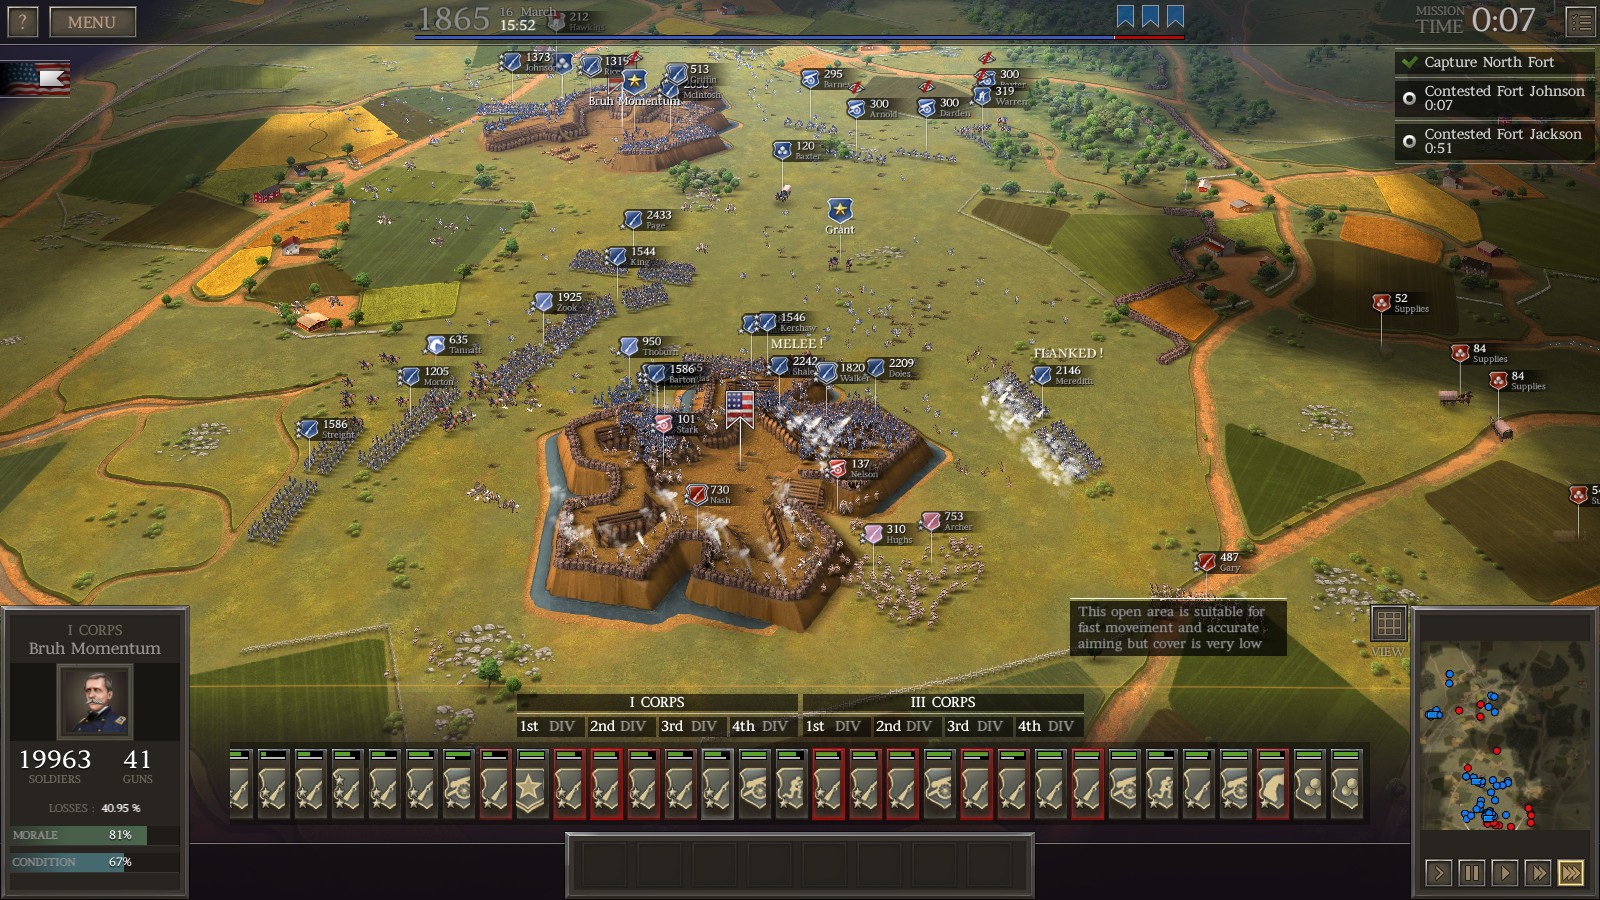
In the forest and near the Northern objective, the Confederates will receive some reinforcements and will have troops in the woods. After pushing them from around the middle objective, drive your troops north to get rid of the men on their fortifications and to push them further north. Reinforcements arriving from the west may threaten your flank, so keep a brigade or two on standby in the west. Eventually, you will be behind the northern objective and attempting to take it. Once you push upwards to attack the northern fortifications from the back (and the Confederate free troops are routed to the north), you can finally tell your standby troops on the other side to advance and flank the fortifications. Once they fall, you should move upwards to take and hold the northern objective, but beware Confederate reinforcements coming from the western road. The battle will pan once again, and you will be back in the south.

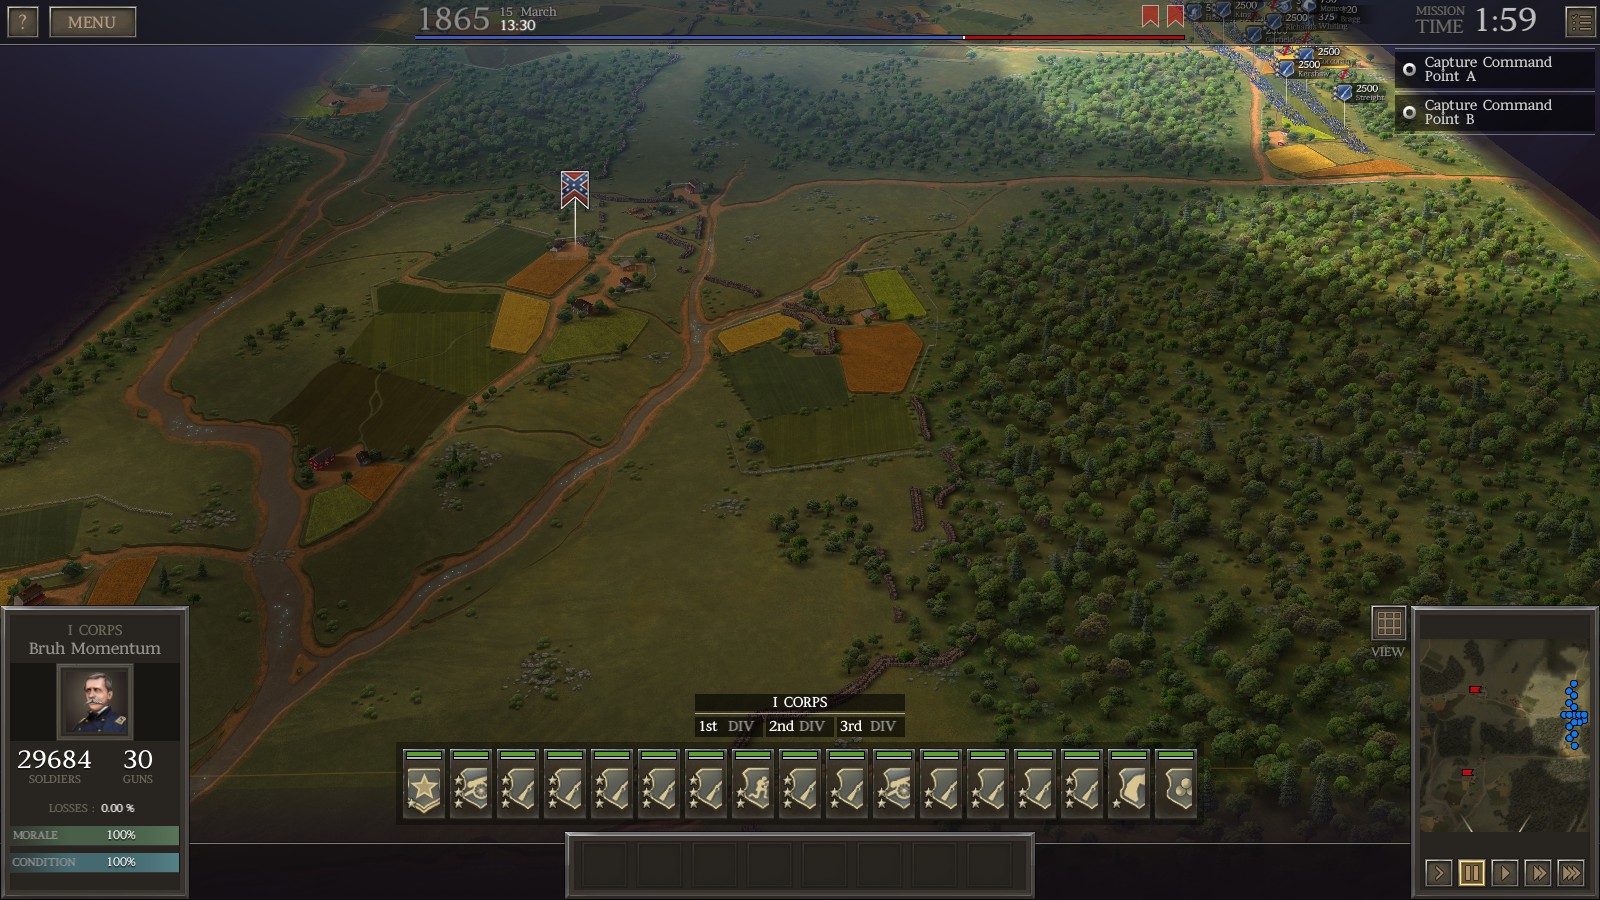
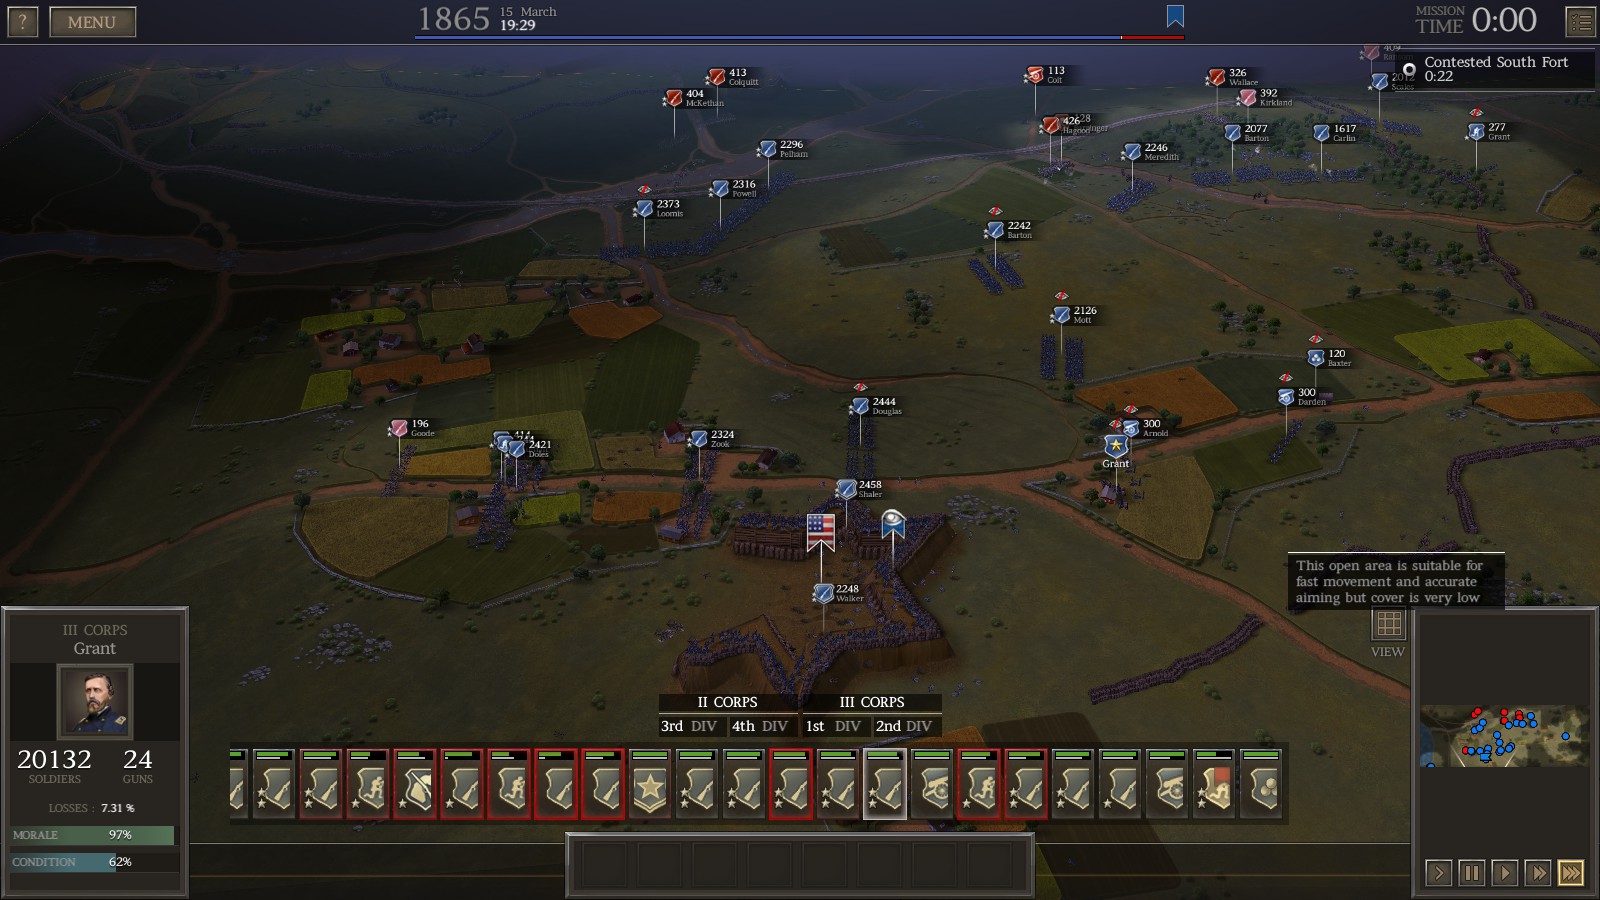
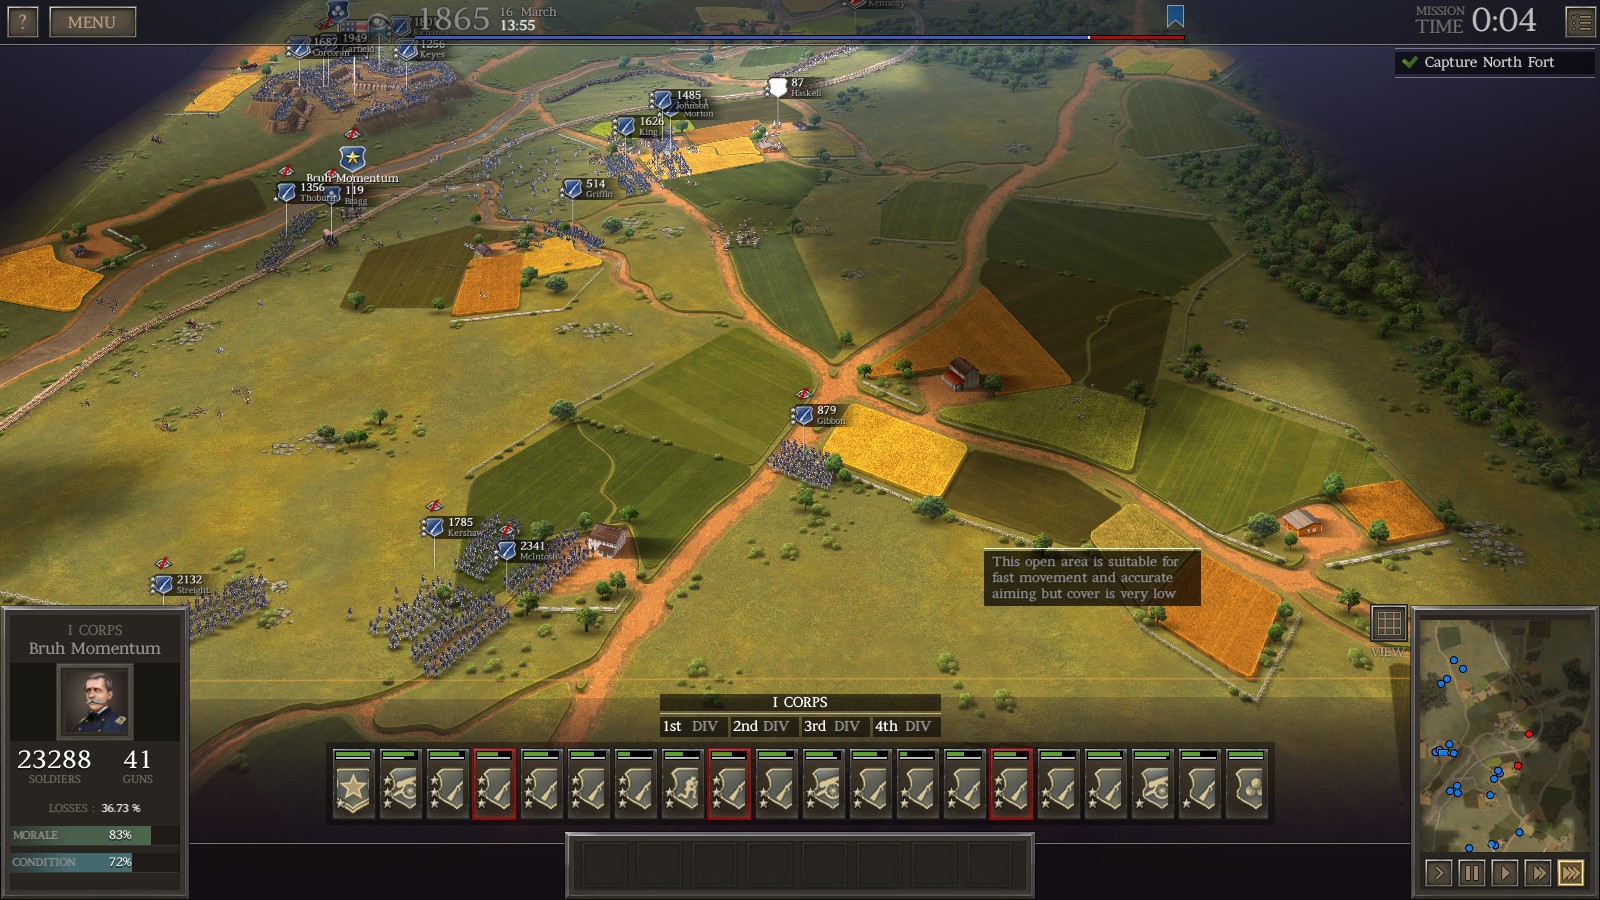
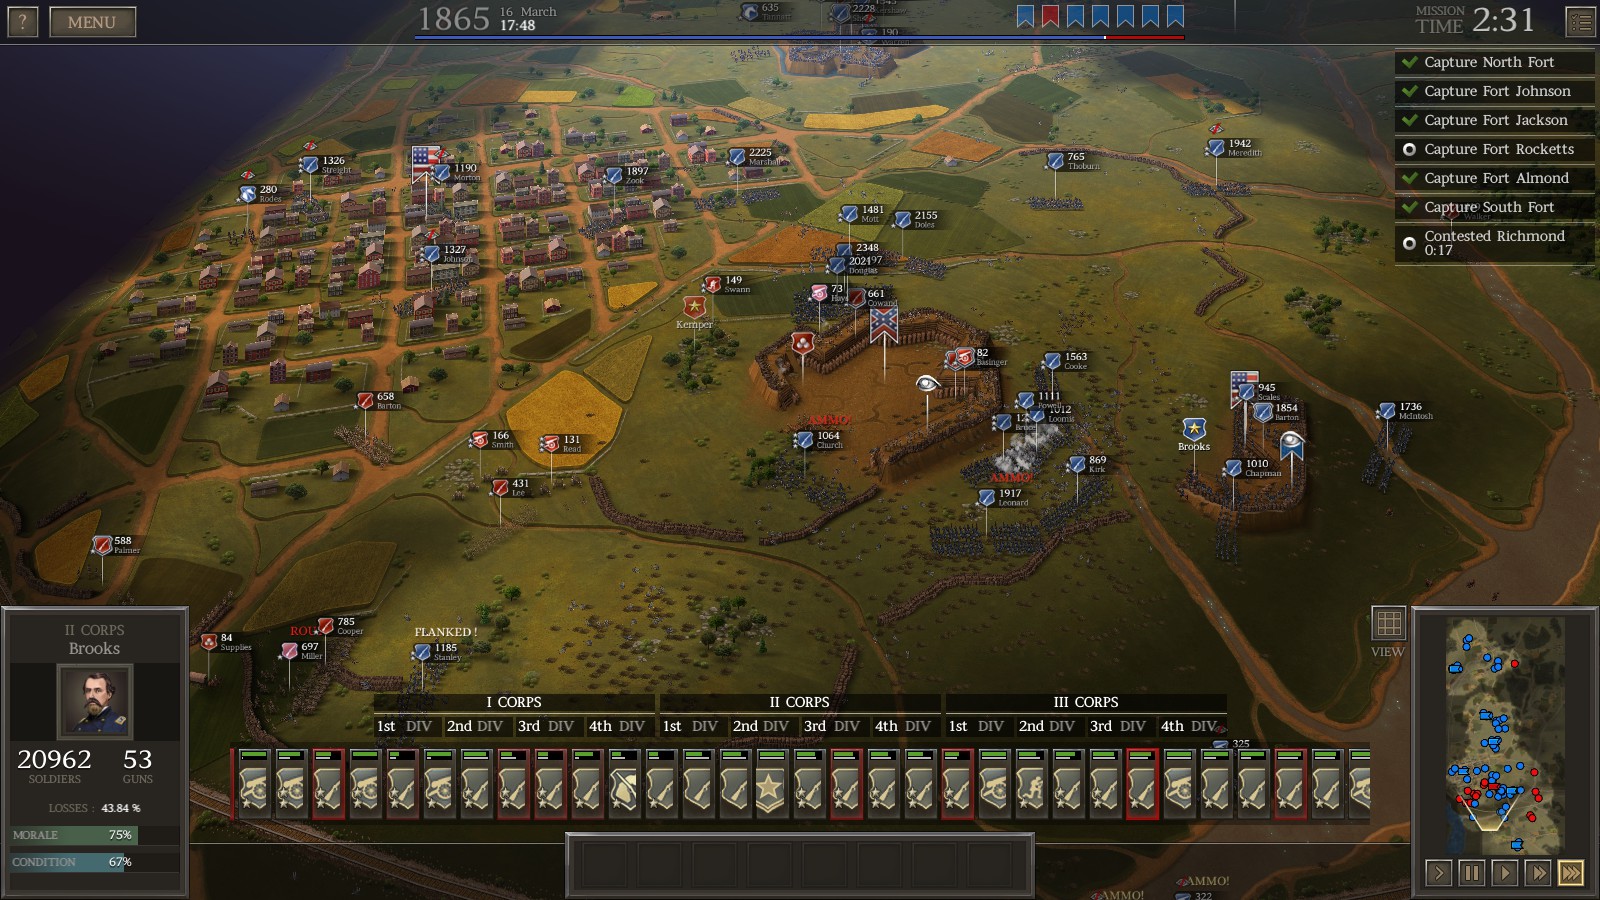
South 2, Day 1
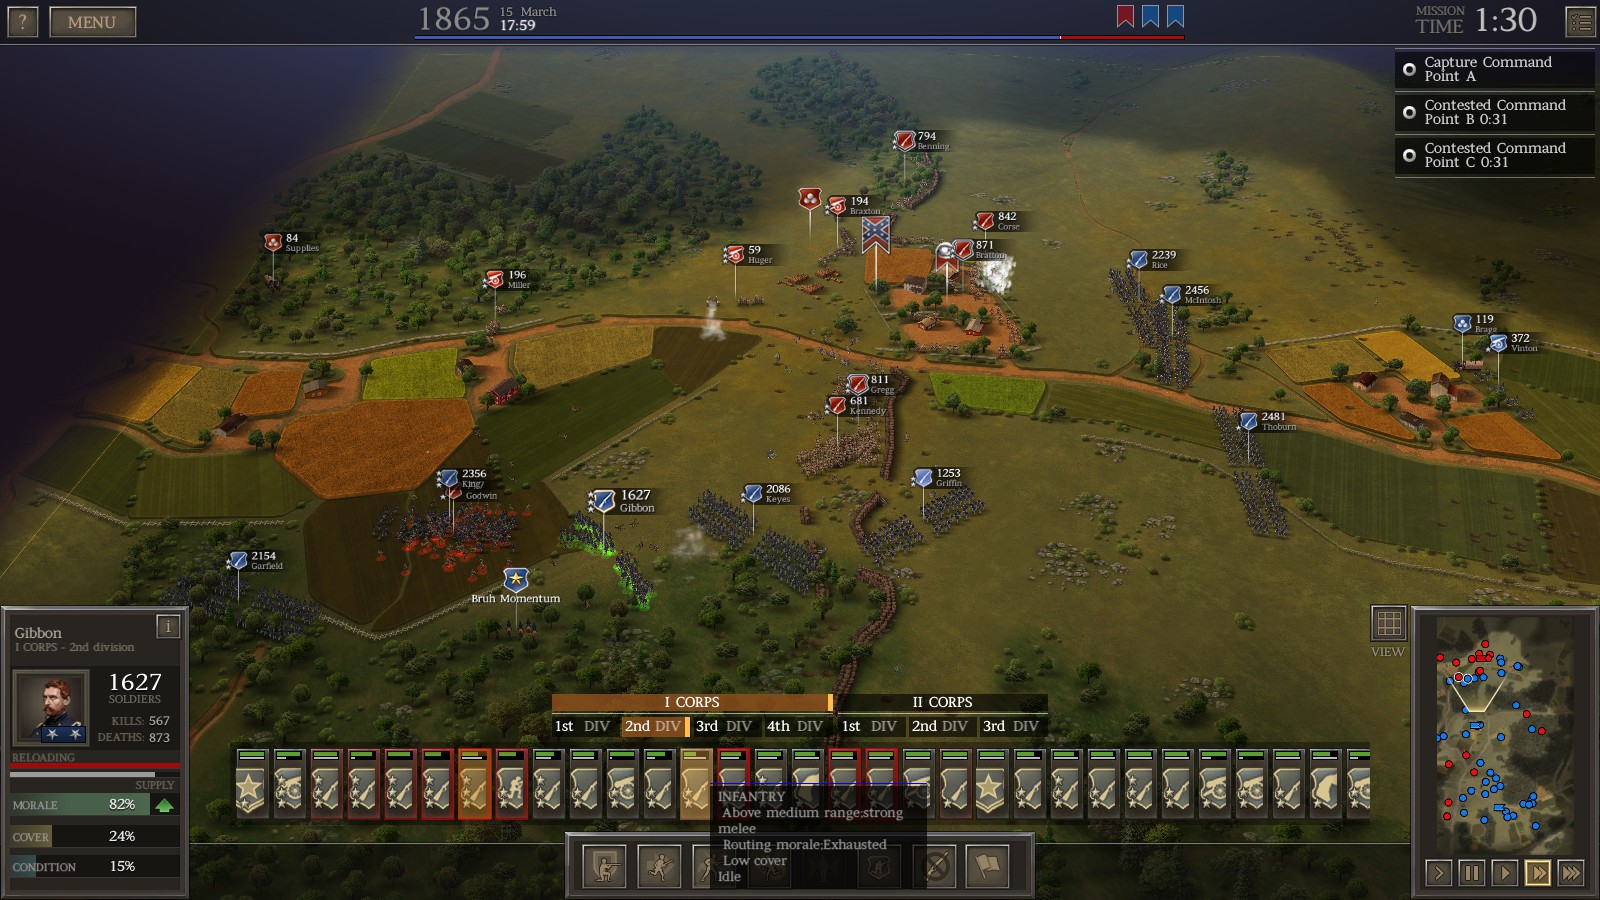
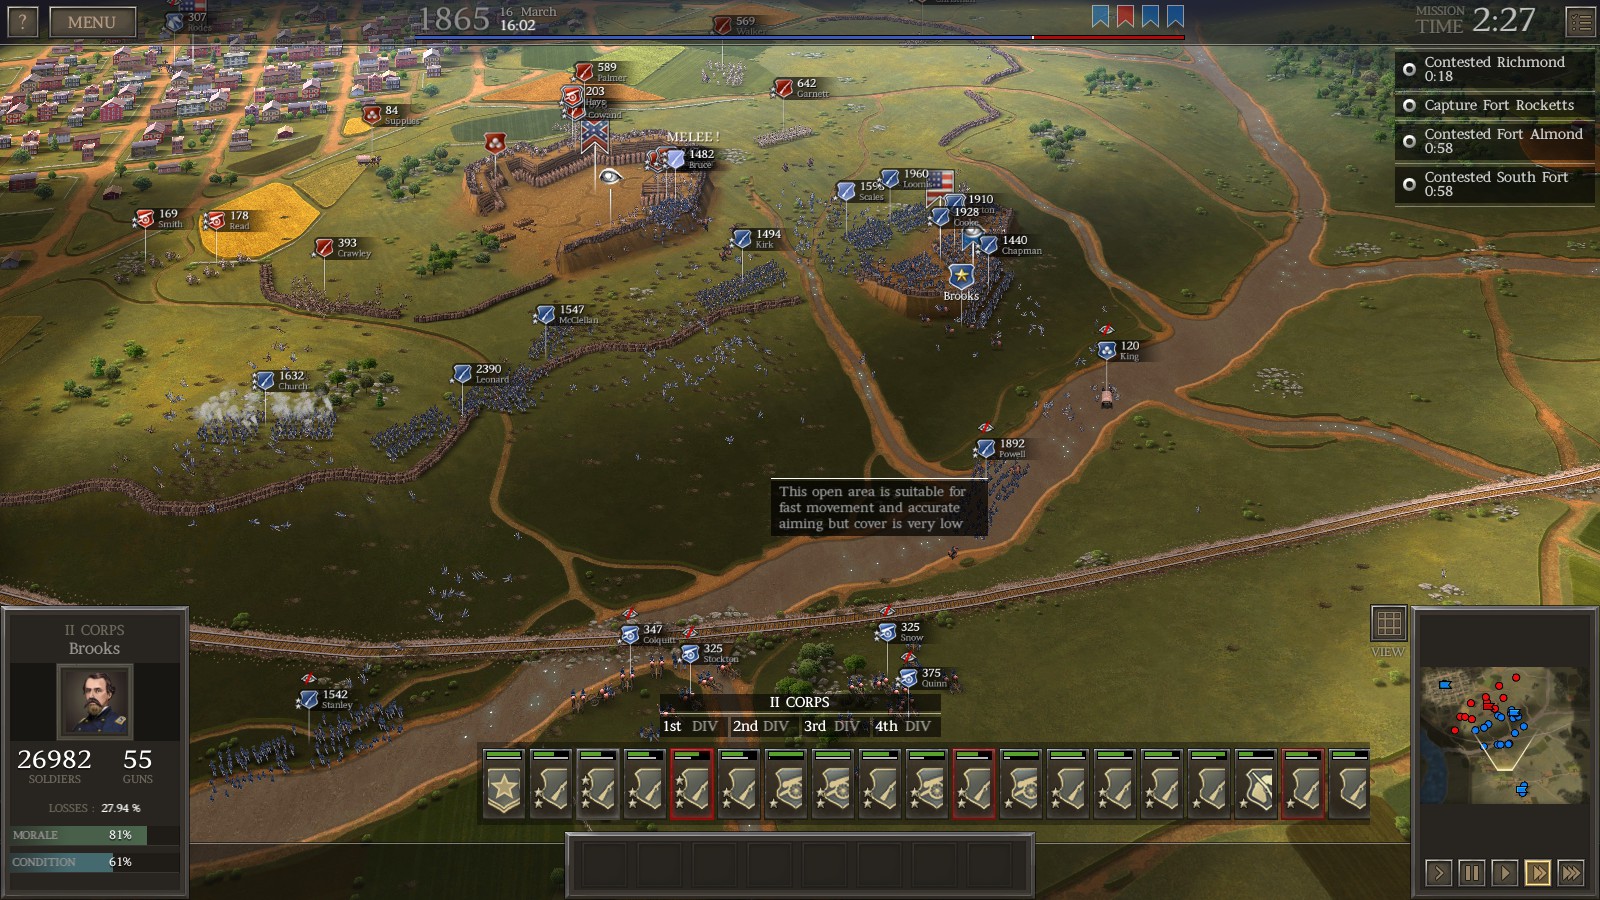
From where we left off, we are pushing the Confederates into a corner in the north and south. Now, we will be returning to retake the fort in phase 2. You will be receiving reinforcements from the east side, and they will be the ones to take the fort. Leave your current troops busy in the north and continue to attack and destroy Confederate brigades and reinforcements.
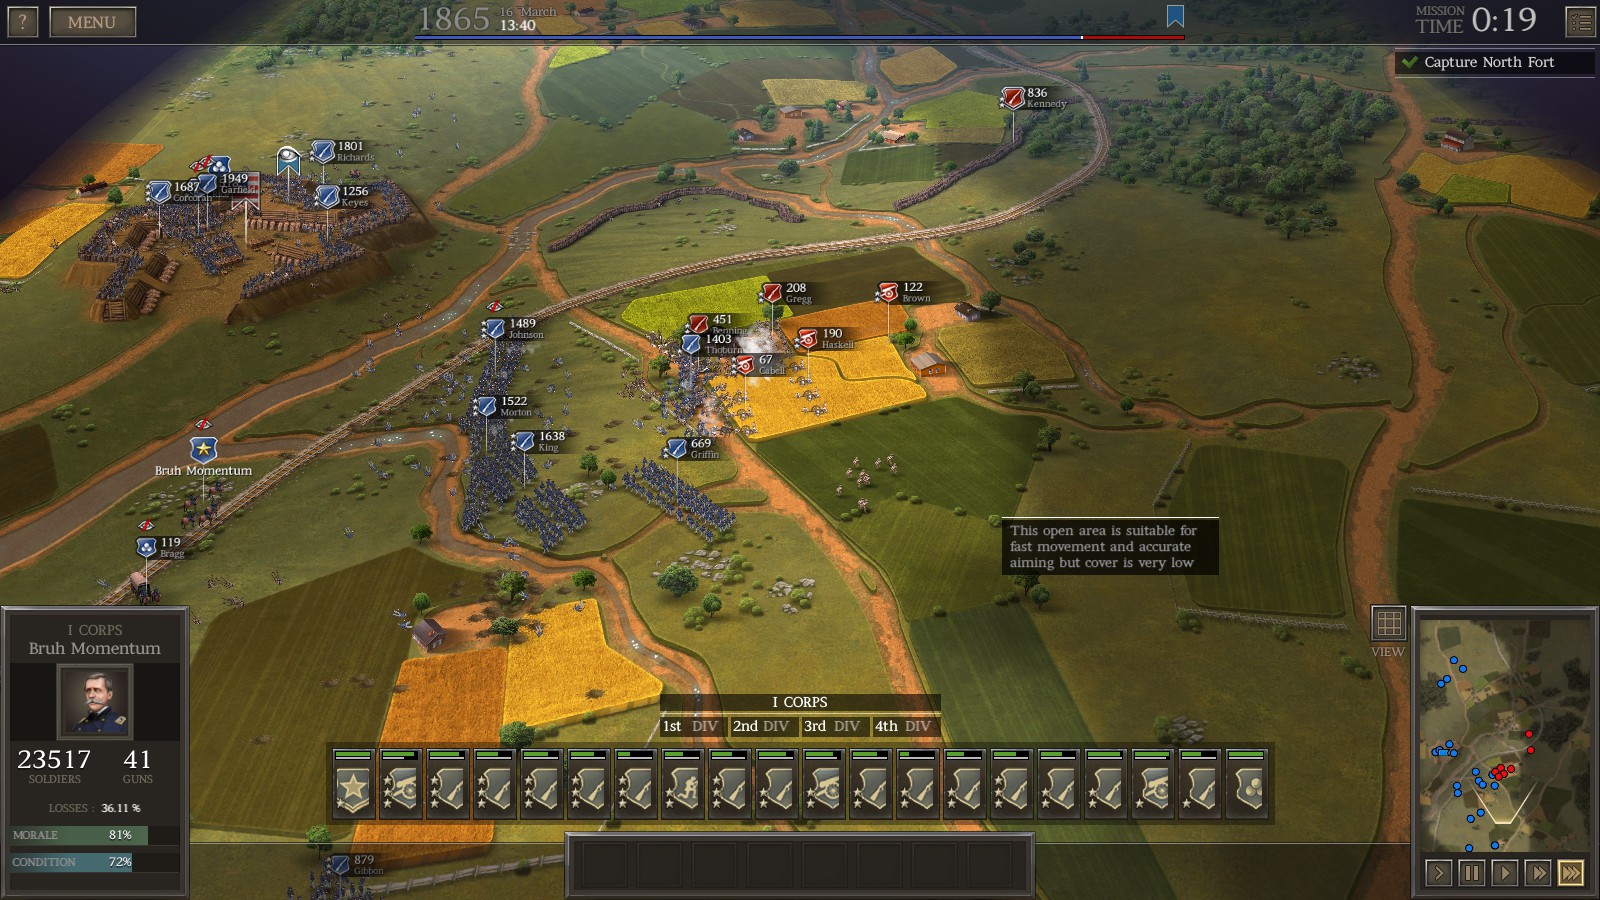
There are two ways to go about taking the fort. I had enough men and not enough patience, so I just charged my troops through over and over until one side fell, and then took the fort and routed the troops, destroying them in the south. If you are lower on men, it is much smarter to send some brigades to the back to flank the Confederates (your northern flank is secured by brigades already) and take the fort in either a charge through the fort opening or by routing the troops through repeated gunfire. The charge strategy is much faster, but it can be costlier and detrimental to your men later. It’s up to you which strategy to do. After you take the fort and destroy the Confederate troops that were once there, the battle in the south is smooth sailing. You can move some forces north to destroy more Confederates and to guard from reinforcements, and that’s about it for now.

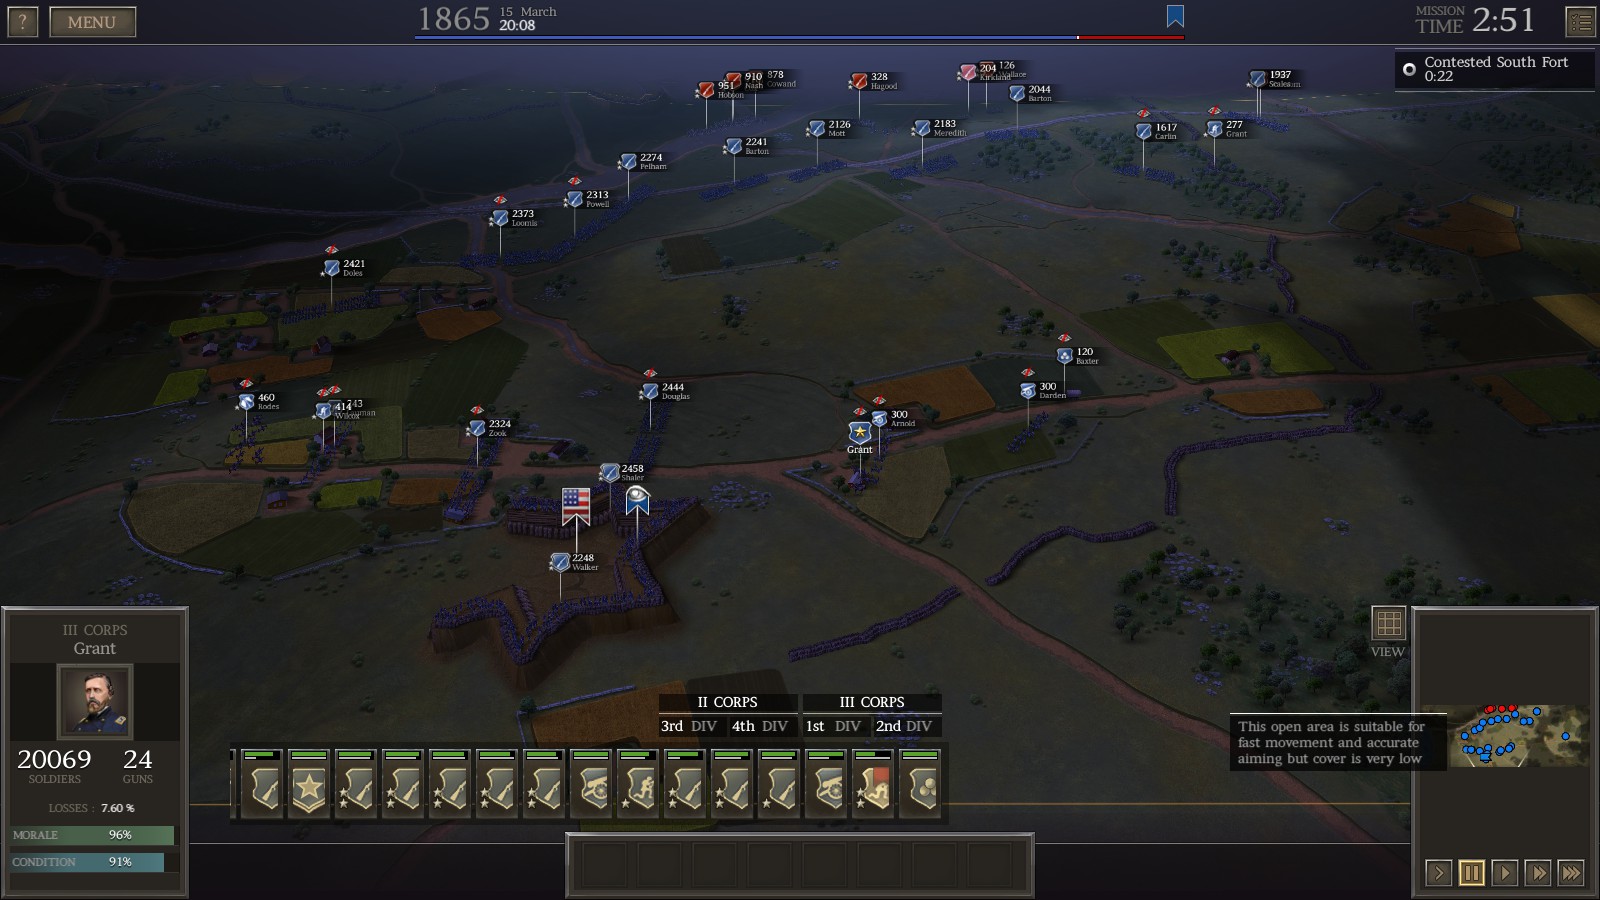
Final Phases, Day 1
After phase 2 in the south, you will go back north for phase 3. There is not much left to say except that you should continue trying to destroy the enemy army, inflicting as many casualties as possible and destroying brigades whenever you can. If you already own the fort in phase 2 for the south, phase 3 in the south ends much earlier, but in that time you can still eliminate a few more Confederates.
Day 2
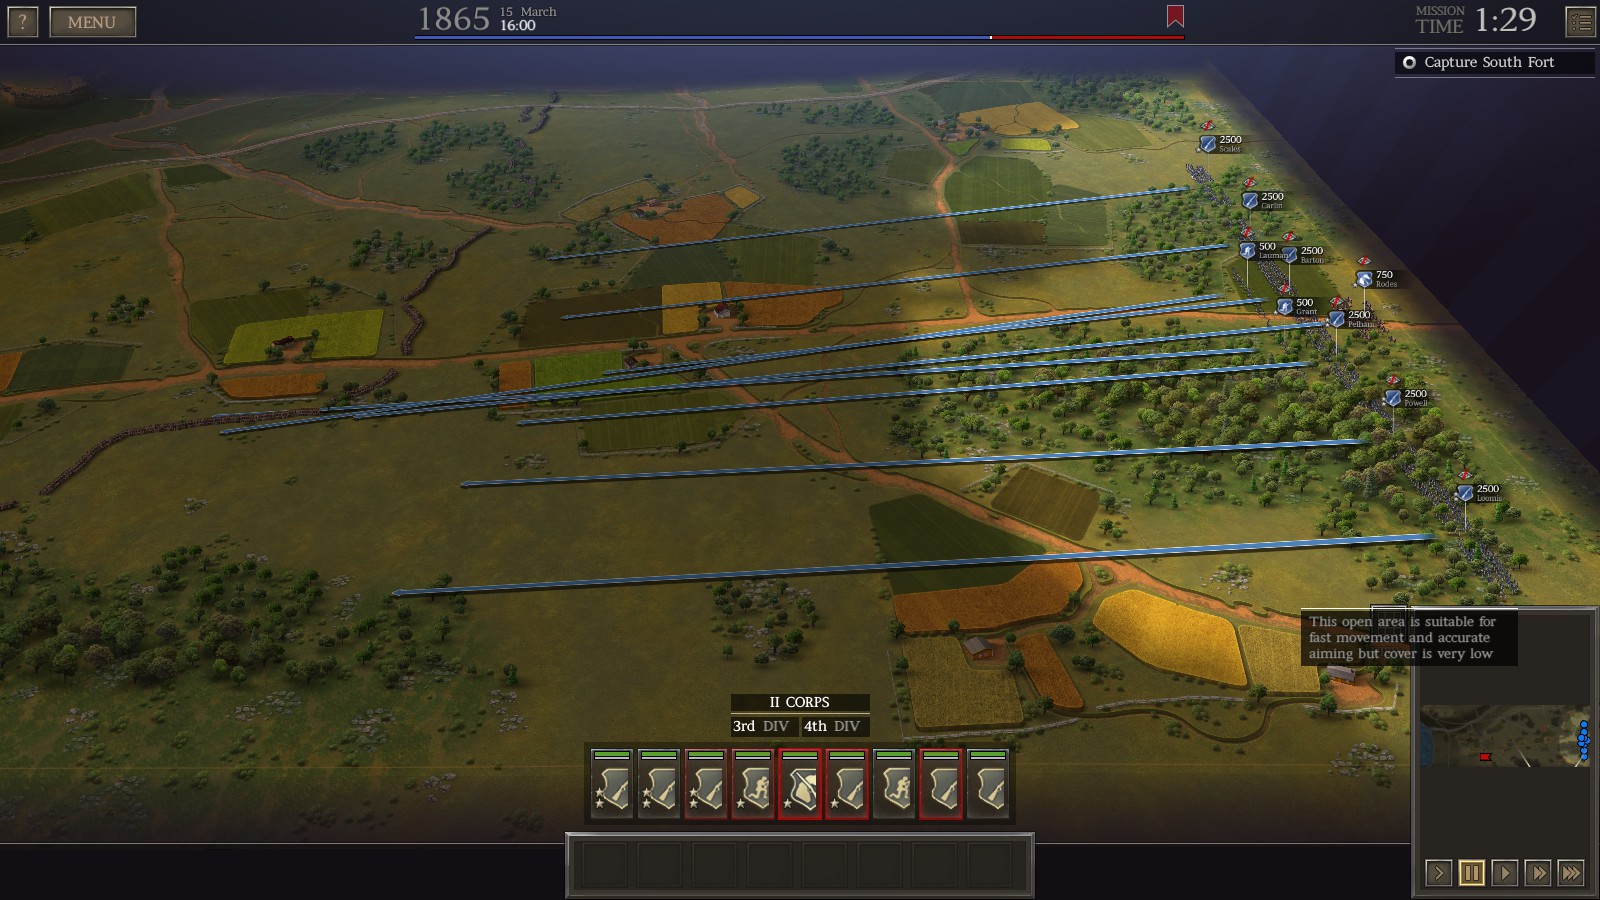
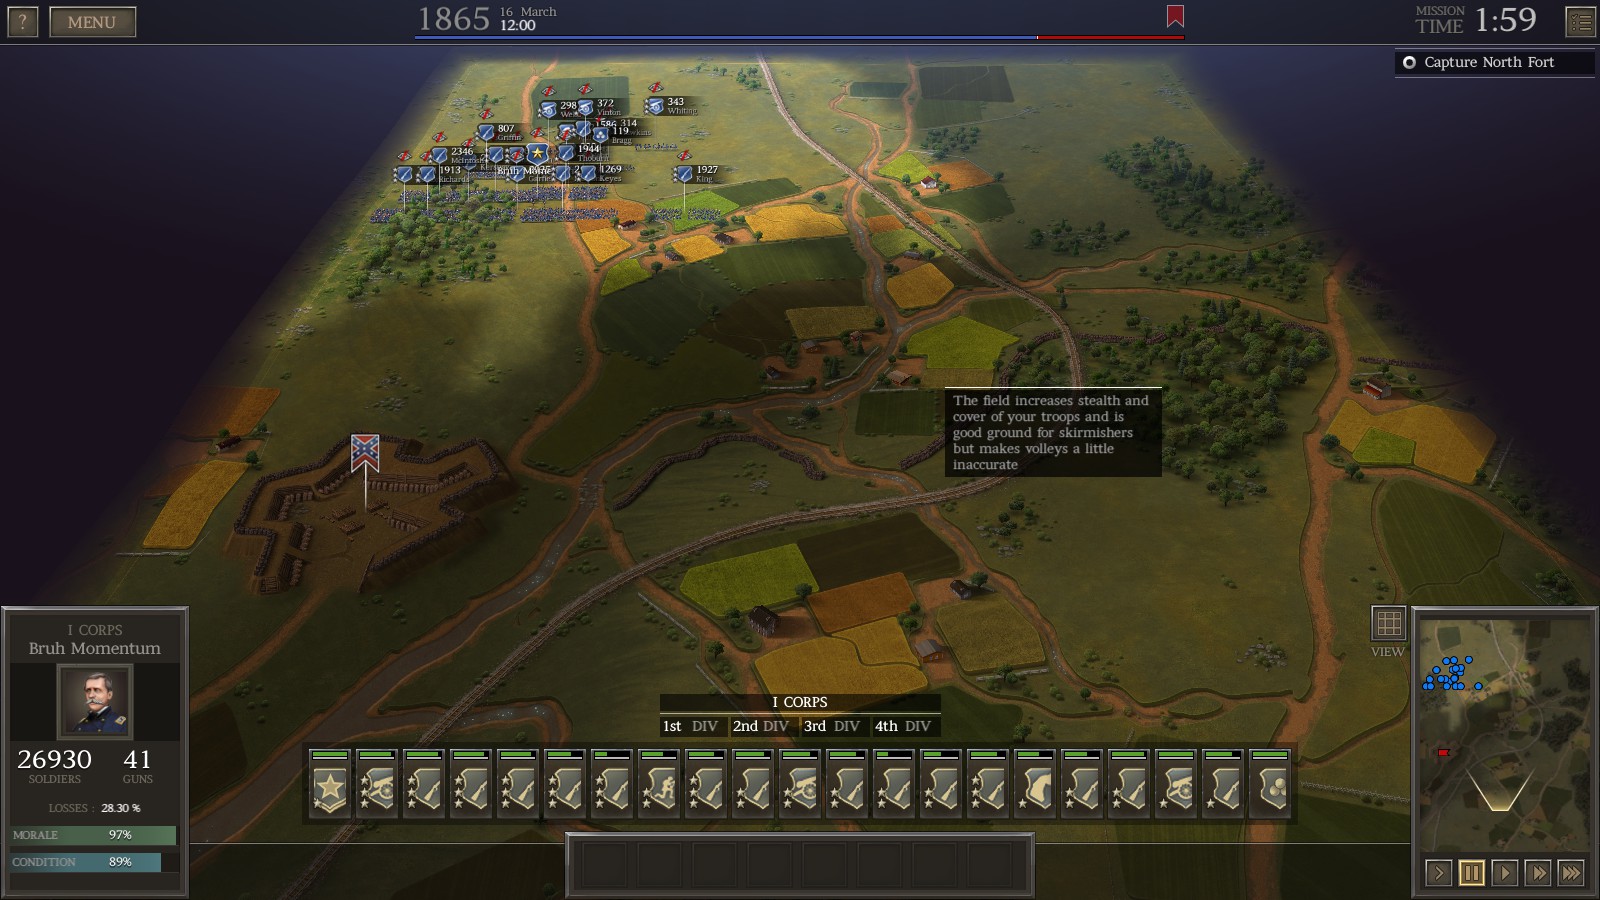
After the first day, your armies are shifted around and you are now advancing towards Richmond. There are a few forts to take on your way there and depending on how many troops you killed in day 1, there will be varying levels of resistance. This is where the guide becomes much more open to personal choice or experience. In my runthroughs, I was virtually unopposed by the Confederates, but in others, I had to push through fortifications first. You start having to take this fort, and it is fairly simple. The charge strategy is your best bet to taking it swiftly, and you should stay to the left to avoid any troops on the right.
After that, you should move your troops down south as quickly as possible. I failed to do this and as a result most of my troops were routed and took many casualties from the fort. If you get your troops down to where the battle expands fast enough, you can take the fort much quicker. I also struggled to take the hill near the 1st fort. The opened fort is fairly simple to take, just flank the left side and destroy the artillery. The star fort can be dangerous, but a grand charge of my reinforcements and old infantry flooded in and took hold of the fort. Note: Always make sure you garrison your forts with troops!! If the enemy takes a fort from you right before you win, you will have to start ALL over! Do not leave the forts unattended! Here are some montage screenshots of my push, which wasn’t very great. I had 40,000 casualties (35-40% of my army) by the end of this one to 33,000 Confederates, but my first run through I was less impatient and only lost 34,000 instead, compared to the confederates 34,000(tied).
The south may be the hardest part of the entire battle or the easiest. My first playthrough at Richmond, the enemy was so wiped out that the forts were left completely empty! This time, Confederate brigades Miller, Cox, Cowand, and Lee were there to stop me. I was able to take the smaller “fort” next to the larger one, but I was a little out of patience to organize an effective attack on the larger fort. Assuming the regiments stay fairly consistent in placement, if you can take out these brigades in day 1, it would make your life much easier and allow you to walk past their fortifications. My horse also retreated into Richmond after he got routed somehow, and he captured it early(lol).
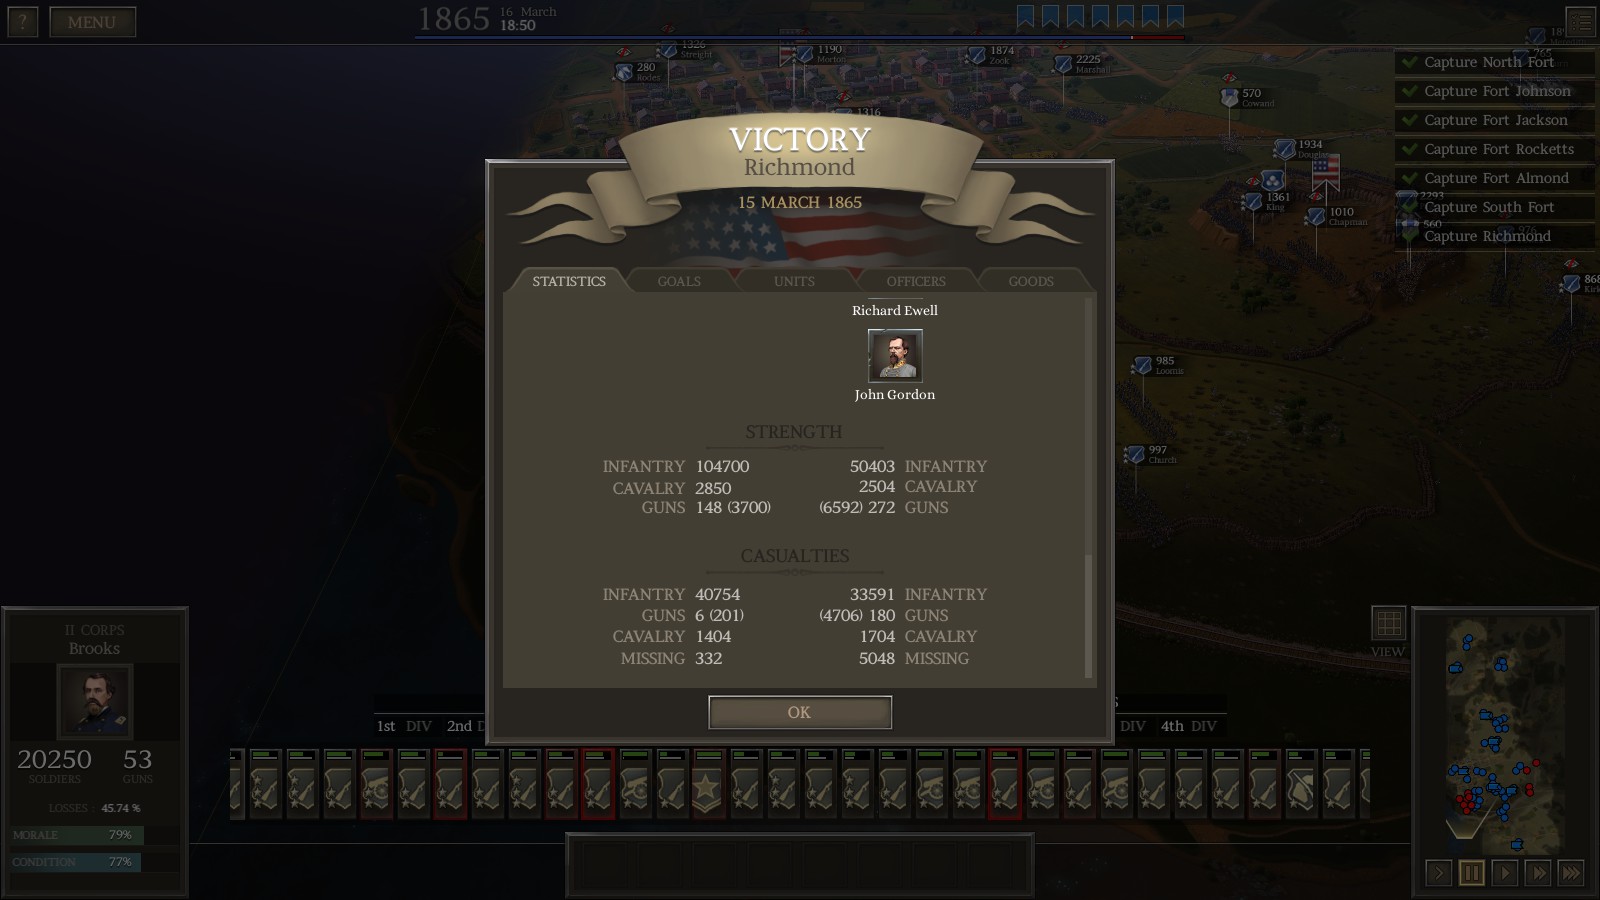
After you seize the 3 forts up north and the first south phase ends, you will be given a large timer and a new job telling you to take any forts you have missed and to capture Richmond. If you have been struggling to push the Confederates in the south, you should pull some troops back to gain condition and morale back, and then send your northern reinforcements south to attack the fort from both sides. Rush troops into Richmond because a group of Confederate brigades will arrive to defend it. Once you take the forts and Richmond and an hour passes, congratulations, you’ve won!
If you’re feeling spiteful, you can mop up the rest of the Confederate forces too.

Summary and Victory (TLDR)
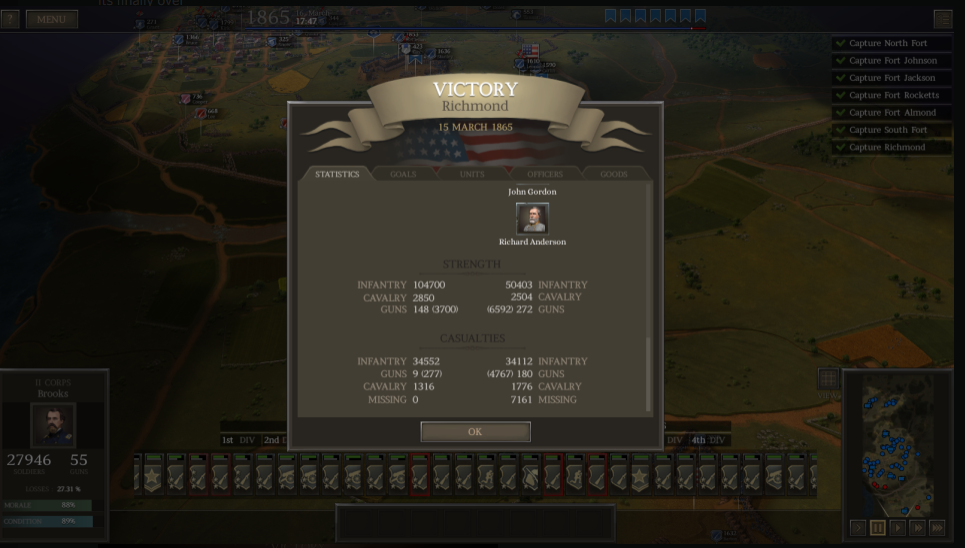
By winning Richmond, you have beaten the game as the Union! I played verily sloppily in the making of this guide near the end, but I played very well on day 1. For those who don’t like reading giant guides, here is a summary: On day 1, you should flank and push into the middle and roll up the enemy line down and up. Don’t bother with the north until you can flank and take the fortifications. Keep the objectives defended and your captured soldiers defended too, and leave troops in the forest so skirmishers dont harass your artillery or recapture any Confederate troops. Destroy reinforcements as they come and destroy any enemy brigades you can. In the south, you want to rout the skirmishers with an easy charge or two and then roll up the line, and wait for reinforcements to take the fort or go around back. Move some troops north to meet the reinforcements and destroy them. In day 2, you can swiftly take the 1st fort with a bold charge or by going around back (which is time consuming). Take the 2nd fort the same way, and take the Star Fort with a large, concentrated infantry push after your reinforcements arrive. Keep the forts GARRISONED! In the south day 2, you can either bide your time or push freely depending on the amount of troops, and try to at least take the small fort by the river if you can’t push into the main fort. In the grand finale, move troops to Richmond and down south to take the final fort if you haven’t yet. After that, you have your grand victory!
For anyone who wants to see the victory screen:
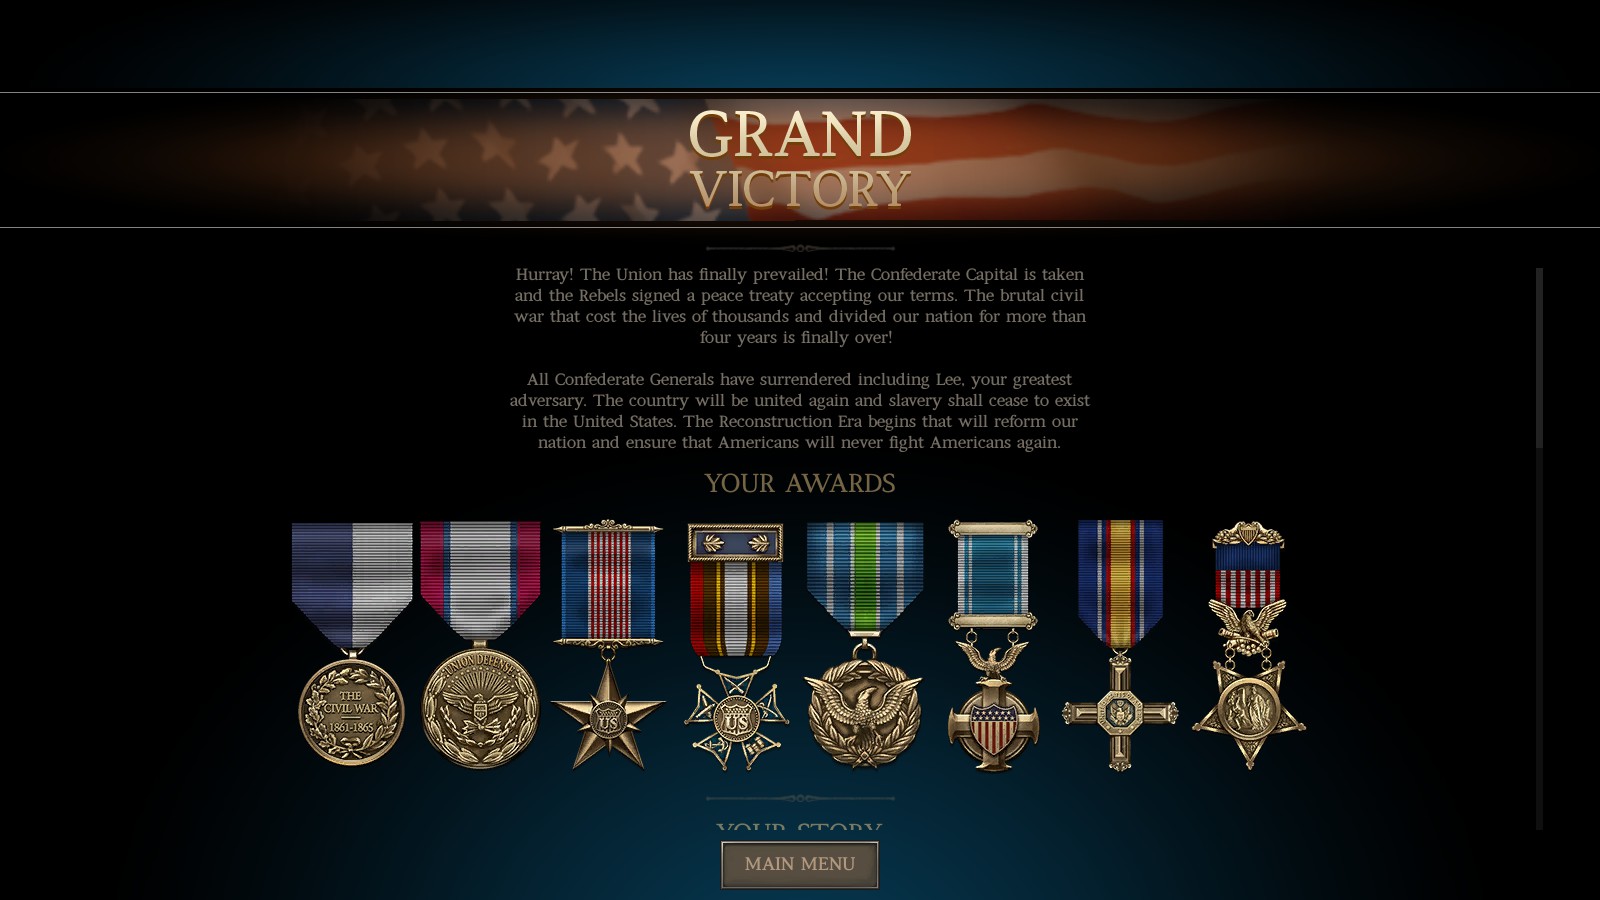
Well, thank you for reading this guide if you needed help, and I’m sorry if it ends up not being useful to you. I hope for those who are newer players, it is some help! Good luck, General!