
(!)

- This guide will show you solutions to every Season 2 quest and will update every week up until the Season 2 Battle Pass has ended…If something isn’t explained in an adequate way then just comment about it and we’ll see about adding more information :3
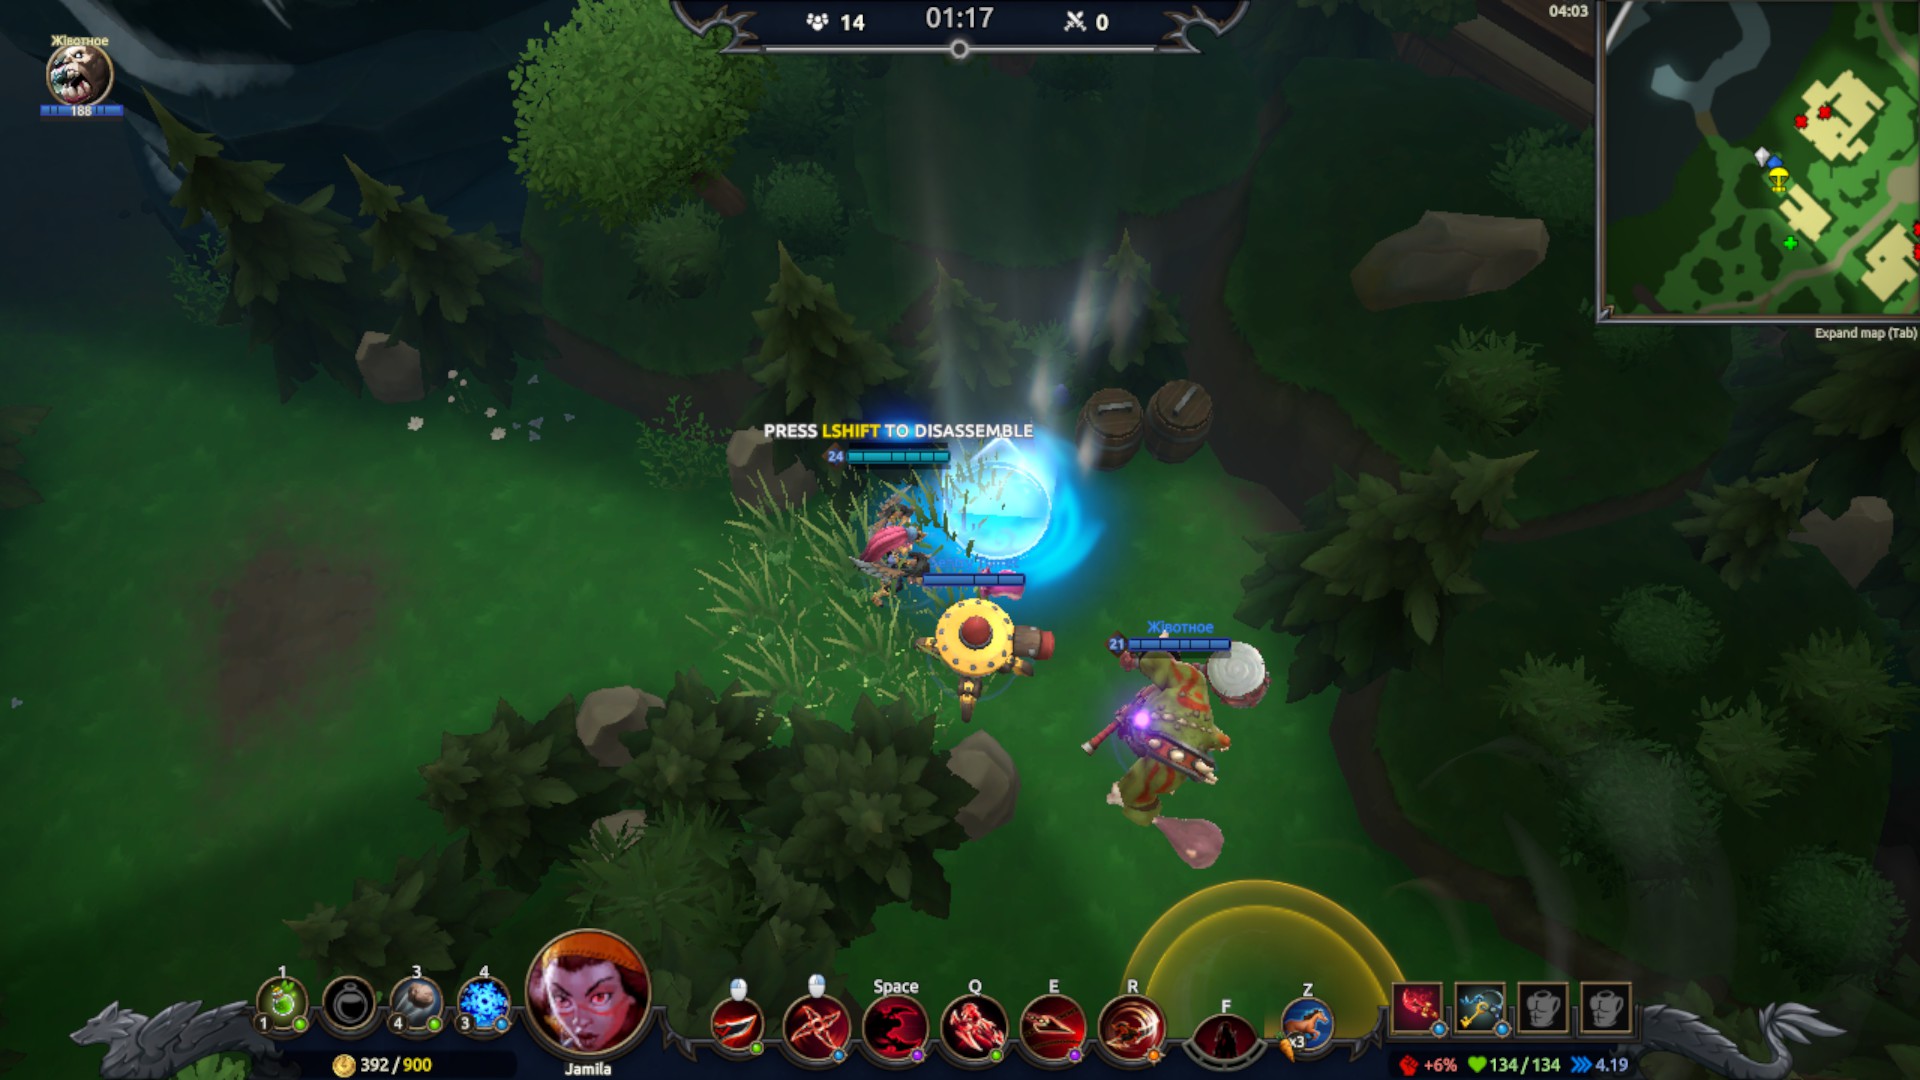
Rocks vs Enemies

- Rocks can be found at the vendor or in loot orbs at random, but the only guaranteed way of obtaining a rock is through the pre-match vendor. Buy yourself a rock and land anywhere with most enemy players, then just try to be accurate. The rock is very similar to Blossom’s “E” ability but instead it infilcts snare and knocks the enemy away from you. To confirm that you hit your enemy with a rock, keep an eye out for the “SNARE” text above their health. If you happen to not know how to use it, simply look at the items to your far left in your HUD. This is the “Consumables” area in your HUD, and this is where you can see which number the rock is assigned to. It’s either 1, 2, 3 or 4.
Loot Orbs (Glimmering Woods)
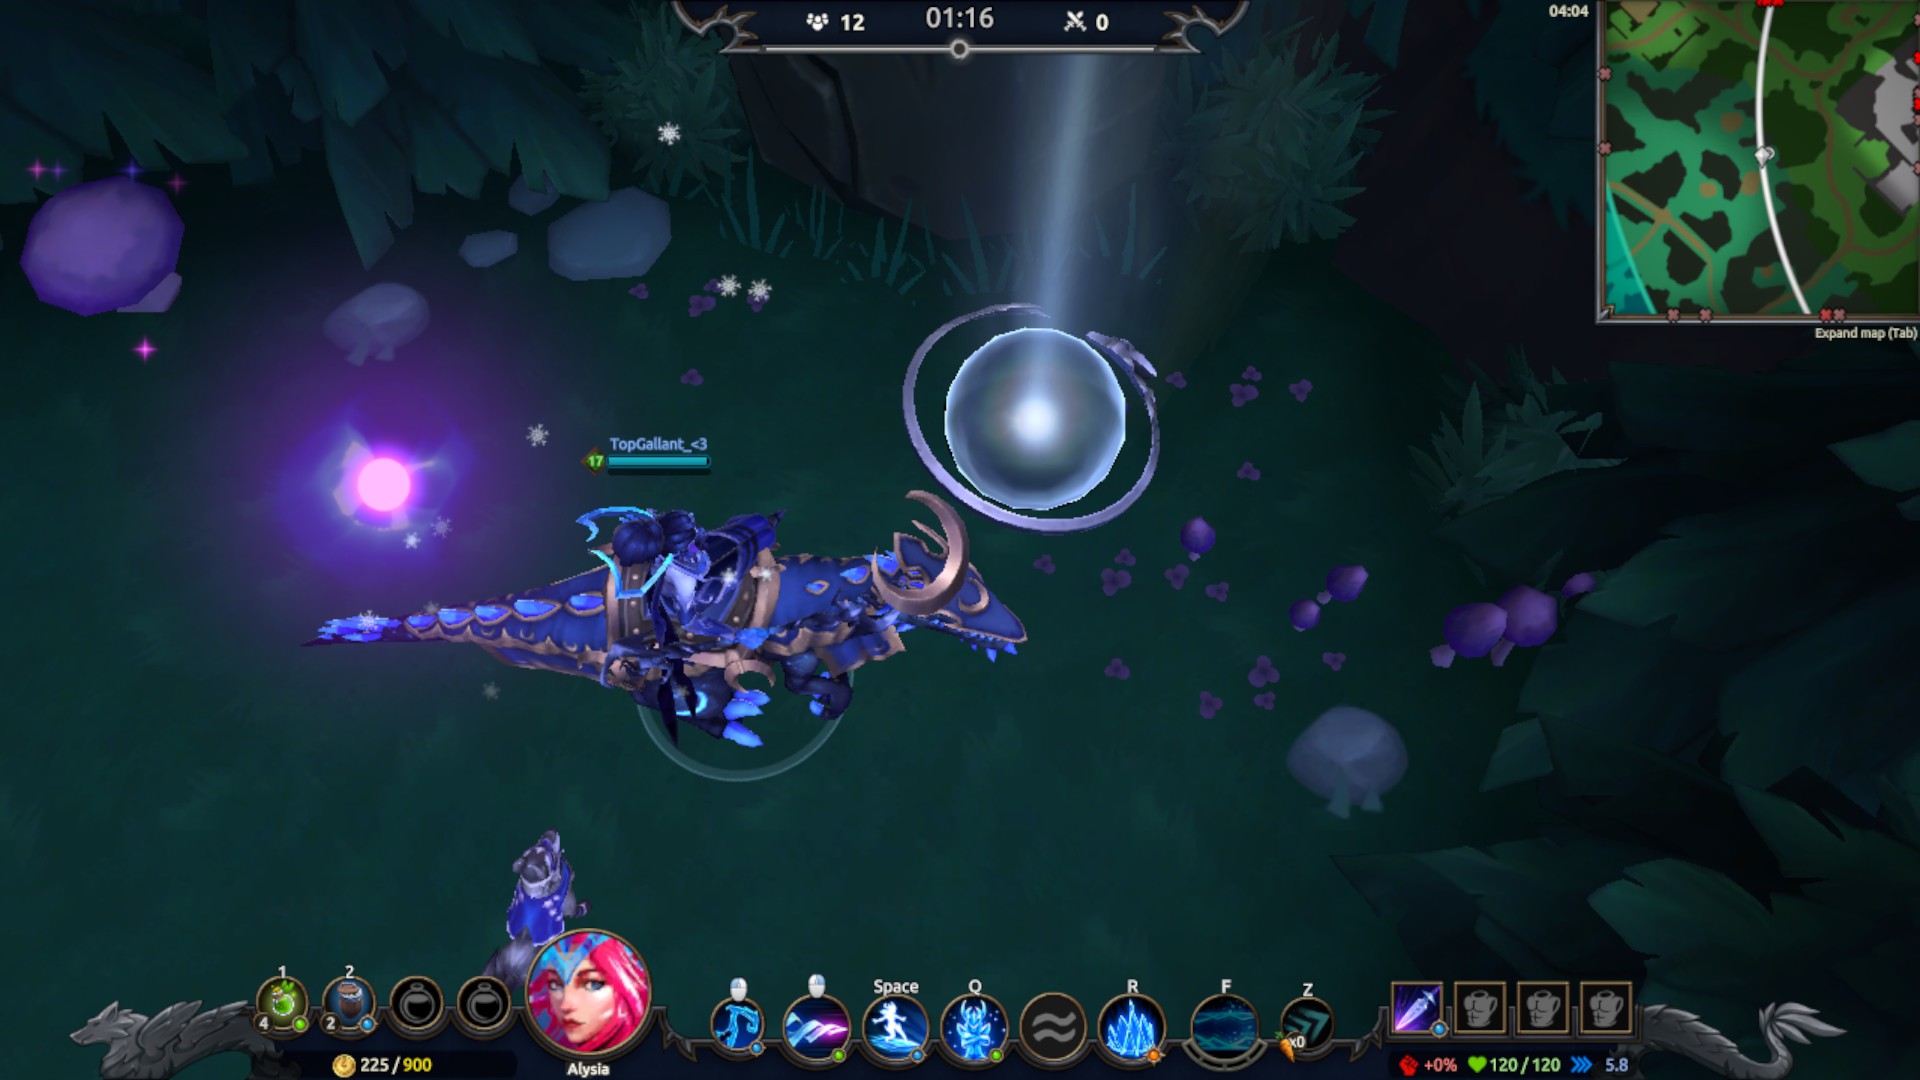
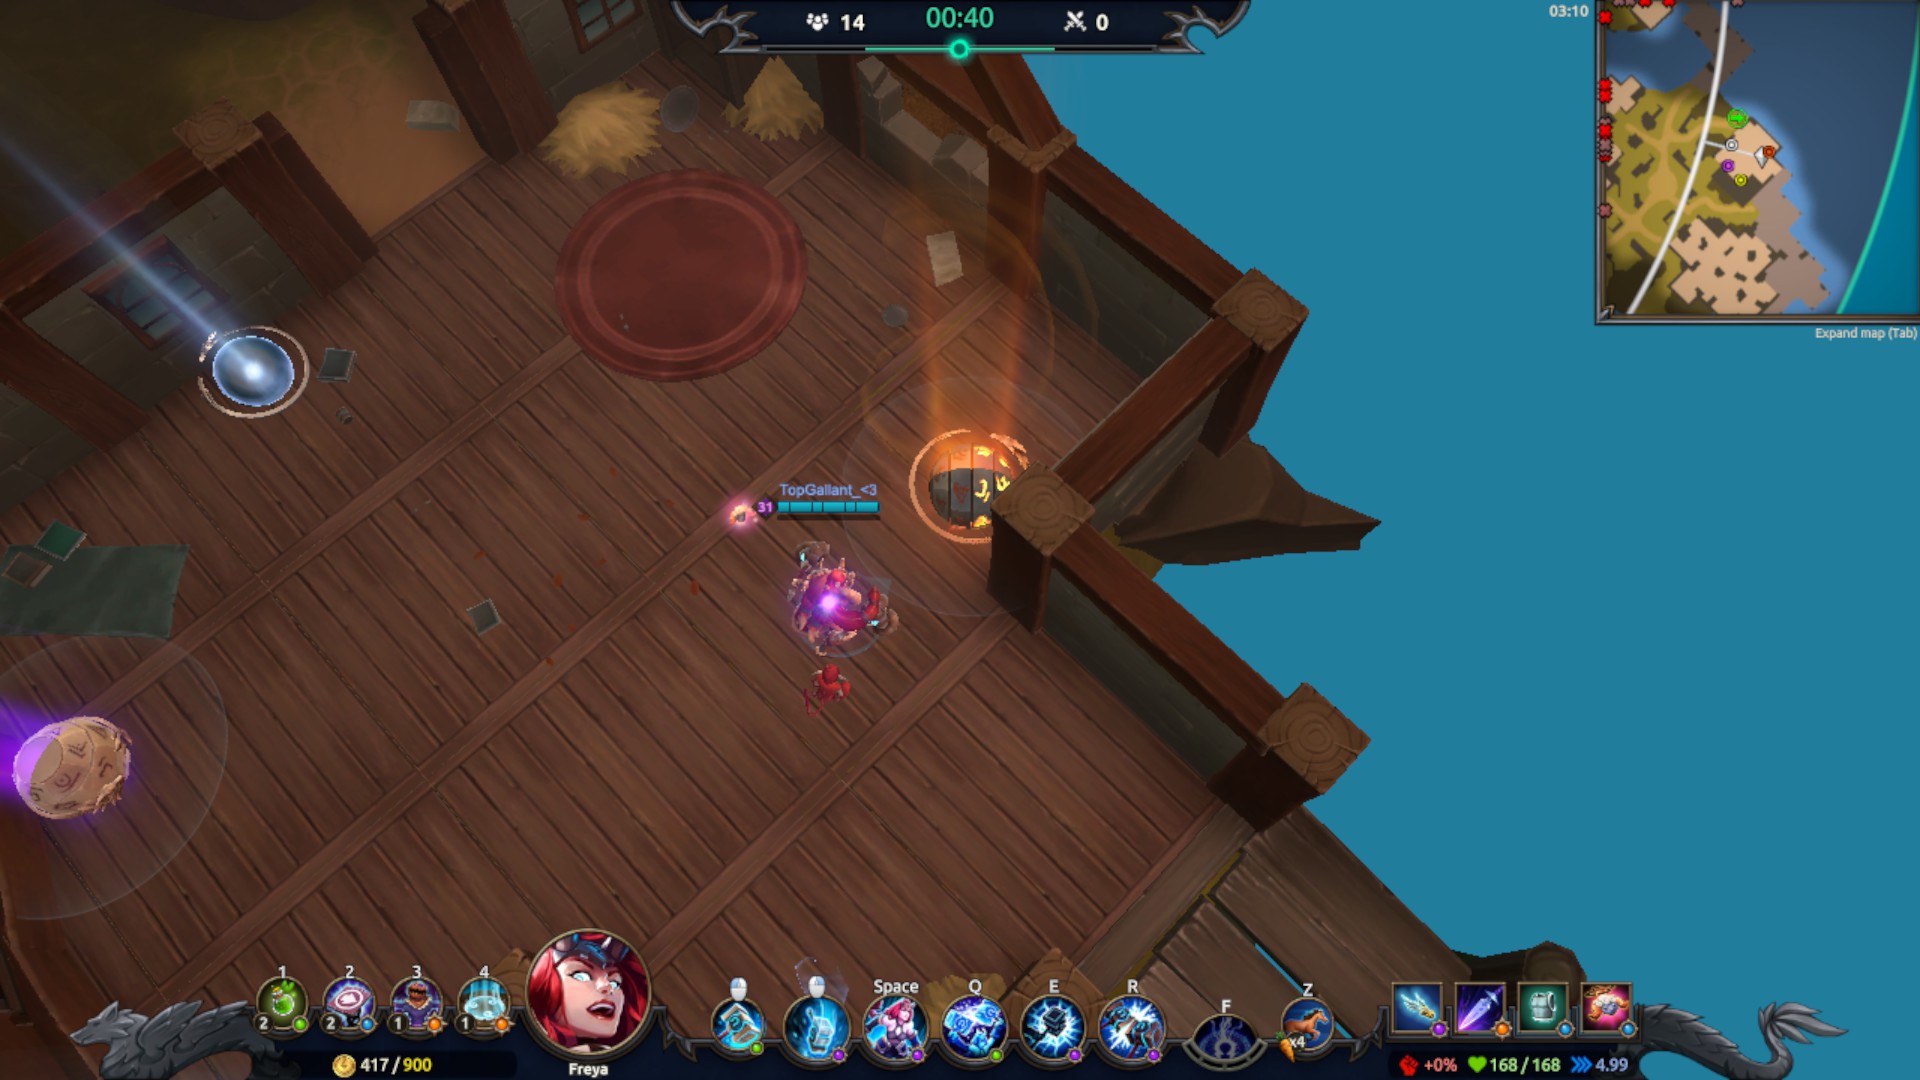
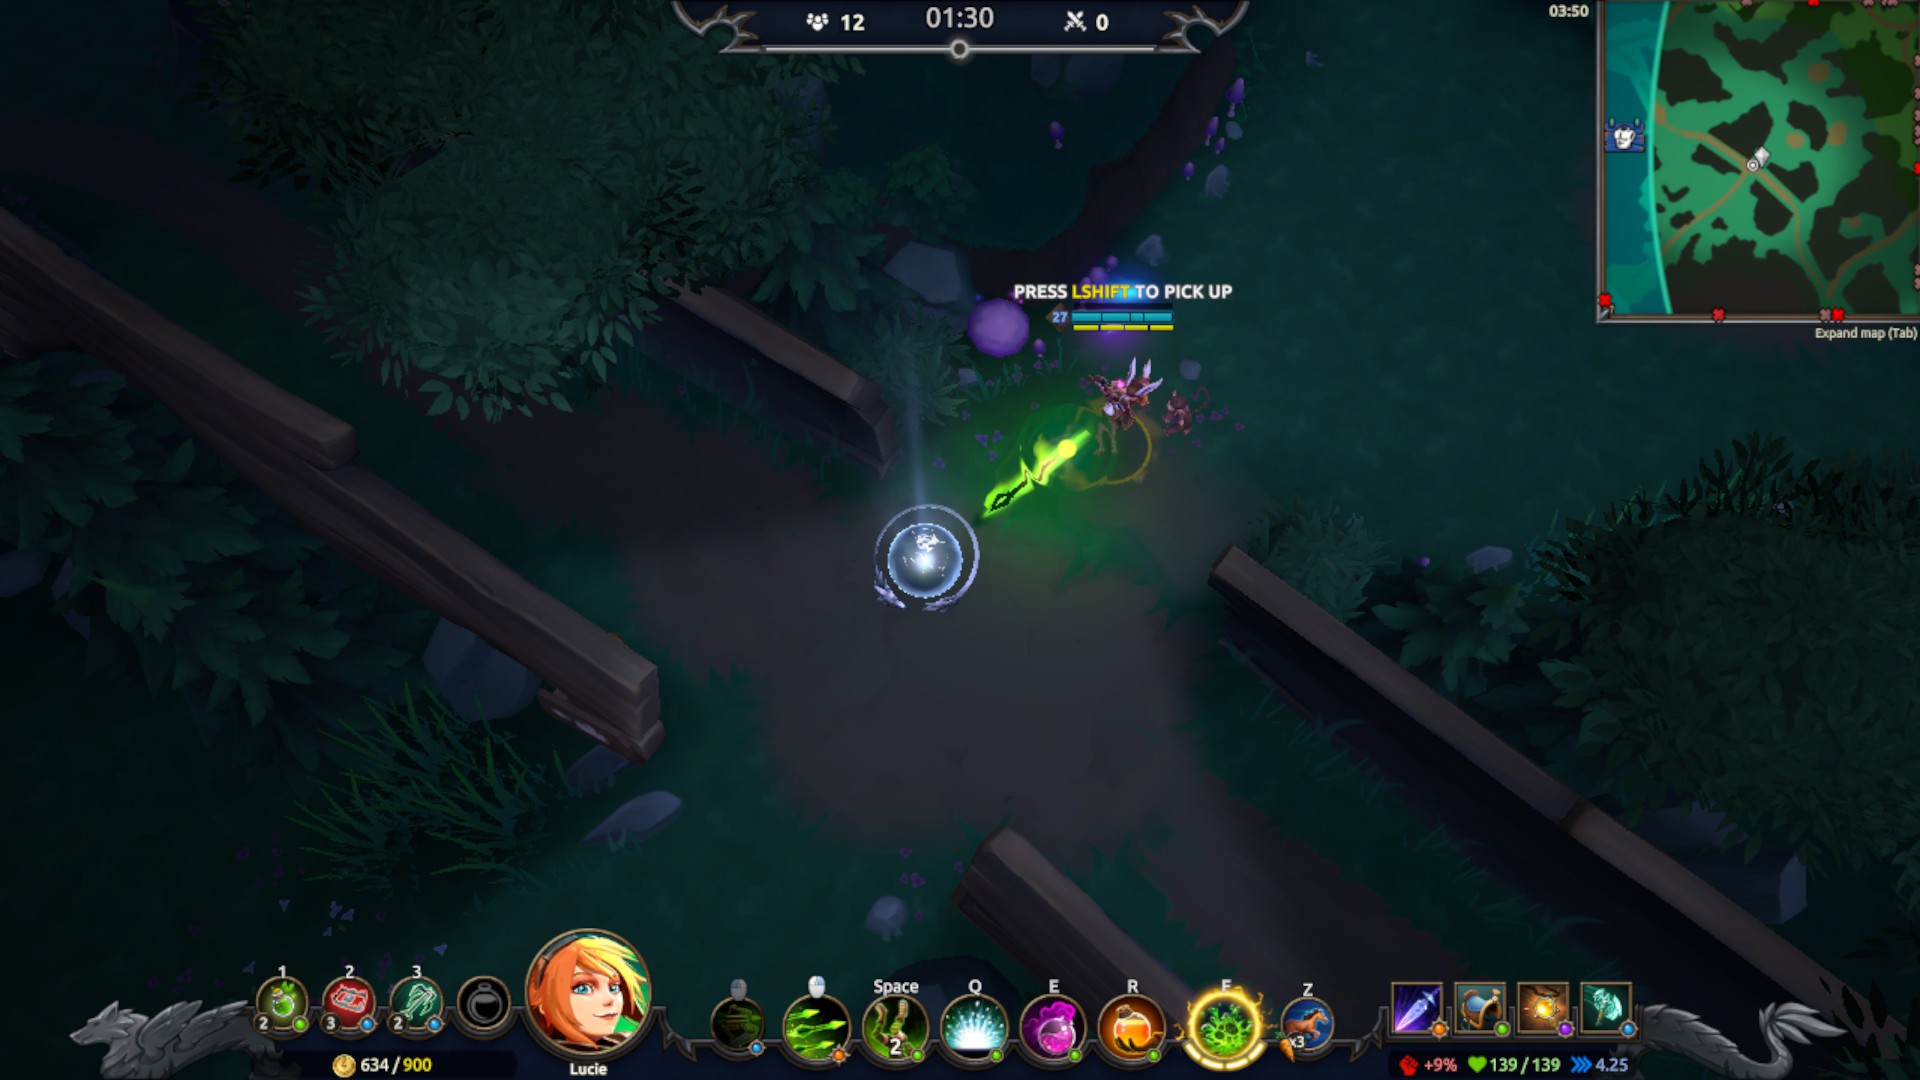
- Find the Glimmering Woods (It is labeled on your map which you can access using TAB) and destroy as many loot orbs as you can. This can probably be done in two or three matches if you’re the first to visit since this area has a lot of orbs in it every time you come by.
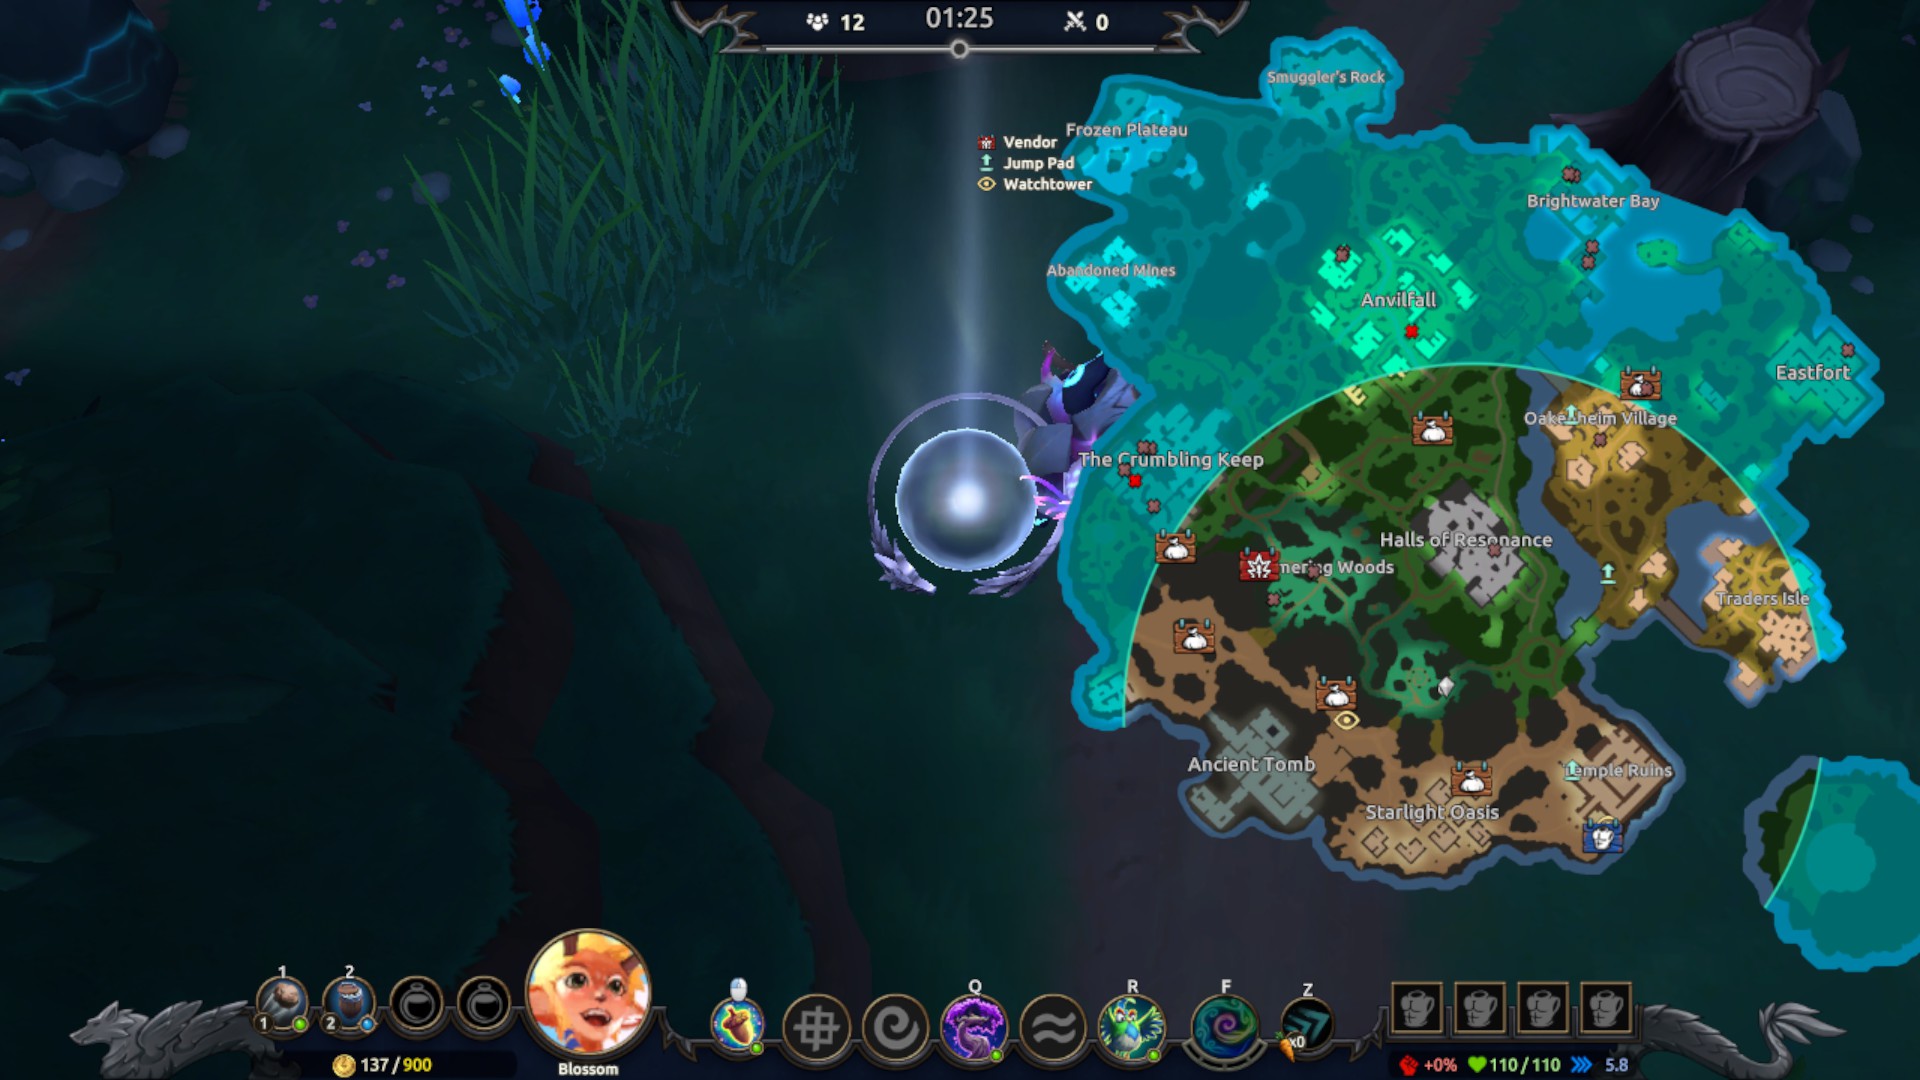
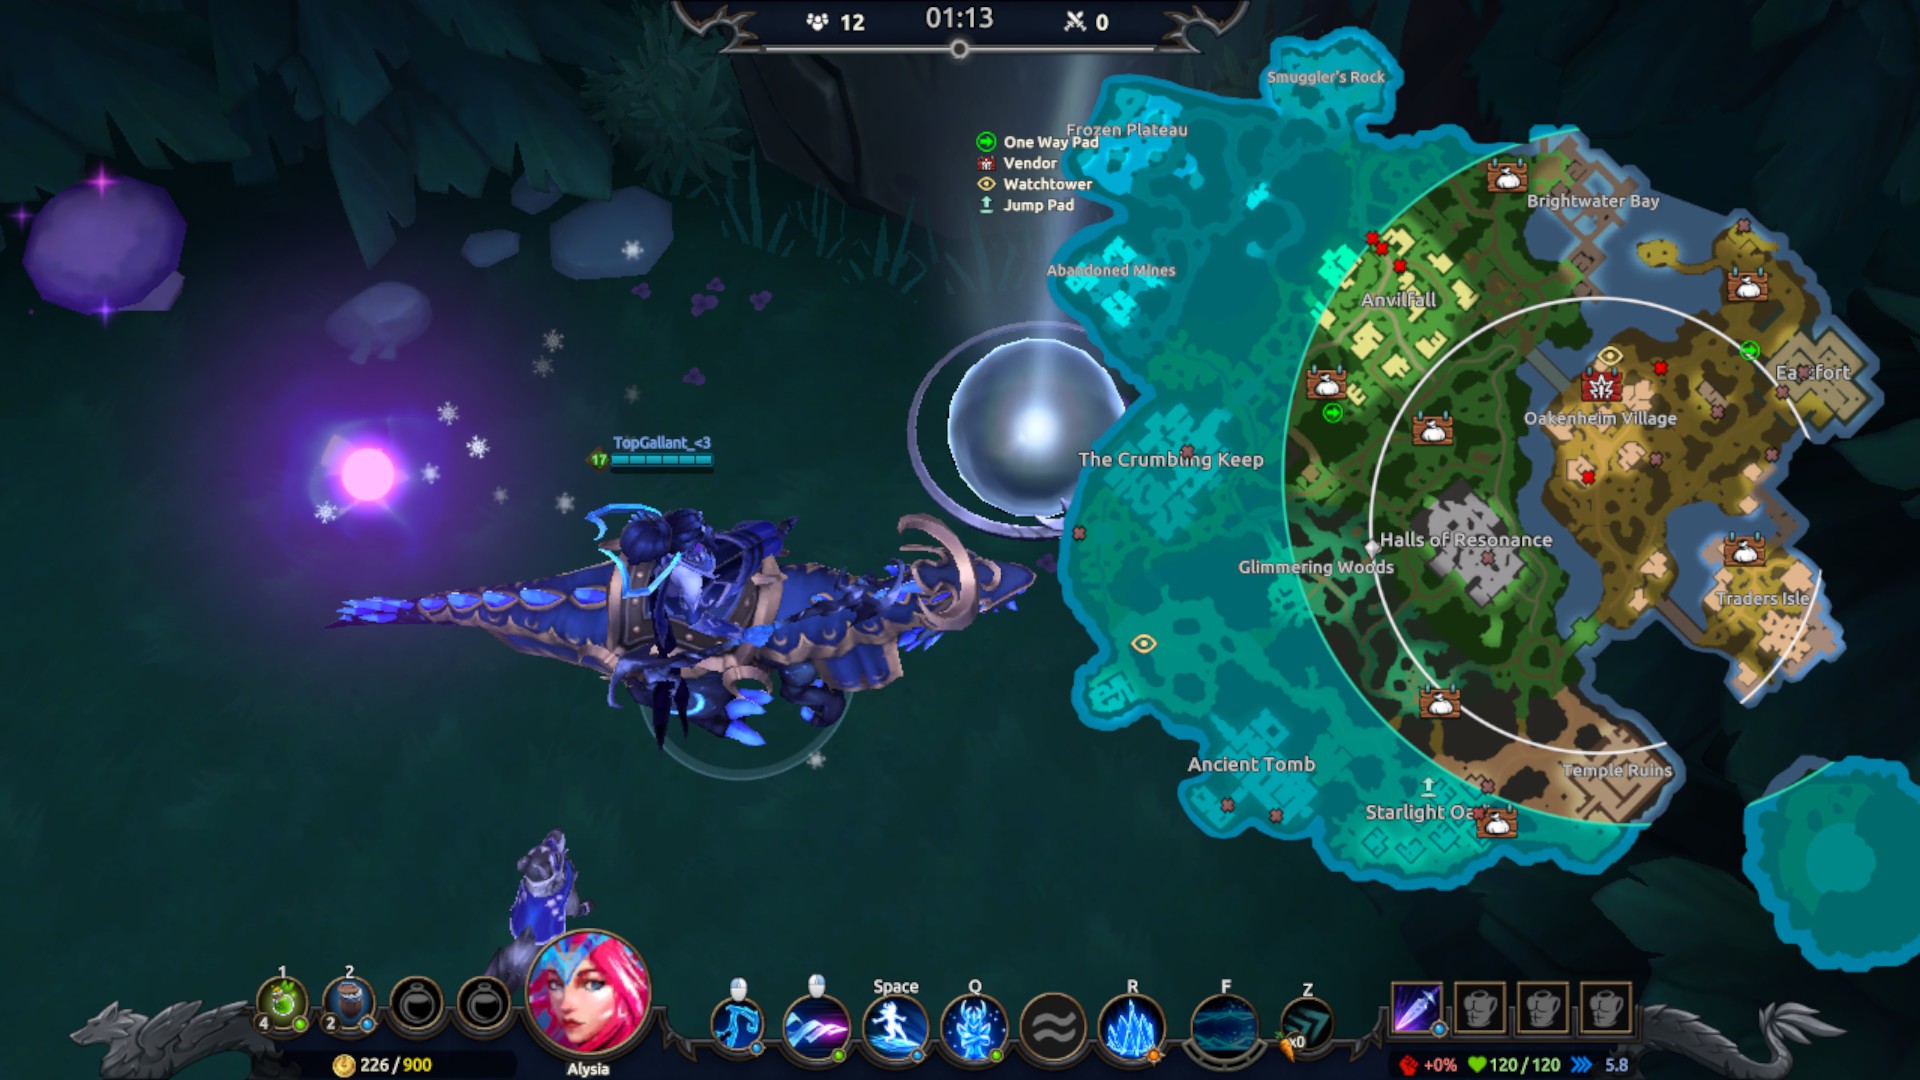
- Don’t worry about not having a chance, the Glimmering Woods is large (As shown in these two images…Note that Glimmering Woods has a different green color to it on the map which shows you exactly where you can get orbs that count towards the challenge) so you’re bound to find some orbs if you keep looking!
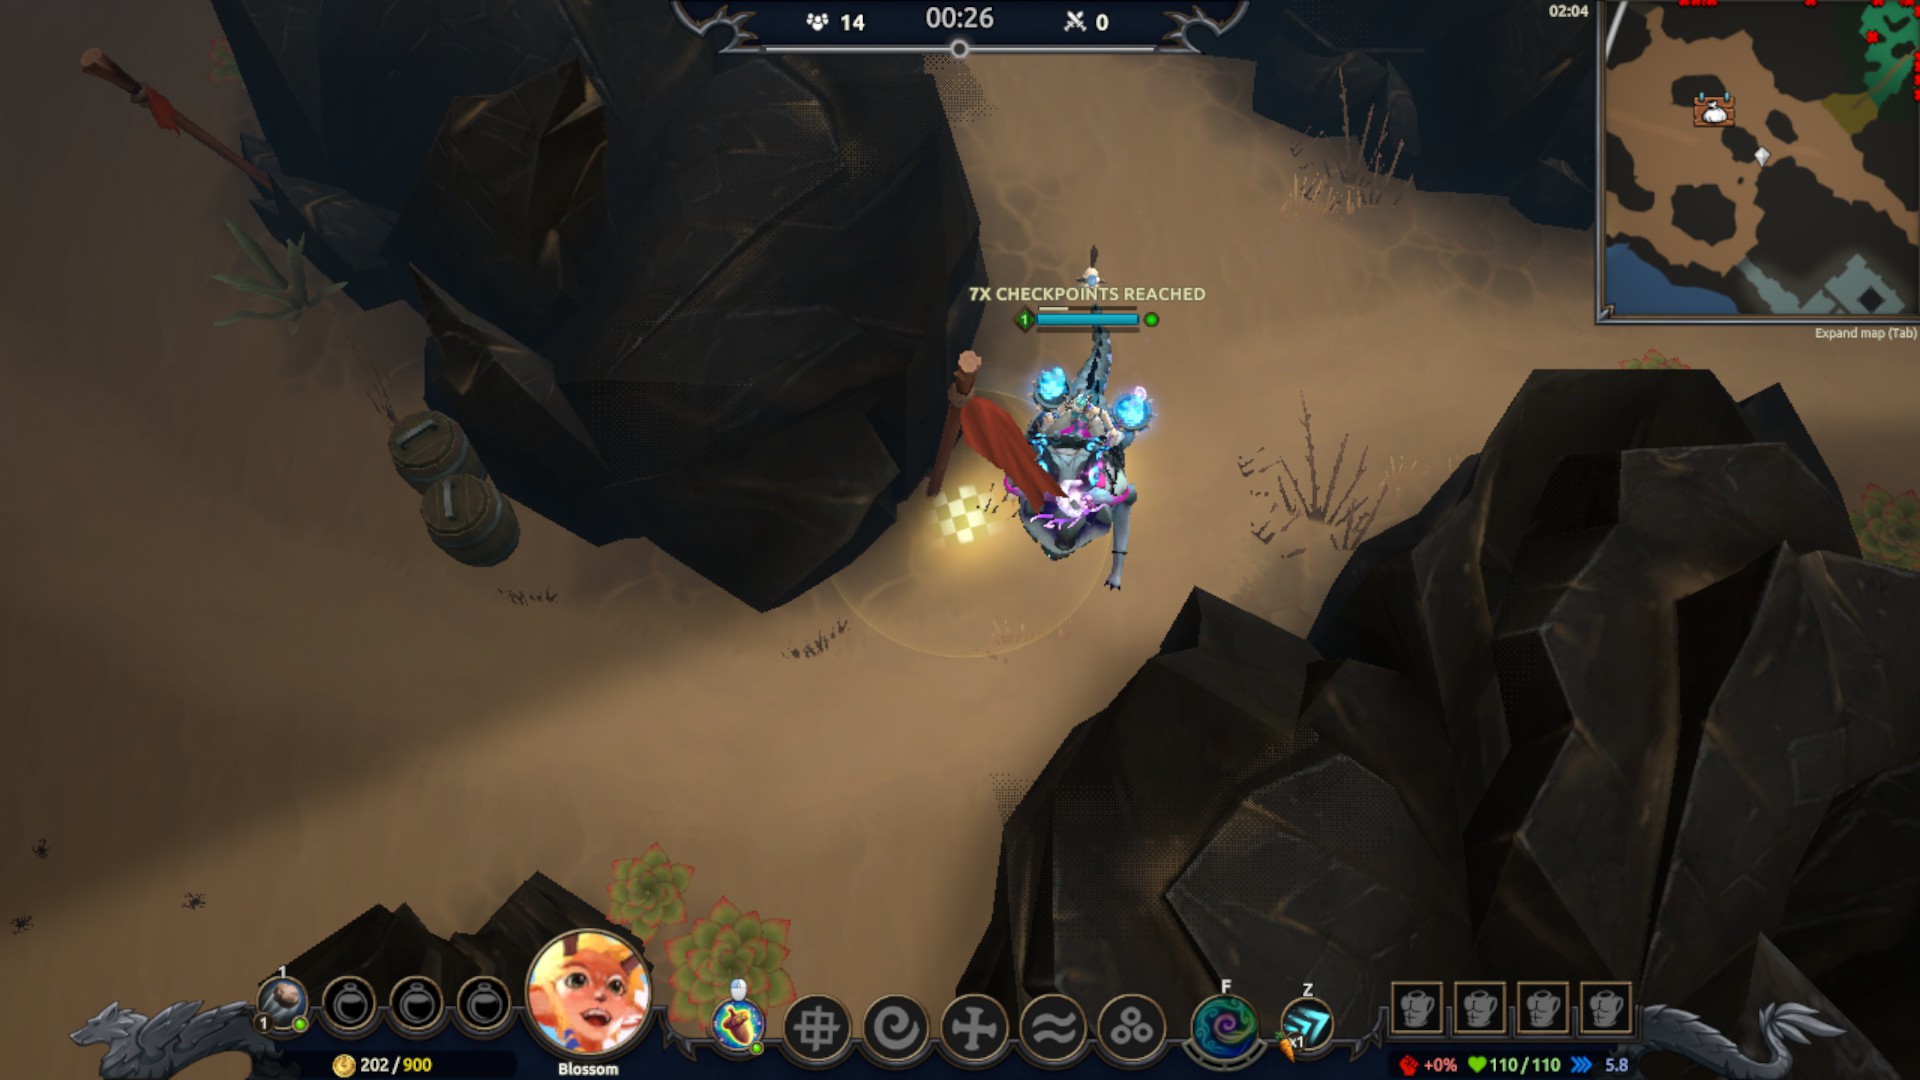
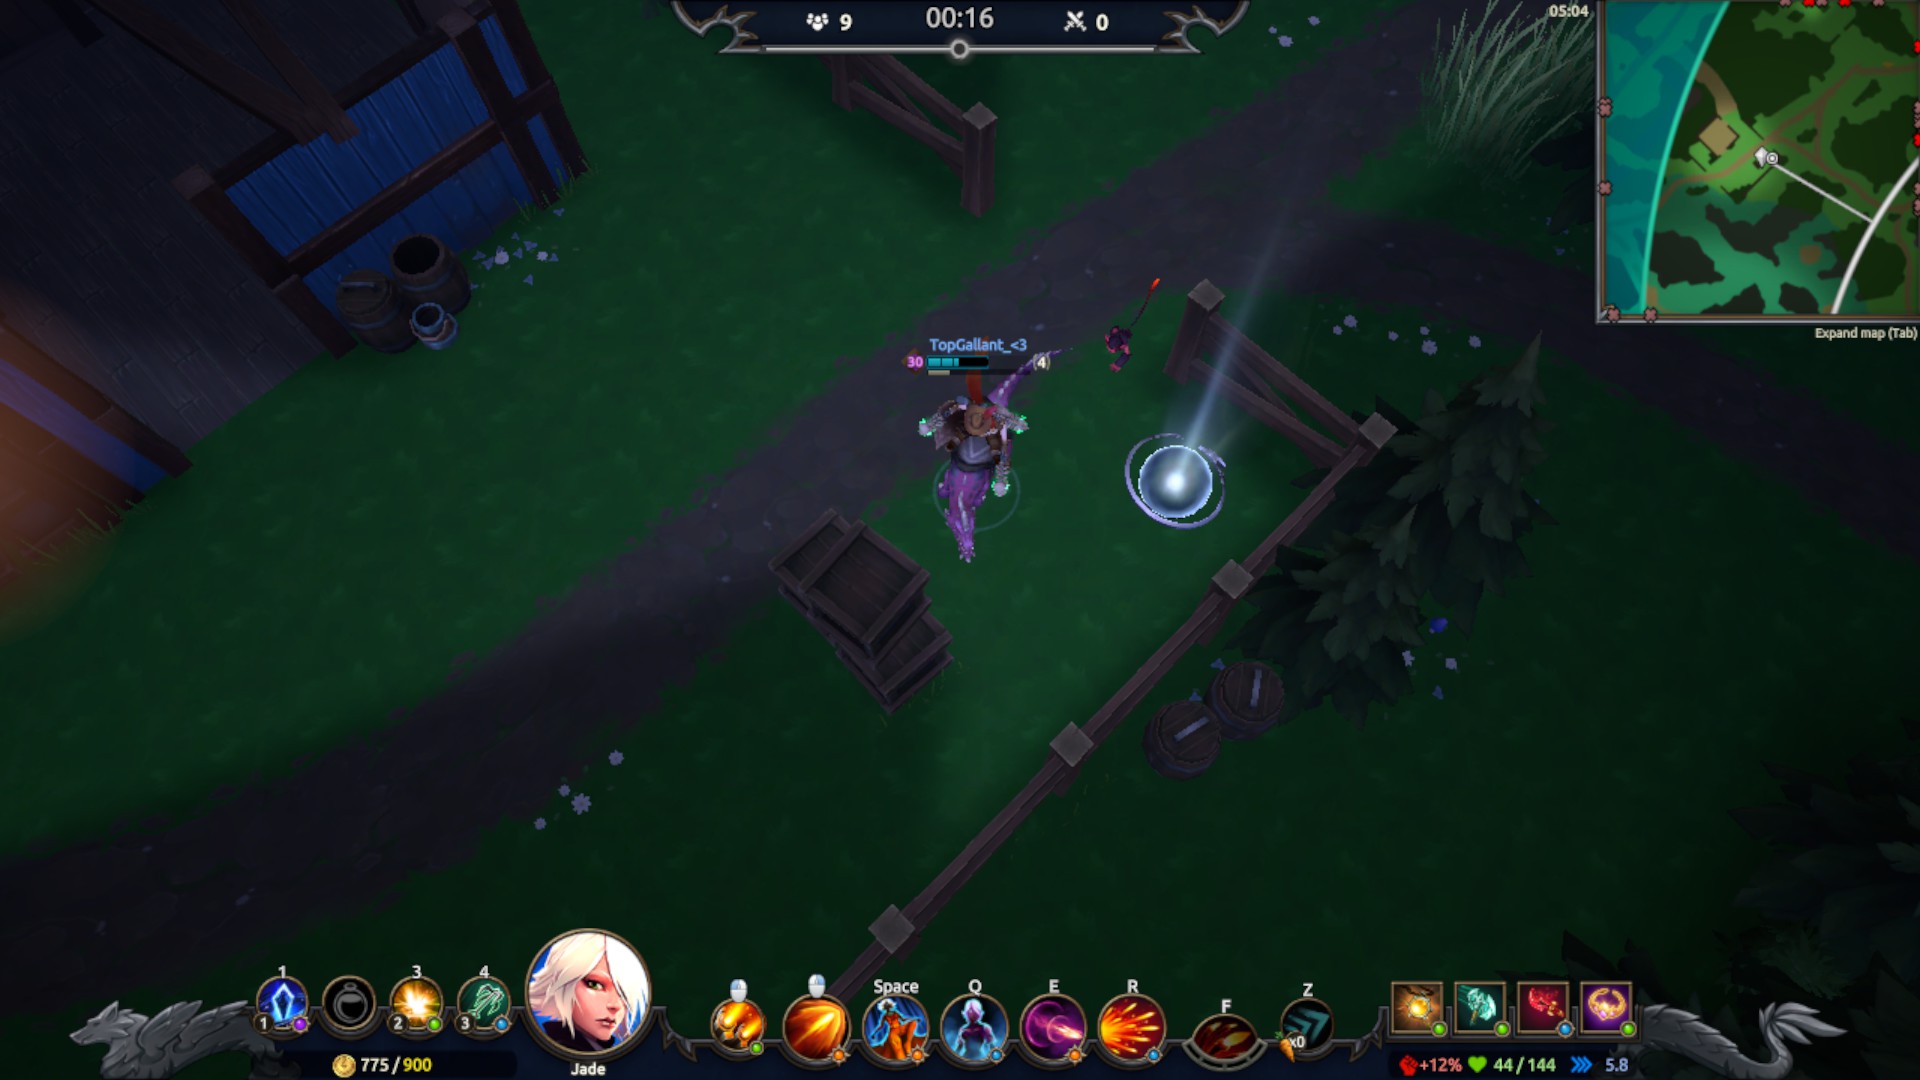
🔰Time Trial (Desert Area)
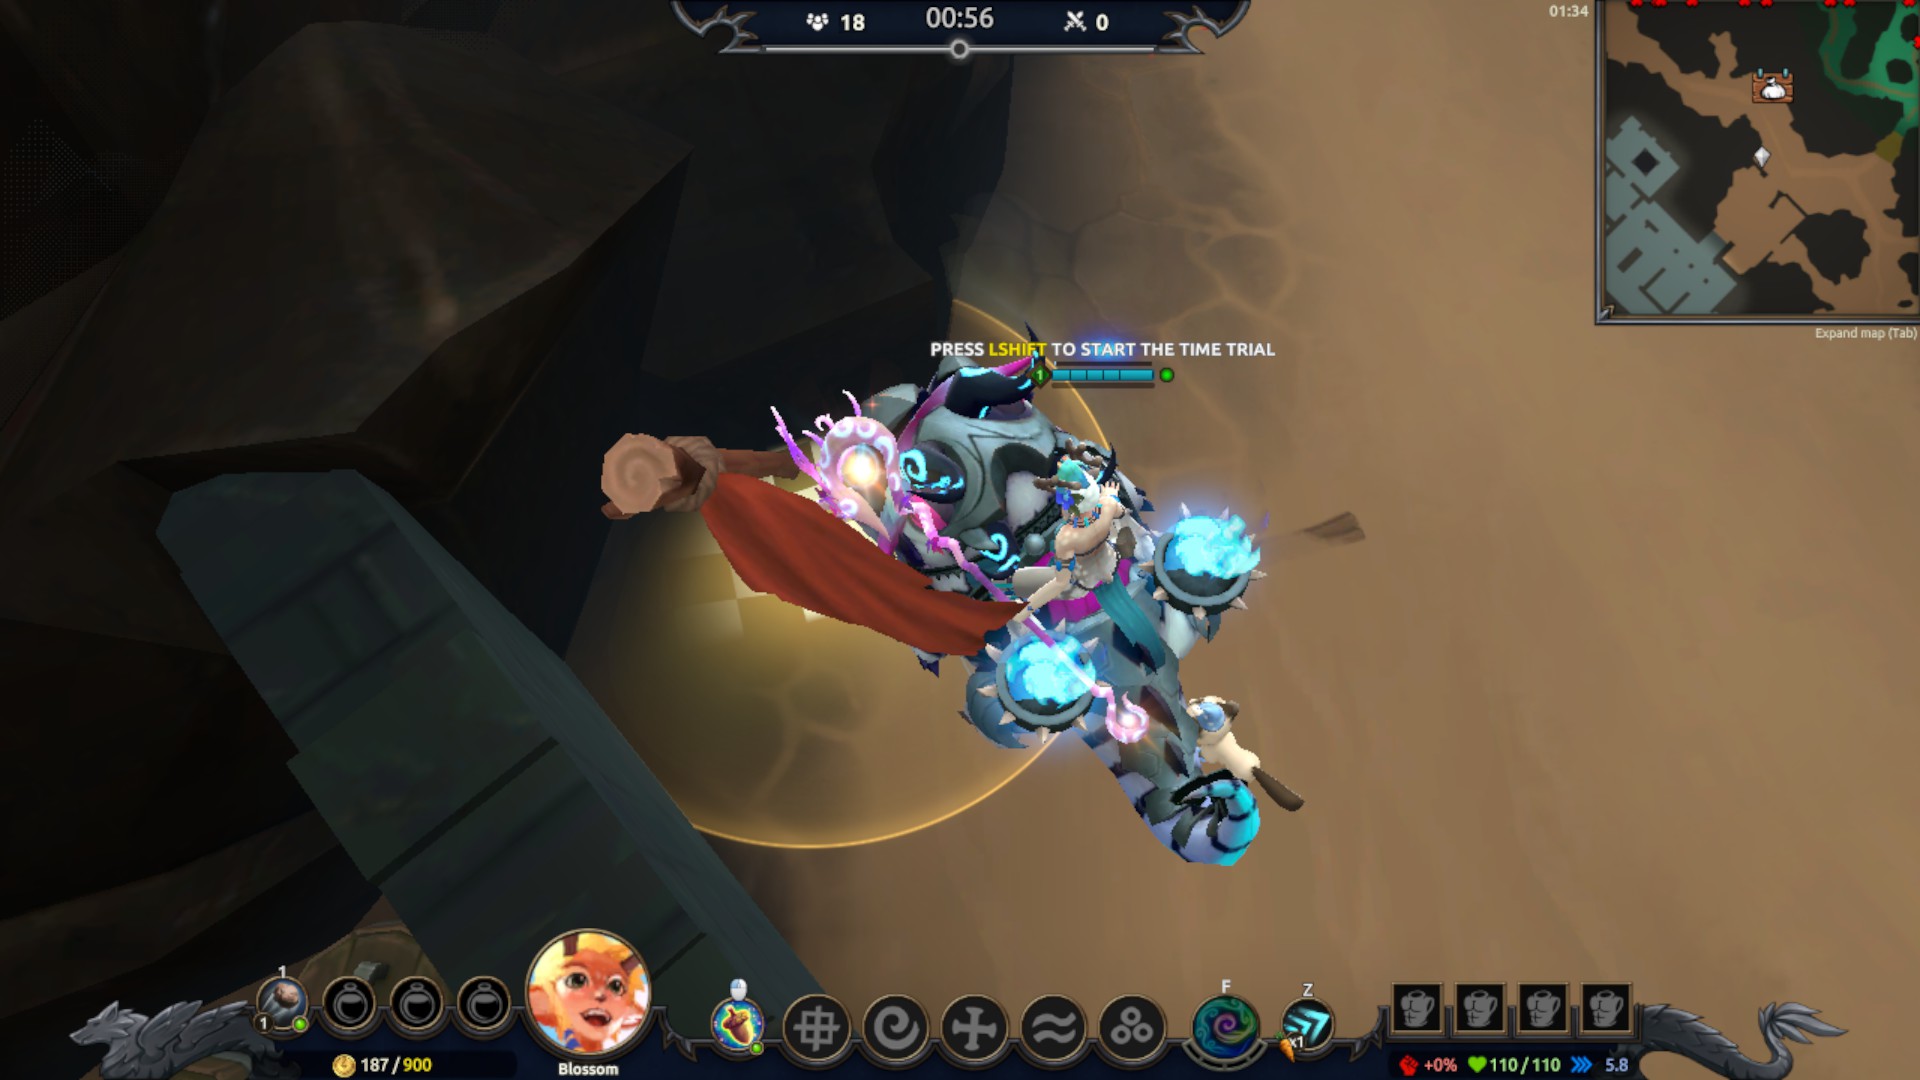
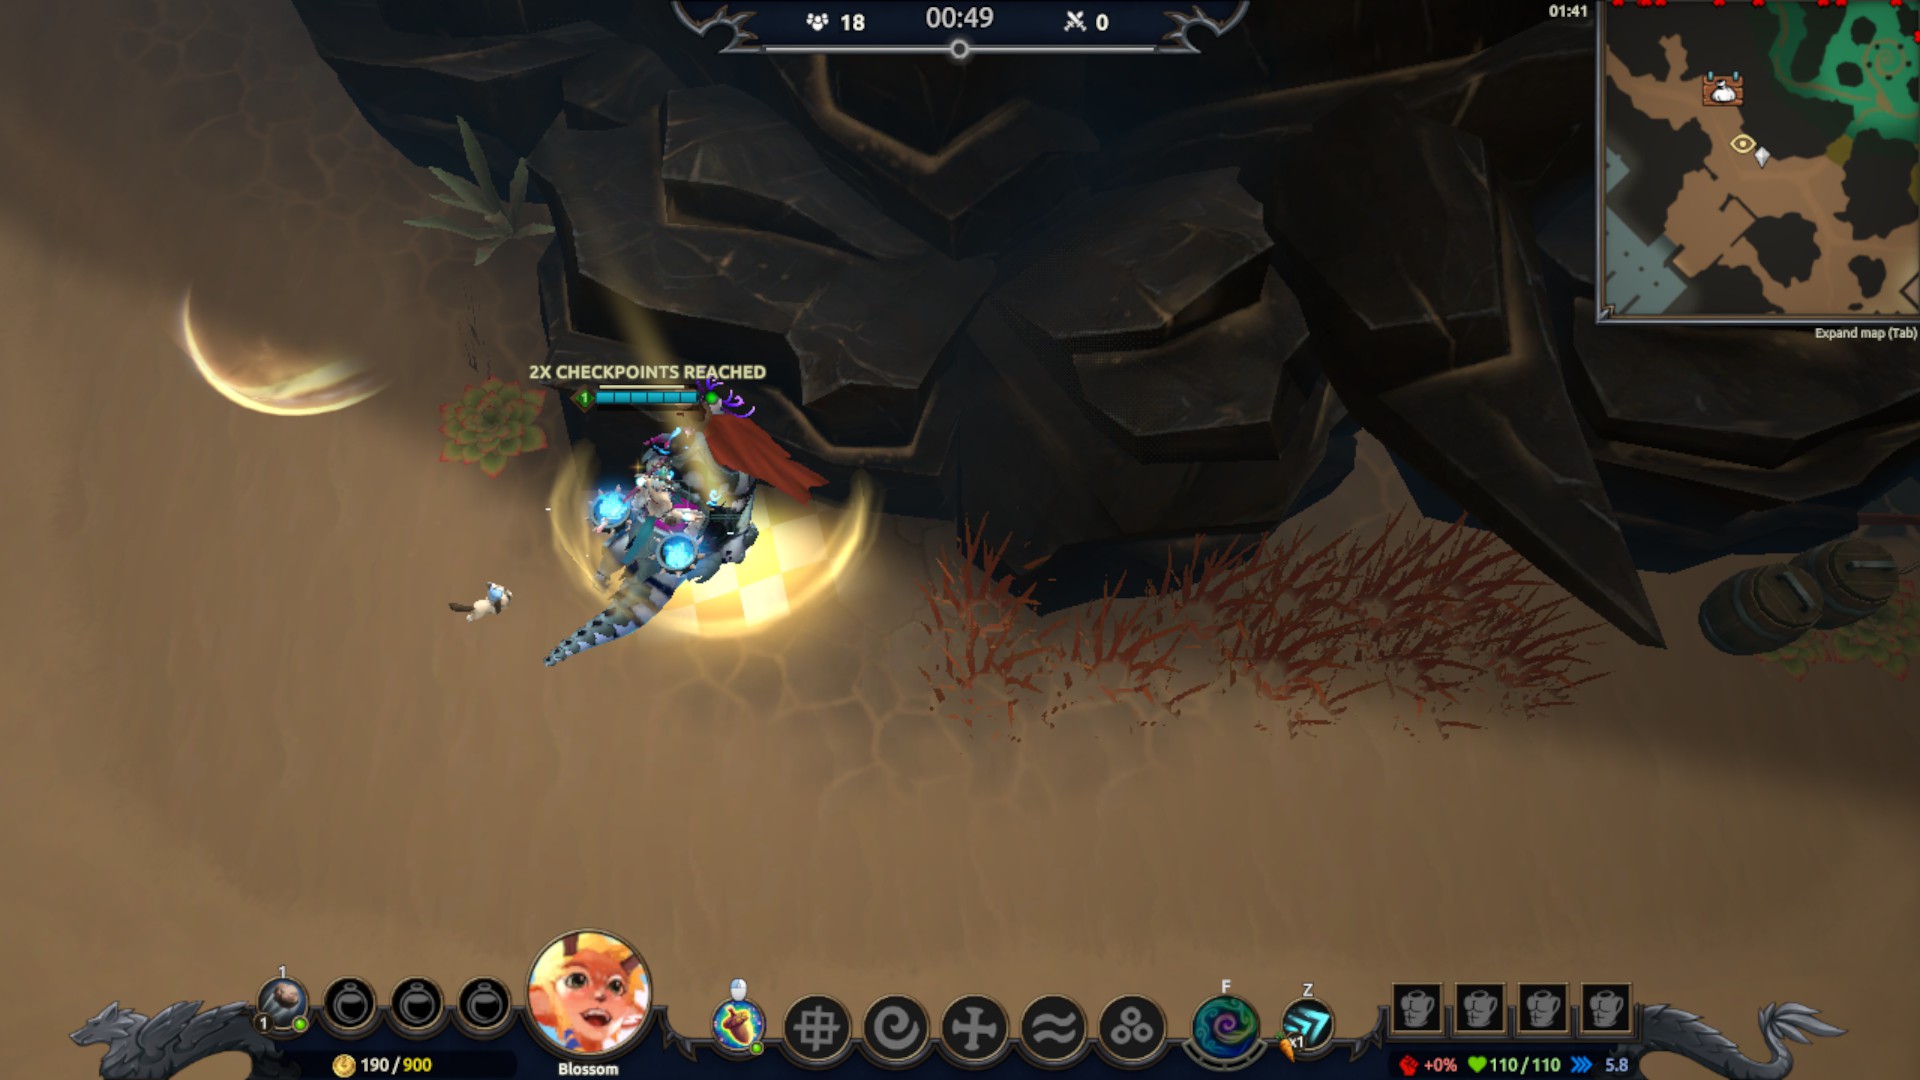
- In order to start this you have to be at the east exit from the Ancient Tomb and find the red flag right outside (Please refer to my mini-map). Once you have found the flag you must L SHIFT the flag to start the time trial, but beware because you will get off your mount as soon as you activate the time trial so be ready to re-mount as soon as it starts.
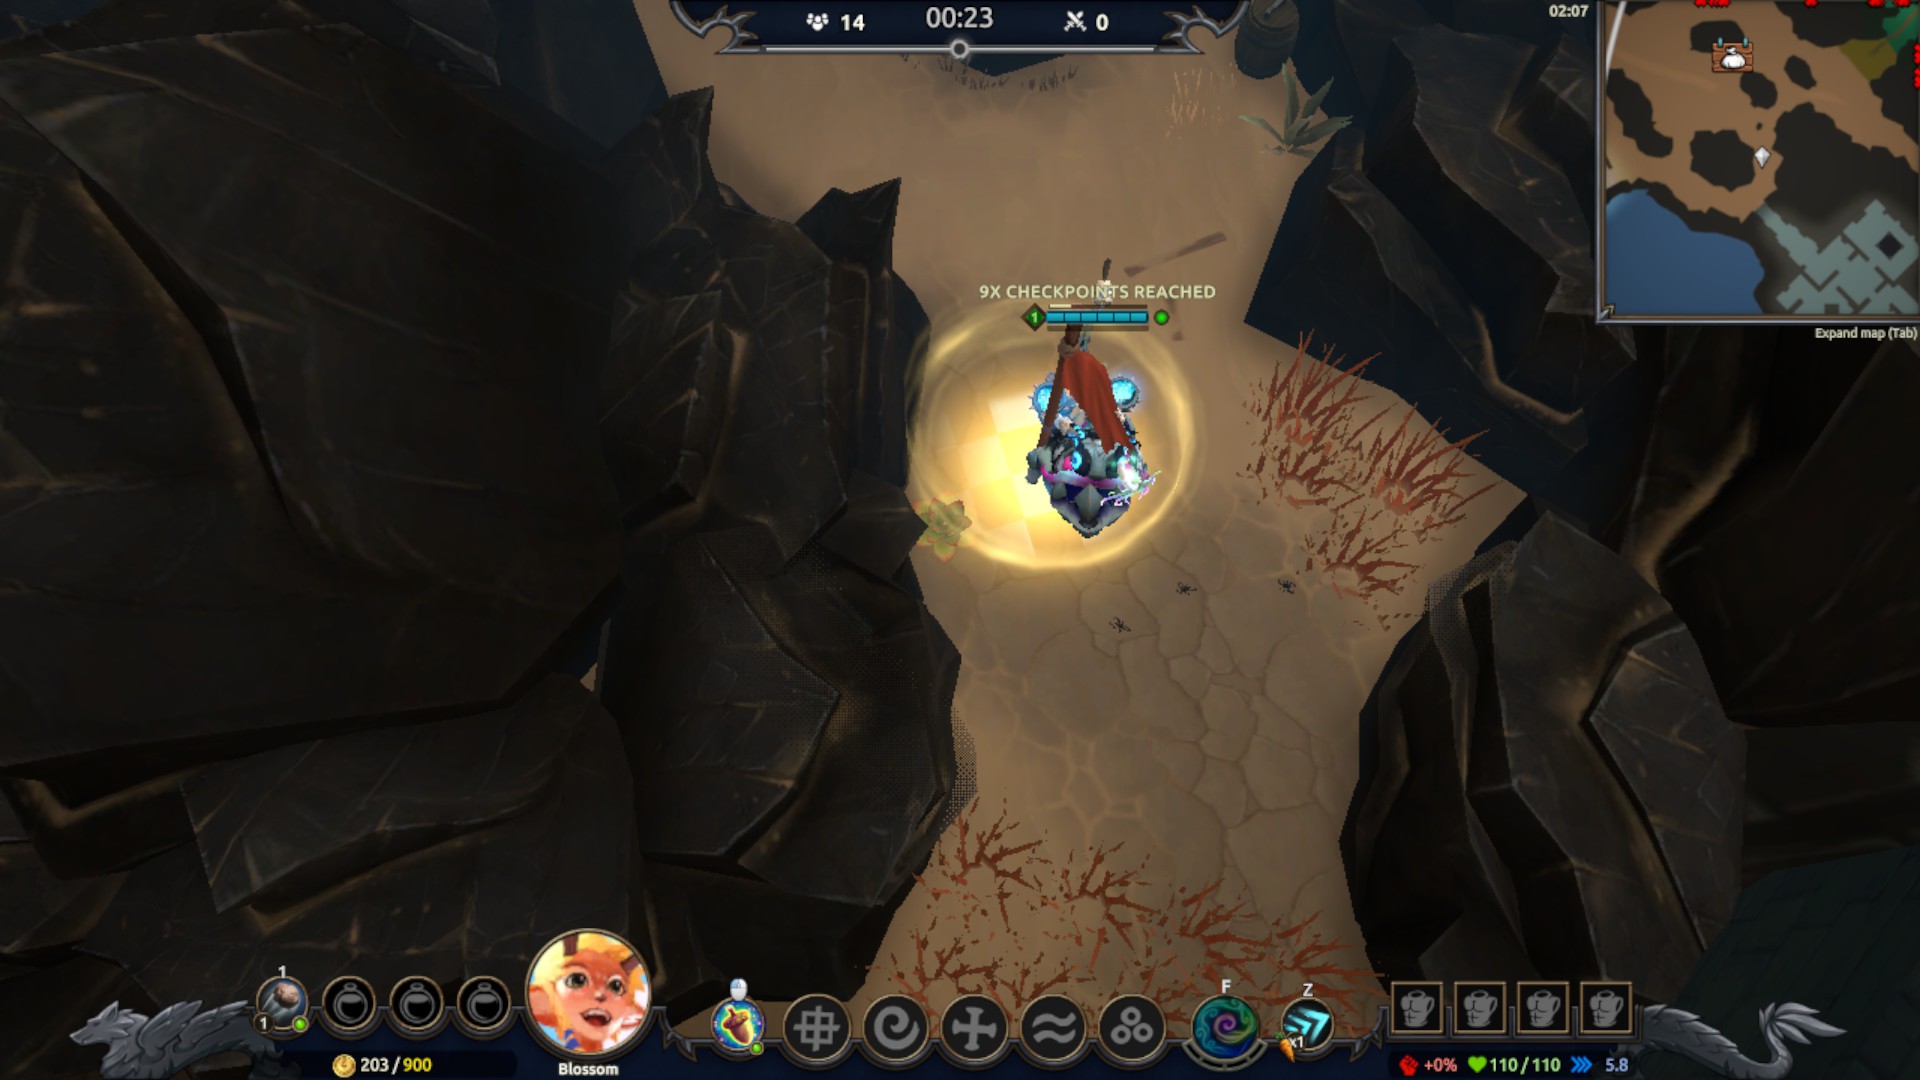
- You do NOT need any carrots to complete the time trial and the timer & flag count is displayed above your health just like buffs or debuffs are! You only need to get within the circles to make it count towards the completion. The only interaction is for starting the race. RED means that you failed the time trial while GREEN means that you completed it. The time trial can be repeated how many times you’d like (Unless you die).
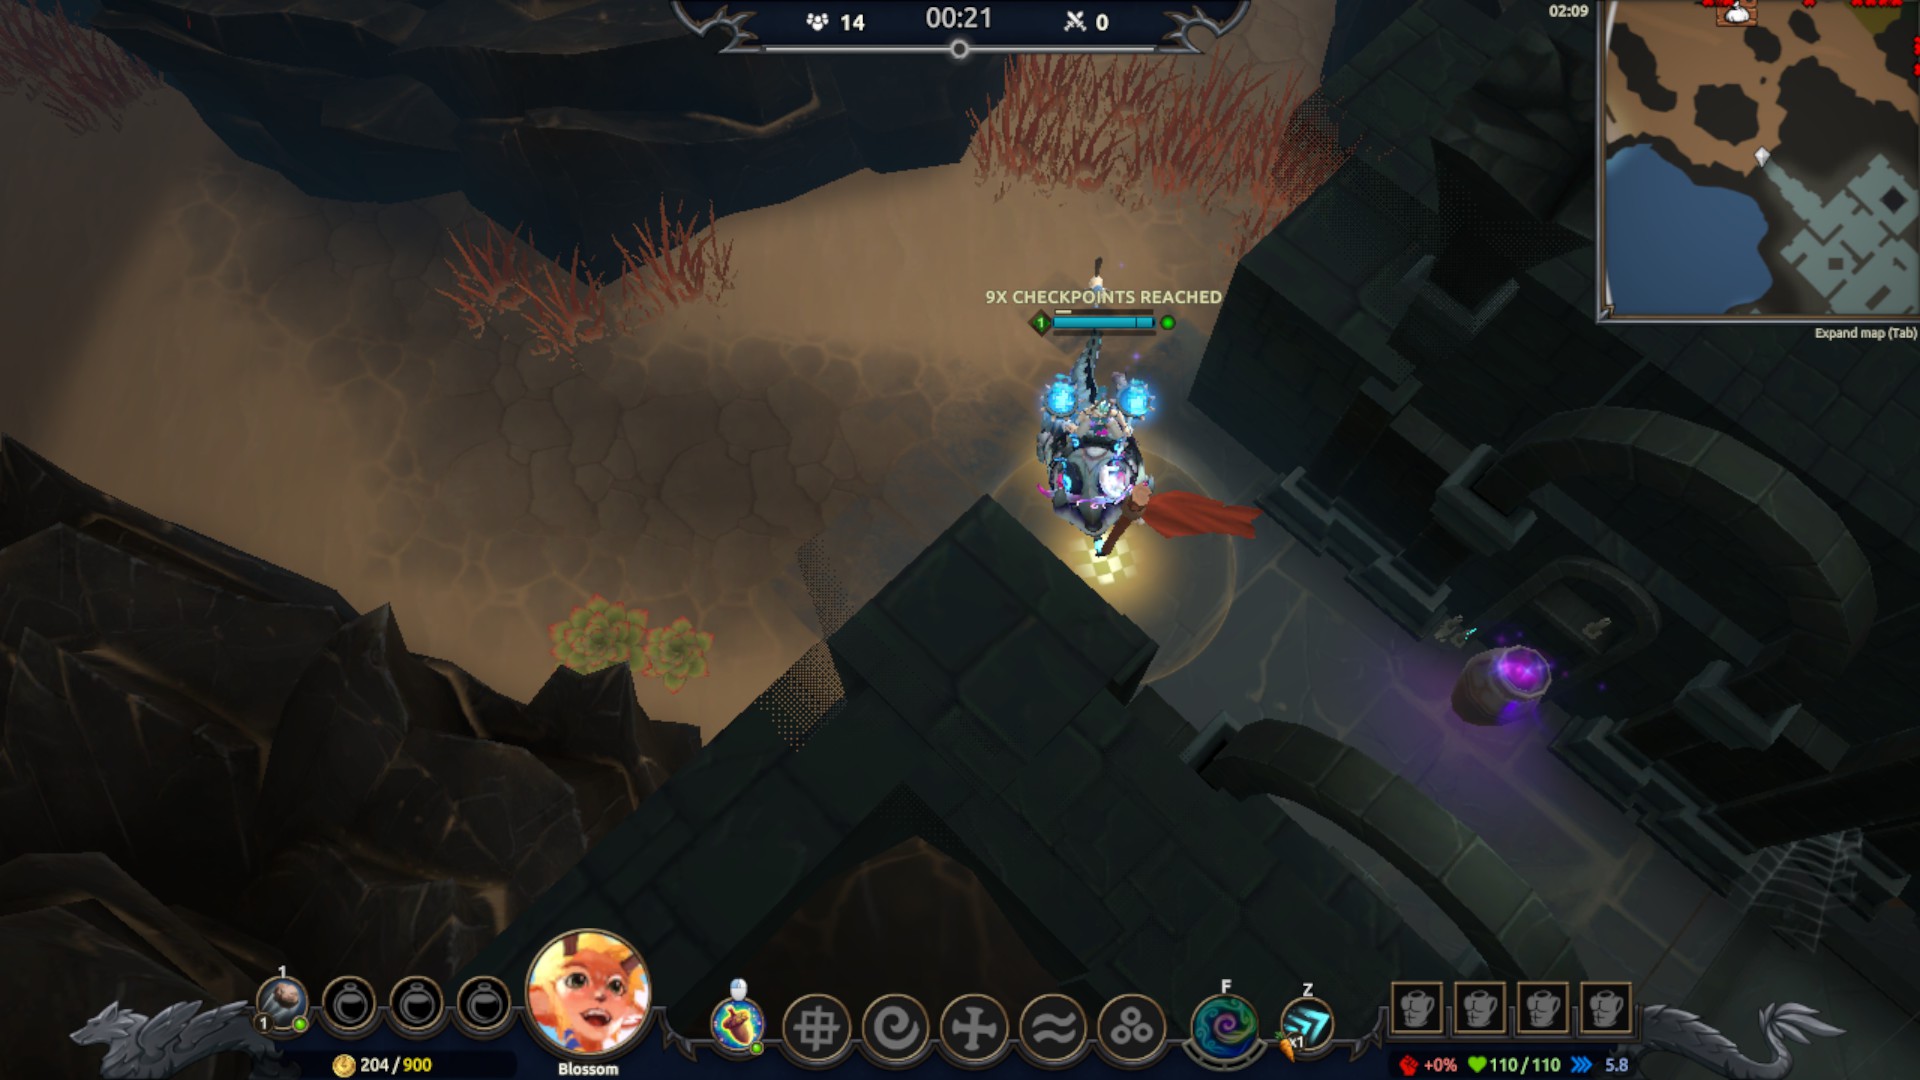
(Follow the path through my mini-map)
(Follow the path through my mini-map)

(Follow the path through my mini-map)
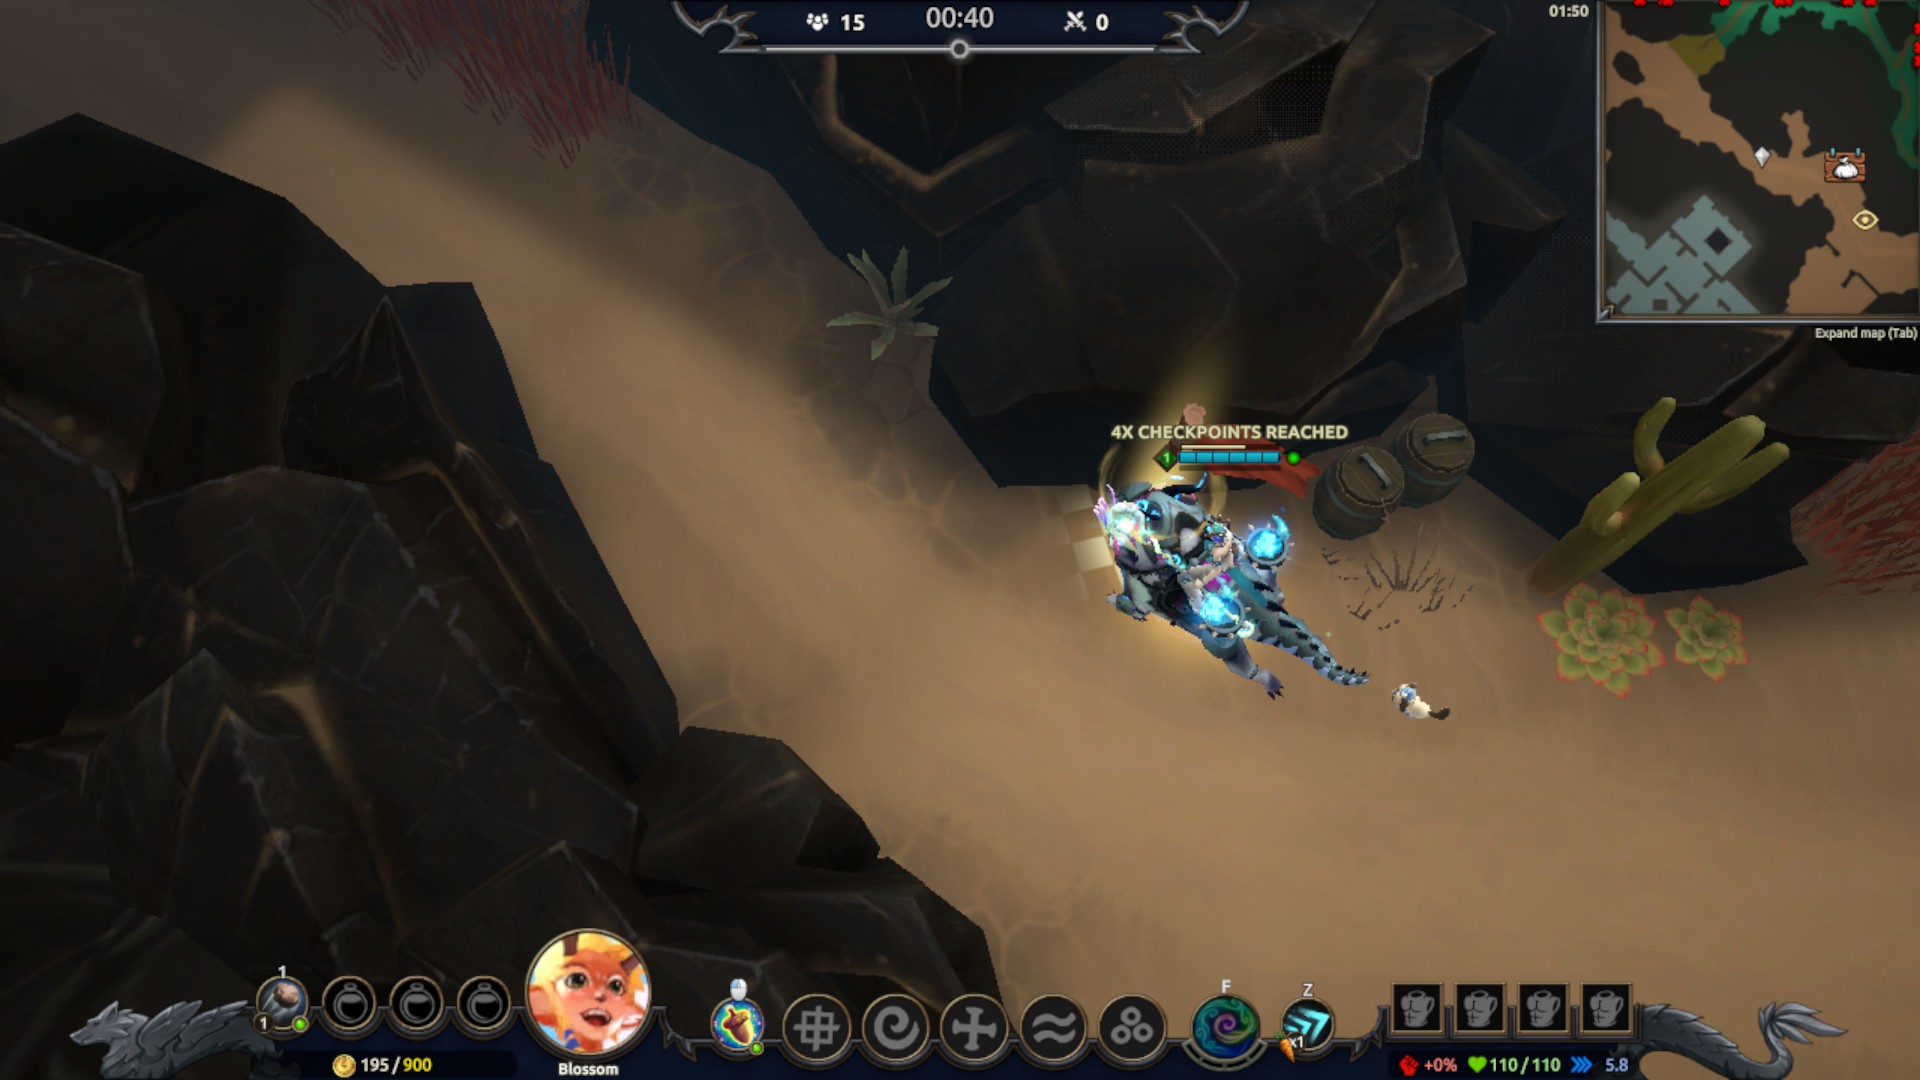
(Follow the path through my mini-map)
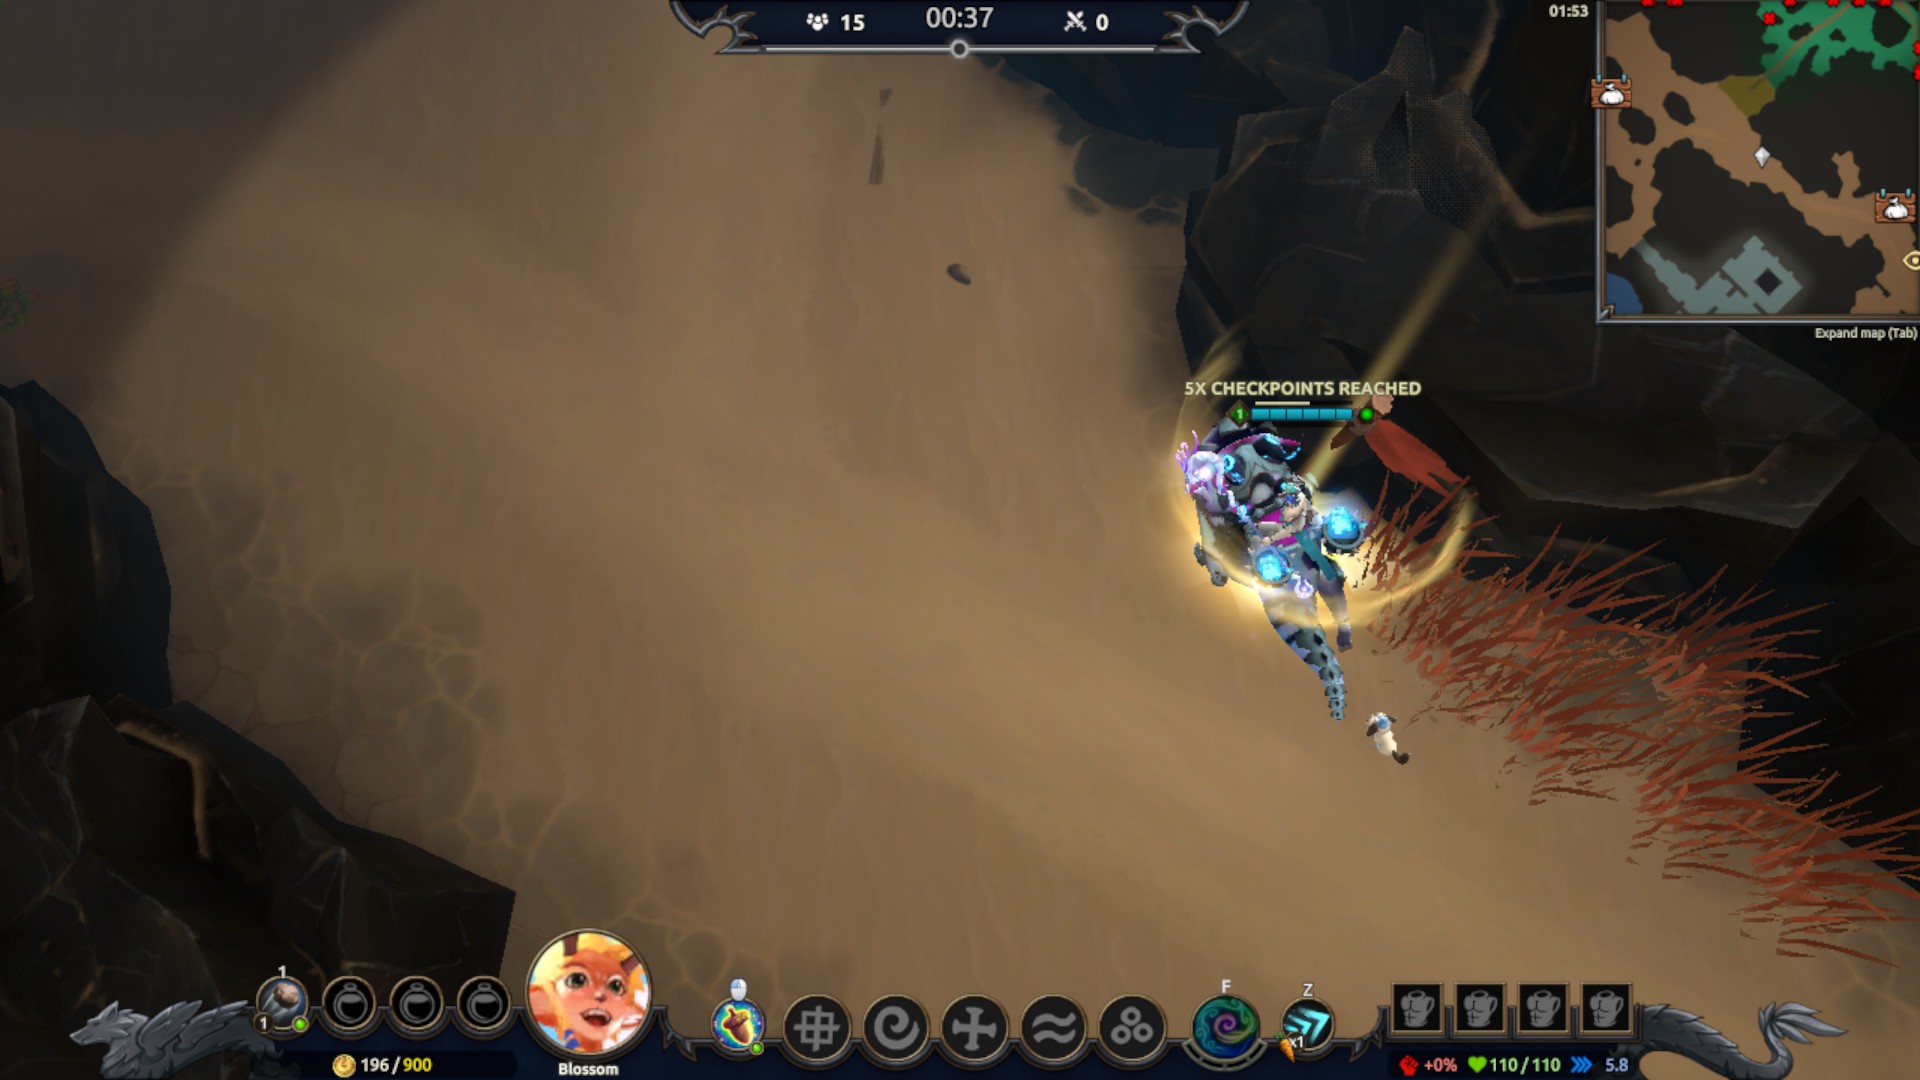
(Follow the path through my mini-map)
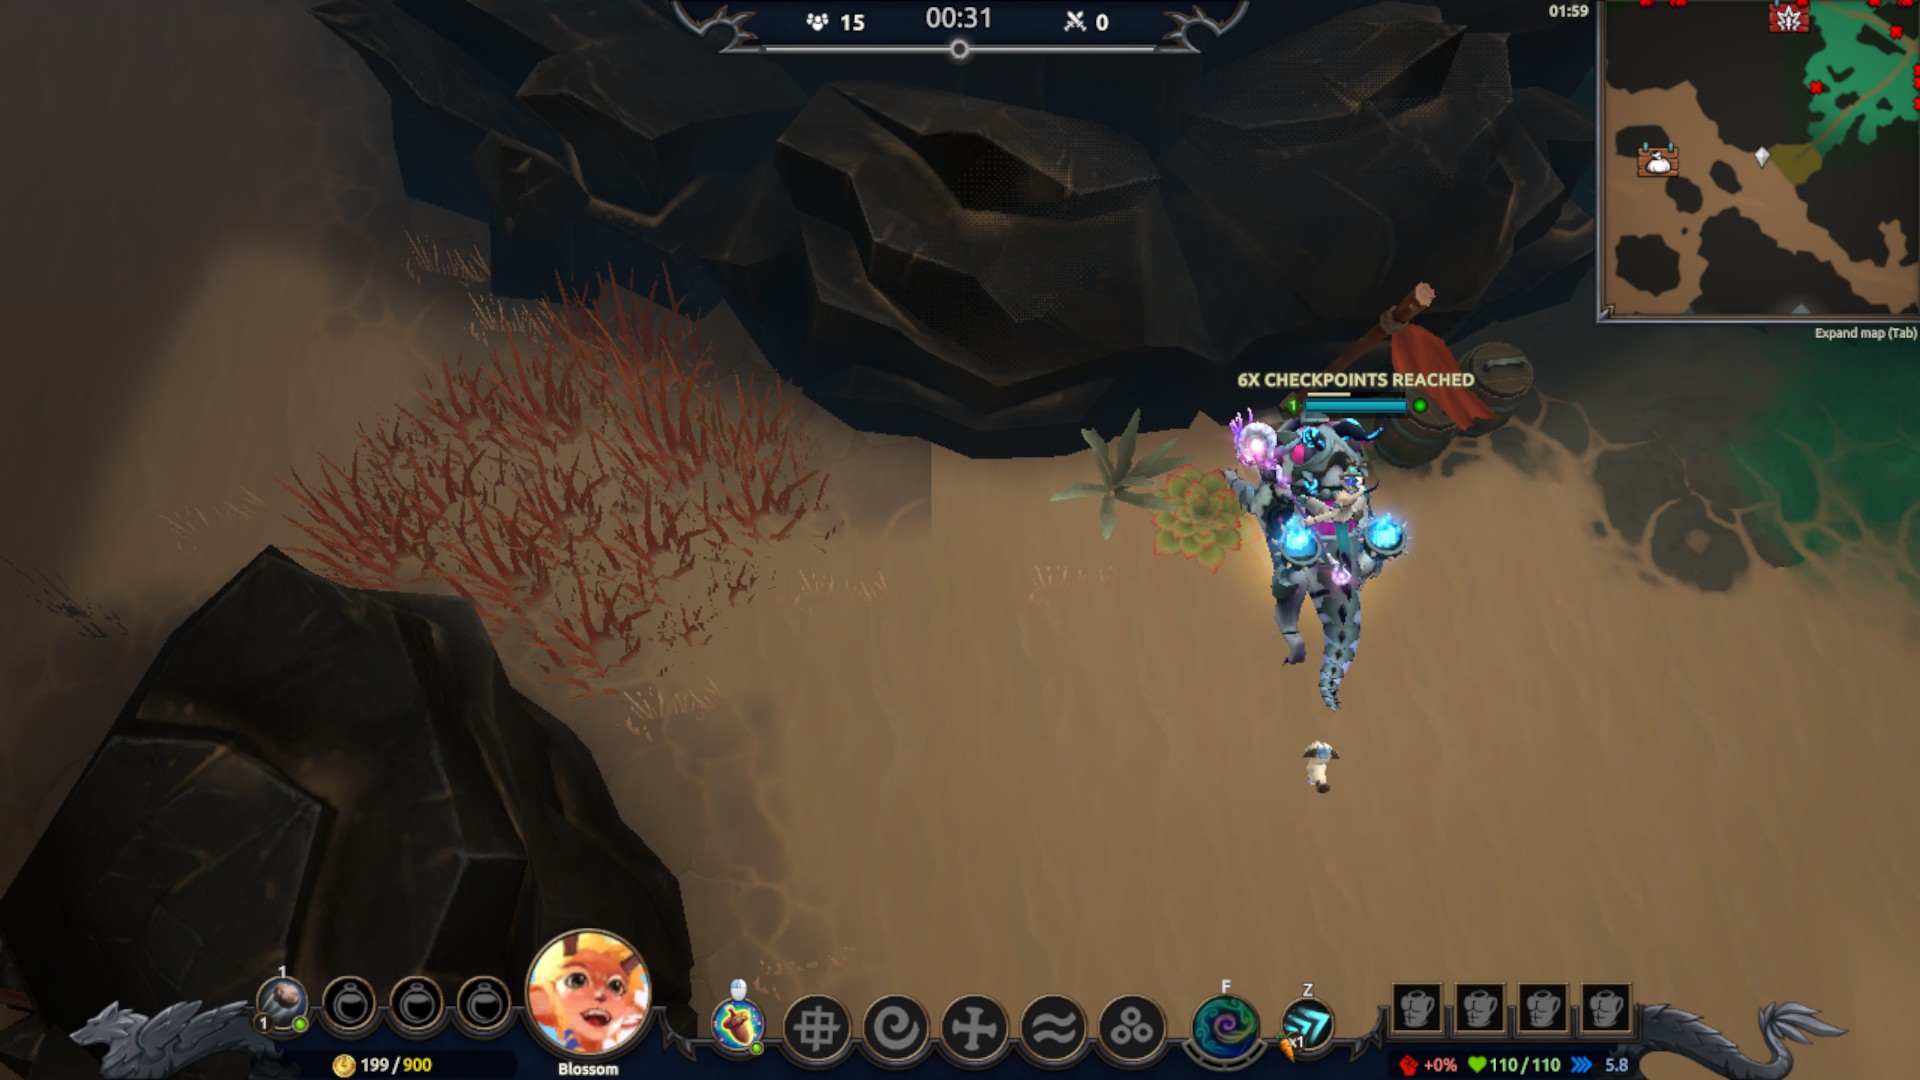
(Follow the path through my mini-map)

(Follow the path through my mini-map)
(Follow the path through my mini-map)
(Follow the path through my mini-map)
Sentry Turrets vs Enemies
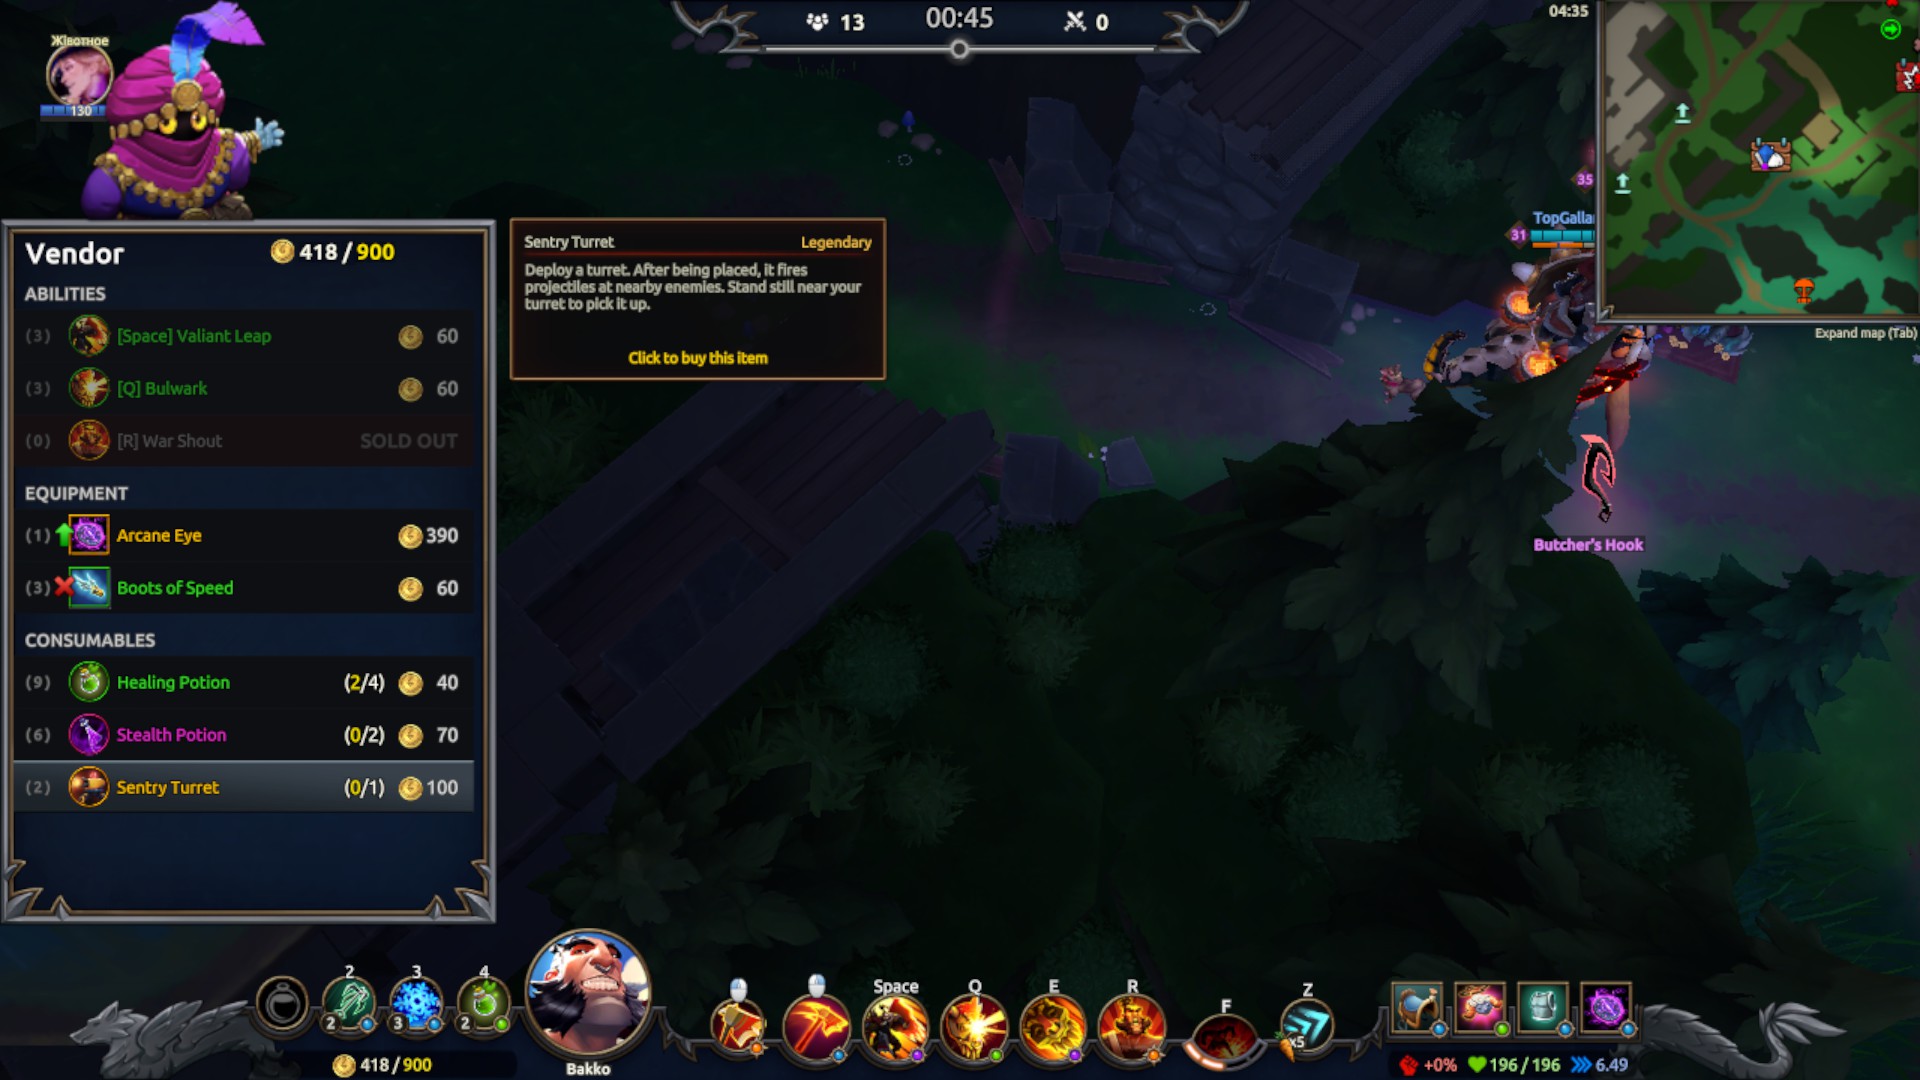
- The sentry turret can be found at vendors or in orbs at random. It takes about 5-6 seconds to assemble one and due to it’s build time, be sure to get as far away from enemies as possible before you start building your sentry turret. You can only carry one sentry at a time so be sure to savor it as much as you can. If you find a second turret at a vendor or in an orb then plant your sentry at said location then pick up the new one, this will up the odds of you getting the challenge done. The way the sentry shoots/fires is similar to Jade’s LMB pistols so it should be able to land a few shots at a good spot.


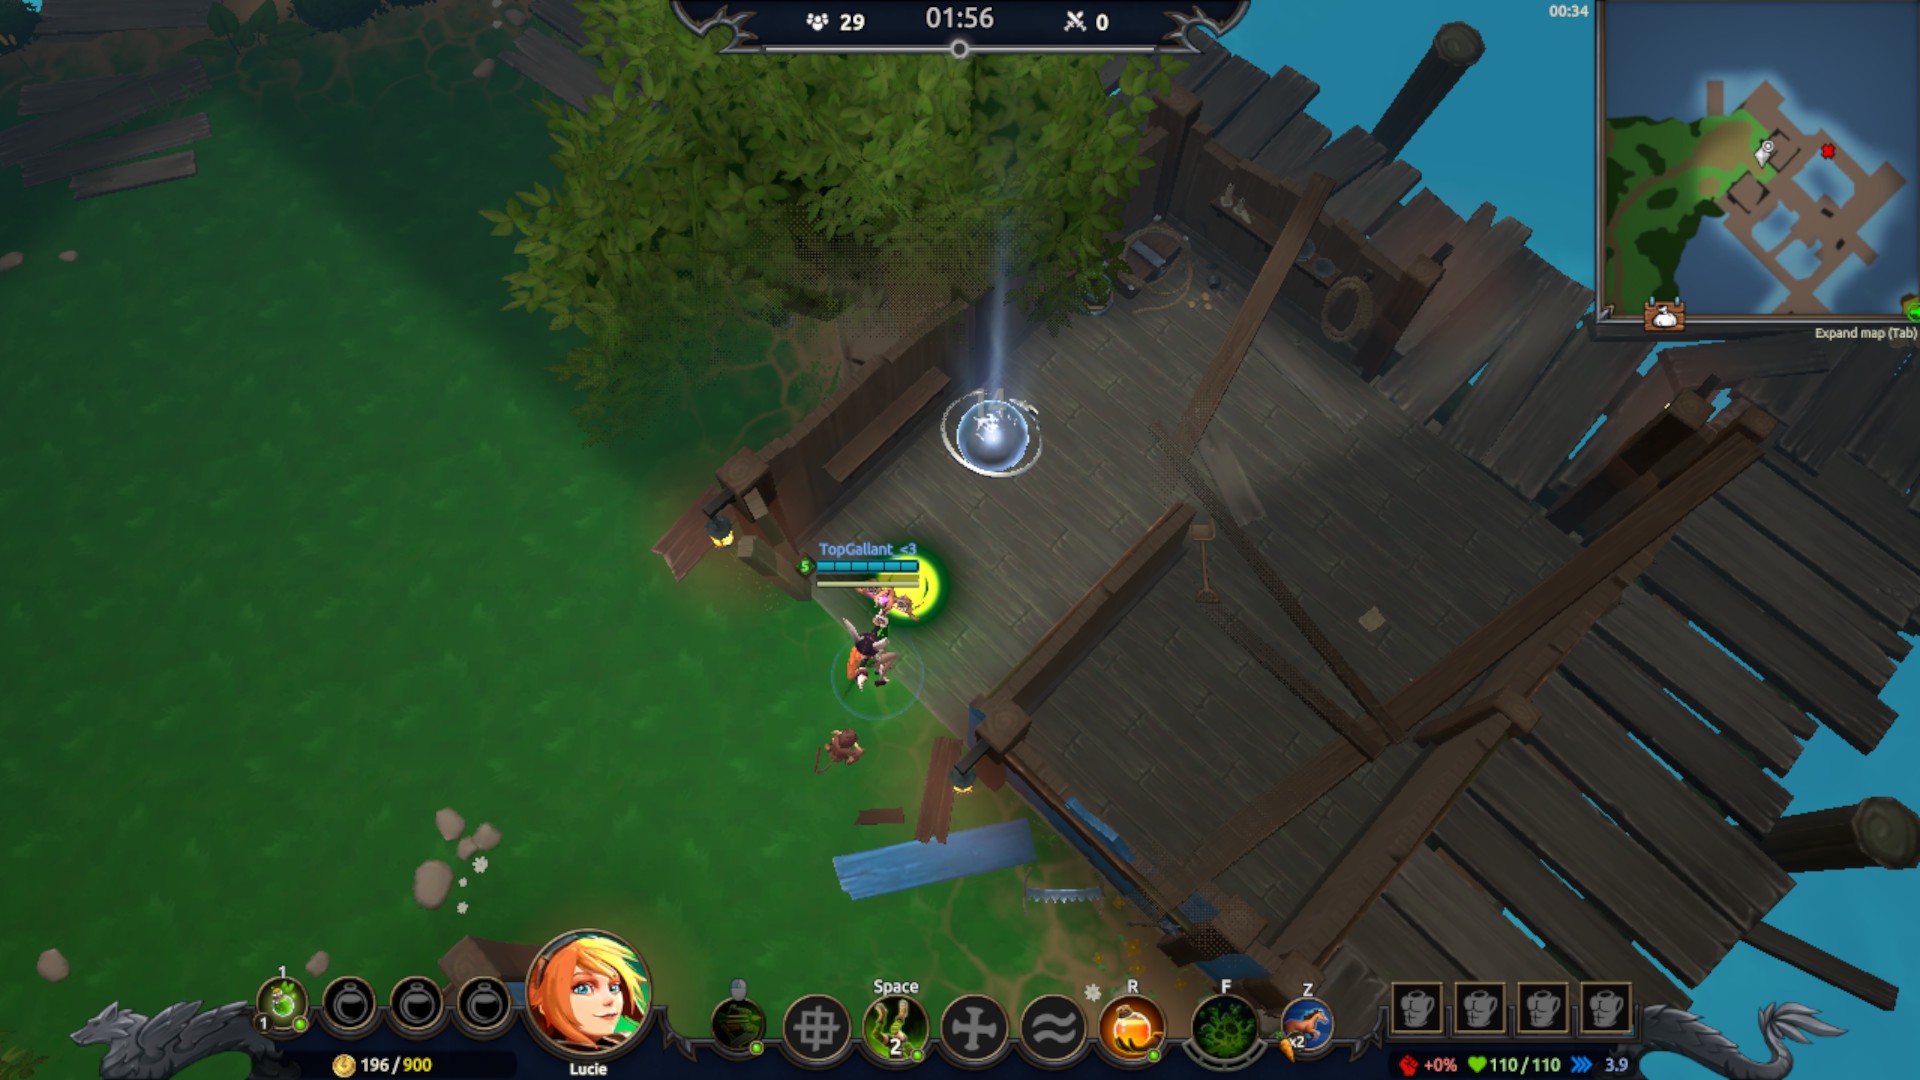
- One of the best ways to rack up damage is to place the sentry turret at any event area or the last stand spot where the last players fight for the win. As seen in the image this sentry was placed to close off the air drop spot just in case someone else would come and try to destroy the loot orb. One other thing you could do is that you place the turret at a vendor to force players to destroy it if they would like to purchase something. Keep in mind that players might be more willing to take the damage from the turret if they expect the vendor to have healing potions. Also a few things to note when you play with sentry turrets is that certain champions may lack long ranged abilities so they are forced to come close to the turret. Also players who are impatient are more prone to go all in on the turret (Close ranged) in desperation to destroy it. Last but not least, you are able to *heal* your sentry turret. Picking a support champion will up the odds of completing this challenge earlier!
Jump Pad vs Enemies
- Just like with many other items, the jump pad can be purchased from the vendors or found in orbs at random. These take about 3 seconds to build and allows you to launch up into the air then land somewhere to both incapacitate & deal a small portion of damage on impact. Just like sentry turrets, this item can only be carried one at a time. What differs from a sentry turret however is the fact that you can use the jump pads of other players which allows you to complete this challenge in no time at all!

- There is no actual “good spot” for a Jump Pad since you’re able to travel a decent bit before actually landing, which allows you to both adjust your aim and jump far past different kinds of walls. This has to be done in three different matches but fear not as they are quite common, you’ll be likely to find atleast one! Make sure to land accurately and be sure to keep evading moves in mind. Even if your aim is perfect, players are still able to evade. So be patient if someone causes you to miss. Never forget that players are always able to pick basic abilities by the start, evading moves may be popular!
🔰Eliminations (Mines, Eastfort, Resonance)

- The locations we need to go to are the Abandoned Mines, Eastfort and Halls of Resonance. It’s recommended you try this challenge by the very start of the match since you’re able to land in the locations you’d want, as well as playing skill vs skill when you meet players with only basic abilities (Since it’s the very start). This can however be done in one single match, just be sure to know where the key locations are by looking at your map. What I recommend is that you pick a ranged champion as they can deal greater damage than a melee champion before they get close to you (Just an example), then get some evasion and/or extra damage abilities by the starting vendor in case you get into a duel where the enemy won’t stop attacking you.
(Refer to the Big Map, ‘Tab’ in-game or my Map screenshot)

(Refer to the Big Map, ‘Tab’ in-game or my Map screenshot)
(Refer to the Big Map, ‘Tab’ in-game or my Map screenshot)

Rabbit vs Enemies
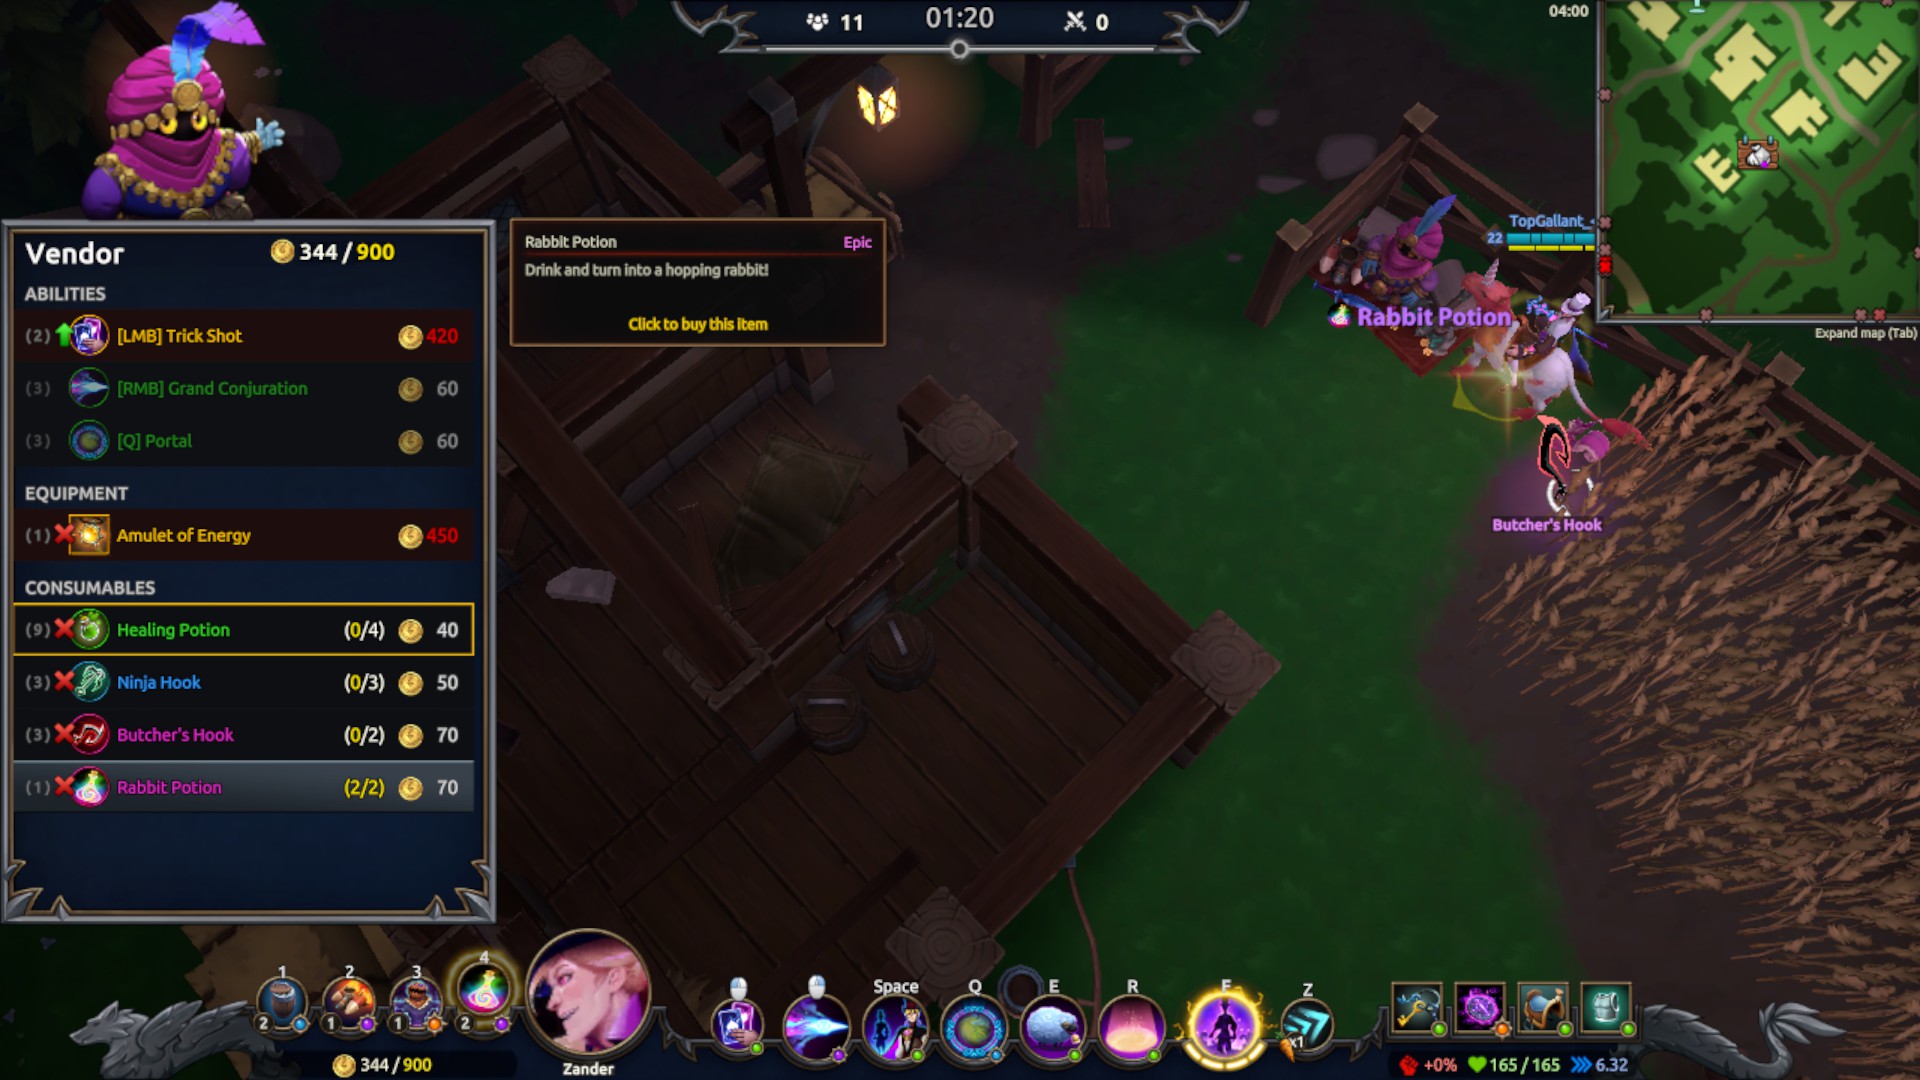
- The rabbit potion can be brought from a vendor or found at random in loot orbs. They’re cheap at the vendor for only 70 Gold and allows you to get it twice, which is actually enough to complete this seasonal quest
- You get 3 chances to knock your enemy back using your SPACE which will knock an enemy back on impact. This can all be done in a single match, just be sure to be quick and accurate since it’s a skillshot & you have a short potion duration.
Spend Gold (Abilities)

- This is a very straight-forward quest, but if you want this one done as soon as possible then you should find it easiest to buy Legendary abilities from the vendors as they will help you reach your goal much faster. Gold really isn’t an issue as you are able to get past the maximum amount of Gold (Total) in a single match as long as you follow a few methods. Gold can be found in rocks over at the Abandoned Mines, as enemy drop, loot orb drop or a loot thief drop. The Red Vendors (Legendary vendor) might be your best bet if you want to spend a lot of gold. You also get gold overtime the longer you stay alive, so even if you never get a kill you can still have a load of gold. This is a total, not something you’re forced to do in a single match.

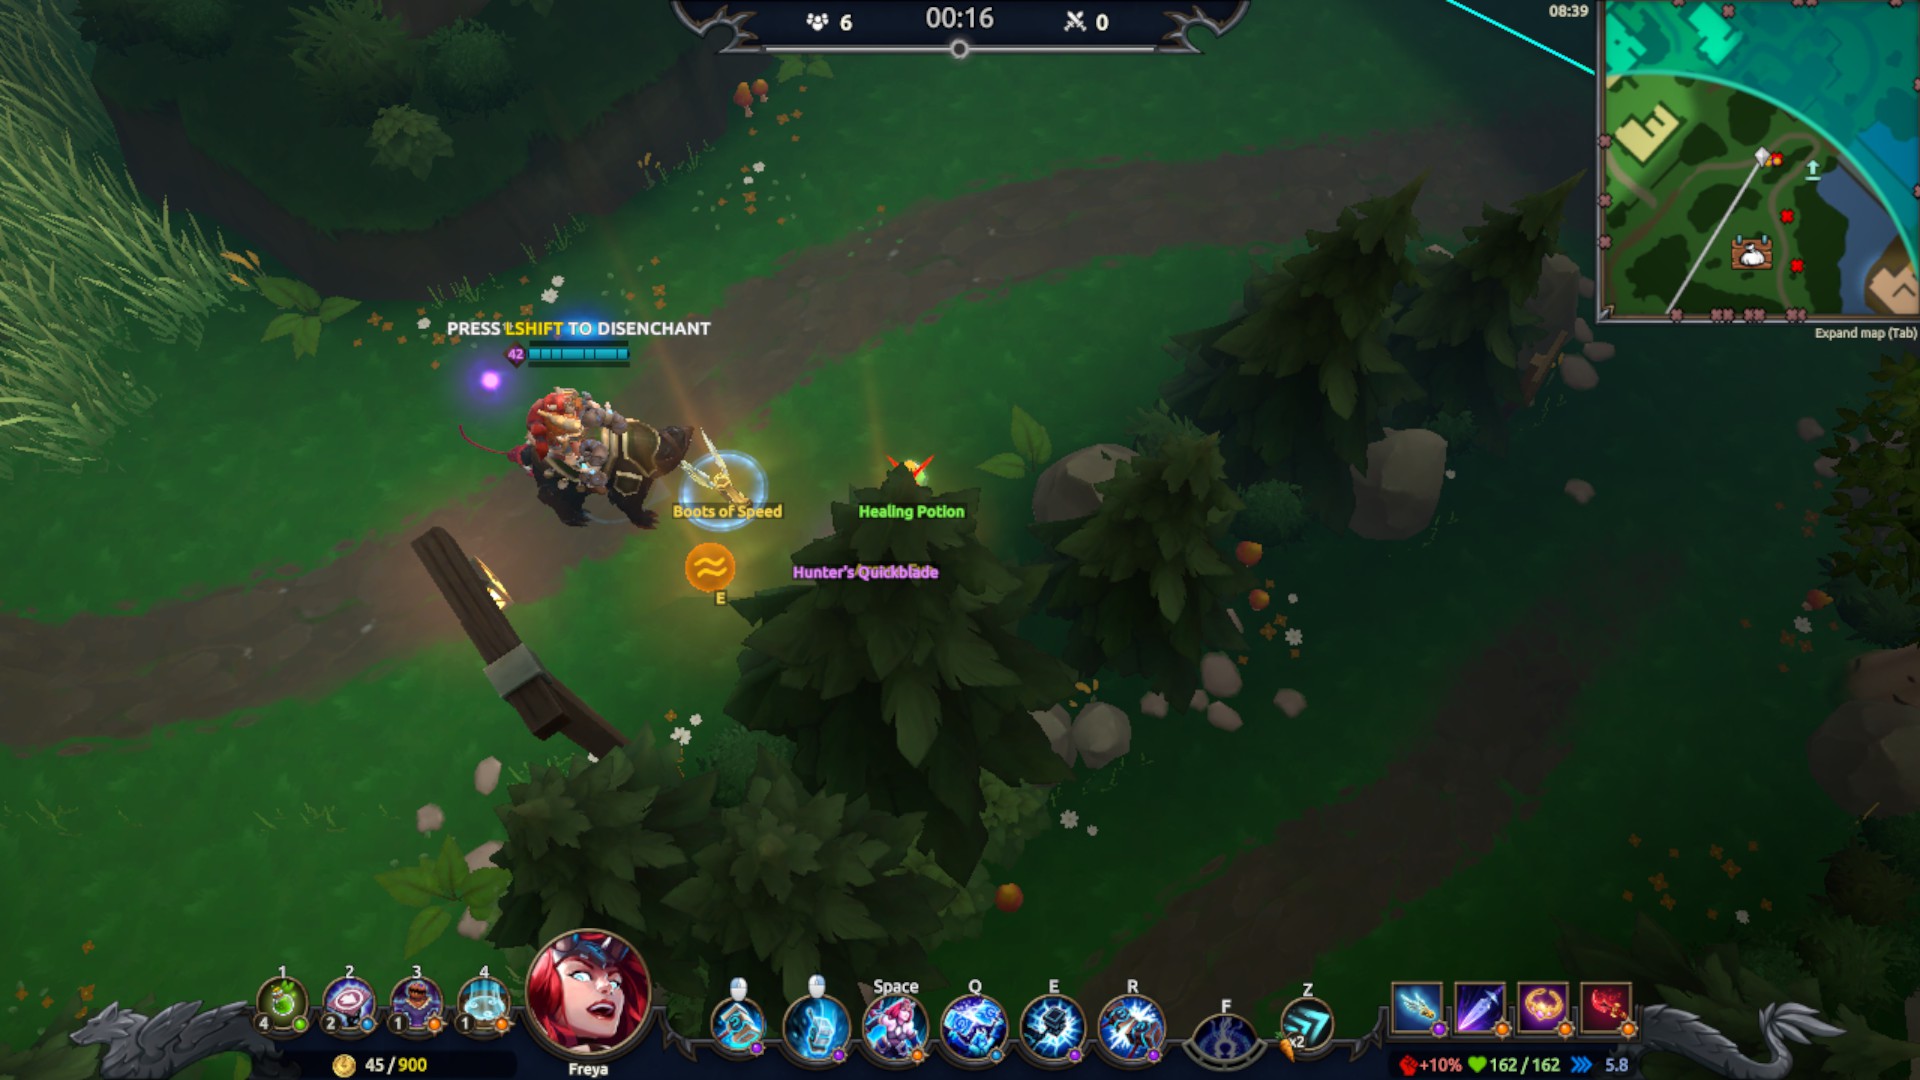
- Walking up to abilities or equipment will allow you to disenchant it to earn yourself some extra gold. This can be done with any and all qualities, even your own abilities (Except for LMB). The time it takes to disenchant is increased if the item rarity is increased, but gold gain can go around +90 for Legendary items atleast. If you disenchant every single duplicate you find then you’ll have a ton of gold without even noticing!

- Another way of boosting gold gain is by finding a Lucky Keychain of any rarity. A Legendary Lucky Keychain nets you 100% increased gold gain and is ideal to quickly get you as much gold as possible in a short amount of time. Make sure to prioritize this equipment item if you’re going for this quest.
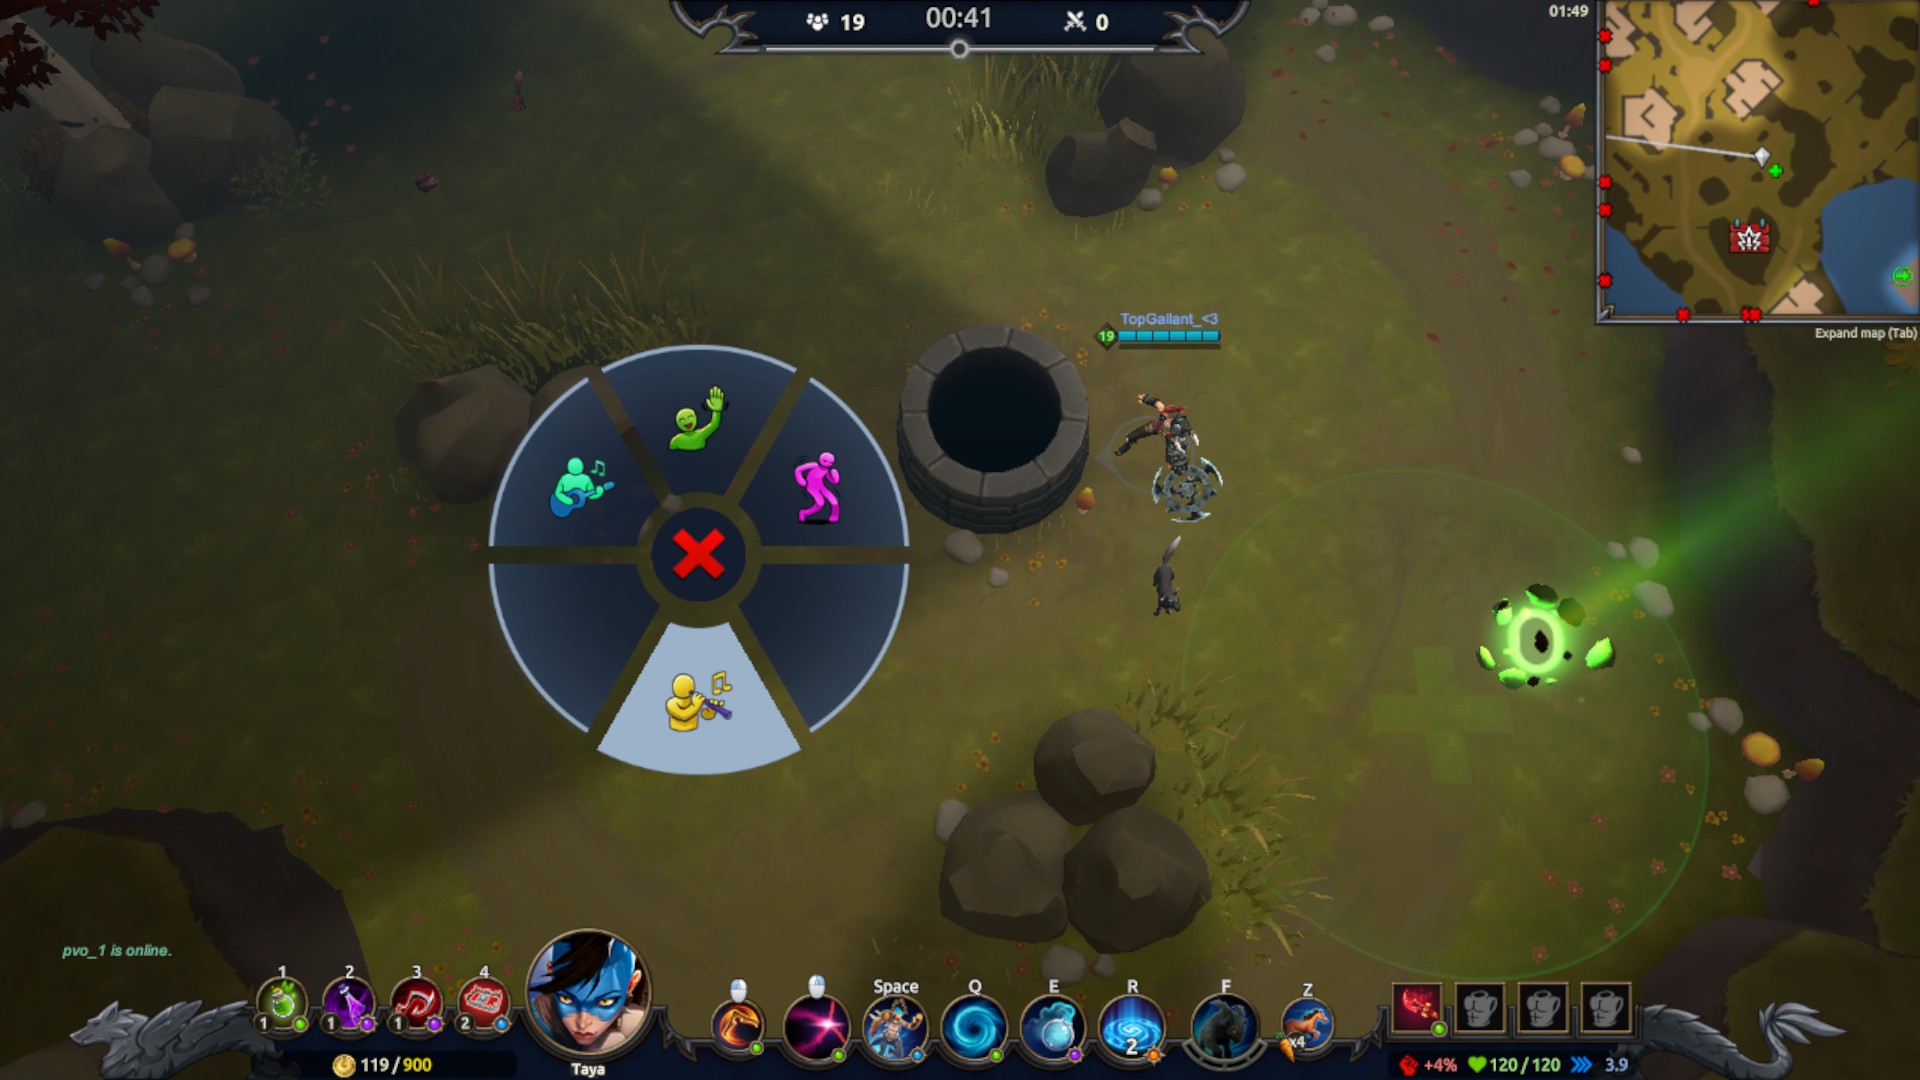
🔰Flute Locations (Gatehouse, pond bridge, well)
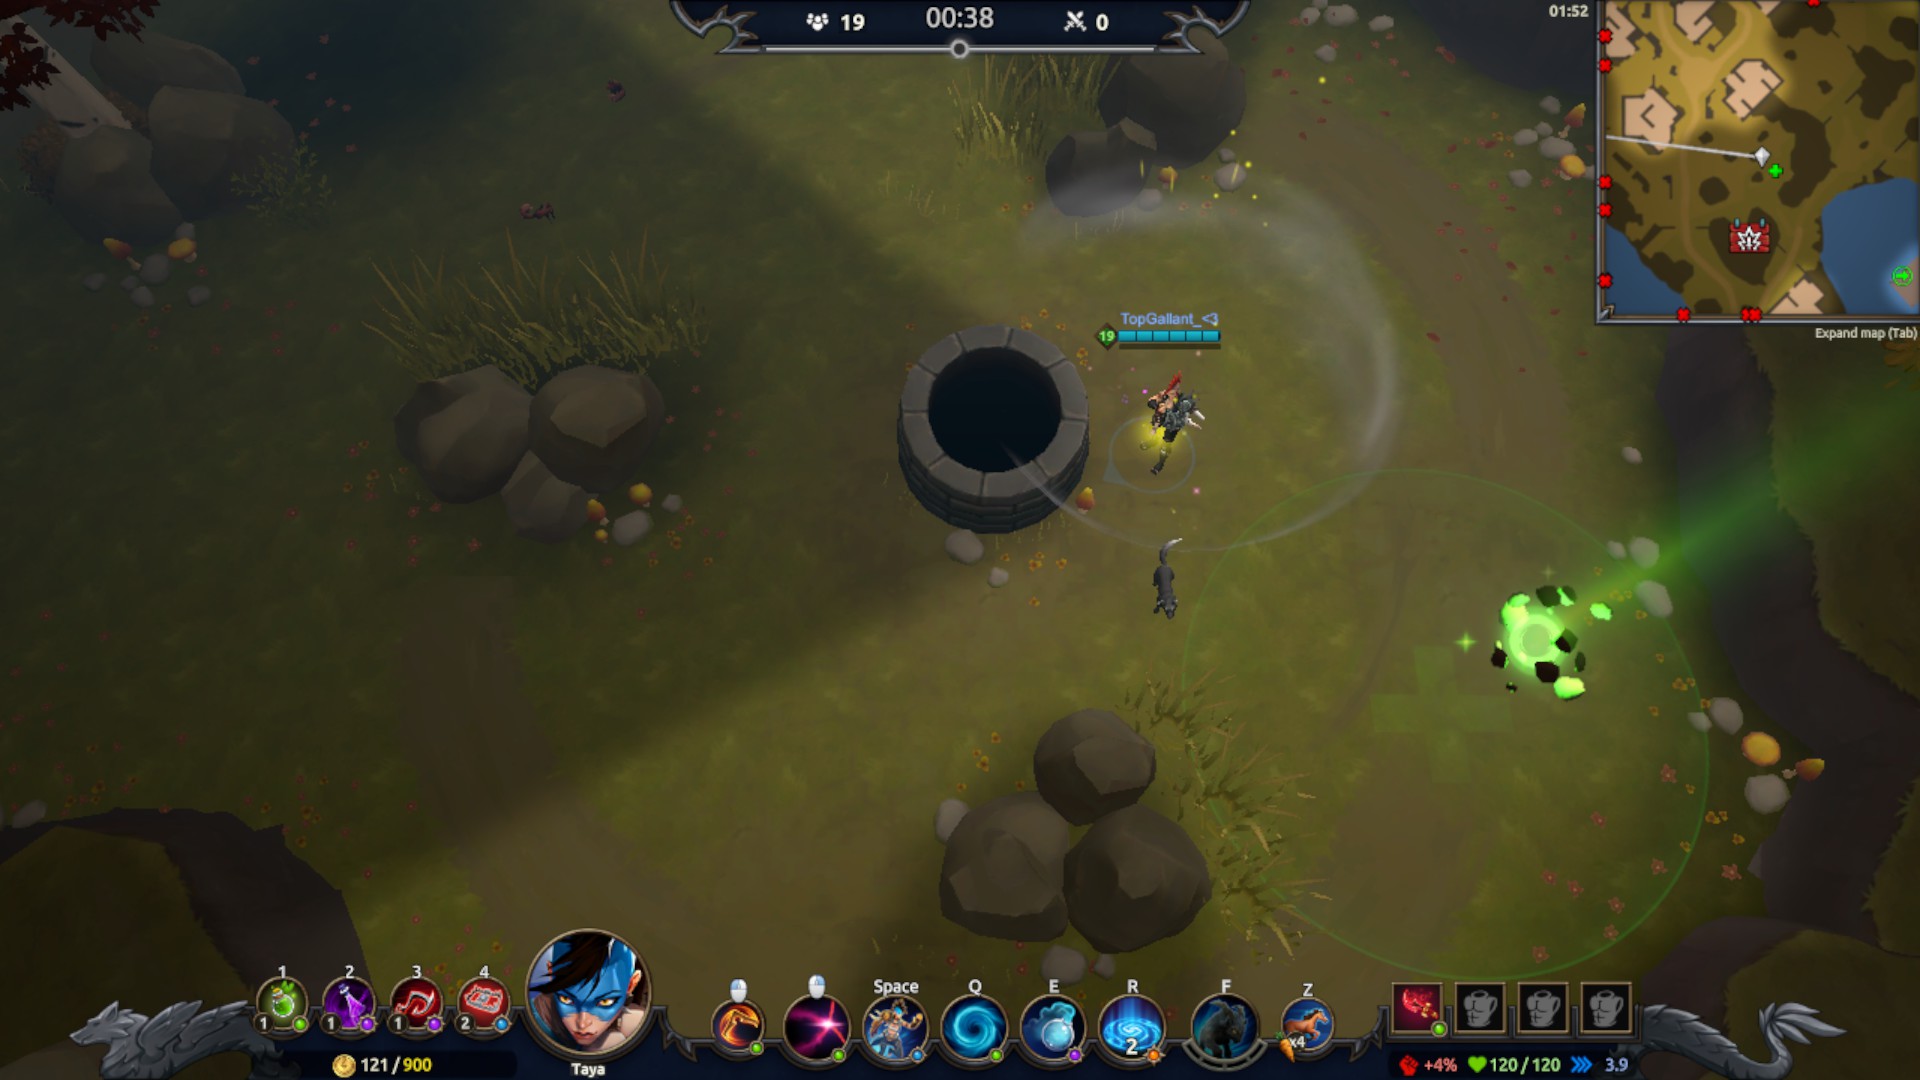
NOTE: This quest require you to unlock the Flute emote (Tier 10; Premium)

- Look at this map to see each location on the big map. Crumbling Keep is to the west while the Oakenheim Village is about mid-east on the map. To play the Flute you must Hold “V” and select the emote after assigning it to a place in the wheel in your champion inventory before starting the match. It looks like the following in-game:

(Refer to the Big Map, ‘Tab’ in-game or my Map screenshot)


- By the end of the dust area and the start of the Crumbling Keep area you will find the gatehouse to the southwest where the white dot is located (Me). Play it inside the gatehouse.
(Refer to the Big Map, ‘Tab’ in-game or my Map screenshot)

- I’m located a bit to the east of the Crumbling Keep, you can see my white dot. Play somewhere on the bridge, I chose the middle part just to be safe.

(Refer to the Big Map, ‘Tab’ in-game or my Map screenshot)
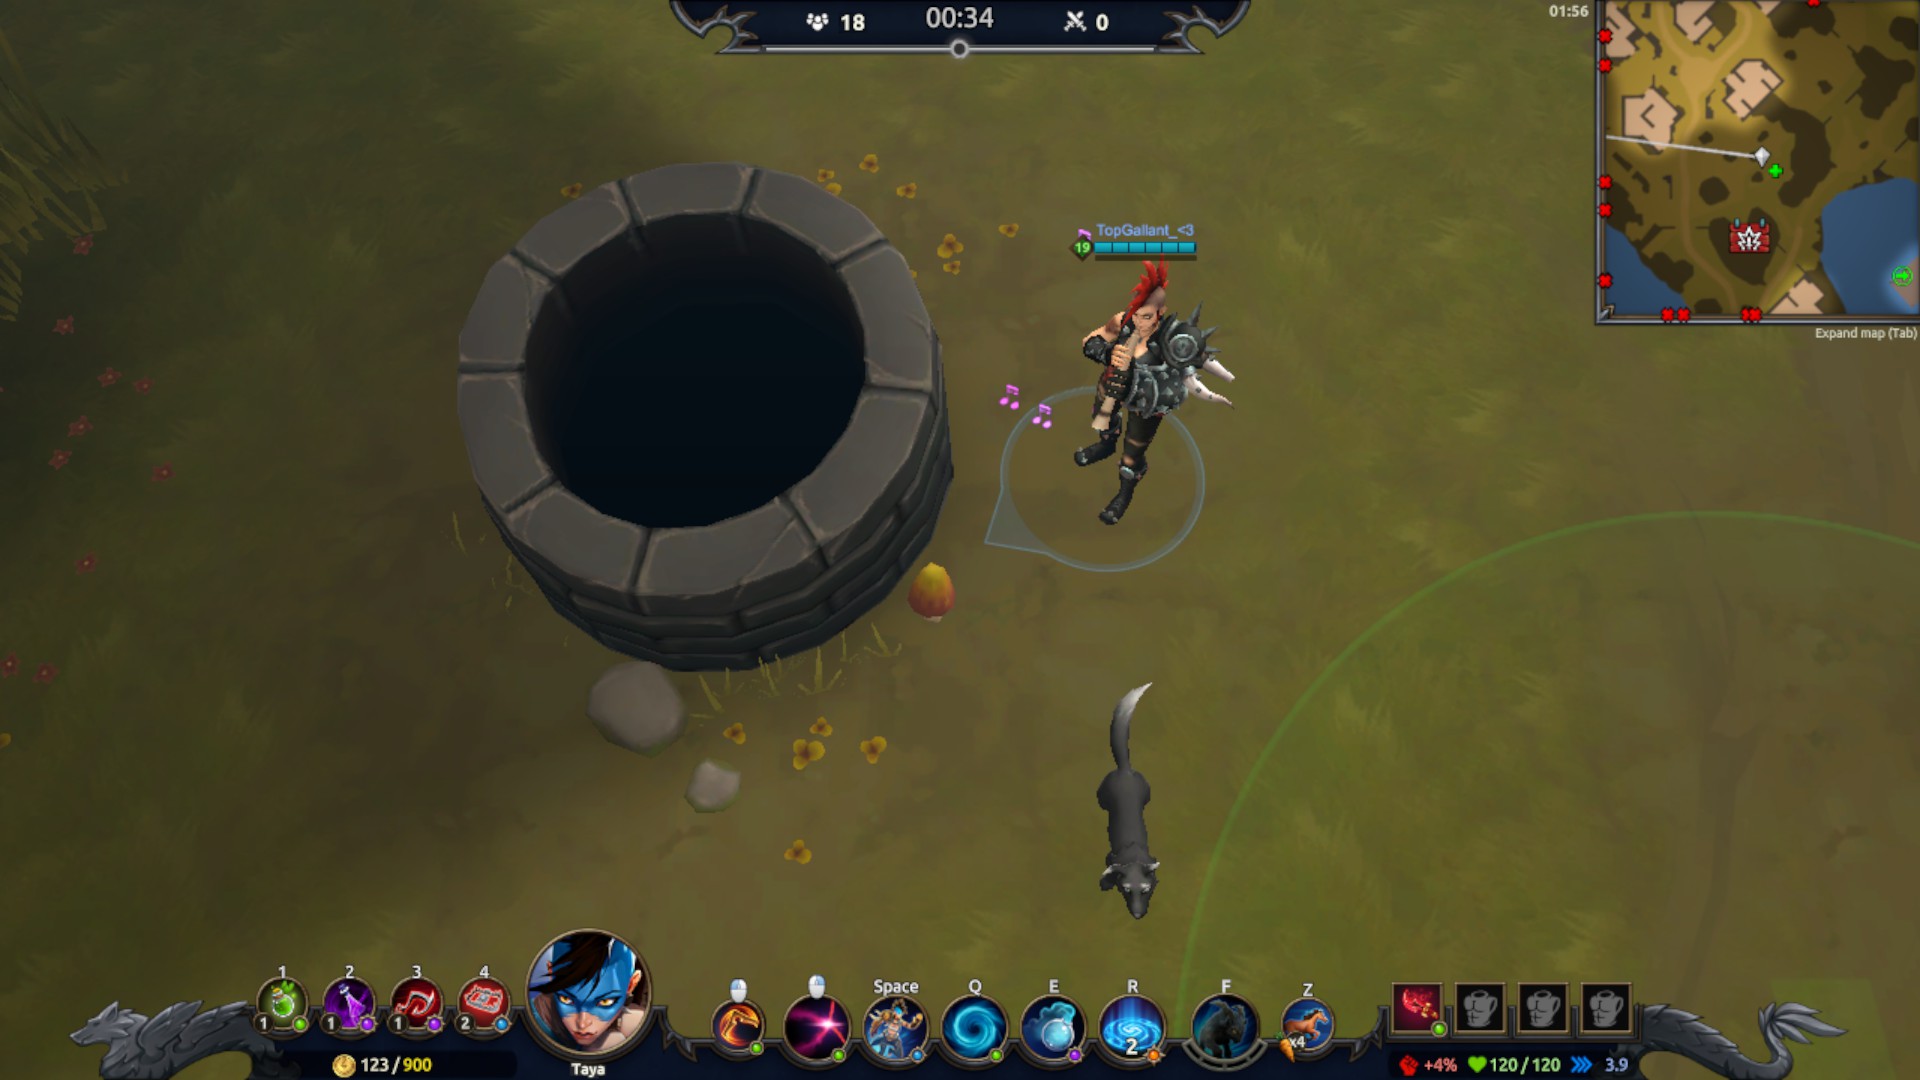
- Land in Oakenheim Village and refer to the mini-map to find the well, it’s rather large. Play anywhere around it (Closely)
Level 40
- This only requires you to be alive long enough to obtain gear and ability rarities which makes up a total level for your character of 40. This might get a bit complicated to get since you almost always have to stay alive until the near end of the entire match to get to level 40. There are a few tricks however to speed up the process!
- One method is to just keep destroying orbs without mercy! Legendary items have a chance to appear in normal loot orbs and if you’re lucky you’ll find loot thiefs as well or epic loot orbs to open up. You always have a chance to find something greater than what you have right now so just go for it.
- Once you reach the later parts of the match you’ll find a lot more legendary loot that players won’t need anymore after they’ve defeated another player. So the sneaky method is to just hide until the other player is taken down and hope you’ll find a lot of what you’re missing.

- Another method is to buy legendary items from the vendor directly. If you’re truly just going for this quest then just don’t bother keeping common, uncommon or rare gear/abilities if you have the option to buy something with Legendary rarity as they will always give the most item levels. Drop equipment if you don’t have enough space and simply buy the legendary equipment. You’ll get a ton of gold from naturally just opening loot orbs and disenchanting items!
Loot Orbs (Anvi, Bright, Keep, Woods, Halls)
- It’s a pretty long walk but the orbs themselves being so easy to destroy, it shouldn’t be that much of a problem. What is a problem however is that if you’re too late then you might not get a single orb from the place you want! I advice getting a good saddle equipment item or boots of speed to make the process even faster, but you can’t always guarantee you’ll find them beforehand. This has to be done in a single match. Check the big map for reference or take a look at mine (Click to expand). It should be the upper-right image in this section.
- A bit north from the mid-map you’ll find Anvilfall.
- By the top north-east you’ll find Brightwater Bay, this is where I started this quest because it would be easier to go A-E instead of B-A-E if I started with Anvilfall.
- To the West you’ll find Crumbling Keep!
- South-east of Crumbling Keep you’ll find the Glimmering Woods!
- A little South on the mid-map you’ll find Halls of Resonance, close to the Glimmering Woods!
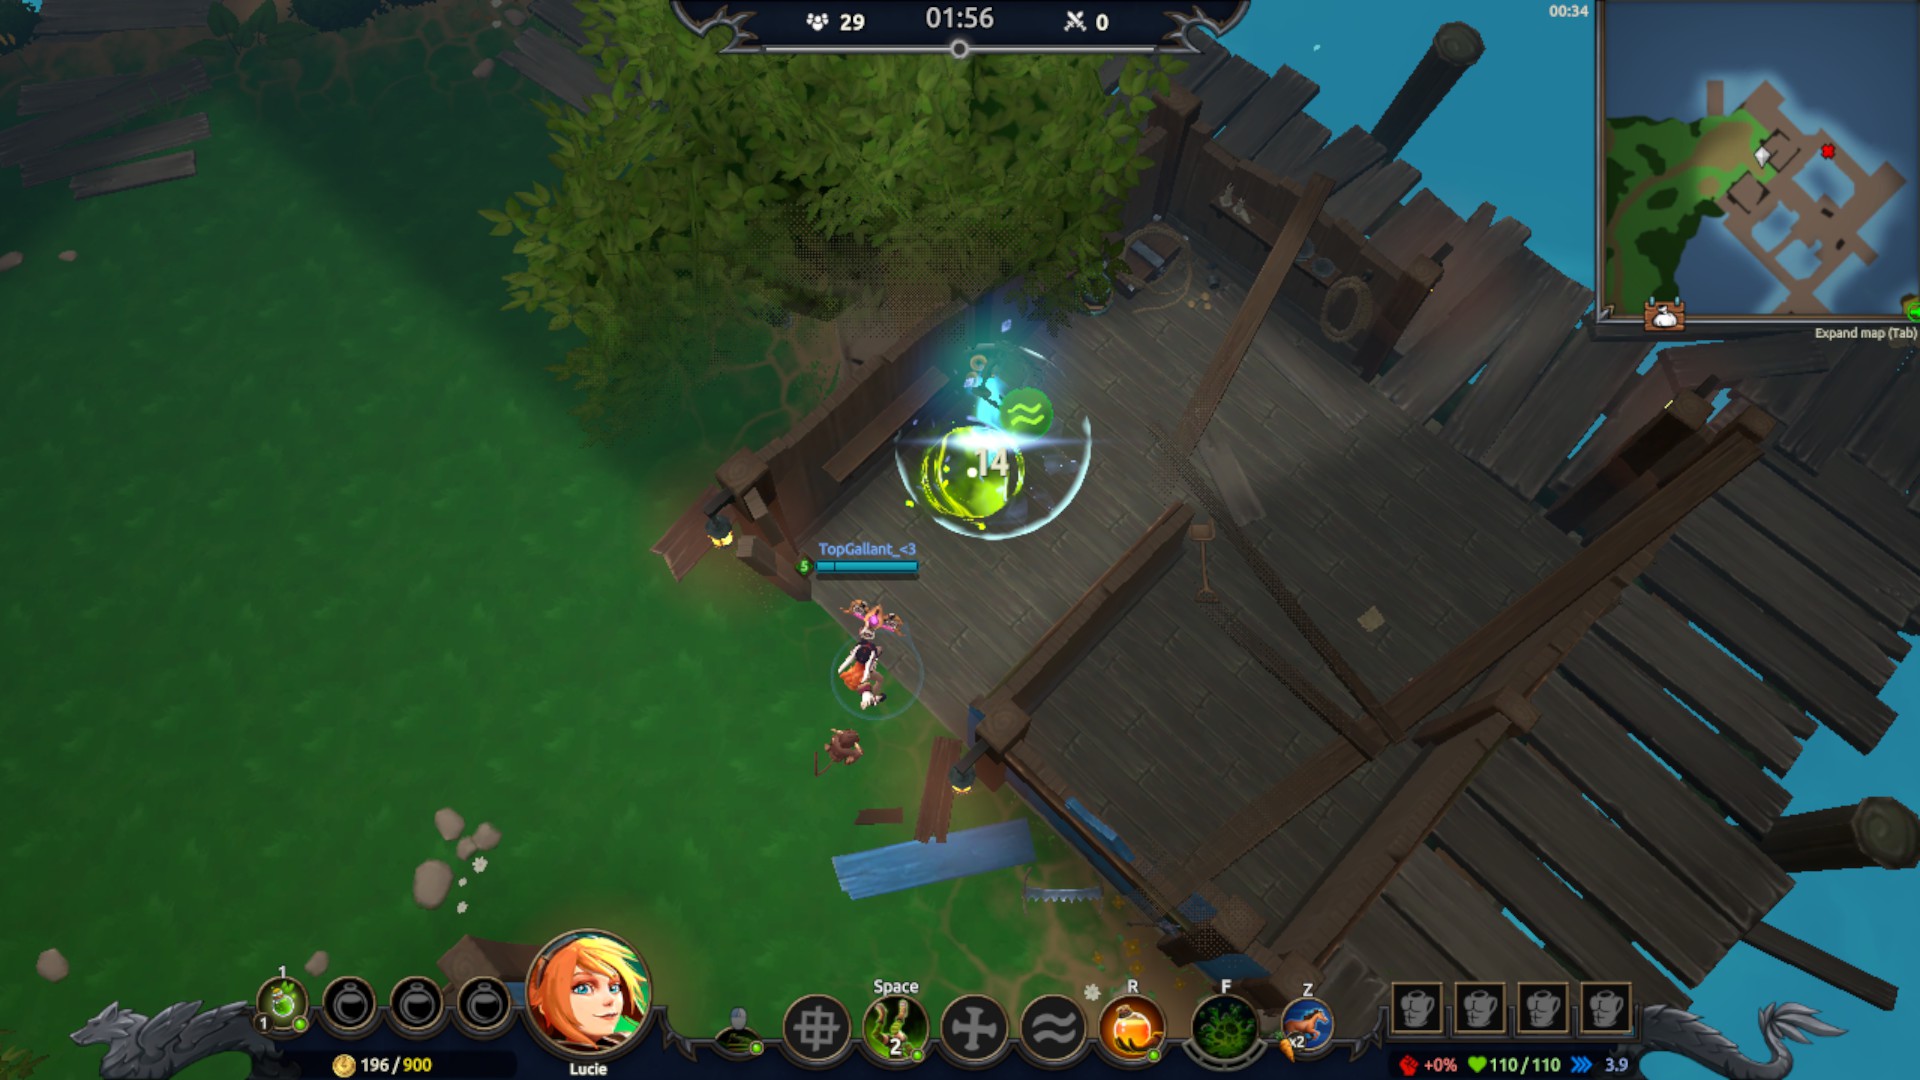
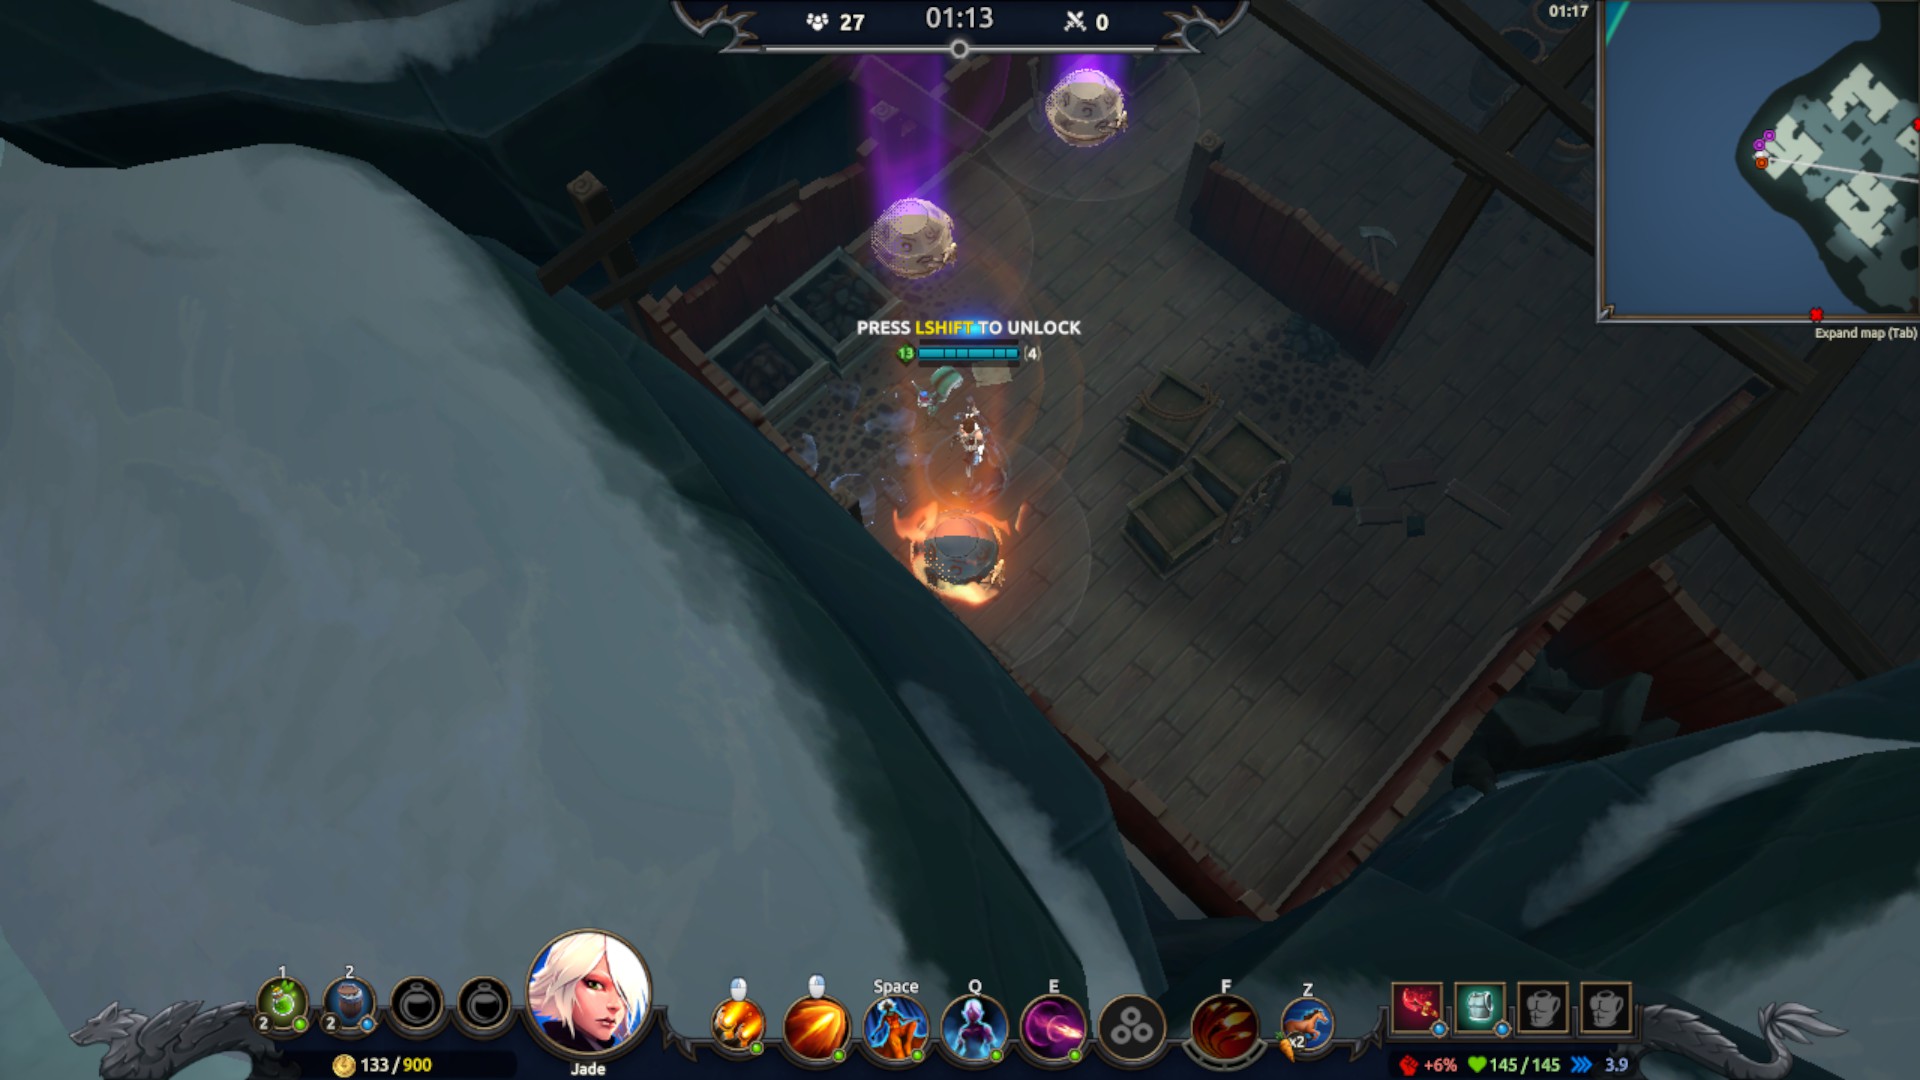
🔰Magic Lamps
- The Magic Lamps are new items found on the island that come from the new update of May 22nd. They are found randomly in the map (Not loot) and look like they do in the image. Walk up to it and you’ll be able to get a random wish granted by holding your shift key on it (Just like many other interactions). Simply find 1 of these in 4 different matches and you’ll have it all done!
Bow Locations
NOTE: You will need the bow emote unlocked and equipped for a champion to do this!

- Go to a champion in the main menu and customize them, select the “Bow” emote in the emote section and equip it. Now find these locations and hold “V” to open the emote wheel and select the bow emote from there to use it.
(Refer to the mini-map to know the exact location)

- This first one is the throne in Crumbling Keep, you bow in front of it with respect!
(Refer to the mini-map to know the exact location)

- This is the sarcophagus area in the Ancient Tombs where you bow.
(Refer to the mini-map to know the exact location)
- The strategy room at the Eastfort, I decided to bow around the strategy table!
(Refer to the mini-map to know the exact location)

- This is what “the back of the manor” means, this is where you bow!
Rocket Booster VS Enemies
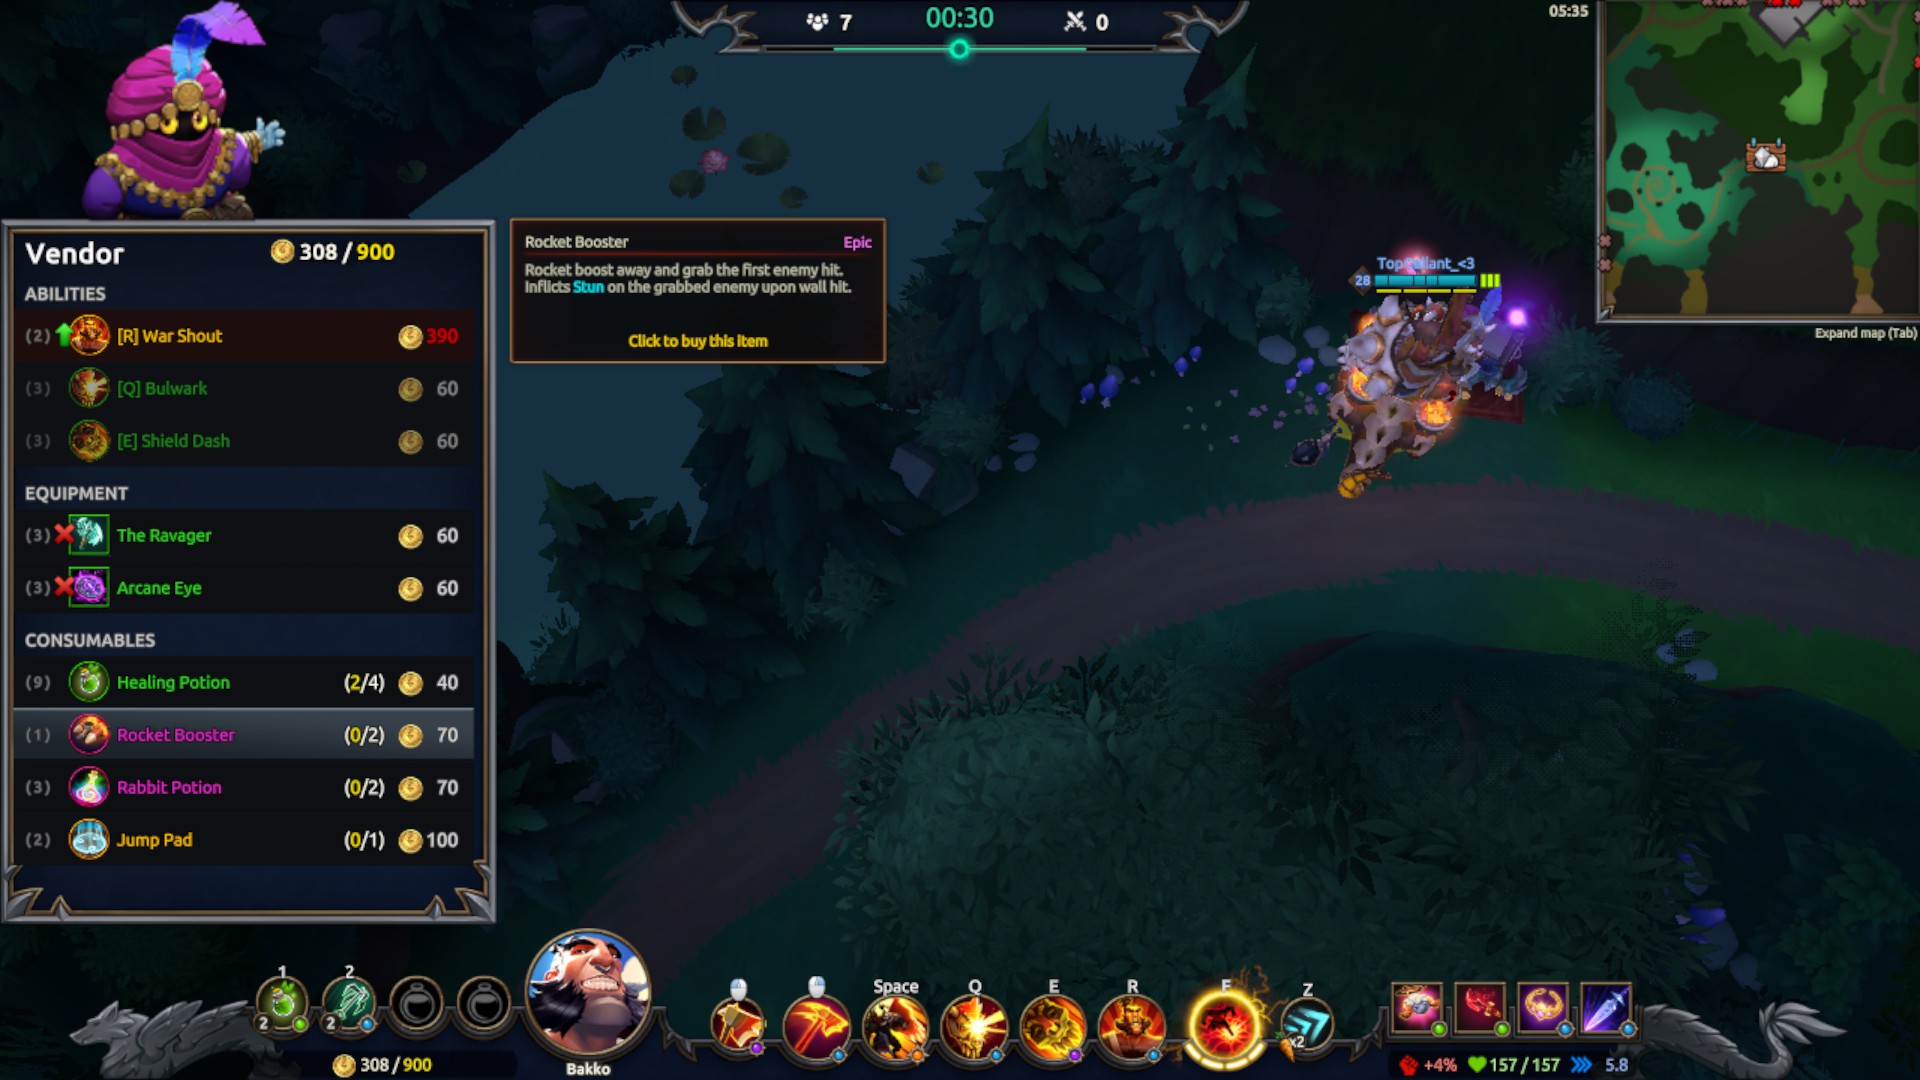
- The Rocket Booster can be purchased from the vendors or found at random inside loot orbs. You can only equip two of them at a time so you still have a second chance if you’d miss it!
- The rocket booster works in similar ways to Bakko’s ultimate ability or Rook’s SPACE. It’s rather easy to get someone hit by it since it has a pretty wide hitbox and it grabs the enemy towards it. It also travels through certain things like it’s not even there! I managed to pierce through this Bakko player’s bulwark shield with my Rocket Booster!
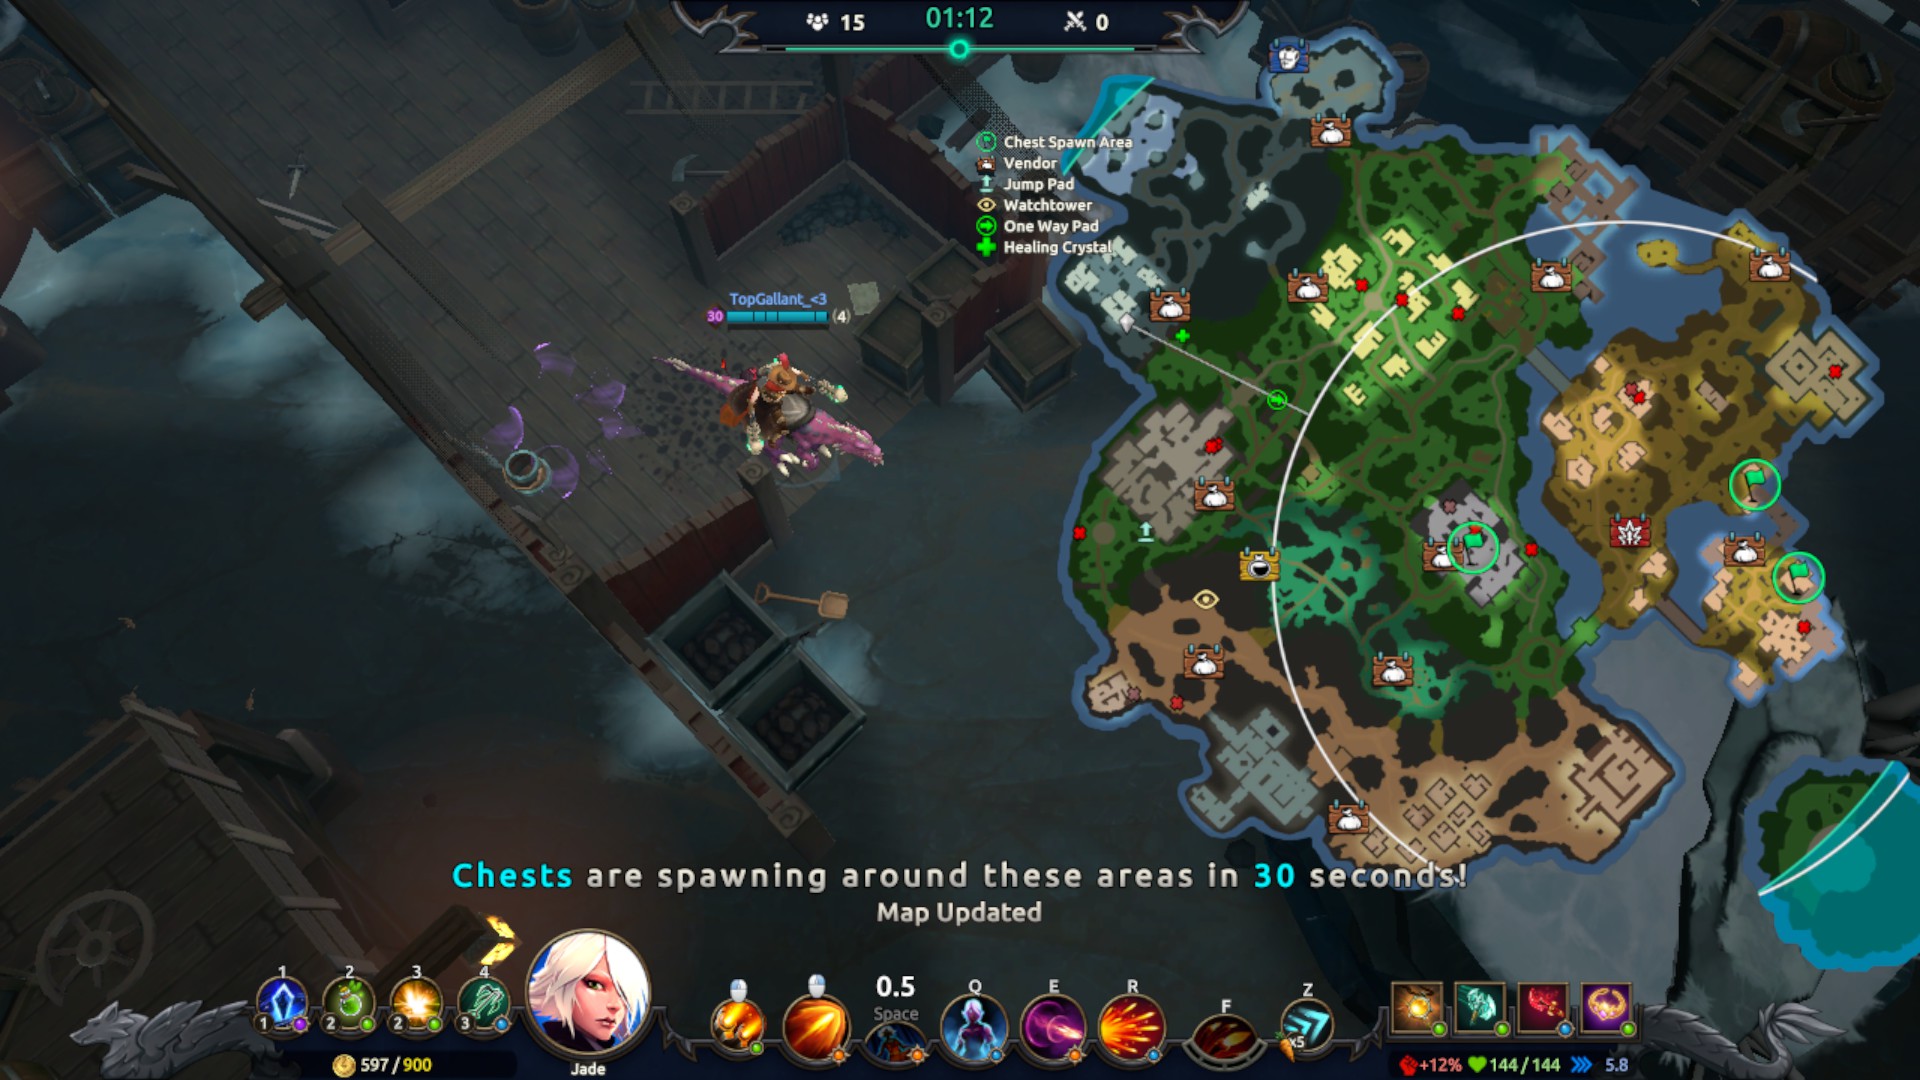
🔰Landing Locations (Tomb, Fort, Rock, Bay)
(Look at your big map using the “TAB” key twice to view the big map to see where it is)

- When jumping from the wyvern at the very start, land somewhere within the area of the Ancient Tomb, Eastfort, Smuggler’s Rock and Brightwater Bay. It counts as soon as you land!
(Look at your big map using the “TAB” key twice to view the big map to see where it is)

(Look at your big map using the “TAB” key twice to view the big map to see where it is)
(Look at your big map using the “TAB” key twice to view the big map to see where it is)

Moose vs Enemies
- You may find the Raging Moose item at random from loot orbs or at the various vendors. It allows you to charge into an enemy similar to Rook’s SPACE and you can do this until the item duration is over (Time limited). Use your SPACE while in Raging Moose mode and do this three times while landing a hit for this challenge to be completed.
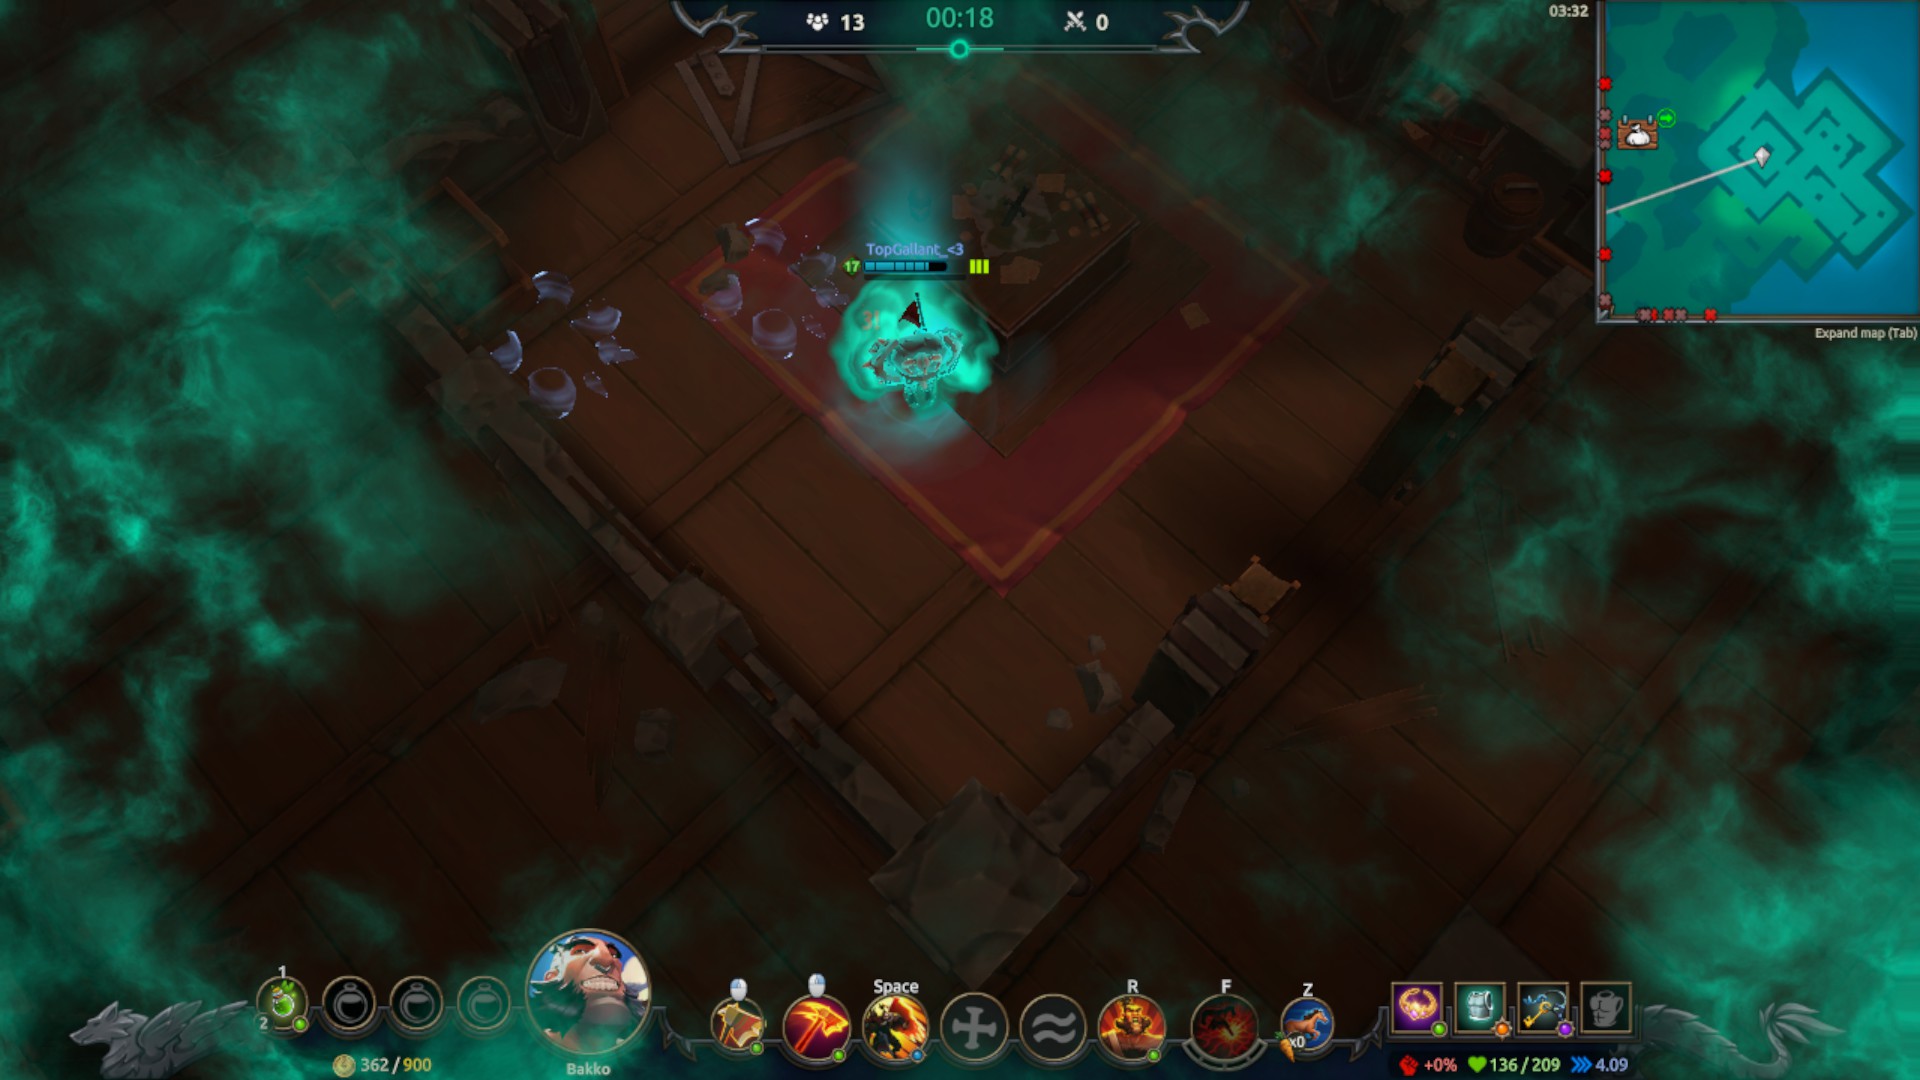
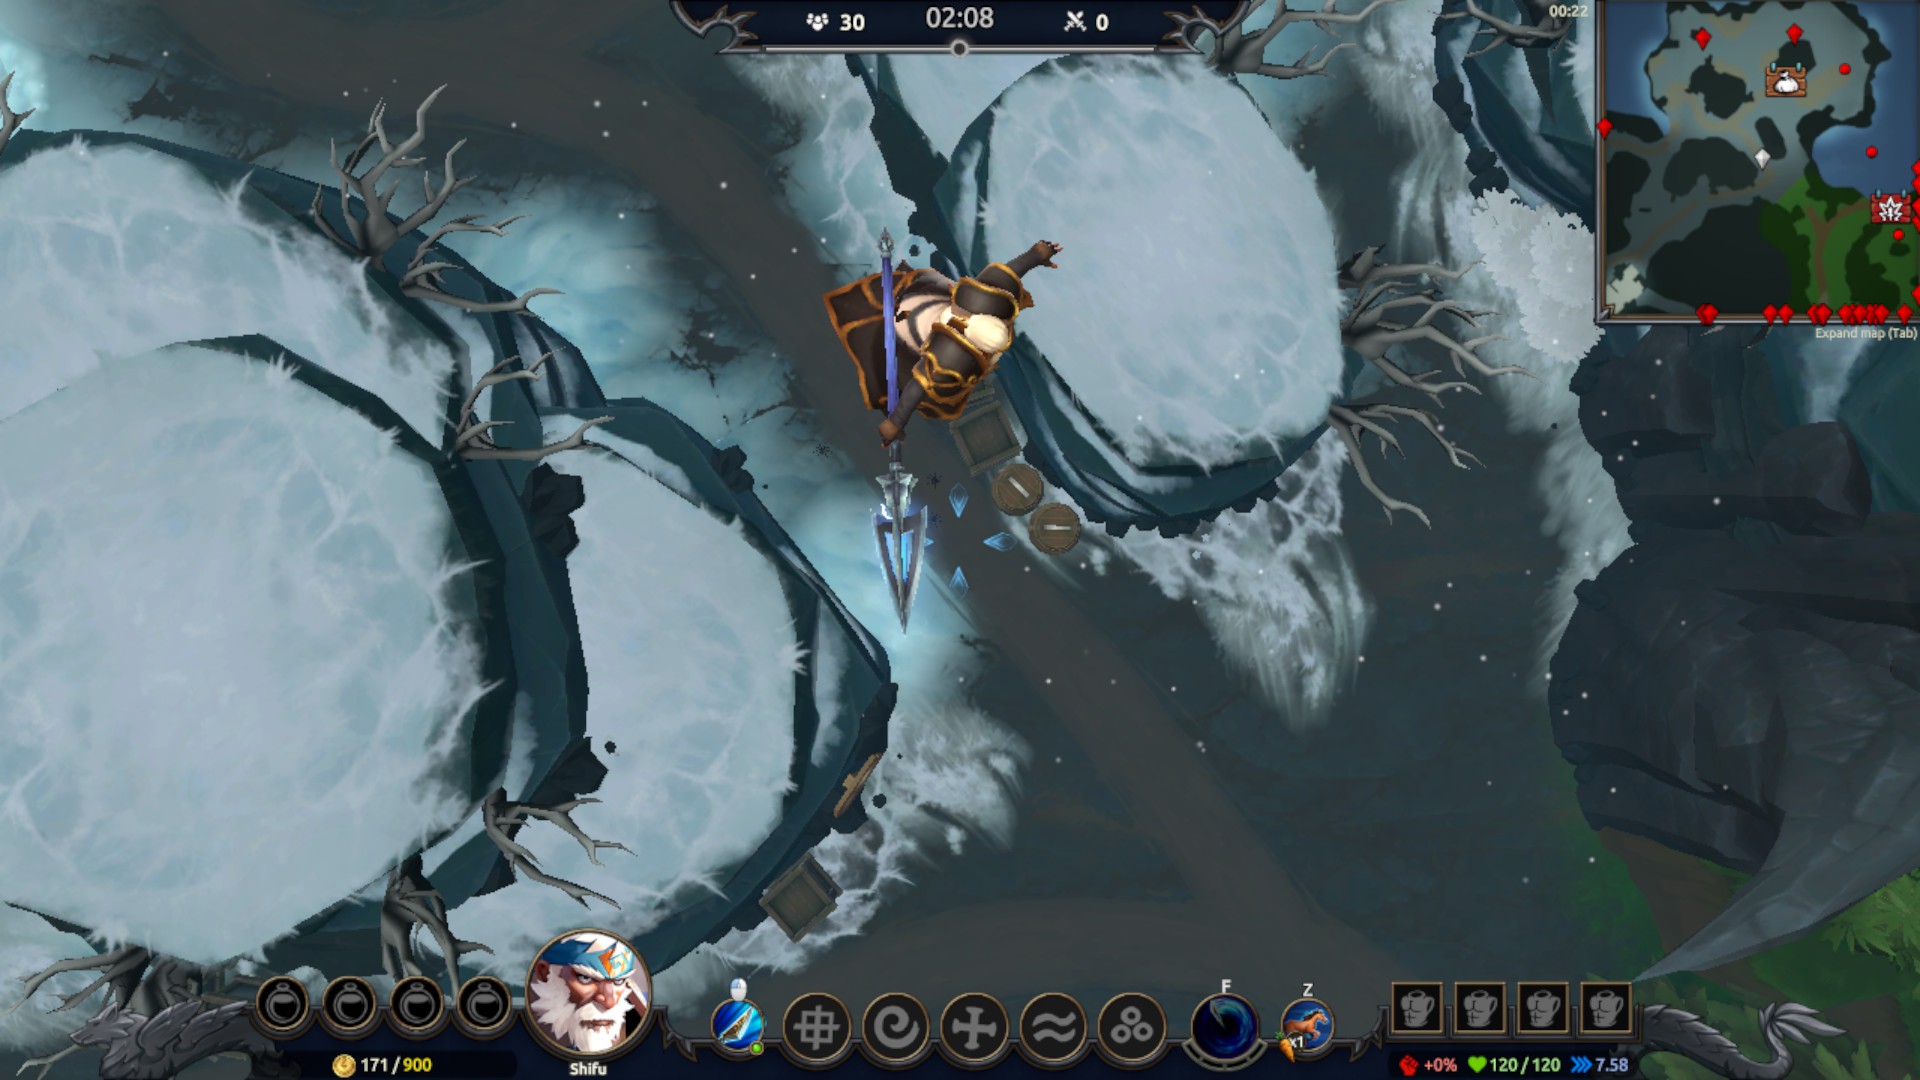
Gold Limit

- This one can be tricky to do depending on your method, but the best I’ve found is to just aim for the abandoned mines and destroy the orbs & gold shards (On rocks) as shown on the image above. If you can’t carry an item just disenchant it by holding SHIFT key to earn money from it instead. And if you’re on the edge of reaching your gold limit you can always drop your items by hovering over their icons and pressing SHIFT key. Your gold limit must be reached in seperate matches so you can’t get it all done in one single match. Your gold limit is 900.
🔰Squirrel & Bench

NOTE: This quest require you to unlock the Squirrel Pet (Tier 6; Premium)

- If you look at my mini-map you can see that the abandoned mines are just north of me, and here you’ll be able to see where it is. Be sure to have the squirrel pet with you after unlocking it from the premium season pass. Just walk to the bench with the squirrel equipped and it’s done!
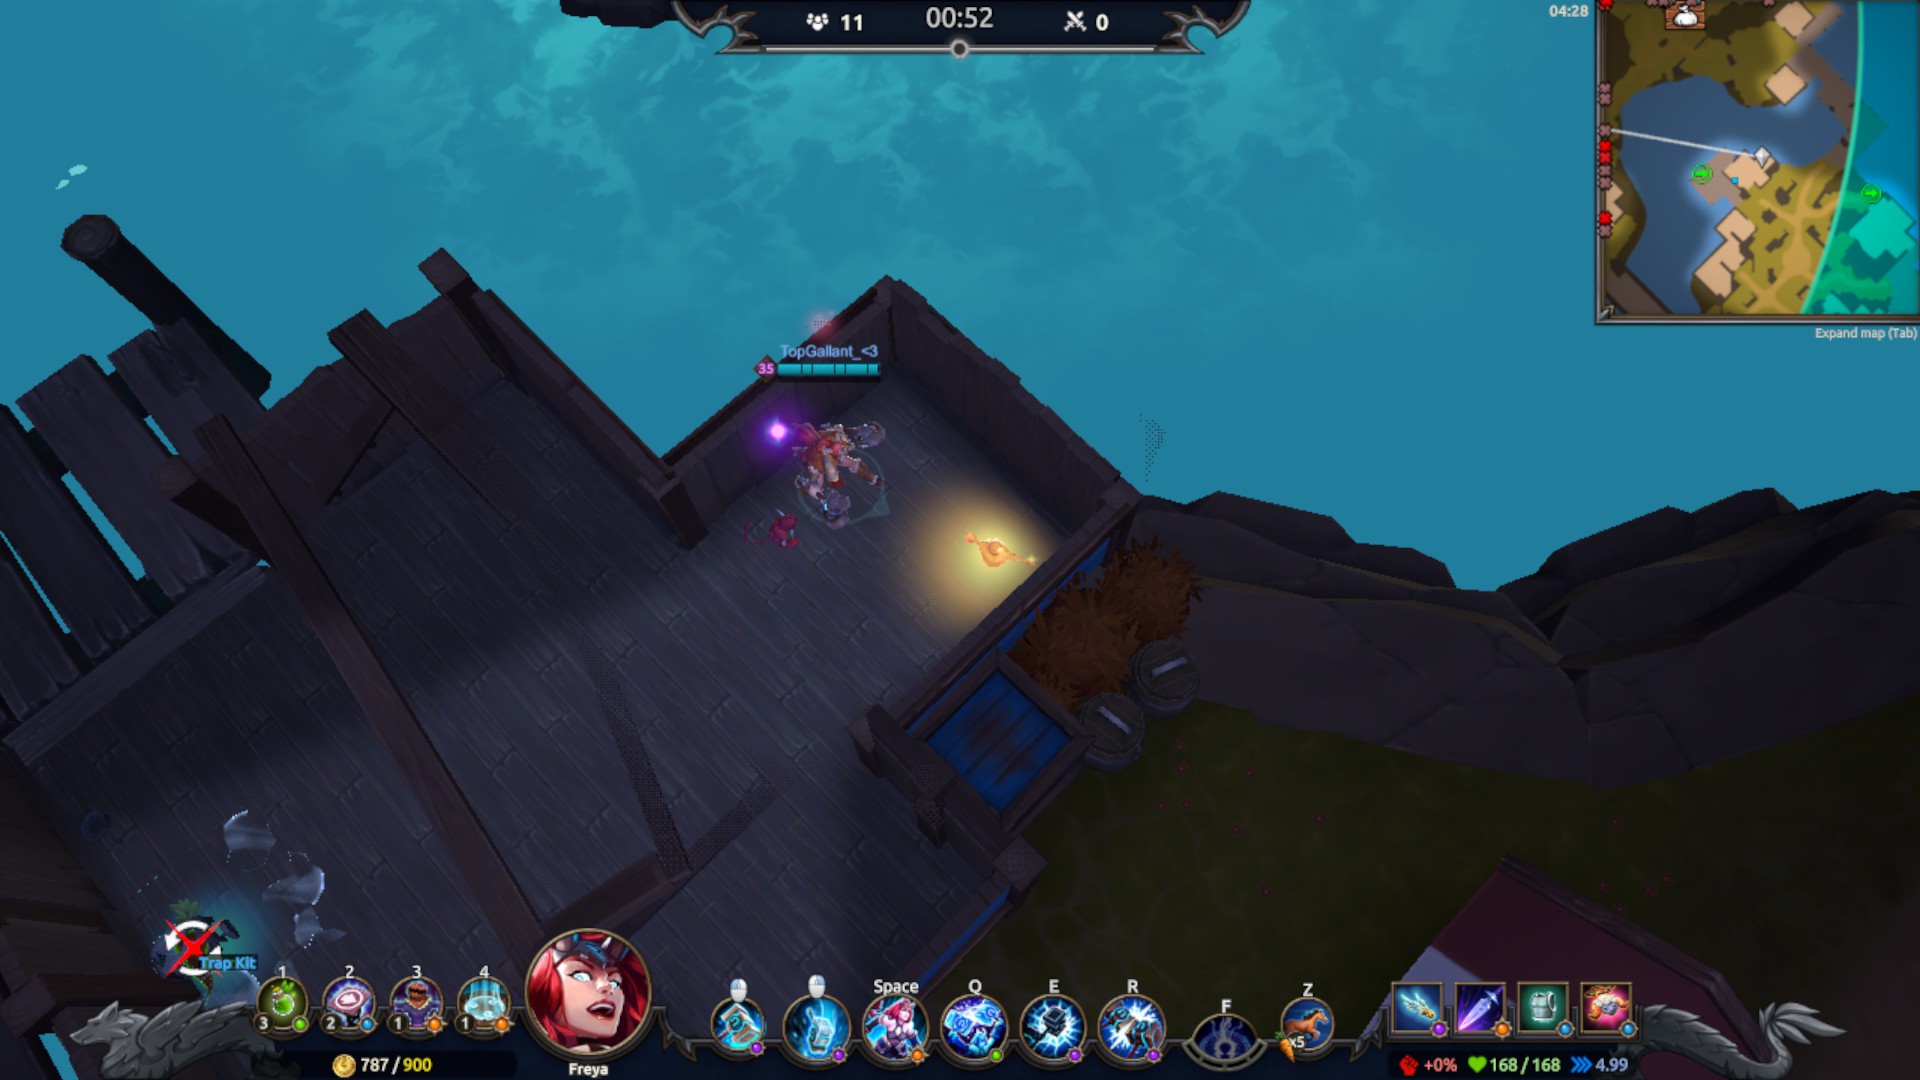
Trap Kit vs Enemies

- Trap kits can be found at random in loot orbs or at the vendors. They’re just as easy to avoid as it is to get trap inside of one. You may carry three Trap Kits at once and they’re really quick to install on the ground.
- The greatest places to put Trap Kits is in areas of interest such as this place which just had new orbs spawned up. Trap Kits can easily block off an entire bridge or any tight area, they’re also really easy to bait someone into because they are fully invisible.
Legendary Loot Orbs
- Not much to say here, the legendary loot orbs are random but I recommend search areas like the Frozen Plateau, Abandoned Mines, Smuggler’s Rock and Ancient Tomb
🔰Scarecrows vs Enemies

- The scarecrow can be purchased at the vendor or found at random from loot orbs. One use but finds it’s uses to be quite effective since you can get the whole challenge done in a one or two scarecrow drops which is quick. It won’t take you long to plant a scarecrow and the area of effect is decently large, it most likely won’t miss your target. Just keep in mind that scarecrows are neutral in that they can scare you too. This “scare” is another way of saying “Fear debuff” in terms of game terms so it counts as soon as you see the purple text “Fear”.
Top 10 Solo
- Really simple one, all you have to do for this quest is to basically land at the start where nobody else lands and also staying around the edges more often than not. When the vortex arrives you can even stay within the death vortex for a little while to stay safe, just make sure you have healing potions to drink when you’re inside the death vortex. Here you can make it to top 10 without a problem since almost nobody stays in the death vortex.
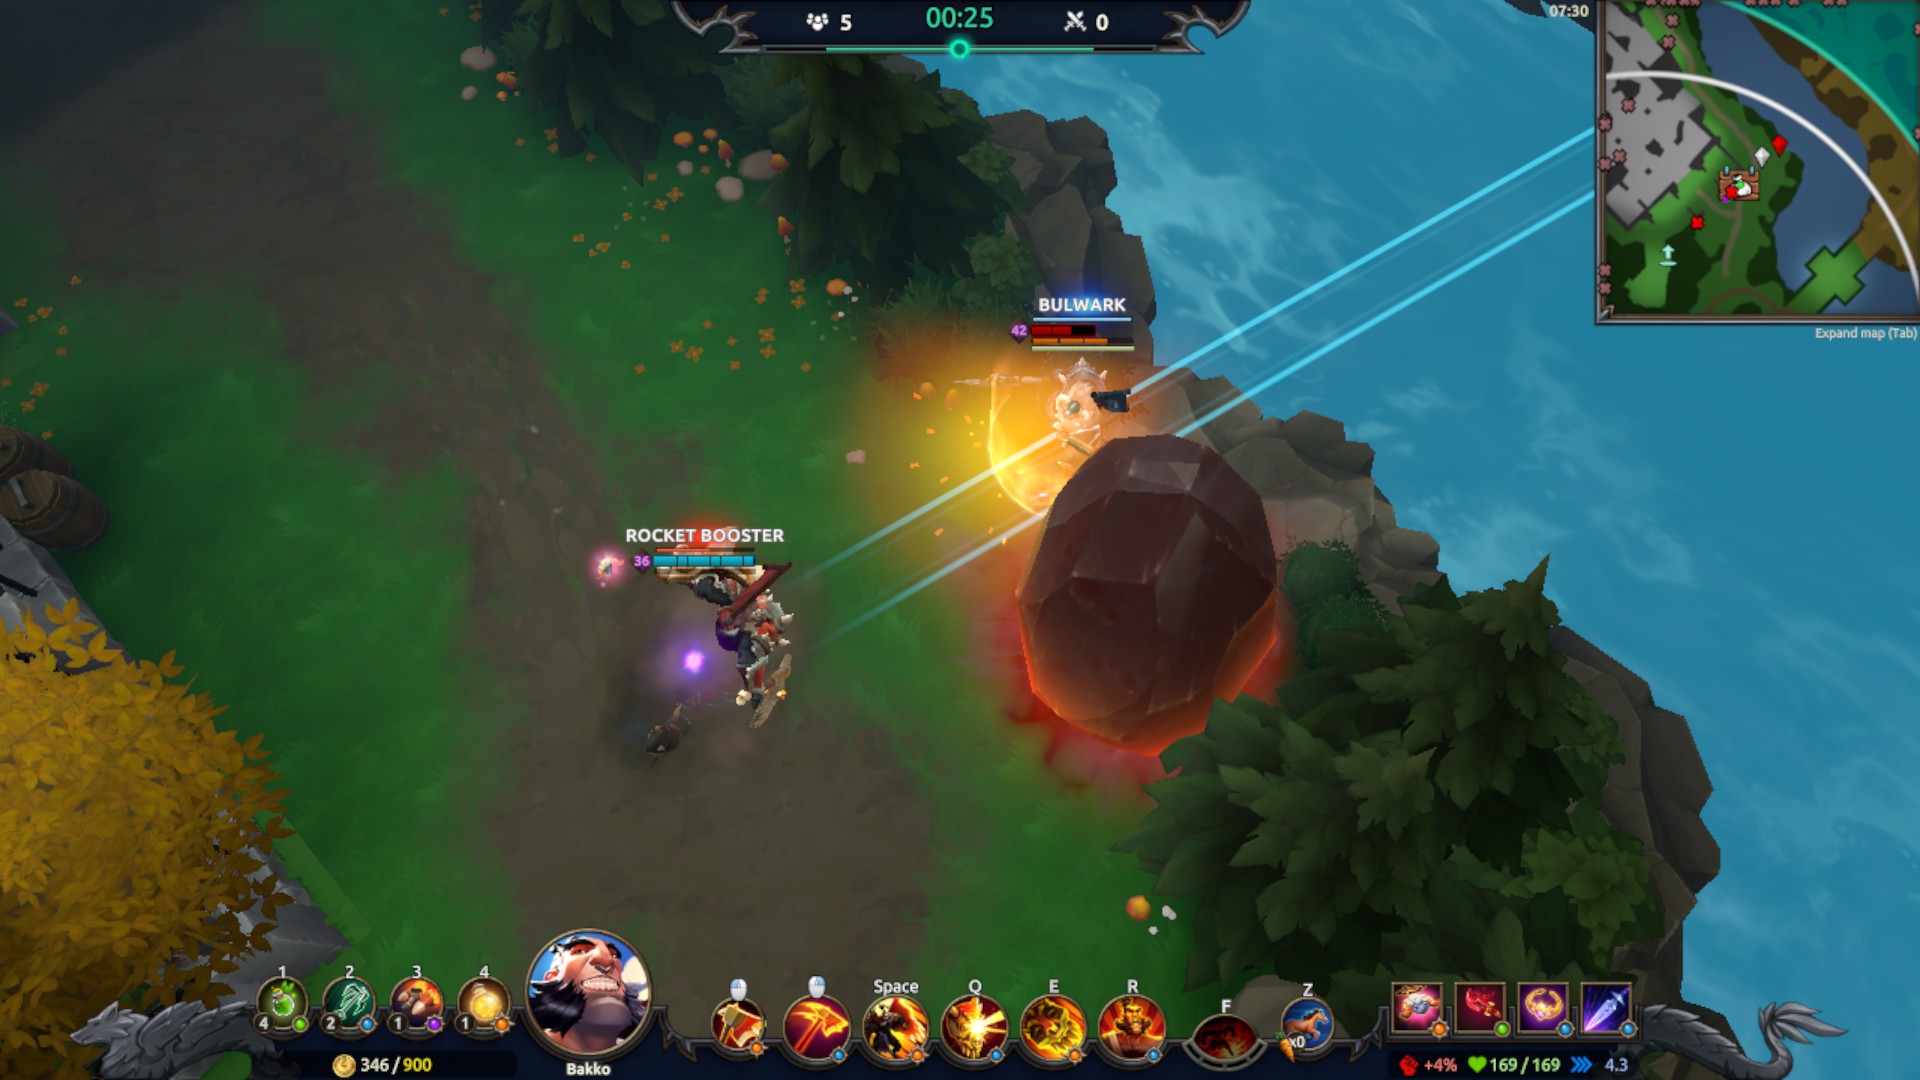
Rocket Booster Stun VS Enemies

- Rocket Boosters is a consumable item which can be found at vendors and loot orbs at random and you can have 2 of them in your inventory at once. As for this quest, stunning an enemy just means that you just use it as usual but crash the enemy into a wall.
🔰Mines -> Anvilfall
- The screenshot above shows you abandoned mines, you must go from here without taking damage. I started going there in the late game as you can see (15 players left) so that it would increase my chances of not getting attacked.
- I went straight east and then up a little towards the north-east crops farms to hide in case someone would pass by. Then I went south-east towards the bridge and crossed it to anvilfall

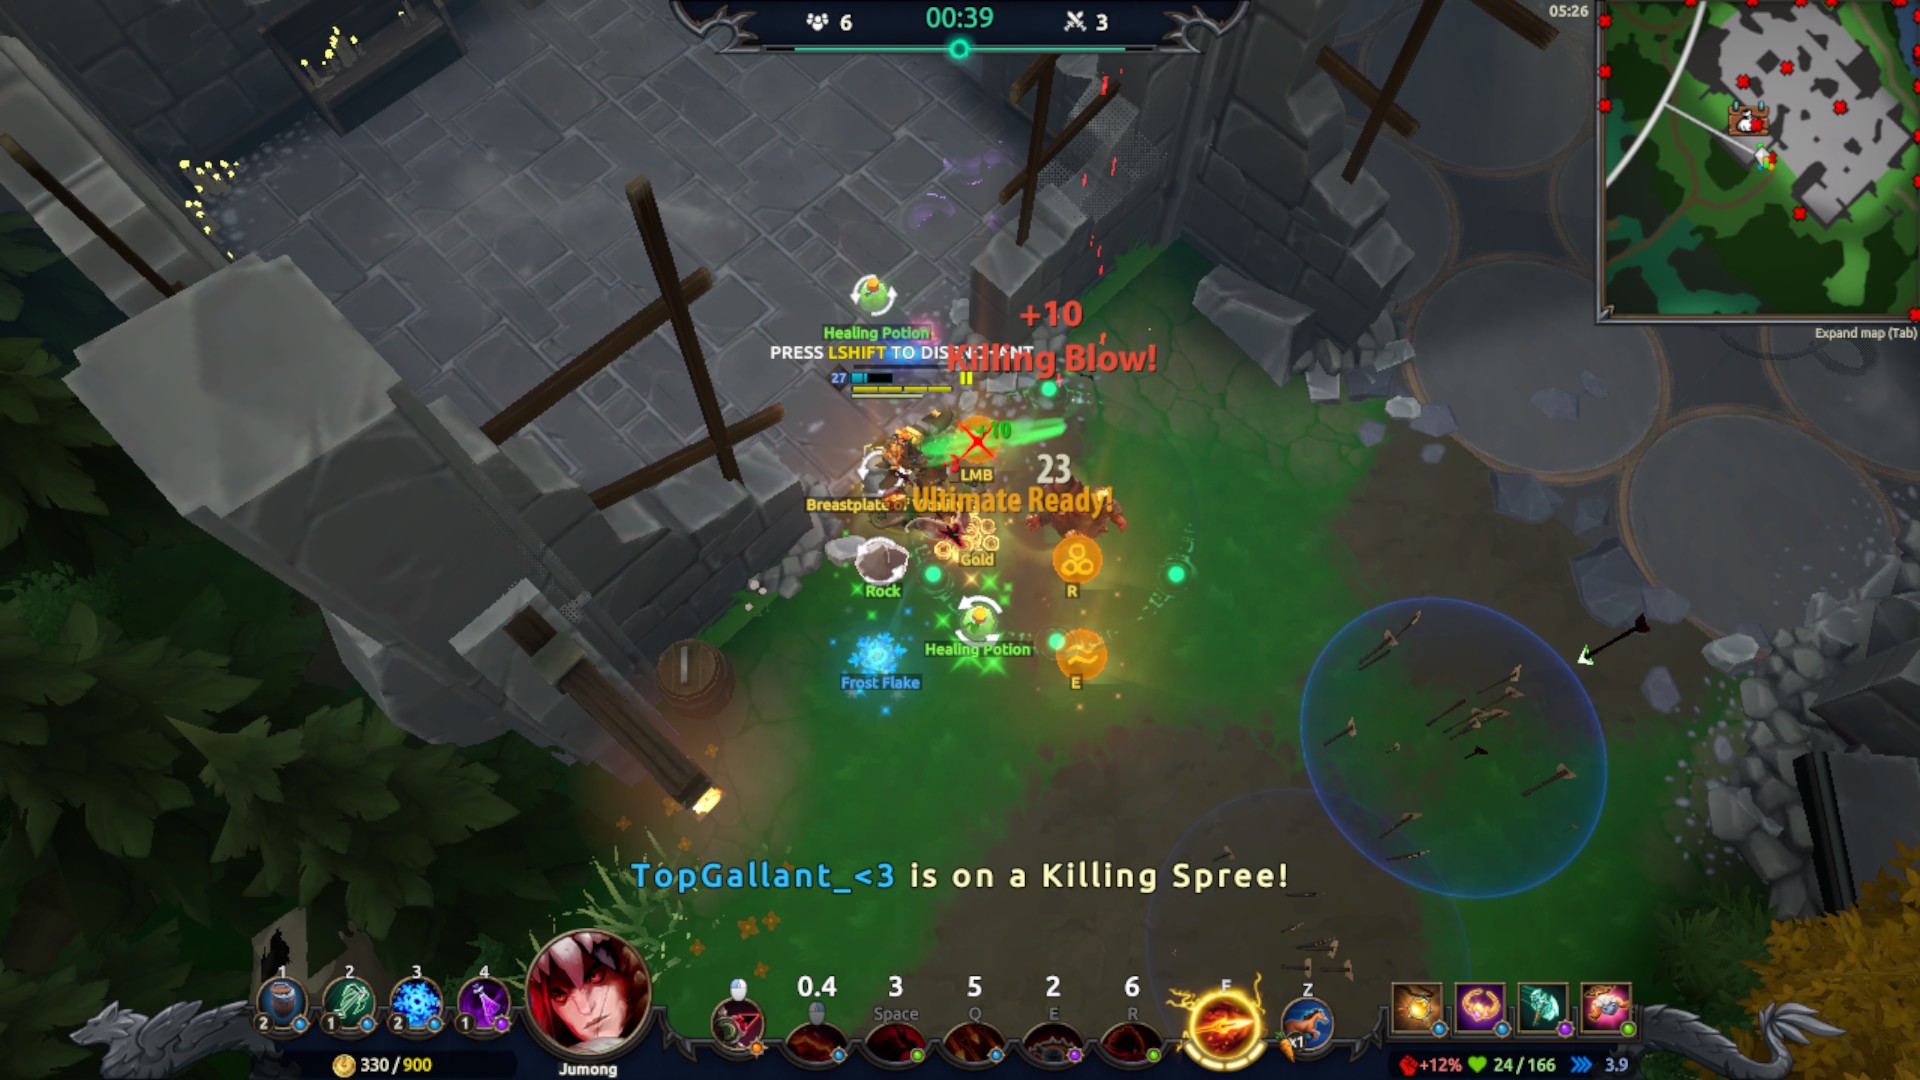
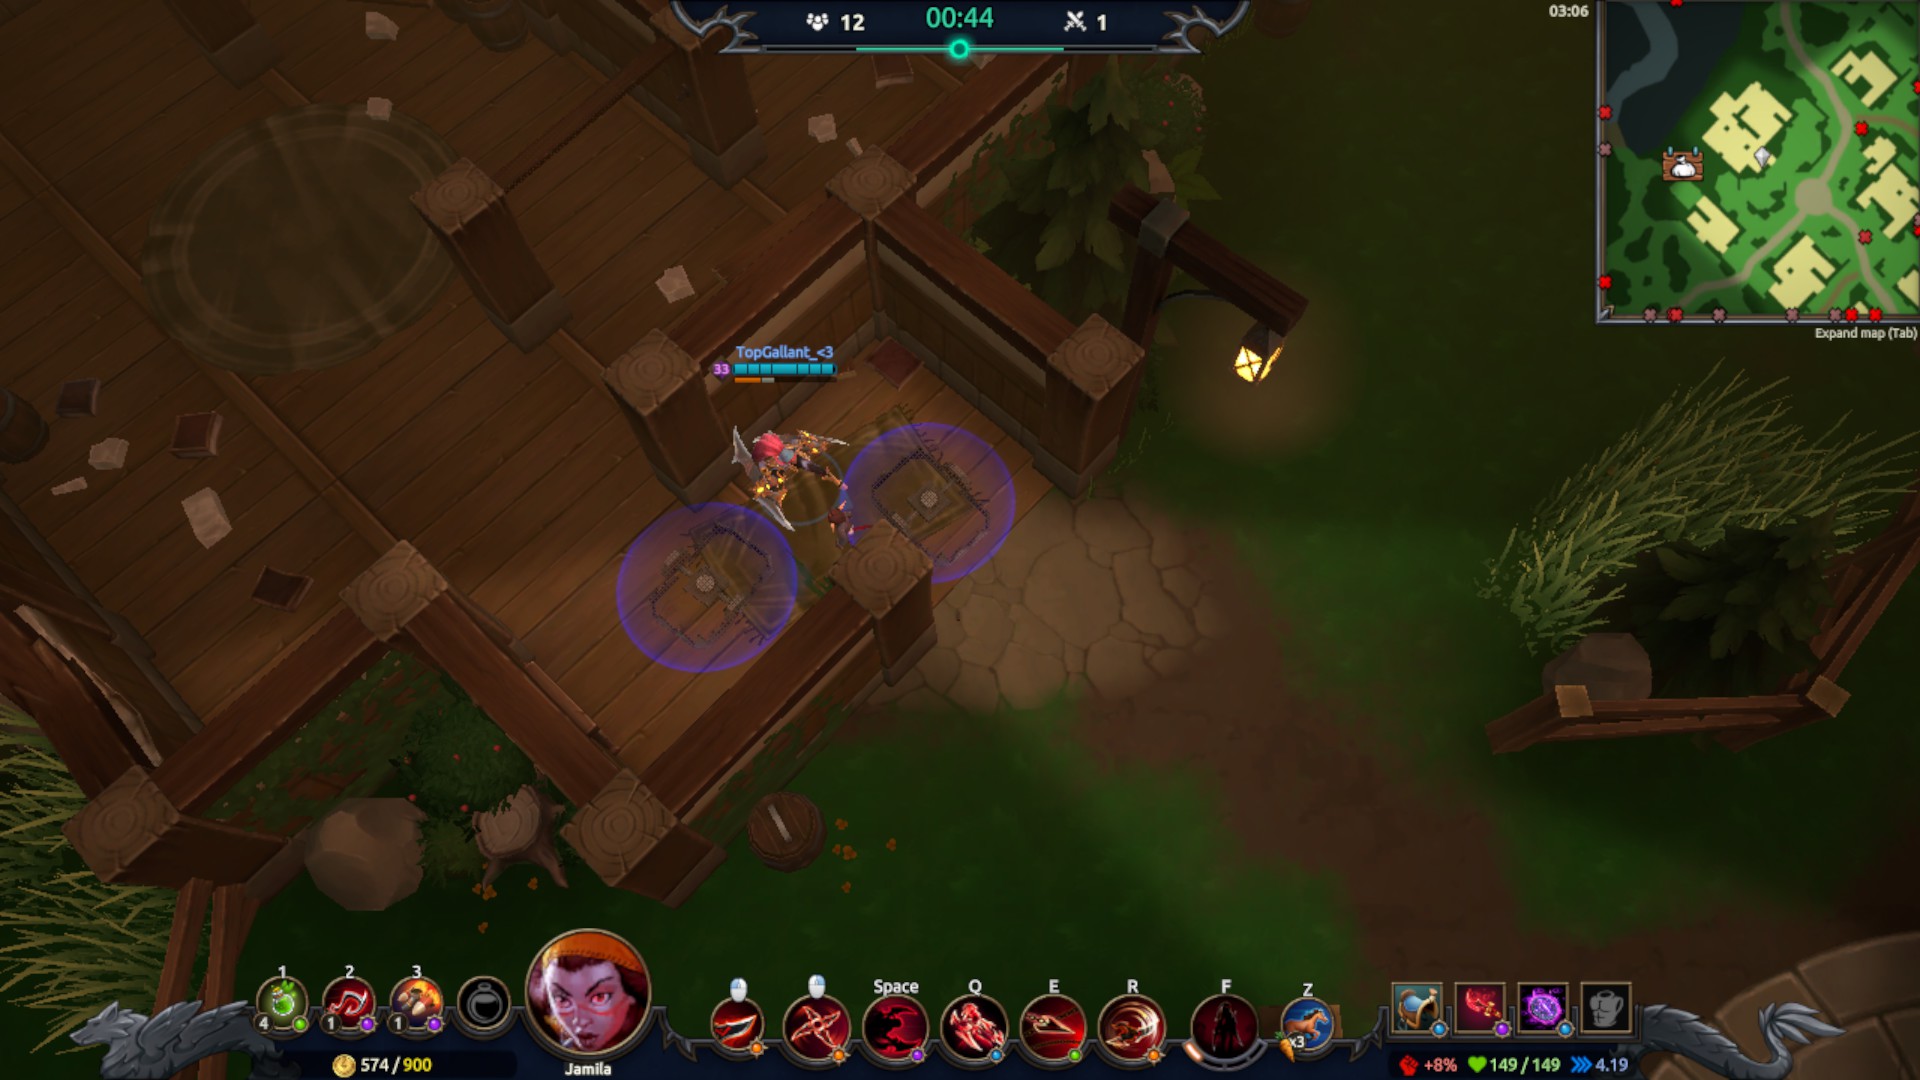
2 Minute Elimination

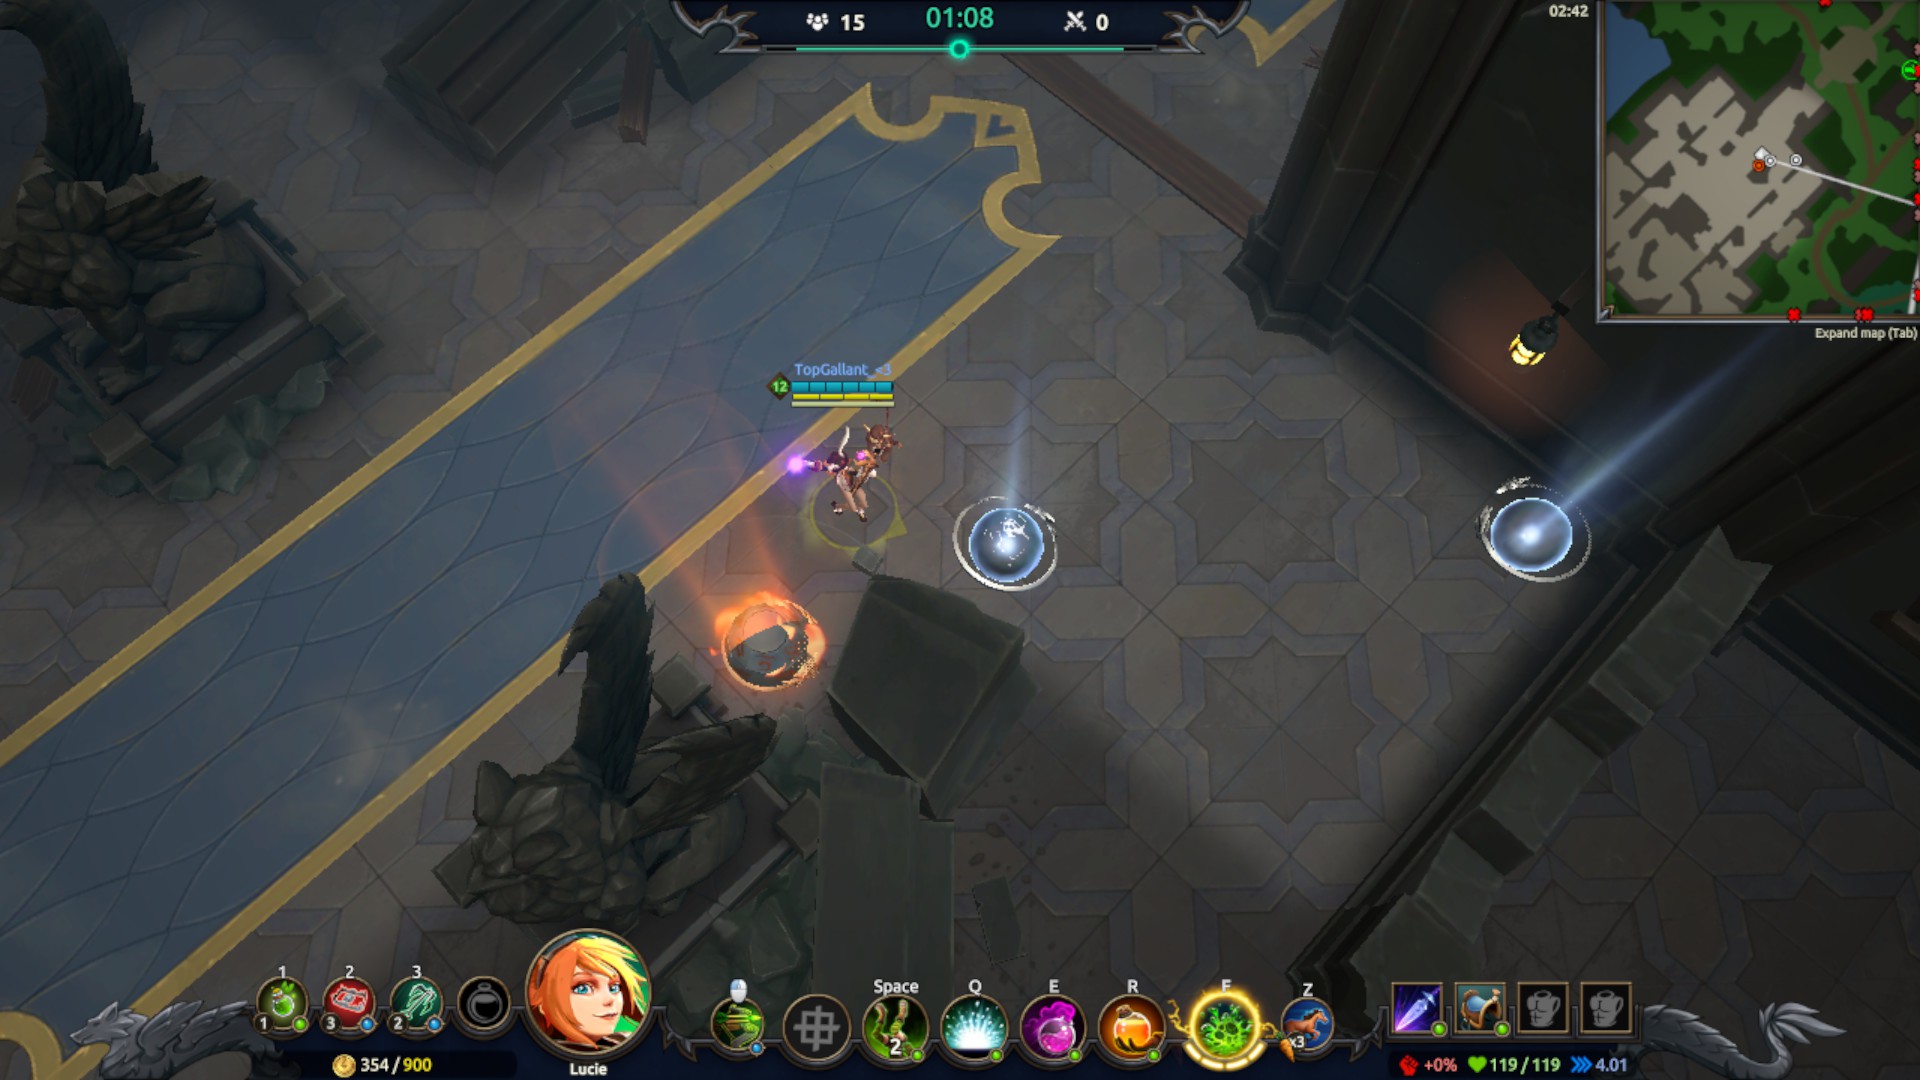
- The best advice I have for you is to just land where most people land, usually at the very start, somewhere in the middle of the map or at a named location. An example of this is my screenshot above which shows how some people jump very early in the match. This is the perfect spot to land as well. To eliminate people this early you must mostly rely on your own skills since you won’t be having much variety in your abilities.
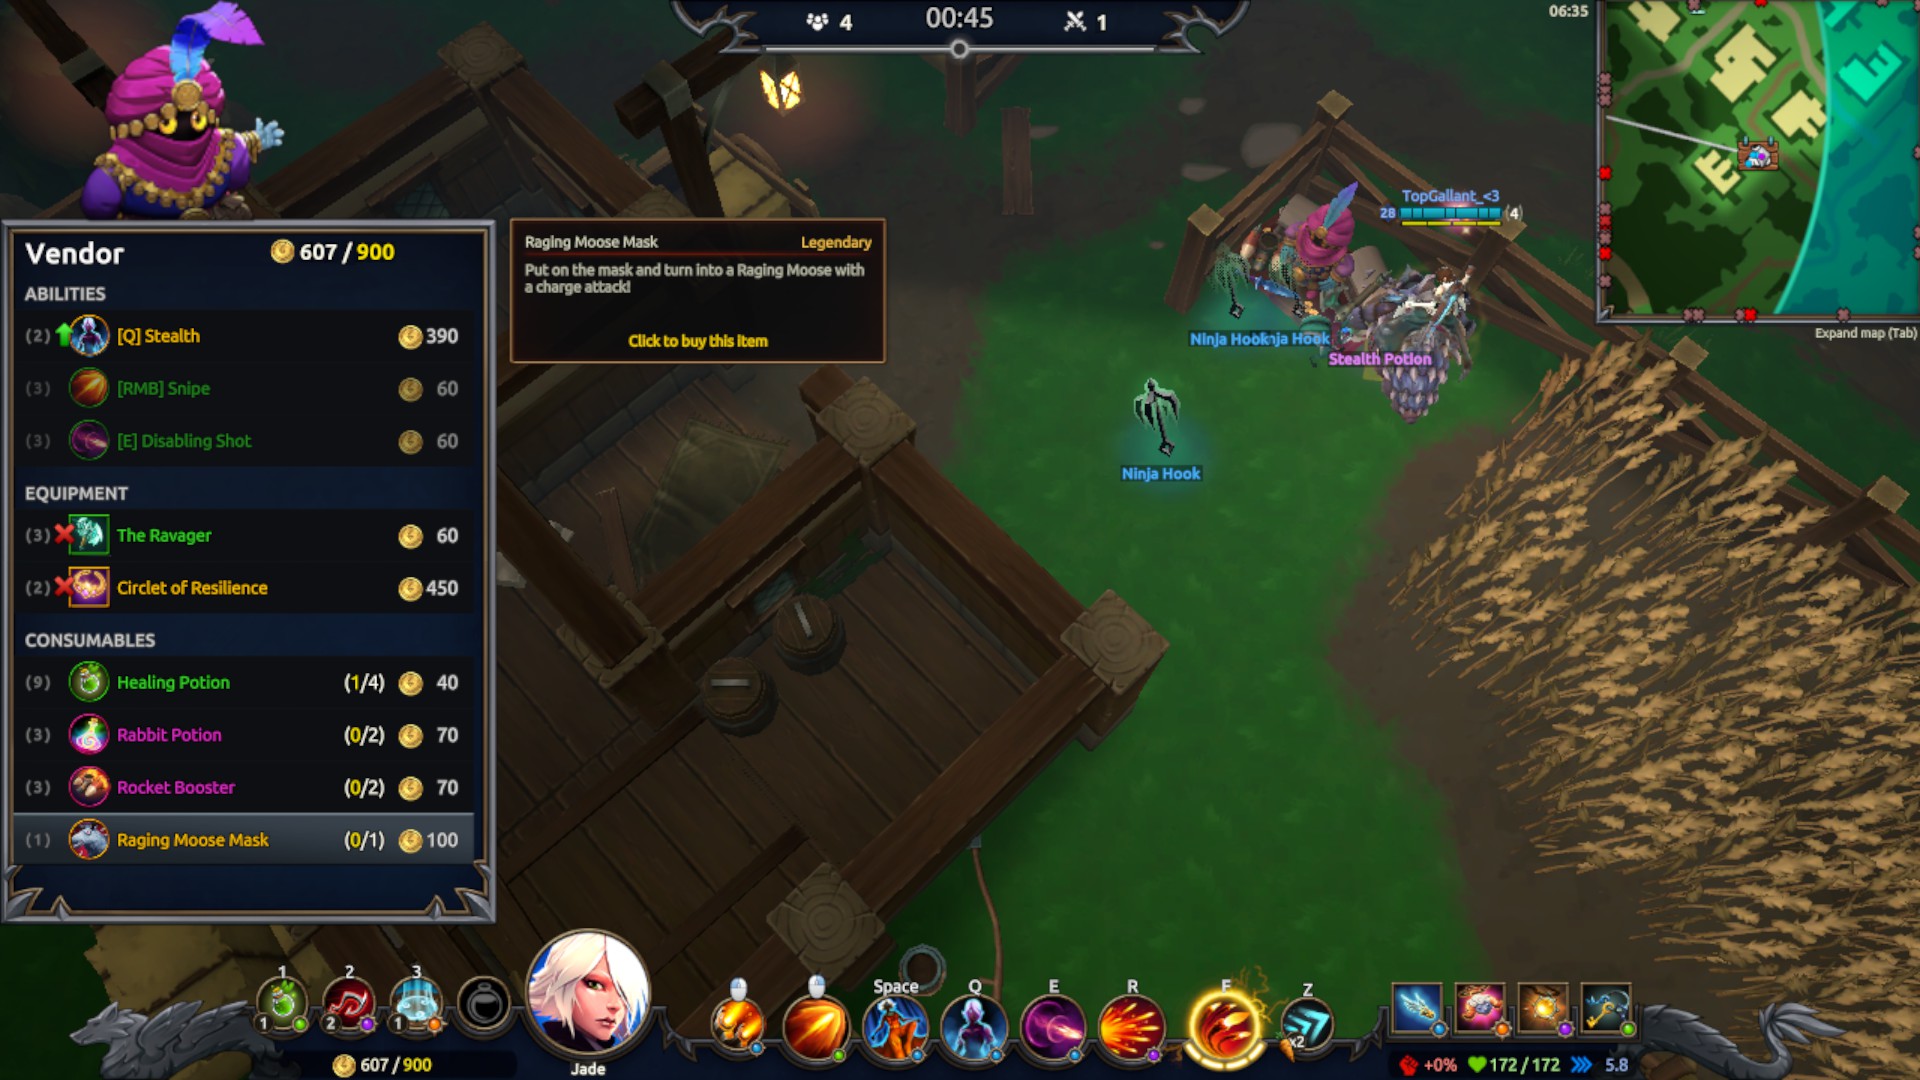
Purchase Legendary Abilities

- Abilities are the icons in the lower part of your HUD. If you recognize the icons at the vendor as the ones you have in your lower HUD then yes this is indeed an ability! The vendor with a small coin purse as a map icon and the vendor with a white torch and red sign are both selling legendary abilities (Displayed in yellow text). If you’re in the late game then you should have no problem affording these. Also the coin purse vendor has a random chance of getting these while the red sign with white torch vendor always sells legendary things.
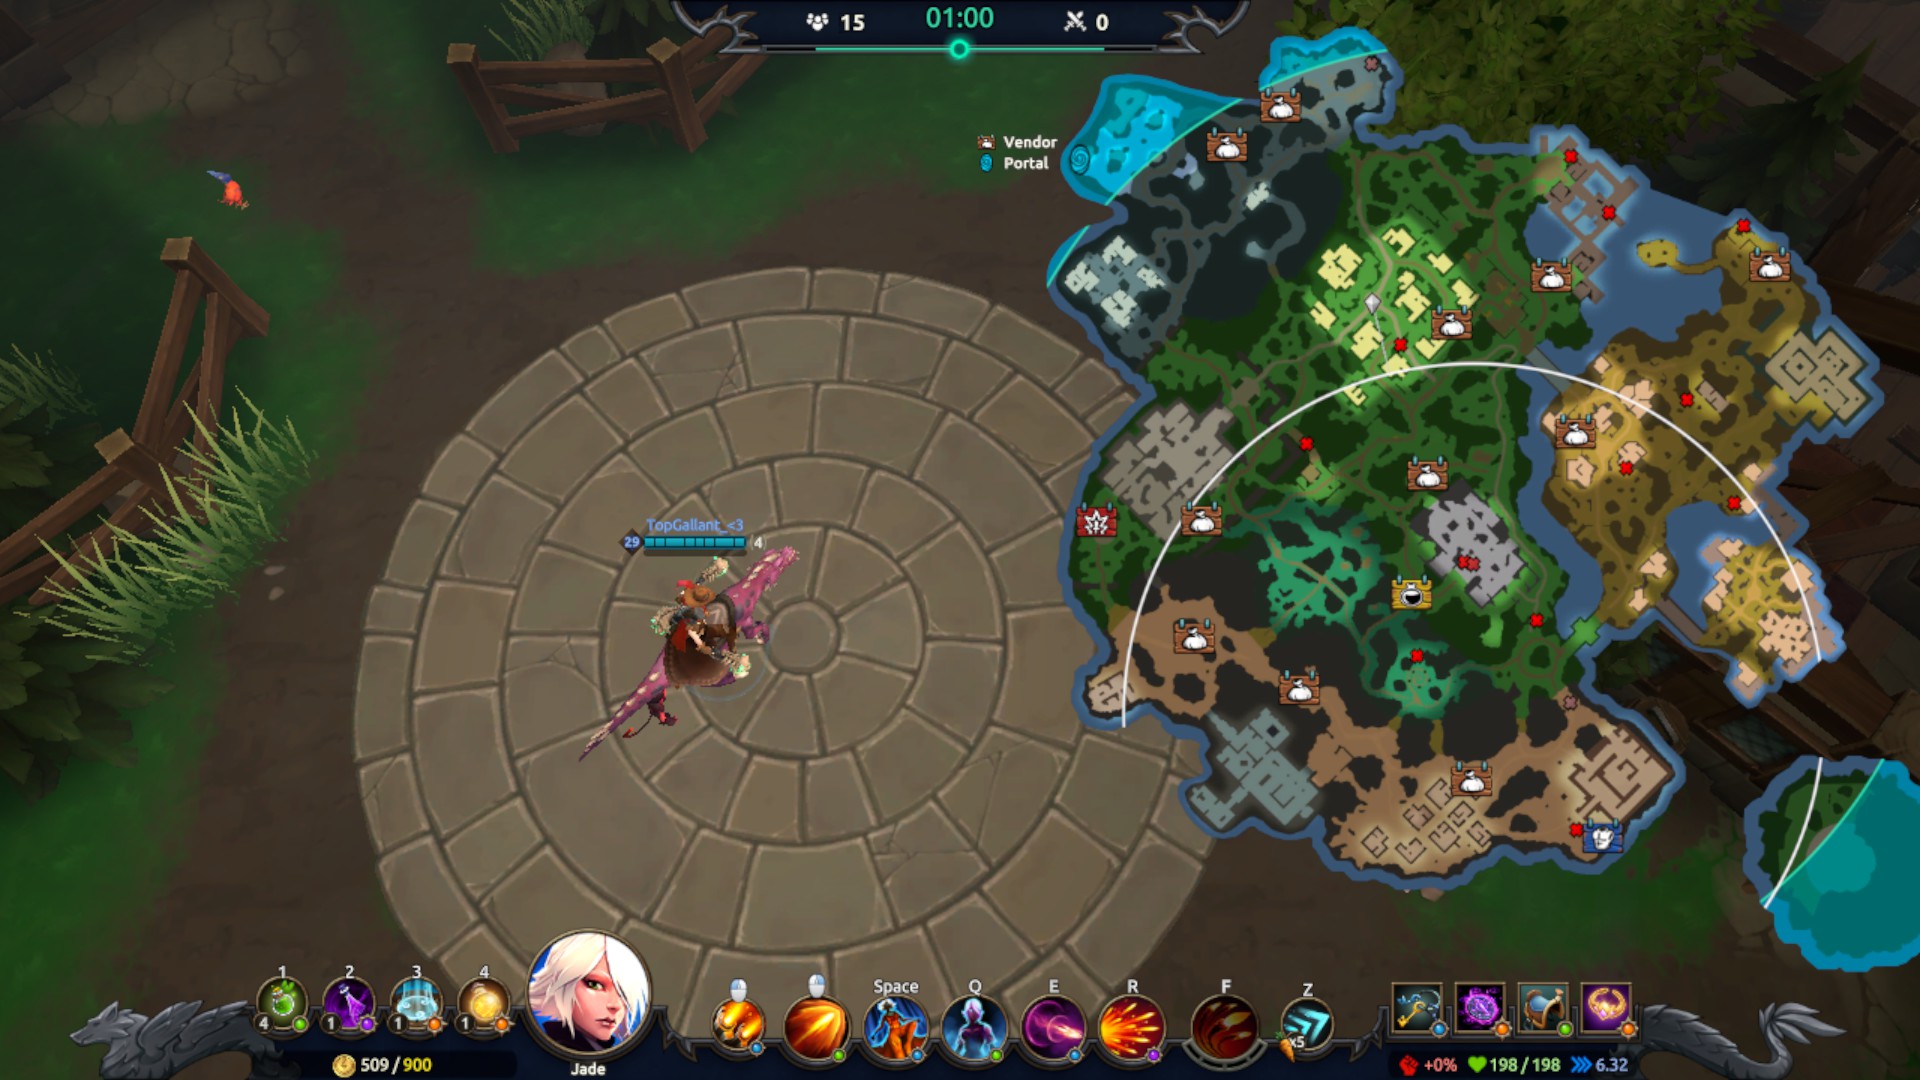
🔰Warp Locations

- This above is a warp location and can be found randomly, I usually find these by the winter areas of the map so aim for Frozen plateau or Smuggler’s Den to find these. Should be around the edges of those areas and if not then just wait for the next match to see if they appear. Their map icon is like a blue oval whirl.
Consumable Shop Purchases
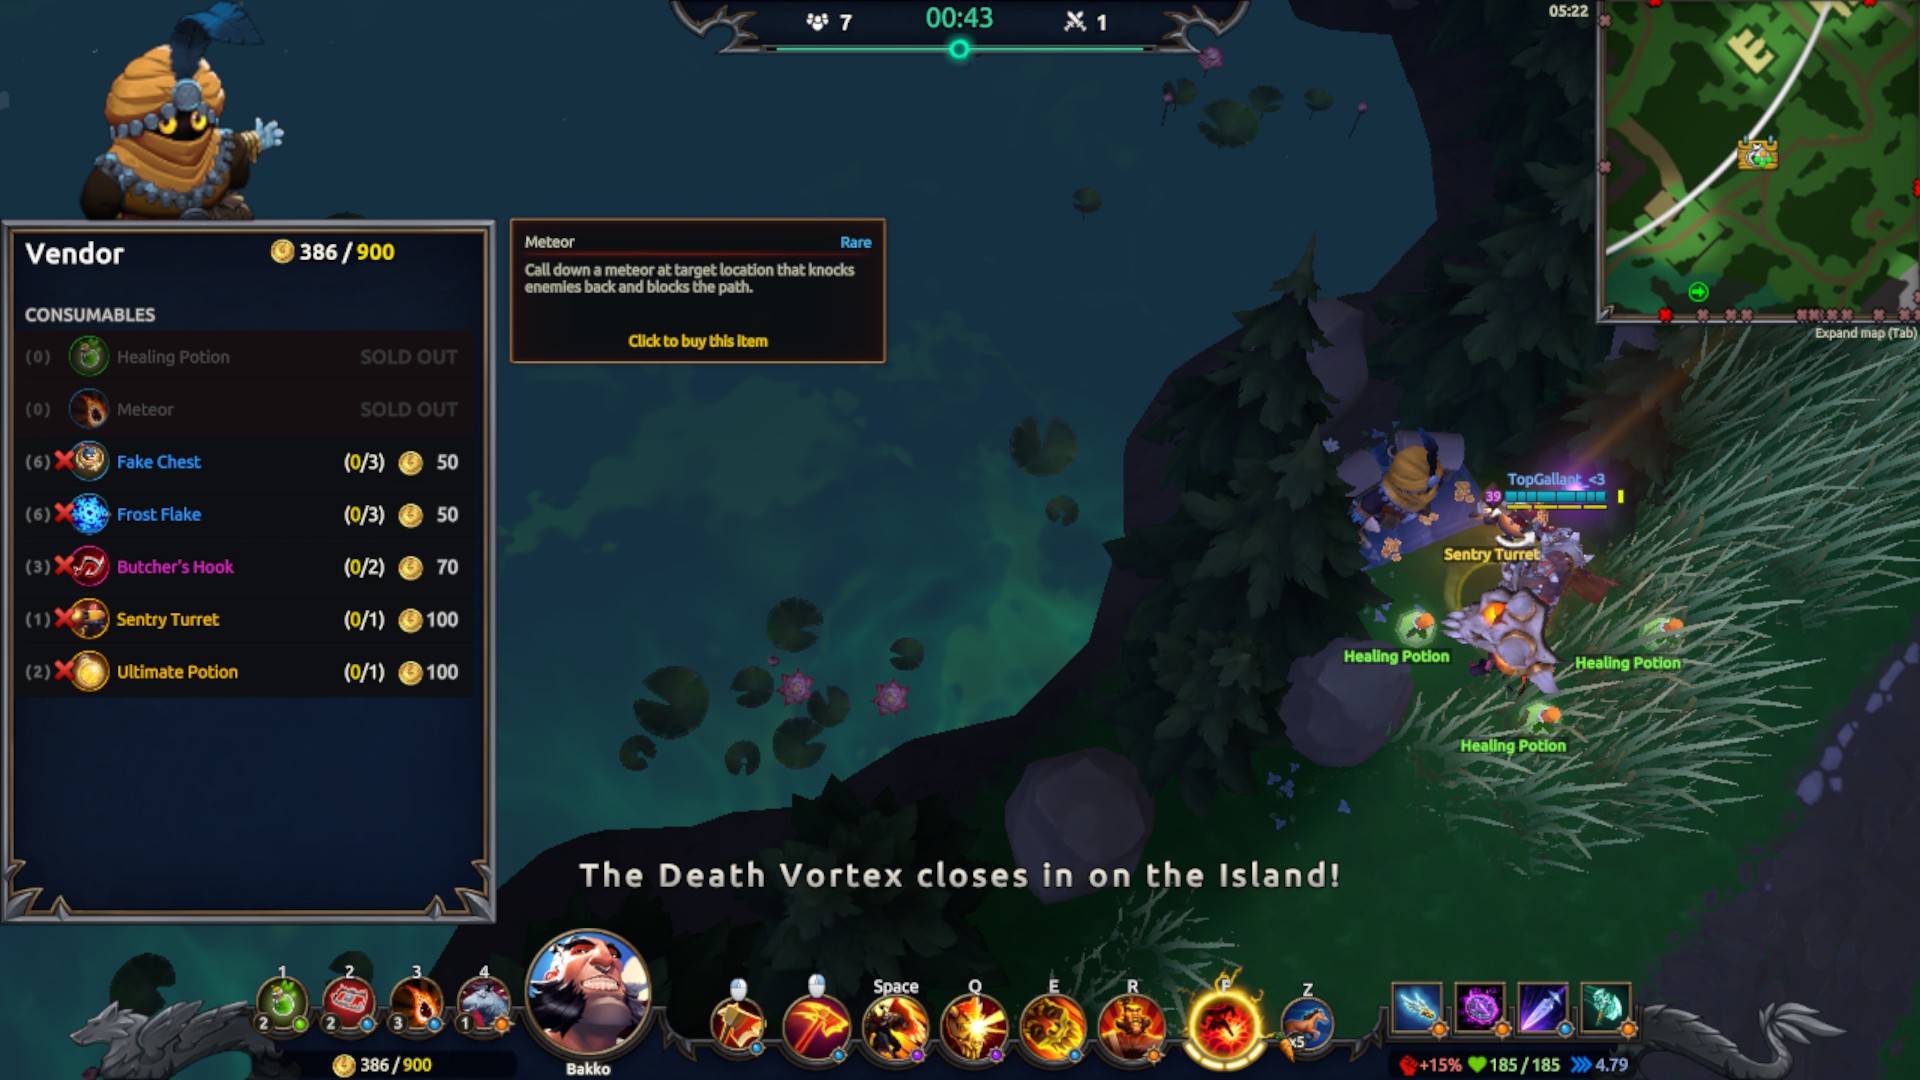
- You must find the vendor on your map with a potion-looking icon on a yellow sign. Once you travel to that vendor you can make 10 random purchases of any consumable item. Buy the cheapest ones as they allow you to buy many if they are common in rarity. The way I did this quest was to just keep dropping my consumables so that I could keep buying new ones.
Oakenheim Eliminations
- Just travel to Oakenheim and hope for the best that you’ll find enemies to defeat! If you don’t want to go by random chance then drop in Oakenheim at the start of the game if people drop there too. One notable thing in Oakenheim is that there’s lots of houses, which means that you can take cover more easily and also if your champion is able to travel through walls, then you can make a lot of safe escapes.
🔰3 Mushroom Types

- This first one is found in the glimmering woods, it’s blue.

- The second one I also found in the glimmering woods to the north-west! It’s purple.

- The final one (In this case) is the orange mushroom found in some of the common grass areas. In this screenshot I found it outside the Halls of Resonance!