Overview
As the built-in tutorial spreads the info on “how to do” and “what to do” too thin for me, I wrote this guide to help new players better get into this wonderful game.
Purpose
After being 50 hours into the game, I still discovered new things, where I always thought like “this should be in here as well”. So I’m here to cover all the things you need to know and do to make the most out of your time here.
Need to know before you start
No matter how good you are as a real-world mechanic, DON’T create an expert profile yet. Here’s why:
- All parts have an order in which they have to be assembled/disassemled. Not know this order will make this a guessing game, cause the game won’t tell you what parts are blocking or missing.
- Screws are not highlighted, meaning you have to KNOW, where they’re located to unscrew and some parts have a hell lot of screws.
- Stripped down UI. If you don’t know the keyboard shortcuts to e.g. bring up the tablet and start motor diagnosis, you’re screwed. The game will hide all these infos from you.
- calculation of rustiness: never tested, but I assume that a rusted (and thus broken) part is less easy to differentiate from a good one.
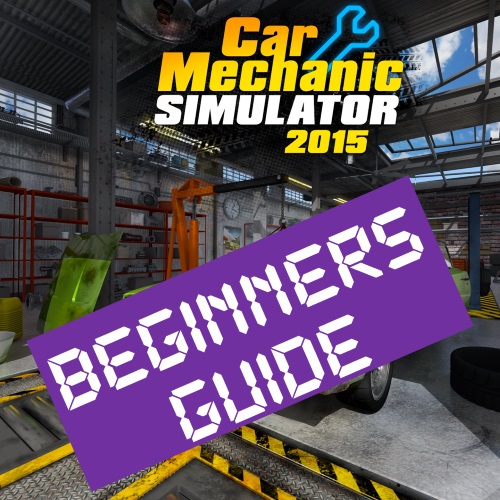
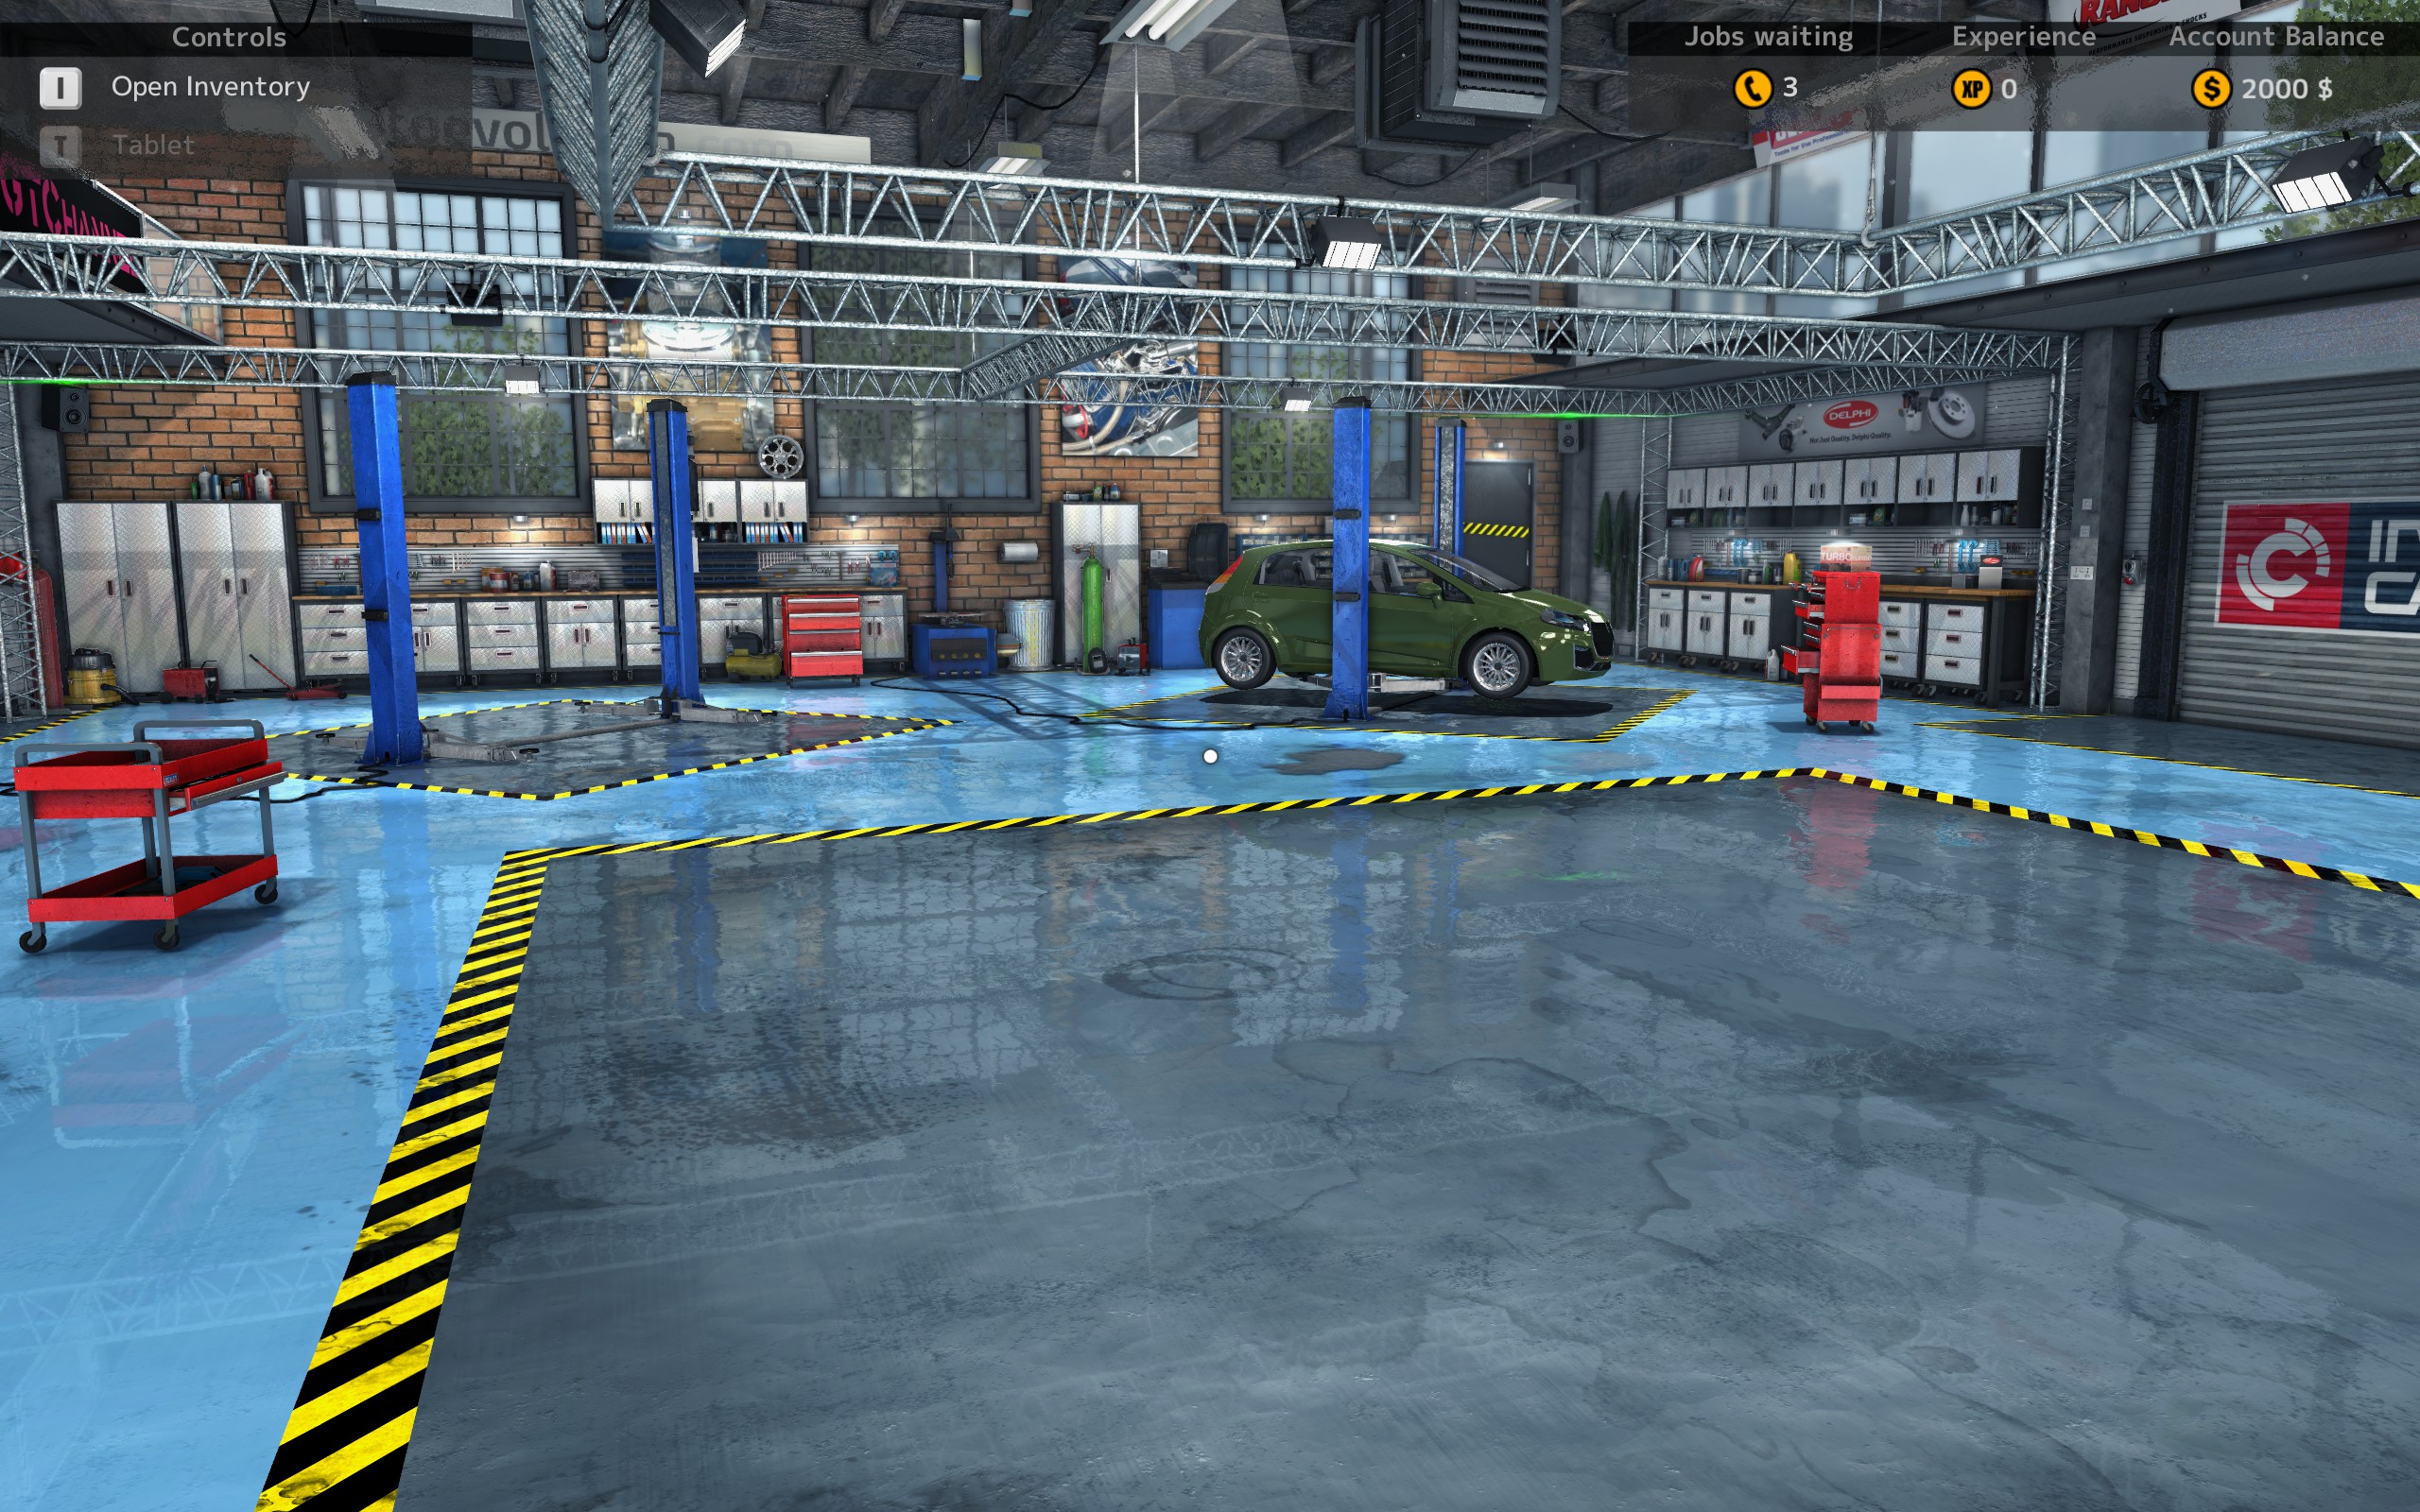
When you’ve created your profile and started the game, you’re put in your garage.
- use WASD to move yourself
- move the mouse to look around
- when in Assemble/Disassemble mode, WASD is used to move the camera around the currently selected part.
- to interact qith object, you must be within a certain distance, once you are, the object will be framed with a yellow border
Example: too far away…
…and close enough
Notice the change in the available options box in the top left corner…

- LMB: click with the LEFT mouse button
- RMB: click with the RIGHT mouse button
Take a look around
OK, you’ve been arrived in your garage and the telephone rings. Accept your first order, as the game tells you. Before we go into the details, let’s take a look around.
First let’s take a look at your desktop:

Camera is used for taking pictures (what else?!), LMB to use it, then navigate in your garage and LMB to take a shot.
Mentioned telephone is used to access available orders and either accept or reject them. Rejecting has no consequences at all, and a new one, randomly generated, will take its place soon. These orders will be your main source on income and XP (eXperience Points) for a long time.
- Pro tip: if you’re easily annoyed by the ringing phone, don’t reject offers. For quite some time you will be given orders you can’t accept due to the lack of XP. Just let them sit in you order list, new contracts will arrive once you accept the ones possible.
The computer is your only way to order new parts, until you unlock the tablet. LMB to open the computer, use the icons to access the various “web stores”. Top most one is for motor, gear, suspension, etc. parts, below you’ll find the link to chassis parts and another one for rigs. Depending on the DLCs you’ve installed, there’ll be more links, like for the youngtimer Maluch or performance parts to increase your horsepower output or visual enhancements.
The “normal” shop is the one you’ll use most. To make your life easier, pick a category from the left and scroll the alphabetically ordered list, until you find the part required. Using the search box will search all categories instead, this is especially handy, if you don’t know which category a specific part is put in. Note that upon closing and reopening the browser, the last selected category, scroll position or search will be retained.
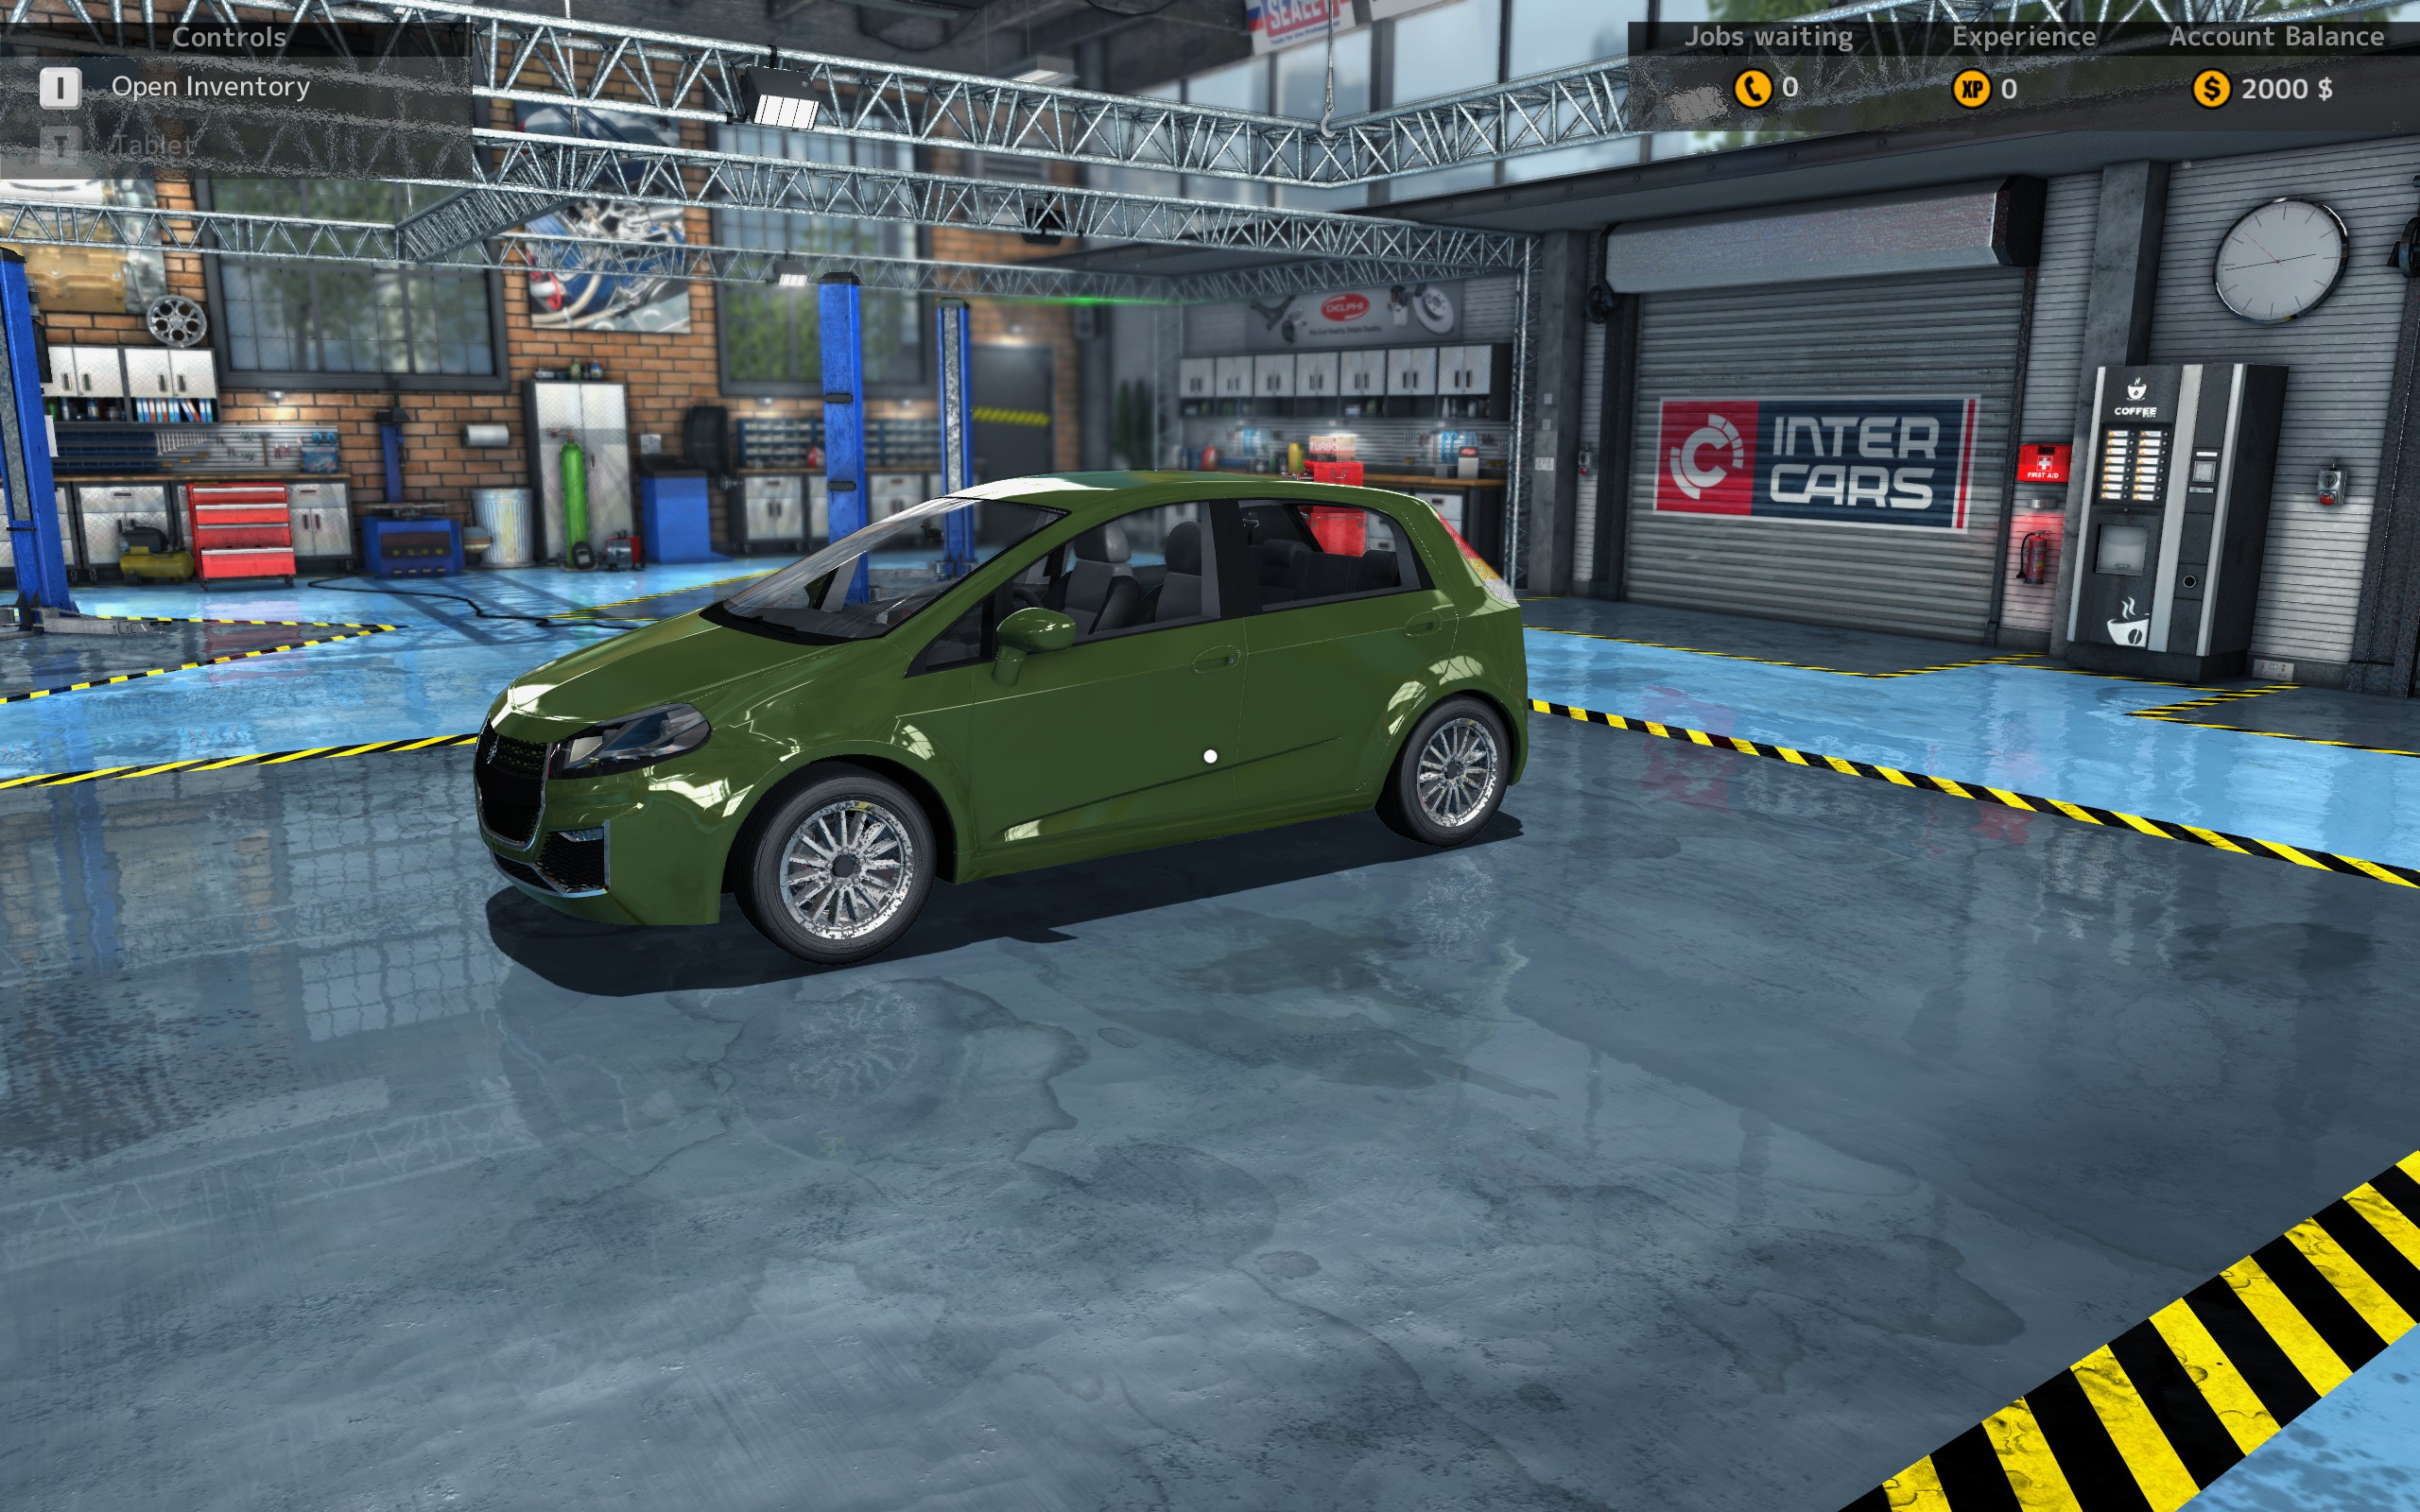
Moving clockwise, the next interactable object will be the Paint Shop (the stairs and rig shelf don’t have any use).
Upon accumulating 5,000 XP you’ll be able to access it. You can them move cars into the paint shop and paint it in your own colour (do this with cars you buy for yourself, not customer’s cars) or in the default colour. This will be an recurring request in orders.
Please note: if you’re coming closer to the 5,000 XP, watch out for paint jobs in the car’s issue description. They might be offered to you, but you’re unable to finish the job without penalties until you have the 5,000 XP. In my case the first job arrived at 3,900 XP. Even though you will most likely be able to accept the offer, don’t do or you have to finish the repair job without completion bonuses.
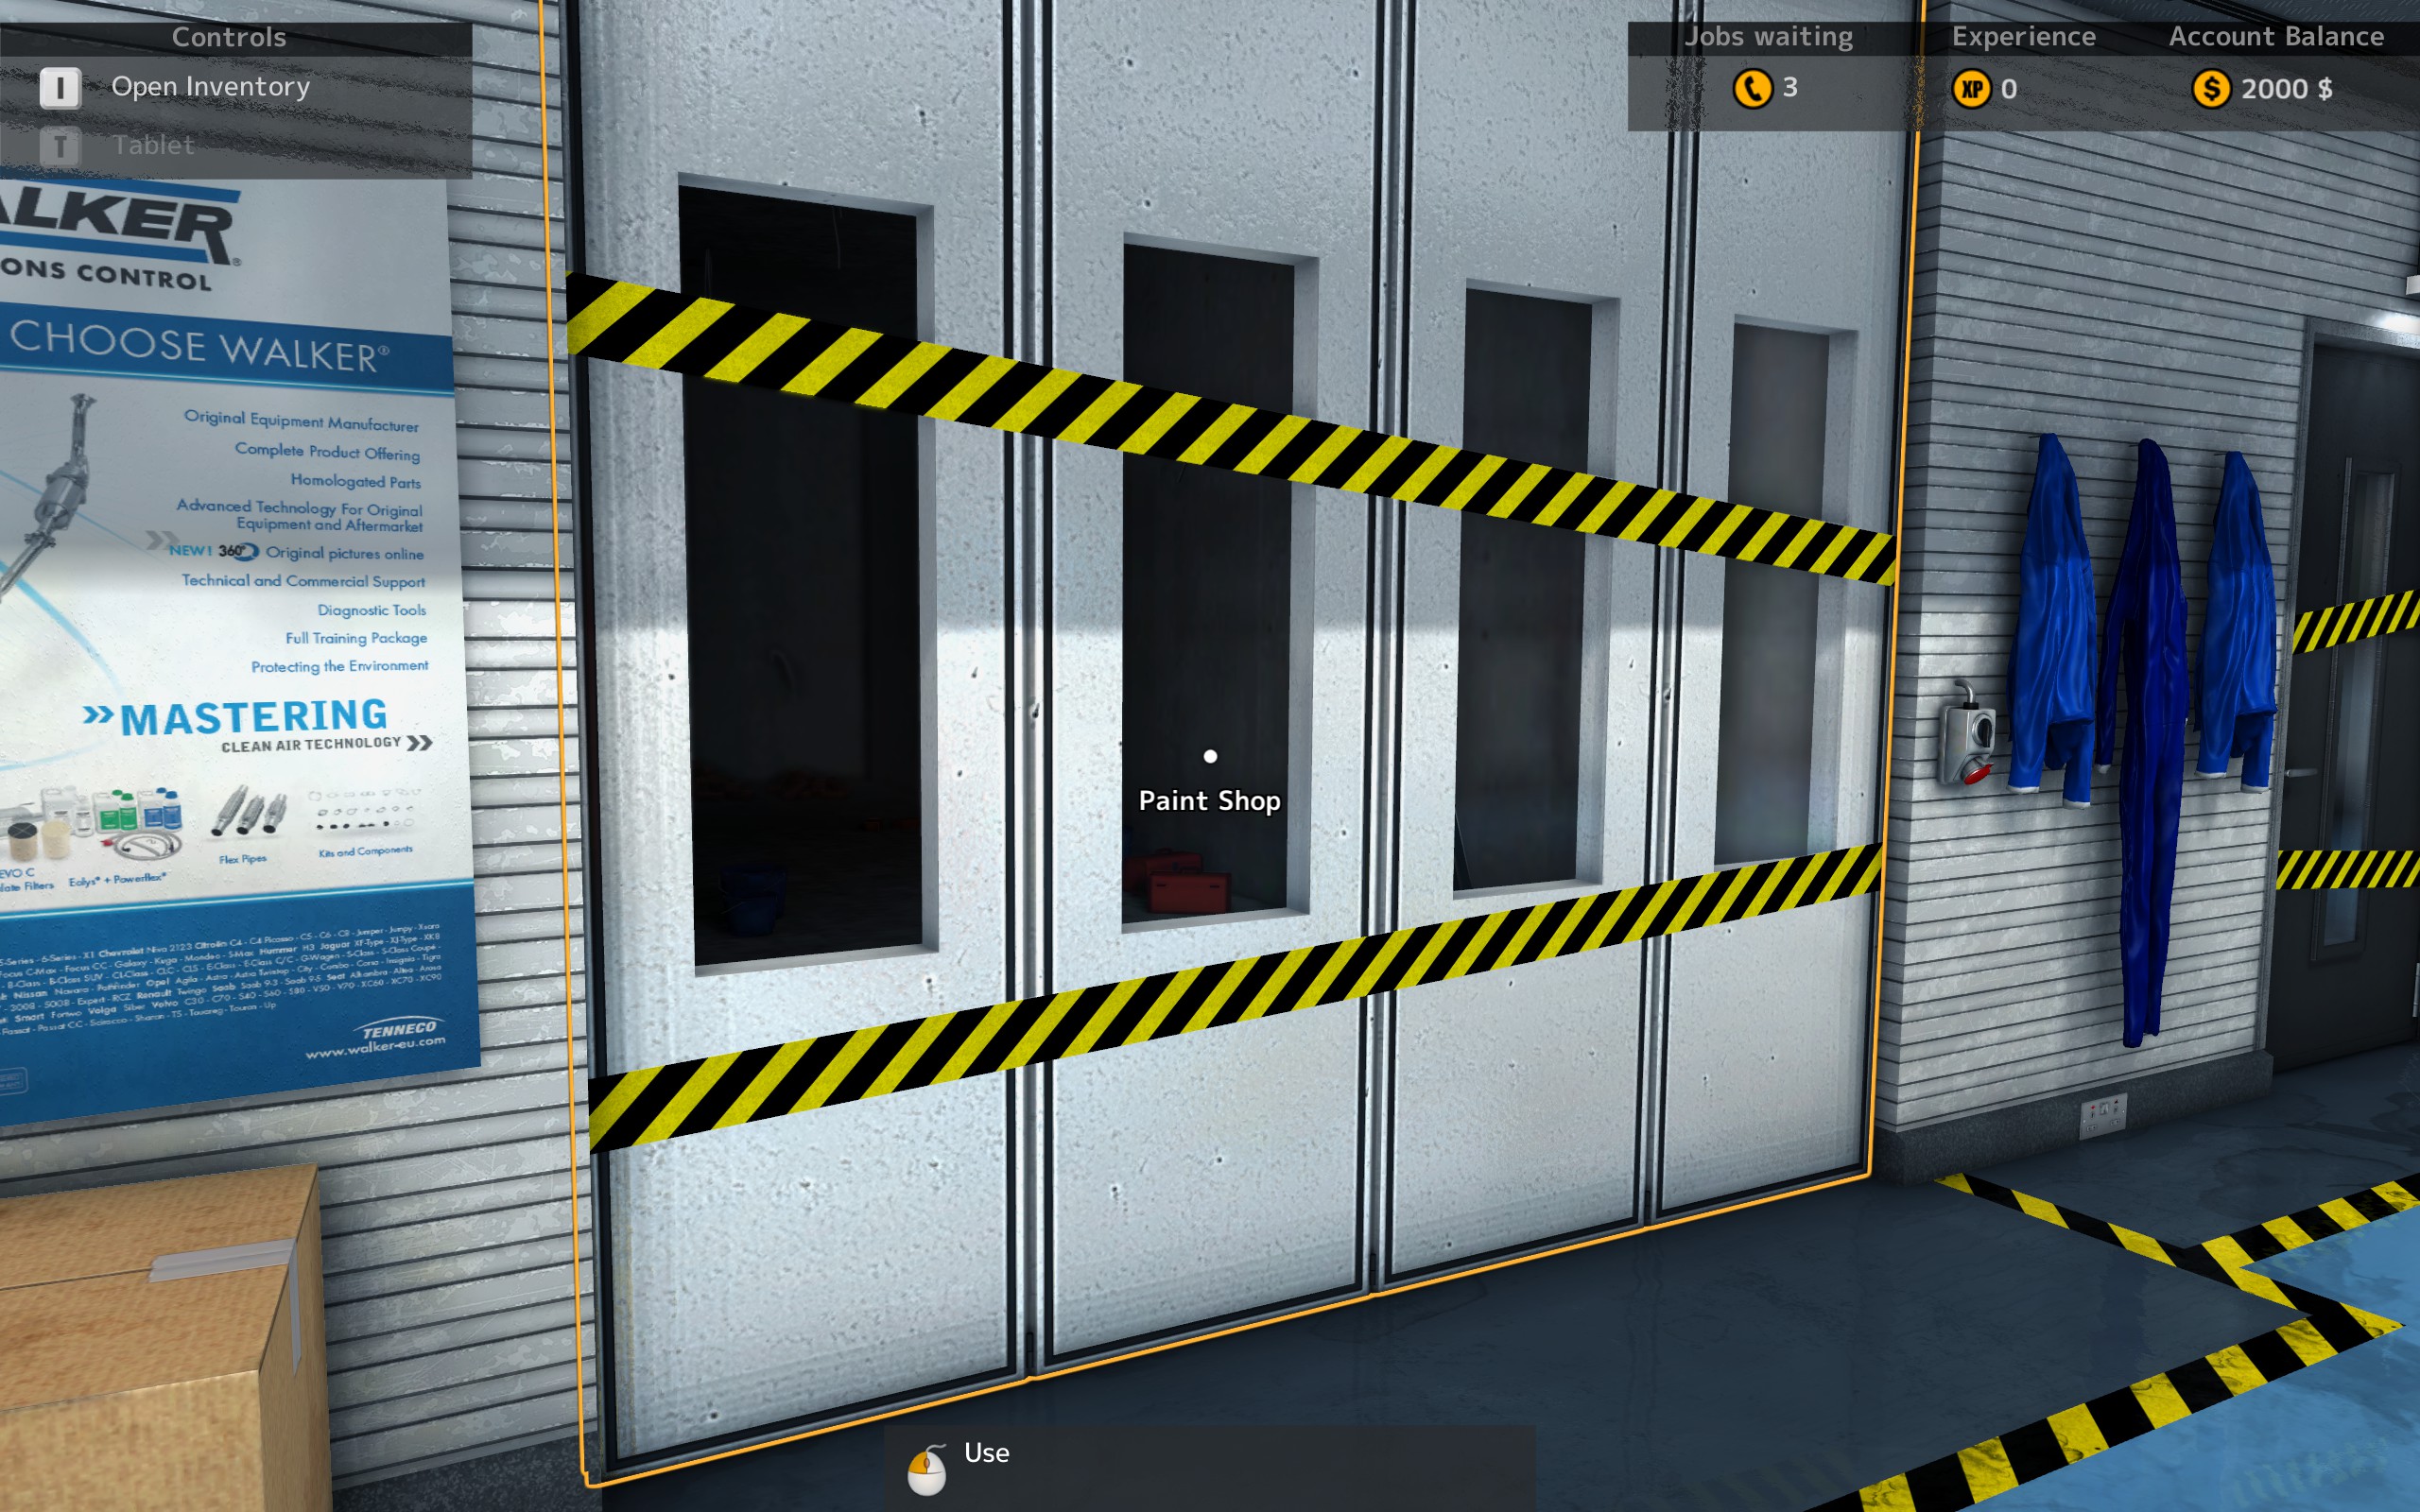
Next in the list is the Path Test.
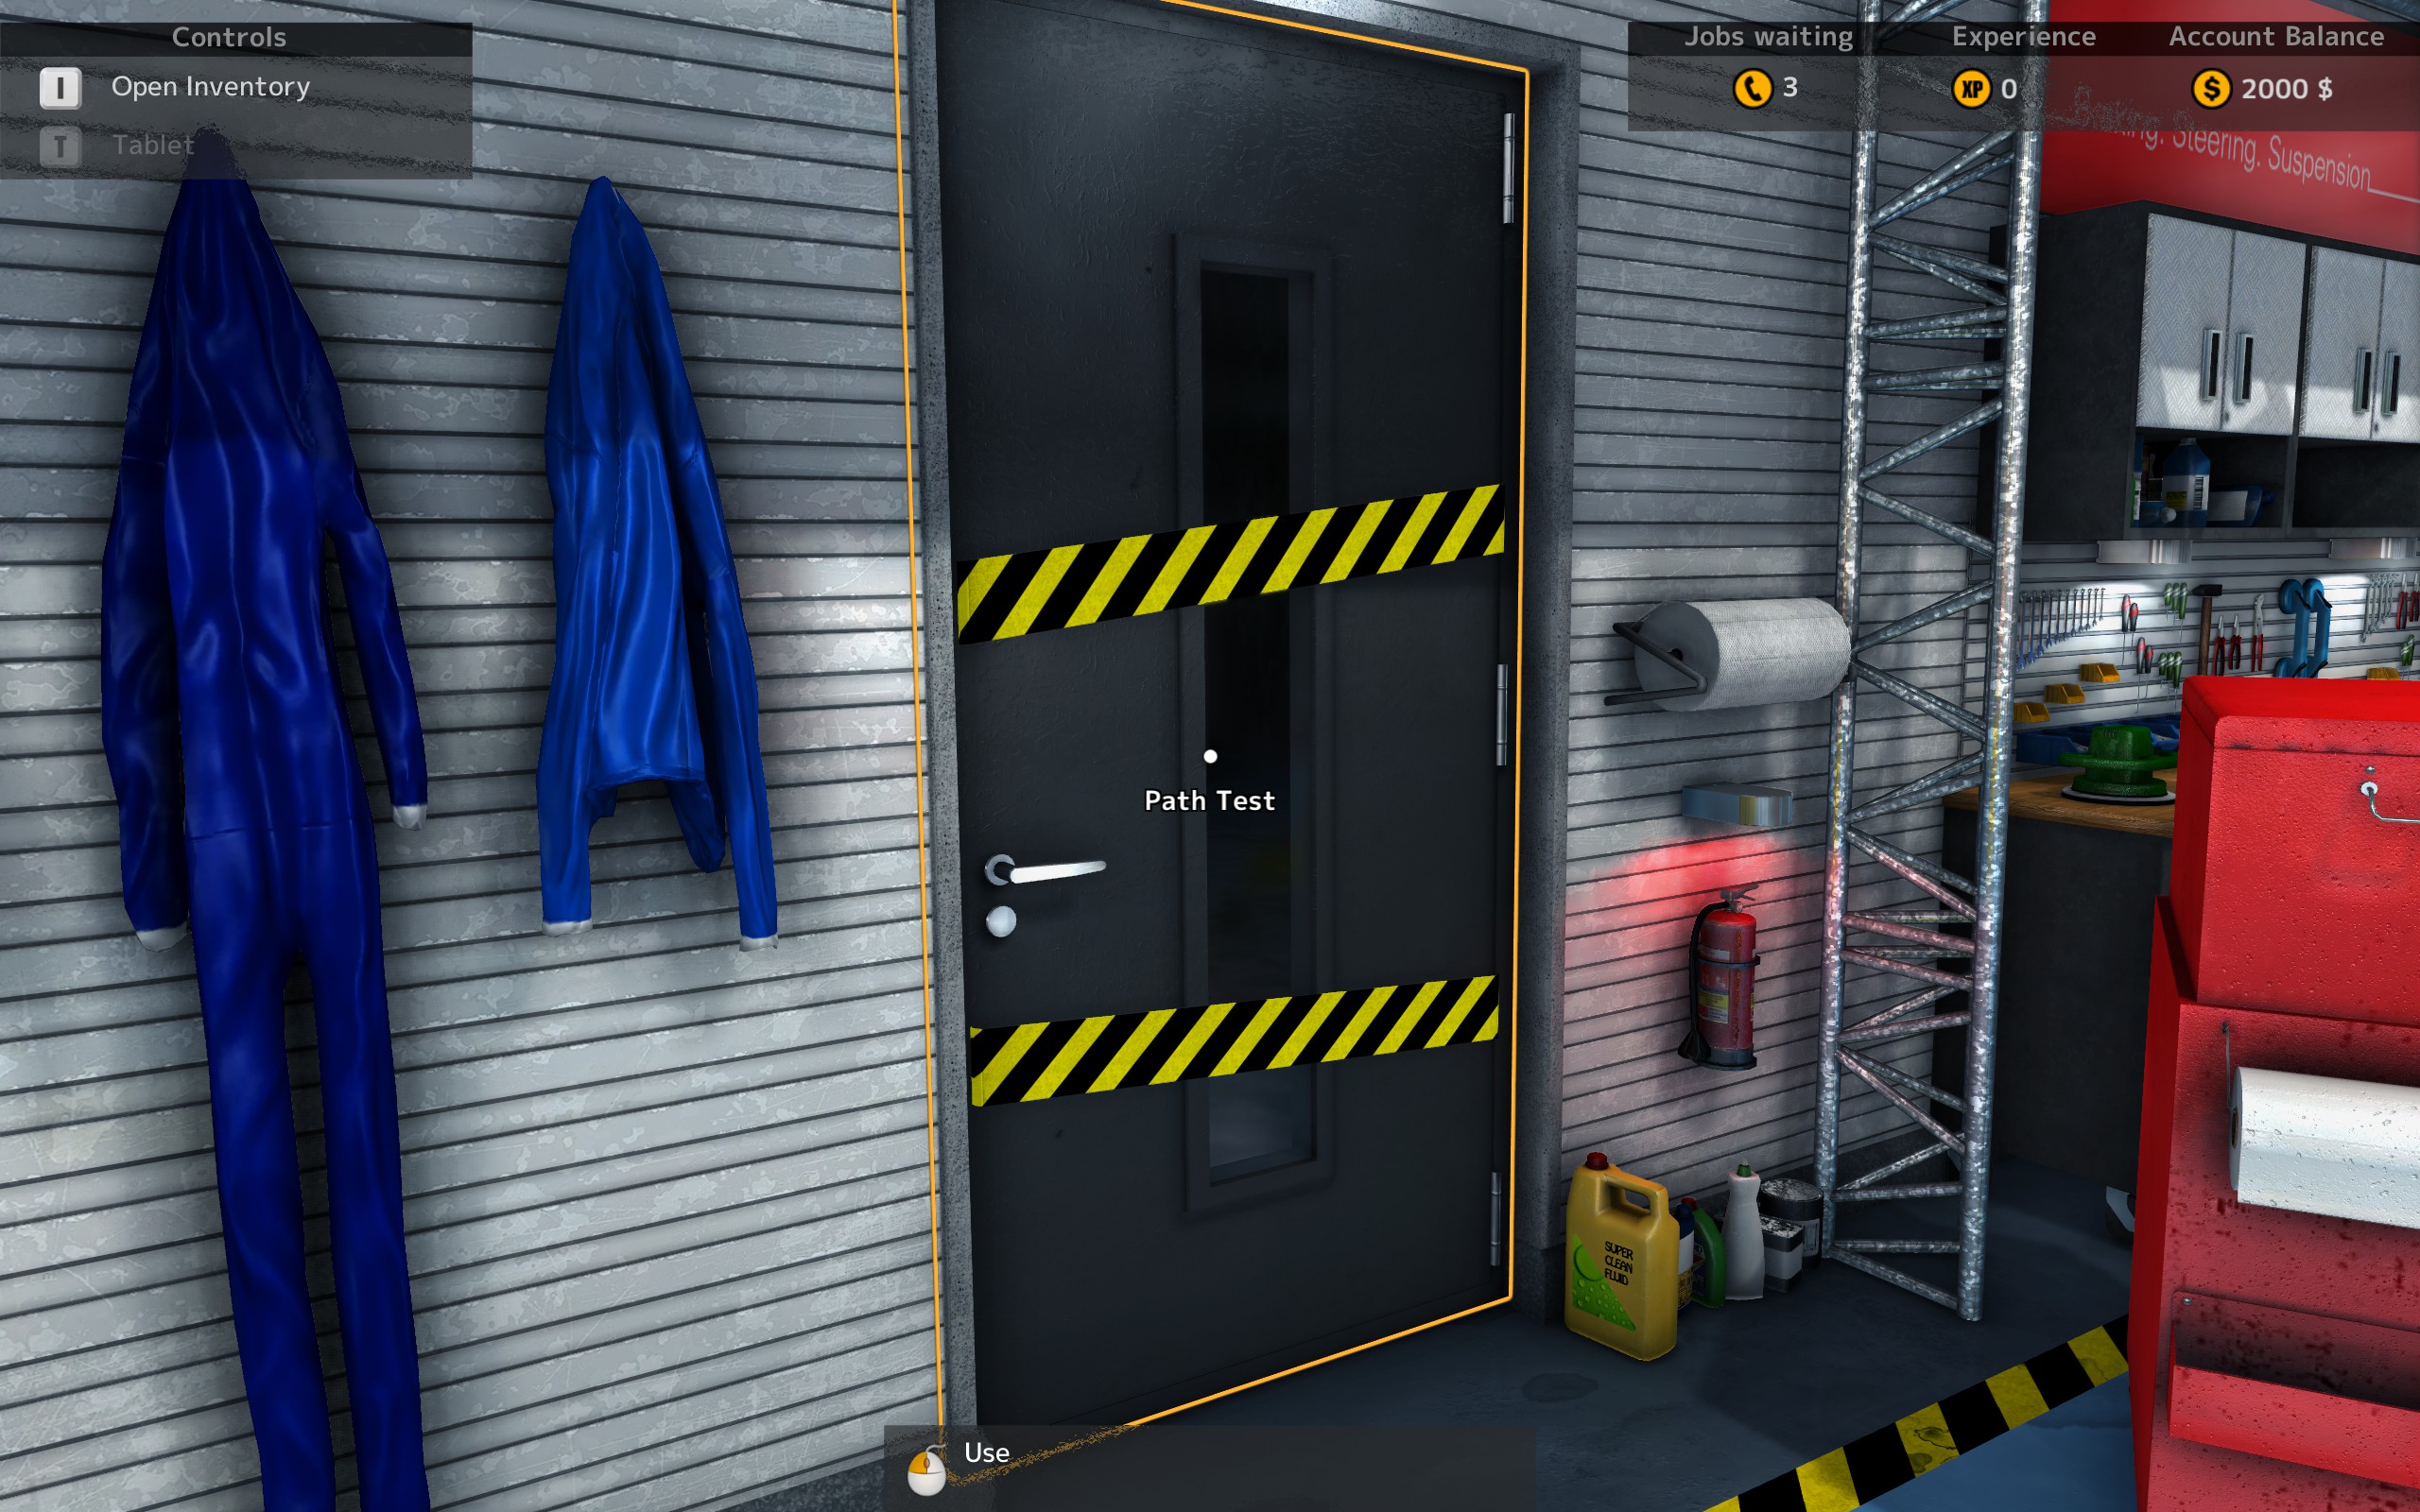
Once you have accumulated 2,500 XP, this room will be unlocked. Move cars to here and perform an extensive test on most of the suspension parts.
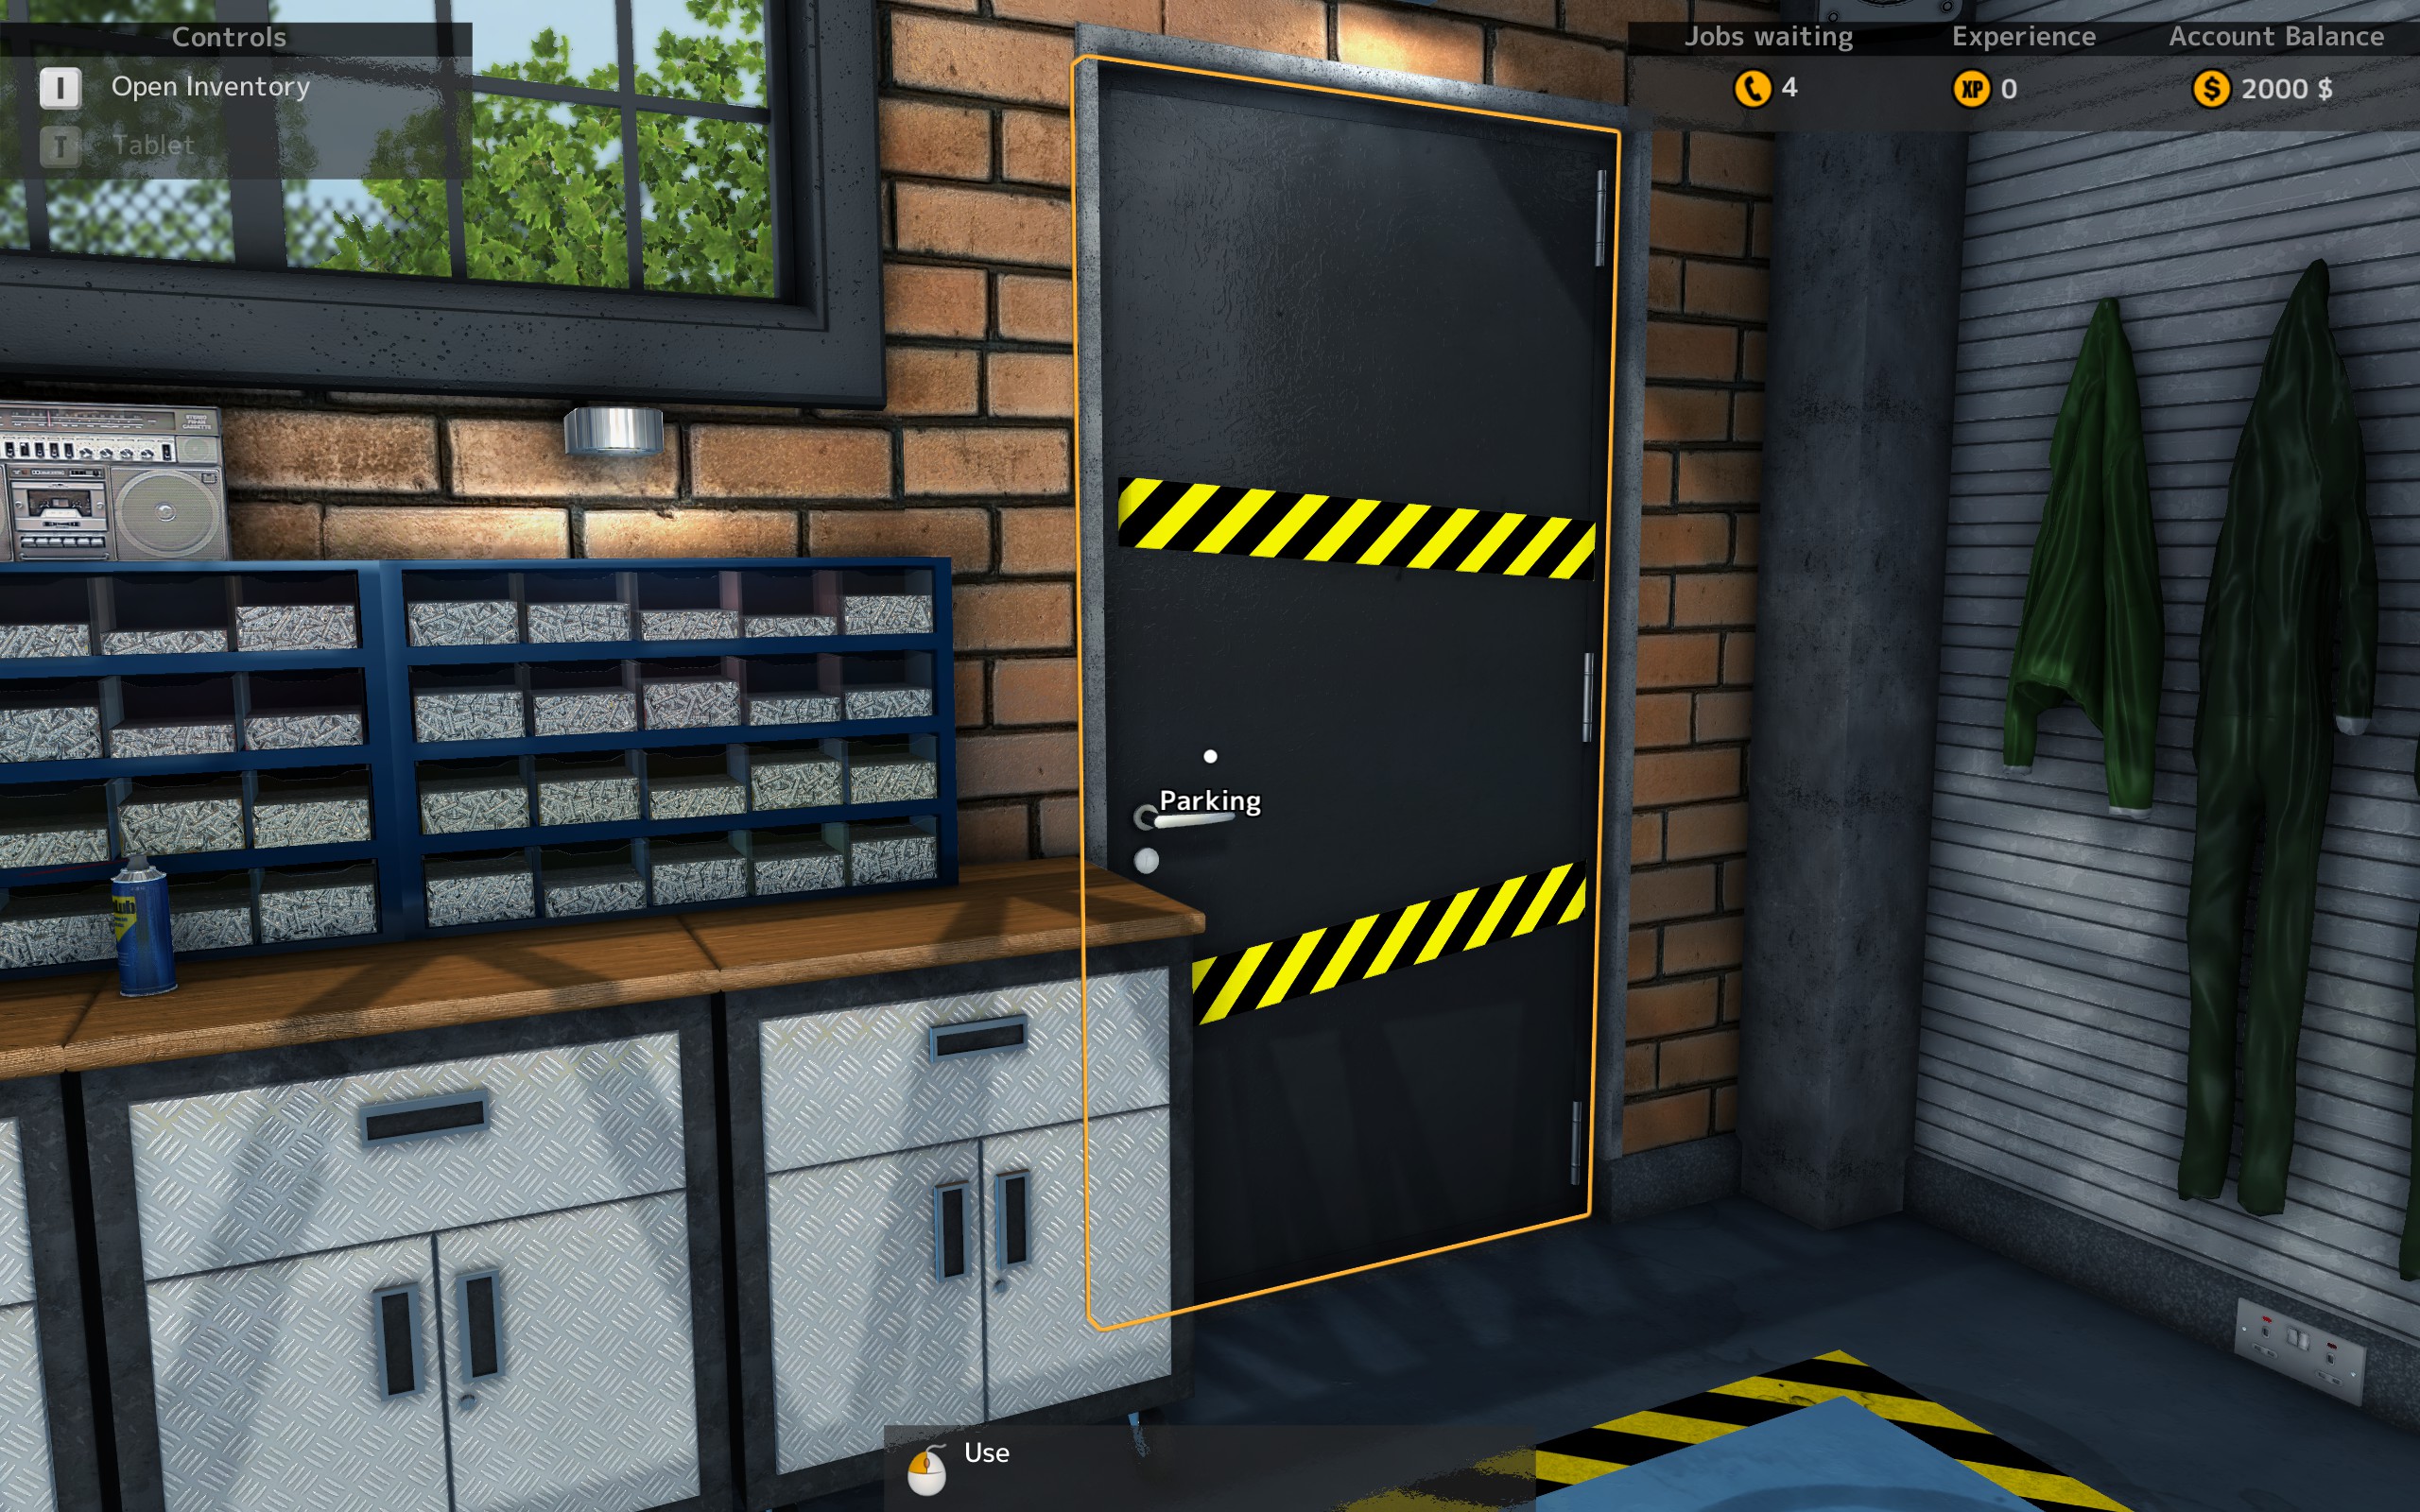
If you closely look, you’ll see the door blocked with the yellow-black tape. All non-accessible areas will be blocked like that, so a short look will tell you, if you can access a room or not.
Next to the Path Test you’ll see a Tool Box.
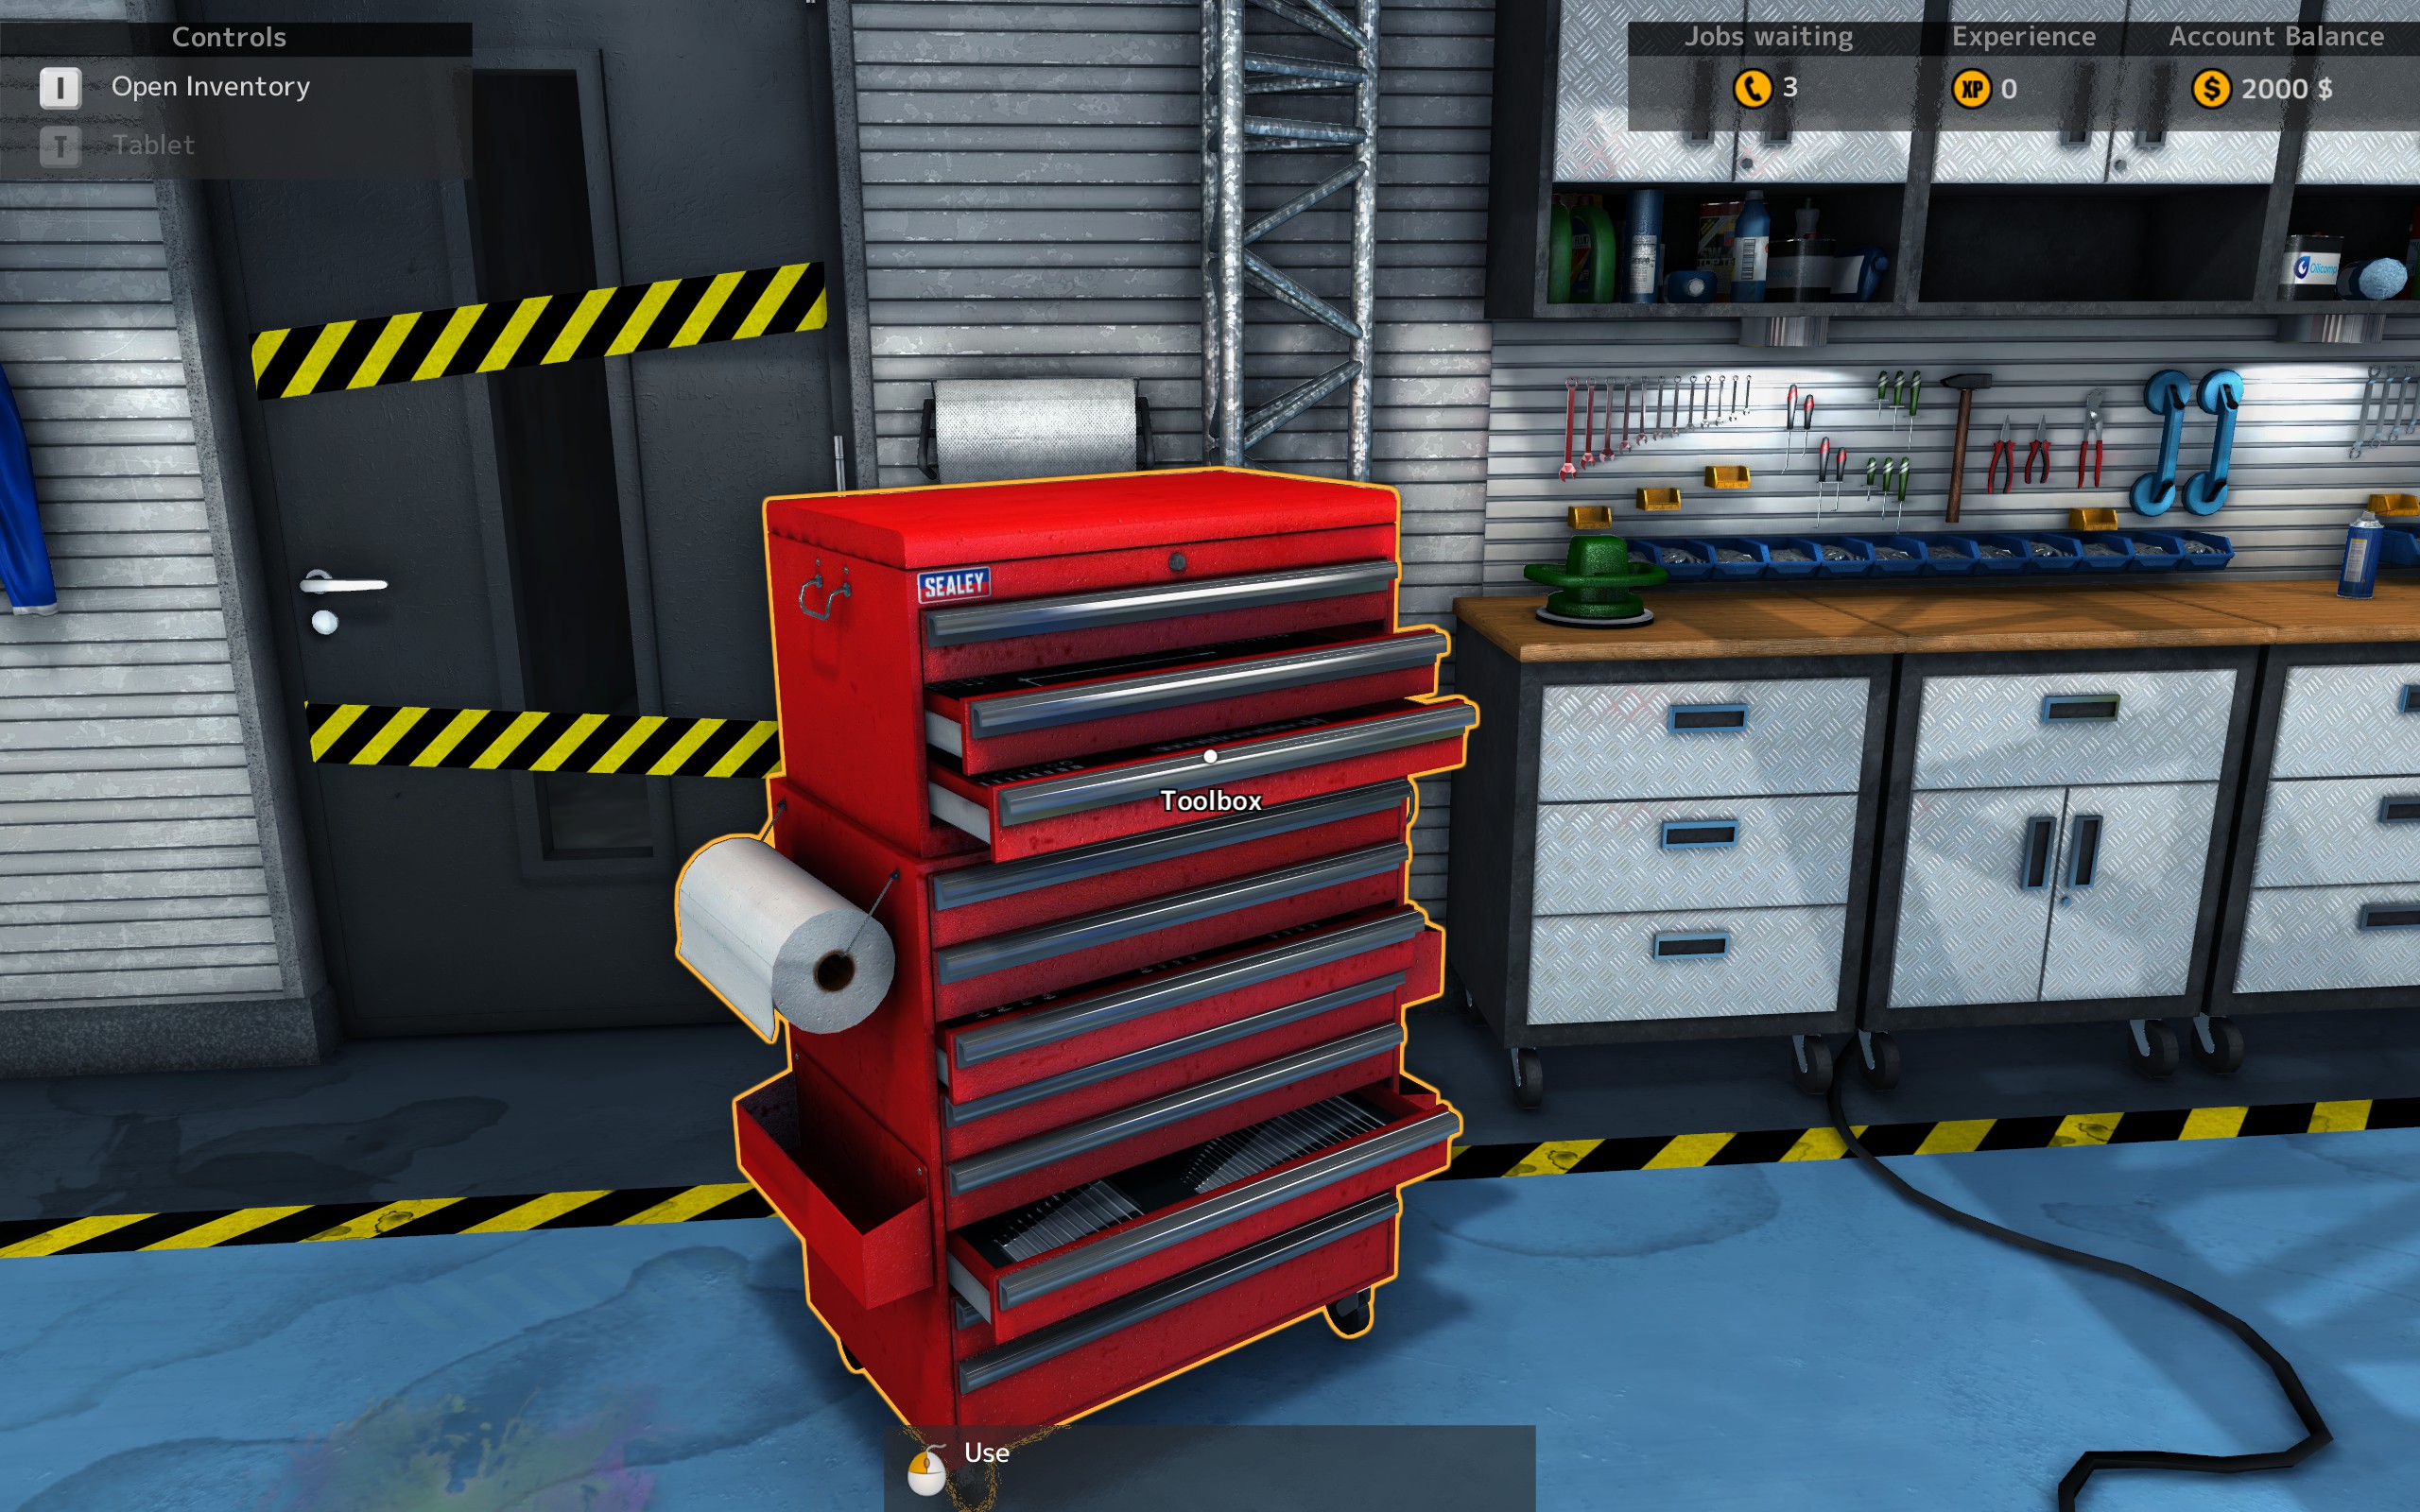
You’ll see 2 more tool boxes around, but all of them have the same functionality. Here you can spend your hard-earned XP and upgrade your abilities, which will become more useful as you further progress into the game. This will be covered later on, as we’re on the first lookaround only.
The next door – accessible – is the Dyno.
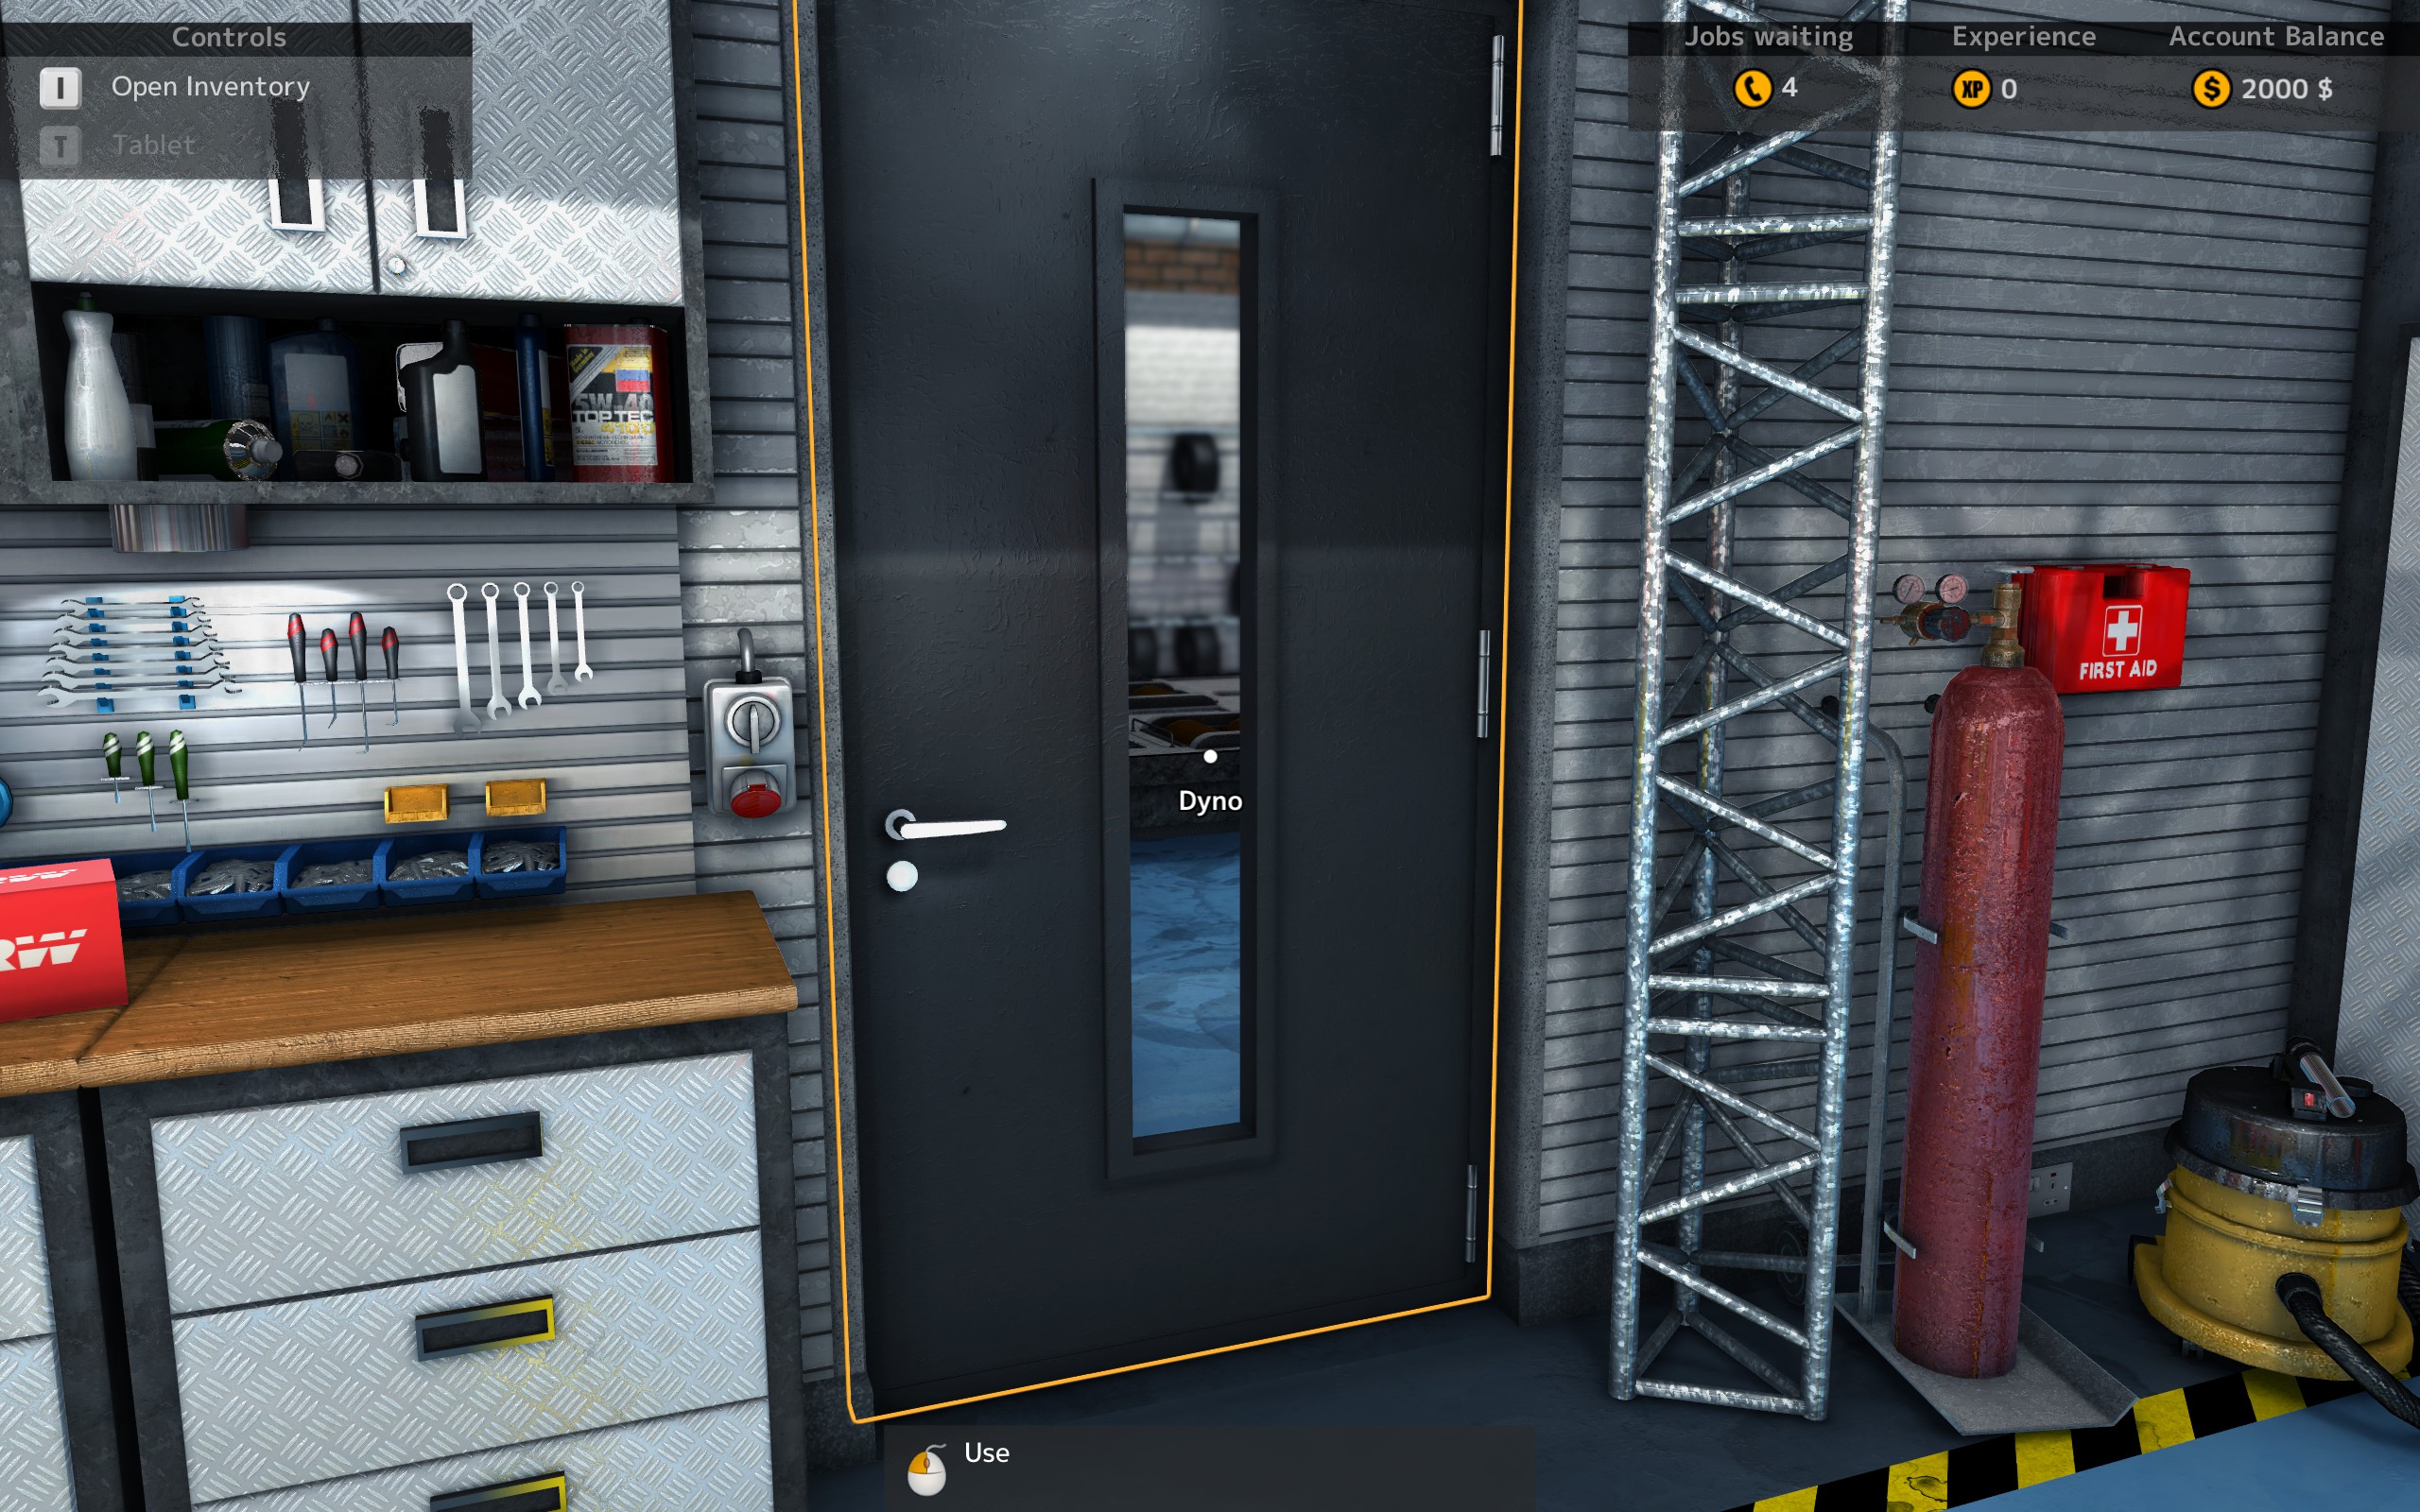
You can tune your carburetors or EMB here, which will give you more hp in return. Or less, if you’re unlucky. There are other guides available, covering this topic in more detail. Note, that this is primarily for you own acquired cars. You surely can tune customers cars, but you’re not gonna be paid for, so I wouldn’t waste your precious time for.
The next object is also for your own cars alone – Repair Body Frame.
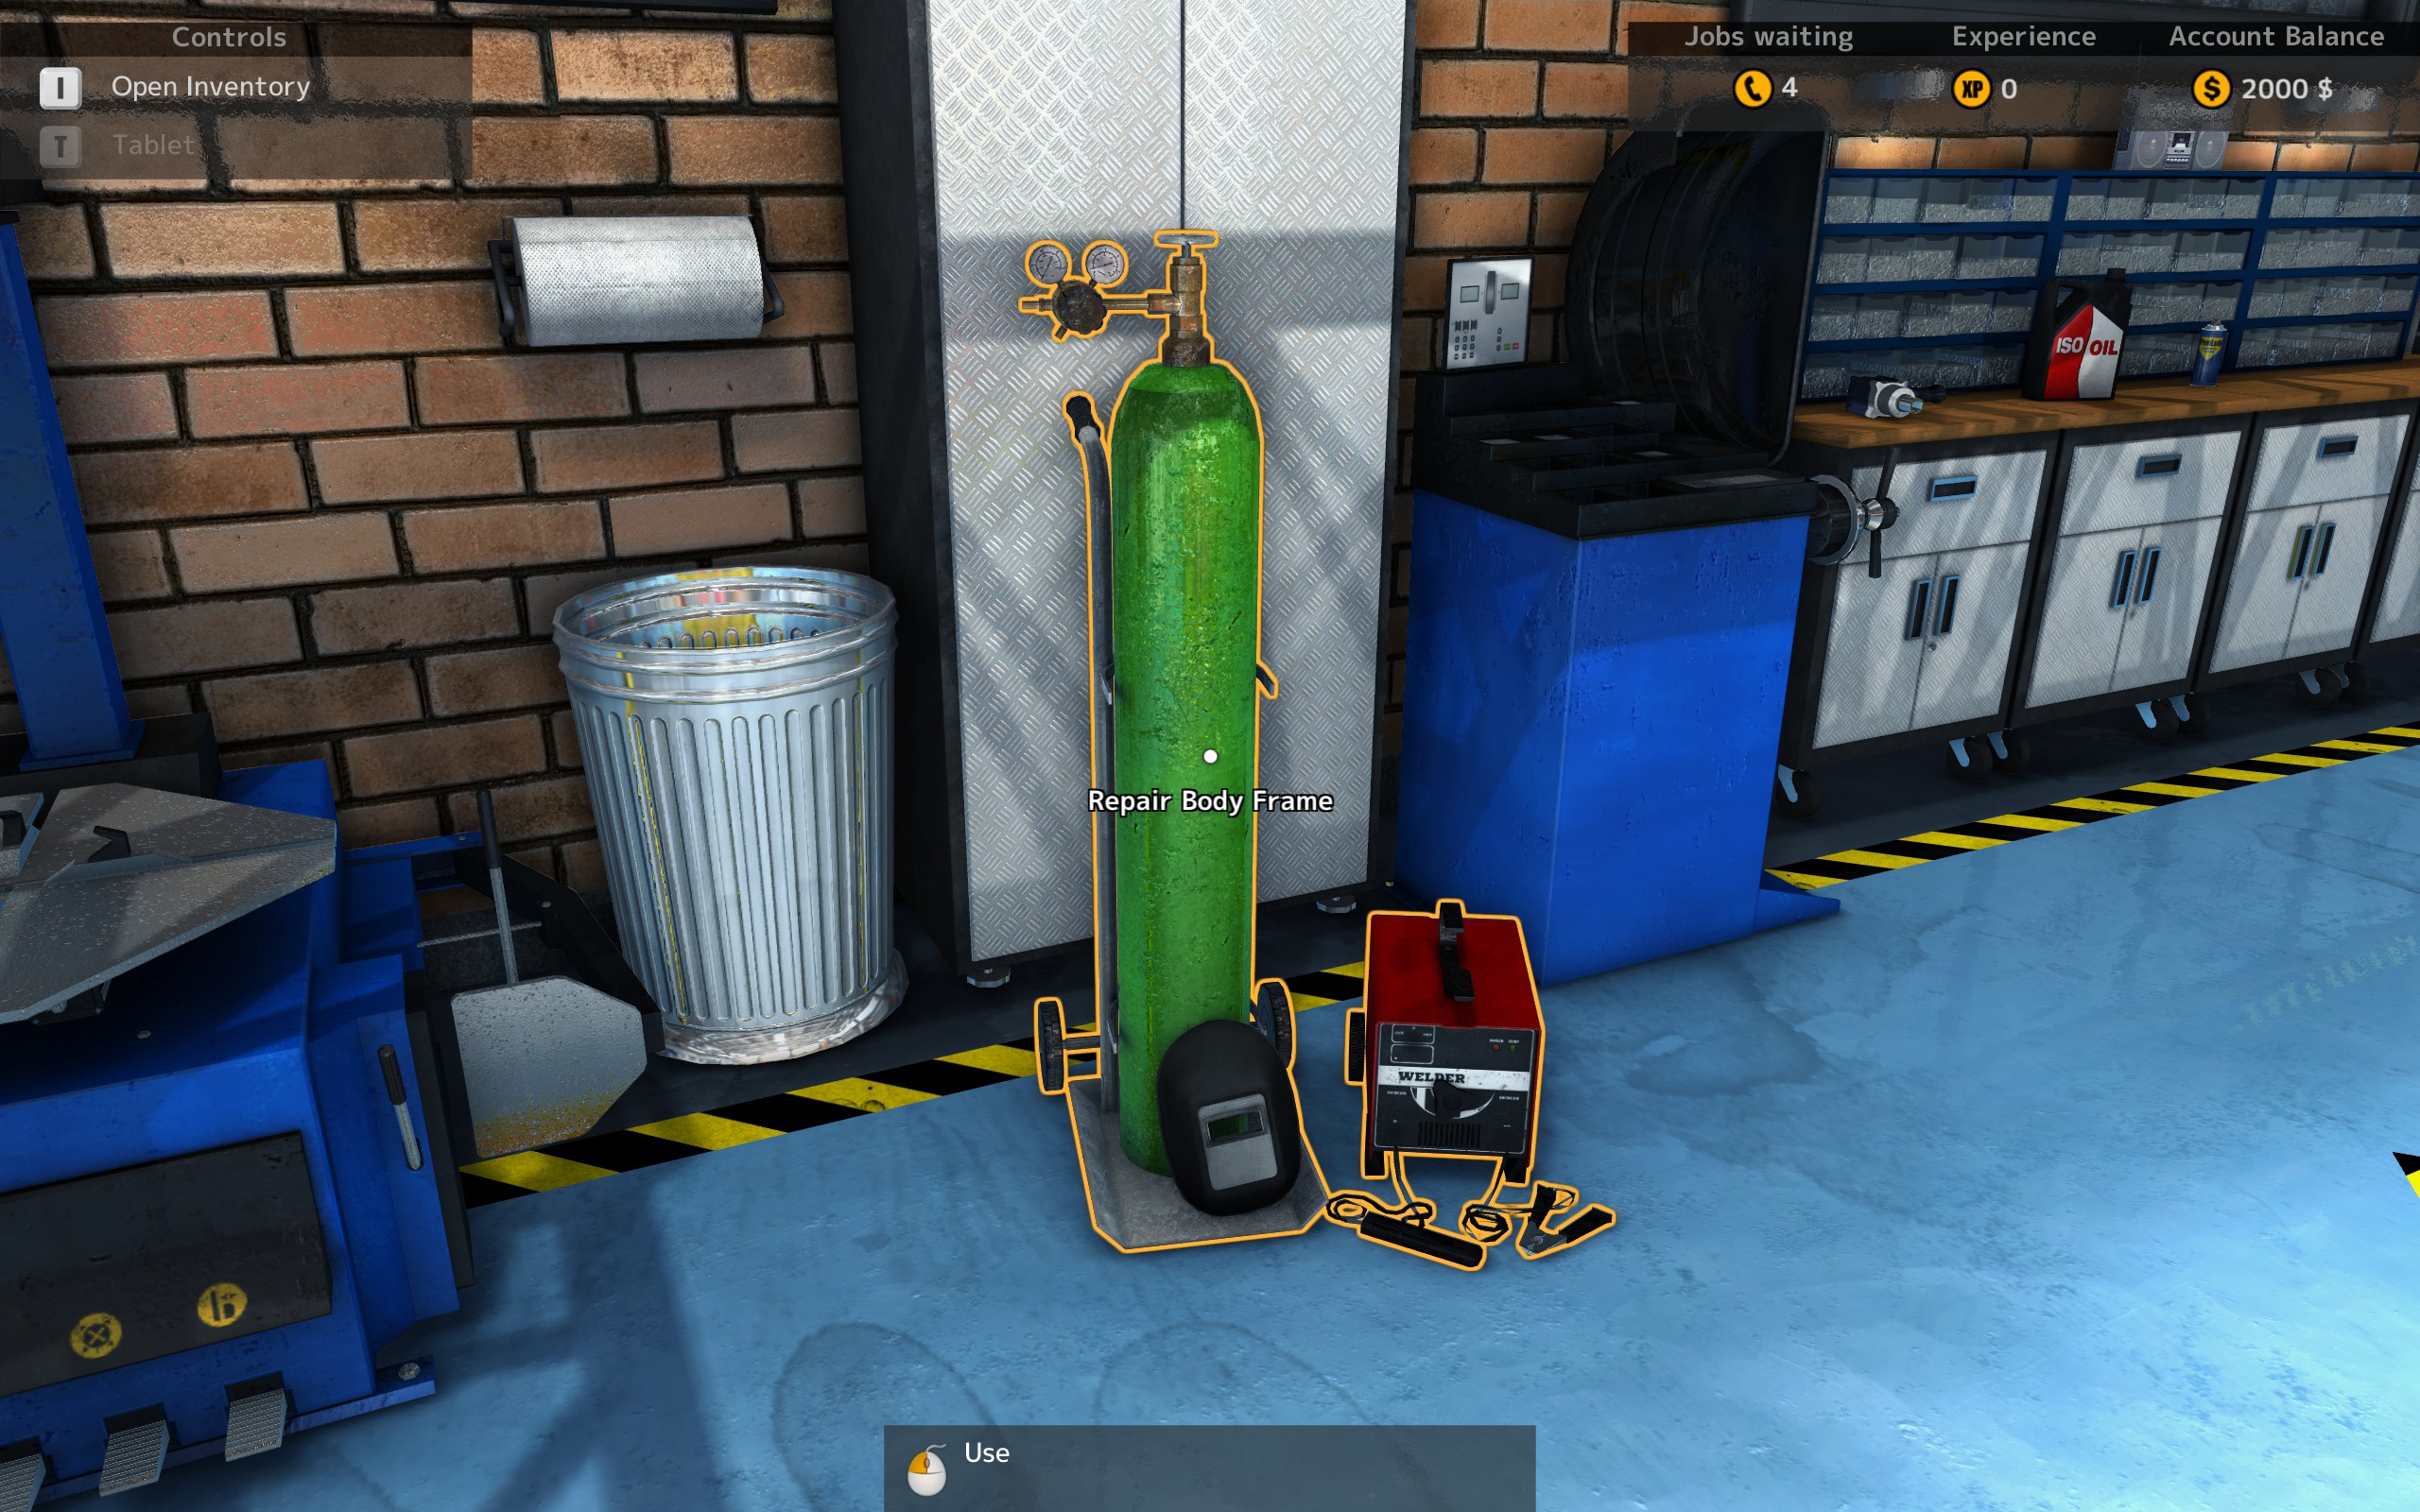
At least I never had a customer order where I had to do such a repair. As you currently lack the money to afford an own car, I cover that later.
The Garage, unaccessible for now too.
It takes a whopping 9,000 XP to unlock, but don’t worry, you won’t have the money before you have the XP.
The repair table, easily distinguishable by the stool in front of it.
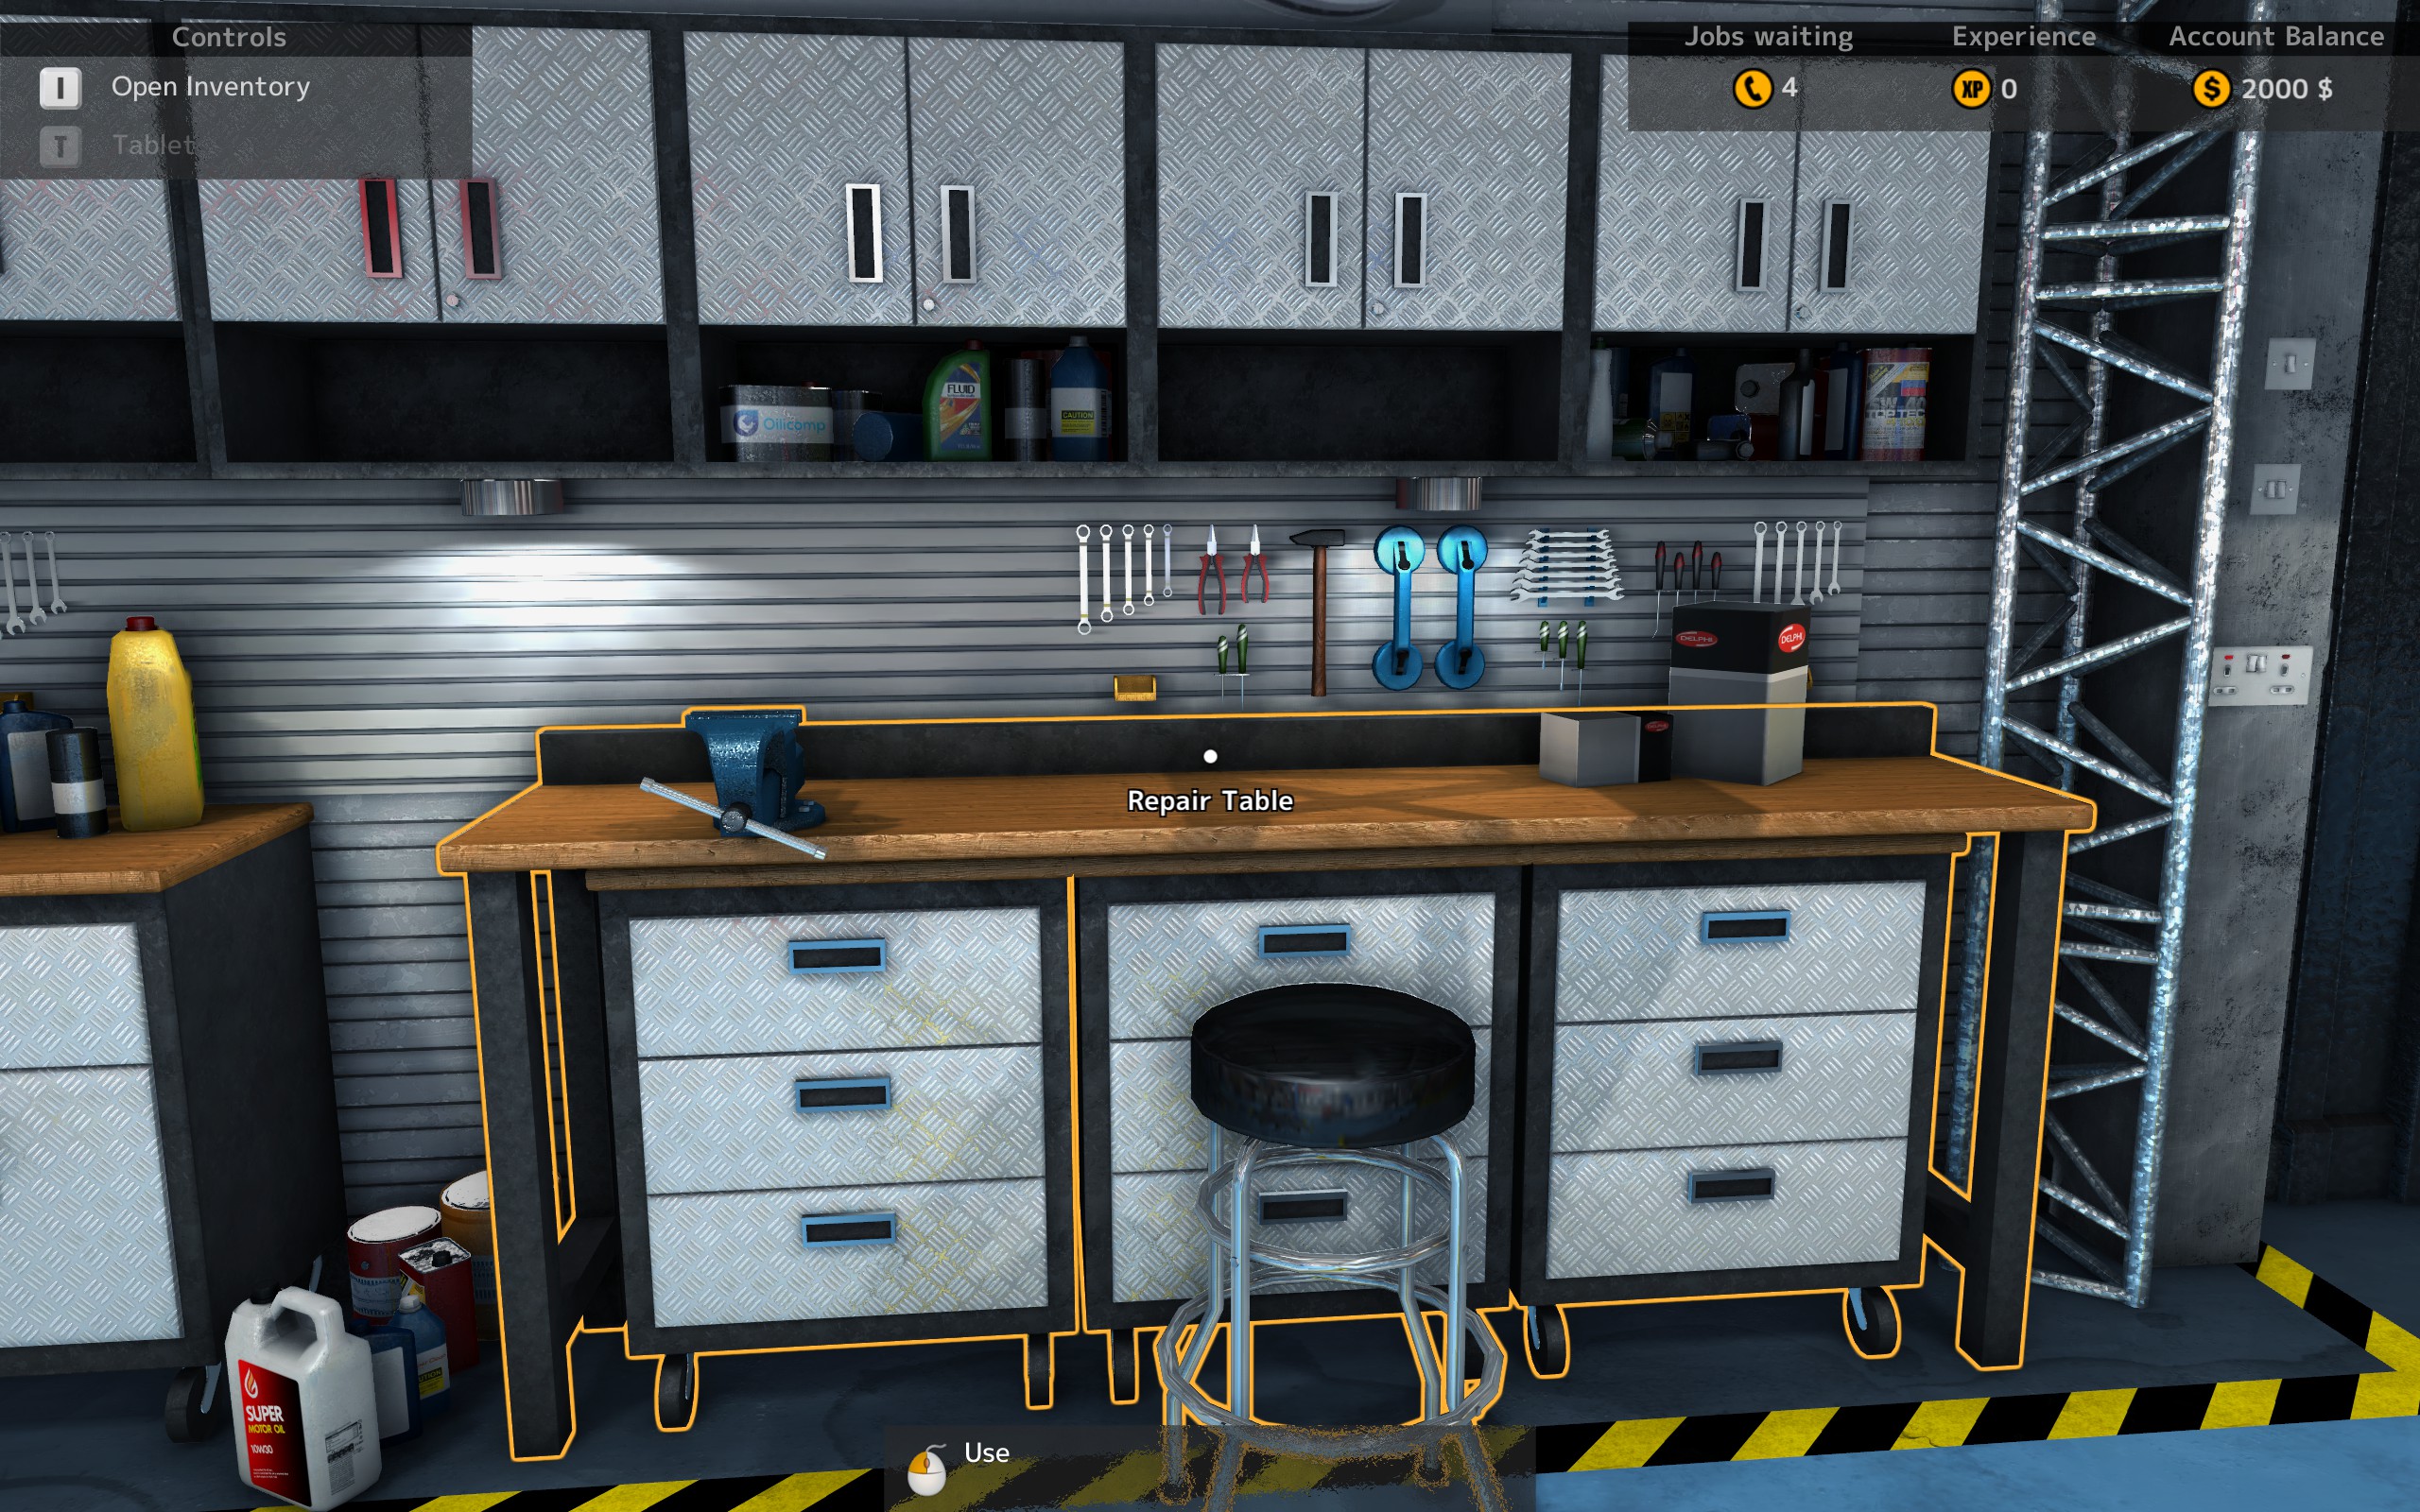
Here you can repair broken parts, as the name implies. It can be used by now, but I wouldn’t recommend, cause you’ll do more bad than good and your repair attempts be most likely break the parts. See a later section for more details.
Next you’ll see 2 huge exit doors.
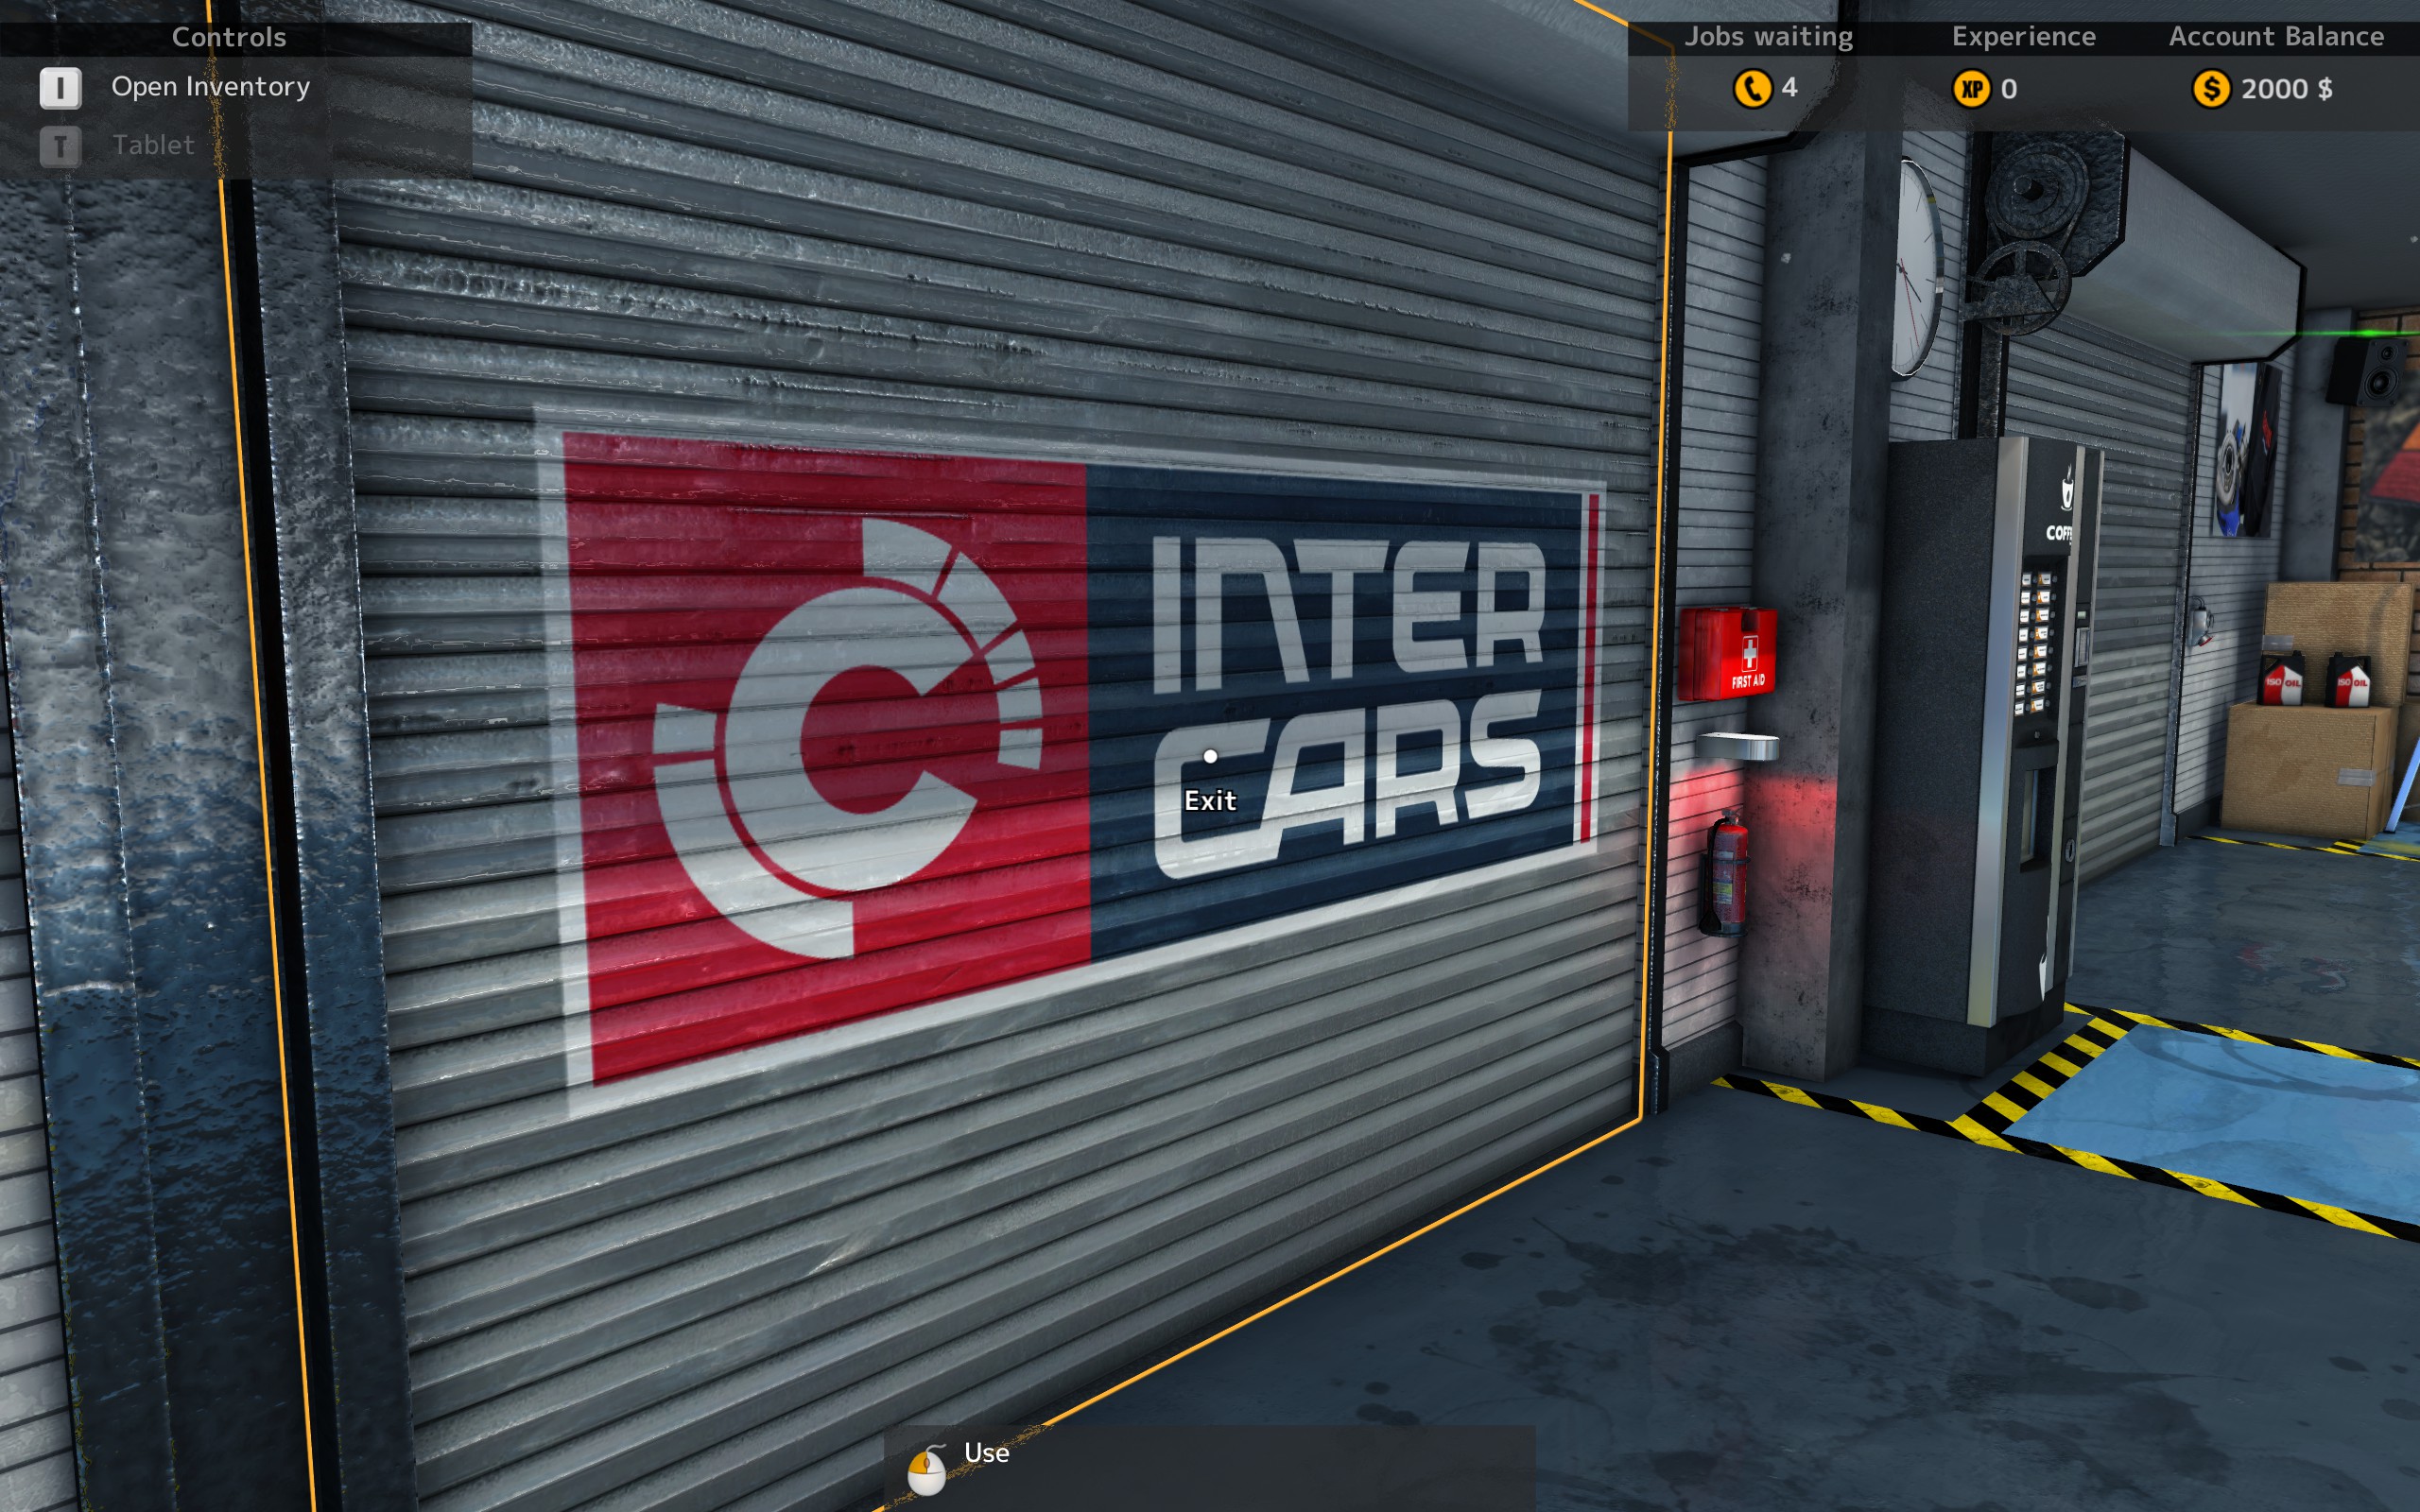
Both of them will lead to the same exit though. 😉 You won’t exit the program – no wories – but from here you can access other places like
- Auction House (buy used cars for yourself here – warning: expansive!)
- Drag Strip (speed-test your own cars here)
- Test Course (drive your or customers cars to idenify issues with various car parts)
- Scrap Yard (disassemble a random car with random parts in random quality to the bones and either sell them for profit or repair them)
Some places’ availability depends on you buying the appropriate DLC first.
Click the ladder to access your Garage Customization options.
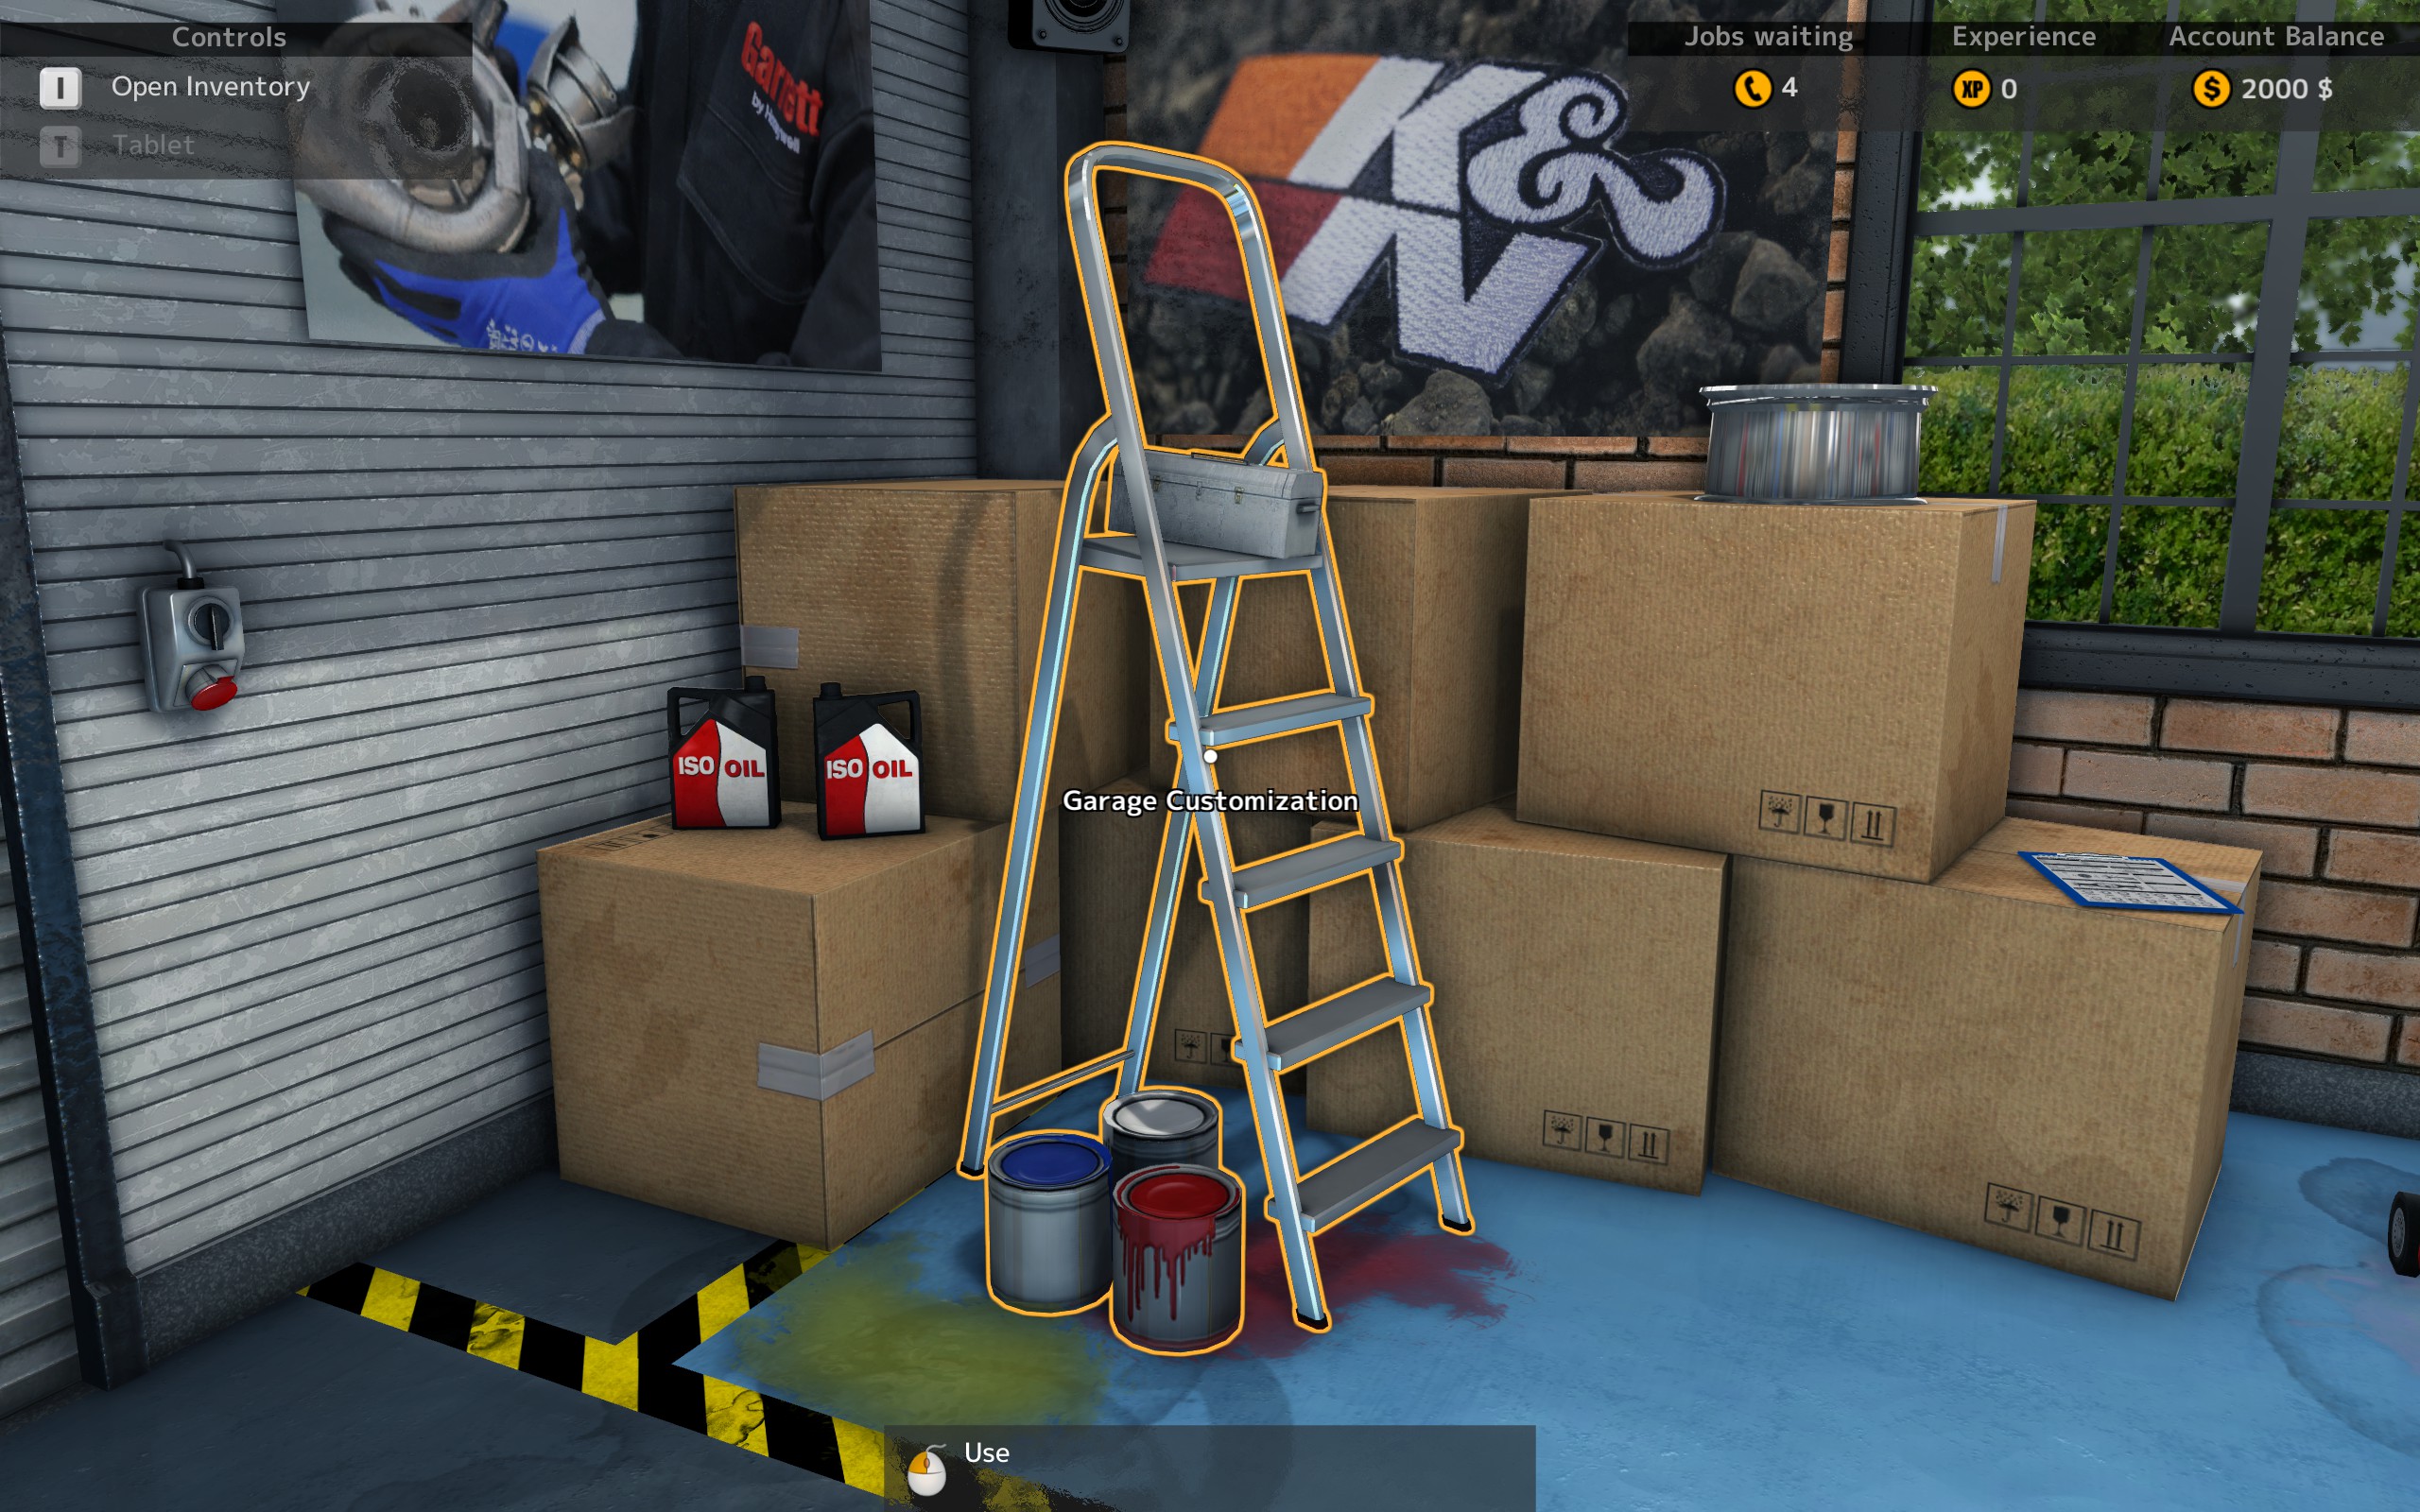
Not much to do here, as you’ll spend your XP more wisely on the Tool Box first.
And last but not least: the Oil Drain.
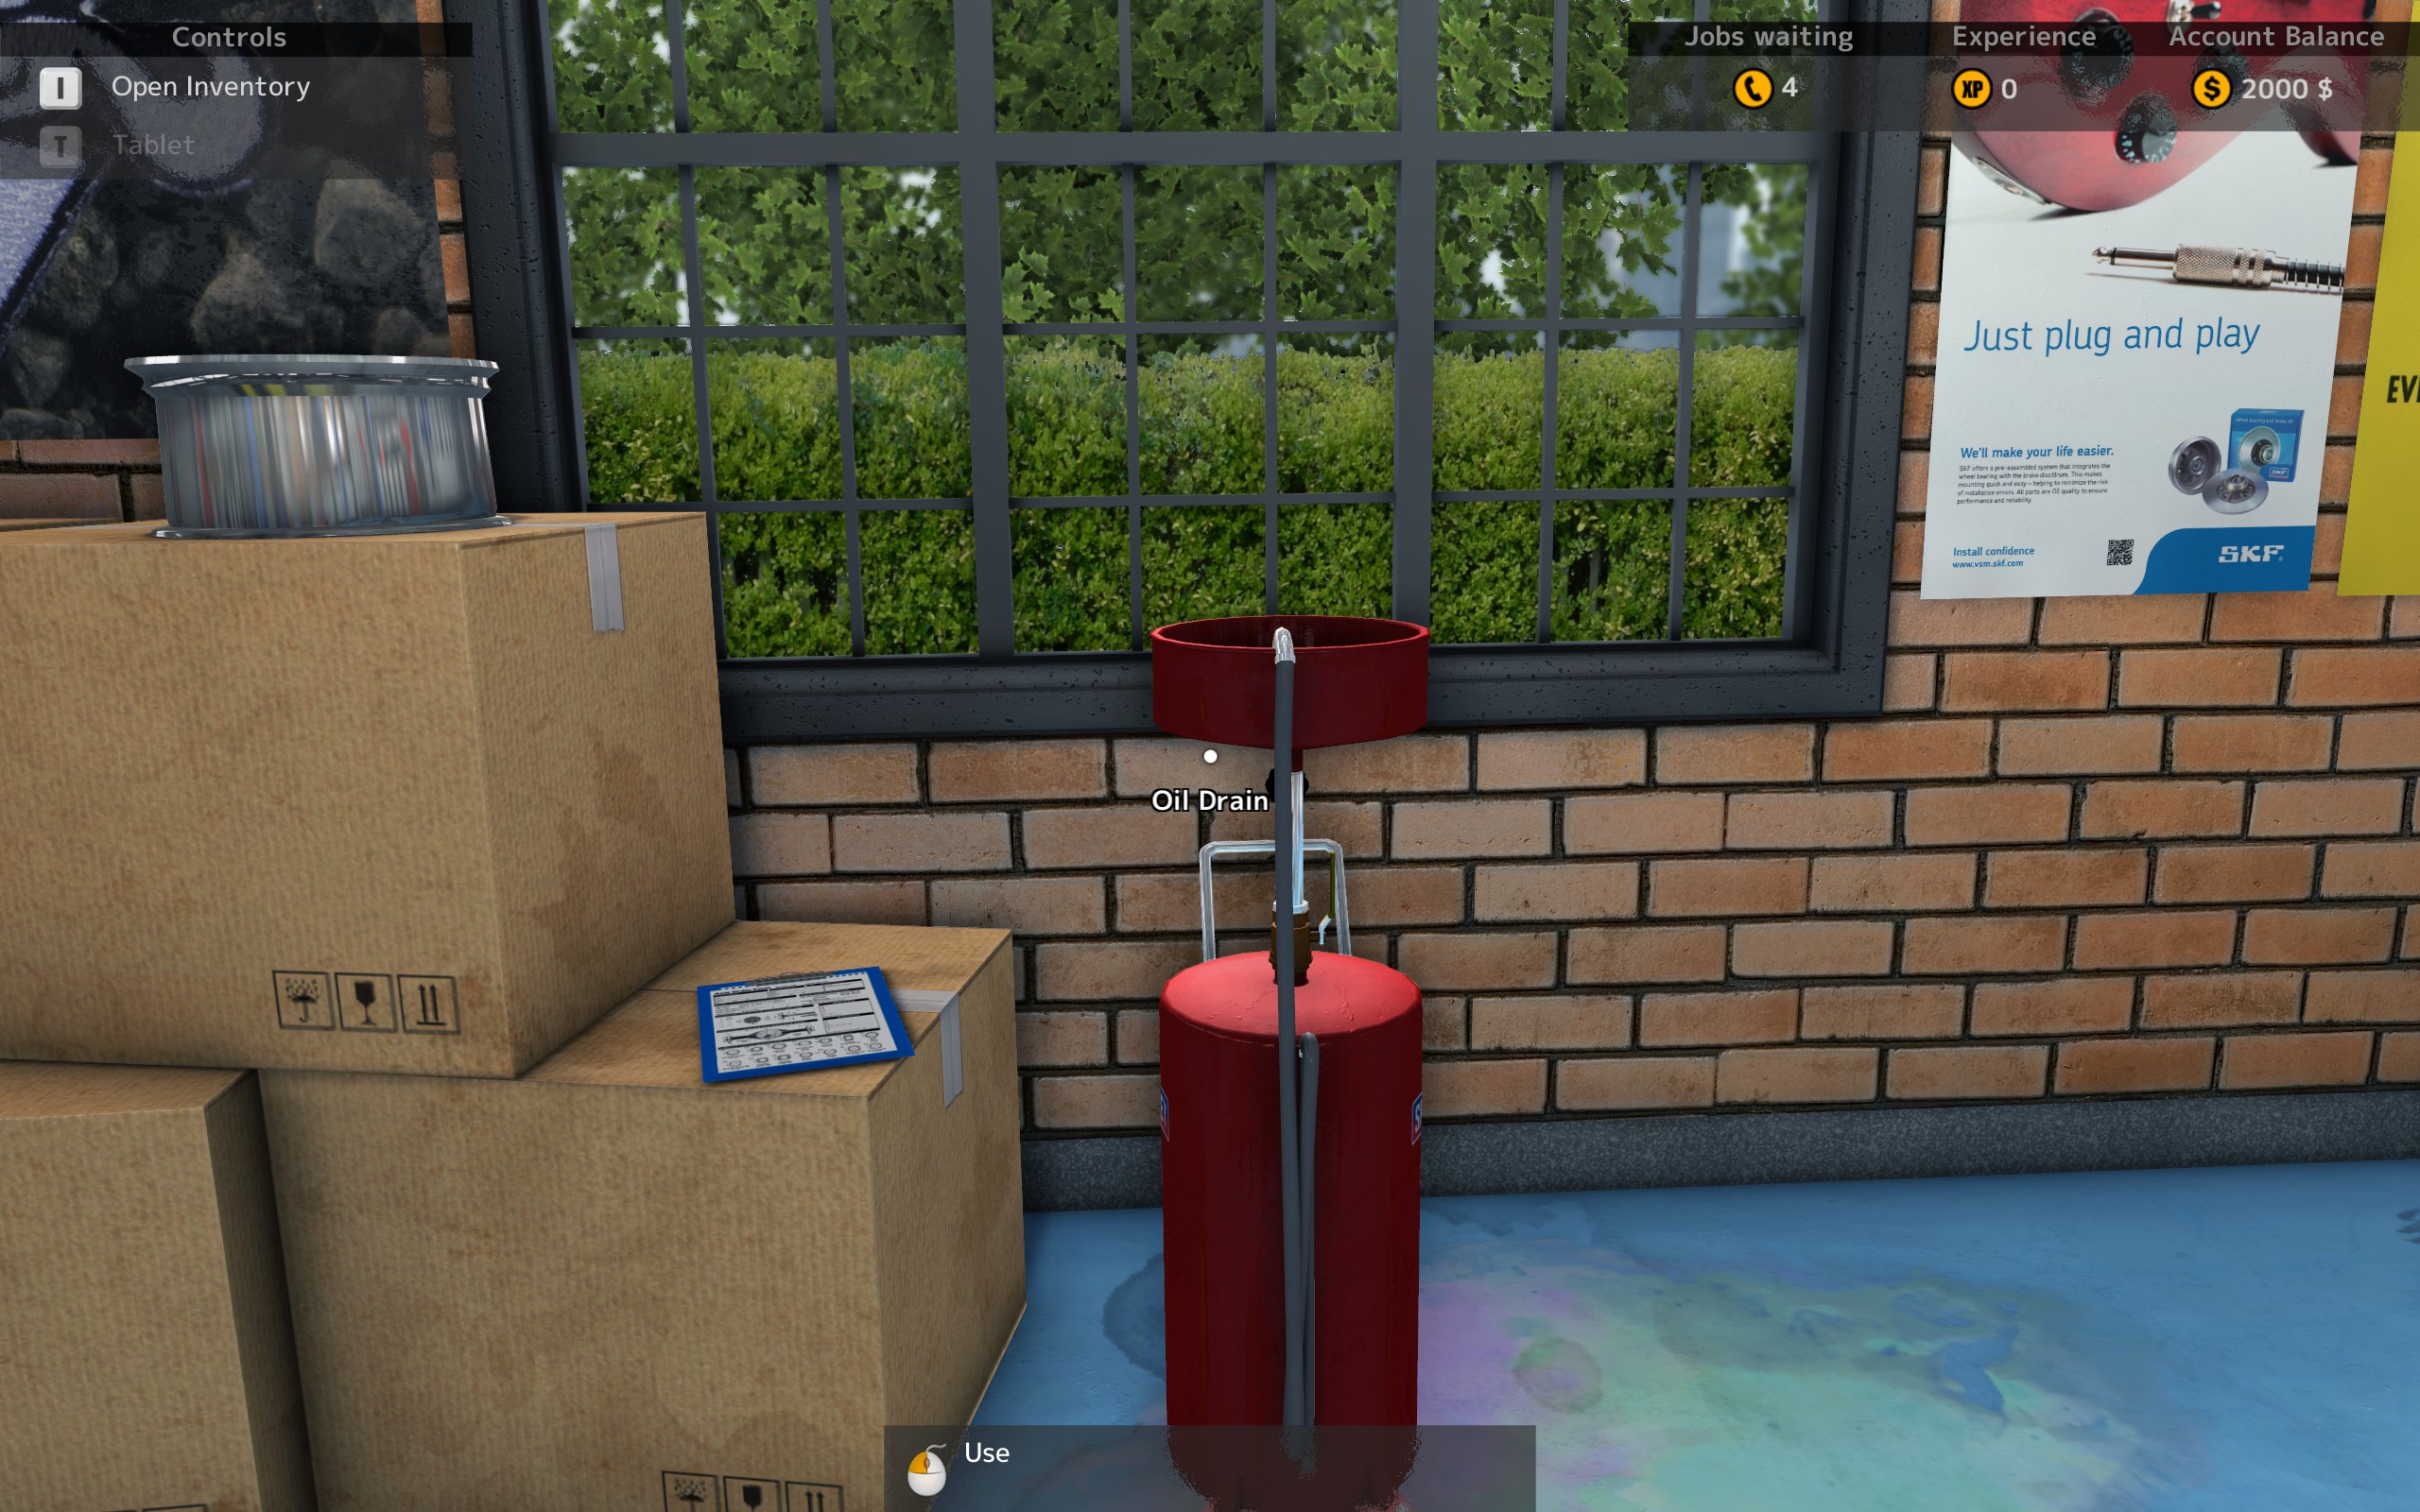
Some orders directly require you to exchange the oil or if you have an internal repair in the motor, like pistons, you need to remove the Oil Pan first. To avoid spilling the oil all over the floor, which will be penalized with 100 $/€, use the Oil Drain to collect the old oil. I’d suggest to have a look into this wonderful guide.
This concludes the Garage Tour. Now that you know, what you can do, let’s go deeper into the “How”.
Your first job: Preparations
I assume, that you have accepted the first order and a customers car is now located in the center of your garage.
.
Move closer, until you see some parts framed by the yellow border:
.
Your job as a car mechanic is to repair that car. Some parts will be used or even broken and you have to find those parts, replace them with a new one and return the car to its owner. Let’s go step by step.
This might be not necessary for any job, but I always do as a reflex. Still with your mouse pointing to the car and having some part bordered in yellow, press “M” (like “Move”). This will bring up all available location in your garage, where you can move the car to. Choose on of the lifters, as in the image shown. Wait for the lift to come into lower position before continuing.
Like for moving, point to the car when close enough and press “O” (like “order form”). What you see will now depend on what type of repair you have to do (ESC to close).
.
In the beginning cars will only have few broken parts, like filters. You will be given the entire list of broken parts as well. If you are more experienced, cars will have more broken parts, from more categories (chassis, gears, suspension, etc.) and you will have to find out the broken parts on your own.
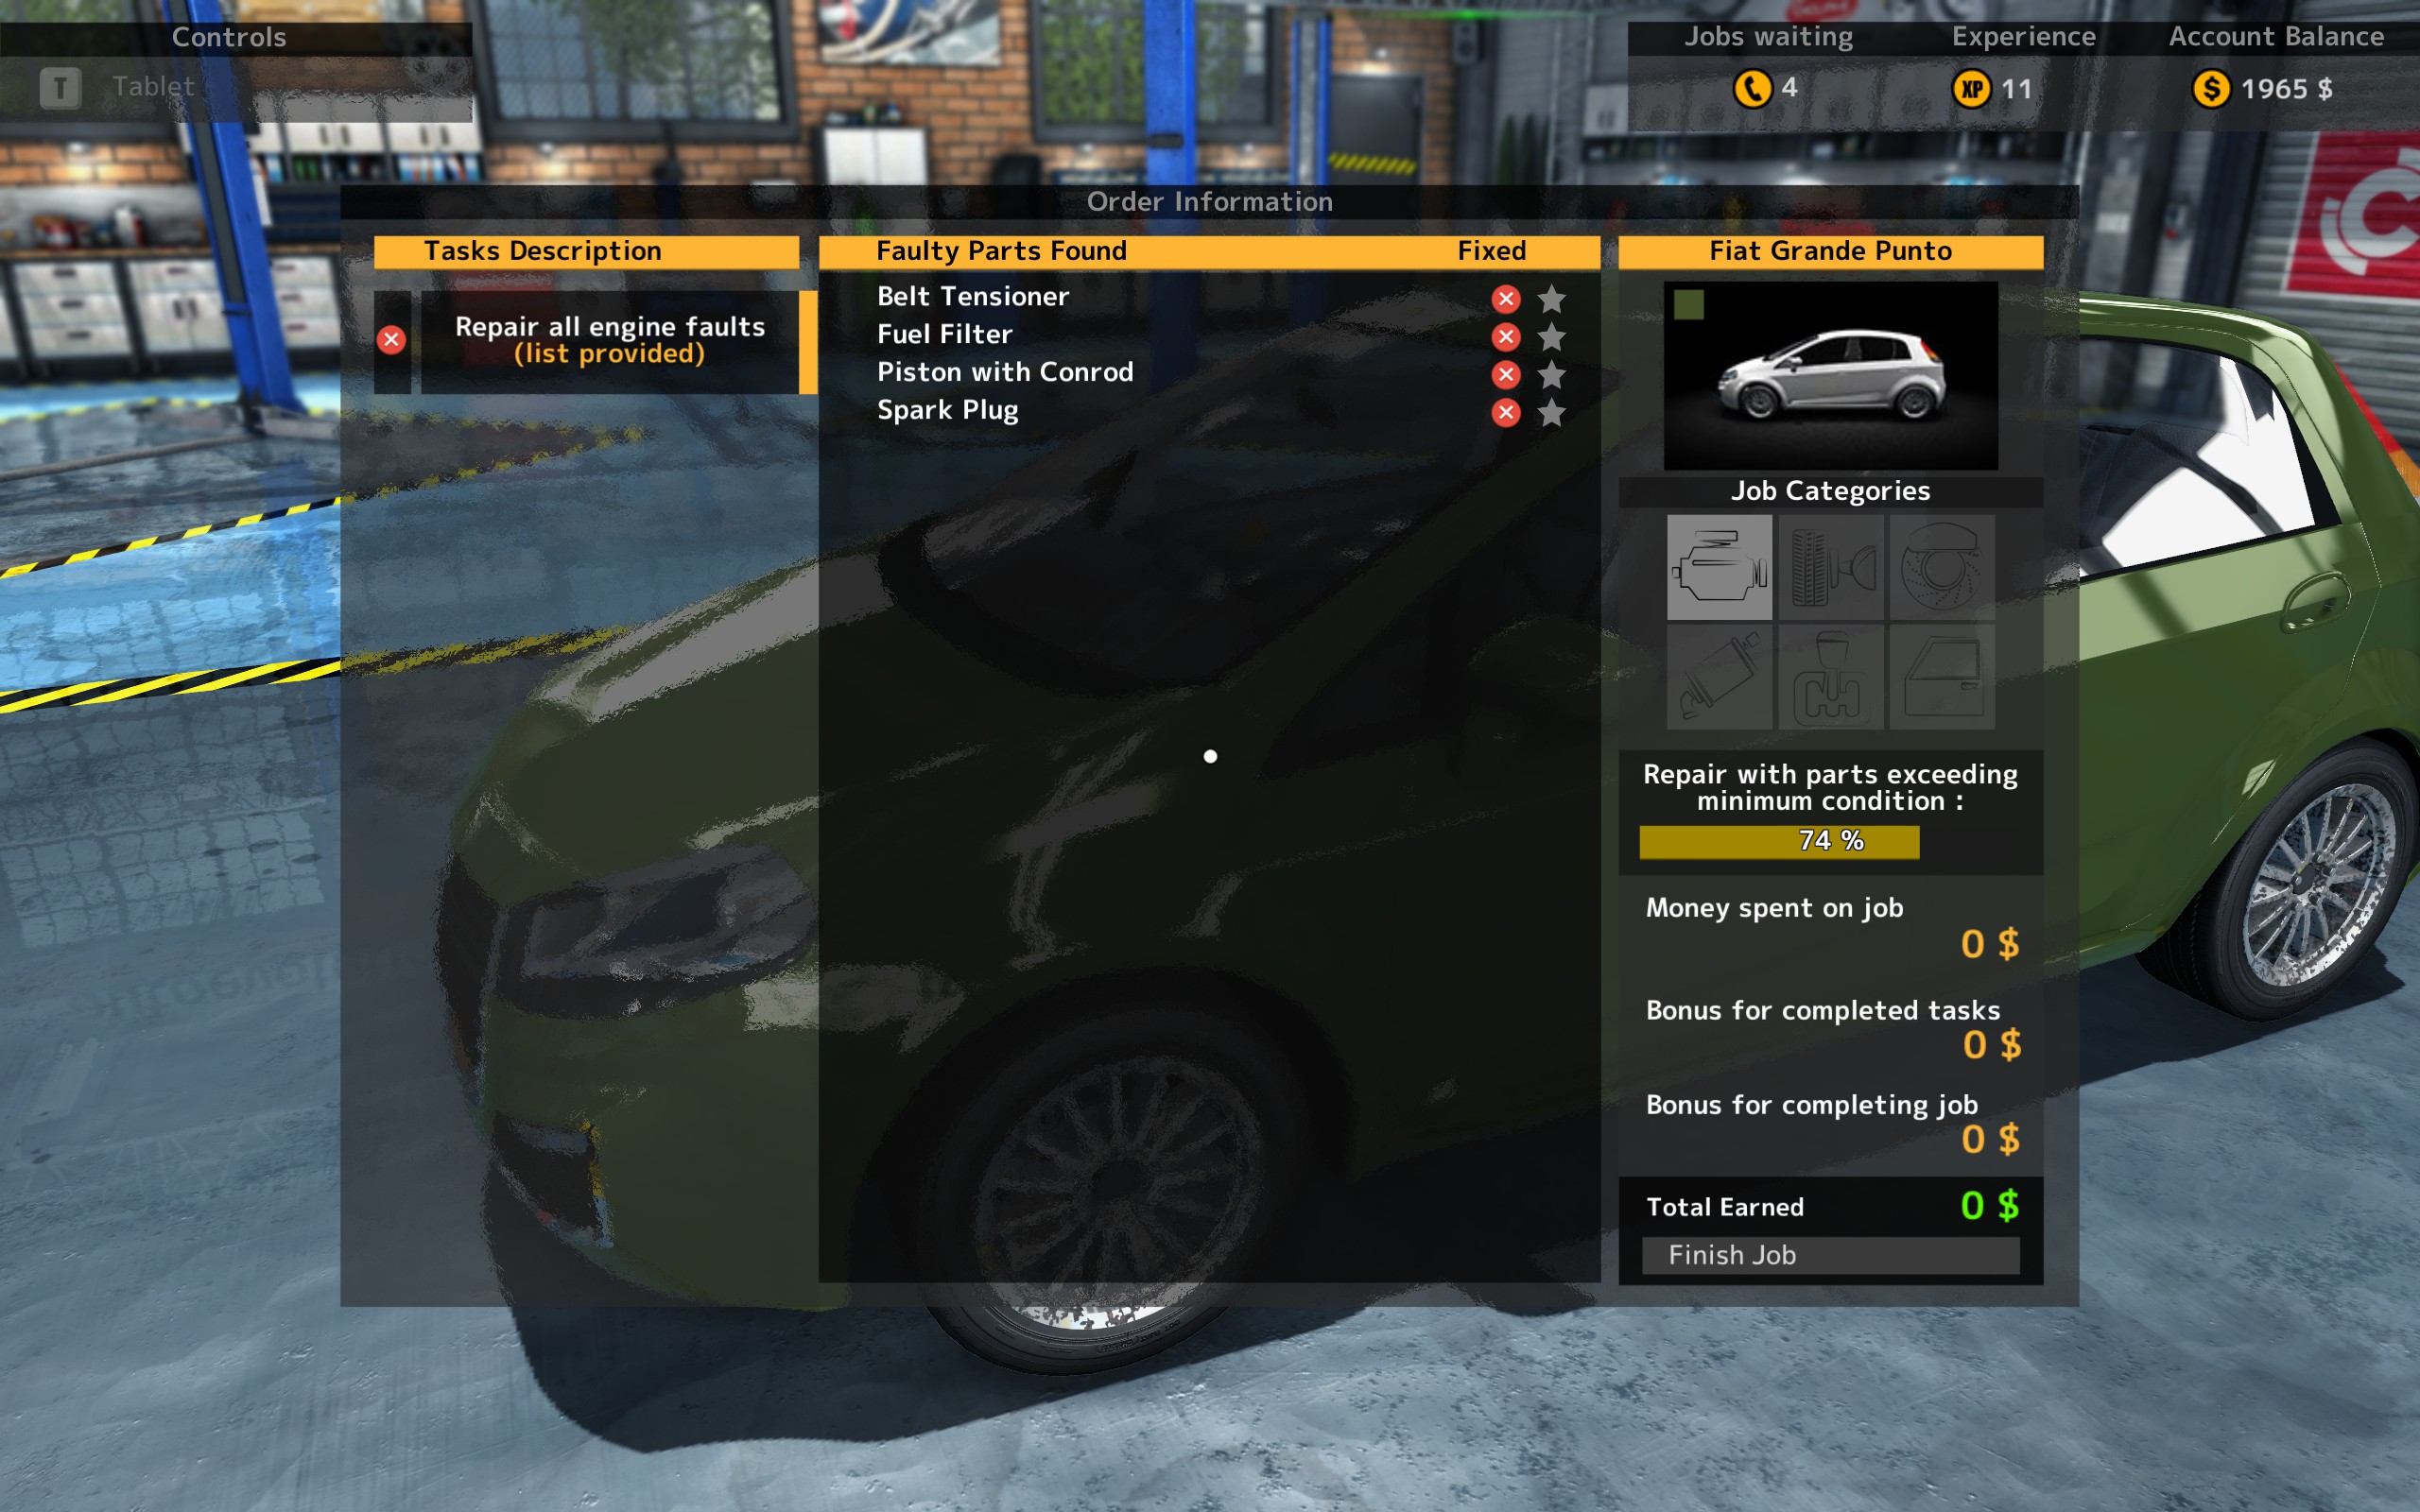
Important information you find here:
- Left panel: The tasks you have to do. Click one to see the faulty parts belonging to this specific task
- Center panel: list of faulty parts and their current repait status. For the job to count as complete, all parts and all tasks have to show the green icon!
- Right panel – job category (highlighted icon below the image): will give you a hint, where to look for the broken part.
- Right panel – minimum condition: highly important! Any part you install have to be at least of the percentage shown! Otherwise it won’t count as repaired! Be aware that when installing a used part, the %-value sometimes can be equal, but it won’t count anyway. Install a higher quality part instead. Parts bought in the webshops always have 100% quality.
- Right panel – costs: information only. For now just buy the new parts using the computer, install them and you’ll be fine. You will get all your efforts in return.
- Right panel – Finish job: click to mark this order complete, remove the car from your garage and transfer the mentioned money to your bank account. If not all repairs are completed, a warning will appear, that you lose your bonuses.
Sometimes, in more complex repairs, you might oversee a part and not assemble it back to its place. You will be notified about the missing part and job finishing will be canceled. If you’re missing more than a single part, only one warning at a time will appear, so you better be careful 🙂
Your first job: Execution
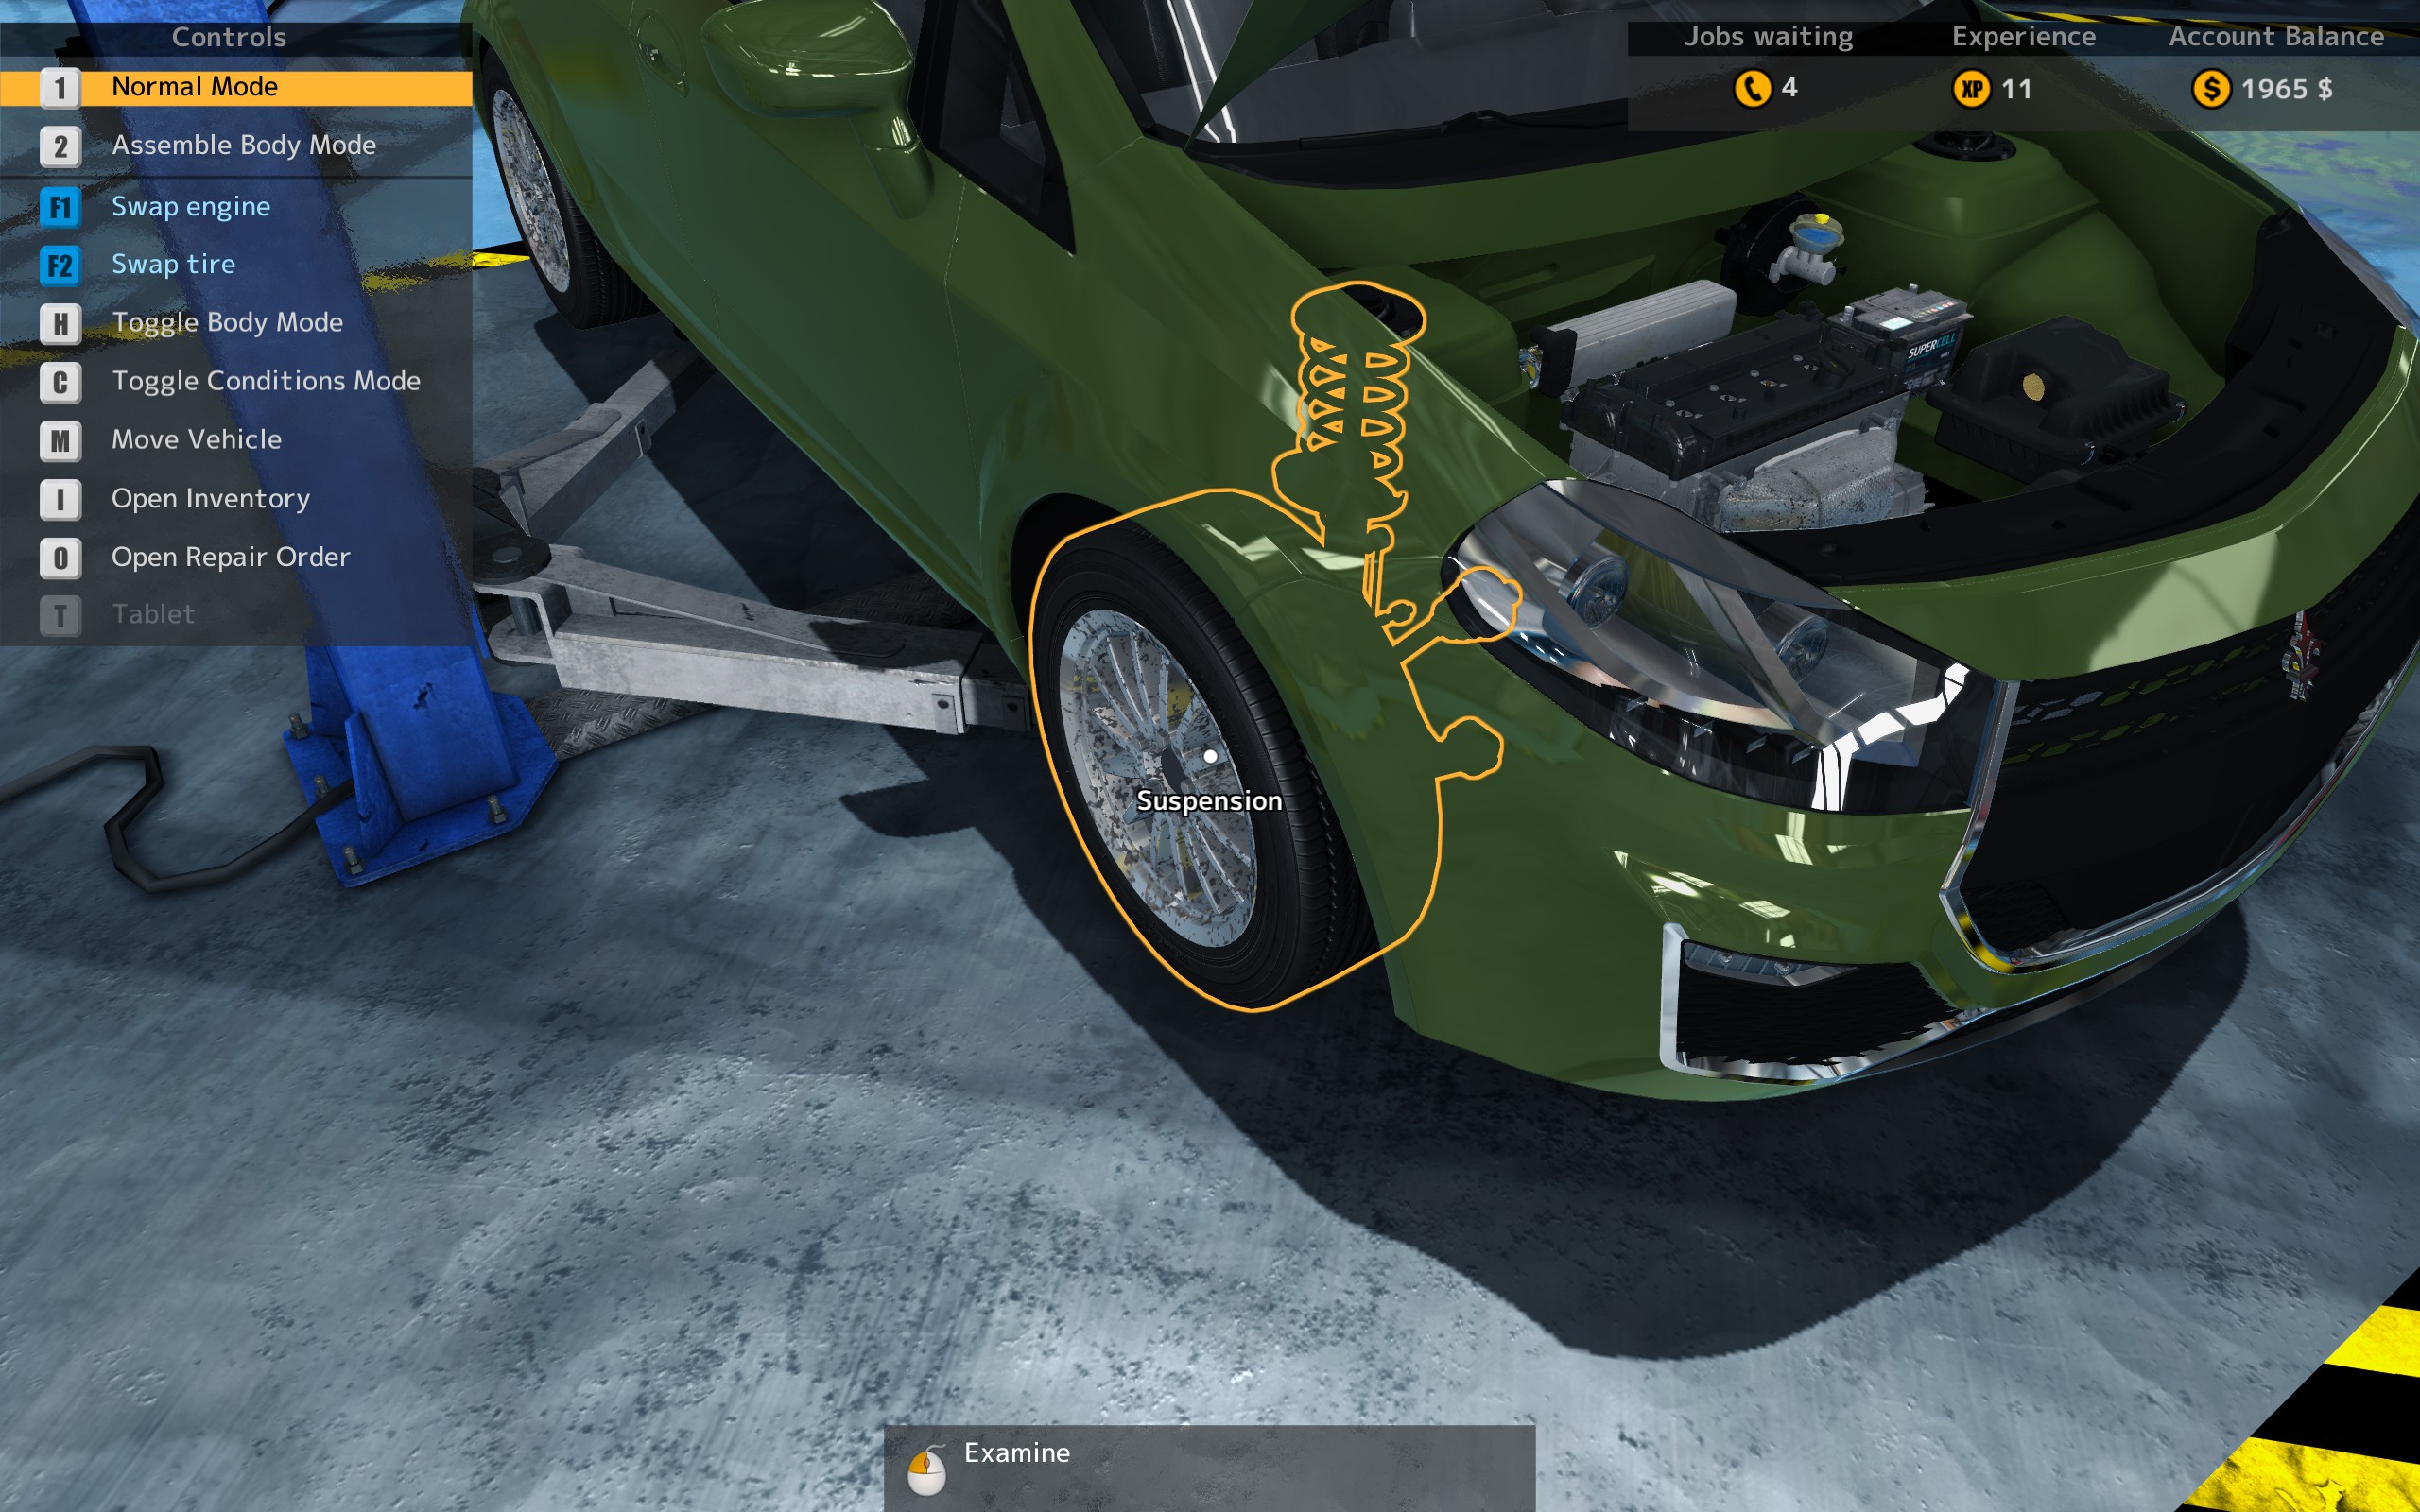
Most basic rule for all types of repairs (except chassis): To enter the Assemble/Disassemble mode, you have to LMB on the appropriate section first! Only then you can do anything here.
- For engine repairs, LMB on the hood to open, then LMB on the highlighted “Engine”.
. - For suspension repairs, LMB on one of the wheels. Even if a wheel is diassembled, it’ll still say “Suspension”. LMB on it.
. - As chassis repairs are not occuring that early in the game, I’ll spare the info for later.

In my order engine parts are to be repaired, so I click on the engine (the following holds true for all sections though). By entering a section, “Disassemble Mode” is automatically activated. Press “2” to activate “Assemble Mode” (not needed right now), activating “Disassemble Mode” again, press “1“.
You will be zoomed in and chassis will made transparent. Look around by using WASD to rotate the camera. Hover the cursor over various parts to see their name. LMB on a part to center the camera on it; rotation will now be done around this point. Holding RMB will disassemble the part.
If other parts light up red when hovering and you hear a “meep”-sound when trying to disassemble, know that the selected part is “blocked” and the red marked parts need to be disassembled prior to disassembling the one you want.
Note, that the blocking part itself may be blocked by other parts as well, so it might take some time until you find the first item in the “blocking chain”.
A hovered part will be bordered and the color of the border indicates:
- green: the part is not blocked by other part and can be disassembled right away
- yellow: the part is blocked by other part(s), which need to be disassembled first
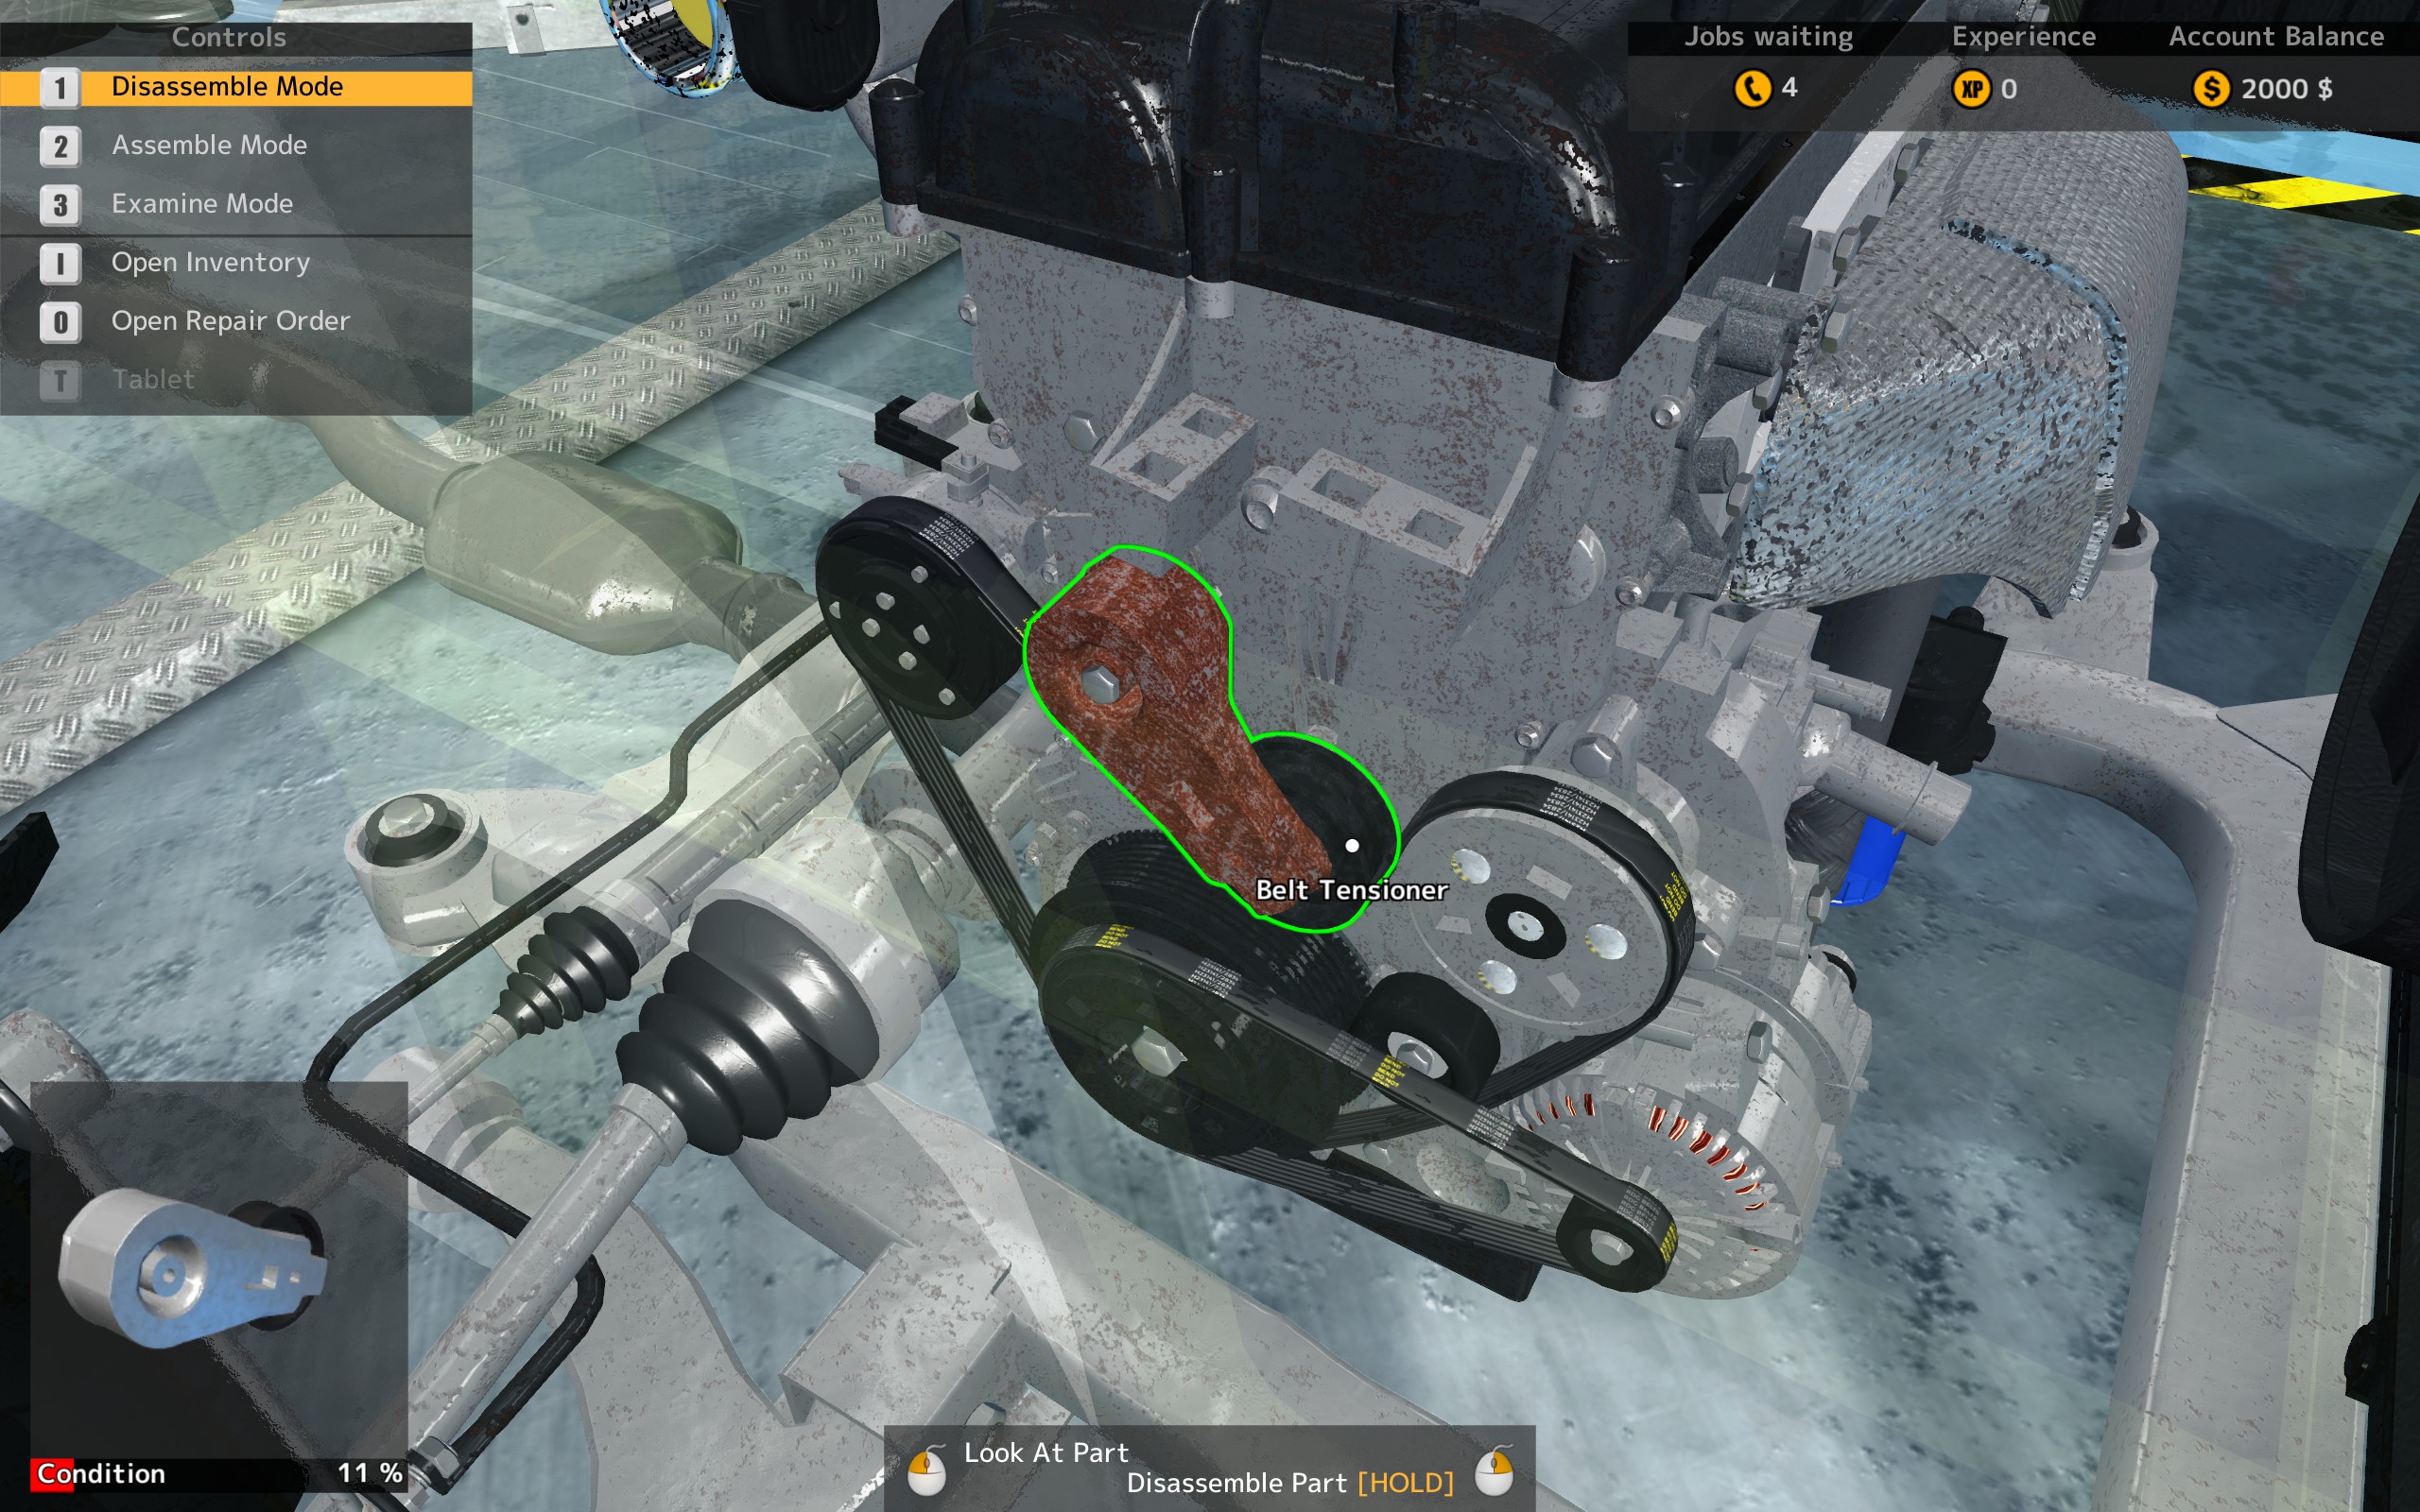
Example: to disassemble a Serpentine Belt, point to it.
You’ll see Belt Tensioner lighting up red and our Serpentine Belt is bordered with a yellow outline. So point to the Belt Tensioner now and note the green border around it.
Hooray, found the start of the chain! 🙂
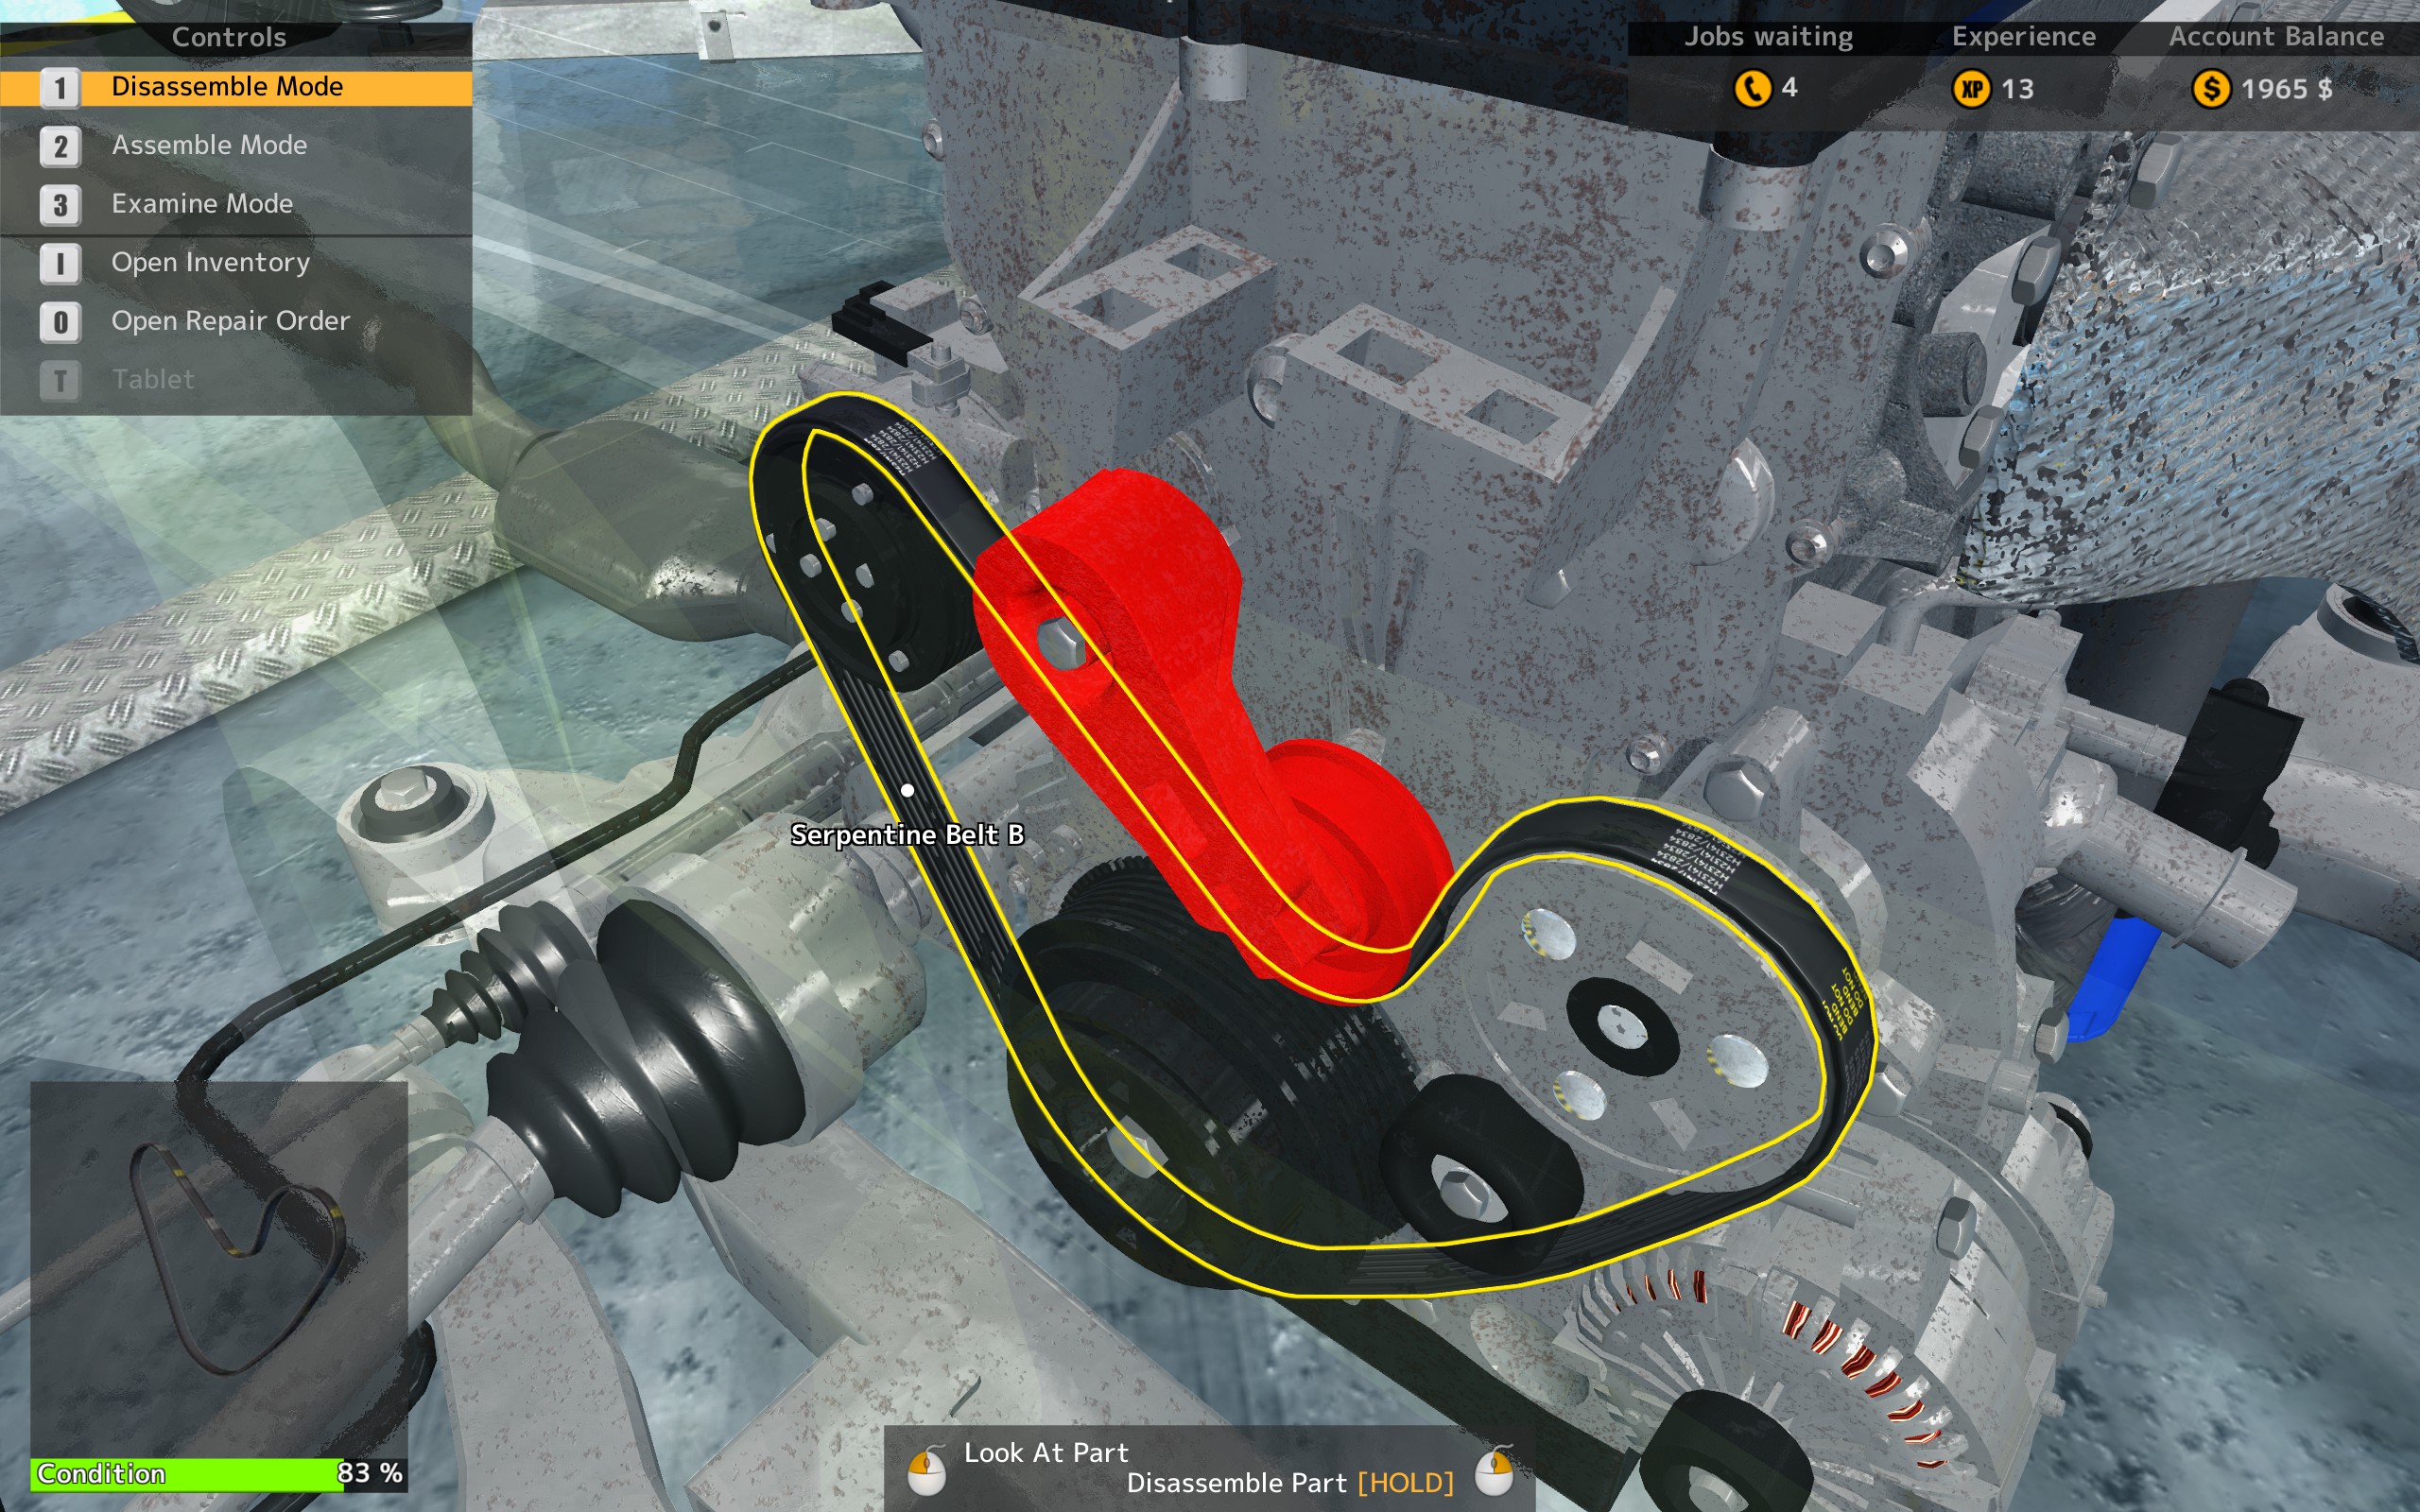

Disassembling is easy: hold RMB – hold and wait until the circle runs full. You’ll now see a screw light up, hold LMB on the screw to unbolt it. As the blocking part is now removed, point to the Serpentine Belt, hold RMB again – done.
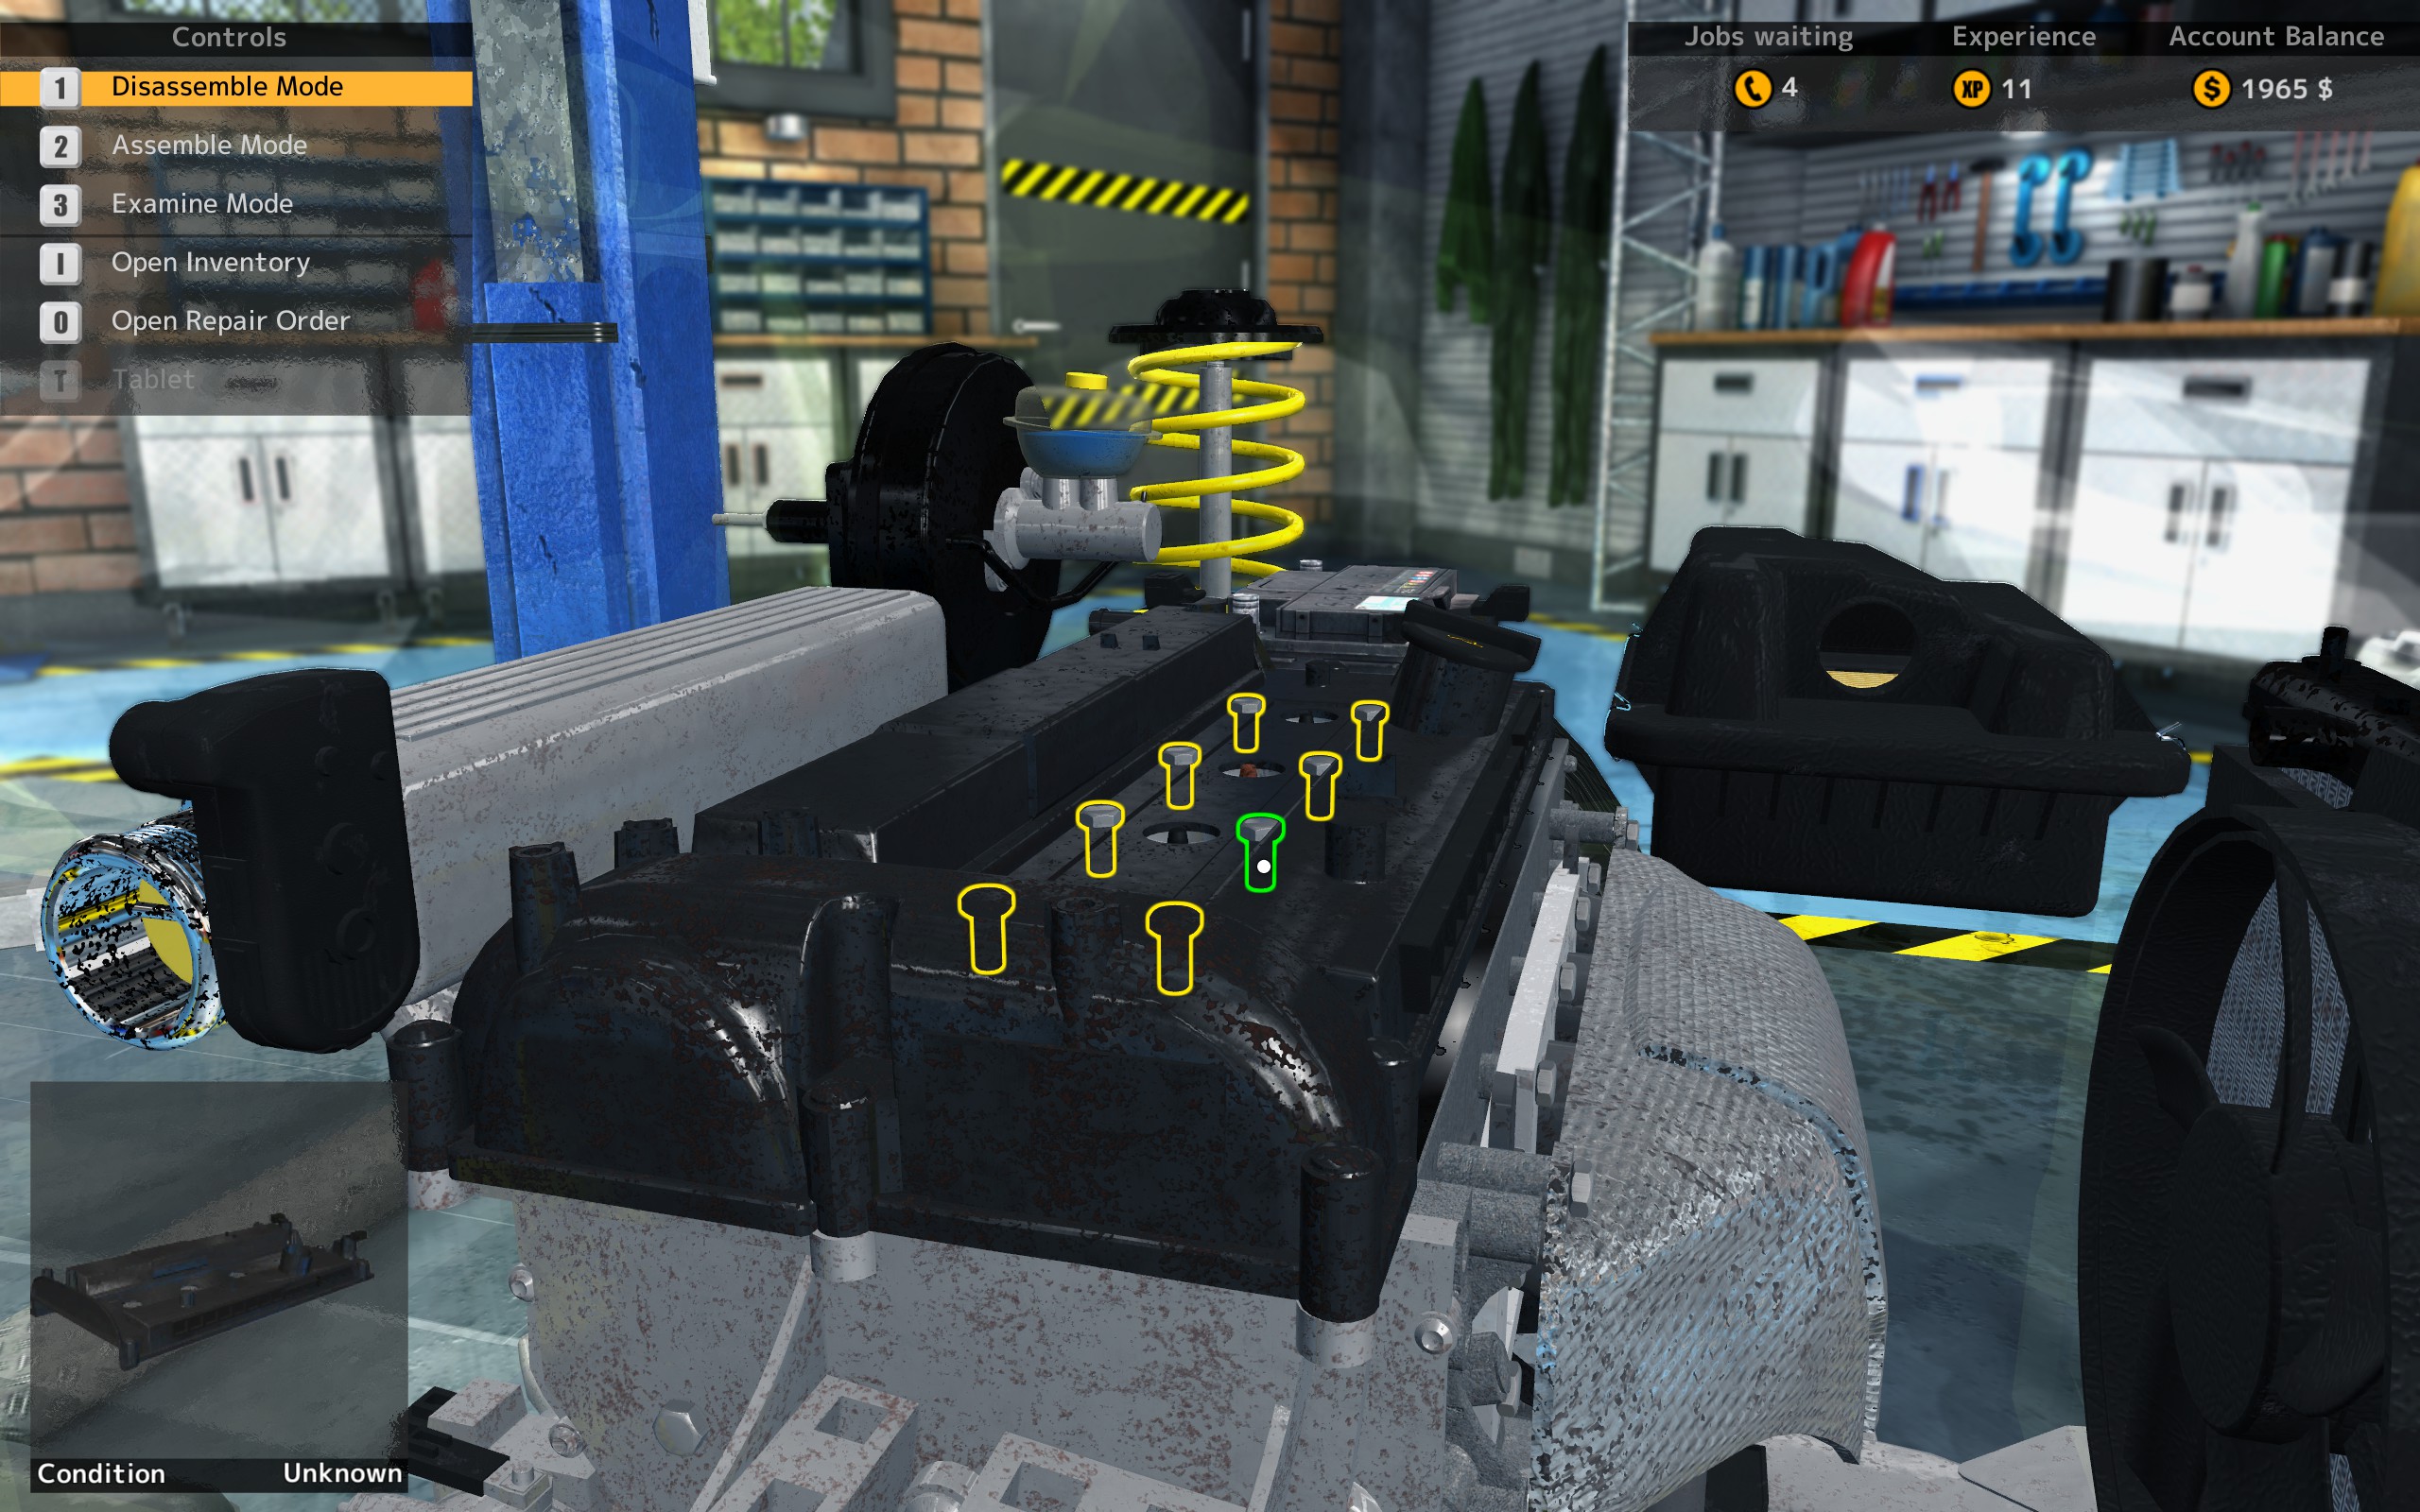
As you’ve just noticed in the example, there are parts that can be removed right away and then there are ones being fixed with screws, that need to be unbolted first to complete the disassembling process. As you’re playing a normal mode profile, all screws are highlighted with a yellow border. In our example the part had only one screw – here’s a sad example of a part having more than a single one: 😉
.
As you’re playing a normal profile, you can also “unbolt through other parts”, meaning you don’t have to move the camera to see the screws. As long as you LMB on the screw outline, it’ll work. If not, try moving the camera so that you can see the screws, then try again. It should be easier now. Note that all parts you’ve disassembled will be added to your inventory (press “I” to bring it up).
If you’re having trouble finding the parts mentioned in your order:
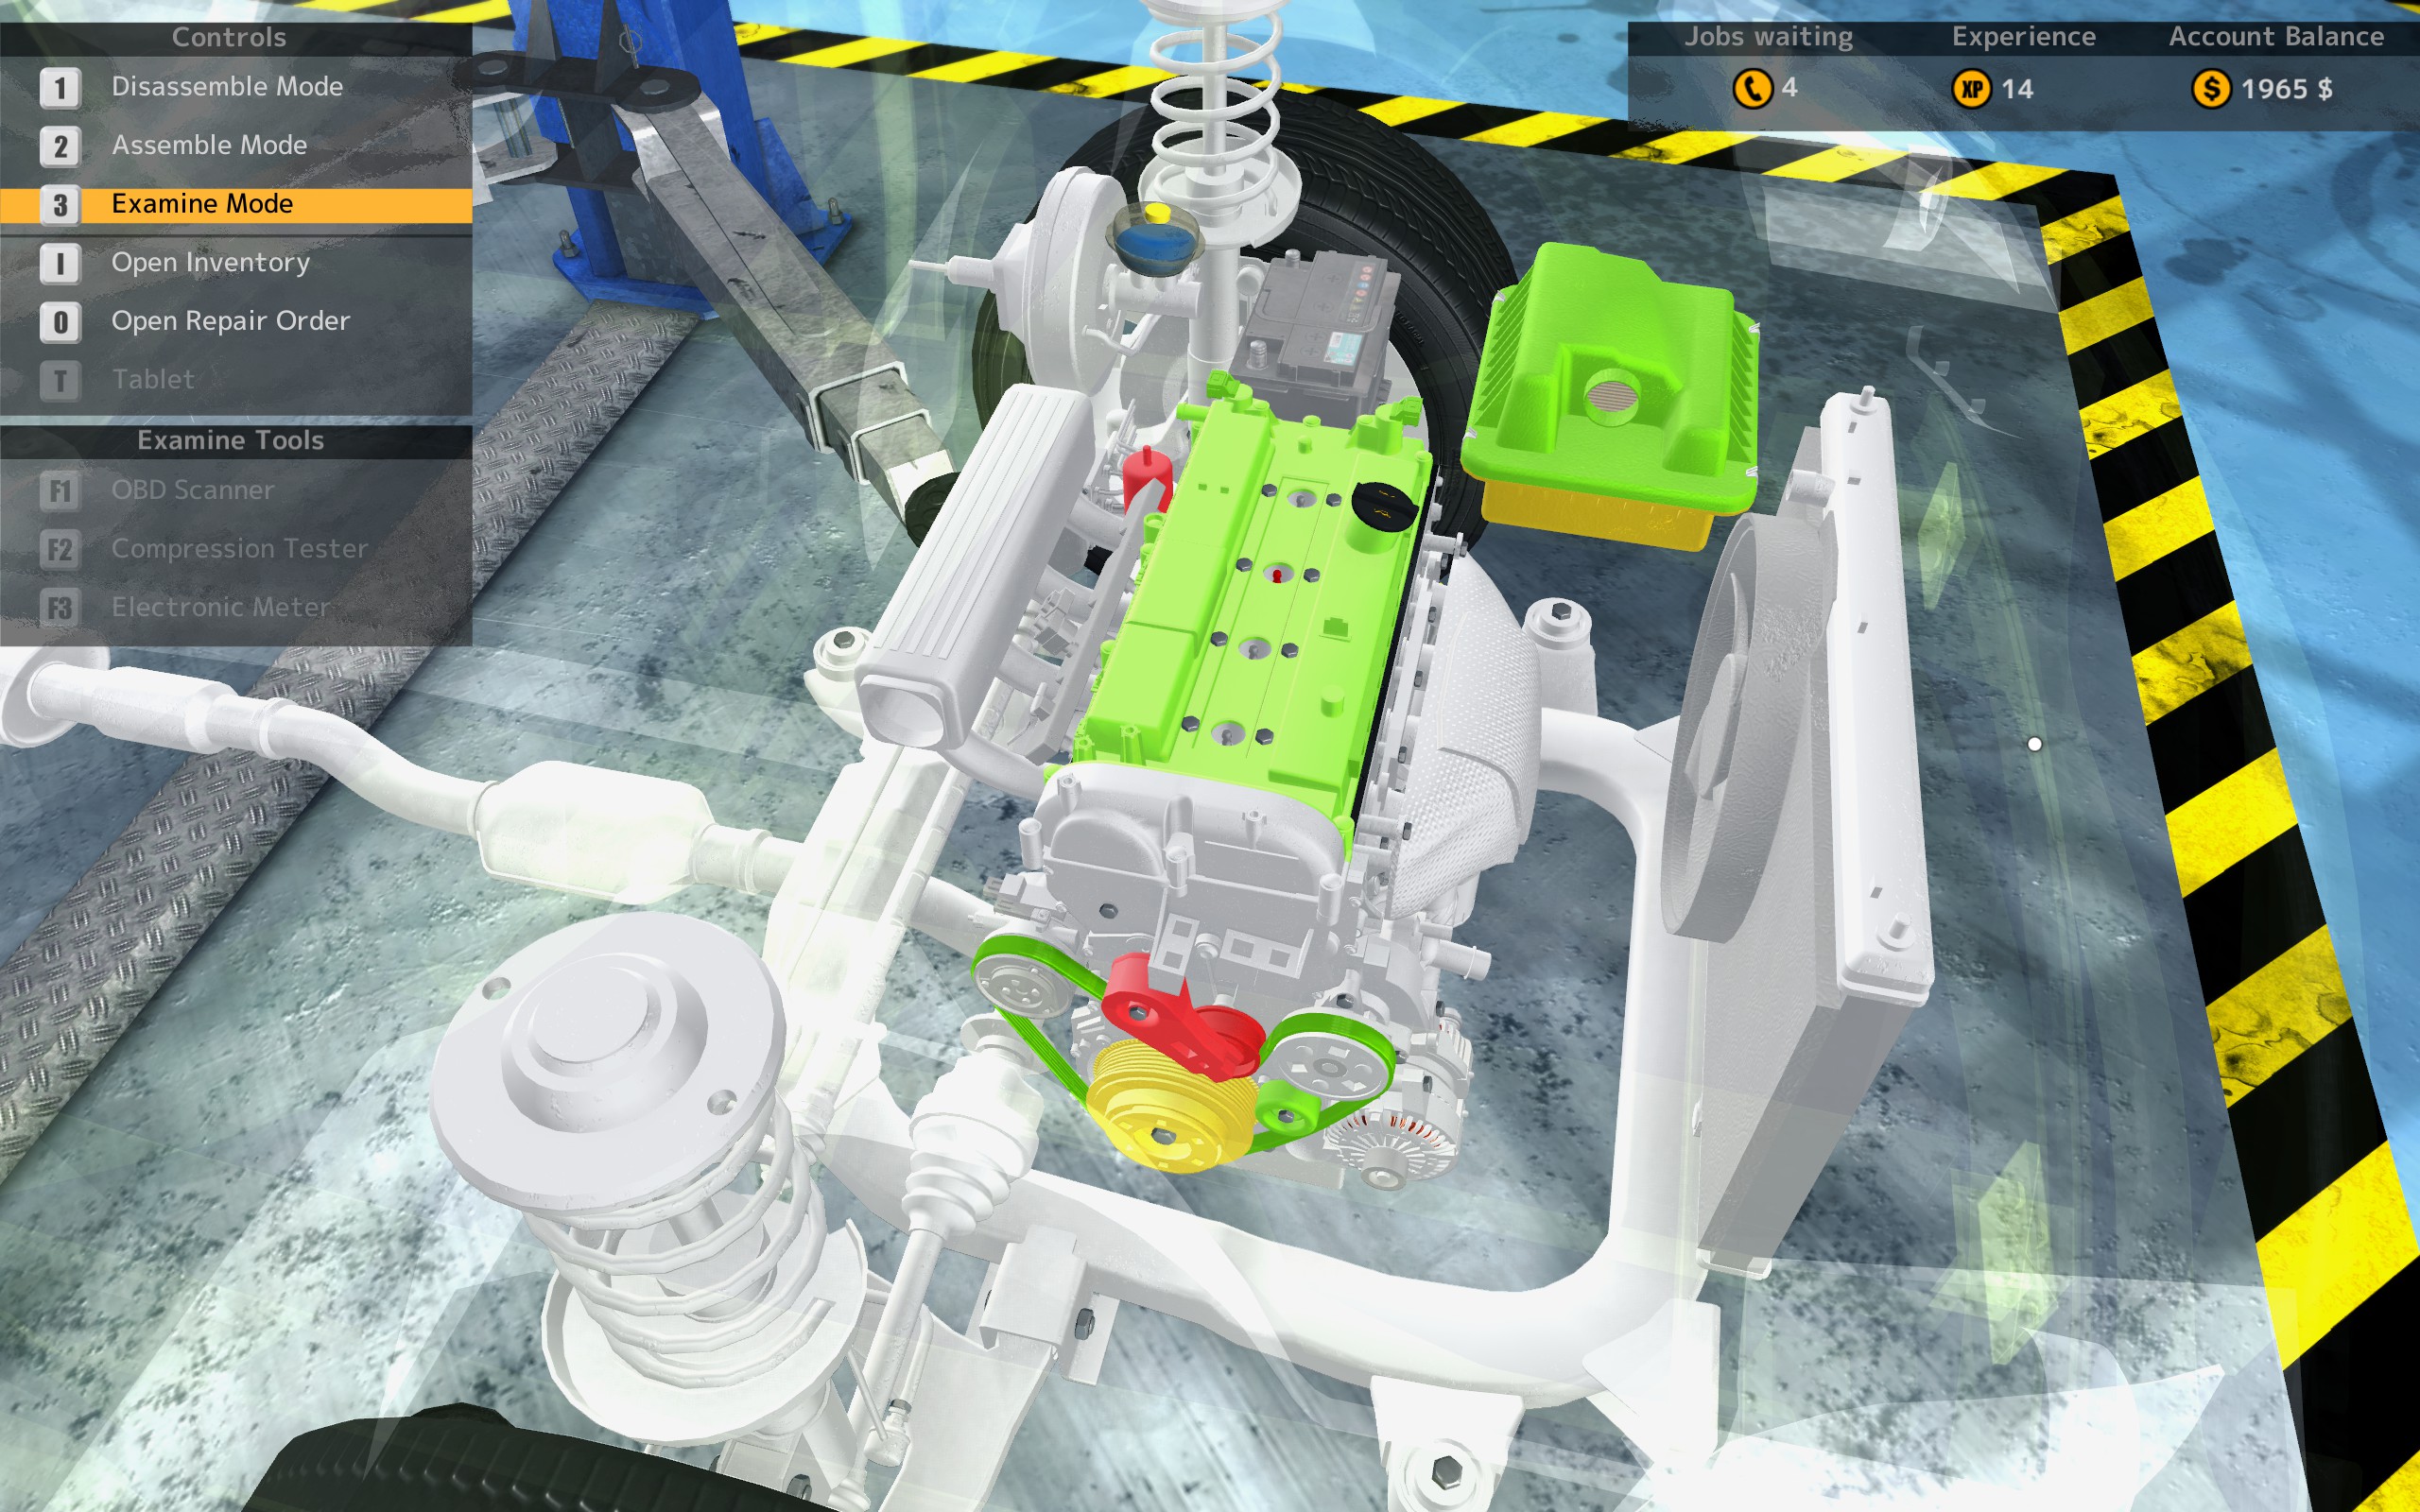
- easiest way, especially now in the early game, when the faulty parts are specified in the order: activate the “Examine Mode”. You already know how to switch between assemble and disassemble modes (press “1” and “2” respectively). There’s another mode you can switch to (press “3“) and this will color your parts from green (good) to orange (OK’ish) and red (faulty). Parts whose condition has not been checked yet, will appear in white. Those red parts are the ones you’re looking for!
(I’ve examined some other parts as well to show you the color palette) - use logic; you won’t find brake disks in the engine bay 😉
- take a look at the order (press “O”) and look at the highlighted icon below the car portrait. It indicates the section where the part is located
- memorize the name of the part, go to the computer, enter the name of the part in the search box and see, how the part looks like. Chances are, that you recognize its look when back at the car
Pro tip: when WASD-ing, check for rusty parts, such as this one:
.
If you’ve removed the faulty part from the car (or more), press “ESC” several times until you’re back in movement mode. Go to the computer, load the parts webshop, search for the exact same part and order it by LMB on it. Be careful, sometimes there are various versions of the same part available, either for DLC cars or different motor types. You’ll e.g. find an oil filter for an I4 motor, for V6, V8, W12 etc. Double check before buying to avoid depleting your money too early.
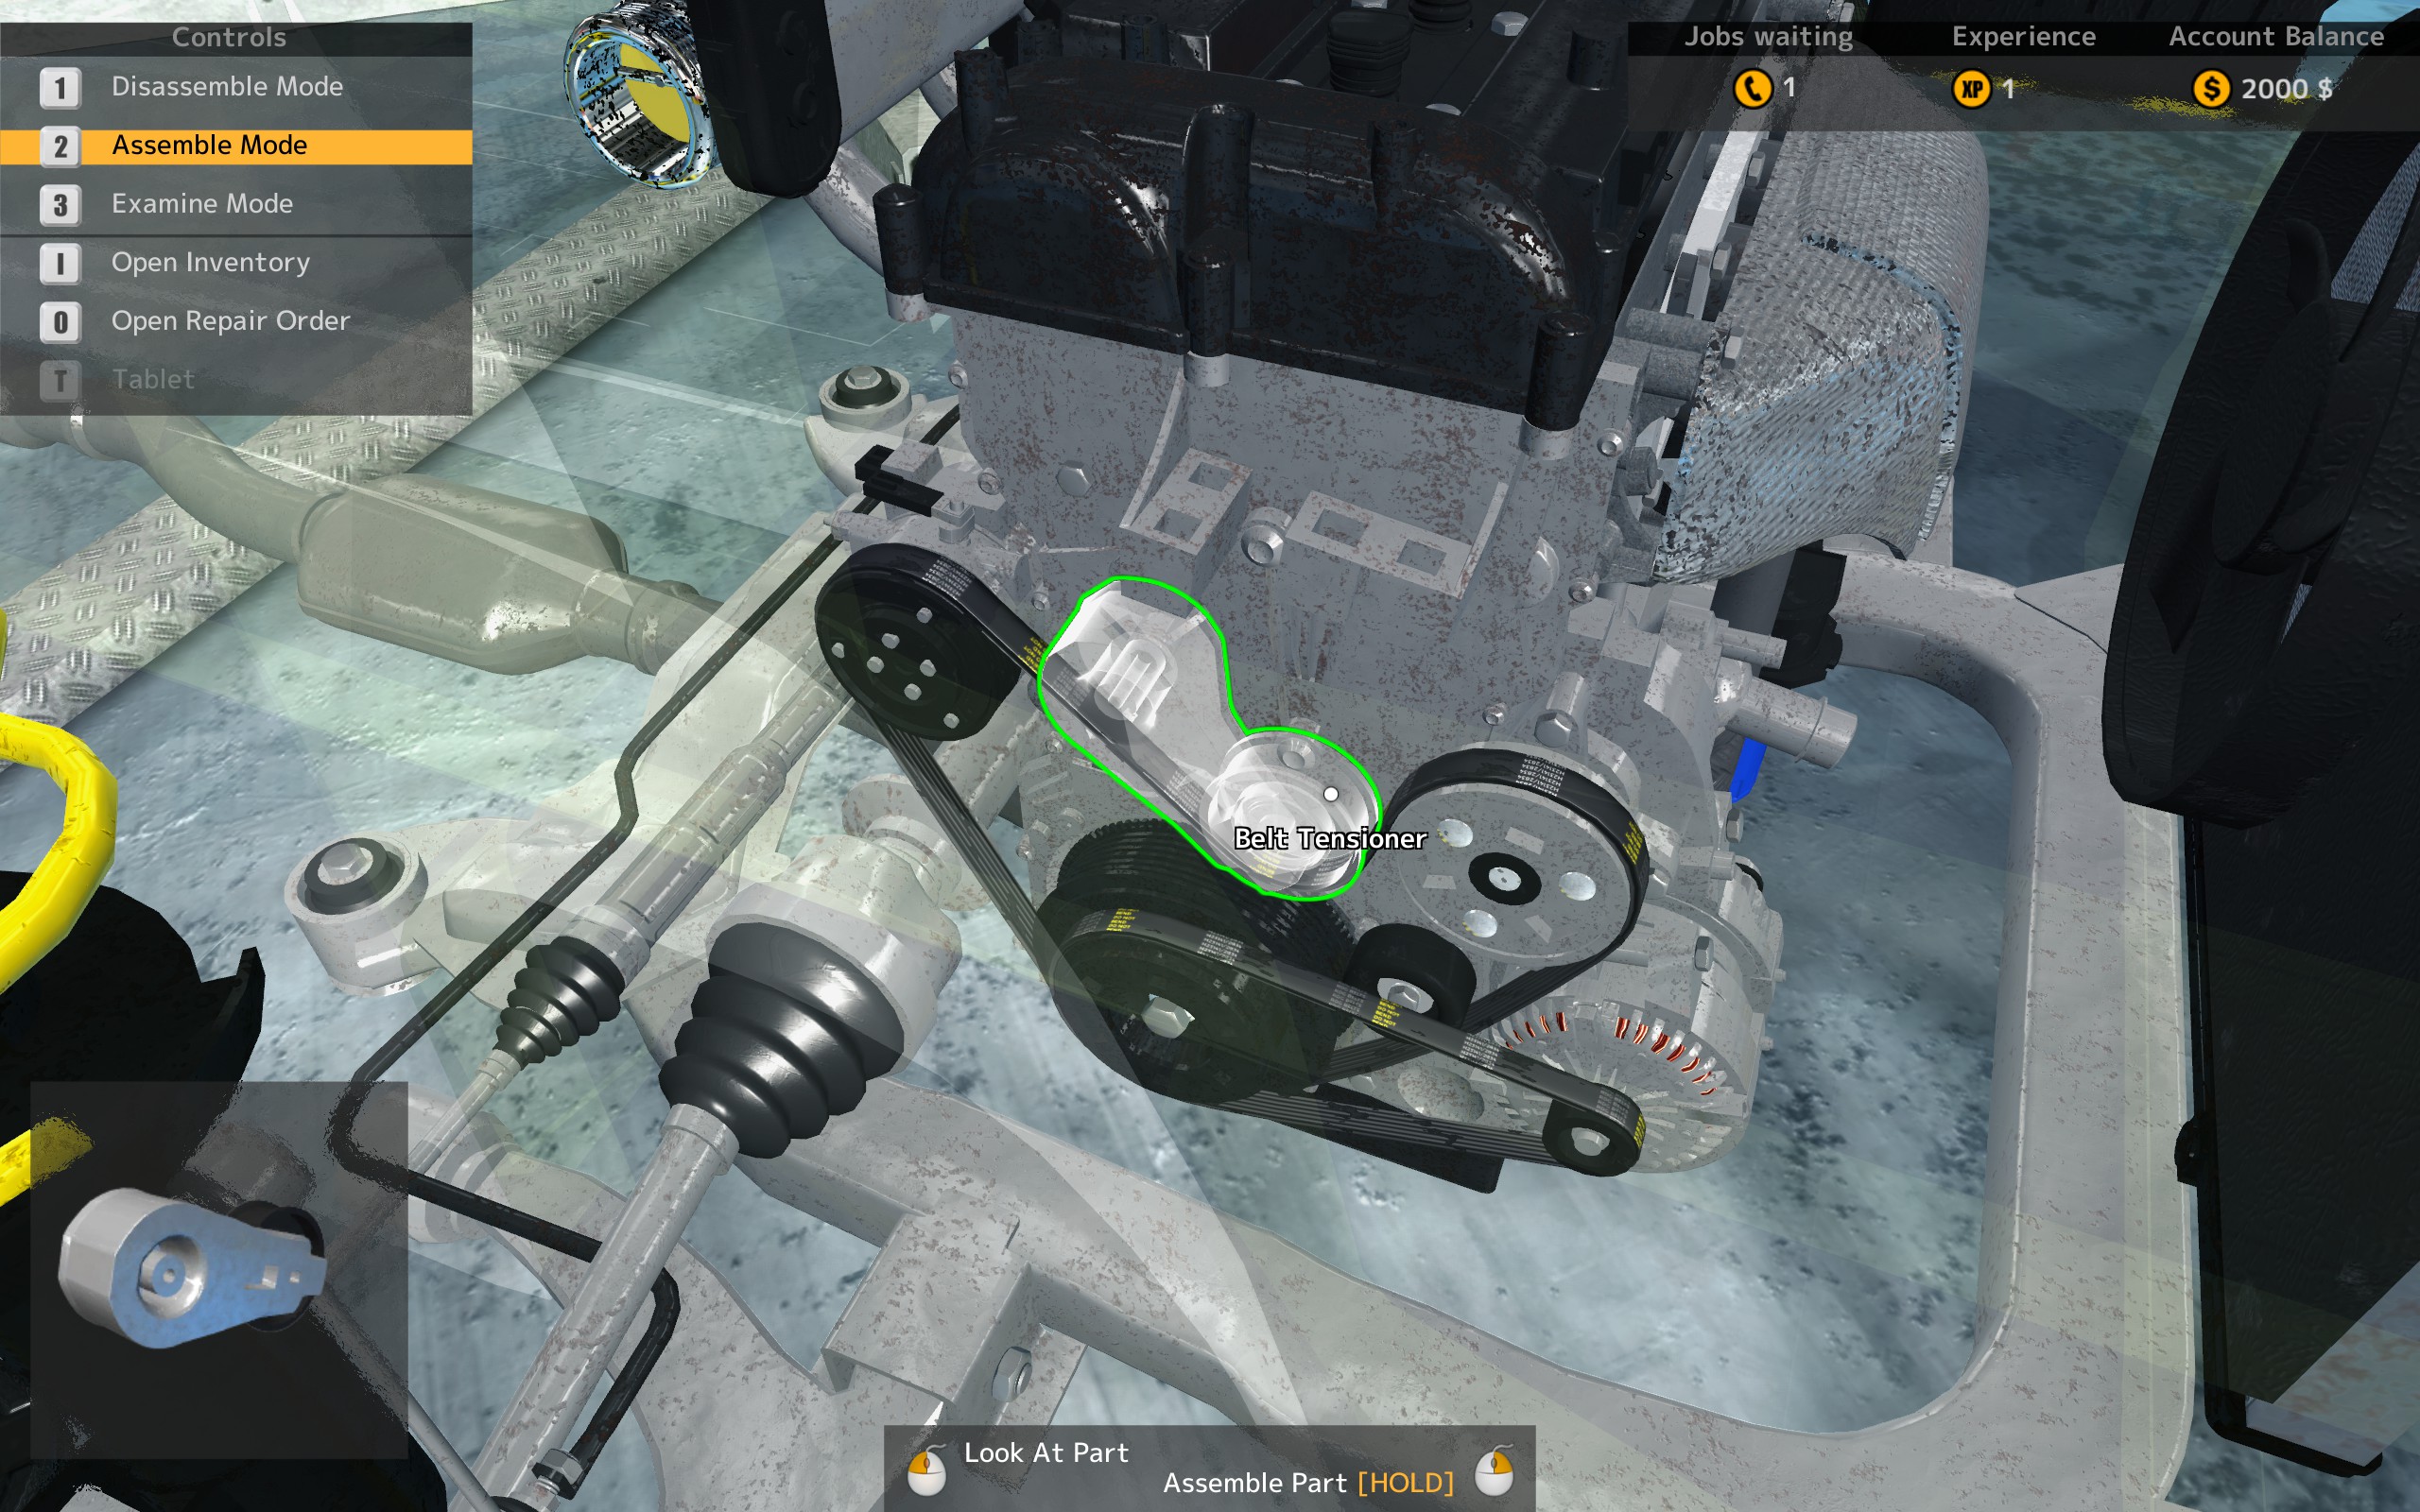
Go back to the car, LMB on the section you want to install the new part in and press “2” to switch to Assemble Mode. All disassembled parts will now be shown with a semi-transparent silhouette.
.
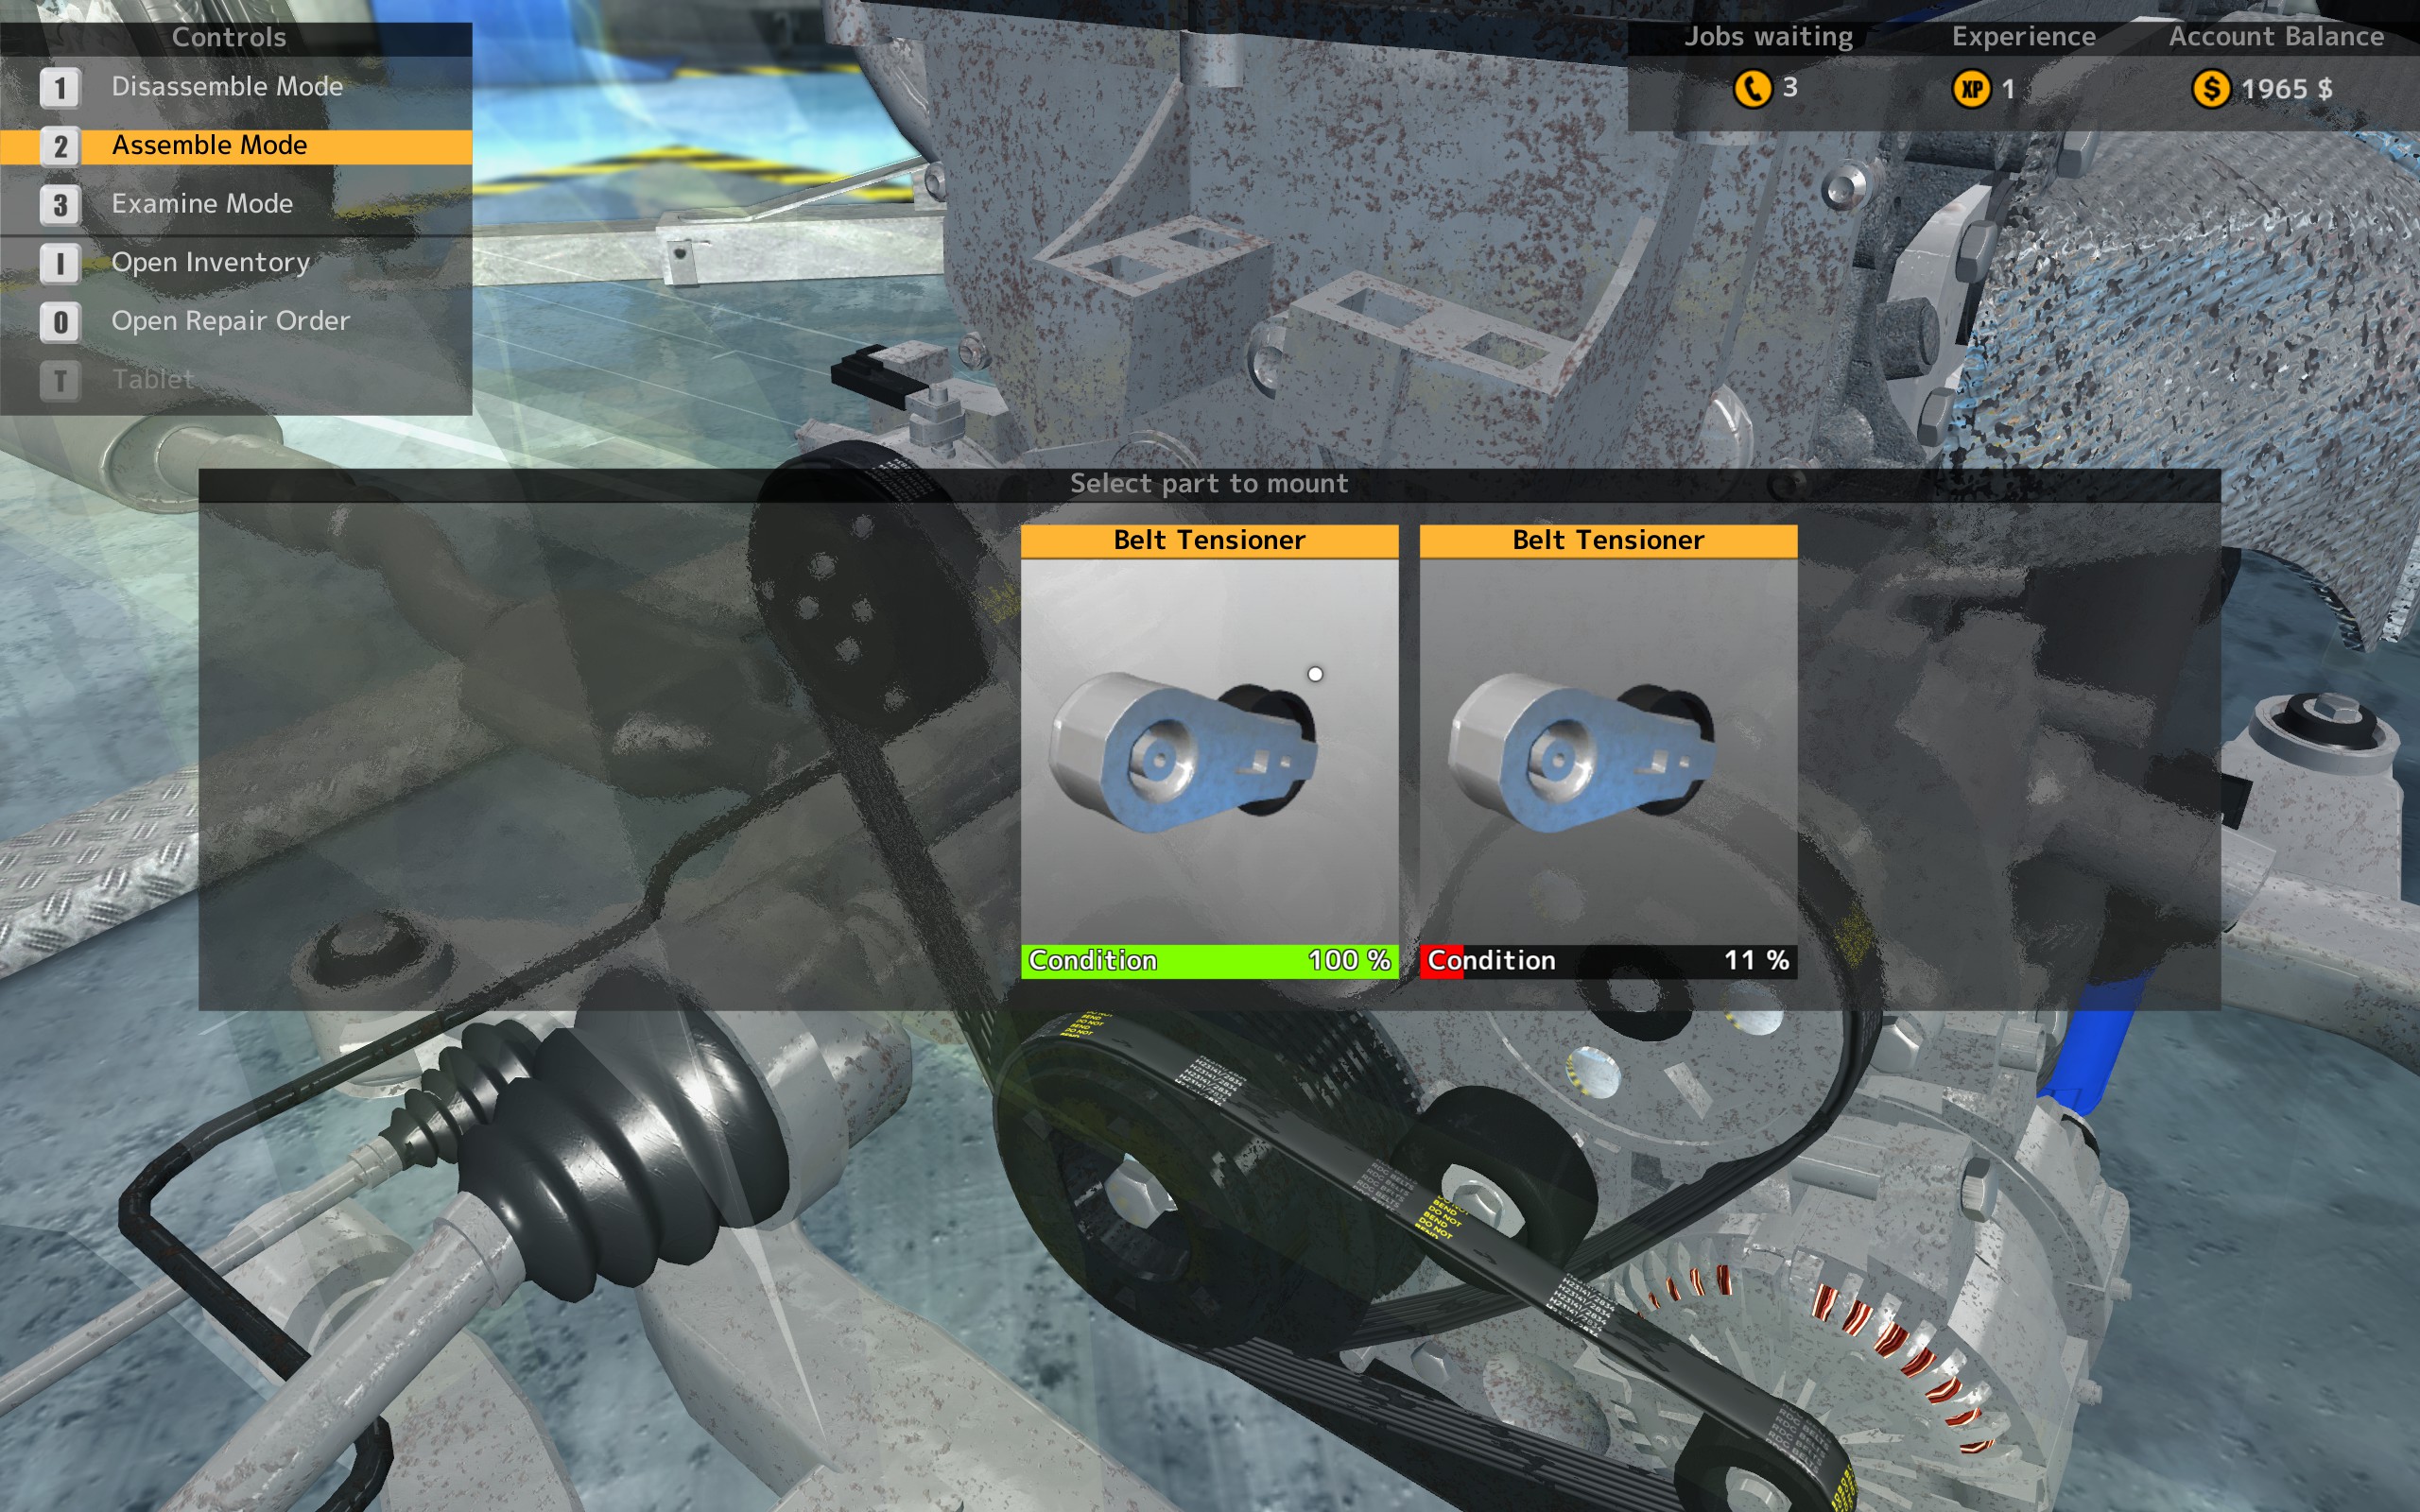
RMB on the silhouette will bring up a selection of available parts.
.
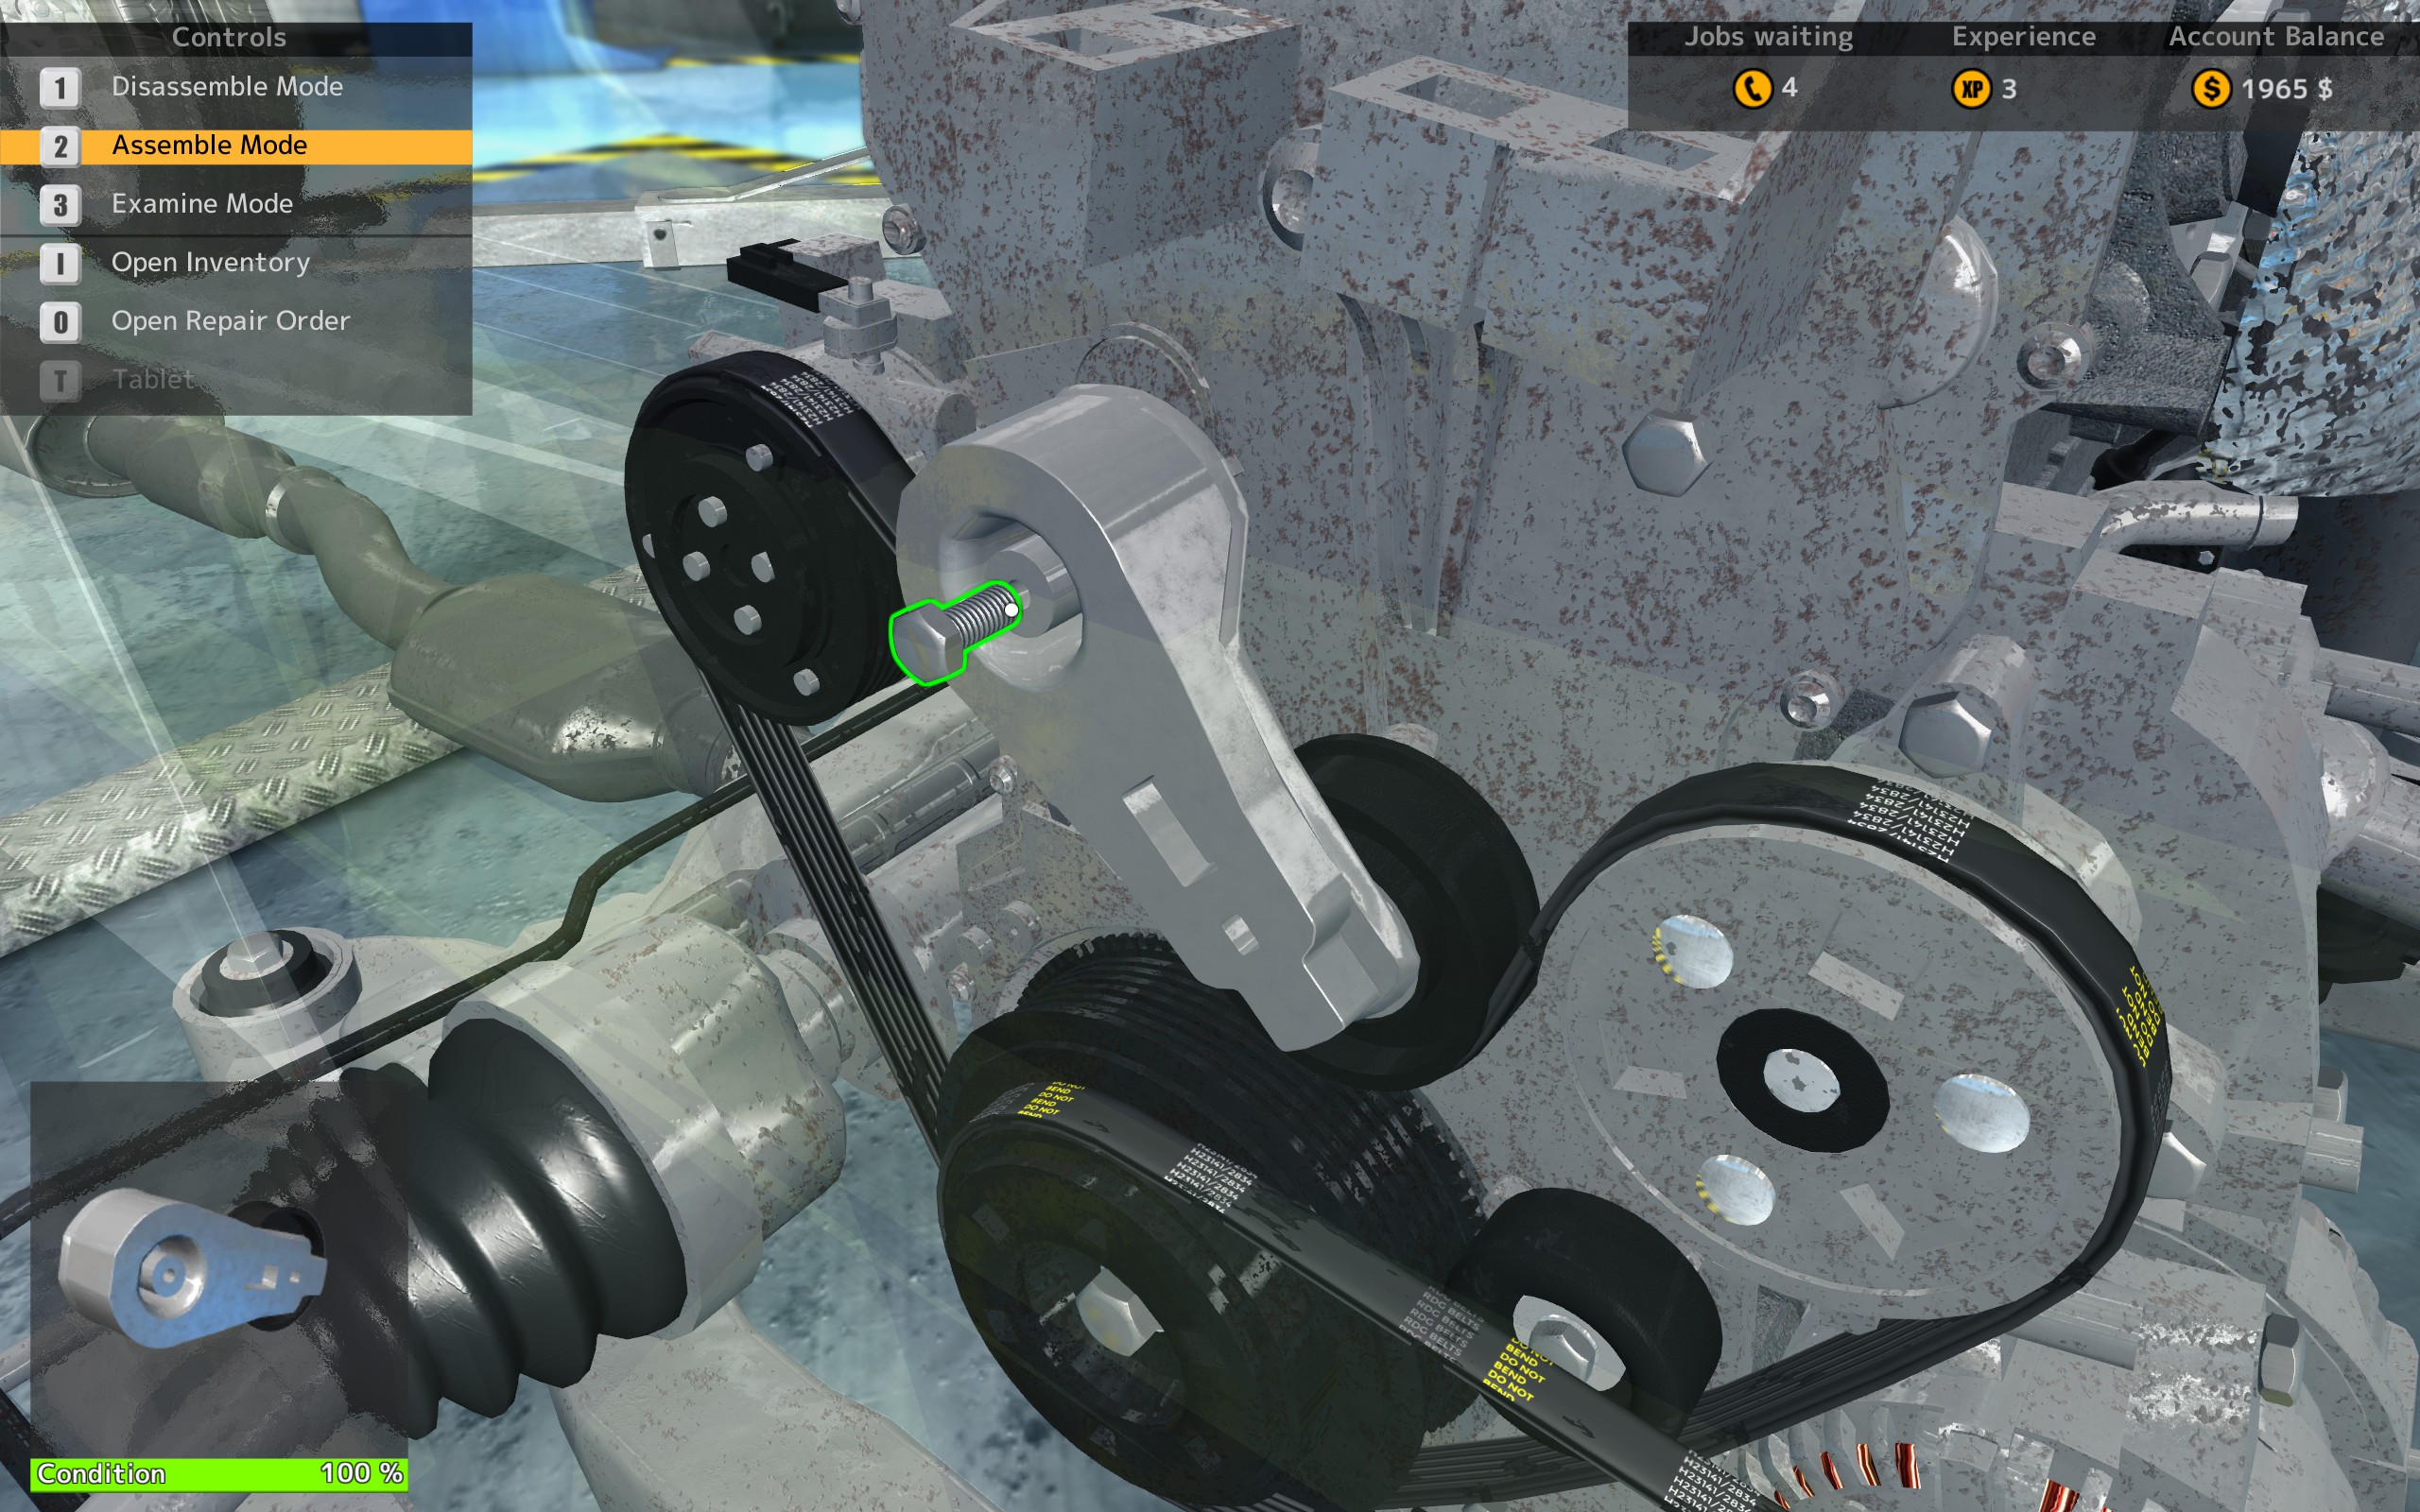
Pick the right one and screw all the screws to complete the assemble process. The part is now removed from your inventory.
.
Voila, your first part is repaired! Continue with all the other faulty parts, if applicable, check your order (hit “O”) for all parts being marked with the green OK-sign; when they – finish the job and enjoy your first earned $$$ or €€€. Not much though, but – hey, this is your first job! 😉
Further into the game…
So the first bloody steps are taken, and you’ve got a basic feeling of how everything fits together. Let’s go over some more advanced things.
As money is always a topic, my first advanced info covers the money you spend on parts and what appears on the bill when you finish the job.
When you buy a new part in the webshop and install it, you’ll get the full price of the part in return. That holds true for a $6 spark plug as well as for a $2,500 motor block. Period. Don’t worry about the money when spending it on expensive parts, your costs will always be covered. Even when you finish a job uncompleted, all your spendings will be paid.
But how does that work with parts that are not of 100% quality, like ones that you retrieve from the Scrap Yard or cars with a high quality level*? Then the percentage value of the quality is applied to your financial result as well, meaning: if you install a part having a quality of 80%, which e.g. factory-new costs $100 (in the shop), it will appear with $80 on your bill. 60% –> $60 and so on. But when selling it from your inventory, you’ll get the same amount credited to your bank account – immediately! – so there’s really no need to store massive amounts of lower quality parts, hoping to install it in a car with low quality requirements. It’ll only decrease the performance of the game and to such a degree, that the game will ask you to sell some parts, if you have 500 or more in your inventory.
Lower quality parts will get interesting once you come in the 6,000 – 8,000 XP range. More relevant information please find in the “Repairing”- and “Spending you XP”-sections below.
If you advance into the game, more and more often faulty parts won’t be any longer specified in the order and you have to find them on your own. The ways to examine the condition of a part:
- Disassemble the part: upon disassembling a part, it’s condition it automatically recognized and you’ll get a small notification box for a few seconds in the lower right corner of the screen, containing its name and condition.
- use “Examine Tools”. Examine tools consist of an OBD Scanner, Compression Tester and Electronic Meter. Each of these tools checks a variety of engine parts on their condition and displays the results in a list after completion. Note that you have to enable them first using “Upgrade Points”, see “Spending you XP”-section below.
- use “Old Factory Test Track”. While the Examine Tools check motor parts, test track will primarily test suspension, breaks and gear parts. Later on you can move your car to the Test Path as well, which will speed up the diagnosis process.
This one’s pretty similar to the way internal part are repaired: point to a chassis part with your mouse, RMB will remove it and put it in your inventory.Still pointing at the – now missing – part, press “2” to switch to Assemble Mode, see the semi-transparent silhouette and RMB on it to bring up the list of available parts. LMB on the one suitable and finished. Note that when you move your mouse pointer away from the car and back to it, you’re in (Chassis) Disassemble Mode again.
I personally like chassis repairs a lot, they’re easy to do (no screws!) and have a good potential to earn money (see Repairing-section).
Spending your XP
For every 1,000 XP, you’ll be granted a so called “Upgrade Point” (UP). You can spend this point to acquire new tools, learn new skills or pimp your garage visually. As I’ve found the description not too helpful, let me share my thoughts on how to invest your upgrade points best.
Note: unlocking rooms like the Paint Shop or Parking Lot will not deplete your upgrade points.
- 1,000 XP – UP 1: Tablet. You’re probably somewhat annoyed by always running circles between your computer and your car, if you want to order a new part. Getting the tablet will make your life so much more convenient, that I even recommend it over the tools that help you earn more money.
Go to one of the red Toolboxes standing around and LMB on it. Tablet is the last of the “General Tools” in the left column.
Usage: press “T” at any time (except when you’re currently assembling/disassembling a part) to bring up the tablet. It gives you the same functionality as the computer, but you don’t have to leave the spot you’re currently working on any longer.
- 2,000 XP – UP 2: there are various ways you can go forward from here, but I recommend spending UP 2 on “Fast unbolting”. This will decrease the time to unbolt to roughly 1/3 of the original time. And as you do A LOT bolting/unbolting, you’ll never want to live without it.
Another option is to start investing points into the Repair skill, but as you need another 4,000 XP to really make use of it, I would not recommend it at this point.
The last “valuable” way of investing points here is, if you have heavy trouble finding faultly parts and you’d like to have some assistence. Then pick one of the “Examine Tool”. Each of them checks a variety of parts for their current condition and displays the results after performing the check. You can then easily spot the parts in “Examine Mode”. If you’re watching out for the more rusty parts (as described above), you shouldn’t really need them. Just want to mention it for the sake of completeness.
Note that “OBD Tester” works on modern cars only, while “Compression Tester” and “Examine Meter” can be used on any kind of car.
- 3,000 XP – UP 3: “Fast Assembling/Disassembling”. You’ll be assembling/disassembling a whole lot of parts in your career, so reducing the time to do this will speed up finishing jobs greatly. Similar decrease in time as with Fast Unbolting.
If you’ve taken the Repair Skill-route, continue investing in it (same for the Examine Tools-route).
- 4,000 XP – UP 4: If you follow my recommendations, you can process jobs now quite quickly – time to make some money! Start powering up your Repair Skills!
- 5,000 XP to 8,000 XP – UP 5, 6, 7 and 8: upgrade your repair skill to the max!
- 9,000 XP to 11,000 XP – UP 9, 10 and 11: get the Examine Tools. The reason I suggest this to learn prior to the “Fast Manual Examination” is, that with these tools you can check the current condition of a bunch of parts in one go, while the majority of parts can only be examinated by disassembling them, so this skill won’t help you at all.
- 12,000 XP – UP 12: get the last of the tools – “Fast Manual Examination”.
- 13,000 XP to 20,000 XP – UP 13 to 20: as there’s nothing more to learn or improve, you can now start to invest the UPs into improving the look of your garage. Just pick as you see fit.
Repairing
Mentioned few times already, repairing is a vital part of the game. Not a necessary one (cause that’s the mentioned thing I’ve discovered being 50 hours into the game, so you CAN live without it), but it’ll help you a lot in maximizing your margin.
Before even thinking about starting to repair parts, you should have maxed out your Repair skill. You will break parts just too often, if not, and that will thwart all your efforts.
Note that not every part can be repaired. Every part that can be, shows up in the list once you click on the Repair Desk. The list is sorted ascending by quality. Click on a part and it’ll either be repaired by a certain percentage or it’ll break. Don’t worry, it’s not gone, but still in your inventory and can’t be repaired any longer. A part counts as “broken”, if it has less than 10% of quality remaining.
You can repair a part multiple times, and while I’ve read that chances of another repair are lower each time, I couldn’t find an obvious pattern in my observations. E.g. I’ve saved the game and repaired a 30% part. One time it was fully repaired on the first attempt, next time it only advanced to 38%. So a big chunk of luck is obviously involved.
So I came to use the following method:
- save the game first
- from all the parts I have (e.g. after dismantling a car on the Scrap Yard) I pick the most expensive ones and try to repair them to 100% in one go
- if e.g. 1 out of 5 or 6 breaks – fine, save the game, go ahead. If too many break, I reload and try again.
- Due to the long loading times it’s not reasonable to save/load for each and every part. You’ll spend just too much time for a return too little. The remaining cheaper parts I’ll repair then straight away, no matter how many of them break.
- Chassis parts I always do first, if a new job comes in. Remove all faulty chassis parts, (ideally have the inventory free of other faulty parts), go to Repair Bench, save and start repairing. Mostly it works fine, maybe one part breaking, but due to the price of the parts I can easily make at least $500 up to ~ $1,500 of profit.
Your first own car
The only place to acquire a car for yourself is the “Auction House”. But before starting to even think about purchasing a car, you should have
- accumulated a comfortable amount of money, I suggest at least $100,000 (to be comfortable; bare minimum: $50,000)
- upgraded your Repair skill to the max
The Auction House works pretty straight forward: 10 cars are presented to you (and the invisible rest of the audience) in a given order. You place your bid, if you like to acquire the car, others will do too, you can raise your bid, if someone else did outbid you, or skip, if you’ve lost interest in the car. If your bid is the highest one, when time runs out, the car is yours. You can then decide, where to move the new car to.
One thing that worried me a lot and that I only figured out way later, is the value of the car. Sometimes a car is sold for let’s say $10,000 and some other time – the same car – for $25,000, due to extensive bidding activities from the invisible crowd. Do I make a loss, when buying a car at a higher price and selling it later?
You can relax: no, you don’t. The game holds a “base value” for every individual car, which is exactly what you’ve paid for in the Auction House. All your costs for repairing and bonuses are added on top of the base value. Example: if you’ve bought a car for said $10,000, do repair it to 100%, you sell it for $35,000. If you buy the same car for $25,000 and do all the repairs, the sales price would be $50,000 (assuming the same repair condition for the parts).
Depending on the DLCs you’ve installed, you may get cars presented in the Auction House having a suffix to the name of the usual cars, like “V8” or “Drag” or “W12”. These mark customized cars, that you will not see coming in from your customers orders. They all have at least a different type of motor installed, providing higher horsepower output. Some other changes are e.g. missing hood and specific tyres for the “Drag”-type of cars.
Unfortunately you can only swap the engine in such cars, like a “Sakura Moon W12” can also hold a V8 or the default engine besides the W12 one installed, but the standard “Sakura Moon” won’t offer you to install any other type of engine. So look out for those beasts, if you want a true killer on the race track.
There’s one tool in your garage, that can exclusively used on cars you own: the Body Frame Repair tool. Click it to get a list of cars, that you want to repair. Only caes placed in the garage are shown, not the ones in your Parking Lot. Pay the price and that’s it.
Closing comments & Version History
This concludes my first guide. There is certainly more to tell, but as this is a Beginners Guide and there are several topics covered that are not necessarily Beginner stuff, you will probably figure out the rest on your own. If you think I’ve missed something vital or did not explain in proper detail, please leave a comment. You can also comment for any other reason as well, for sure… 😉
Please vote to make other users also aware of this guide. Thanks for reading & have fun playing
Karsten
============
Version History
============
18. Aug 18: finally… version 1
02. Jun 18: Started