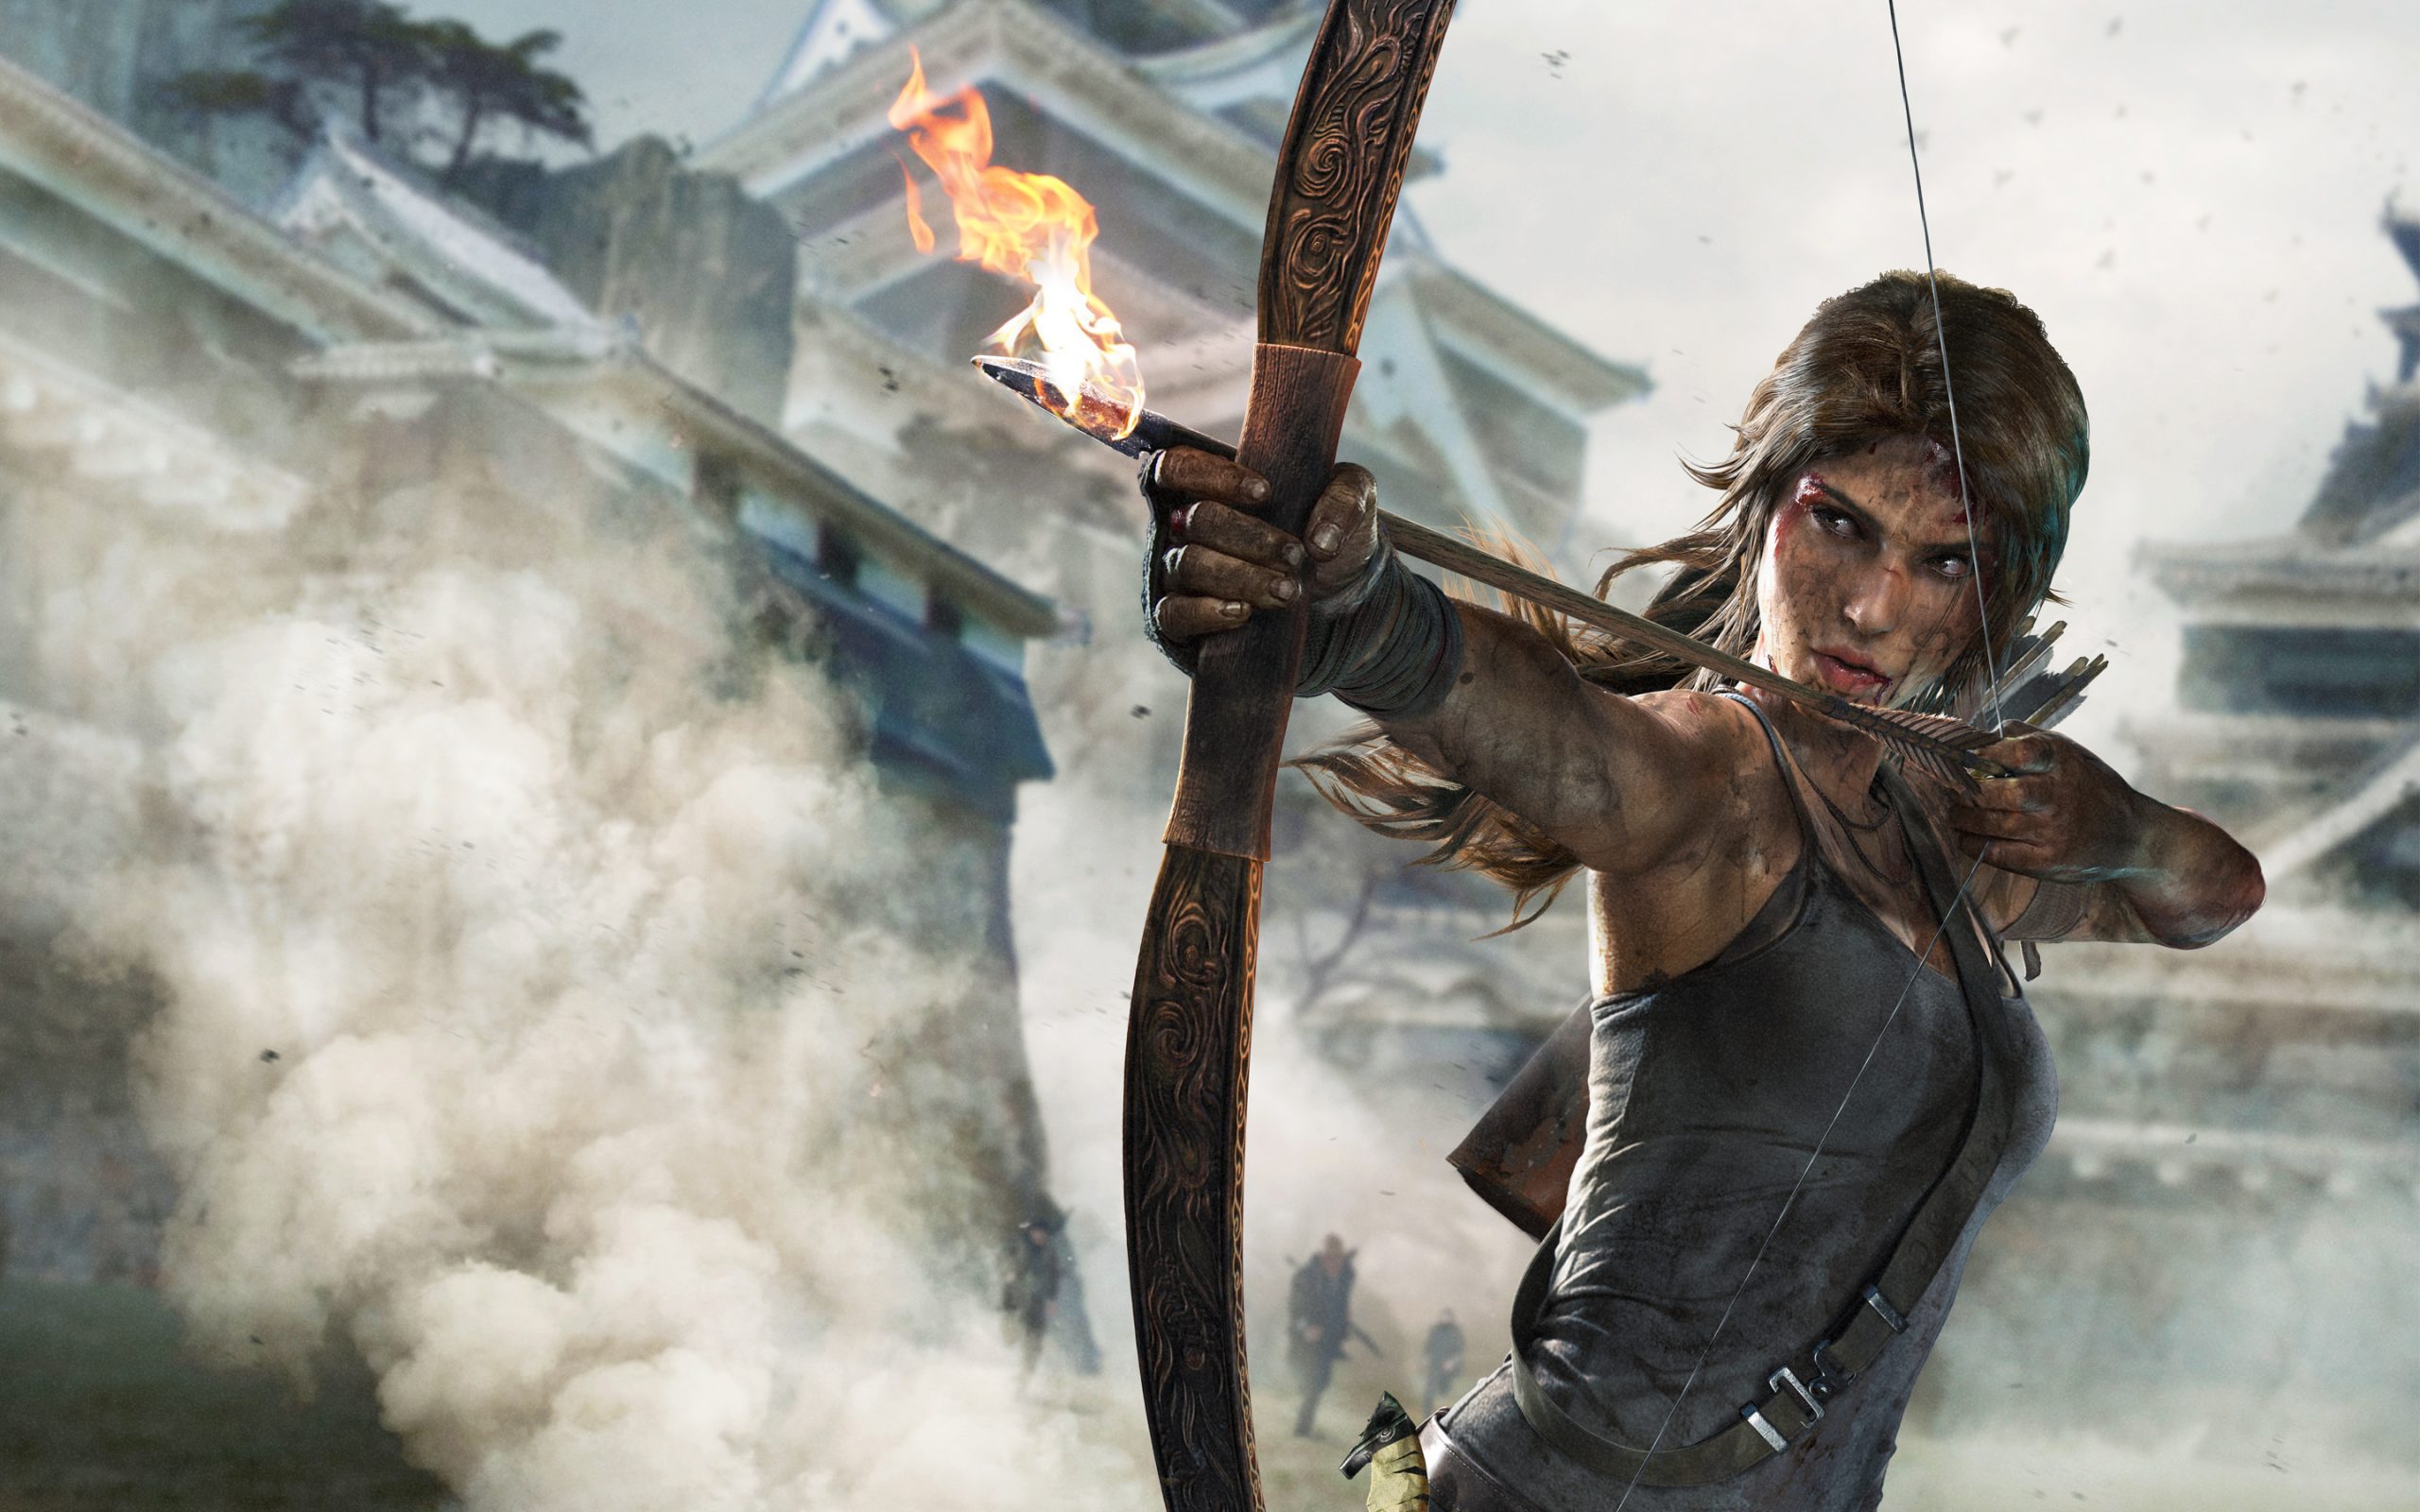
Overview
Hey i will make a beginners guide today for beginners in Tomb Raider becuse it’s hard in the beginging. I will walkthrough the game 🙂
Upgrades for Lara and her equipment.
Gear Upgrades
Upgrade Salvage Cost
Strengthen 50
Torch (unlisted) free (story event)
Climbing Axe (unlisted) free (story event)
Firestriker (unlisted) free (story event)
Compound Bow (unlisted) free (story event)
Rope Ascender (unlisted) free (story event)
Bow Upgrades
Upgrade Salvage Cost
Rope Arrows free (story event)
Fire Arrows free (story event)
Napalm Arrows 350
Explosive Arrows 650
Reinforced Limbs 250
Plaited String 250
Stabilizing Weight 300
Penetrating Arrows 650
Wrapped String 200
King Ring Trigger 250
Handgun Upgrades
Upgrade Salvage Cost
Burst Fire Mod 450
Extended Mag 200
High Capacity Mag (Pistol) 250
Ported Vent Slide 200
Muzzle Brake (Pistol) 250
Polished Barrel 400
Magazine Well 325
Rapid Fire Mod 300
Ergonomic Grip 300
Silencer (Pistol) 350
Rifle Upgrades
Upgrade Salvage Cost
Grenade Launcher free (story event)
Frag Grenades 500
High Capacity Mag (Rifle) 225
Barrel Shroud 350
Match Grade Barrel 400
Padded Stock 300
Muzzle Brake (Rifle) 350
Taped Double Mag 300
Polished Ejector 250
Scope 250
Silencer (Rifle) 500
Shotgun Upgrades
Upgrade Salvage Cost
Full Choke 400
Incendiary Shells 400
Barrel Shroud 325
Modified Receiver 325
Polished Bolt 300
Padded Grip 300
Wrapped Stock 300
Shell Mag 350
Drum Mag 400
Tip: It’s possible to have enough salvage to purchase every upgrade by the time the last weapon part is obtained, but you must be diligent in finding all crates, hunting all areas to depletion, and looting as many enemies as possible.
Lara’s Skills
This is Lara Croft’s access to three categories of Skills, divided into Survivor Skills, Hunter Skills, and Brawler Skills.
SURVIVOR SKILLS
Animal Instincts
Survivalist
Advanced Salvaging
Bone Collector
Arrow Retrieval
Scavenging
Climber’s Agility
Orienteering
Cartography
HUNTER SKILLS
Steady Shot
Ammo Capacity
Heavy Lifter
Accomplished Killer
Bow Expert
Pistol Expert
Rifle Expert
Shotgun Expert
BRAWLER SKILLS
Pain Tolerance
Dirty Tricks
Axe Strikes
Axe Expert
Dodge Counter
Dodge Kill
Dodge Kill Mastery
Experience points earned to fill out Lara’s XP shield will bestow one skill point to improve/unlock one of the skills. Lara must invest 7 skill points in “rookie” skills to unlock the “hardened” tier of skills. She must then invest 7 more skill points on her hardened and rookie skills to unlock the final tier of expert skills.
Achievements and Trophies
A Survivor Is Born
Game completed.
20G
Adventurer
Played a match to completion in all multiplayer modes.
15G
Archaeologist
75% of all relics collected.
20G
Artilleryman
20 enemy players killed with a turret in multiplayer.
15G
Bag Full O’ Cache
75% of all GPS caches found.
15G
Big Game Hunter
10 large animals killed and looted.
10G
Bookworm
25% of all documents found.
5G
Boom Goes the Dynamite
Shoot a thrown explosives out of the air.
10G
Chatterbox
Talk with all crew members of the Endurance (missable).
25G
Clever Girl
Purchased all skills in one category.
5G
Crab Cakes
Fee Fee the crab killed.
20G
Deadeye
10 enemies shot off zip lines.
15G
Down and Dirty
15 finishers performed.
10G
Down Boy!
Zip-lining enemy killed in multiplayer.
10G
Entrapment
Trapped an enemy in multiplayer.
15G
Epic Fumble
Forced an enemy to drop dynamite that killed two people.
10G
Equalizer
75 enemies killed with the rifle.
20G
Escapist
Survived 10 explosions in multiplayer.
15G
Feather Duster
10 flying animals killed and looted.
20G
Former Adventurer
25 enemies incapacitated with dodge counter.
20G
Get Over Here!
5 enemies rope pulled off edges.
10G
Good Samaritan
Revived a teammate in a multiplayer match.
10G
Gunslinger
35 enemies killed with the pistol.
15G
Historian
75% of all documents found.
25G
I’m all that!
Won a ranked match in every multiplayer mode.
50G
Inconceivable!
All challenges complete.
50G
Intellectually Superior
All optional tombs completed.
50G
Lethal
Purchased all skills in all categories.
15G
Lights Out
10 multiplayer enemies killed with the melee attack.
10G
Looking for Trouble
25% of all GPS caches found.
20G
Master Blaster
Two multiplayer enemies killed with one explosive.
15G
Monkey Around
Survived 3 times in multiplayer by using the rope ascender.
10G
Narcissistic
New character purchased.
50G
No Stone Left Unturned
All documents, relics, and GPS caches found.
25G
Now We’re Getting Serious
One weapon fully modded and completely upgraded.
10G
On My Way Up
Multiplayer level 10 attained.
20G
One Smart Cookie
One optional tomb completed.
15G
Opportunist
25 unaware enemies killed.
15G
Picky
200 enemies looted.
10G
Predator
50 enemies killed with the bow.
10G
Relic Hunter
25% of all relics collected.
20G
Scrounger
5000 pieces of salvage collected.
15G
Sharp Shooter
50 headshot kills performed in the single player campaign.
20G
Shopaholic
Purchased all upgrades and characters in multiplayer.
15G
Sole Survivor
Sole survivor on your multiplayer team.
15G
Tastes Like Chicken!
10 small animals killed and looted.
50G
The Professional
All weapons fully modded and completely upgraded.
30G
True Commitment
Multiplayer level 60 attained.
20G
+
Unfinished Business
One challenge completed.
10G
Widowmaker
40 enemies killed with the shotgun.
Challenges
There are 13 Challenges which are not marked on your in-game map with any markers. Clearing all challenges will result in the follow award.
¨
You may want to use the Interactive Map to resolve the issue of not having these marked on the in-game map. Once unlocked, you can access each area via fast travel — except for Cliffside Bunker. You need to manually travel here via the ziplines at the far end of Shipwreck Beach.
Coastal Forest Challenges Ghost Hunter – Shoot and break all ten Skull Totems (Fetches) in the Coastal Forest
Mountain Temple Challenges Pyromaniac – Shoot five Lanterns in the Mountain Temple.
Mountain Village Challenges Illumination – Light a fire with the ten Statues in the region of the Mountain Village.
Egg Poacher – Find five Bird Nests in the region of the Mountain Village.
Base Approach Challenges n/a
Mountain Base Challenges Non-Believer – Incinerate the five Posters in the Mountain Base.
Base Exterior Challenges n/a
Cliffside Village Challenges n/a
Mountain Pass Challenges n/a
Chasm Monastery Challenges n/a
Shanty Town Challenges Laid to Rest – Burn and pull down five Effigies in Shanty Town.
Silencer – Use the pry bar to destroy four Alarms.
Cavern Entrance Challenges n/a
Geothermal Caverns Challenges Firestarter – Use fire arrows to ignite six Corpse Bags in the Geothermal Caverns.
Solarii Fortress Challenges n/a
Summit Forest Challenges Redcap Roundup – Collect ten Mushrooms in the Summit Forest.
Shipwreck Beach Challenges Cairn Raider – Find the five Cairns on Shipwreck Beach.
Minesweeper – Shoot all ten Sea Mines on Shipwreck Beach.
Cliffside Bunker Challenges Previous Inhabitants – Burn the four Chrysanthemum Banners of the Imperial Japanese Army.
Research Base Challenges Sun Killer – Shoot five Sun Totems in the Research Base.
Chasm Stronghold Challenges n/a
Chasm Shrine Challenges n/a
Chasm Ziggurat Challenges n/a
Tombs
There are seven optional Tombs in Tomb Raider. Completing them all will net the following award, as well as a Treasure Map (or partial treasure map) for an area on the island. An “8th” tomb, available as DLC and included in the Definitive Edition (Tomb of the Lost Adventurer), does not count towards the achievement condition.
You may attempt to locate all seven of the Tombs (the other Treasure Maps are stand-alone rewards for exploration) using the Tomb Raider interactive map.
Coastal Forest Tombs Tomb of the Lost Adventurer
Mountain Temple Tombs n/a
Mountain Village Tombs Tomb of the Unworthy, Hall of Ascension
Base Approach Tombs n/a
Mountain Base Tombs n/a
Base Exterior Tombs n/a
Cliffside Village Tombs n/a
Mountain Pass Tombs n/a
Chasm Monastery Tombs n/a
Shanty Town Tombs Well of Tears, Chamber of Judgment
Cavern Entrance Tombs n/a
Geothermal Caverns Tombs n/a
Solarii Fortress Tombs n/a
Summit Forest Tombs Stormguard Sanctum
Shipwreck Beach Tombs Flooded Vault, Temple of Handmaidens
Cliffside Bunker Tombs n/a
Research Base Tombs n/a
Chasm Stronghold Tombs n/a
Chasm Shrine Tombs n/a
Chasm Ziggurat Tombs n/a
Enemies
Yamatai isn’t an ideal vacation spot. With constant buffering storms, aggressive wildlife and an indigenous population of lunatics, this is one island you probably shouldn’t visit anytime soon.
Unfortunately for Miss Lara Croft, she doesn’t have that luxury. She’ll have to content with the following enemy types on her adventure:
Archer: Archers are enemies who fire arrows from bows. They can be human or Oni, but they behave the same.
They’ll use cover routinely to try and avoid Lara’s attacks, and are also known to attack with melee weapons should you get too close.
Several Archers later in the game also have armour, meaning they can’t be killed as easily as previous enemies in the game.
Fire Bomber: This enemy spends most of his time behind cover, so he can be quite tricky to kill unless he comes out of cover. The enemy is clad in what appears to be a white hood. The fire bomber will throw molotov cocktails at you, and the flames do spread in a small radius, so it’s best to head somewhere else for cover.
In order to kill the fire bomber, you can be patient and wait for his head to pop out of cover and take a shot. However, another creative way is to wait for the fire bomber to come out of cover completely (right before he’s about to throw an explosive) and take your shots then. This will cause the fire bomber to drop the explosive next to him, setting him and other enemies nearby on fire. This is especially useful when next to an explosive barrel.
You can also use the rope arrow to pull the cover down in front of this enemy, giving you a clear shot before he finds more cover.
Grenadier: Grenadiers behave like Fire Bombers, but throw explosives instead.
These guys tend to show up more towards the end of the game, and generally replace Fire Bombers as the projectile-based enemy of choice.
If they’ve thrown an explosive at you – MOVE! Staying still will get you blown to bits or thrown away for heavy damage.
Remember you can use Lara’s Scrabble move to quickly get out of a tight spot.
Melee Specialist: This enemy has a machete (or a sword) and is wearing a different uniform from a standard archer or rifleman.
The enemy will not wait behind cover unless he is being shot at. If he has an opportunity, he will run towards you and attack you with his weapon. Take special caution with this enemy, because this enemy could easily cause you to die if he gets too close. However, fire a shot in his direction (even if you miss), and the enemy will quickly find cover and stay for a few seconds until it is safe.
If he does get too close, don’t fret, because you can shove him off and dispose of him quickly. An indicated button will appear for a short moment, and is the same button as the “Kick” command. This will cause the enemy to stagger, giving you precious seconds to get a headshot.
You can also invest in skills later in the game that allow you to dodge and counter attacks – highly handy for battling these guys.
Some melee specialists also have armor.
Oni: Oni are bigger, fatter, tougher versions of the cultists Lara encounters on the island. Apart from their increased toughness, the same firearms, dodging, and Dodge Kill abilities will work against them.
Rifleman (Gunner): Shield Soldier: Rifleman (Gunner)s are simply enemies armed with modern firearms. Unlike archers, they have a faster rate of weaponsfire.
Wolves: Large, black wolves that appear outdoors, especially at night. They tend to come out of bushes at quite a bit of distance away from Lara. One shot to head will quickly dispose of the wolves, and with a good distance between Lara and the wolves, it isn’t that hard. If the wolves get close to Lara, a QTE event may occur, where Lara wrestles a wolf off.