Overview
This manual has the purpose of educating the hunter, in all means necessary, to prepare him to encounter and subsequently kill the Glacier Bay Sasquatch in the most efficient means possible.
Overview
NOTE: This manual is unfinished, and as we learn things, we have been constantly adding to it and plan to continue adding information. Post in the comments any information you think we have wrong, or other tactics and strategies we should include!
This manual is seperated into these catagories for the ease-of-use:
Loading Screen: Getting it to work
Graphics and Option Settings: Optimum preformance for your PC
Basic Game Information: What you need to know about the game
Gear and Tools: How to use them and where to find them
Glacier Bay: Map Points of Interest
The Sasquatch: Species Habits and Behaviours
Trapping: How to successfully trap a Foot
Drone Operation: Lessons from the master pilot
Camping at Night: How to design the perfect campsite
Hunting for bait: Team and Solo Hunting Tactics
What We Do: How my team and I kill a Foot
Hunter Experience: Tips of the trade discovered the hard way
Glitches: In-game bugs we’ve encountered
Loading Screen
Getting it to work
This game, at the time of creating this guide, is only in beta stage and has yet to be optimized or ironed out. Which means that often the first challenge to win the game is to get it to run. Only one of our usual party has a dedicated gaming laptop. The rest of the team are running various laptops, all with varying degrees of proficiency running the game. Obviously we dedicate the strongest PC to be the host, and we then attempt to start a game. Even if we all get kicked almost instantly after starting the game, the game recognizes the number of players that started, and we then take turns attempting to rejoin the game without getting kicked. Often when the host starts a game, on his moniter a scene of the shore in the map will appear, as everyone waits for players. We used to think this meant the game had crashed, but the more we played the more we realised we simply had to wait it out, and that given some time the game will start as normal. Usually after several tries we are all on and none of us are continuosly getting kicked, and we proceed with the game after dropping our graphics a little to help it run. (NOTE: Often we all connect easily without any issues and proceed with our full personalized graphics without any glitches. This is for what we do when we CAN’T get it to run)
Graphics and Option Settings
Optimum preformance for your PC
STILL RESEARCHING
We have played this game on a number of different PCs and have taken note on which settings it runs best with each PC and their different hardware. If you have a gaming PC and can run it on optimum settings, then great, you all can pretty much skip this step. For those of you that have less than optimum computers not necessarily designed to run this game, knowing what each setting does and which ones to prioritize may be helpful.
Resolution
This customizable bar deterimines what resolution your game is running in. Setting it on the highest setting will result in the game running at your standard laptop resolution. Lowering this will linearly decrease your in-game resolution. Lowering this seems to be the easiest way to get your game to run better.
VSinc
We do believe this is a typo. We think the developers meant to say Vsync, which synchronizes your frame rate to your refresh rate. Depending on the laptop, changing this will sometimes get the game to run more smoothly. We have had mixed results messing with this.
Shadows
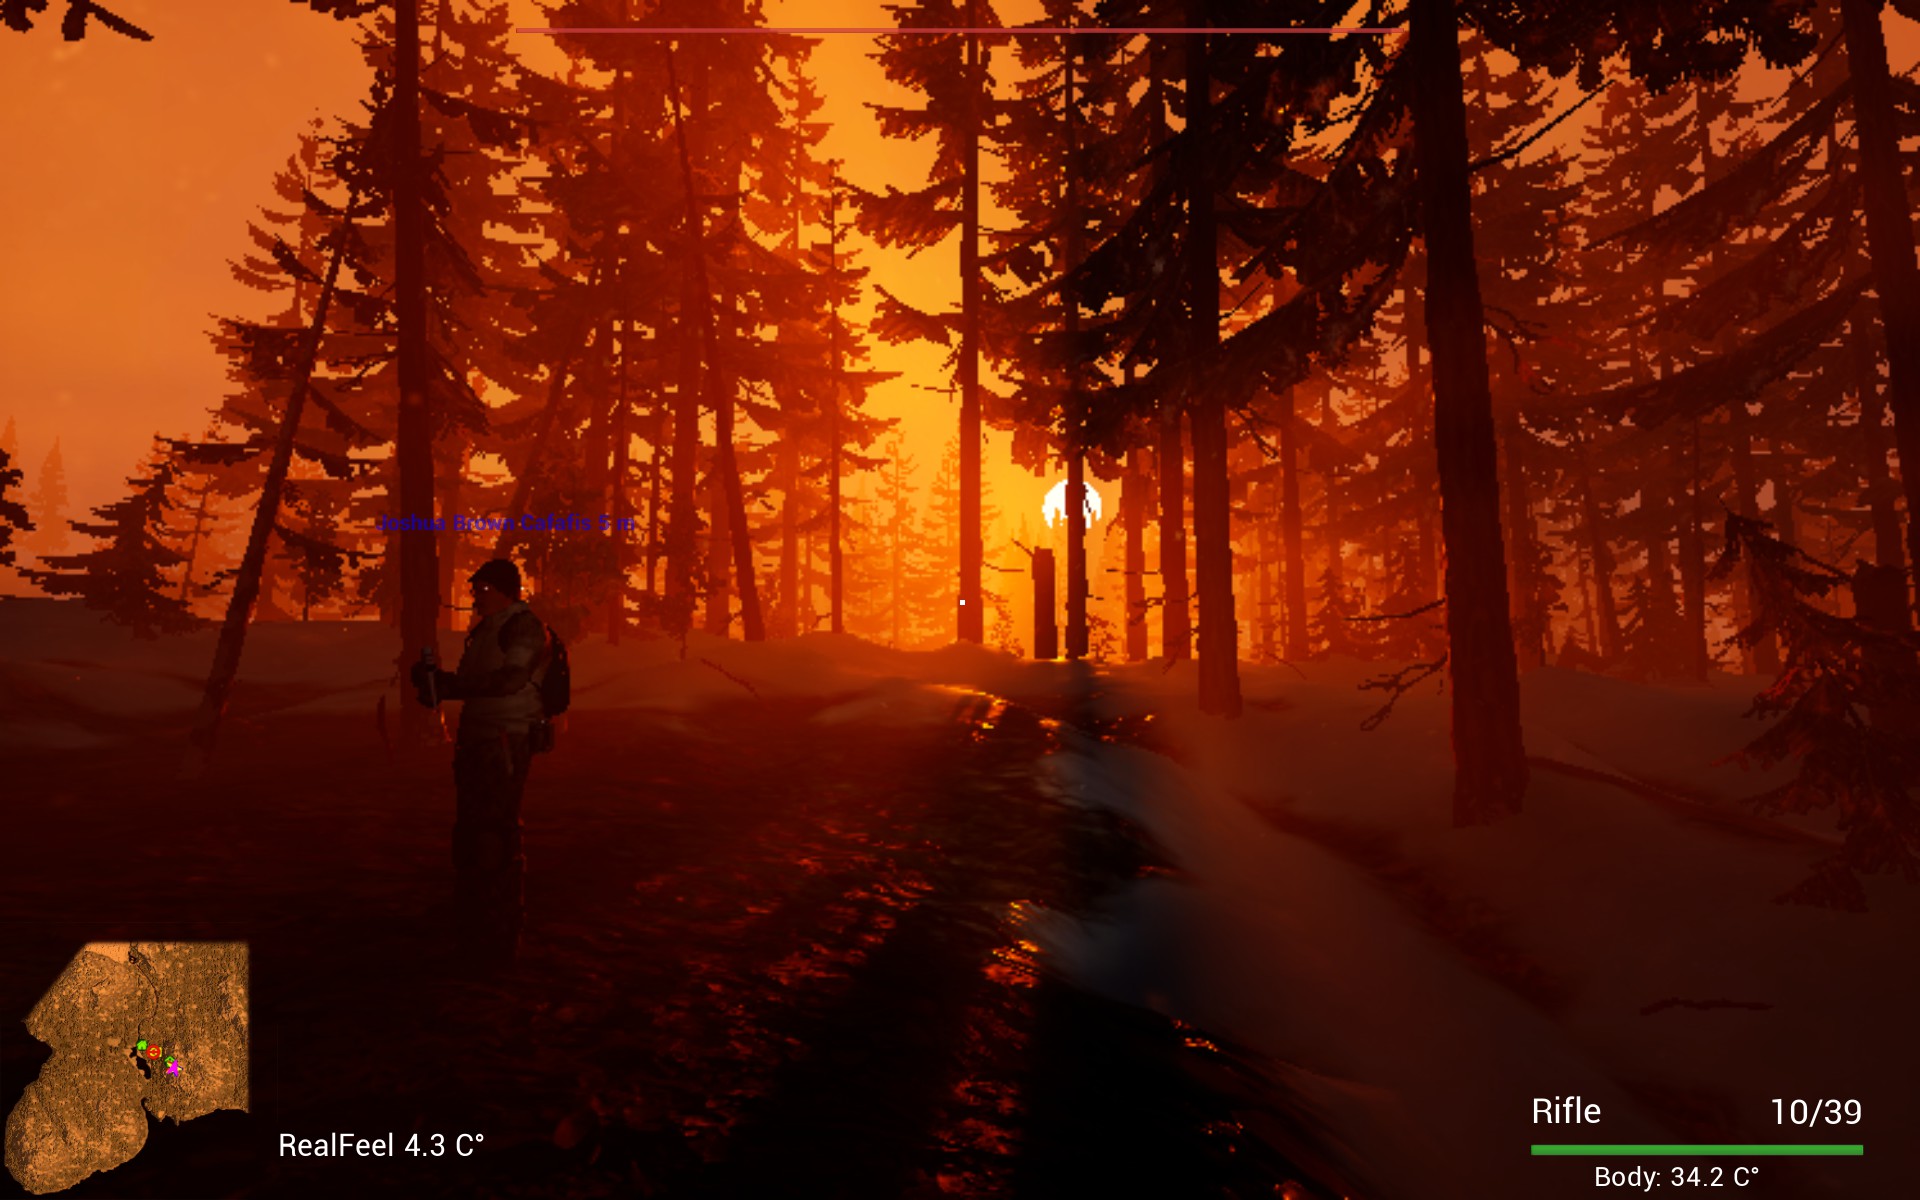
LOD
Level of Detail. This setting is one of the more important to getting the most out of the game without sacrificing too much visual quality. When running the game on a low-end PC, this is one of the few settings we leave on medium or high.
Textures
Another important setting that directly controls in-game visual quality. If running a non-gaming PC, try to keep this setting atleast on medium.
View Distance
Pretty basic. But still important. Put this as high as possible to get the best chance at seeing the Foot from as far off as possible. If you plan on operating the drone this is very helpful, and you should consider prioritizing this over texture or LOD.
One of the PCs we regularly run this game on is equiped with a i5 processor, and very little ram, and is generally a pretty low-end machine (desgined to write papers not play high-intensity games like this one). For this computer we leave everything on low except Textures and LOD, both of which we put on high. We put View distance on Medium. We move the resolution to 50%, and usually it runs the game pretty well. The graphics appear like they were from the mid 2000s, but the game runs smoothly and that’s what is important.
On any gaming computer, or anything packing an i7 and any respectable amount of ram, this game runs fine even on higher settings.
Basic Game Information
What you need to know about the game
Starting off in Glacier Bay
The helicopter drops you off on a strip of land in the southern region of the map. The first thing you should do is press 2 to access your rifle, the press R to chamber a round. A good first move is to move towards the Reseach Cabin to the north as soon as possible to suite up with gear. The bigfoot usually doesn’t attack unless provoked, so you have some time to get a foothold in the game.
Constantly available items
There are 4 items that are constantly available for your use. These are: your Rifle (2), your Knife (1), your Flare Gun (3), and your Nightvision Camera.
Day/Night Cycle
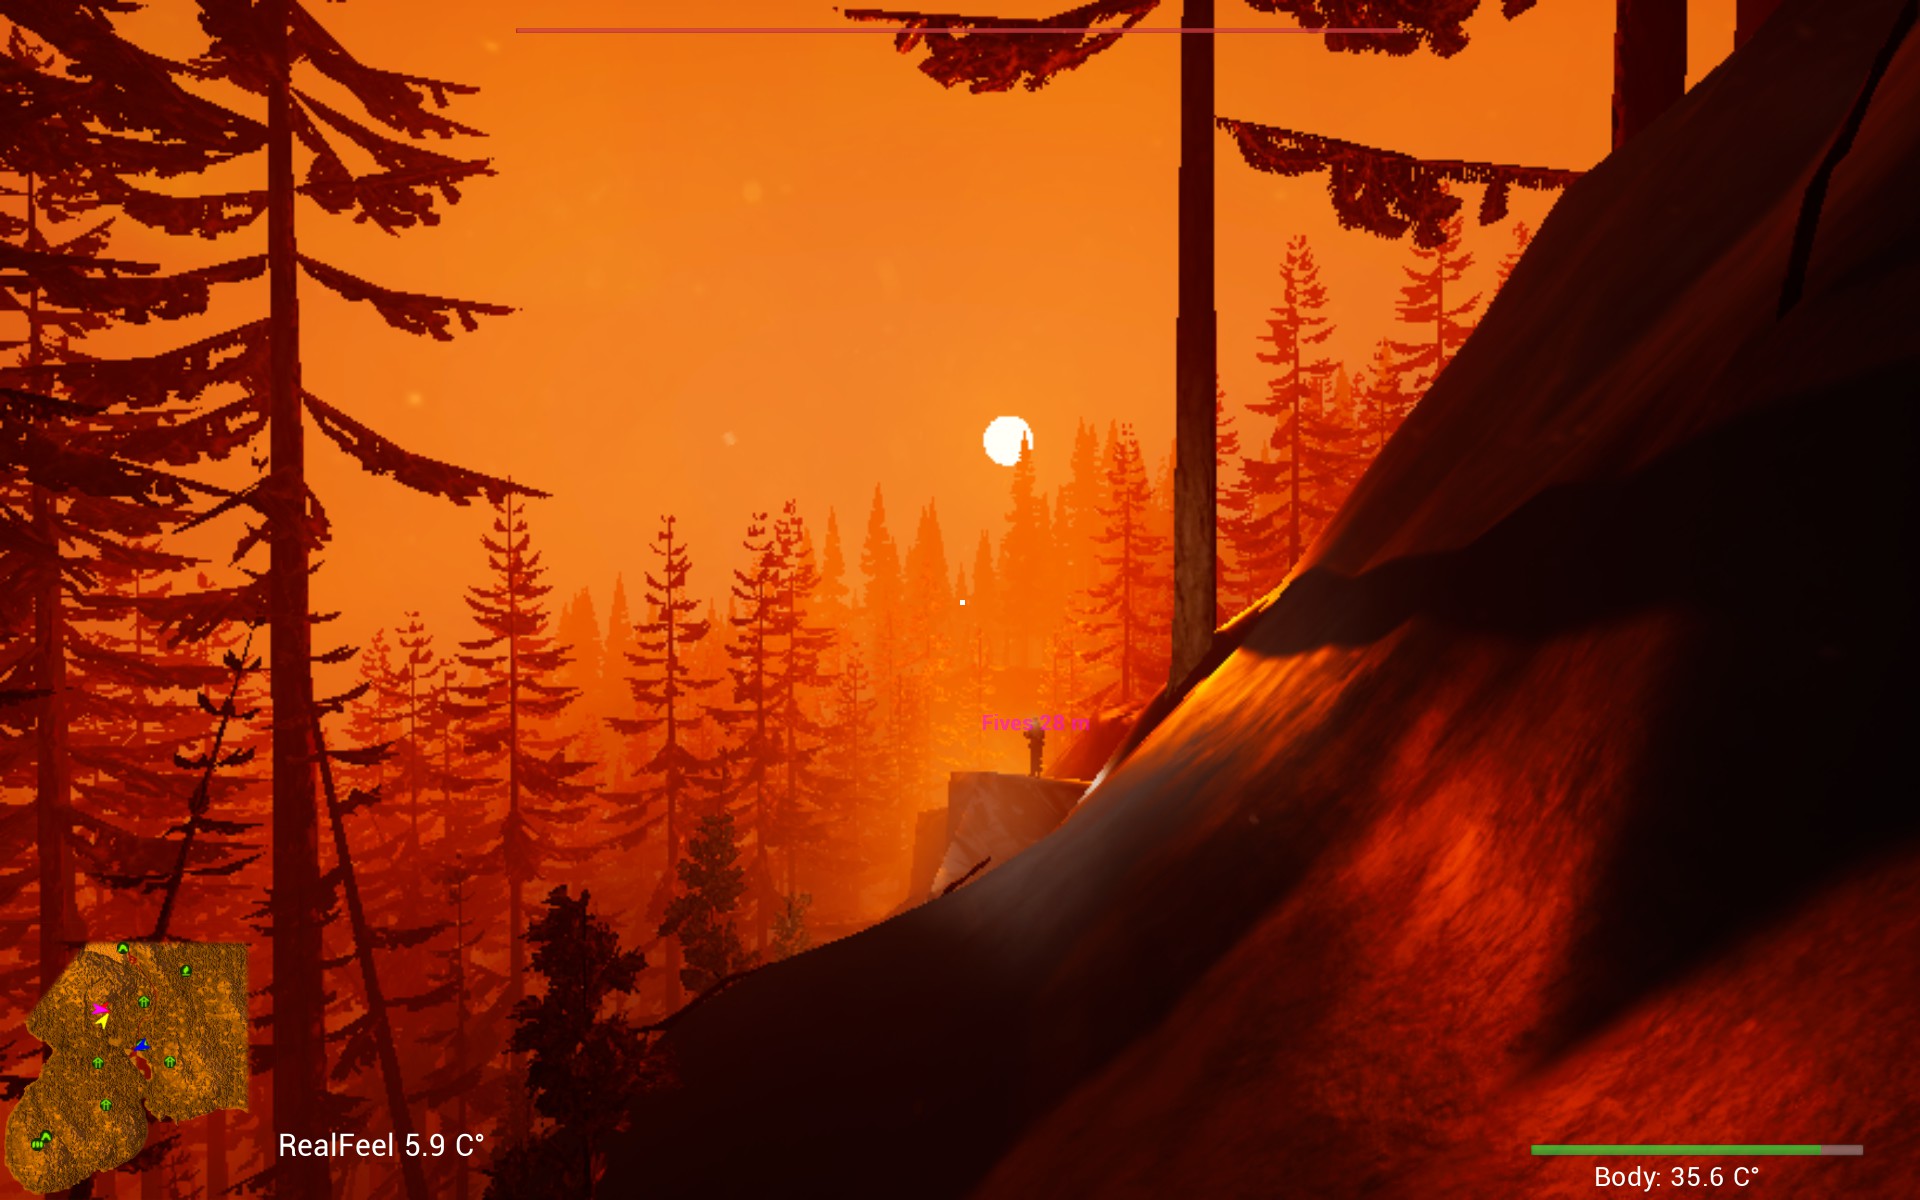
The game operates on a pretty basic day/night cycle, but there are some things to know. Lower your shadows and raise your LOD if you want your flashlight to be more prominent. Do the opposite if you would prefer natural light over your flashlight. The Bigfoot is most aggressive during the night, and dusk and dawn. Be extra cautious during these time periods.
Gear and Tools
How to use them and where to find them
Tablet:
This is tool used by the hunter to accesses the placeable cameras, control the drone, and moniter in-game time. Access the tablet by pressing Q, then use the mouse to navigate to the various tablet options.
Knife:
This is one of the tools you can access at any point in game, simply by pressing 1. The knife is used to harvest meat from shot animals, and can also be used to severly damage the Foot, if you can get close enough to land accurate slashes on him. The rifle is always easier to use and more accurate, but the knife, if used correctly, can deal serious damage.
Rifle:
This is the most used tool you have in the inventory. The rifle is used to hunt for meat and also to injure the bigfoot. You can also use the scope (right click) to view distant terrain. To reload, press R. Hunters start the game with 20 rounds, but ammunition is plentiful in-game and that number can increase. It is also one of the items that one can access at any point in the game, simply by pressing 2.
Flare Gun:
The Flare Gun is one of the most important items in your inventory, and one of the few that is always accessable by pressing 3. You start out with (1)? Flare gun round, and you can find more at many locations all over the map, most notably the hunting towers. The flare gun can be used to shoot the Foot and guarantee that it stops dead in it’s tracks and flees. Our Recommendation: When we play as a group, we require everyone to have 1 round in their inventory at all times for emergency purposes, in case they get seperated and are attacked by the Foot, especially if they are wounded. The remainder of the flare gun rounds go to a designated player, and he acts as a pure defender, and in the case of a medical emergency or if for any reason we require that the Foot not attack us, it is his job to shut it down before it can get to a player. At first we thought the flare gun did almost nothing, and often didn’t work, but after practice with it, we realised that with an accurate shot to the chest or head, it stops the Foot in it’s tracks and causes it to flee. Our flare gun guy has saved countless medicine packs by detering the Foot from attacking at the last minute with a well placed flare to the chest.
Night Vision Camera:
This is an extremely useful tool and is one of the few items you have access to at all times. It allows you to see in the dark, producing a green tint view of the surrounding terrain. It’s one draw back is it’s battery life, which is noticably short. A good tactic is to glace into it and gather a rough view of the terrain, then switch back to flashlight and use that when actually navigating. The battery life on the Night Vision Camera is rought 3 seconds for every 1%. There is a way to get around this though: If you simply glace into your NV Camera for less than 1.5 seconds it does not register that the camera has been used and you don’t loss any battery life.
Placeable Cameras:
All six placeable cameras can be found in the back left of the research cabin in a cardboard box. These allow you to overwatch a small section of terrain at any time regardless of whether or not you’re in the immediate vicinity. They do not have any range limits; you can place them anywhere on the map and still be able to access their view. There are slots for eight cameras in your tablet but as far as we know there are only six in-game at this point. Maybe these missing two cameras will be added in on a future date. It is advicable to place cameras near traps to watch over them.
Drone:
The Drone is a very niche device that can be VERY useful in the right hands but to the unexperienced, only wastes time. We recommend operating a drone only when there are three or four players. When playing solo or duos, its usefulness is limited. To place a drone, select it in your inventory and place it in front of you. Then, navigate to your Tablet and select drone control. Space and L shift are the vertical controls, WASD are the horizantal controls. Any player can FPPOV the drone, regardless of who is operating it. The pilot isn’t effected by any key commands the drone viewers may imput. For more information on drone use, visit the Drone Operation section below.
Traps:
Traps are found at every major map Point of Interest, and are almost as abundant as rifle ammunition. They can be found at every hunting tower, as well as the tourist camp, the glacier cave, the ancient stones, the cave near the ancient stones, and in the research cabin. They are located to the right of the door as you enter the building, in a cardboard box similar to the placeable camera box.
Medicine:
One of the most important items to find in game. Each player can carry three medicines, and using one brings your health up half way. Use these wisely, and ration them appropriatly to players that need it the most. You can find medicine at every hunting tower, the glacier cave, the tourist camp (sometimes) and the reseach cabin. You can select it from you inventory and use it by pressing E.
Ammunition:
Rifle ammunition is abundant in-game and can be usually found at every hunting tower, all over the reseach cabin, and in the glacier cave. Use sparingly though, it is a limited supply and it is necessary to kill the Foot.
Signal Flare:
We have no idea what these are used for. We originally believed these were used in the wanning minutes of the game to signal a chopper but the chopper comes on it’s own- we never used any of the signal flares. We have determined that hitting the Foot with a signal flare does some damage to the creature, in a similar way to the knife. But in our experience the knife does way more damage than the signal flares do, so it seems as if there would be no reason to attack the Foot with a signal flare vs the knife. They do produce a large amount of light, but nothing a campfire can’t do. If anyone figures this out, please let us know in the comments! You can access your signal flares through your inventory.
Tents:
There are two tents in game. Both can be found on the shelf to the right of the door as you enter the cabin. They don’t provide any warmth, or protection. There is a lantern in each tent to provide extra light. To place a tent, access it through the inventory. To break it down, simply approach the tent and and press and hold E.
Sticks:
These are used to make fires and there are thousands of them scattered throughout the map. a Hunter is never only a few steps from a stick. Six sticks make a campfire, you can hold twelve in your inventory. They can also be used to feed fires that are already burning.
Campfire:
These appear in your inventory after you have collected at least six sticks. You can carry a maximum of two campfires.
Meat:
You start the game with two meats. You can gain more meat by shooting animals. Every animal in the game (Besides Bigfoot) creates one meat when shot. You must use your knife to harvest the meat from the animal carcass, and there doesn’t seem to be a limit to how much meat one person can carry.
Glacier Bay
Map points of interest
There are several Points of Interest in the map.
The Peninsula
You get dropped of by the chopper at what we affectionately call “The Peninsula”. This makes a great campsite and is surrounded by lush lowlands filled with animals to hunt.
The Research Cabin
This is your main Forward Operations Base, and because in our experience the Foot can’t attack you in the cabin, it provides a place to respite from the constant attacks from the beast. You can find all kinds of items in this building, including the drone, medicine, traps, cameras, tents, signal flares, rifle ammunition, and flare gun ammunition. The cabin has three lanterns in it for light, and there are two lanterns in the out buildings. We recommend turning all these on.
The Lake
Directly to the west of the Research Cabin is The Lake. This is the centerpiece of the map and one of the few safe locations on the map. By jumping in the lake, you can effectively escape the Foot and not get injured. It also provides an large area of easy visibility, even at night.
The Hunting Towers
There are four of these, located in a rough diamond around the Research Cabin. All of these have the potential to spawn rifle and flare gun ammunition, signal flares, traps, and medicine. We have heard that the Squatch cannot attack you in these towers but will instead break the stairs off. We cannot confirm or deny these allegations due to the fact we have never spent much time at the towers and have yet to be attacked at one of them.
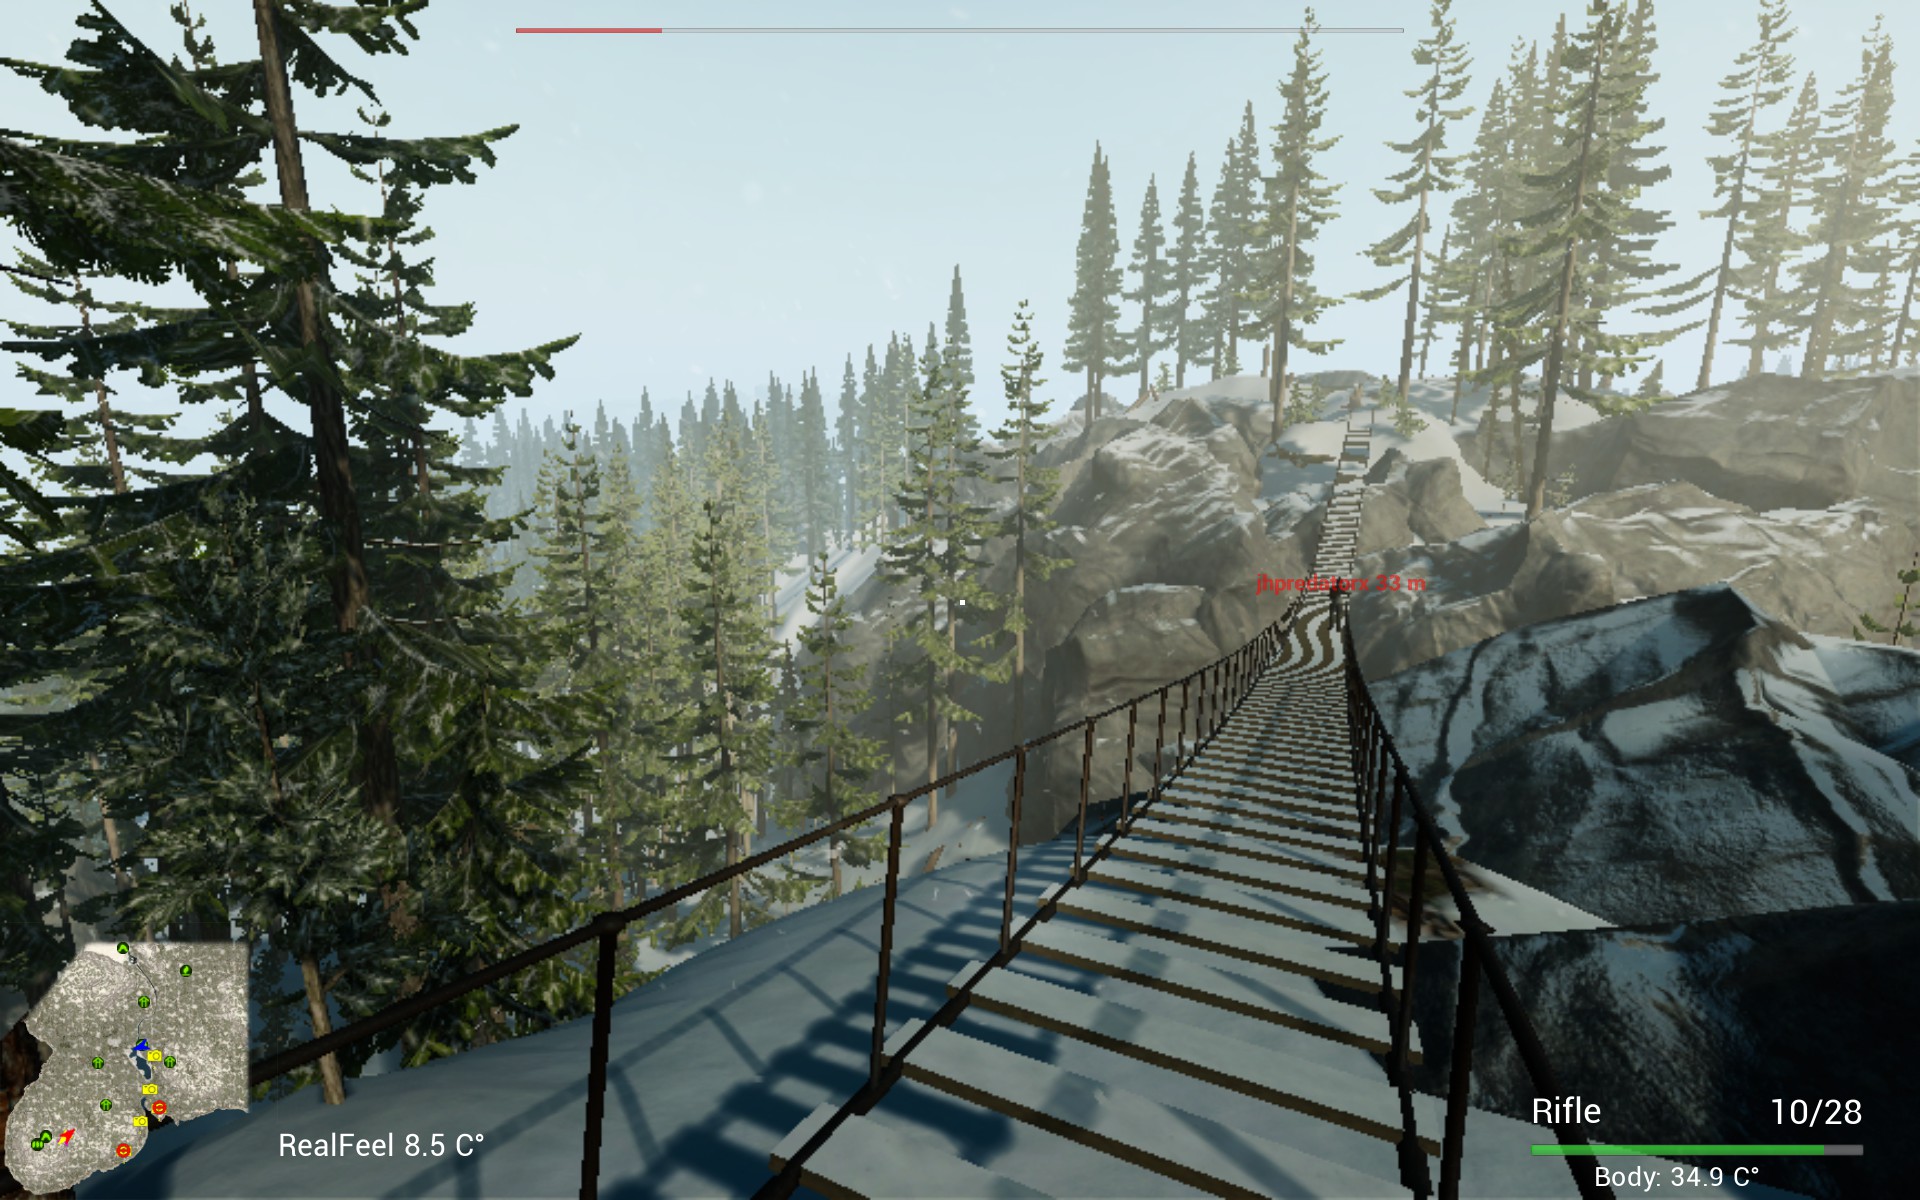
The Rope Bridge
The Ancient Stones
These are five rocks located on the other side of the rope bridge. Often you can find traps here, along with other items, though much more rarely.
The Ancient Cave
This is a sasquatch den underneath the ancient stones. To get there, head northeast from the ancient stones, over the edge of the cliff (to the left of the rope bridge) and down the snowy saddle of the valley. The entrance will be on your left. You can usually find a trap in there.
The Mountain Cave
The mountain cave is the most remote area on the map. It is extremely difficult to get to, requiring the hunters to circle up behind the mountain and walk through magnificent rock gourges and crevices. Nothing spawns in this cave to our knowledge, but it is super easy to defend and is absolutley gorgeous to behold at dawn. The entire valley is visible from the top with epic render distance turned on. One can also climb up a fallen tree to reach the peak of the mountain. We’re not sure if the Foot can follow you up here but we’re working on discovering if that is true or not.
Glacier Cave
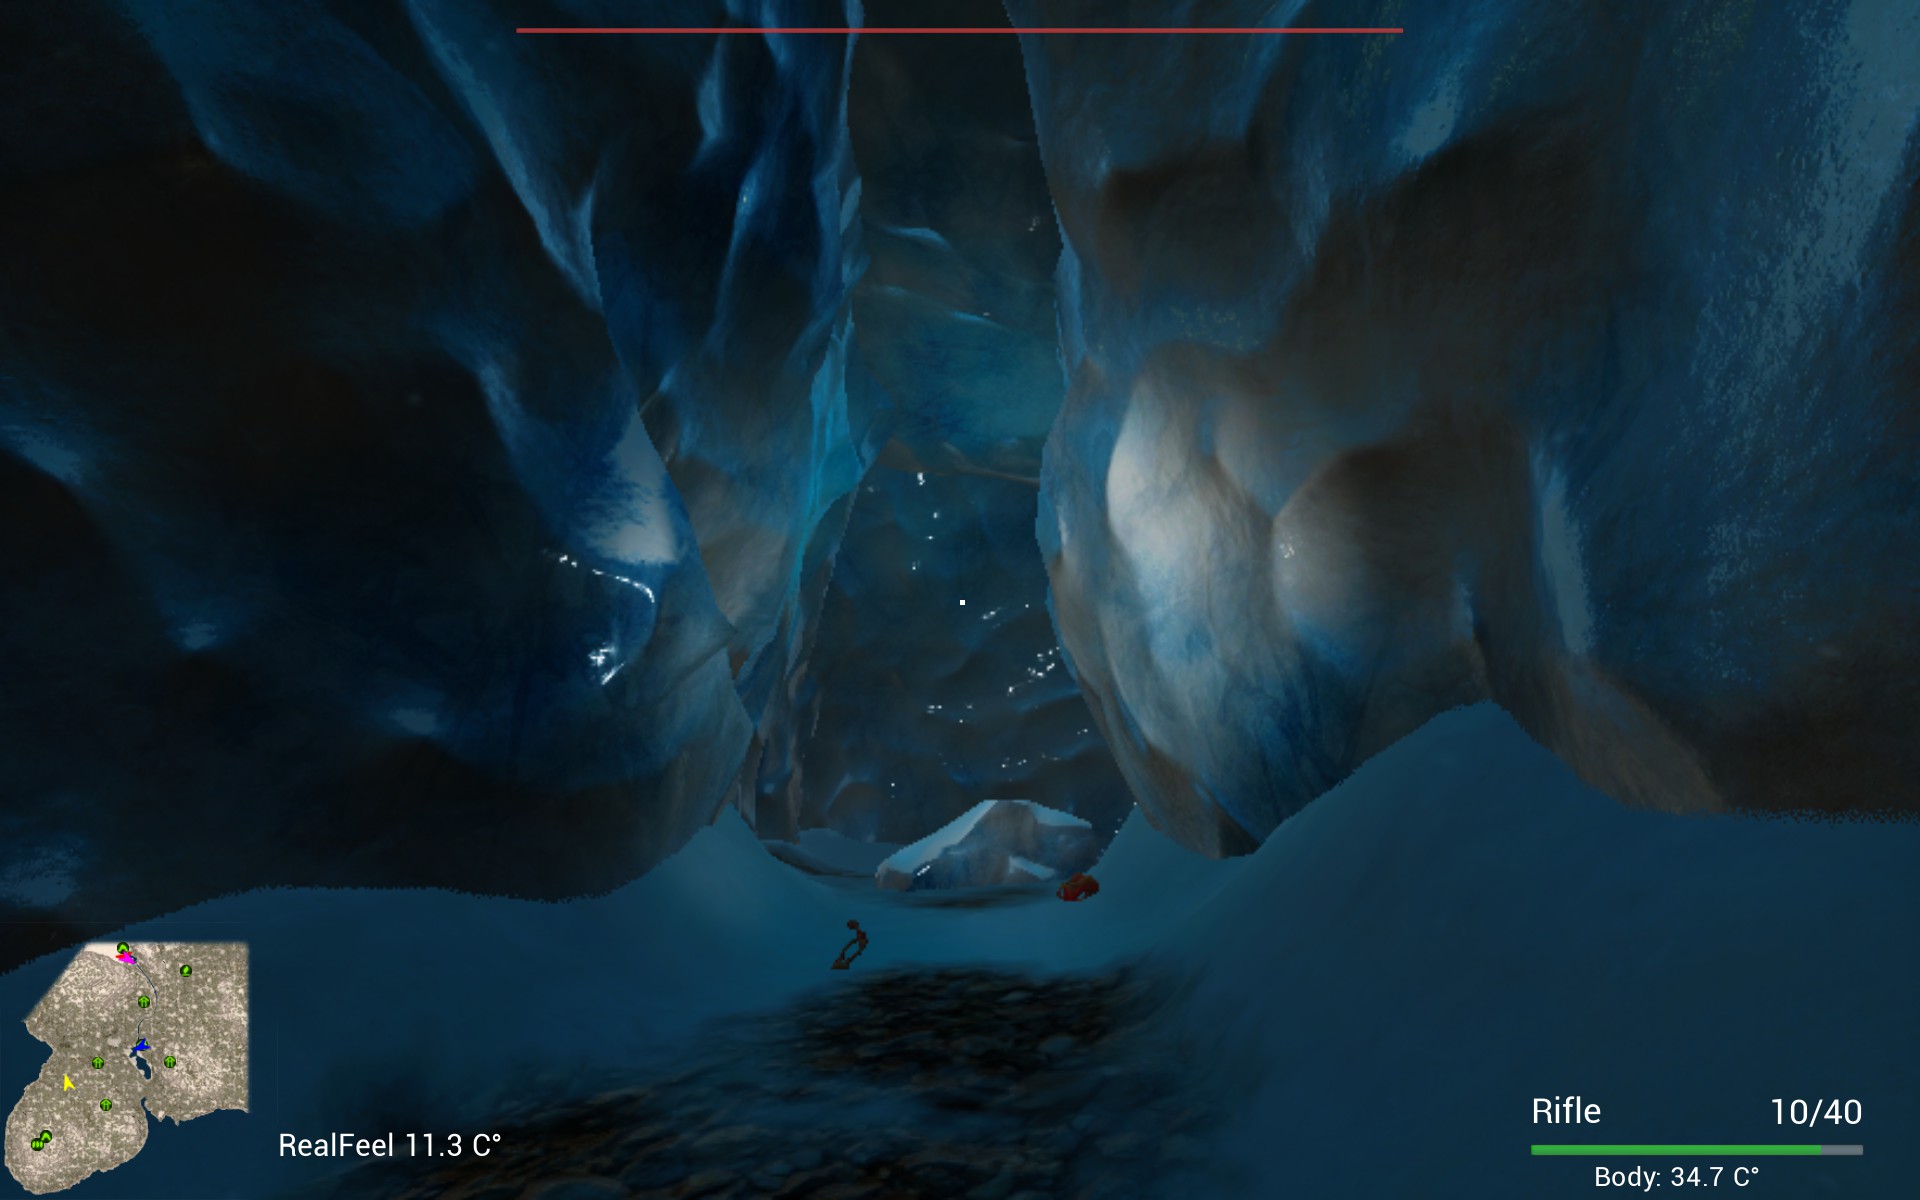
This is the Squatch cave located at the source of the creek. It is nestled between two ice ledges and in it one can find all types of supplies including medicine, traps, and ammunition. you have to jump from iceberg to iceberg to get to it. We have yet to be attacked by the Foot while in this cave so we’re not sure if its a safe place to spend the night or not. There is a lantern in it, along with a NP Captain America shield.
Tourist Camp
This is a destroyed campsite in the northeast. Often traps and ammuniton can be found here, along with sometimes medicine. Be careful as it is highly undefendable and the Foot loves to attack us when we’re there collecting supplies.
The Sasquatch
Species habits and behaviours
The Sasquatch, also known as Bigfoot, is the main threat in the Glacier Bay Area. Standing at over 8 feet tall, and weighing in at around 800 pounds, the Sasquatch possesses many skills that highlight its ability to efficiently hunt and kill it’s prey. It has dark grey hair and green eyes, and can move through the night like a shadow. It leaves large footprints that can be tracked.
Movement
The Sasquatch is extremely agile and can cover vast distances on foot over extremely rough terrain that would be impossible for the hunter to traverse without aid. The Sasquatch can run about 250% faster than the hunter, and has the ability to scale cliff faces and rock walls that are impossible for the hunters to follow.
Vocalizations
There are three types of howls the Sasquatch makes that are identifiable in-game:
Ohio Howl — Named for it’s first known recording in Ohio by the BFRO, this is a deep, long howl that can be heard in the distance. This howl usually means that the Bigfoot is moving, and possibly preparing to stalk or attack the hunters in the moderately near future.
Intimidation Howl — This is the howl the Bigfoot makes when it has been trapped and injured, or is in the immediate vicinity and is preparing to attack in the very near future.
Charging Howl — This howl is made when the Bigfoot is in the process of charging the hunting group and attacking. It sounds very similar to the Intimidation Howl, but can be differentiated by how close it is heard in respect to the Intimidation Howl. If a hunter hears an Intimidation Howl followed almost instantly by a second very similar howl, that is a Charging Howl and the hunters should be aware that an attack is in process.
Attacks
The Bigfoot has several prefered attack methods, listed below. He tends to prioritize attacking the most weak player, making him extra deadly later in the game when medicine has run low.
Backhand — The most common is the so-called “Backhand”, where the Foot approaches a player and backhands the player to the head, resulting in a ragdoll with approximately 1/4 to 1/3 health lost by the player.
Bodyslam — Not as common as the Backhand, sometimes the Foot will pick a hunter up and slam their body on the ground. This usually takes away somewhere between 1/3 and 1/2 health.
Toss — Also more rare, given the right environment, the Foot will throw the player anywhere between 5m and 30m from the fight, resulting in massive damage, approximately 1/2 health loss.
Doublefist pound — The Foot approaches the player and swings both closed fists down on the player, pounding them to the ground and resulting in massive damage. This is very rare and we’ve only encountered this move once, and at night, so we don’t really know if this was us mistaking a Bodyslam or is a seperate move altogether.
The more the Sasquatch is injured the more aggressive it becomes. It tends to reflect the aggression aimed towards it i.e. if the hunters are timid, the Foot will also be timid. If the hunters are aggressive the Foot will also become more aggressive. Once the Foot reaches somewhere between half and quarter health, its fur becomes stained in blood. It is at this point where the Squatch goes on a full rampage and becomes extremely aggressive.
Trapping
How to successfully trap a Foot
Trapping is the single most effective way to hurt the Bigfoot. Traps take away somewhere between 6% and 10% of the sasquatch’s health each time it gets caught in one. This means, if you can place roughly 12 traps you can kill the foot easily. Four traps can be found in the cabin, and in multiplayer you can find usually another 5-7 throughout the map. 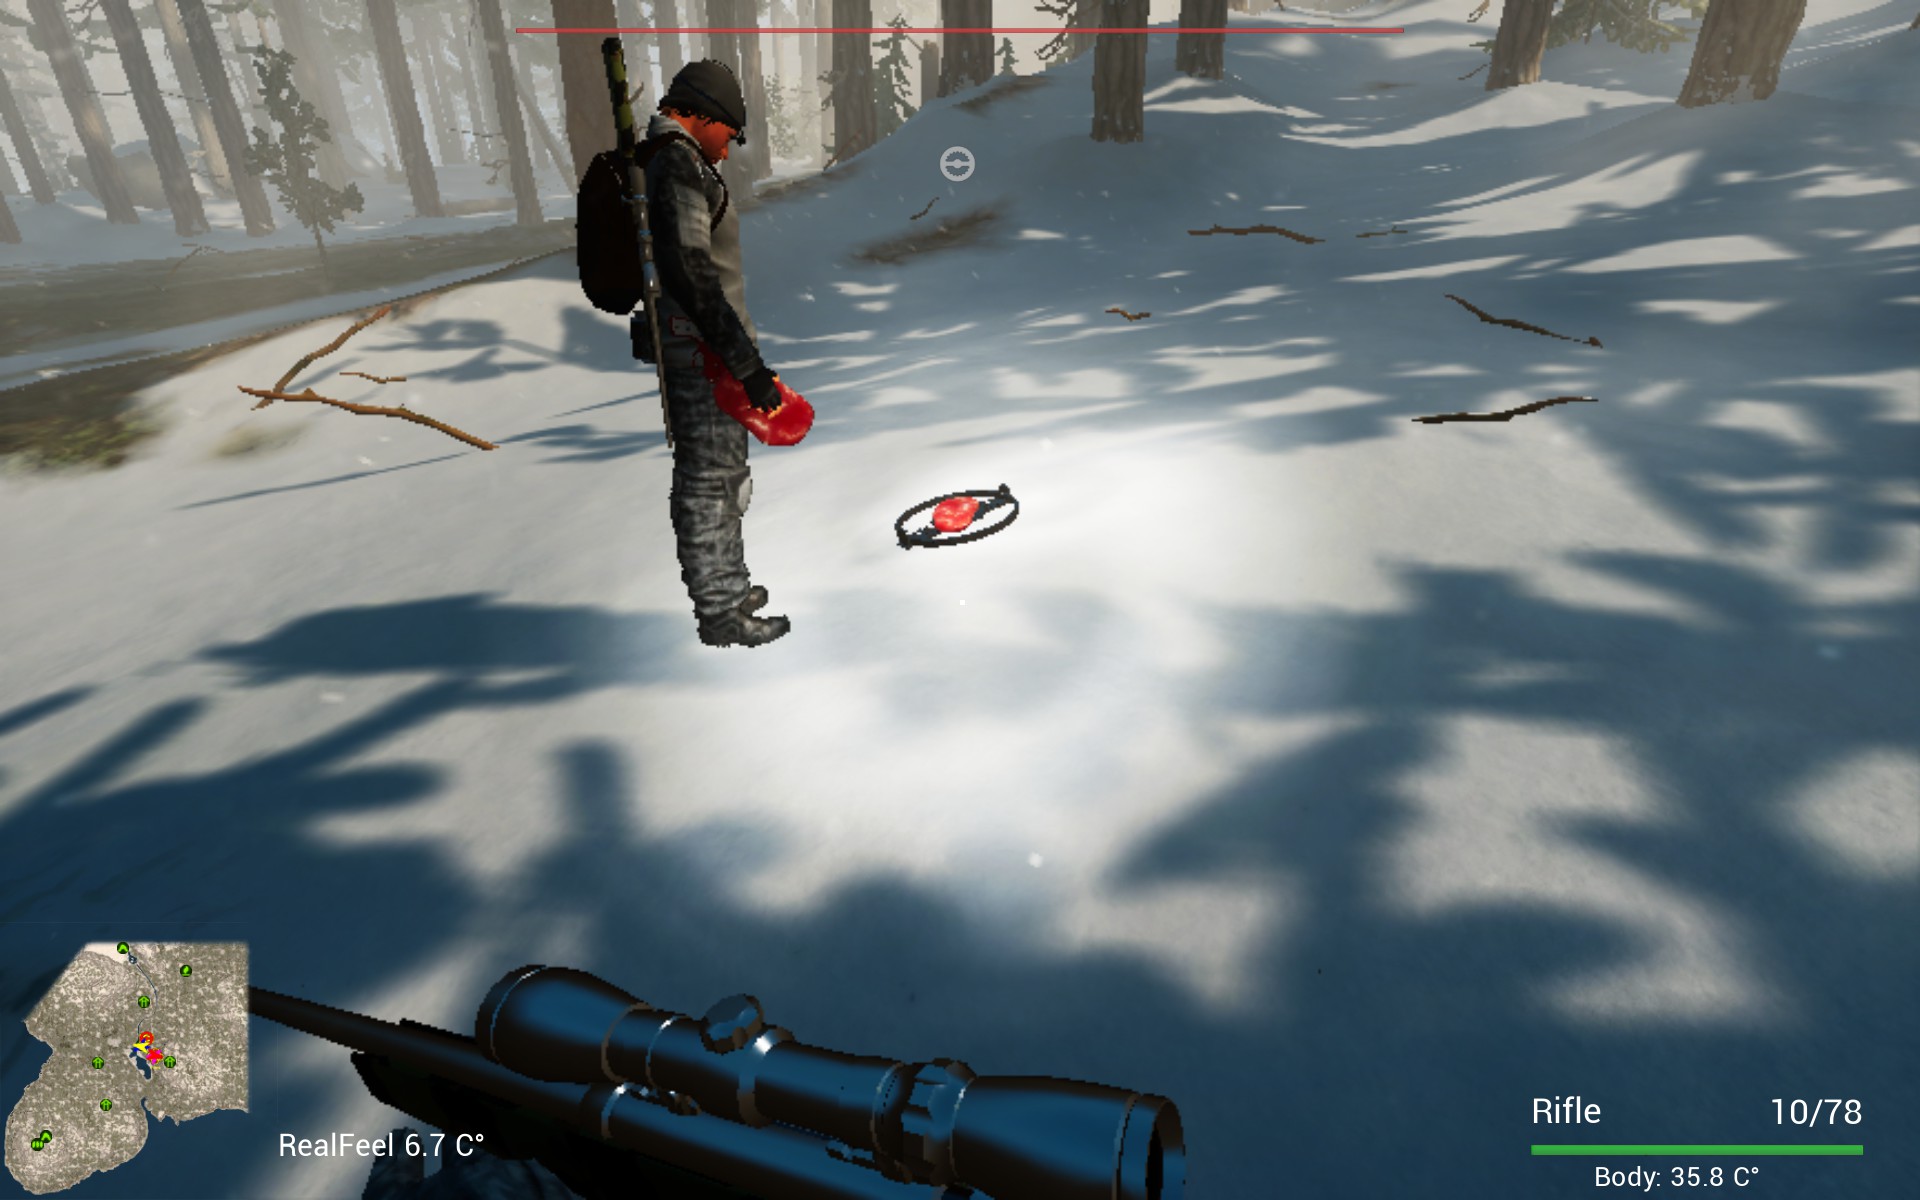
To place a trap, select your item menu and choose trap. A trap will appear infront of your character, and you will have the ability to place it on any optimum terrain nearby. After you place the trap, return to your item menu and select meat. Place the meat directly on the trap. At this point you will have an operational trap but you must hide it to trick the bigfoot into feeding from it. To do this you simply approach the trap (DO NOT STEP ON THE TRAP — it will take away half your health if you trap yourself!) and press E when the trap is centered on your screen and the word “Trap” is visible. At this point if you hold down E it will cover itself with vegetation and will be invisible to the squatch. If you have cameras available, place one in the near vicinity of the trap to allow you to keep tabs on what may be trying to feed from it when you are not near by.
Trap Placement Trap placement is the sole most important aspect to successfully bagging a squatch every time. A rule of thumb is, if you are within 50m of the research cabin, don’t place a trap. It is our theory that the Bigfoot rarely, if ever, goes near the cabin, and placing traps there only limits the number of traps you can have active in the field. For ease of access, placing traps within one day’s round trip walk from the cabin is a good tactic, and placing them in and around the lake often allows the hunter(s) to get a solid line-of-sight to take shot at the feeding bigfoot while it gets trapped, resulting in more damage. Our original stradegy was to place a trap at every hunting tower, but we found this to be too labour intensive to retreive the cameras placed next to them due to the long distance between those locations and the research cabin. After the squatch has stepped in a trap, the trap itself is destroyed and the meat is gone. The Foot never gets trapped in the same place twice, so don’t attempt to place a new trap where an old one used to be, it will only result in you waiting patiently watching it for a squatch that will never come.
Drone Operation
Lessons from the master pilot
UNFINISHED > STILL WORKING OUT THE BEST STRATEGY
As stated above, the drone is most efficient when there is one player taking on sole duty as Drone Pilot, and operating the drone as aerial reconnaissance. One stradegy we use is to have the pilot control the drone from the safety of the cabin, and provide overwatch to the team on the ground. The drone circles the general area, and gets a birds-eye view of the terrain. If the Pilot identifies any potential hazards, or in best-case-senerio, spots the Foot, he relays that information to the team on the ground and directs them in the appropriate direction. If necessary, the team can view the drone live-feed and coordinate their attack.
The drone does not operate well at night. It is possible to fly it, but the darkness causes severe depth perception loss and makes it very difficult. For the occasion that the drone is caught in the air after dark, it is equiped with a small spotlight that can assist in landing it through harsh vegetation. We recommend keeping the drone grounded after dark, and when dusk approaches, to start heading towards base.
Your drone is not waterproof and do NOT operate it near water hazards. Any interaction with water hazards will cause immediate connection loss with your drone. You will be incapable of retrieving your drone if it touches any water hazards.
The battery life, unlike the Night Vision Camera, has a profile as follows: each percent on the battery is equivilant to 15 seconds of time. This 15 seconds is your airtime which is the time your drone is not in your inventory. If the drone is not in operation but outside your inventory, your time is still being expended.
When the drone gets within 50m of the Bigfoot, it begins to lose connection. This hints to the Pilot that the Foot is in that general area if he hasn’t already spotted him. The drone itself has a range limit, and if it gets too far away from the operator it also begins to lose connection. Your drone has a vertical ceiling of 500m and a range of 500m. In this games current state, it is possible to fly your drone 500m north and 500m vertically up and still hold a connection. (NOTE: do not confuse the range limit with a Foot being nearby. Use deductive reasoning: if you’re really far from home base and you begin to lose connection, it most likely is the range limit, NOT a nearby Squatch.)
Camping at Night
How to design the perfect campsite
Night camping is a necessary part of the game. Atleast once, you will be caught in the dark and not be able to get back to the safety of the research cabin, and knowing how to set up and prepare a defendable campsite is absolutely key. Camping at night with an experienced crew is a solid way of racking up knife and gunshot wounds on the squatch, but often new players feel the safety of the cabin is more their speed. Nevertheless, there are tactics and strategies to be aware of.
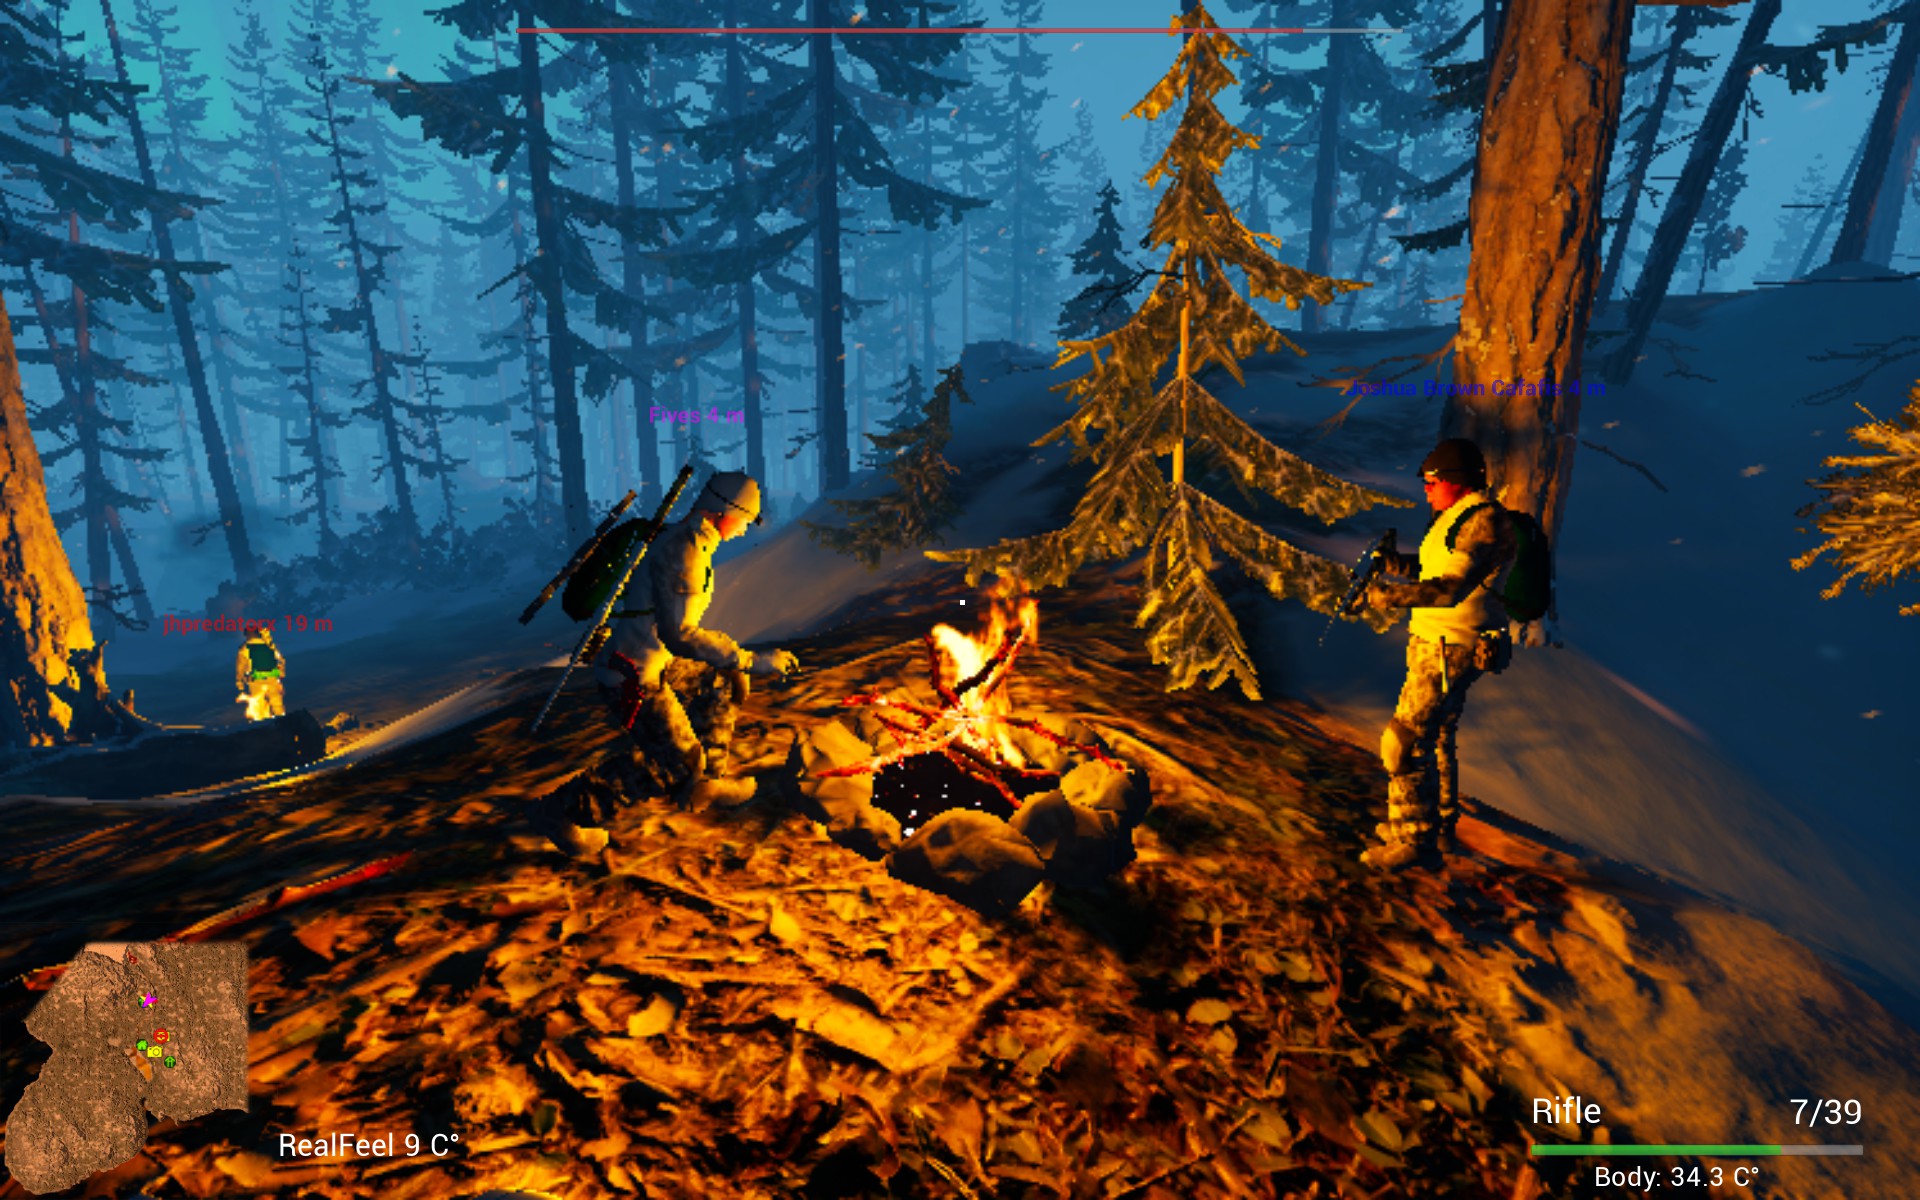
Firepit Placement: One major component to the campsite is the firepit. A firepit provides warmth and light, both of which are scarce in the arctic night. Proper placement of these is essential to creating a well defended campsite. 
Tents: Tents in the game are a double-edged sword. For what they are, they don’t provide much. They obscure line-of-sight to the Foot, and keep any player inside them from fighting back. Basically, any time you’re in a tent you’re a sitting duck. They do have their uses, though. Our theory is that the Bigfoot is attracted to any light. So, pitching a tent and turning on the interior lantern will help illuminate the area and attract the Foot. Also, if you don’t want to encounter the Foot you can pitch tents, not place a fire, and turn out all the lights including your headlamp and the Foot is less likely to attack you.
If possible, getting to one of several well-defendable camp locations is a good start to having a safe night. There are several such locations, each of which has it’s own pros and cons. NOTE: These are simply suggested campsites that my team and I use due to their naturally advantageous locations on the map.
The Peninsula: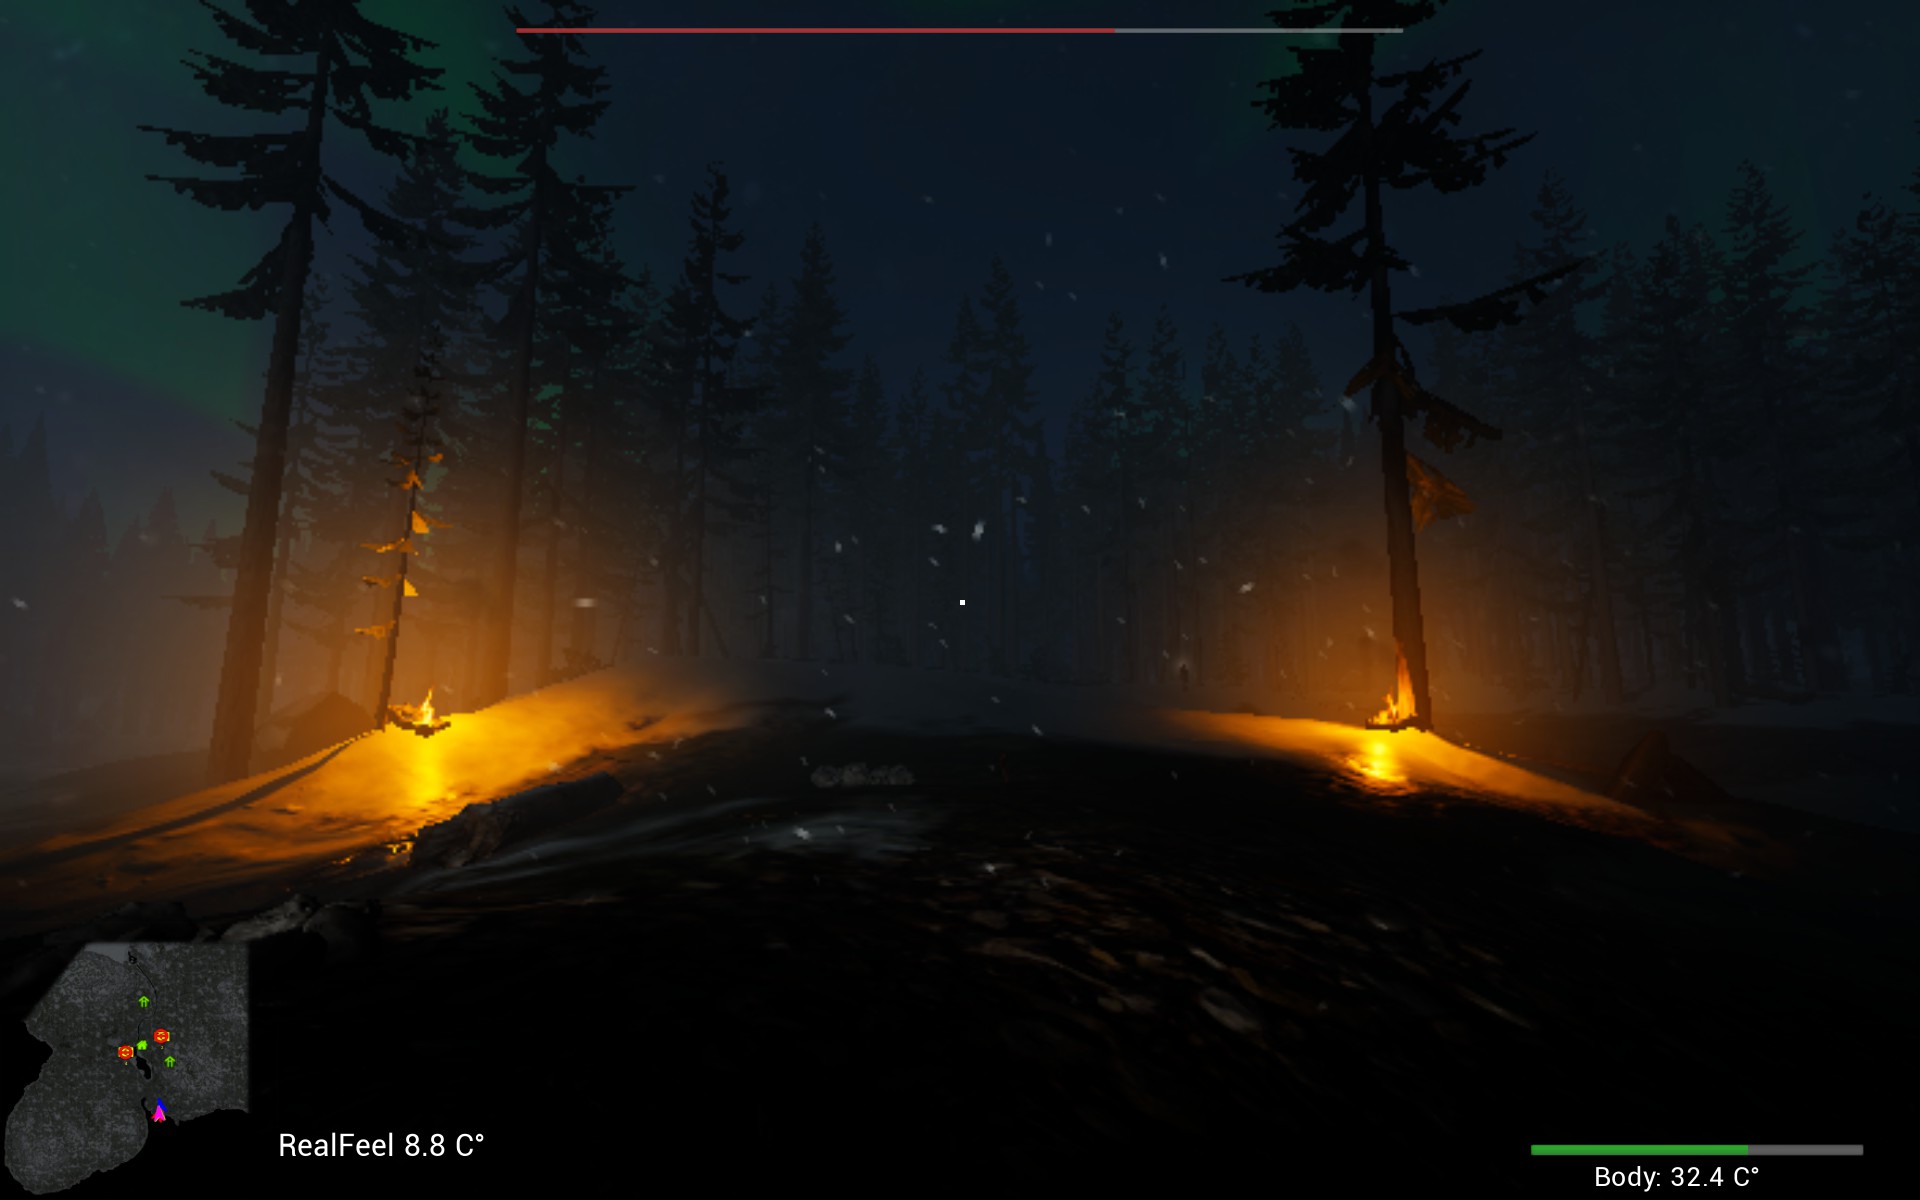
The Glacier Cave: Surrounded by ice and with only one small entrance, and a provided lantern inside, this cave in the north is very easy to defend and keep lit at night.
Ancient Cave: For similar reasons to the Glacier Cave, the Ancient Cave is easy to defend and the stone reflects light very well so it stays lit easily.
Southern Shore: Any large area of beach on the shore of the ocean makes for an easily defended area simply due to the ability to focus on defending only a few sides- the ocean has got your back.
The Mountain Peak: This area only accessible by tightrope walking a narrow tree is highly elevated and with only one way in or out. It also provides a natural area to launch the drone from, as it is the highest location in the map. With settings maxed out, it is also possible to snipe from this location into the surrounding woods, given luck and a steady hand.
Hunting for Bait
Team and Solo Hunting Tactics
There are three types of animals available for the hunter to use as Bigfoot bait meat. These are: Racoons, Foxes, and Deer. All these animals produce one cut of meat, and have various levels of difficulty to locate and kill. These animals are mostly located near the coastal areas of the map, concentrating on the southern shore near the ocean
To hunt, it is KEY to only walk, do NOT sprint. The woods come alive when one simply slows down and takes the time to search. If playing in groups, creating what is known as a “police line” is a very effective tactic. Each player spreads out to about 30m away from eachother and walks parallel, sweeping a large swathe of land and shooting anything that (could) move. NOTE: It is very difficult to shoot a moving animal. Attempt to take a shot when the animal is still. Take a shot ONLY when the animal is still. It takes a lot of skill to shoot a moving target.
These are the following animals in the game so far:
Racoons: (Hard kill difficulty) These are small, round dark colored animals that are often mistaken as rocks. They move slowly compared to the deer and the fox, but due to its extreme small size, and lack of distinct vocalization, are very hard to locate and kill respectively.
Foxes: (Medium kill difficulty) These are small, orange colored animals that are known for there fast speed. Though they are fast, they don’t often move. They make very distinct yapping vocalizations, and when they vocalize, they usually are NOT moving. Often they will be circling within a few yards. Also, foxes have a strange tendency to get stuck in rocks. If you are near a cliff-face and hear a fox, try checking in the rocks and crevices, often you will find a stuck fox and easily be able to harvest the meat.
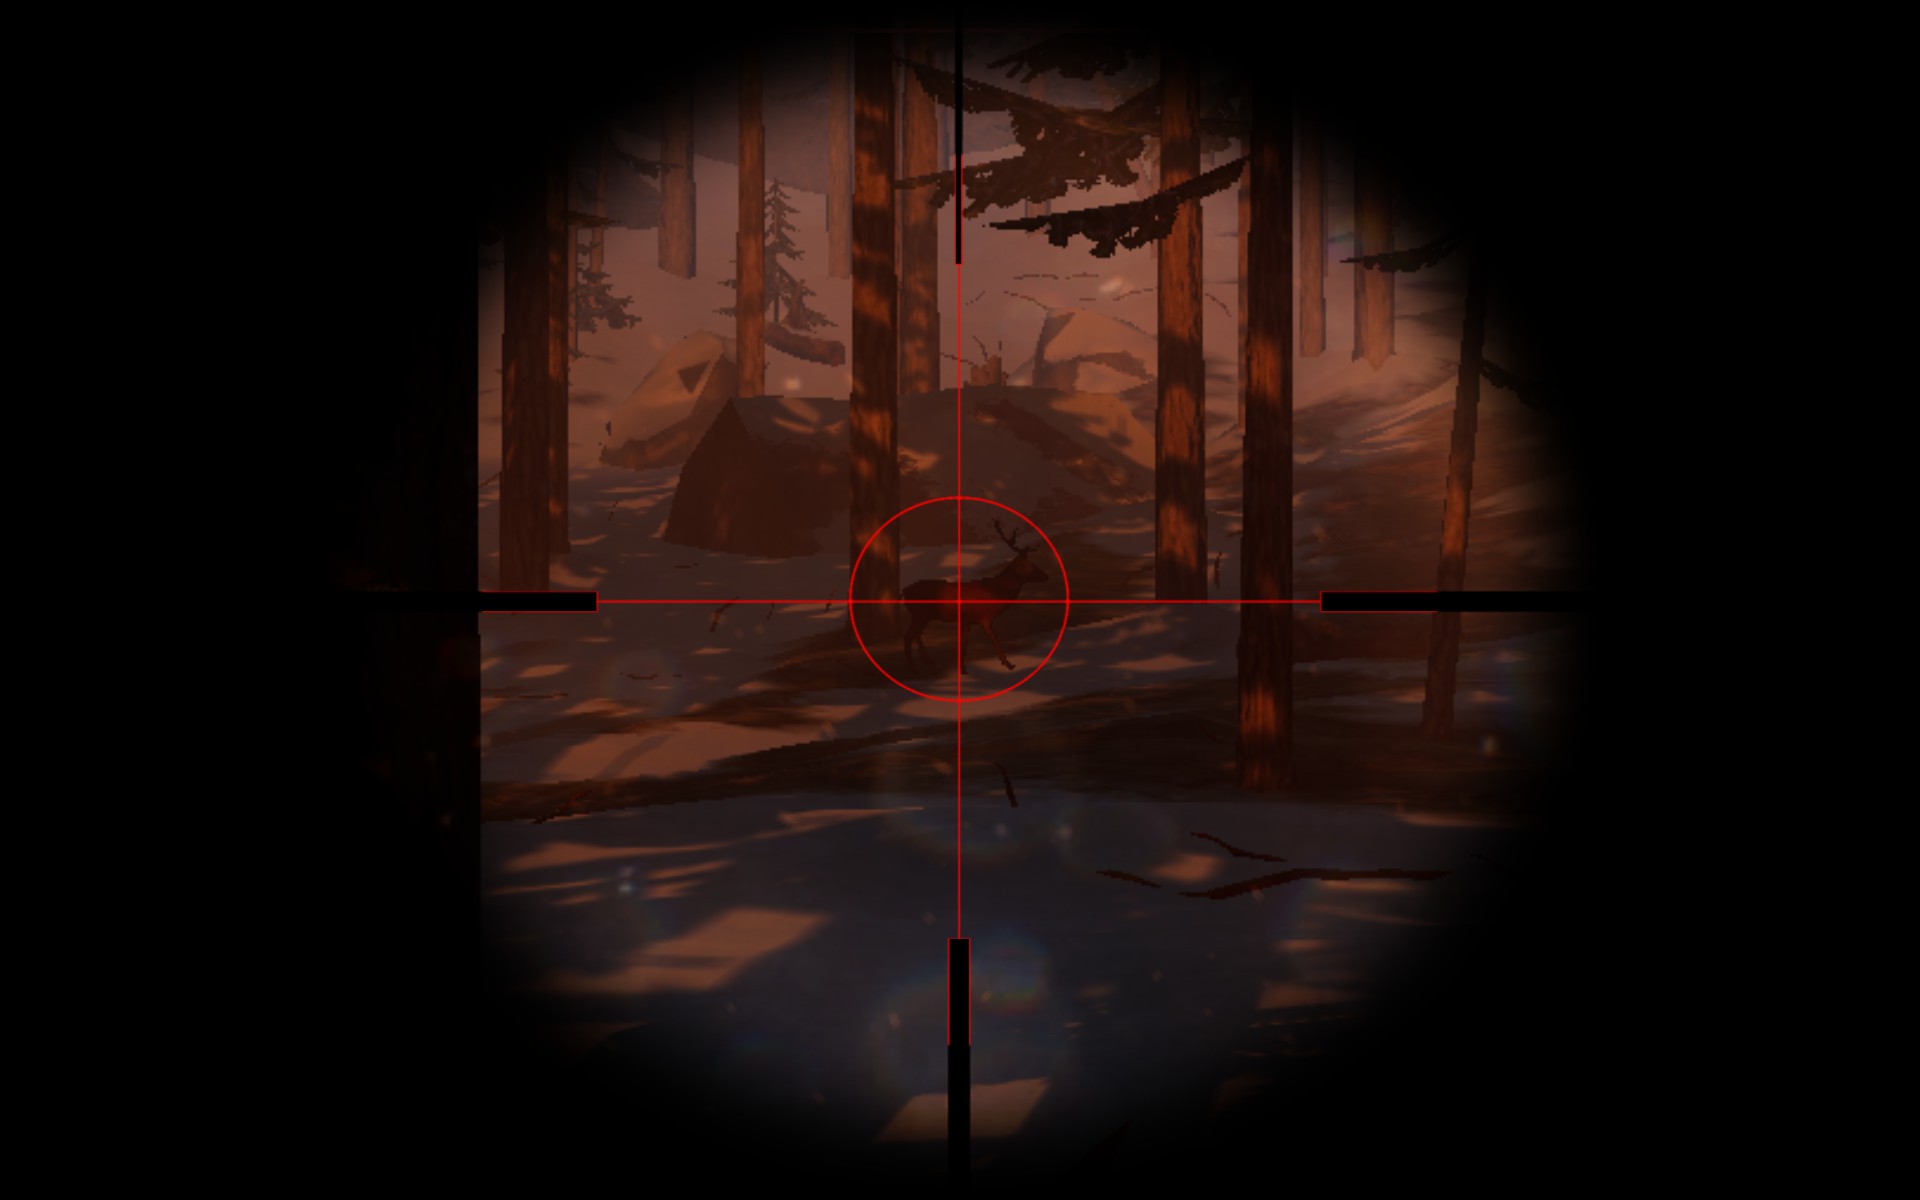
Deer: (Easy kill difficulty) These are large, slow-moving brown animals most commonly found in the game. They make a grunting yowl, but if you get too close they sprint. These are plentiful in the lowlands near the shore, and tend to stay on flat ground.
What We Do
How my team and I kill a Foot
My team and I are a group of 4 players that have logged over 120 hours in the game and all of us are still counting. We have experimented with various tactics over the course of our Bigfoot hunting escapades, and have developed a few tried and true stradegies that win games.
Stradegy 1
This is the easiest way to kill the Foot. As soon as the game starts, the team divides up and goes to every Point of Interest, and collects all the supplies, prioritizing traps and medicine. After every area has been swept and the team controls every trap that has spawned in the game, we then lay every trap and simply wait for the squatch to step in all of them, and kill itself, only leaving safety to hunt for bait or reposition cameras.
This is the easiest way to win but it isn’t very intriguing of a game and isn’t very scary or fun. Considering that the Foot only attacks when provoked, the team refrains from injuring the Foot until all the supplies have been placed and we can afford to face off against the squatch on our own terms. This method also requires an in-depth knowledge of the map and the easiest ways to get to every Point of Interest, as there is a time limit to the Foot’s non-aggresiveness (30 minutes), and the last thing you want is to run out of time and have the Foot attack you when you’re alone and undefended.
Stradegy 2
This is the medium-difficulty way of securing a win. The tactics are very similar to Stradegy B but instead of hiking to every Point of Interest, the team splits up and only goes to the hunting towers and collects supplies. This forces the hunters to go searching for supplies later in the game and racks up the difficulty.
Stradegy 3
This is the hardest way of winning the game. When we arrive on the map, two players will proceed to Hunting Tower 4 and collect all the gear that spawned there, then continue on the the research cabin. The other two, one of which is our drone pilot, proceed directly to the research cabin, 
If your team has never won a match we recommend starting out trying Stradegy 2. This requires the least map knowledge and is relatively easy to pull off a legitimate win with respectable odds.
Hunter Experience
Tips of the trade discovered the hard way
STILL LEARNING
This is where we wil be placing any pro-tips and interesting tadbits of information that may be of use, concering hunting tactics, experiences, and bigfoot behaviour, that we learn playing the game but may not fit perfectly into other catagories of this guide.
Tracking the Foot
It is possible to track the Bigfoot after it attacks you, gets trapped, or is encountered in-game. Simply search the area of attack for footprints, and follow them and they will lead you to the squatch. They light up with an orange outline for a short period of time when you find new prints
Water
The Bigfoot hates water, and by jumping into the lake, one can escape his grasp. He only fears deep water though. He is not afraid to attack you in the stream or on the beach.
Freezing
It is possible to freeze to death. At 30* C ice damage appears on your HUD and you must find warmth quickly. Do this by going to the cabin, or placing a fire and standing near it. If not you will freeze and die like a noob.
Glitches
In-game bugs we’ve encountered
Bigfoot getting caught on rocks:
The Bigfoot gets caught on the side of a mountain and can only move in a small area or can’t move at all. The game continues as normal but the squatch can’t attack you or do anything besides stand there. Proceed to the Foot with caution, and attempt to kill with a knife. Best case senerio you get an easy win. Worse case senerio you have to quit the game.
Bigfoot carries away player:
The bigfoot, while attacking, glitches into a player and they become attached. Besides being terrifying for the attached player, the game proceeds as normal, the Foot doesn’t seem to notice the attached player. In our one experience with this glitch the player shortly died by “falling through the map” but not before bringing the Foot down to 3/4 health from 1/2 with knife alone.
No HUD
A very common glitch that usually effects the host. When this happens the host losses his heads-up display and can’t see any of his items or the map or anything. Sometimes it helps to have the host quit the game, and load in only by himself, and have the remainder of the players join in 30 second intervals after the host has reloaded the game. This sometimes fixes the glitch and allows the game to proceed as normal.
Other Information
We learned most of this material playing the game for ourselves. All of us bought Bigfoot when it first released on steam over a year ago, and have been very impressed with the new update, but there is still a lot for the Devs to work on. For other good information on playing this game, visit the [NON-OFFICIAL] BIGFOOT 2.0 [CONSTANTLY UPDATING!!] guide by Jeffery (and co.) – he does a great job at wrapping the game up in a fun and informative way, and provides some information we may not have included due to us personally not having encountered it. Feel free to comment what we have done right and what we can change, and your own experiences to help add to this guide!


