Overview
Need help playing Blueshift? Here, take this Medkit!
Introduction
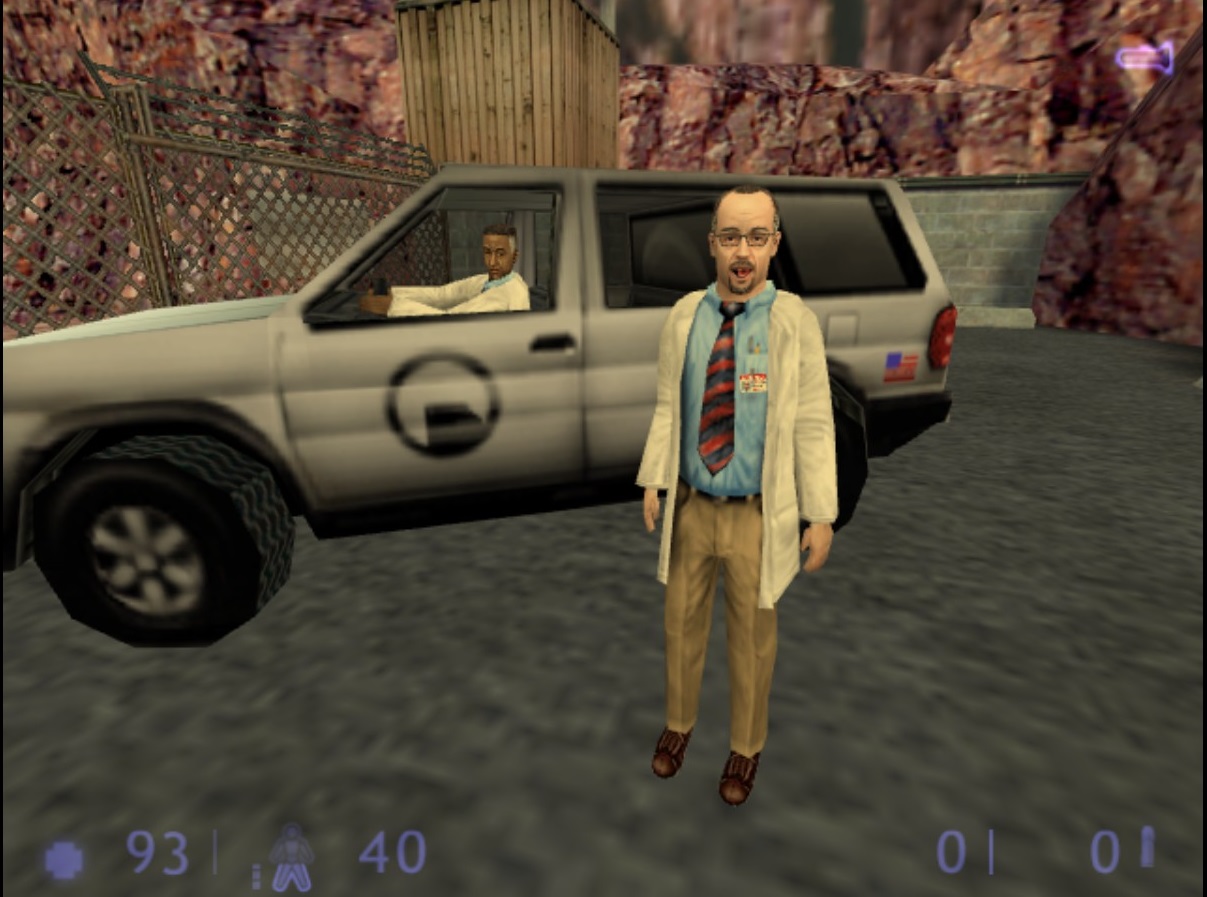
You are
a security Guard working for Black Mesa – a Research and Development building out in New Mexico.
–> You arrive for your shift via high-security tram only to find out from the main desk you’re, “in for a rough day.”
You hear of the infamous Anomalous Materials Lab where Gordon Freeman worked – which is indirectly the cause of all the hazards and hostility you experience throughout your shift.
—————————
- As a security guard your job is to put the safety of others before yourself.
- While not able or required to save everyone in the facility – including coworkers and enemies –
you will fail a mission and go back to your last usable save file if a mission-critical personnel is killed in your presence
- You are strongly encouraged to use your conscience as Calhoun.
——–This is a fairly short game compared to Opposing Force and the original Half-Life 1——–
Chapter 1 – Insecurity
Go to Area 3 – Security to get your sidearm.
You can either:
- Follow the green line
- Follow the blue line to Refreshments and jump over the balcony for a shortcut (avoiding stairs)
Then, follow the red line to the locker room to get your armor (note you can’t use HEV suit chargers as Barney Calhoun – you must find armor pickups from storage rooms and fallen guards).
-Go to the armory to grab your sidearm. Walk up to the sides of each shooting range booth to get free ammo.
-Head back to the restricted access area and out past the Particle Labs. Go through the maintenance access and past the dark, crowded storage corridor. Push the button for the drawbridge after the tram and pedestrian pass by.
————————–
Autosave
————————–
You will end up in Sector G
- Inside to your left is a Tram route map.
Take note of it. In the other direction is an elevator. Push the button for the elevator and climb inside.
-Push the button from the inside to activate (if it isn’t already going somewhere). Wait for it….Save your ammo. Not much you can do for the scientists you see passing by.
Chapter 2 – Duty Calls
Walk by the crowbar outside to pick it up.
-Jump over the stairwell ahead and destroy the power maintenance box. Don’t forget to turn your flashlight on. Open the door in the stairwell. Watch out for headcrabs!
-Jump on the table to avoid toxic spills on the floor. Open the door in the next room. When you see the scientist up on the vents, turn to your left. run and jump on top of the fence below. You will take SOME falling damage. You will need to crouch there to get to the other side.
Head for the canal!
-Use the lift to traverse the gap. Head through the side door on the North Tunnel (should be to your left).
-Open the South Tunnel and run over there, as the door won’t stay open.
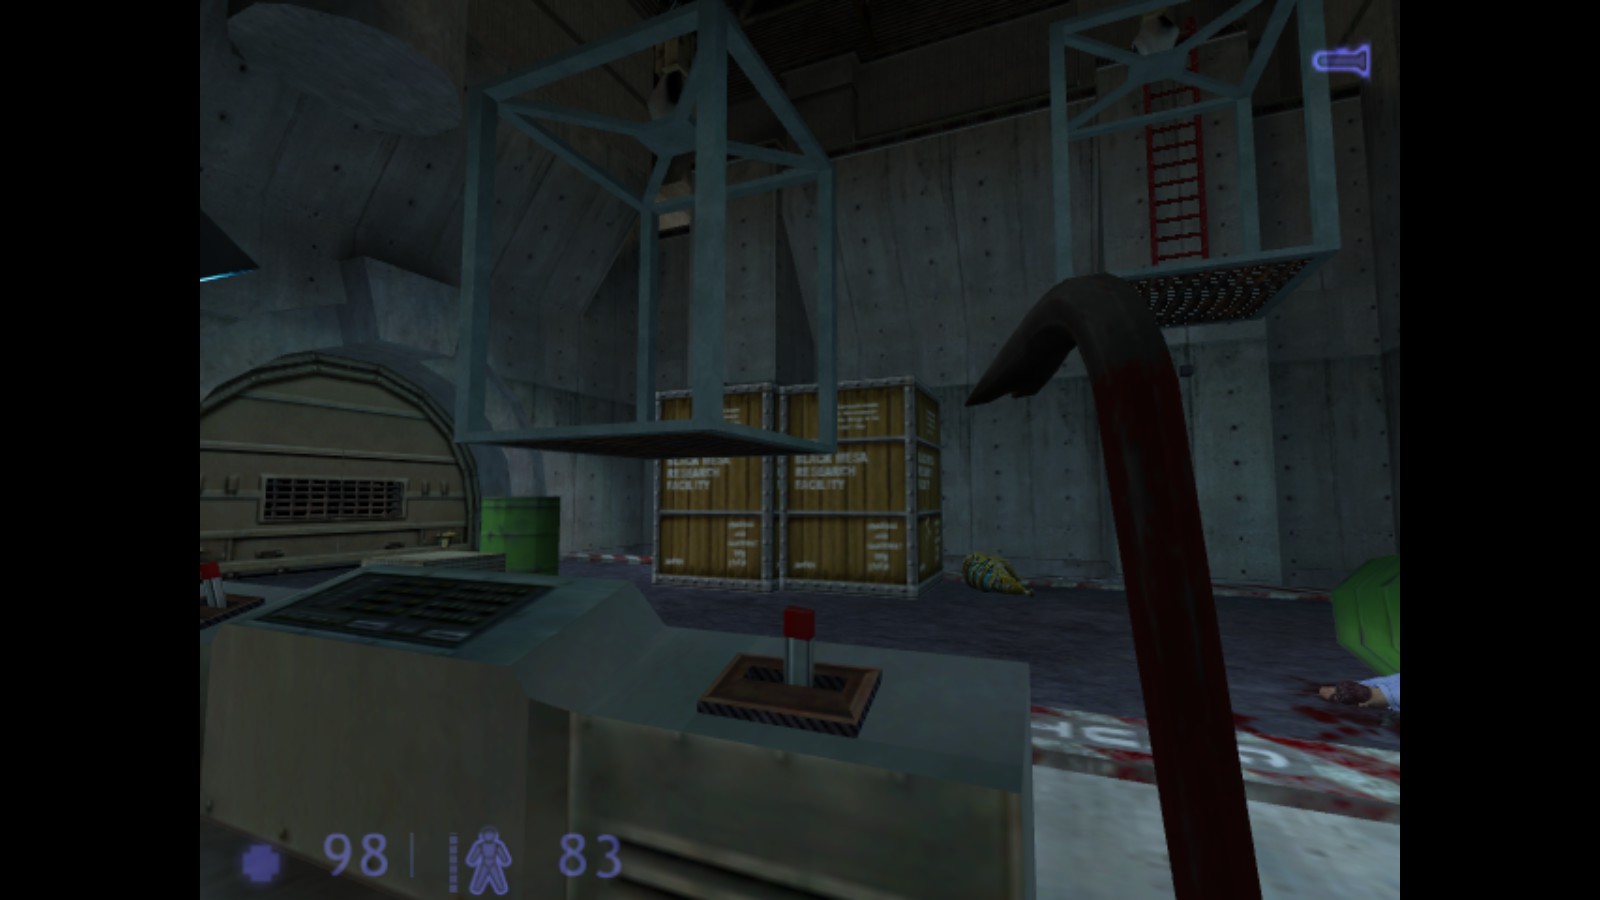
Note that some small crates can be opened for medkits and ammo. Fallen guards have armor and ammo.
————————–
The Crane Lift Puzzle
————————–
-Line up the following from left to right (while facing the crane levers):
This can require some troubleshooting, so be patient! ; D
-Head to the far end of the next room and just run down the drainage access ladder. Alien slaves will spawn behind you. Just run..They will keep spawning. Ignore them.
-Head up the canal divider and turn right. Climb the highest platform (in front of you) and turn the valve. In a side room, call the elevator. Take out the alien slaves from this vantage point. Turn any other valves you see. You’ll find a shotgun in the side room below. JUmp in the non-toxic water to avoid falling damage.
-Go back to the canal and traverse to what would be the LEFT side. Climb the ladder to the platform
————————–
AUTOSAVE
————————–
-Go ahead and take out some barnacles although if they grab you, you can attack them and break free. The grating to the far end of the room is opened – enter and turn the flow control valve. Hop on the barrels to reach the other side o the canal! You can push a barrel toward shore to help climb up.
Again, fallen comrades hold ammo. Watch out for alien slaves.
-Jump on the pipe below to the side. You can use the barnacle to get a hidden medkit, or simply continue.
-You will see a security guard being mobbed by 2 zombies. You can go ahead and attack them from your position, or simply make a mad dash around the bend.
-Head down the red-lit hallway on your left. Turn left again and flip the power ON. Go to the lift. Push/pull the explosives crate and it’ll fly into the canal, destroying the machinery. Continue through this area and up the ladder in the following room(s).
Chapter 3 – Captive Freight
-If you’re daring, take out the sentry turrets with your crowbar and obtain some C-4s and grenades from the truck. Then continue to the other massive doorway and pick the lock on the fence to your right.
-To continue through the Steam tunnels, turn the valve to open the door on your left. Run fast, as the steam will hurt you. Used ranged weapons on the bullsquid. The next door has a valve underwater to the right of it.
Head on the elevator to the warehouse basement.
-Watch out for headcrabs and slippery liquid. Wait for the electriciy to settle down and head into the hall that ISN’T maintenance access.
-At the end, shoot the flammable barrel to make a path. Stack up the boxes from the corner by the fallen air vent.
AUTOSAVE
————————–
-Turn right and bust open the vent on your left side. Exit and turn left for more armor; to the right to progress. You should pick up the MP5 and head to the main stairwell. You need to head outside on the first floor.
-Defeat the soldiers and climb the dumpster near the building. Go to the floor labelled “Yard Manager.” There should be an armor stash nearby inside. Take out the soldiers, then interact with the red freight/train car and walk up to open the door.
-Go to the storage room, then the freight yard. To open the door, remove the wooden wheel blocks with your pistol. Otherwise you will probably be flattened.
-Head toward the “freight car storage yard.” When there, run around the tank and go through the side door to the next building. If you want, you can obtain the rocket launcher from the military truck before you head inside though.
There is a ladder on the back of the following truck. Climb it, and clear the bed AND the flammable tanks.
-Before you go through the opening, let the soldiers see you. Stay and shoot from there – it’s protected.
Go to the turntable control room.
-Turn the track toward Bay 5 and OPEN Bay 5. Hop onto the red push-car near the end of that storage unit. There is a small ladder on the right side looking at the front of Bay 5 from the outside!
-Push the car out of the Bay and greet Dr. Rosenburg inside. He will help you get back out of the car and fight the soldiers. Afterward, have Rosenburg follow you to the freight warehouse.
-Follow the corridors until he stops to indicate a place in the wall where an elevator is. Punch through the wall and he will guide you through his lab. Jump into the teleporter as directed.
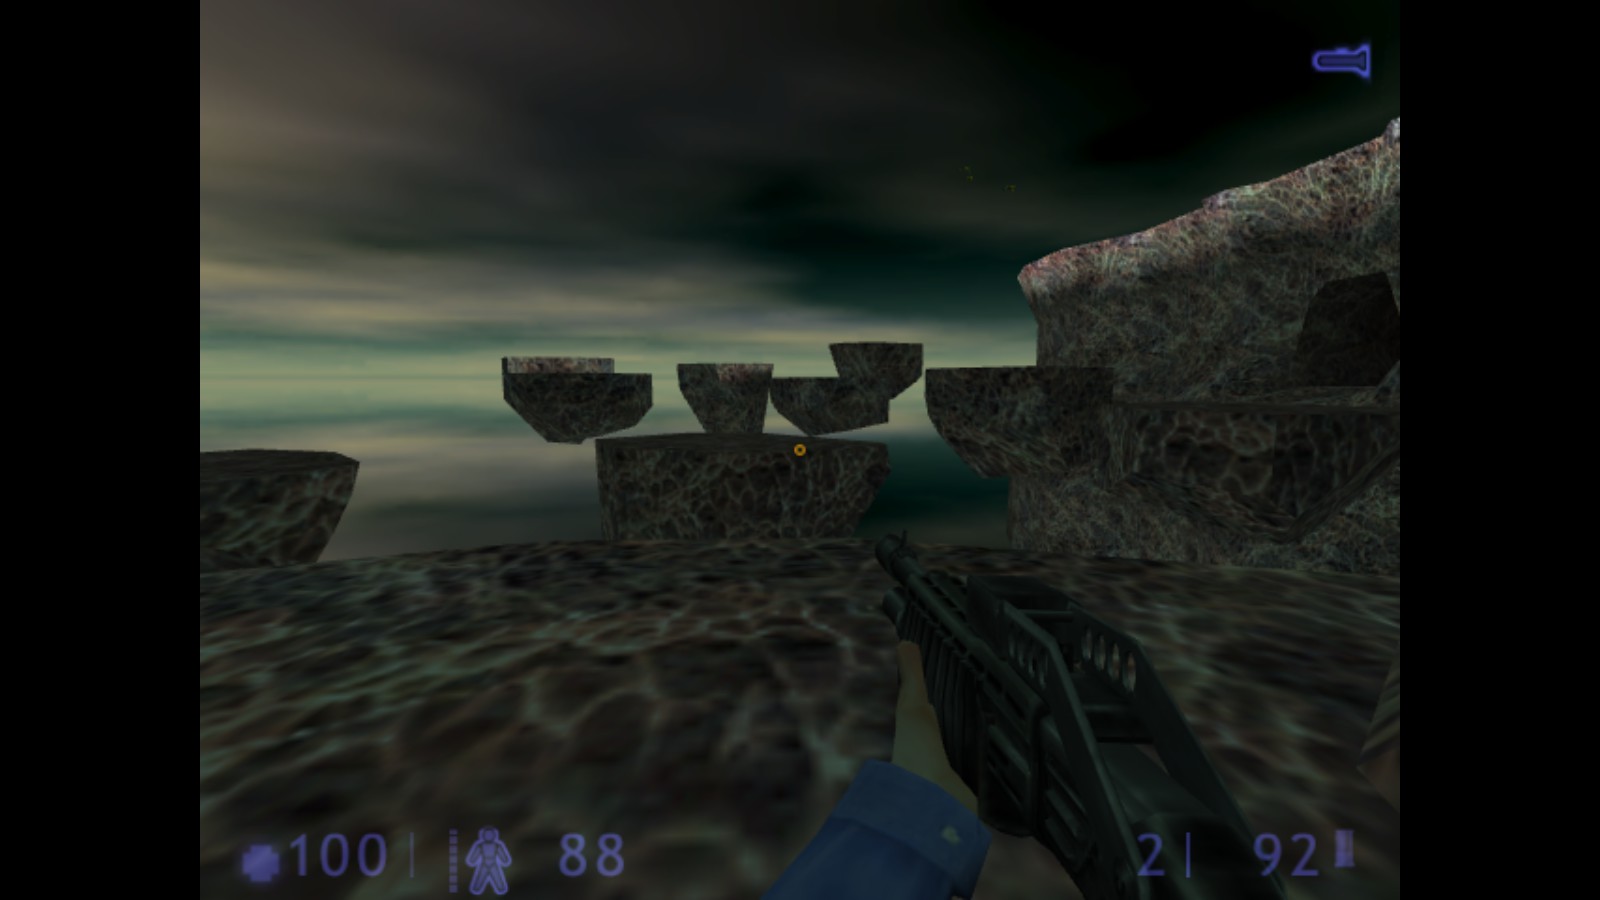
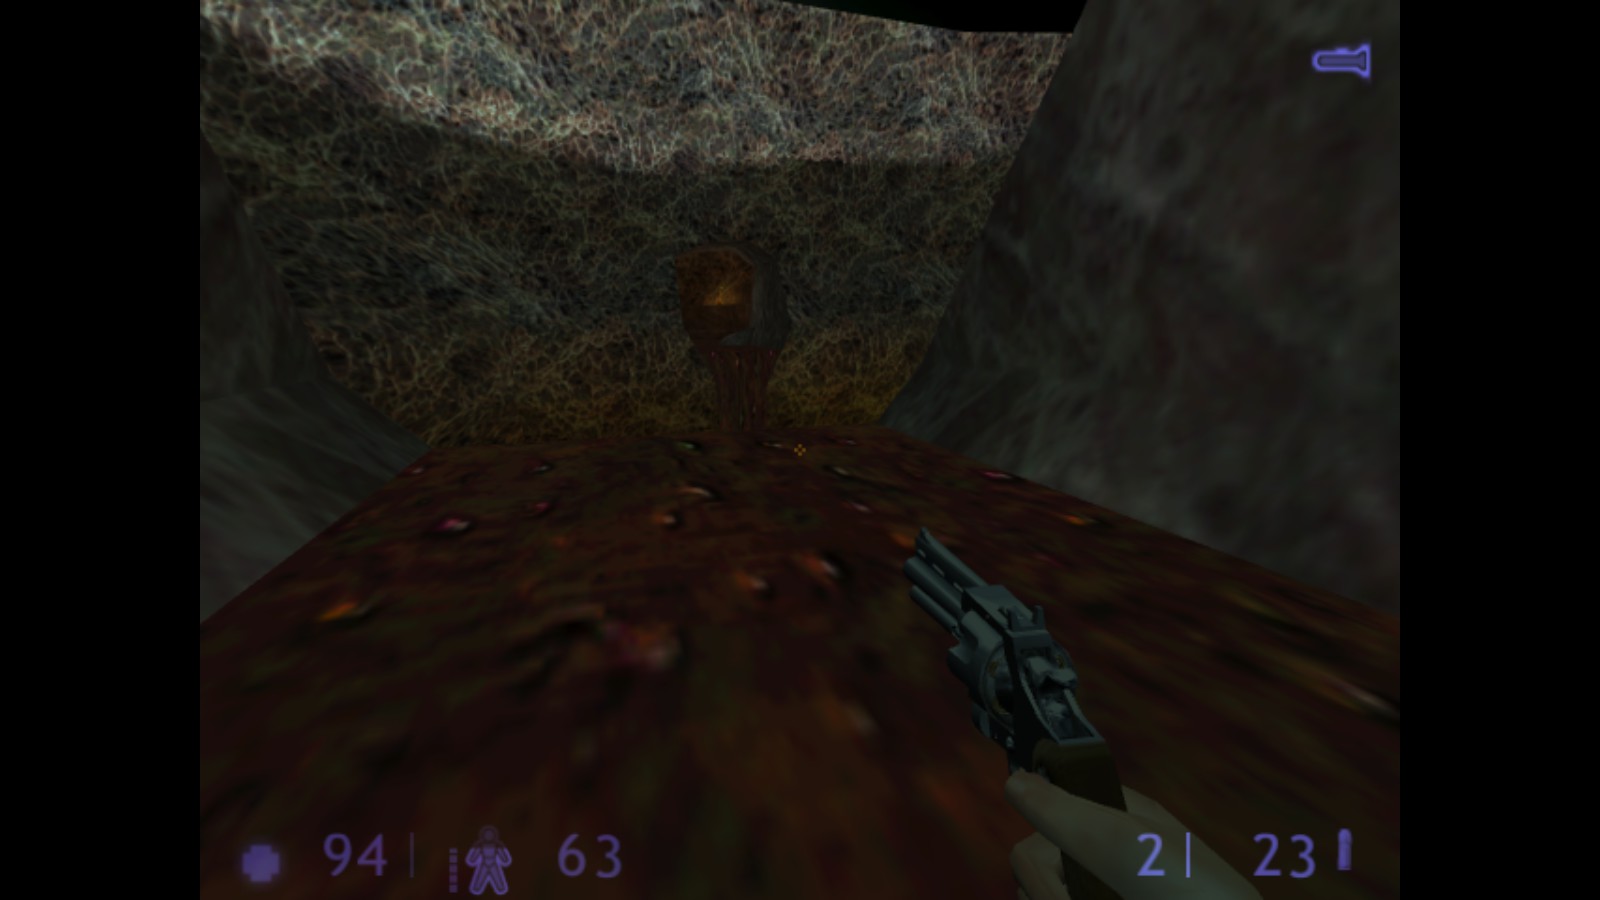
Chapter 4 – Focal Point
-Watch out for large finger-like structures. Don’t stand directly below them. Ever
-Pools restore health
-Gravity is lessened. You can make VERY long jumps on this planet!
——————
-Jump up the rocks near where you landed. Take the rock skyway to the far end of the stage. remove the webbing from the small tunnel before you get close.
-Use the following directions to navigate the tunnels:
Cross the floating rocks (you will still need to crouch jump).
-Wait in the healing pool while alien slave spawn and some of the platforms are destroyed. One of the towers will fall. Walk across it and go straight down. You will land in water.
-Follow the waterfalls. Land in water, then climb up and use the “trampoline” to bounce into the waterfall right across from where you came in!
Drop down into the transmission camp.
2. Press the white box
3. Press each knob until the machine beeps and a light turns green. The knob should show it’s in a red wedge when it’s in the right area.
Chapter 5 – Leap of Faith (part A)
Head into the ground-level cave. The ceiling will collapse right ontop of the alien slave. Climb up. Keep going straight, avoiding alien slaves.
Chapter 6 – Power Struggle
Follow Dr. Rosenburg and go down the freight lift.
-Turn right, go up the lift, and check in on the security guard you can’t get to. Come back to the main hall, go straight and wait for the door to come down. Get a C-4 ready if you have one.
-Go past the level 2 lift, and down the hall past the radio. Move the barrel onto the fuse.
-Turn right and use the coolant pump. Turn left and go down the elevator. Line up the barrels in the middle of the room – a walkway.
-Pump the coolant back in and cross the gap. Climb over coolant barrels to reach the control room. Watch out for the alien grunt. Its weak spot is the stomache. Activate both switches to turn on the auxuliary generator.
Jump over the railing and cross the makeshift bridge.
Chapter 7 – Leap of Faith (part B)
Dr. Rosenburg will guide you through the rest of this chapter. Just make sure to keep enemies away from the scientists and
Mission Statement
Thank you for reading this guide. Feedback is important – please rate and comment!
If you want more, go to my guides section and “follow”!
I am one of the leading guidewriters on Steam, having written dozens of guides, from troubleshooting to achievement hunting.
I enjoy helping people play games, but I can’t do it alone!
Encourage your friends to write guides…for games!
-Catherine