Overview
A very brief, general guide to bosses.
Introduction
This is a very brief guide to bosses.
This guide will cover bosses, attacks, and strategies, and whatever else that you’ll encounter when fighting bosses.
Okay, let’s begin…
War Machine
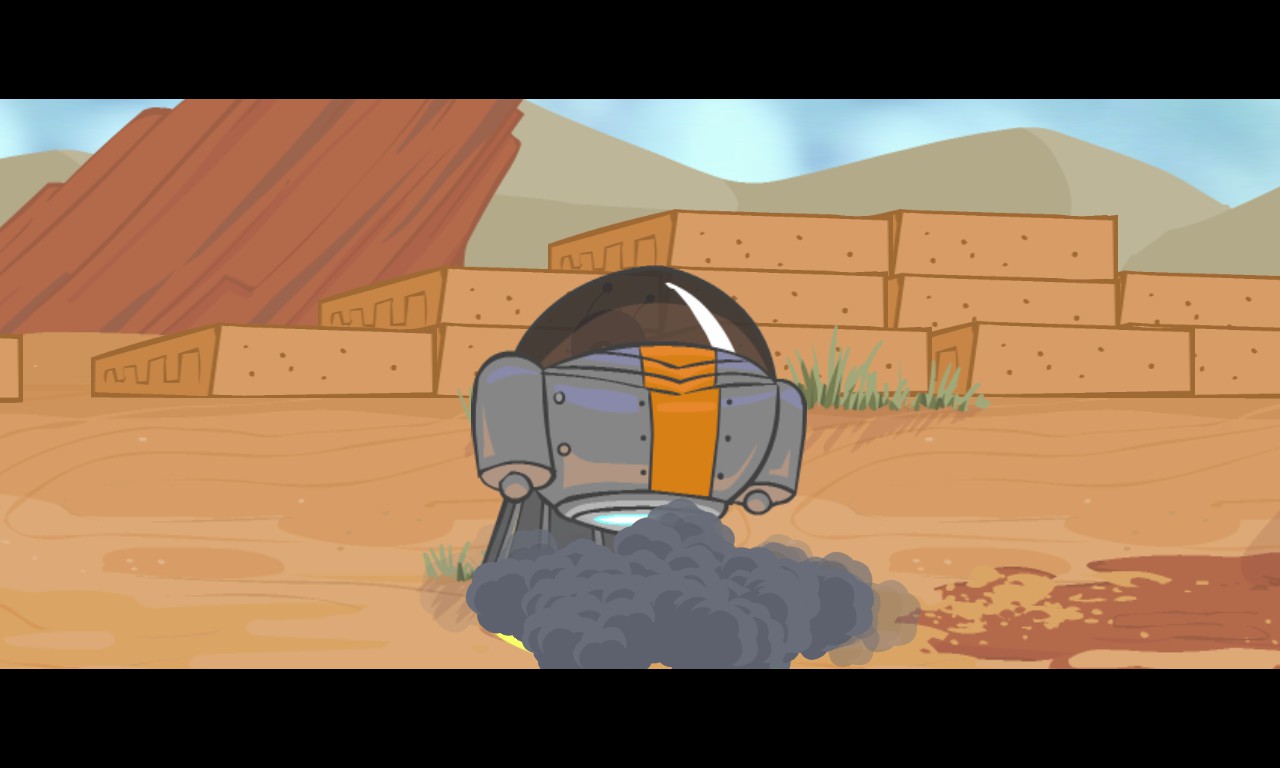
WAAAAAR MAAAAACHIIIIIIIIIIIIIIINE!!!!!!!!!!!!!!!!!!!!!!1!ONE!1
A barbarian tank, bearing the likeness of an angry ram.
HEALTH: 350 HP
POWERS: NONE, IT’S A MACHINE.
DIFFICULTY: EASY
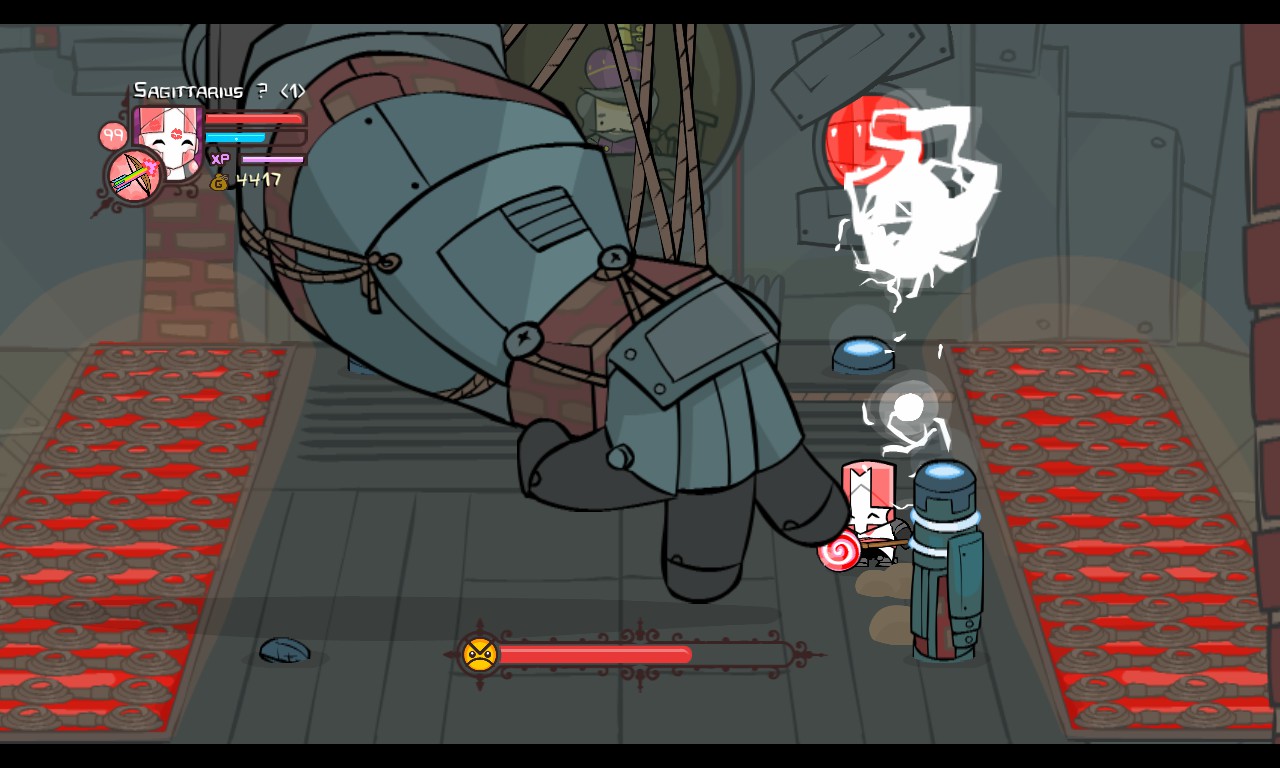
This is the first boss you’ll encounter. Like all first bosses, it’s fairly easy to take down since it doesn’t have much attacks…
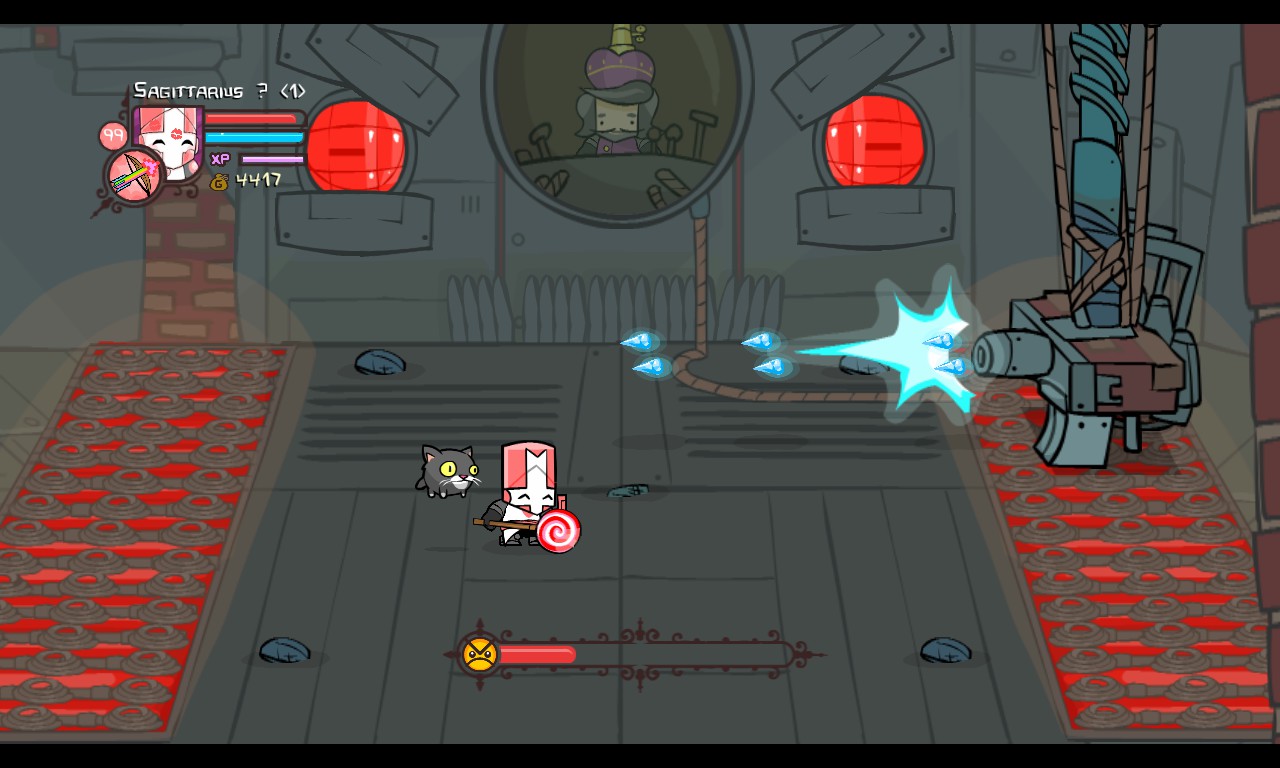
The War Machine shoots cannonballs during the fight. Watch out for those red target markers!
The War Machine will send in two Barbarians at a time. This is done by lifting a crank and deploying the troopers.
After a while, the War Machine will rev up and charge full speed, in an attempt to ram the player. It will go offscreen and then back.
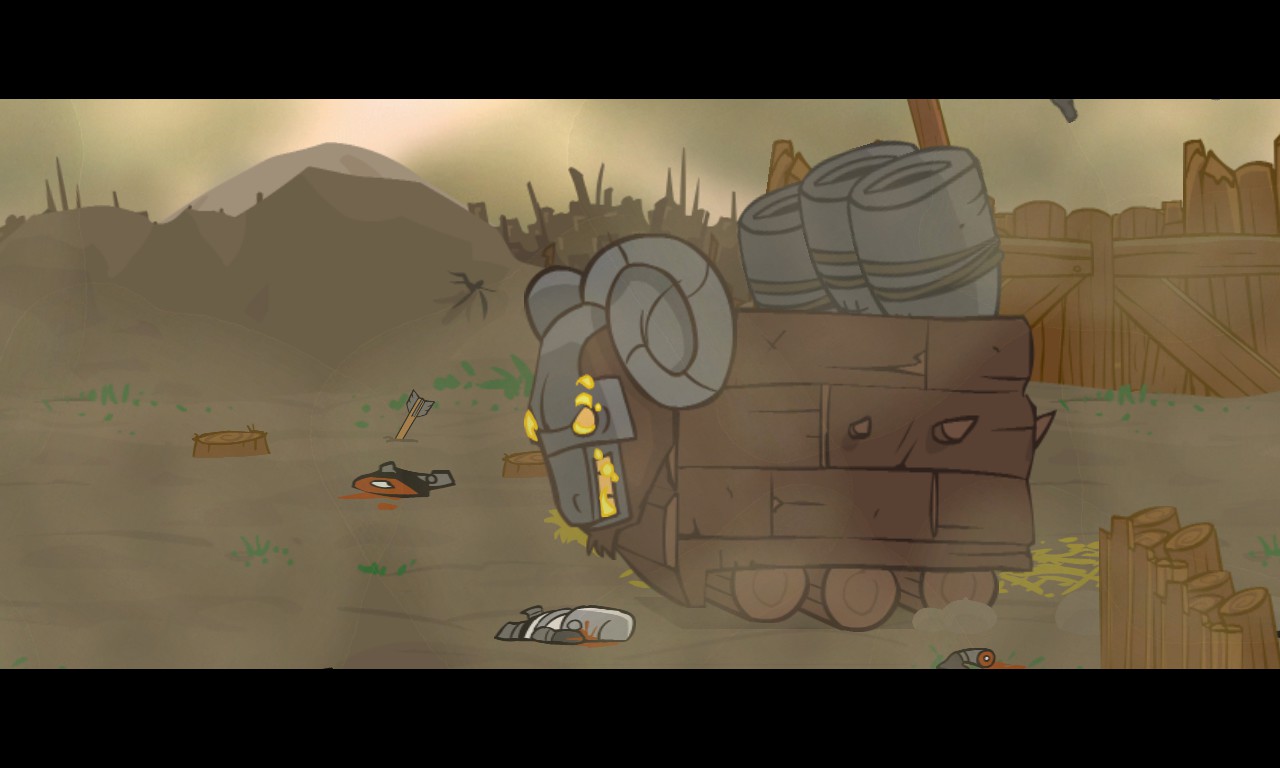
Oh, hello.
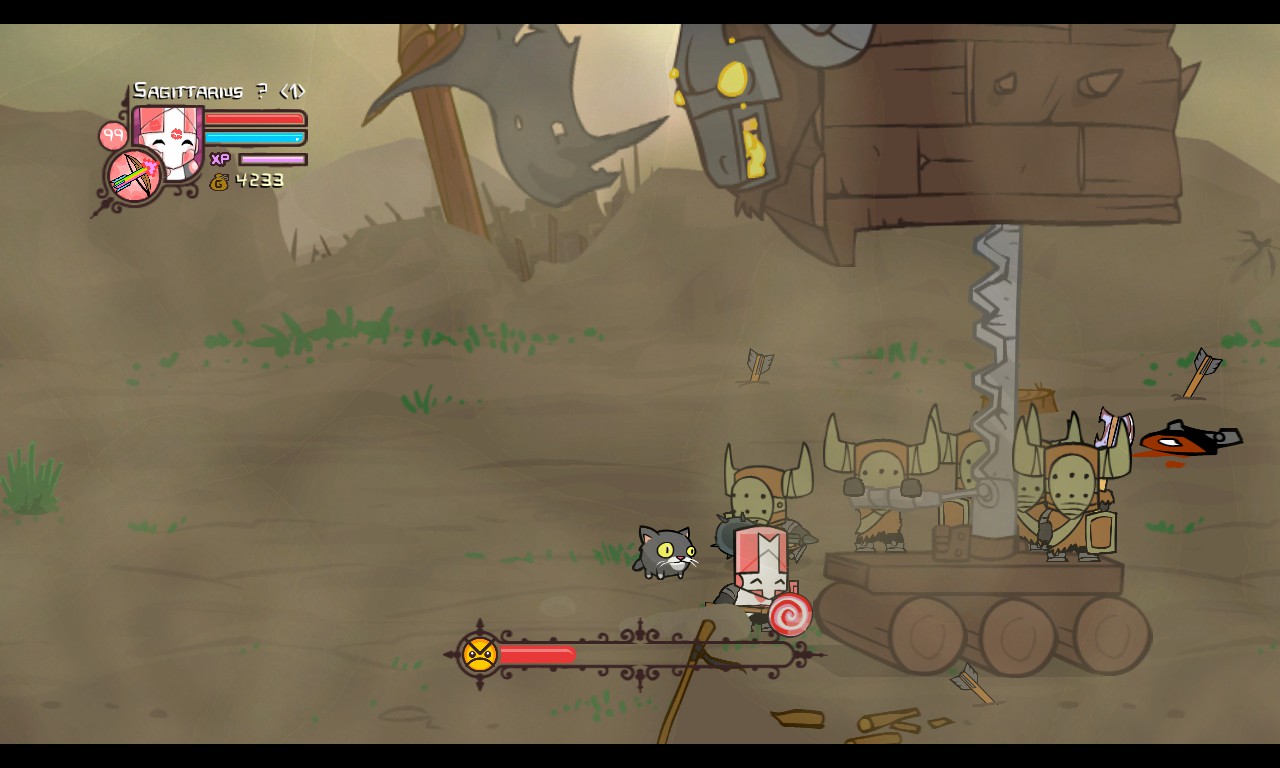
Slap it silly. It won’t do much other than move up to your face.
You can briefly see a War Machine charging in the background.
Can you see it?

Barbarian Boss
He’s real big and scary! Oh wait, that’s not him.
Yep, this is him.

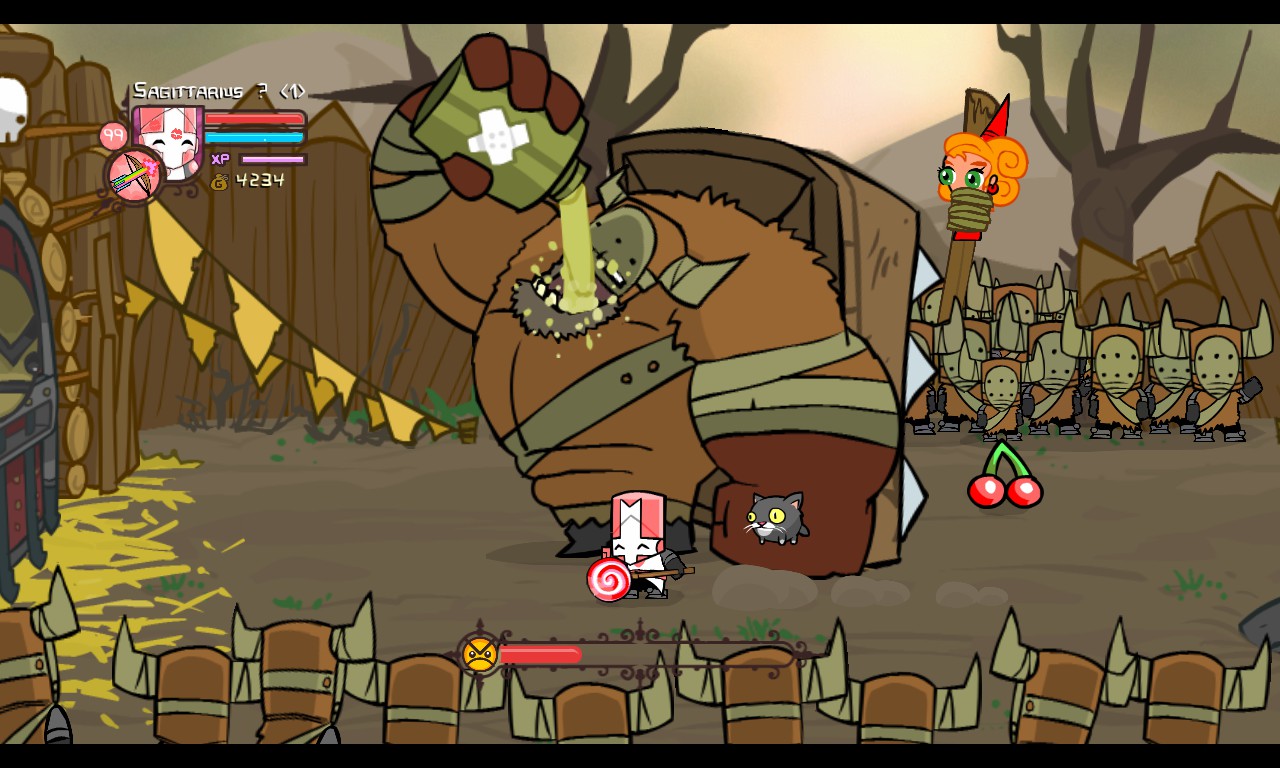
A towering hulk of a barbarian, this big guy is the leader of the Barbarians.
HEALTH: 400 HP
POWERS: STINKY BEER BREATH
DIFFICULTY: FAIRLY EASY
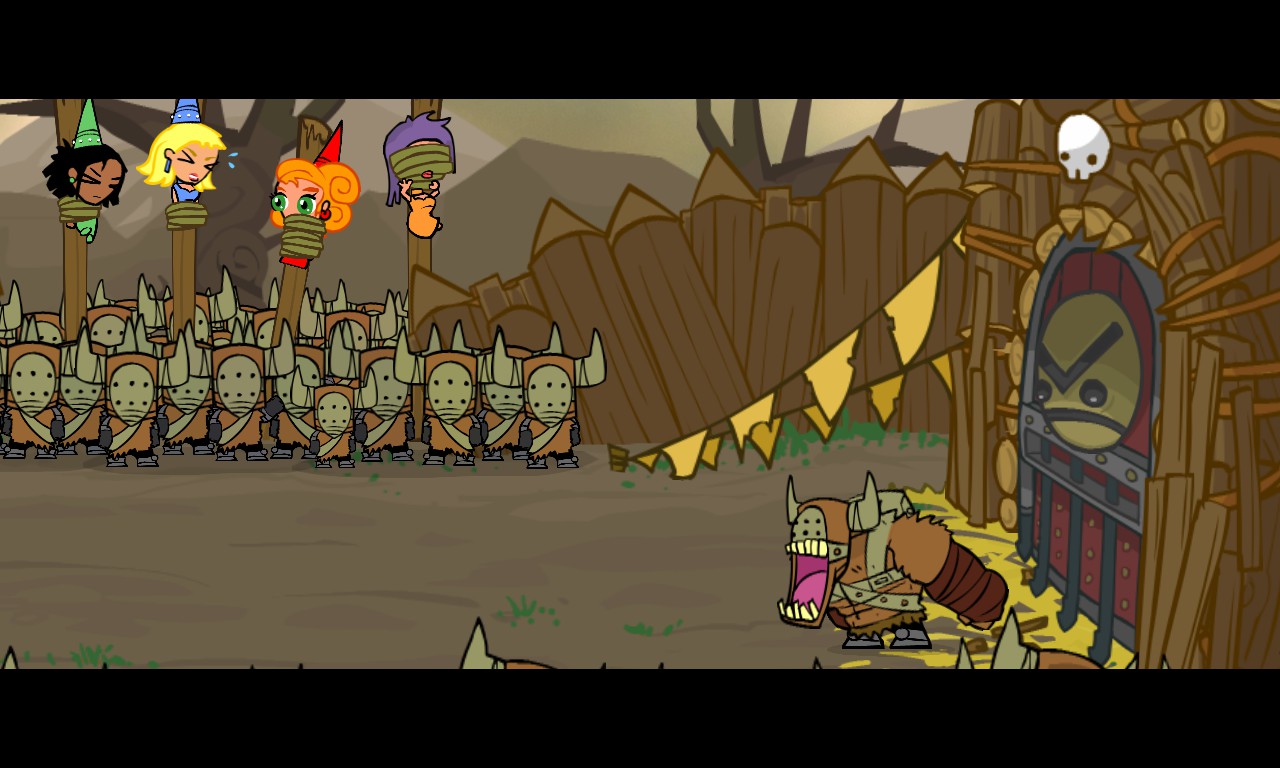
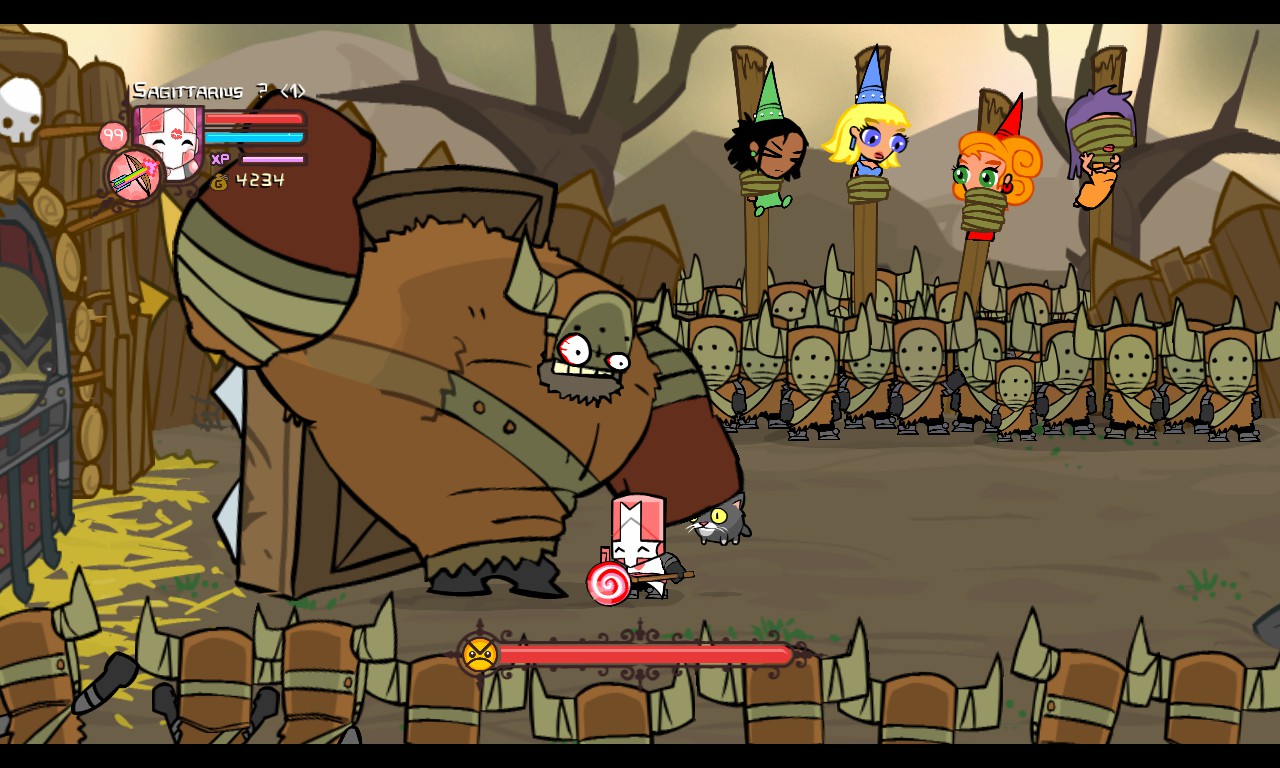
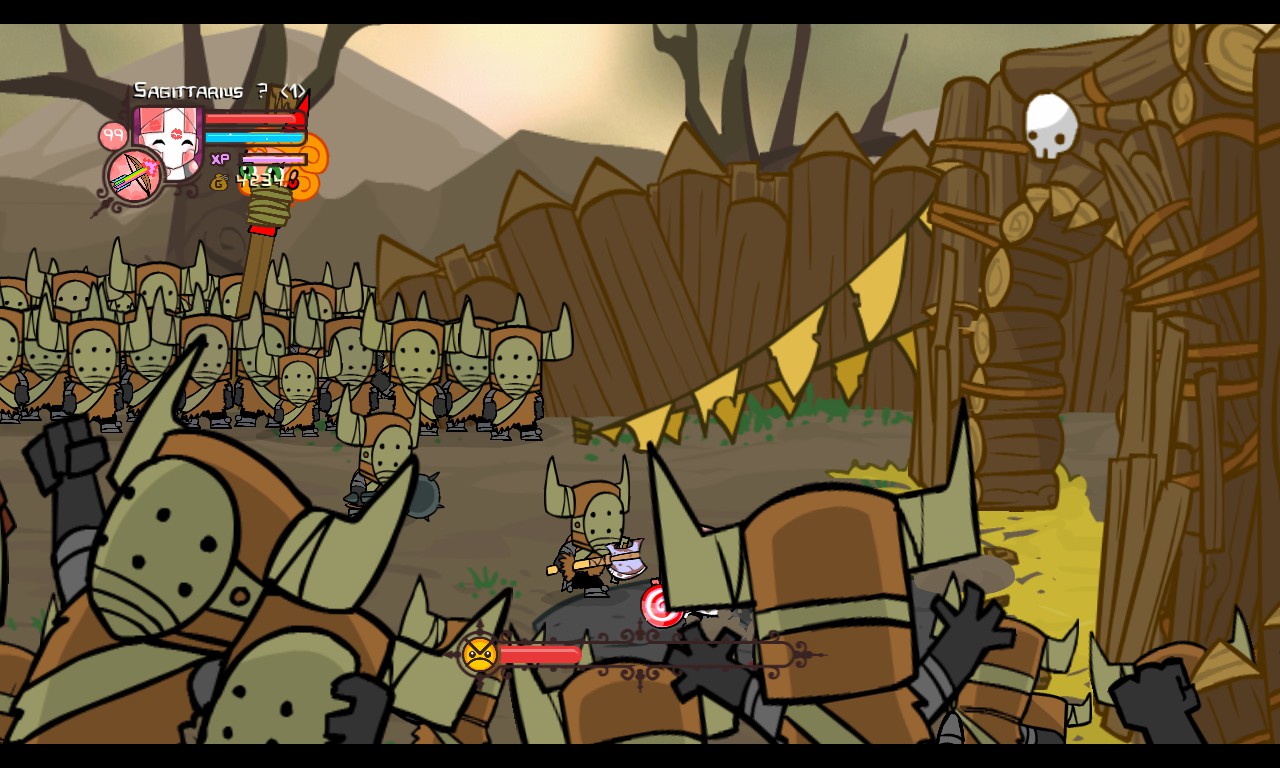
After fighting your way through the Barbarian battlestations, you stumble upon an arena, where a crowd of barbarians watch a fight between manno vs. little manno.
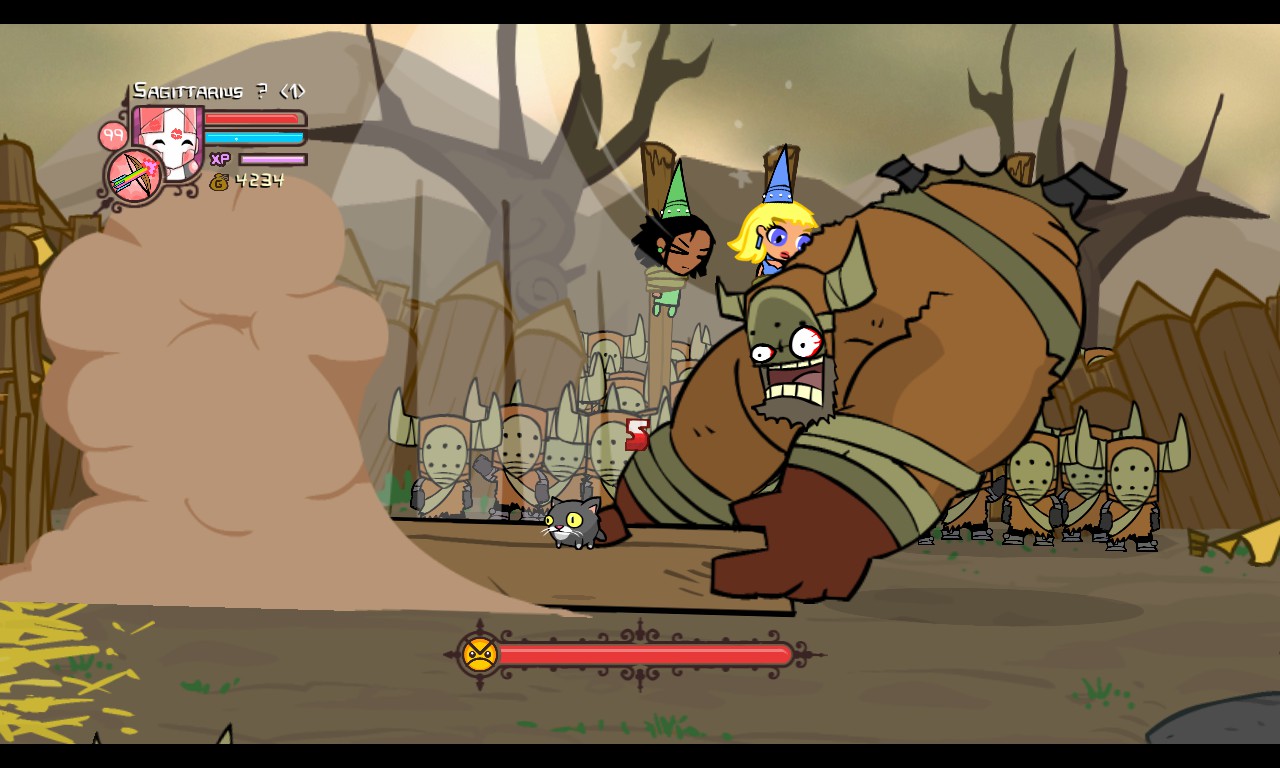
Up close, the Barbarian Boss will let out a constipated face, and will swing his giant fist at you. This can be blocked.
The Barbarian Boss will take out his giant shield and attempt you slam you into the ground with it.
If it hits you, you’ll be stuck in the ground for a while, while he turns around, points, and lets out a hearty laugh.
Meanie.
The Barbarian Boss will take out his shield and hold it in front of him, sending out retractable spears from the shield. This knocks players back and can be blocked.
FWOOSHING.

His slam attack and spear attack will excite the crowd, blocking your view.
AND THE CROWD GOES WILD!
When the Barbarian Boss is down to 66% of his health, a Barbarian will enter the arena and join in the fight. At 33% of his health, two Barbarians will enter the arena. Doesn’t that count as a disqualification?
No. Barbarians don’t need disqualifications.
Anyway, these Barbarians drop fruit when killed. After killing several Barbarians, they will no longer drop fruit, instead, they’ll drop gold.
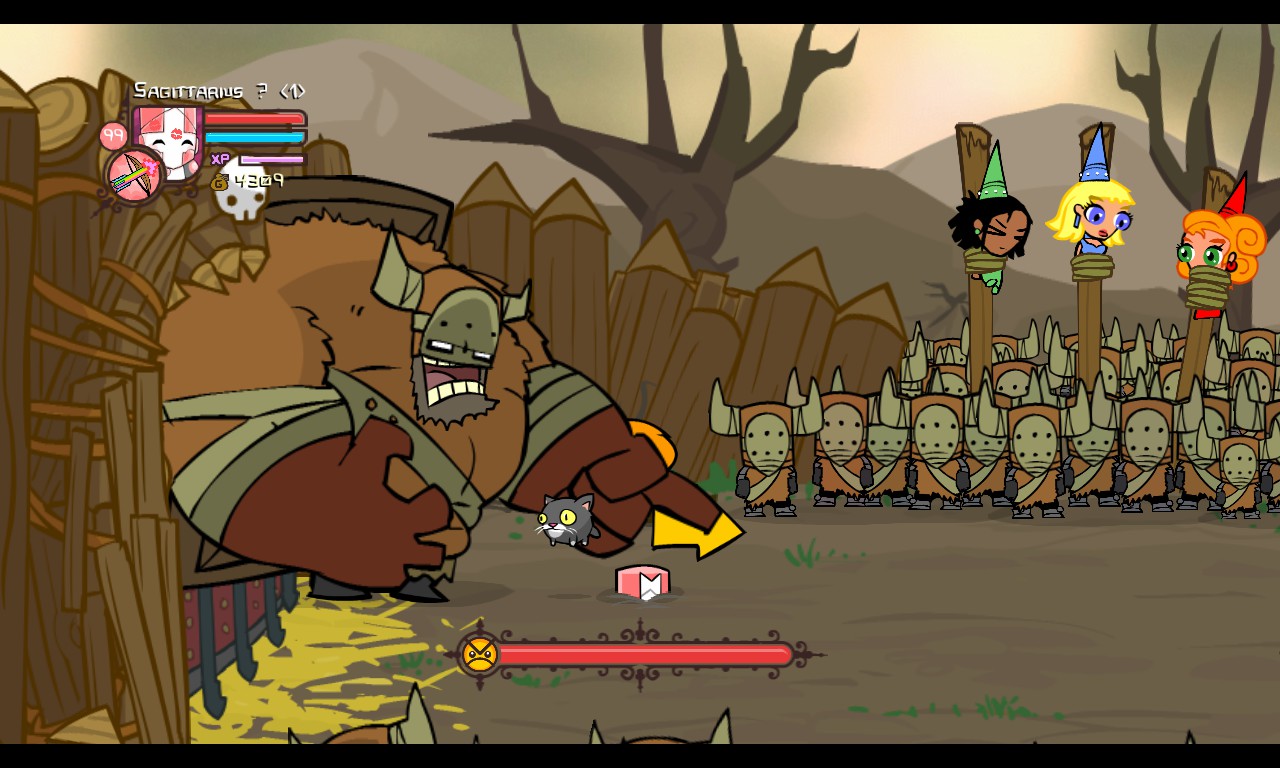
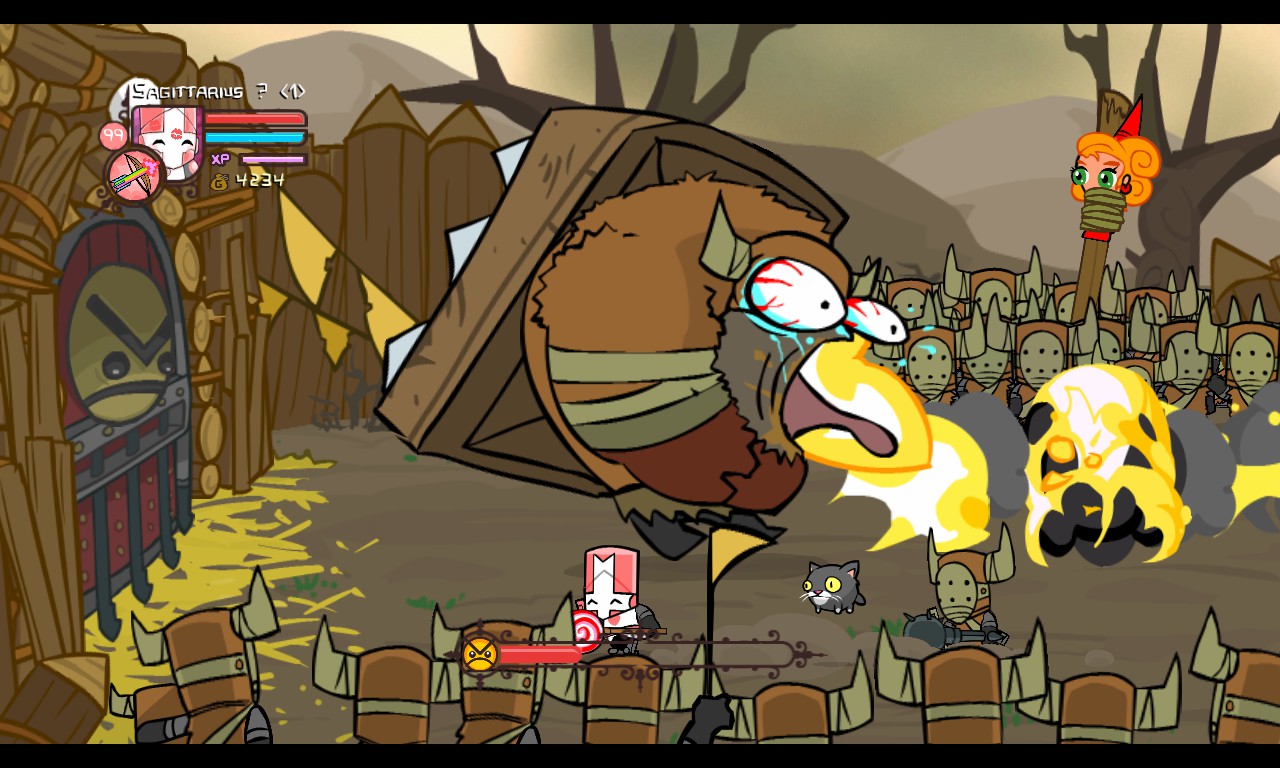
Finally, Barbarian Boss’ last attack is drinking a very large bottle of rum. After a while, he’ll bloat, and let out a huge fire burp, launching him to the other side of the screen dealing a lot of damage.
Don’t try this at home.

This guy can be pretty tough for first-time players. Once you learn his attacks, he can be a lot easier to take down. His attacks do high damage but most of them can be blocked. The Barbarians that come from the crowd drop fruit, so that’s a lot easier on the shoulders.
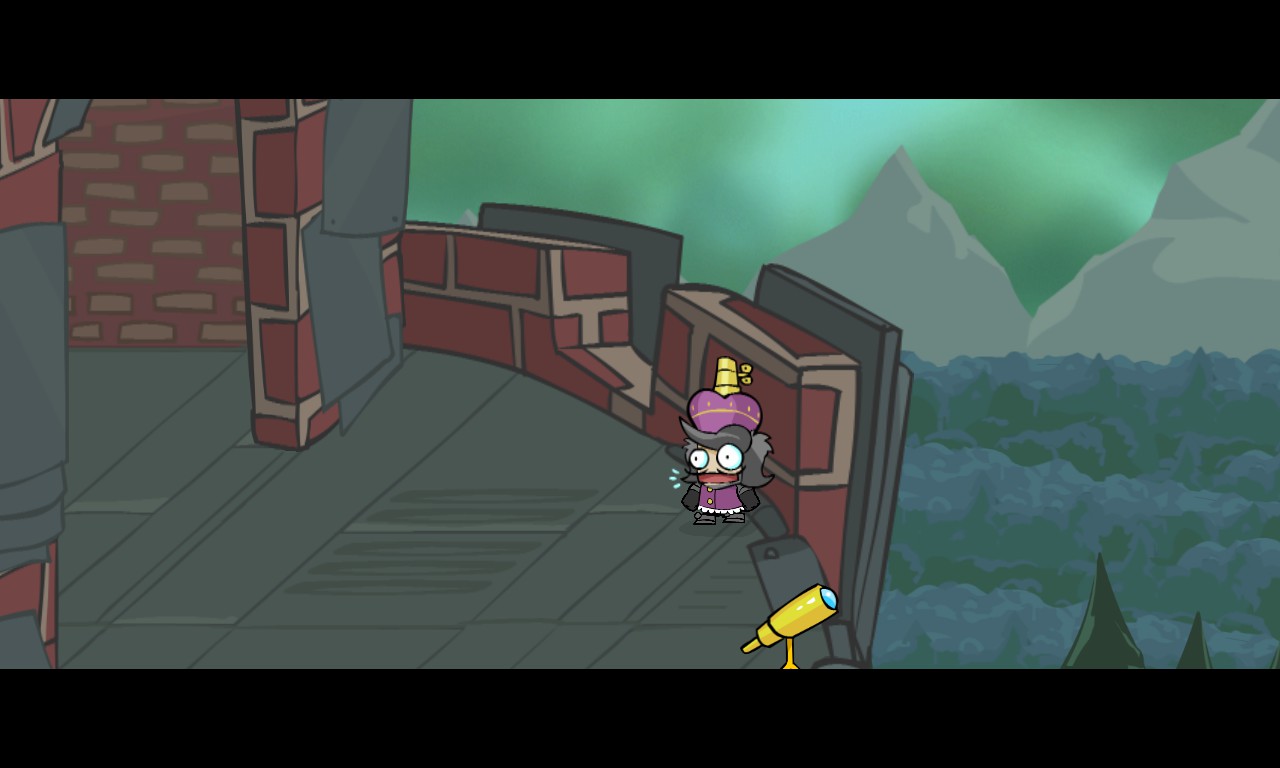
At halfway through his health, you can see a group of thieves in the background stealing the princesses, except for the Red Princess.
On Insane Mode, each time he attacks, he moves progressively faster to the point where he can outrun you with full agility. Never skip leg day!
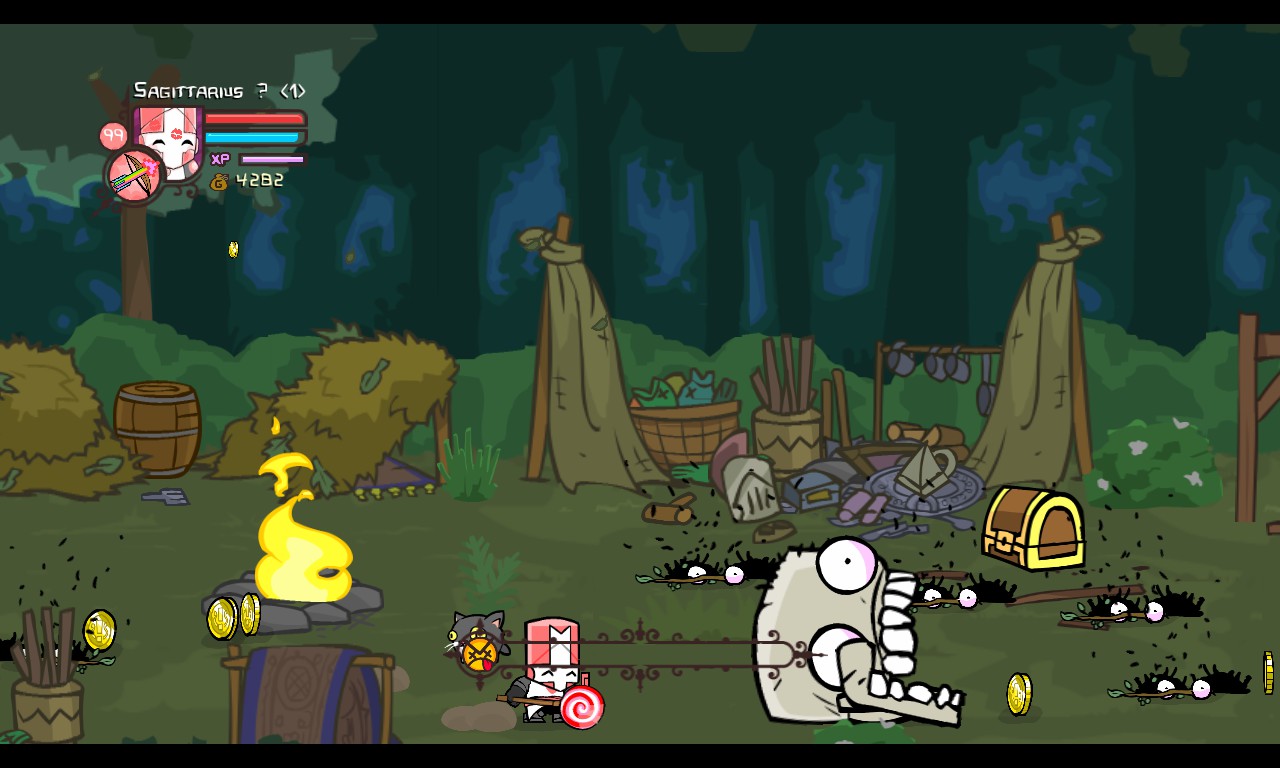
Troll Mother
WHAT IS THAT THING?
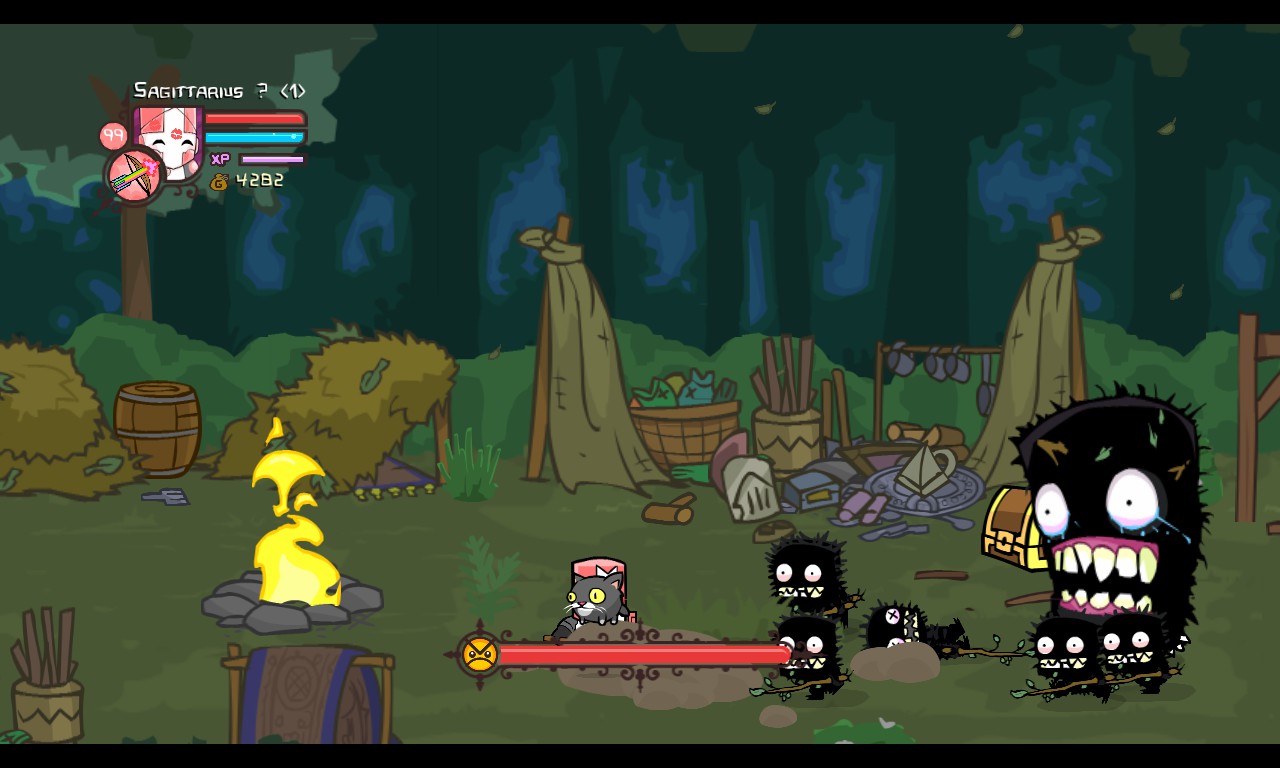
A large, hairy troll that constantly sheds hair. Or hairballs. Or trolls. I don’t know anymore.
HEALTH: 400 HP
POWERS: HAIR. OR SOMETHING.
DIFFICULTY: EASY-ISH
Deeper into the forest, you will encounter thieves running for their lives. I wonder why? As you go further, you will find the entrance to an abandoned mill, where you see more thieves drowned out by their own hilarious death screams running for their lives. They have seen things no person should ever see. What they saw: A big, fuzzy thing.
Wait, that’s not so scary…
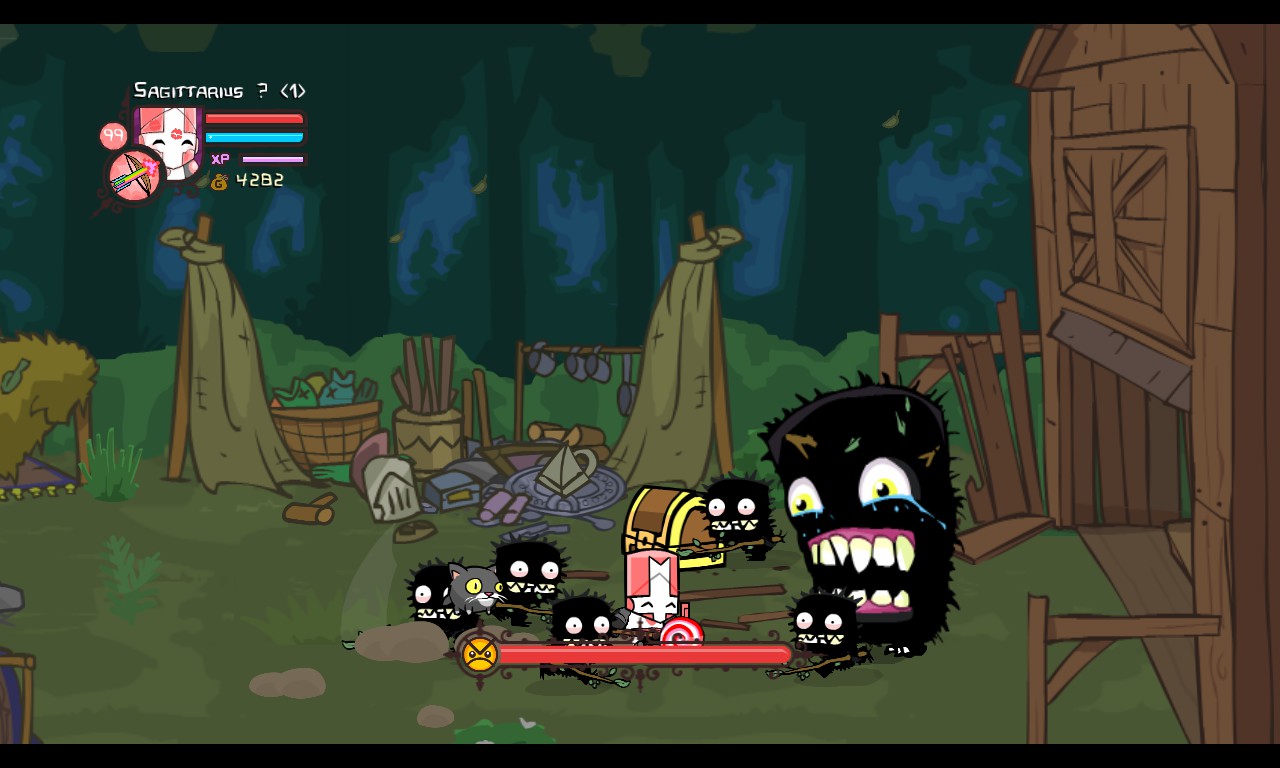
The Troll Mother has no direct attacks other than spawning Trolls every couple seconds or so.
Try your best to attack her as much as possible, before she spawns too many Trolls that can easily overwhelm you. When attacked, she will run to another side of the area. Keep chasing her! You might also want to focus on the trolls as well, there’s a chance that they will drop fruit. On the upper-right side of the area, there’s a chest containing a drumstick. You might want to pick that up when the going gets rough. You can also guide her to the fire, but it won’t do much…
Bluergh.
On Insane Mode, the Troll Mother stays in one place when hit, and can take multiple hits before she starts running around. When she’s around 50% of her health, then she’ll start running.
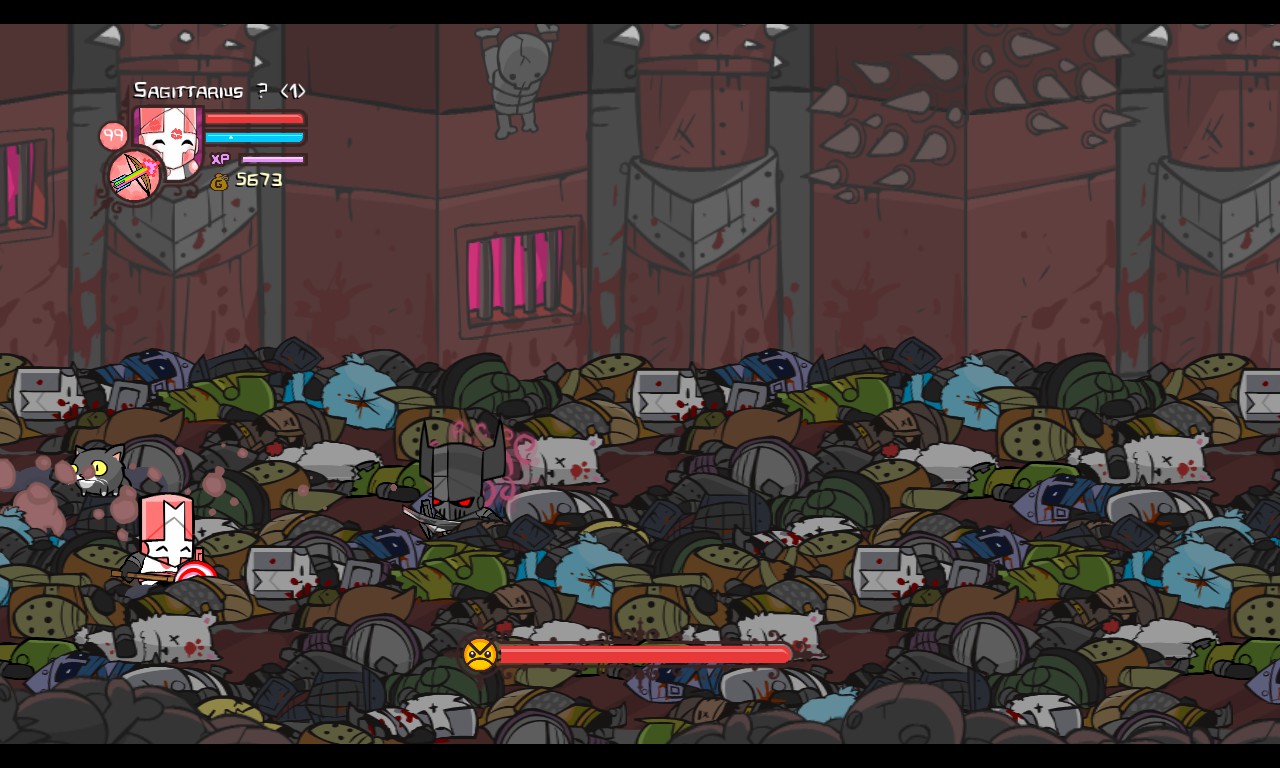
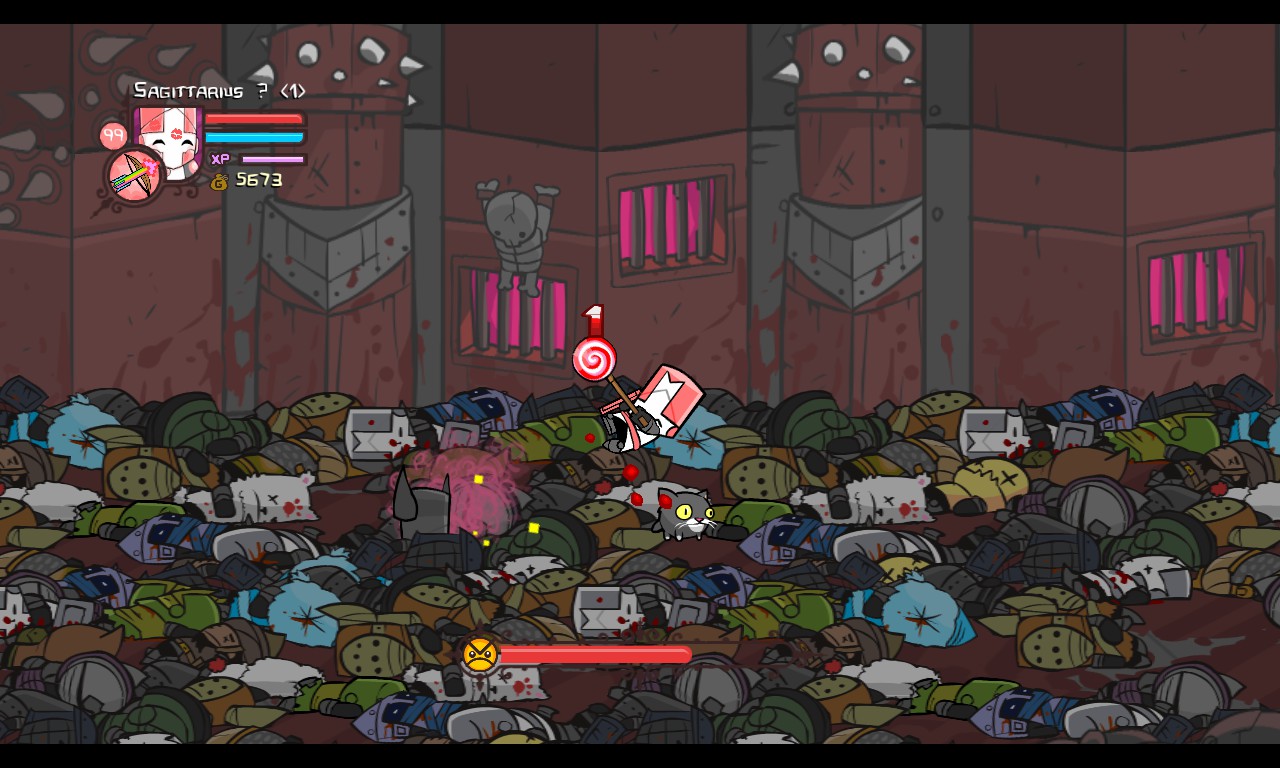
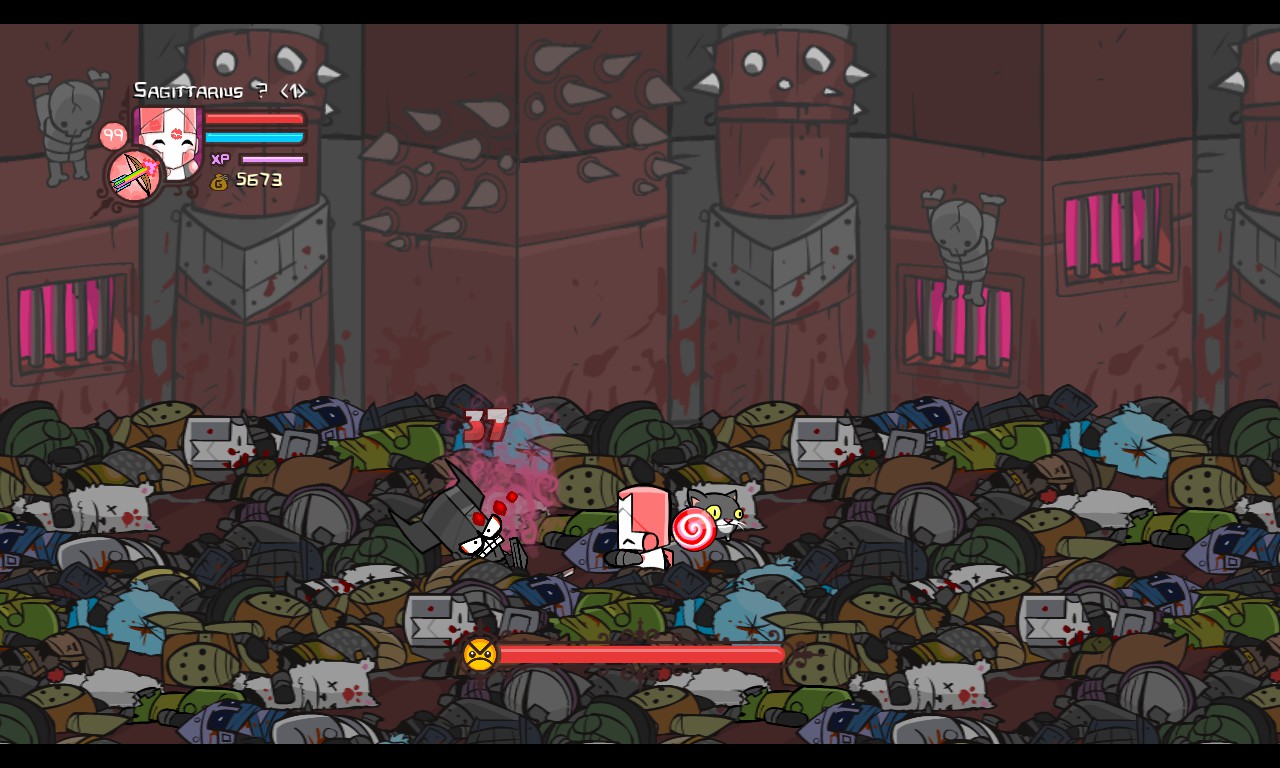
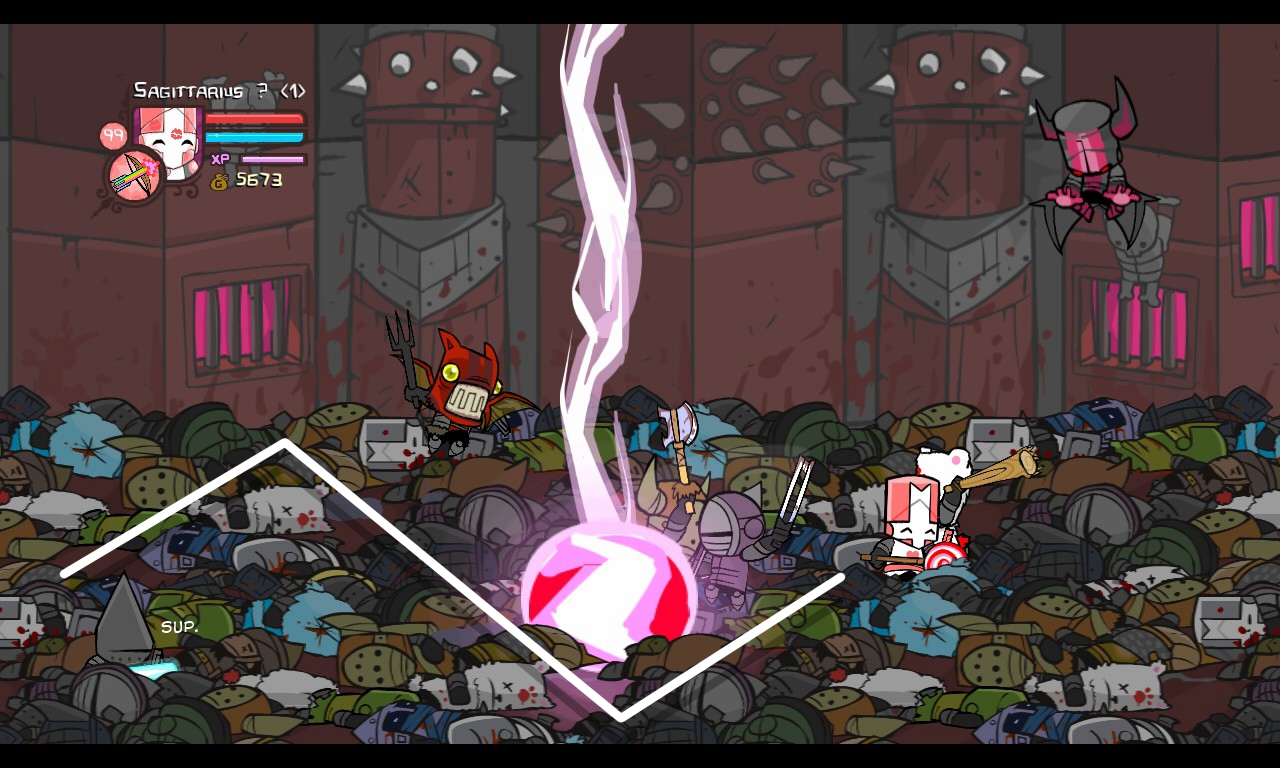
For the experience grinding guide, see here:
[link]
Catfish
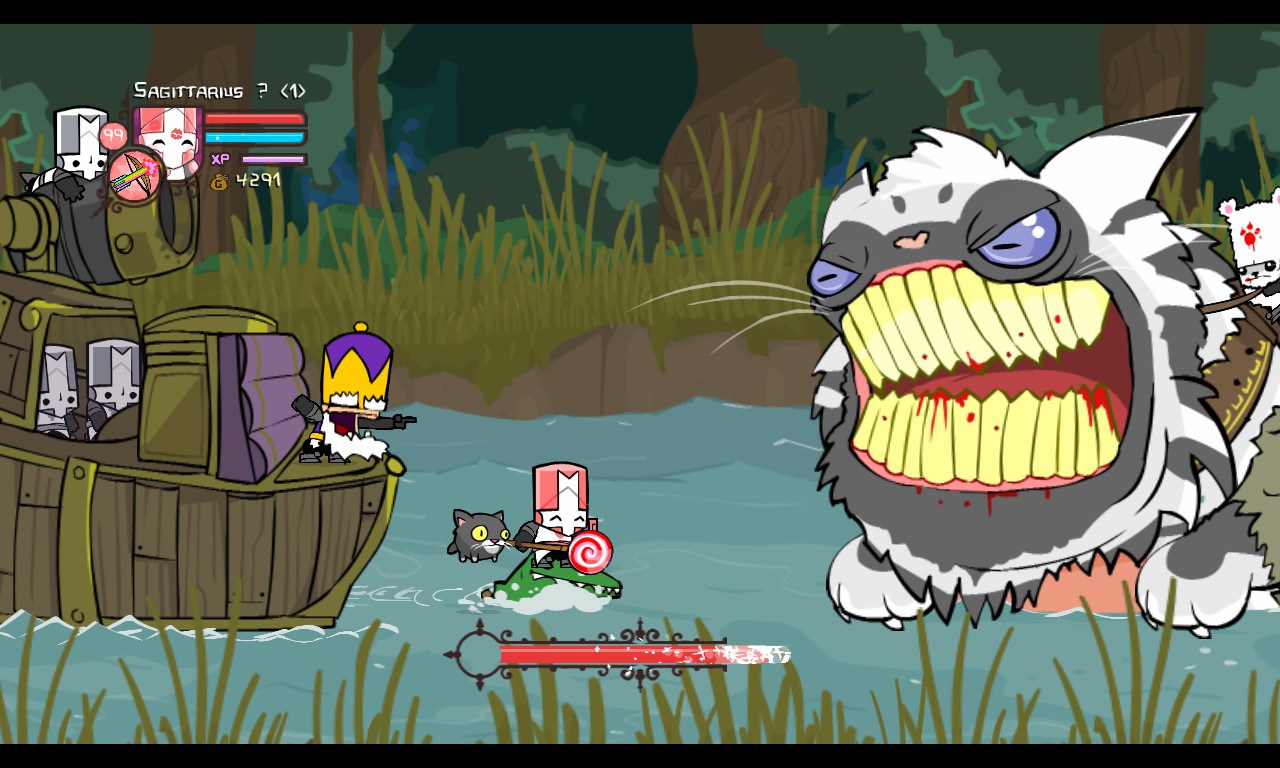
A hybrid between a fish and a cat. It’s being ridden by a Bear.
HEALTH: 600 HP
POWERS: STRONG WILL
DIFFICULTY: EASY-ISH
After riding down a river, you are attacked by another Frog, until you hear a cannonball in the distance, landing right in its face. It’s the King! He’s here to help you get the princesses back. He’s set up an army of trusty Gray Knights to bring the offensive. And then you find this weird… cat thing.
The Catfish has a selection of very predictable attacks.
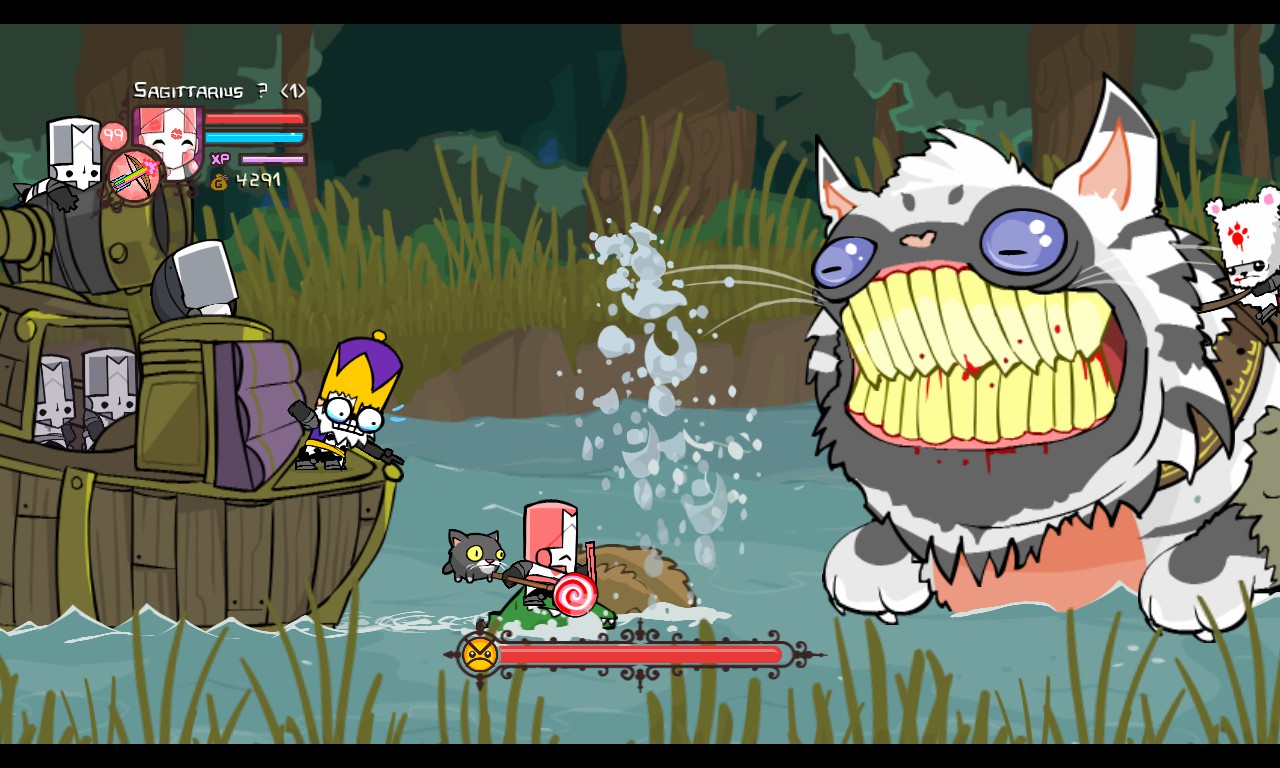
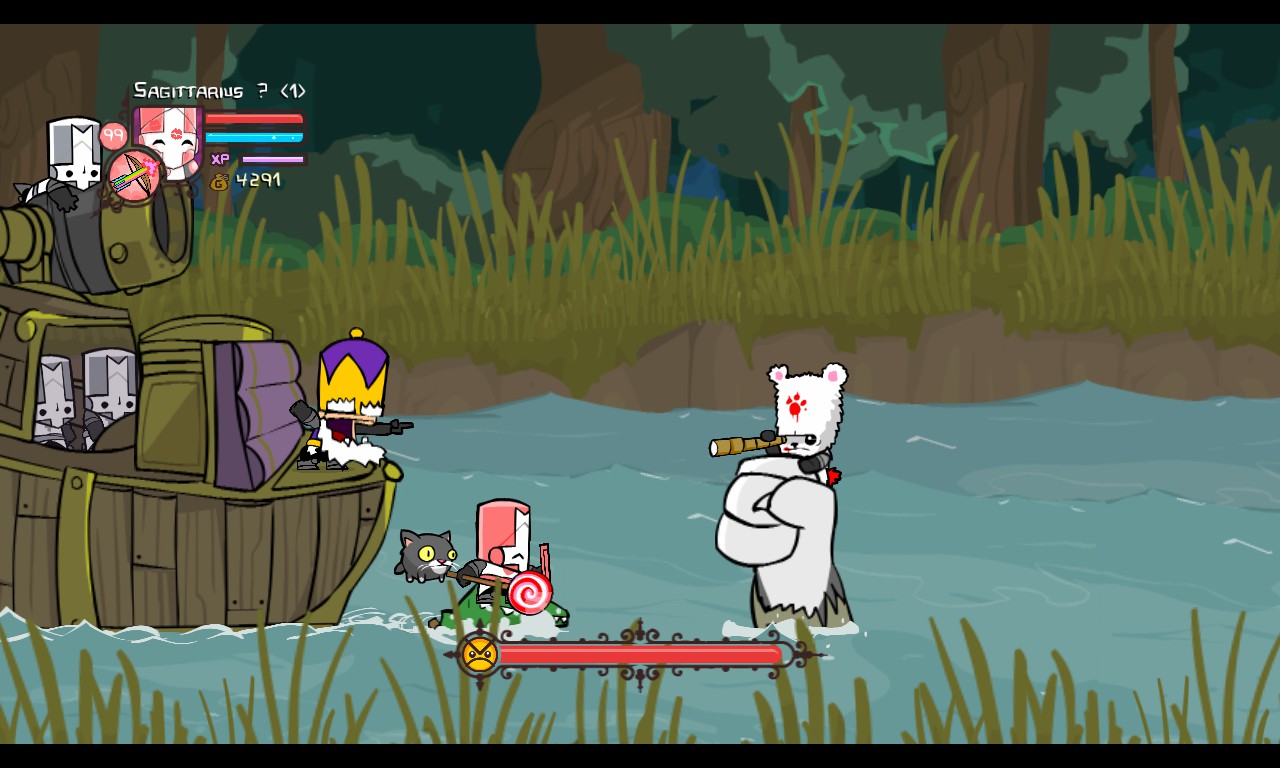
First, he’ll barf a hairball. It doesn’t do damage, but it can pose a threat to the King’s boat. As the knights are loading up the cannon, the hairball will gently float across the river. If it hits the boat, the knights will drop their cannonball into the river, unable to fire at the catfish.

SHOOT IT! SHOOT THAT THING!
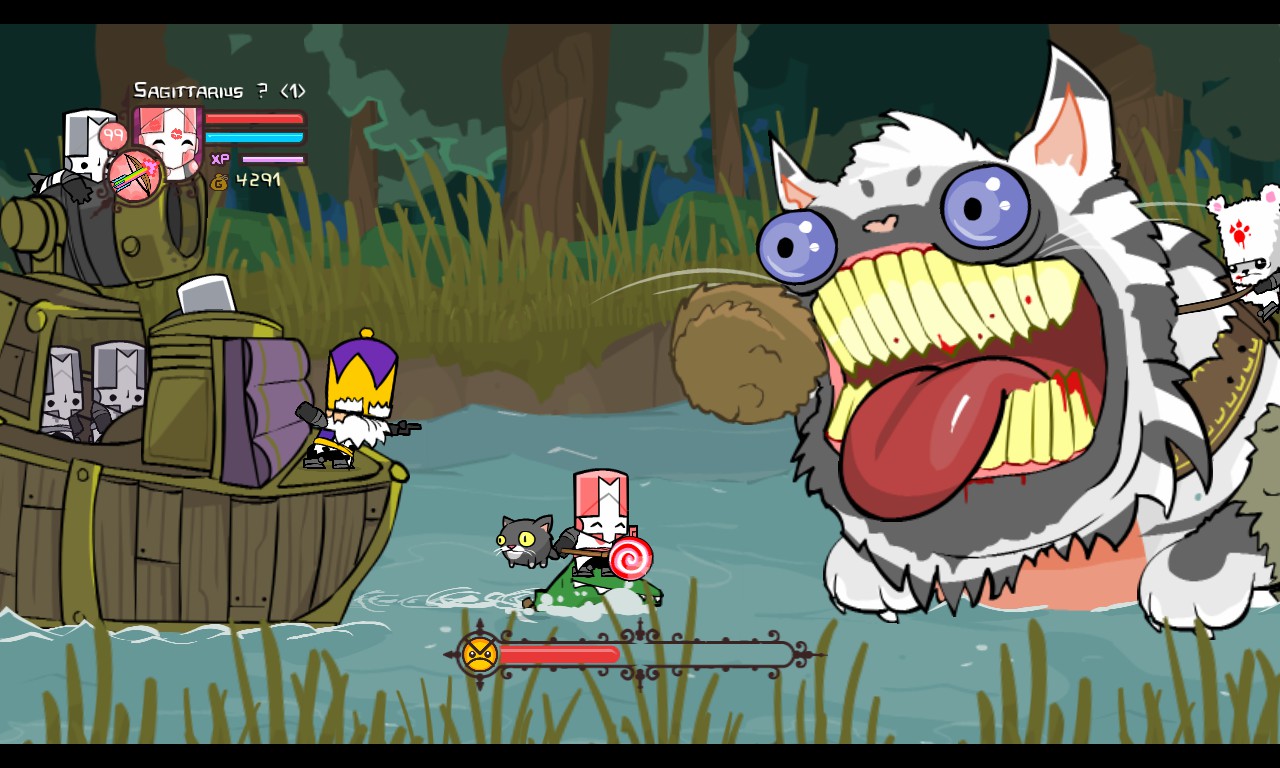
The Catfish’s second attack is simply throwing punches at players. He punches six times before doing his next attack. These punches can be blocked.
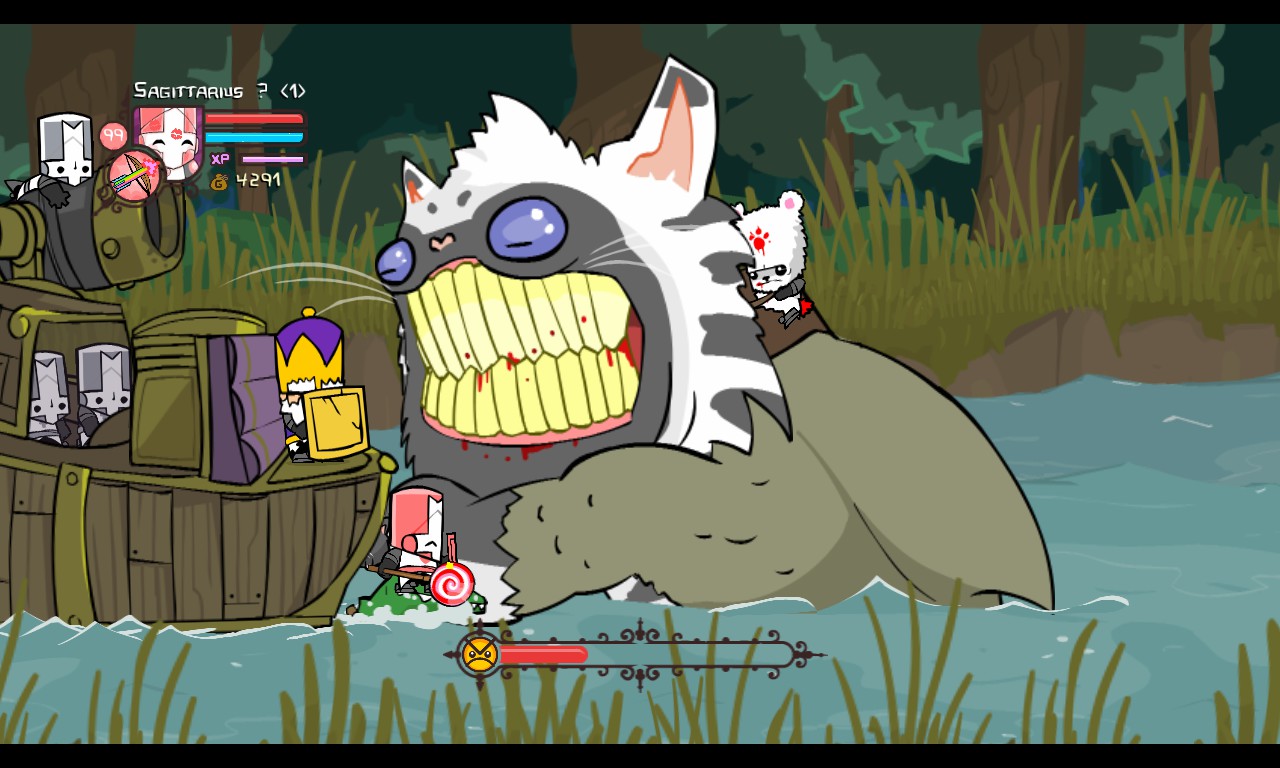
His next attack is diving underneath the river, and sending a fist above the water. He is holding a Bear with a telescope in hand. The fist will attempt to find the nearest player and punch him/her. This attack can be blocked.
When the Catfish has around 50% of his health, he will swim around the river, moving offscreen and then back another direction, similar to the War Machine. He will stop swimming after a certain amount of times or if he hits himself onto the King’s boat.
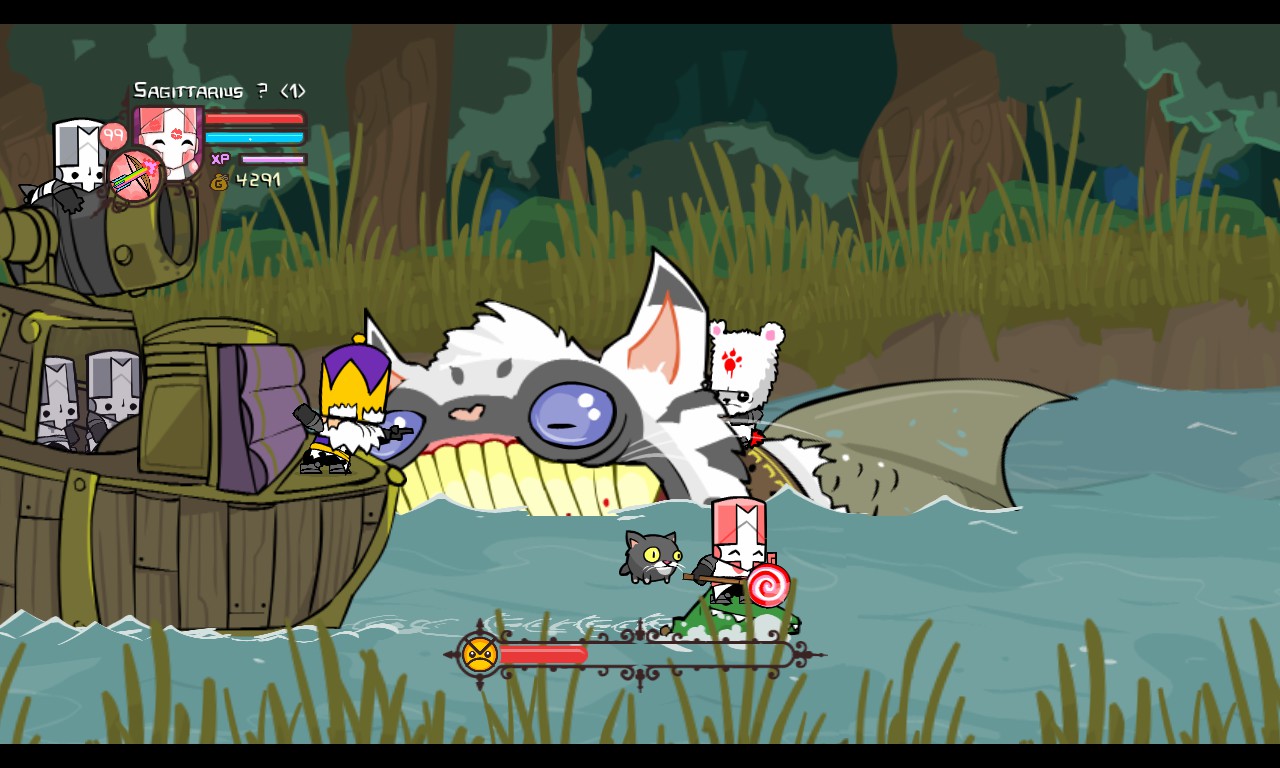
Then the attack pattern repeats.
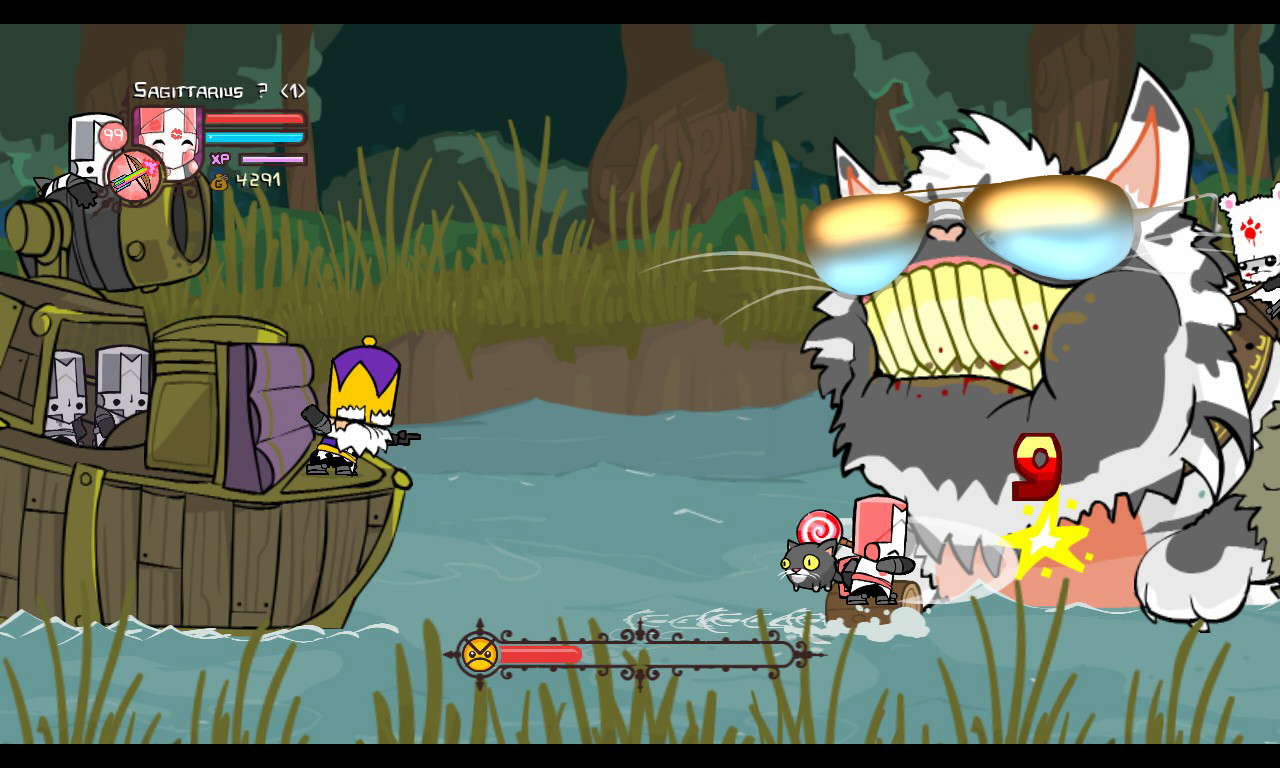
The Catfish keeps his guard up and strong, so attacks deal a lot less damage. When you destroy the hairball, the knights have a chance to load the cannon and fire at the catfish. This stuns the catfish and lets his guard down, allowing you to deal more damage.

The safest way to deal with the Catfish is to attack him when he’s stunned. Try to align yourself with the King’s boat so that when they fire the cannonball, it’ll always land on him. You might also want to pay attention to the King’s animations – if he’s angrily pointing at whatever he’s pointing at, attack. If he has his shield up, raise your shields. The Catfish’s attacks are predictable and follow a pattern. You’ll start to notice it after doing this boss for a while.
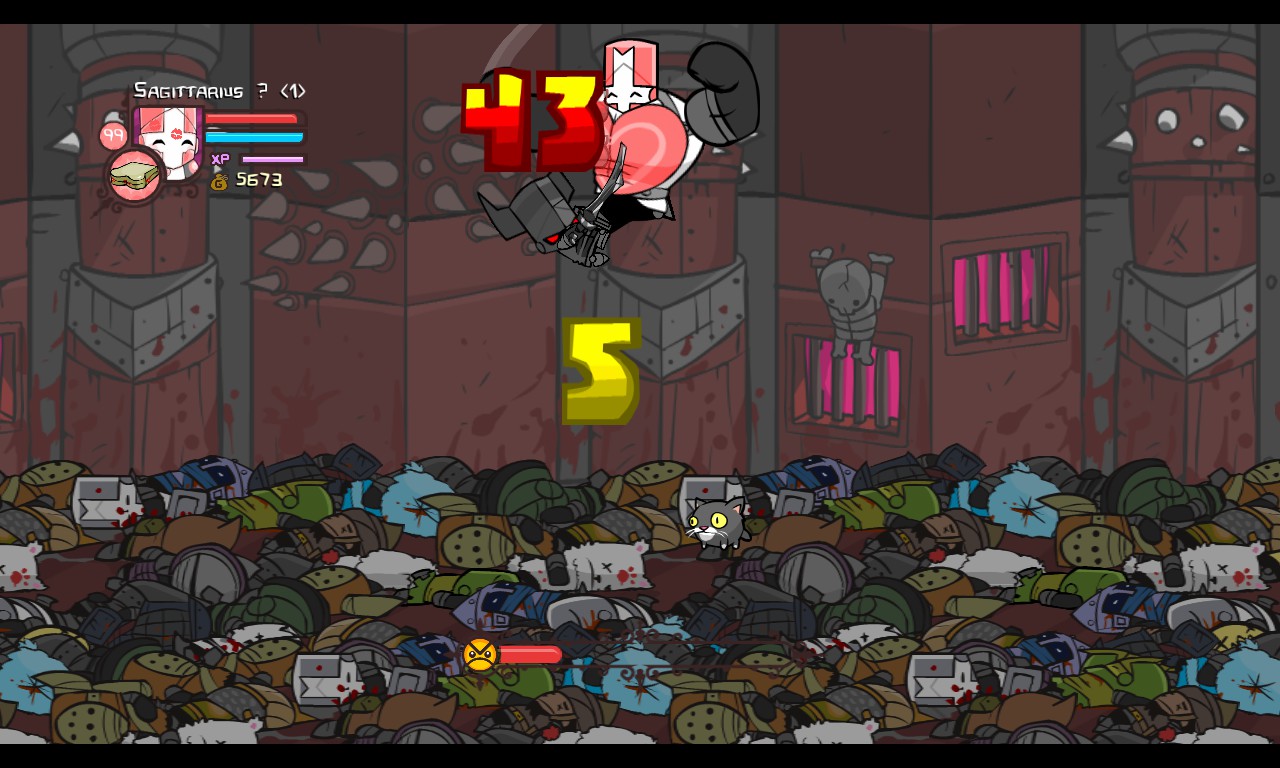
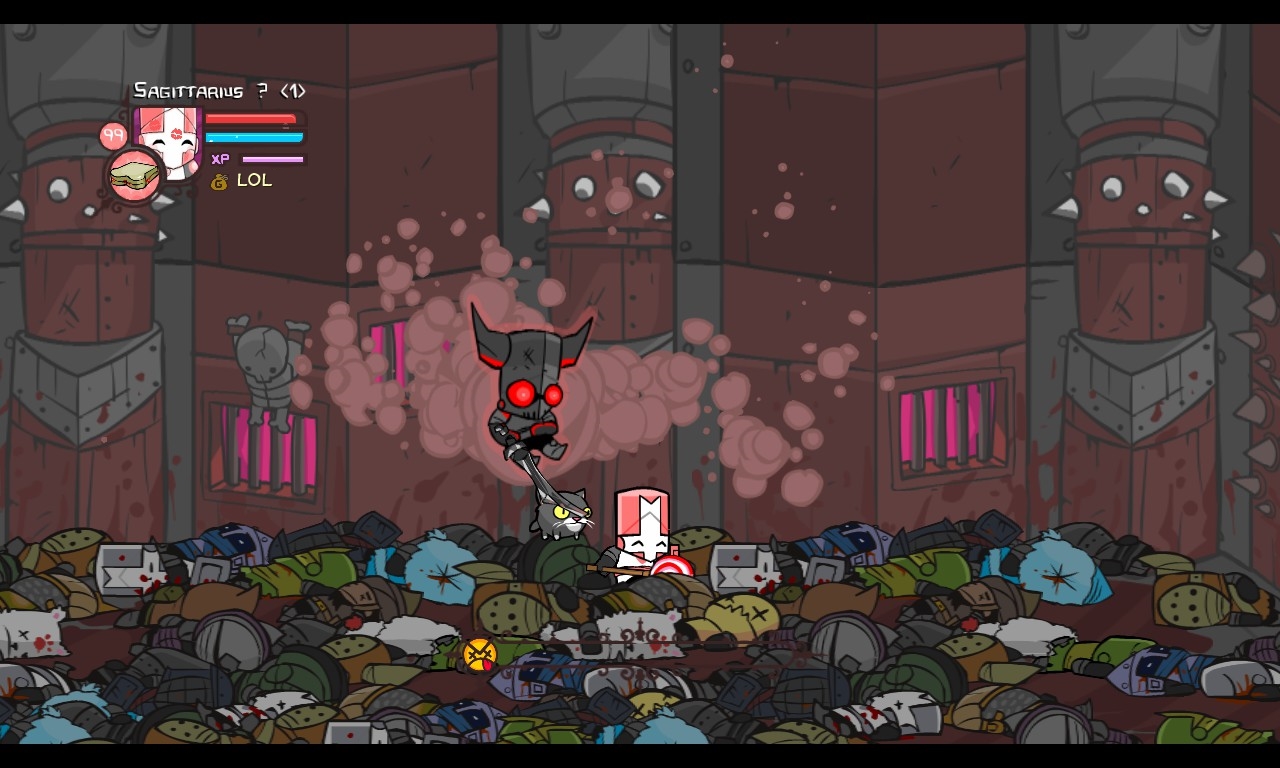
Shaman Bear

Leader of the Bears.
HEALTH: 350 HP
POWERS: RAIN DANCE AND TORNADOES!
DIFFICULTY: EASY-MEDIUM
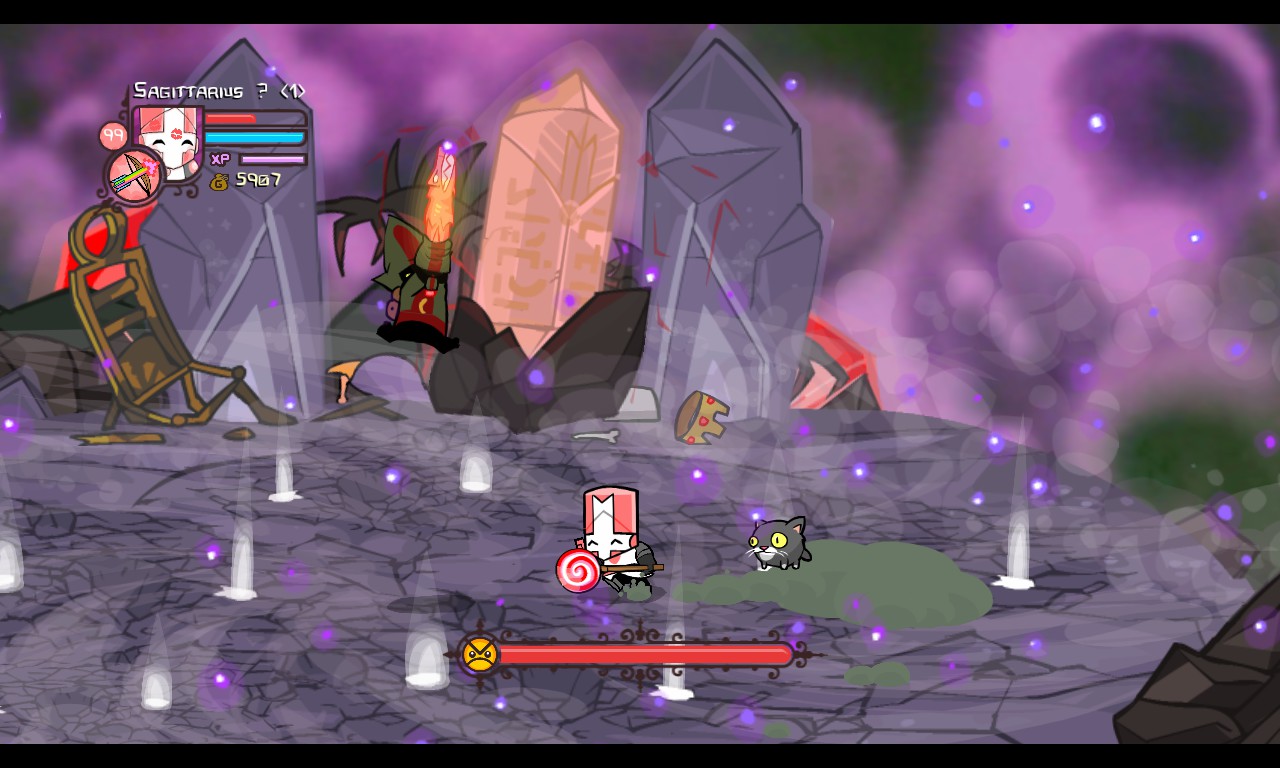
You’ll come across this guy after treading on their territory grounds. They’re not happy to see you, and even more unhappy since you killed their, uh, cat thing.
The Shaman Bear attacks similarly as any other enemy. The only difference is that all of his attacks are electric-based for some strange reason… Since this guy has a banner, the first attack will most likely be a tussle.

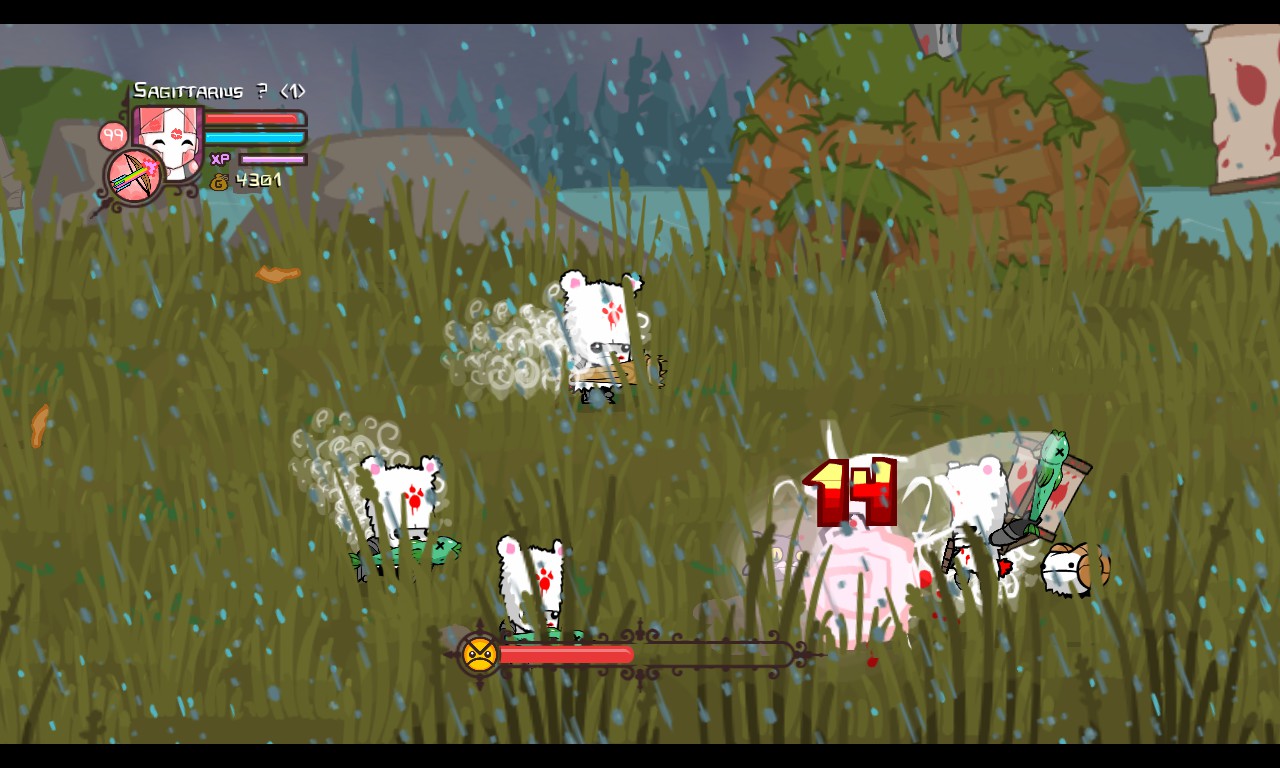
The Shaman Bear is aided by three other Bears who use magic. Their magic can overwhelm you more than the Shaman Bear can. They’re usually the problem in this boss fight.
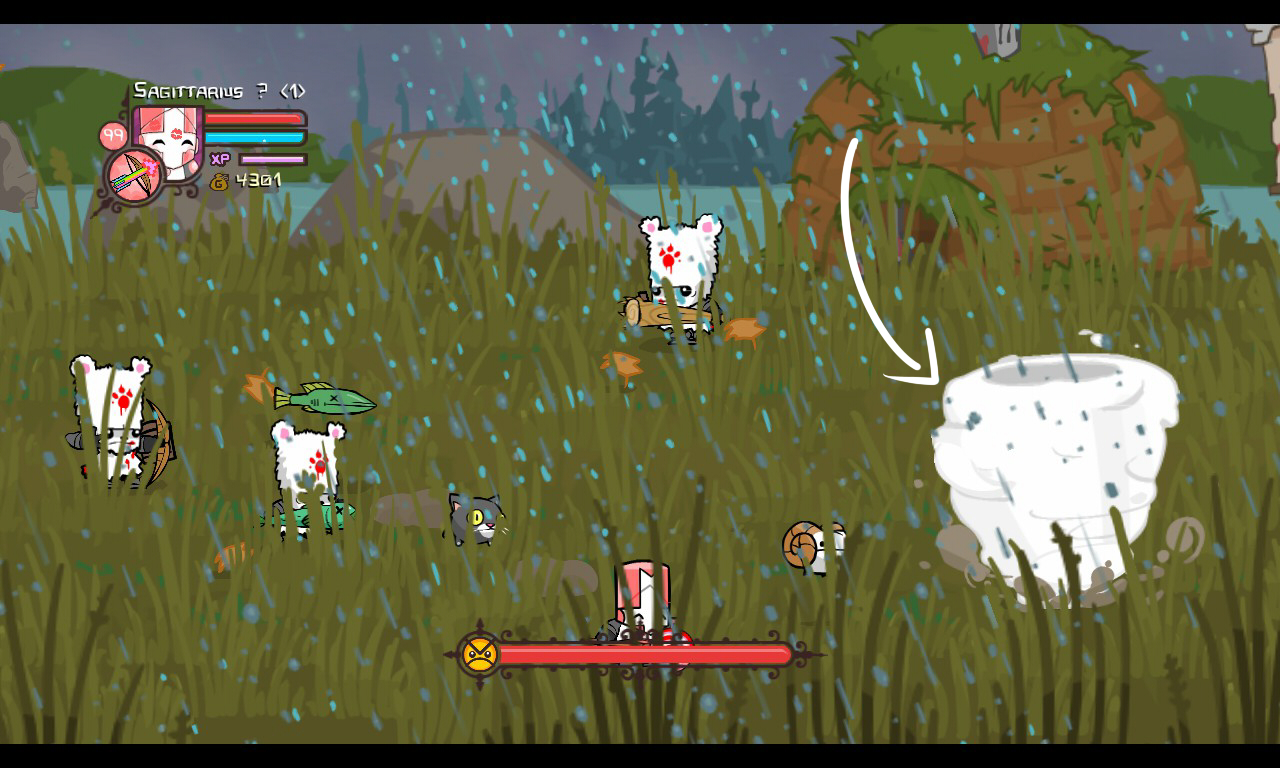
The Shaman Bear can be easily distinguished by his tornado attack, only he can use it and not the Bears that fight alongside him.
He’s right… err… here.
The Shaman Bear is also aided by Rammy, an animal orb that occassionally knocks down enemies. He can be quite a problem if you’re landing ground combos on the Bear.
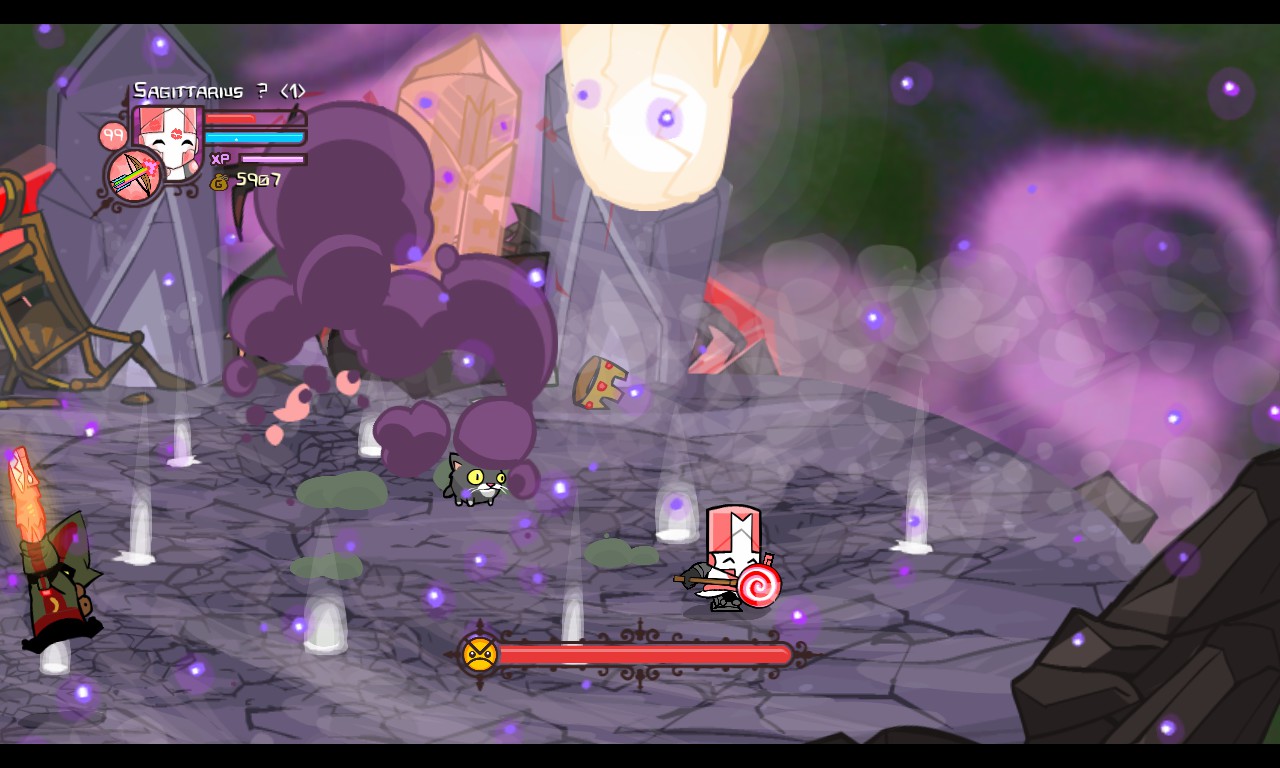
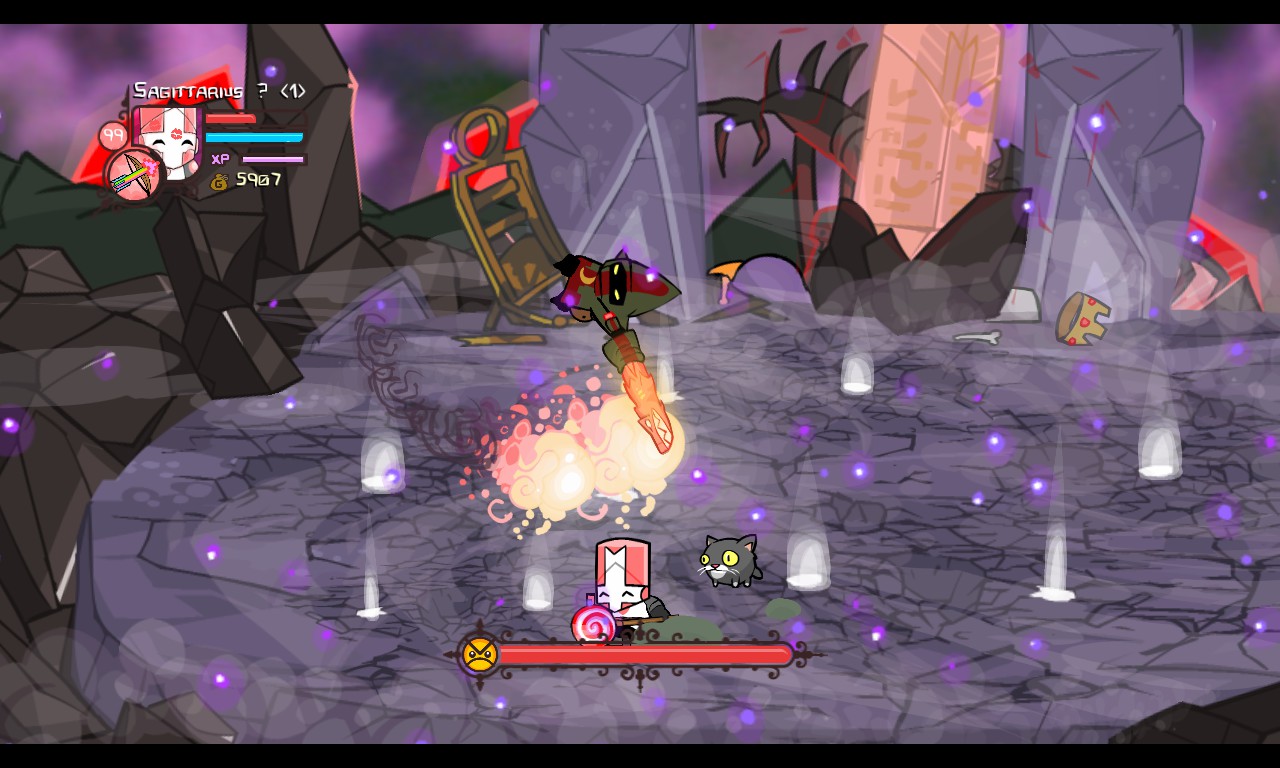
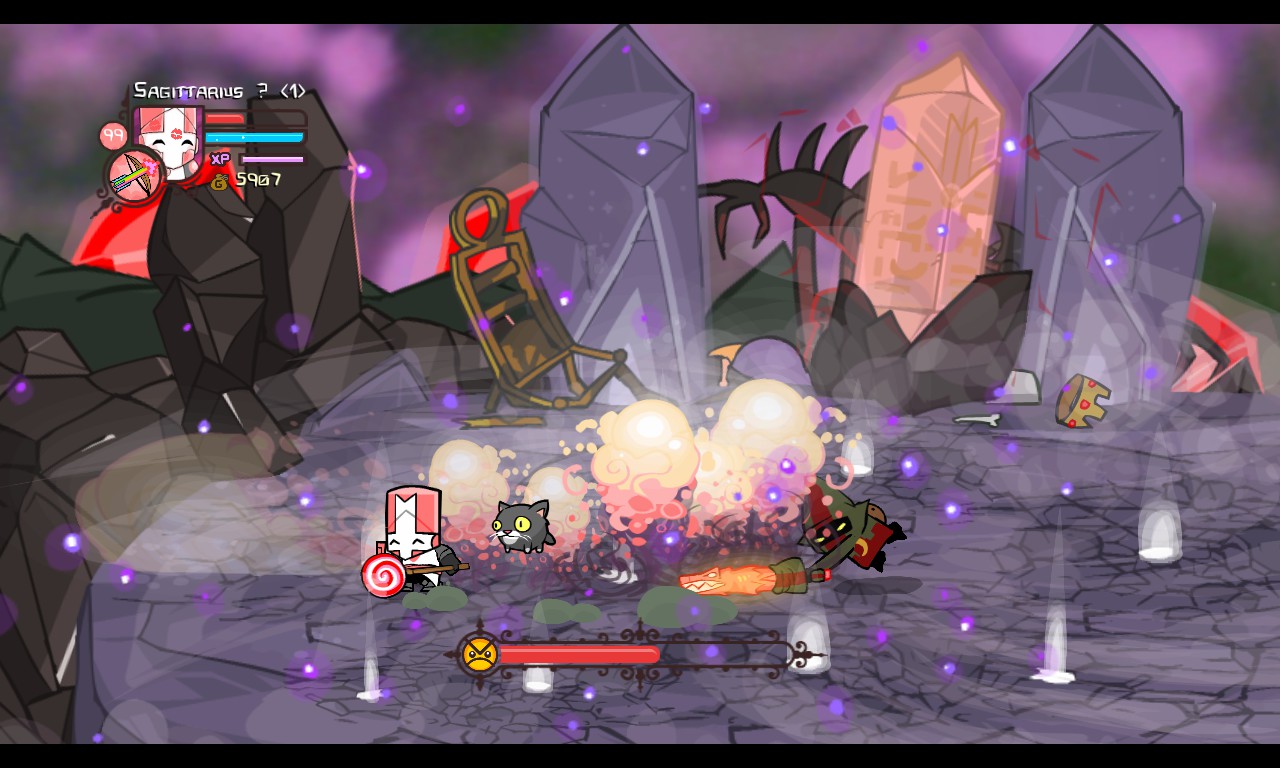
Always try to focus on the Shaman Bear. Since he’s just like any other enemy, you can juggle him despite the banner. When he uses his tornado attack, either dodge and focus on taking out the other Bears, or use attacks of your own to stop the Shaman Bear.
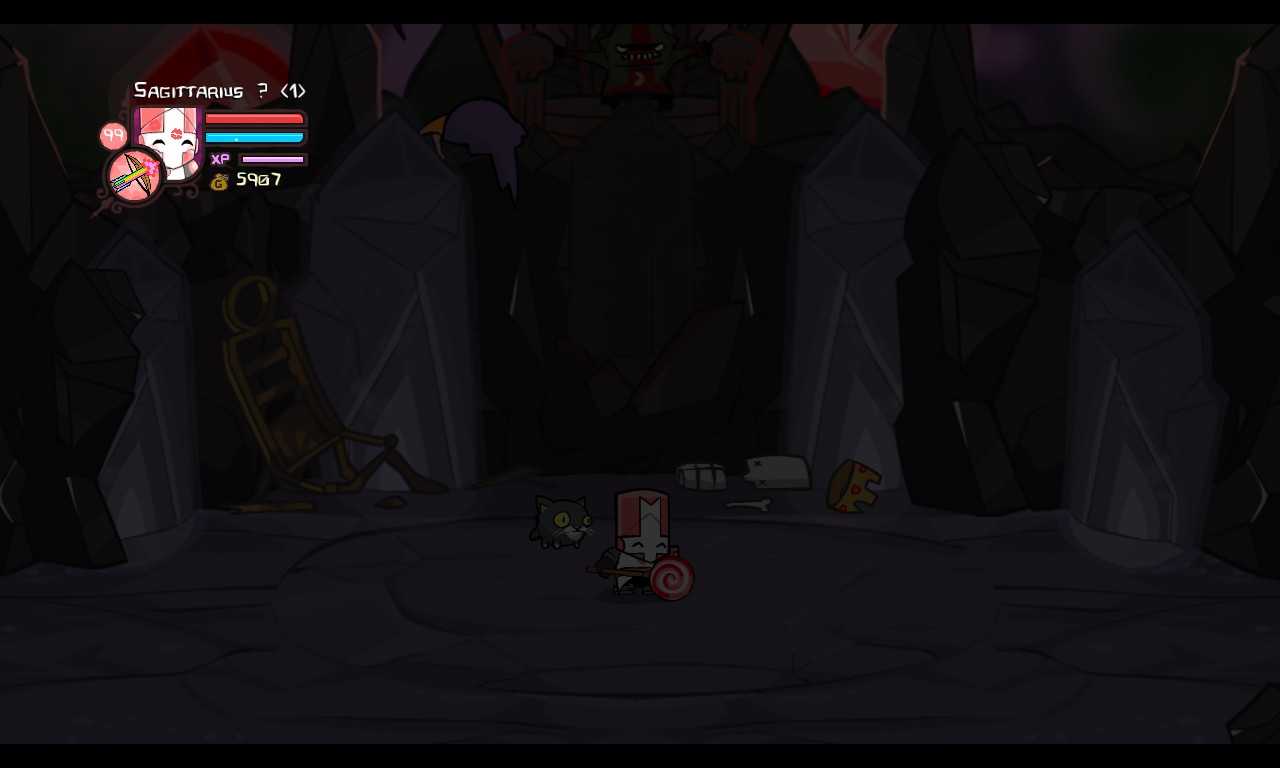
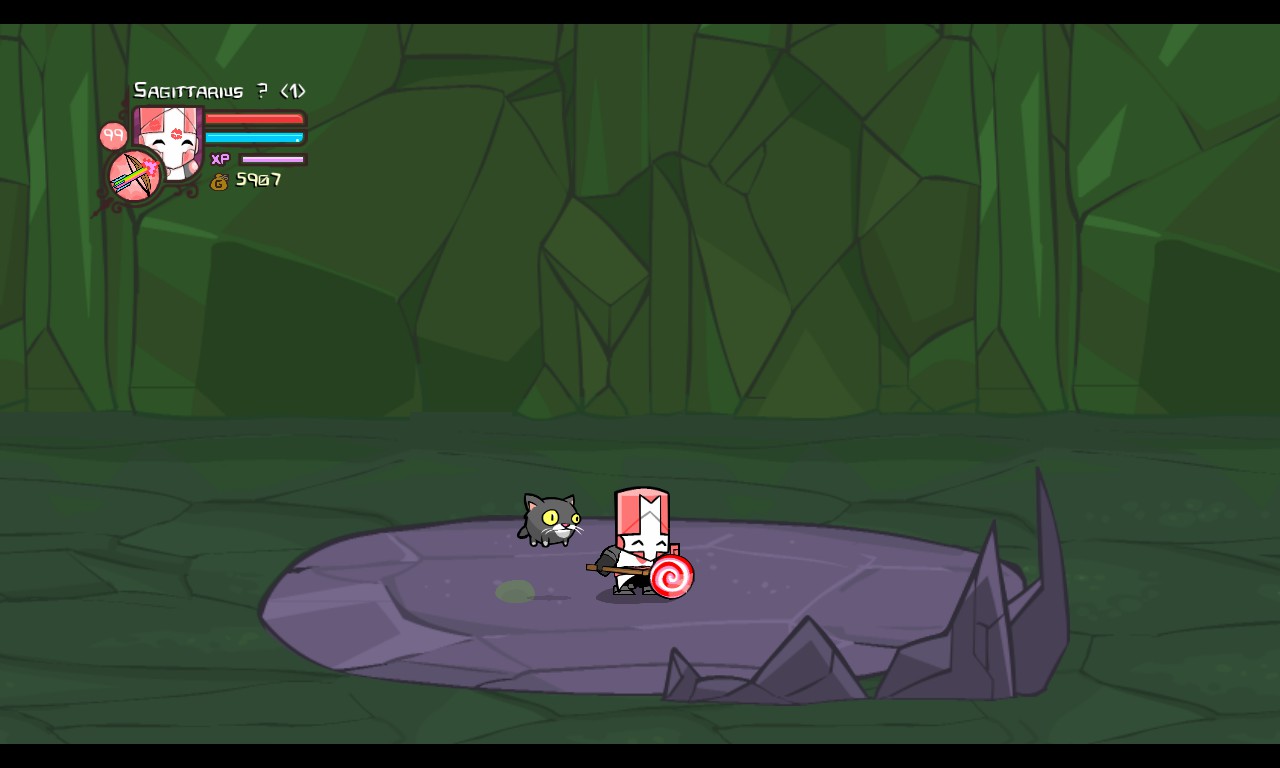
After all that is done, the other Bears will die along with the Shaman Bear. It’ll still keep raining, though… Rammy will be left alone and you can choose to take him, joining by your side.
There’s a dig spot somewhere in this area. Dig it up and you’ll reveal a new weapon.
_____________________________________________________________________
YOU FOUND:
THE UMBRELLA
Level 5 Sword

+ 3 DEF
– 2 STR
_____________________________________________________________________
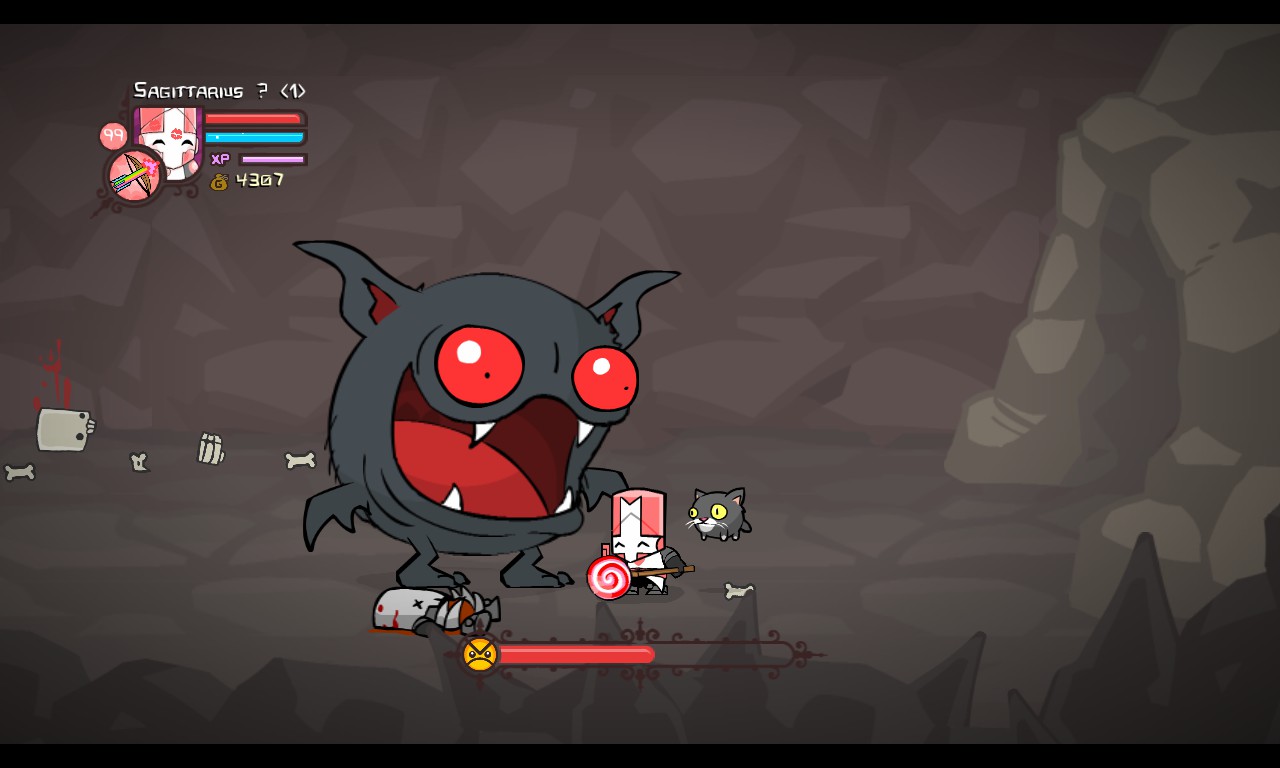
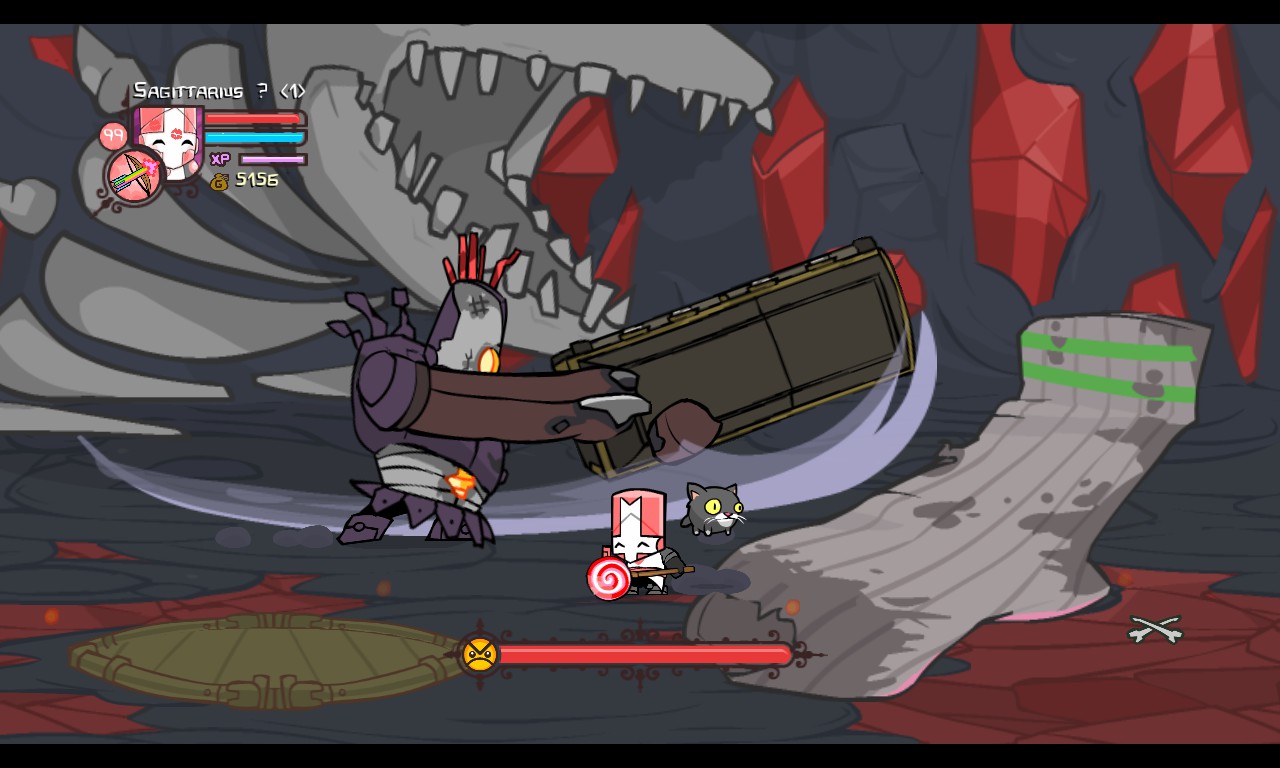
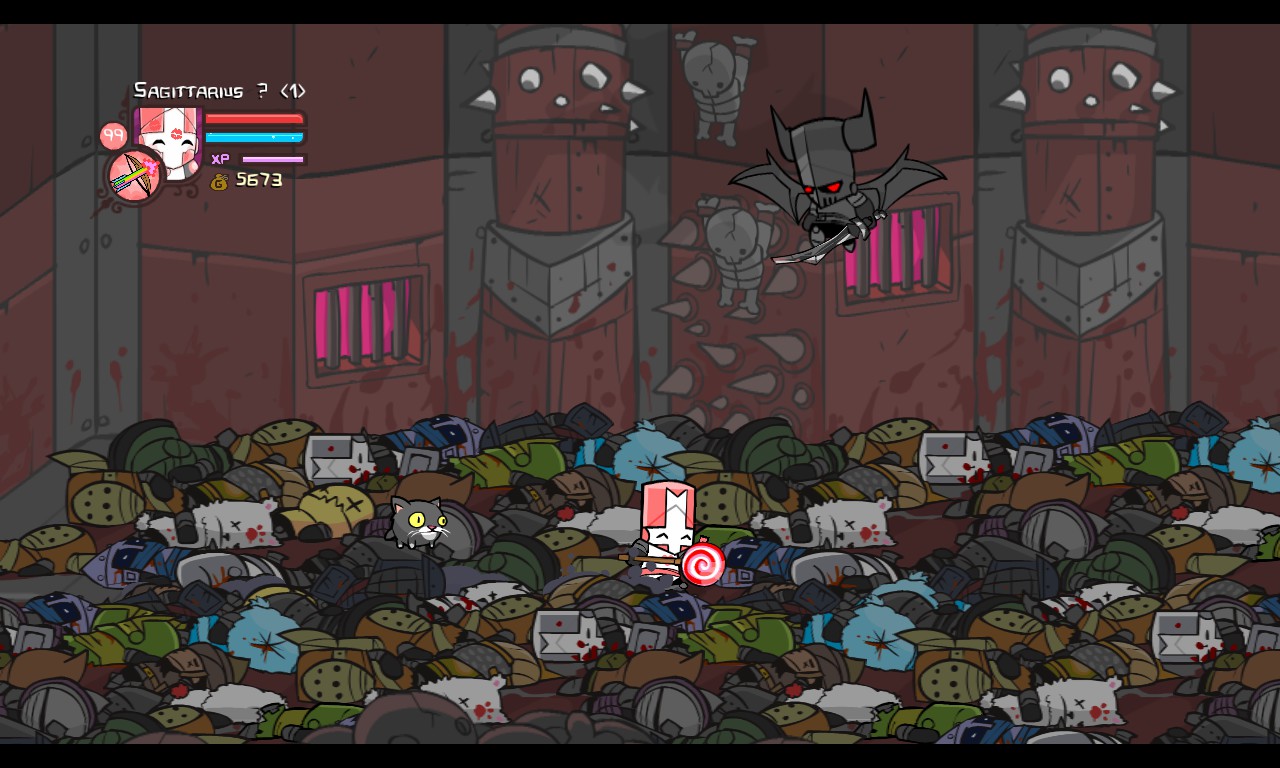
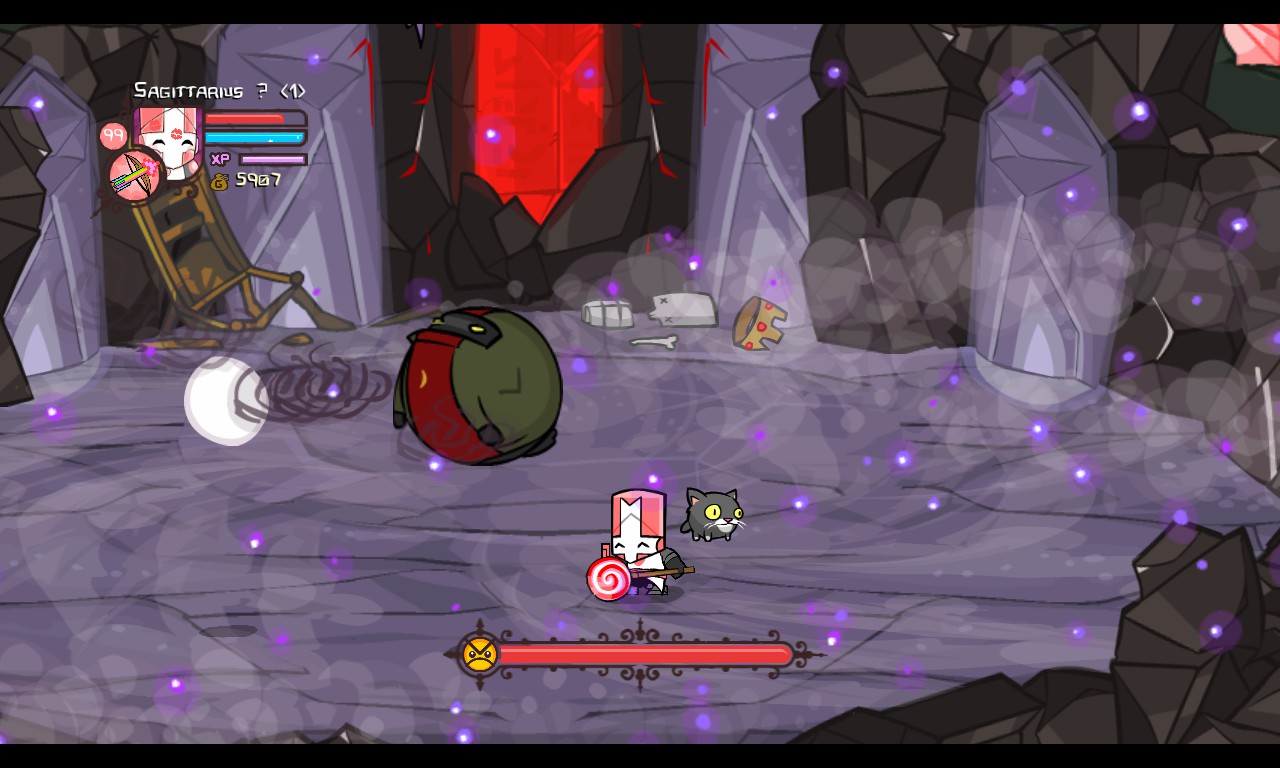
Pipistrello

A giant, bloated bat with an enormous tongue.
HEALTH: 600 HP
POWERS: HIS MASSIVE TONGUE’S GONNA EAT YOU, MAN.
DIFFICULTY: EASY-MEDIUM
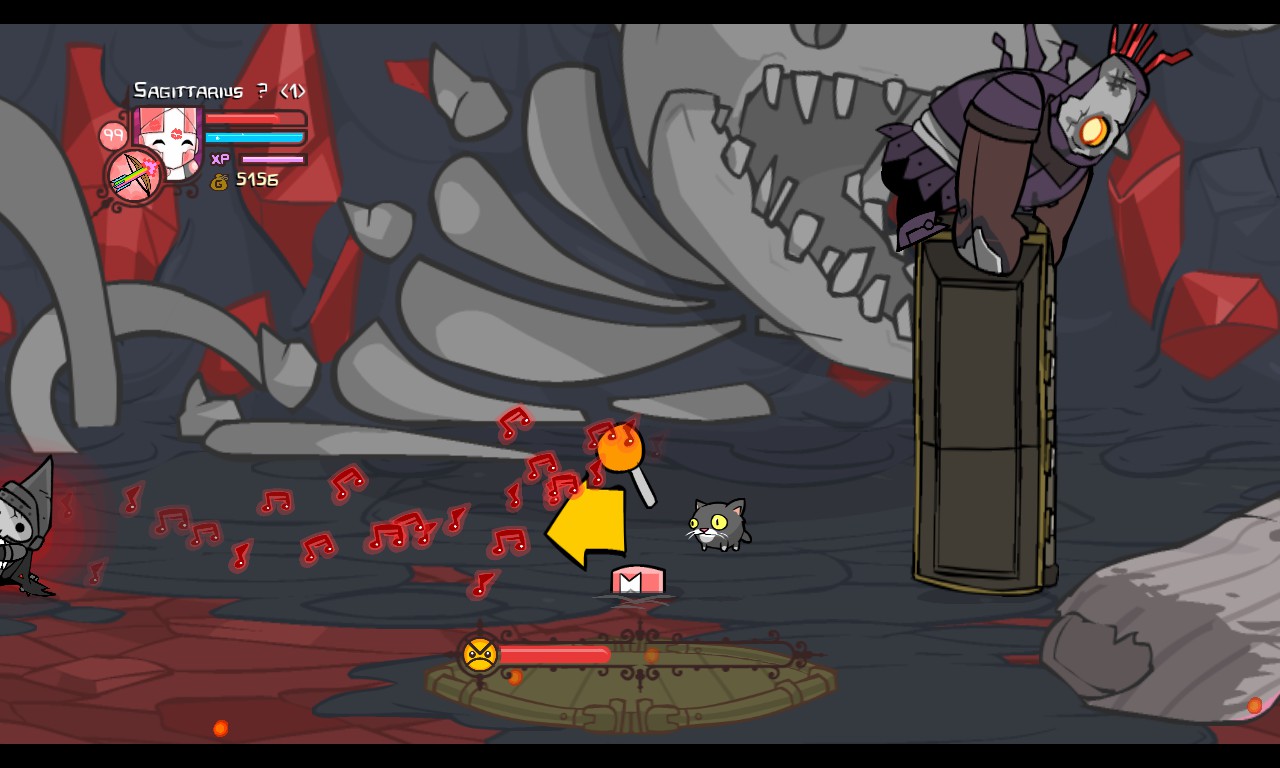
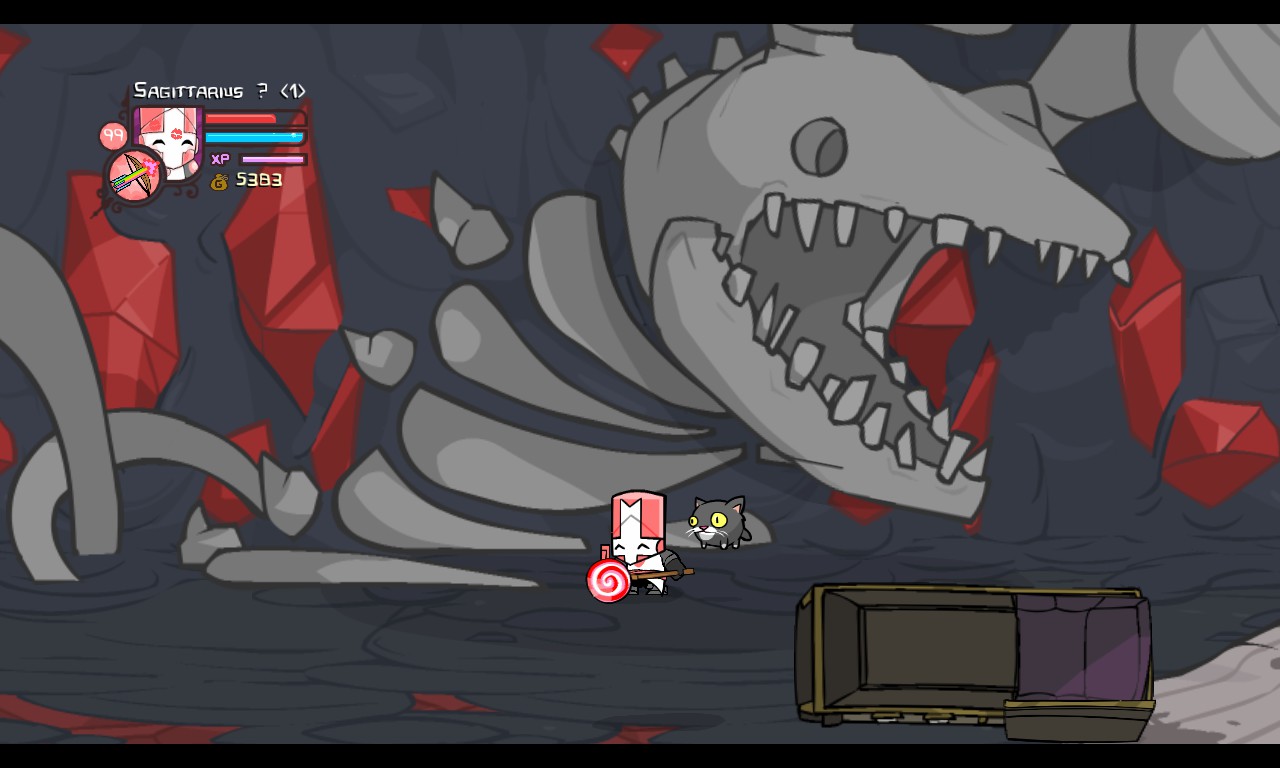
Someone ran in there and took the Green Princess! After him! You’ll come across a strange cave filled with bones, slimes, and bats. It’s the only way you’ll get to the Green Princess and whoever took her. You’ll eventually find something in the way. It’s a giant bat.
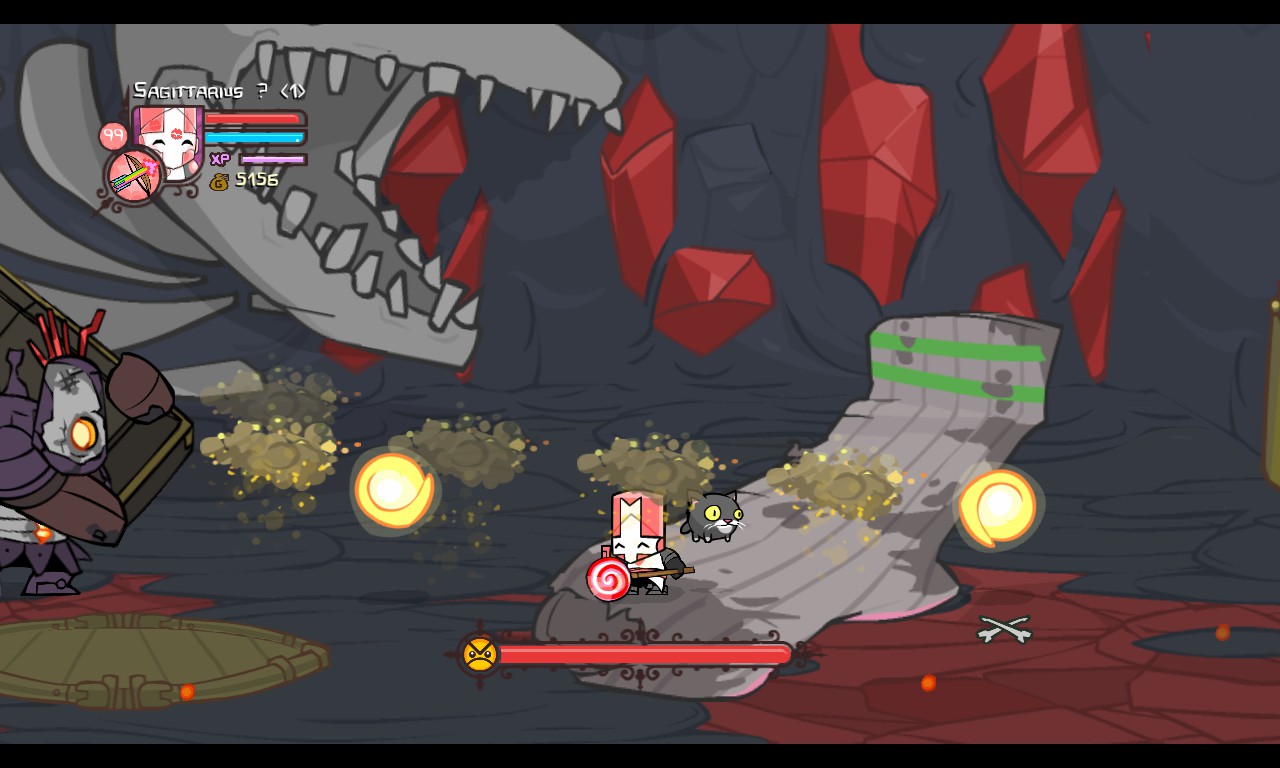
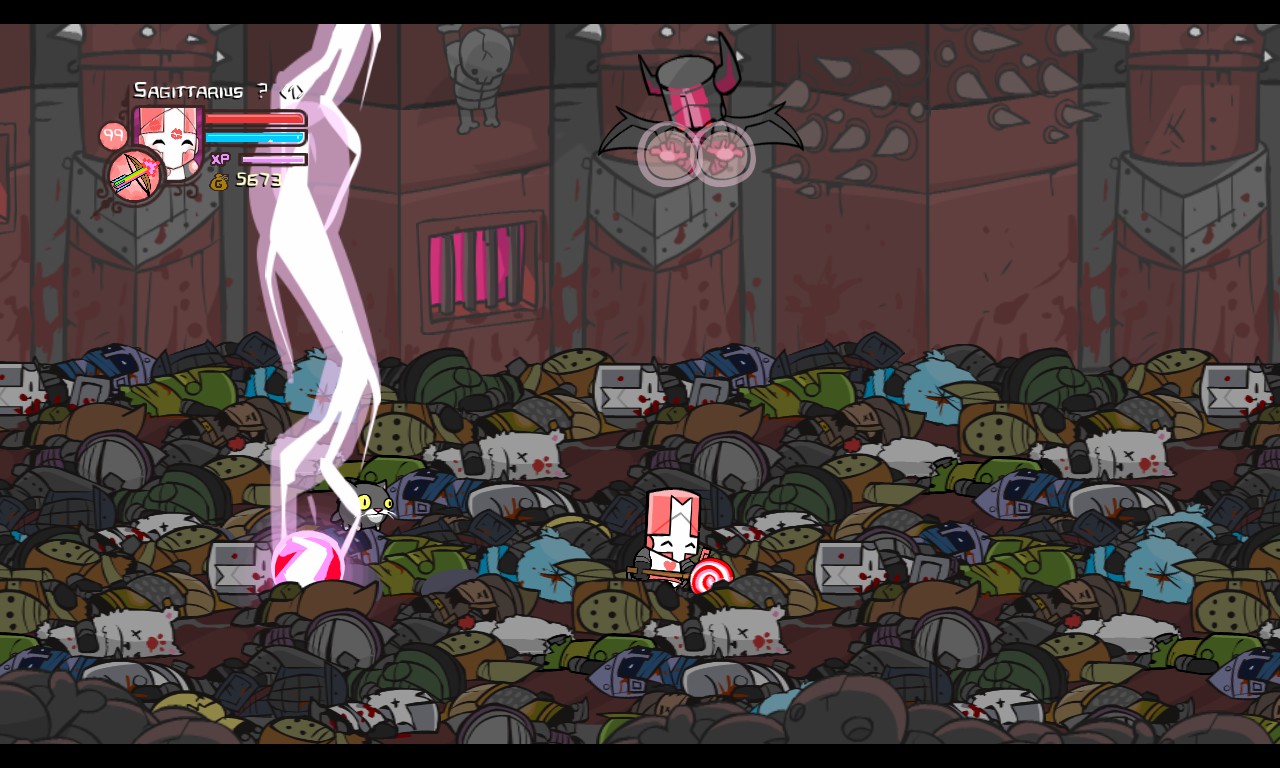
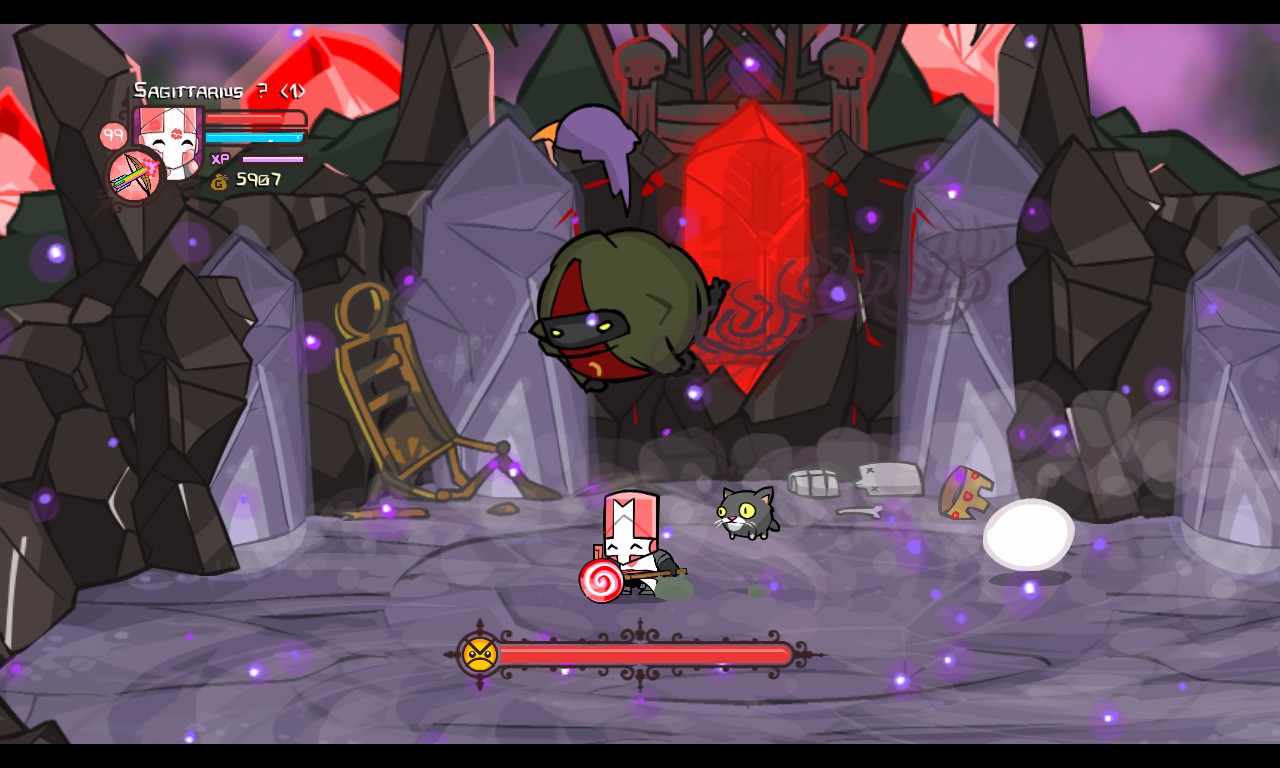
Pipistrello will fly above the screen, dropping piles of poop at you. This deals quite a bit of damage as well as poisoning.
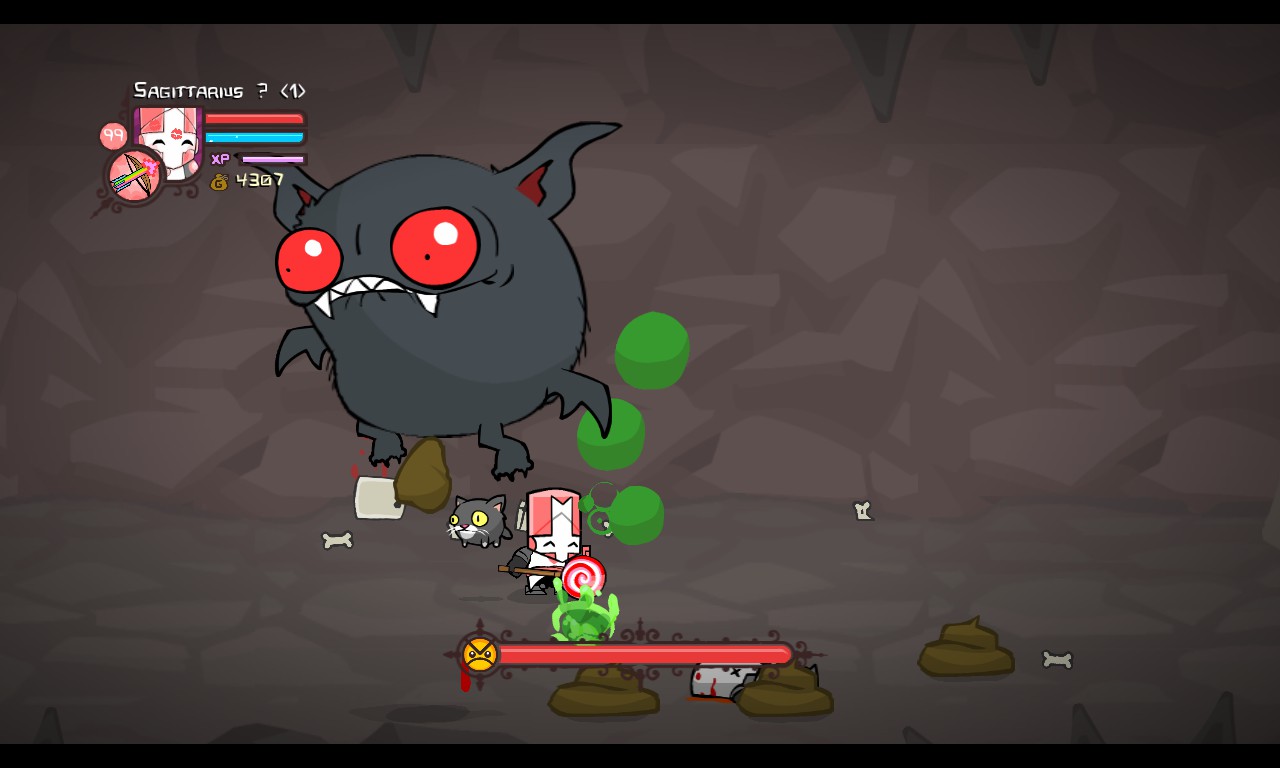
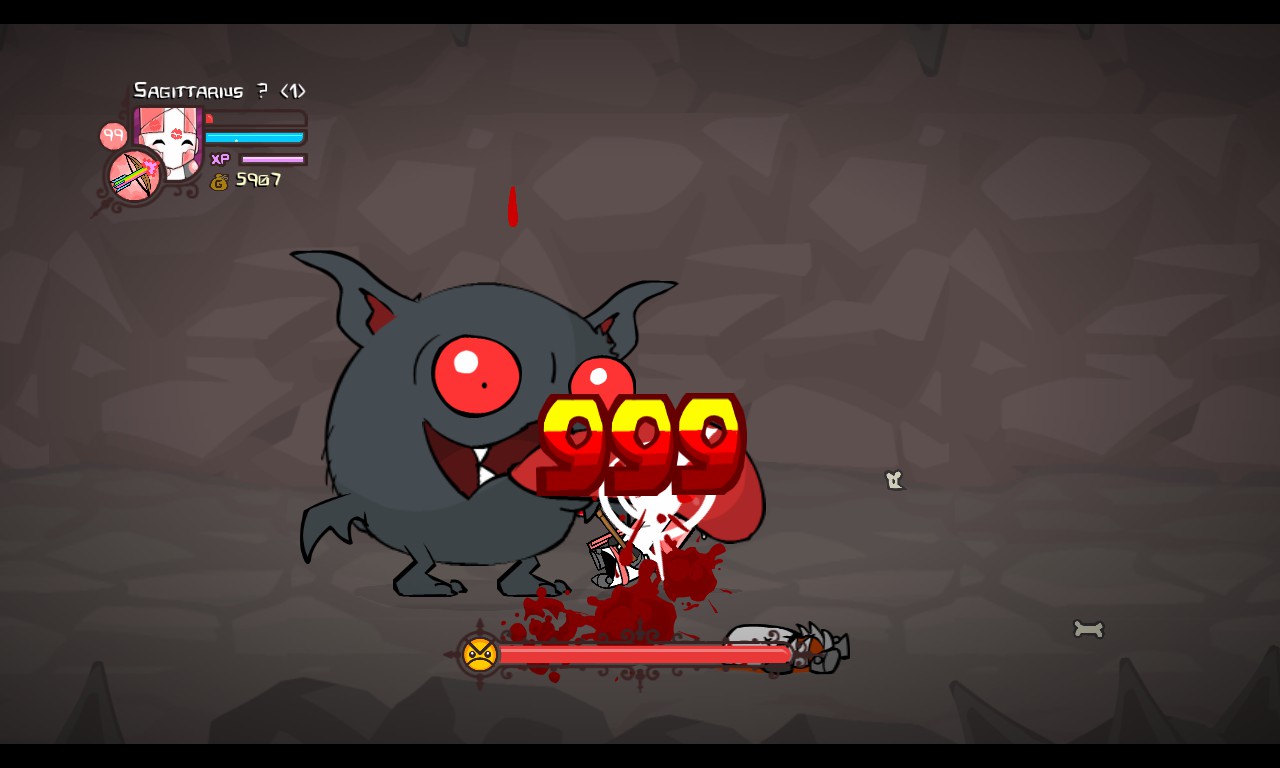
He will then descend to the ground and walk to the closest player, before delivering a lick from his tongue, dealing a large amount of damage. This attack can be blocked.

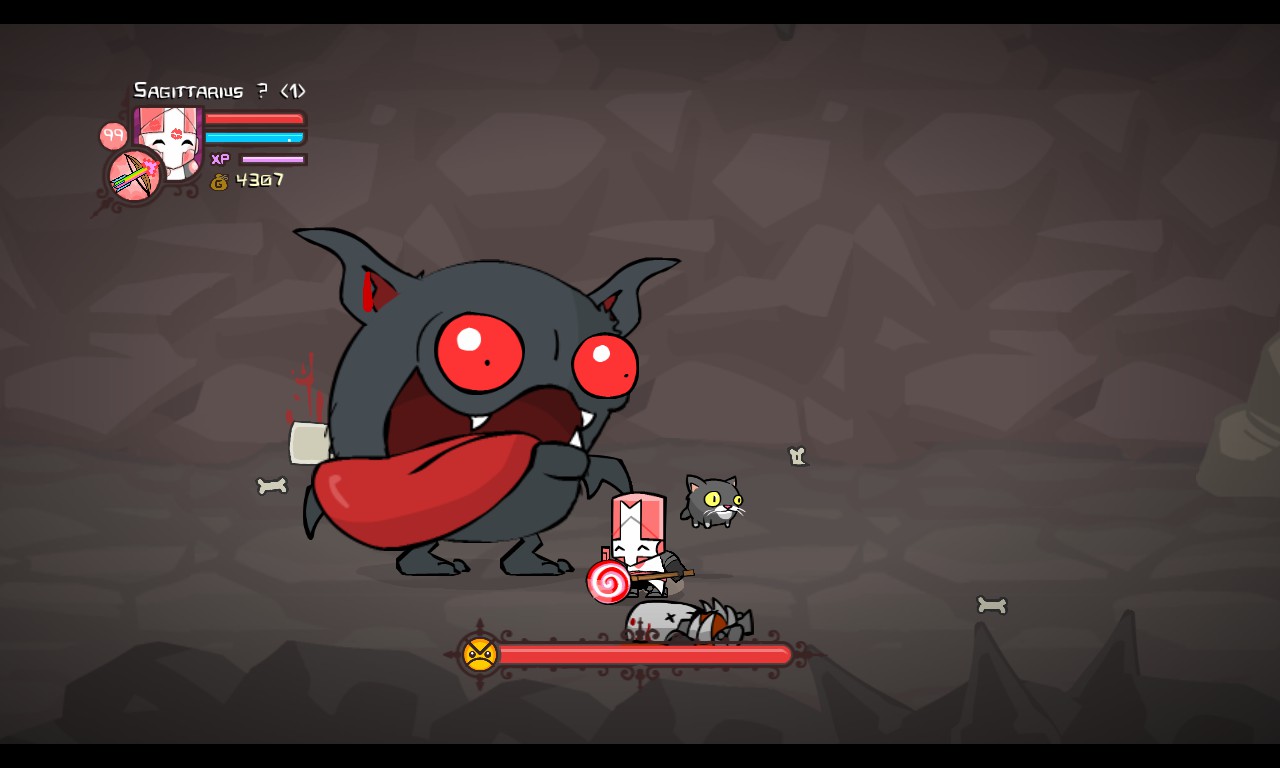
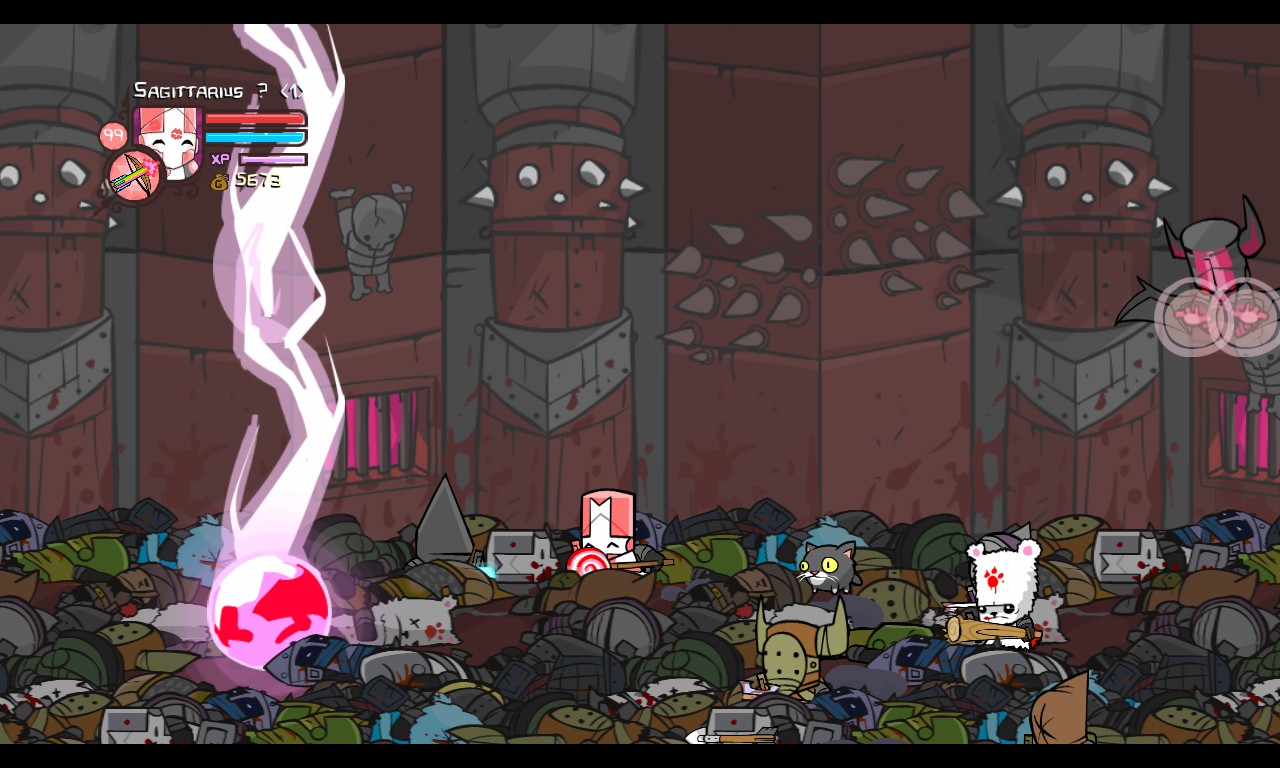
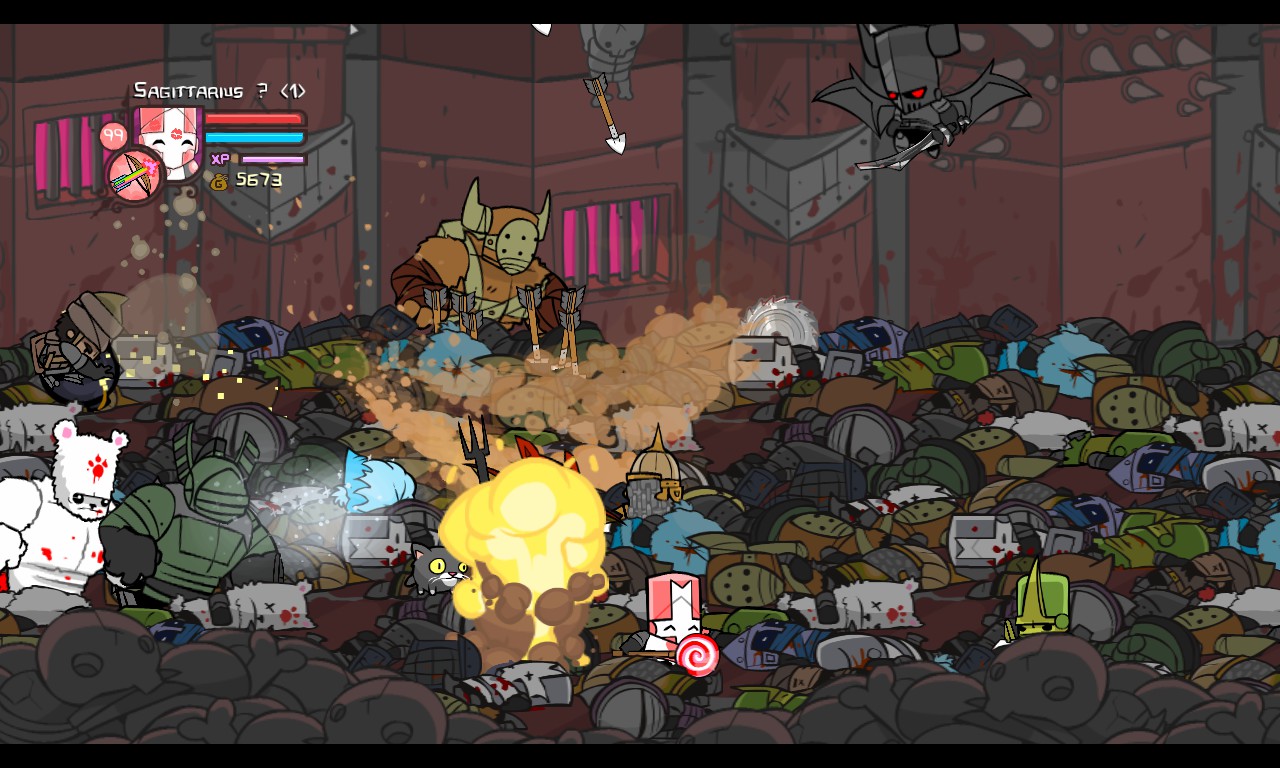
After staying on the ground for a while, he will fly up and the attack pattern repeats. If he’s down to at least 66% of his health, bats will fly from the right of the screen and will attempt to lock players. The less health Pipistrello has, the more bats fly out. It can be dangerous if swarms of bats are hovering over you – they’ll stun-lock you in place giving Pipistrello a chance to administer a lick. Luckily, the bats die in one hit.
Watch out for falling piles of poop. They can knock you back in a short distance and you could easily be swarmed by bats before you get back up. Try taking out the bats so they don’t pose much of a threat when Pipistrello comes down. Pipistrello is prone to many glitches, such as staying in one place, not flying back up, and constant licking. This can be done by aligning yourself very close to Pipistrello, and raising your shield. It’s quite fun to watch.
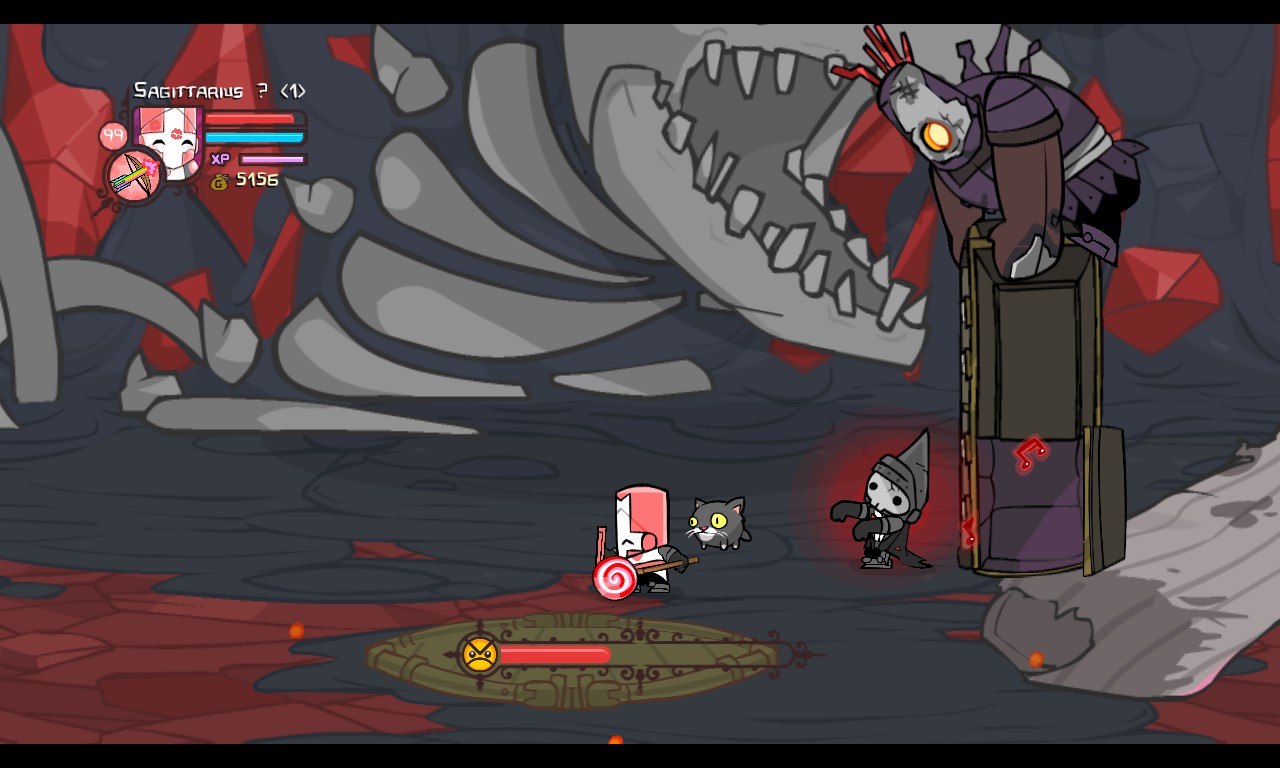
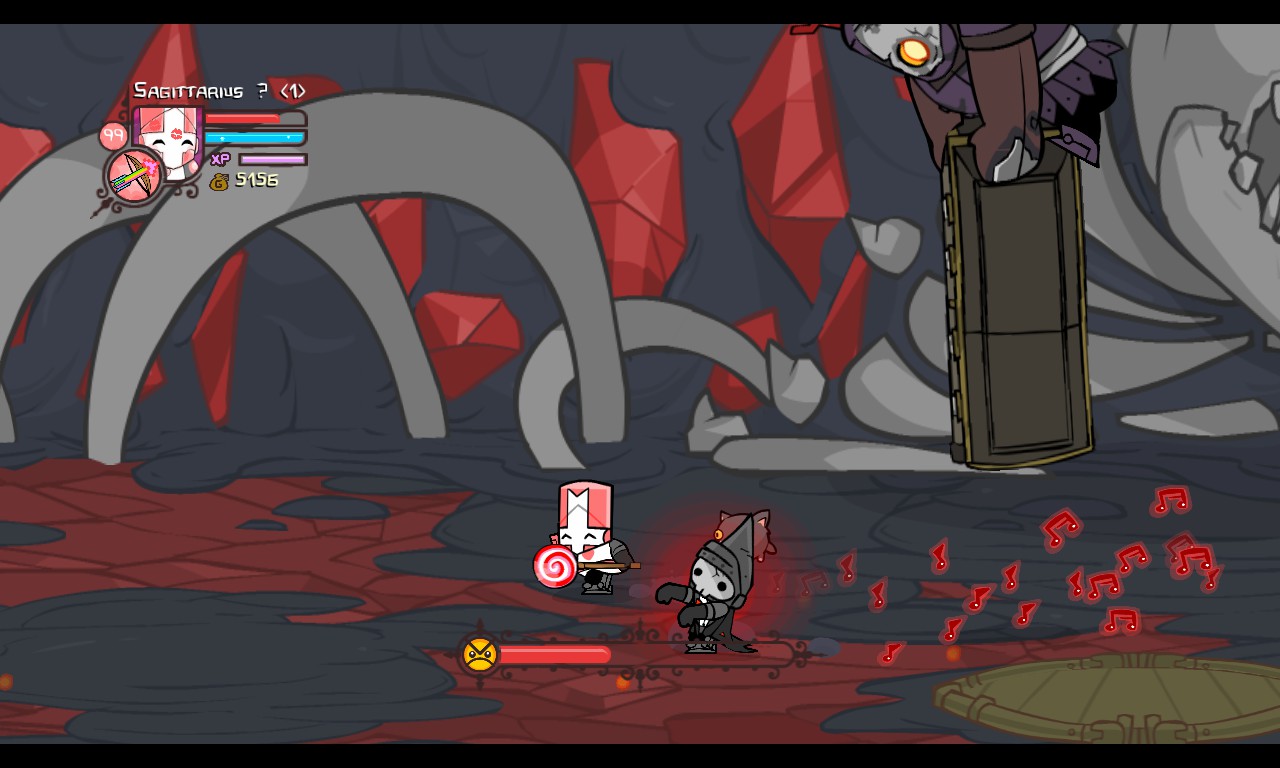
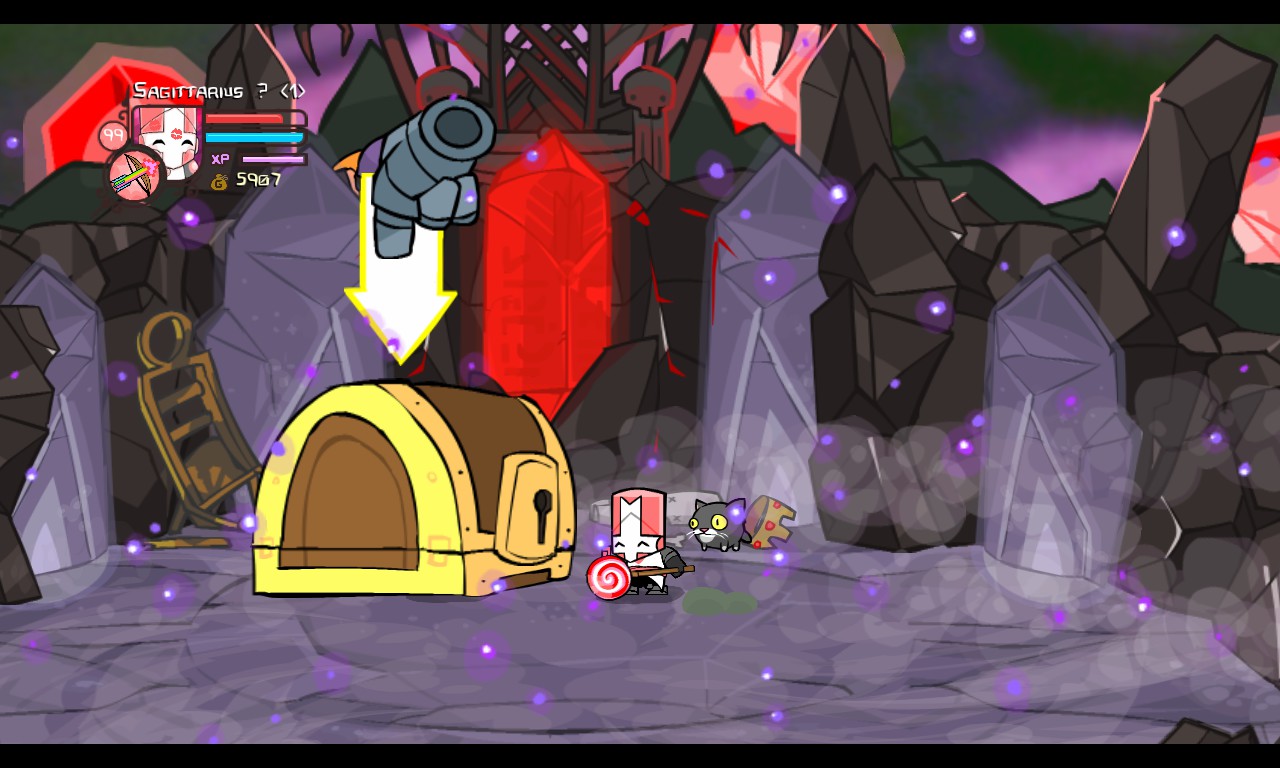
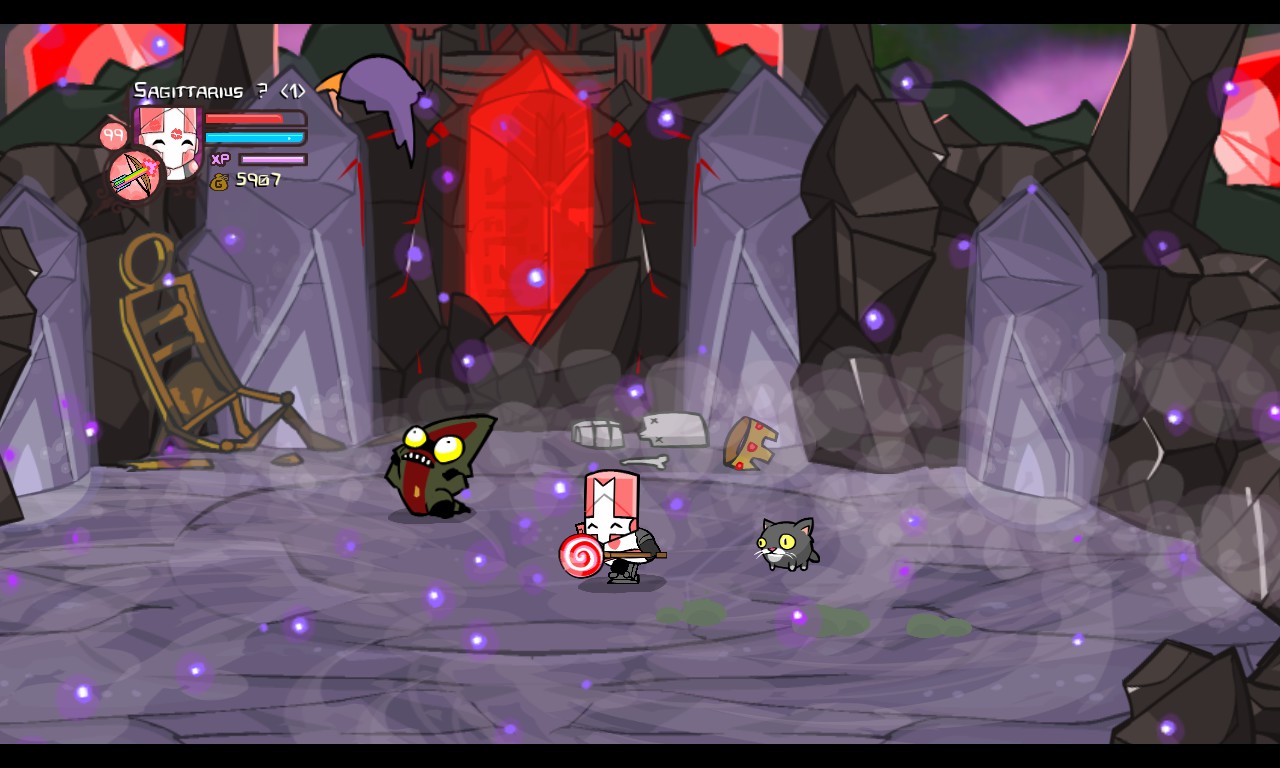
After all that is done, Pipistrello will bounce around the room and eventually shrink into an animal orb called Bitey Bat. He will ocassionally lock players in place.
On Insane Mode, Pipistrello’s lick attack does 999 damage. WHOA!
Pipistrello means ‘bat’ in Italian. Maybe he is Italian?
Conehead Groom
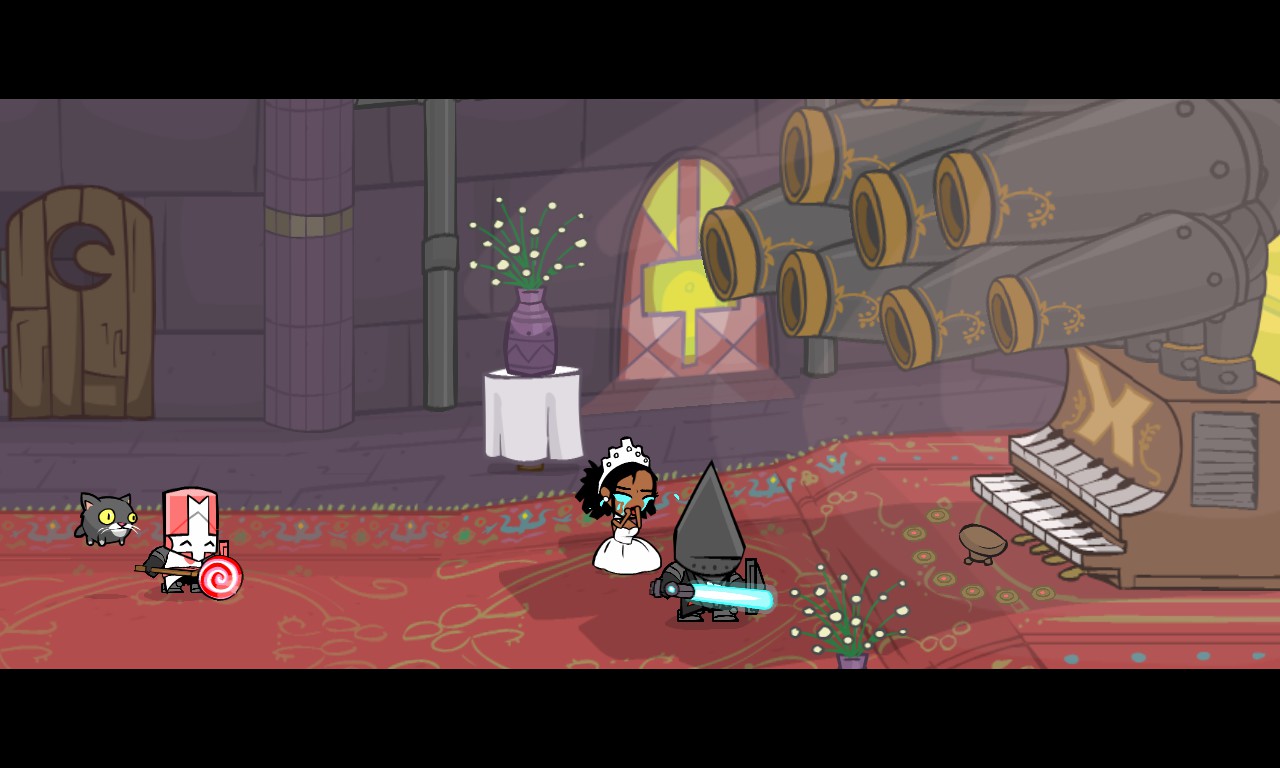
A conehead in black, with a love for the Green Princess.
HEALTH: 400 HP
POWERS: ORGAN-PLAYING EXPERTISE
DIFFICULTY: HARD
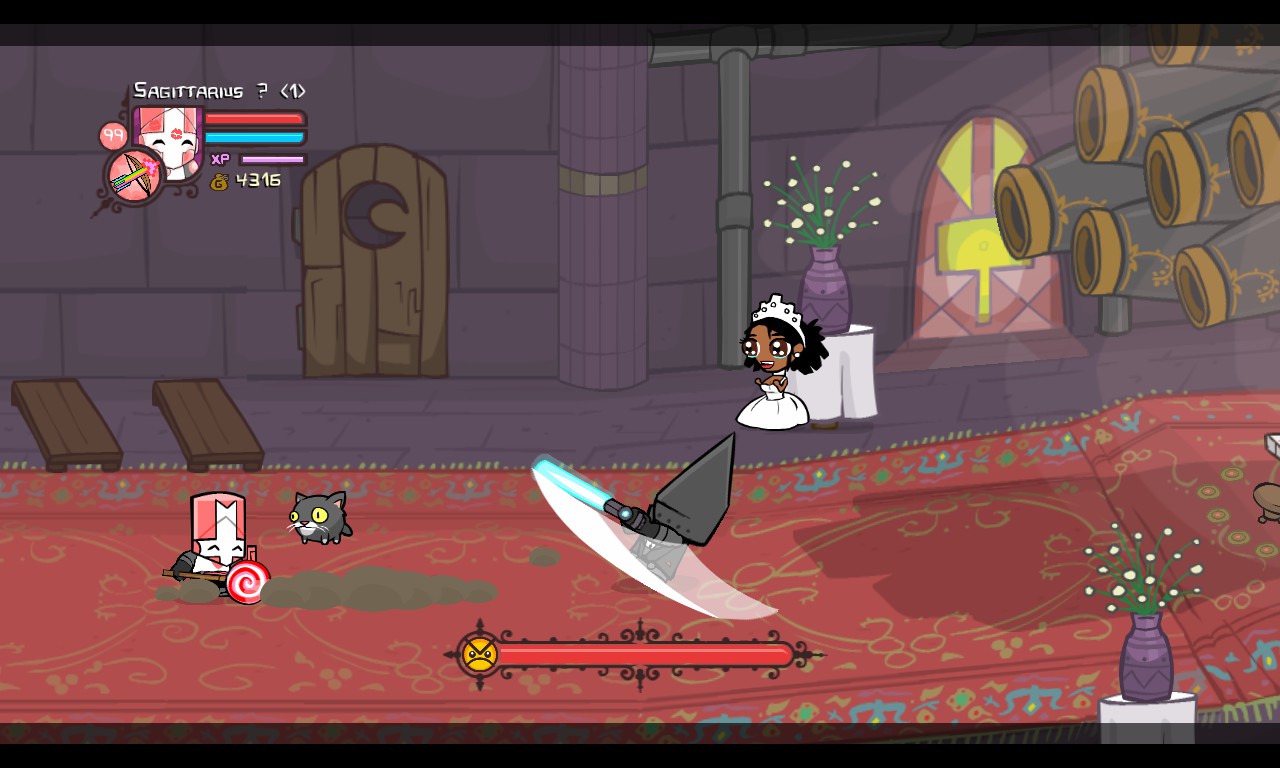
This place looks like a church… is someone getting married? Yes! Unfortunately it isn’t a time to celebrate – the Green Princess is getting married to a dark prince. You’re crashing his wedding and saving the princess! The groom isn’t afraid to get his hands dirty, for he will fight for his love.
The Conehead Groom is very, very fast. He will attempt to throw heavy attacks that deal quite a bit of damage and will occassionally throw bombs.
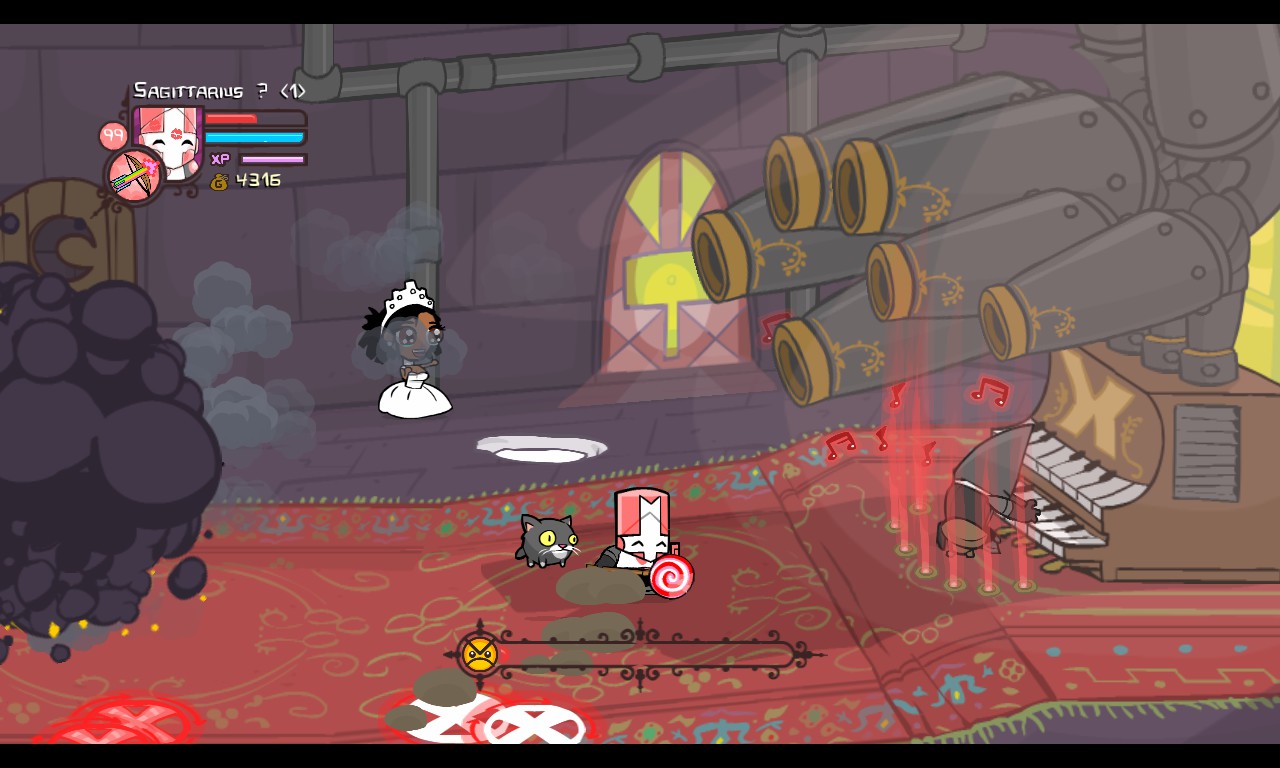
After staying on the screen for a while, he will run to his organ and play it. He is invincible in his state, as he is protected by an electric barrier. His organ is powered by a mount of cannons, and will attempt to hit the player with cannonballs. Watch for target markers on the ground! They appear in set patterns. After firing his organ for a while, he will stop playing it and continue to attack the player.
Most of his basic attacks include:


The Conehead Groom will do a spinning attack similar to 
If the Conehead Groom has less than 50% of his health, he will start to use dark magic. This includes projectiles, splashes, and jumps.
The less health he has, the faster he’ll go. Movement-wise and attack-wise. When playing the organ, the less health he has, the bigger his target area is and the faster his rate of fire is to the point where it becomes a machine gun and eventually a shotgun (no seriously, take him down to a sliver of health and watch…)
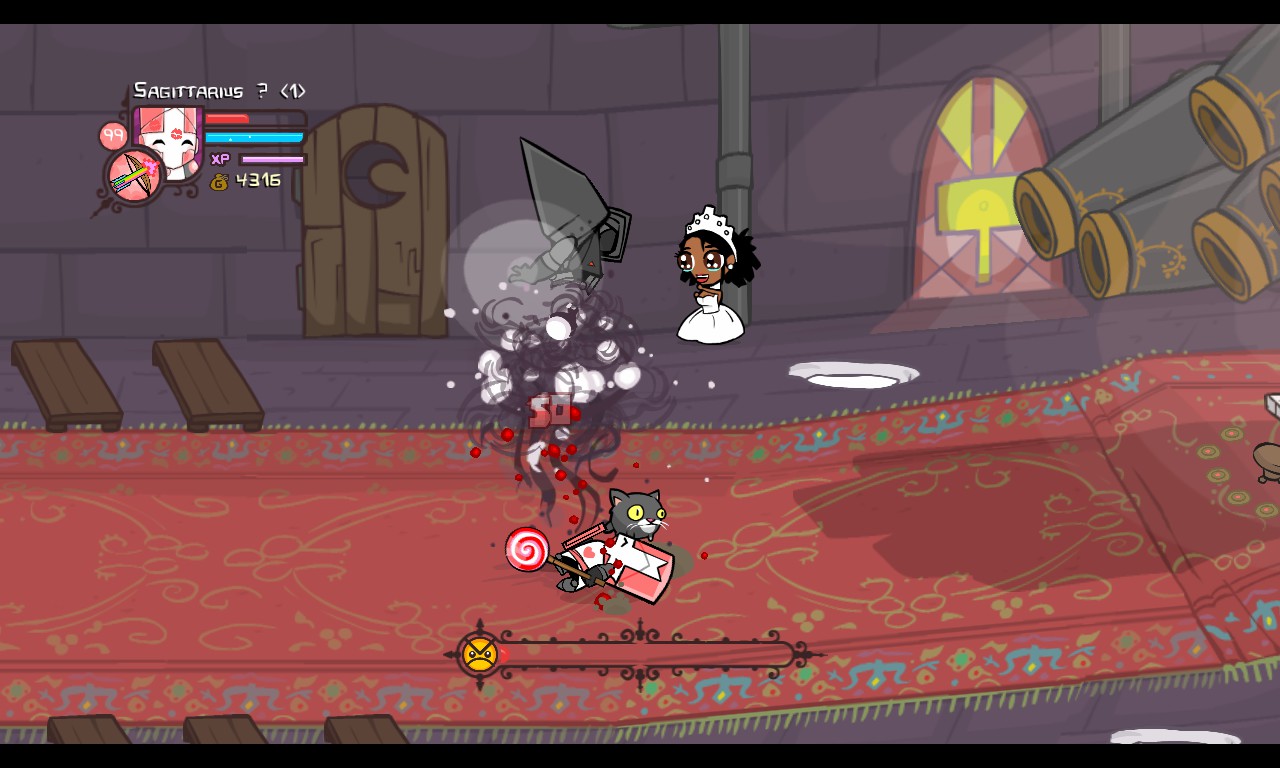
Pin him down with heavy attacks. Use a lot of combos, magic, or whatever to deal as much damage as you can. When he plays the organ, simply dodge his target markers. A safe but time-consuming way is to stay from a distance and spam arrows or projectile magic. Since he can’t be juggled, you can run up to him and stomp on his suit by spamming Y. This keeps him down for a while.
Once he’s dealt with, you can see someone coming out of the restroom. It’s a Cyclops! He must care a lot about the Conehead Groom…
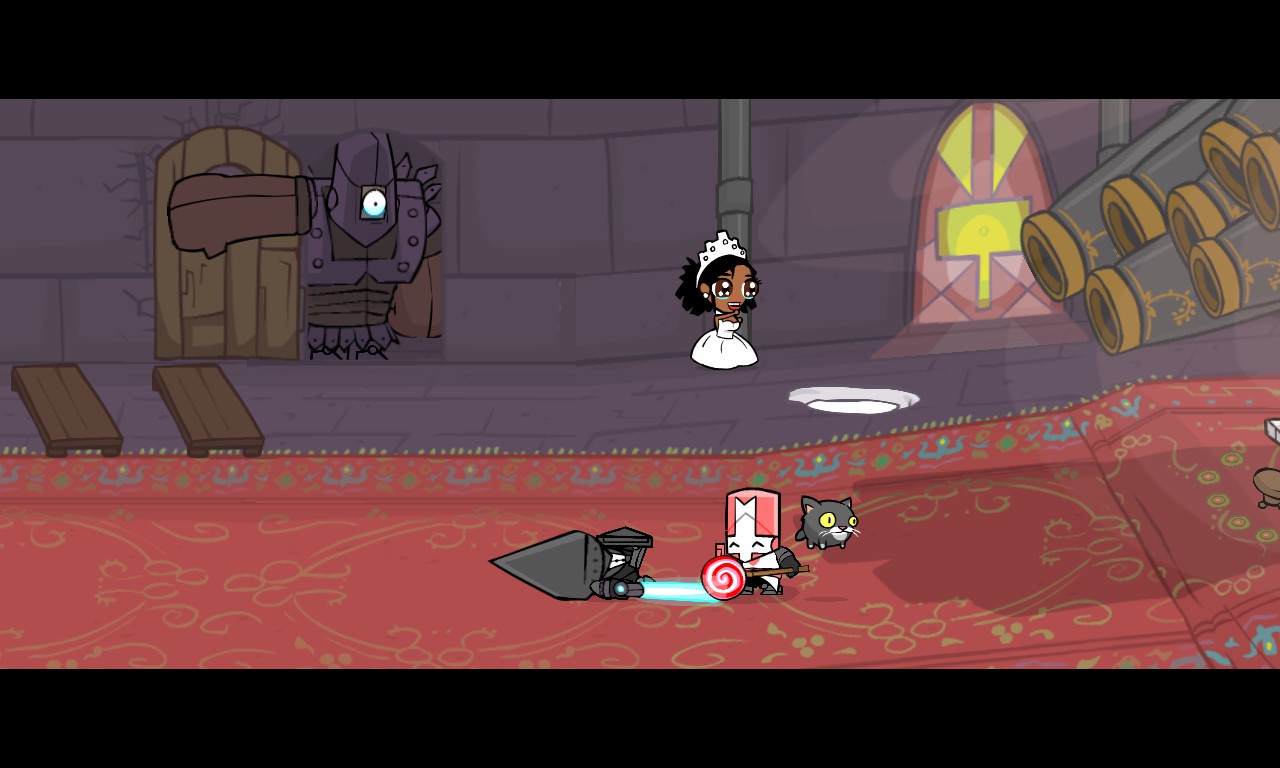
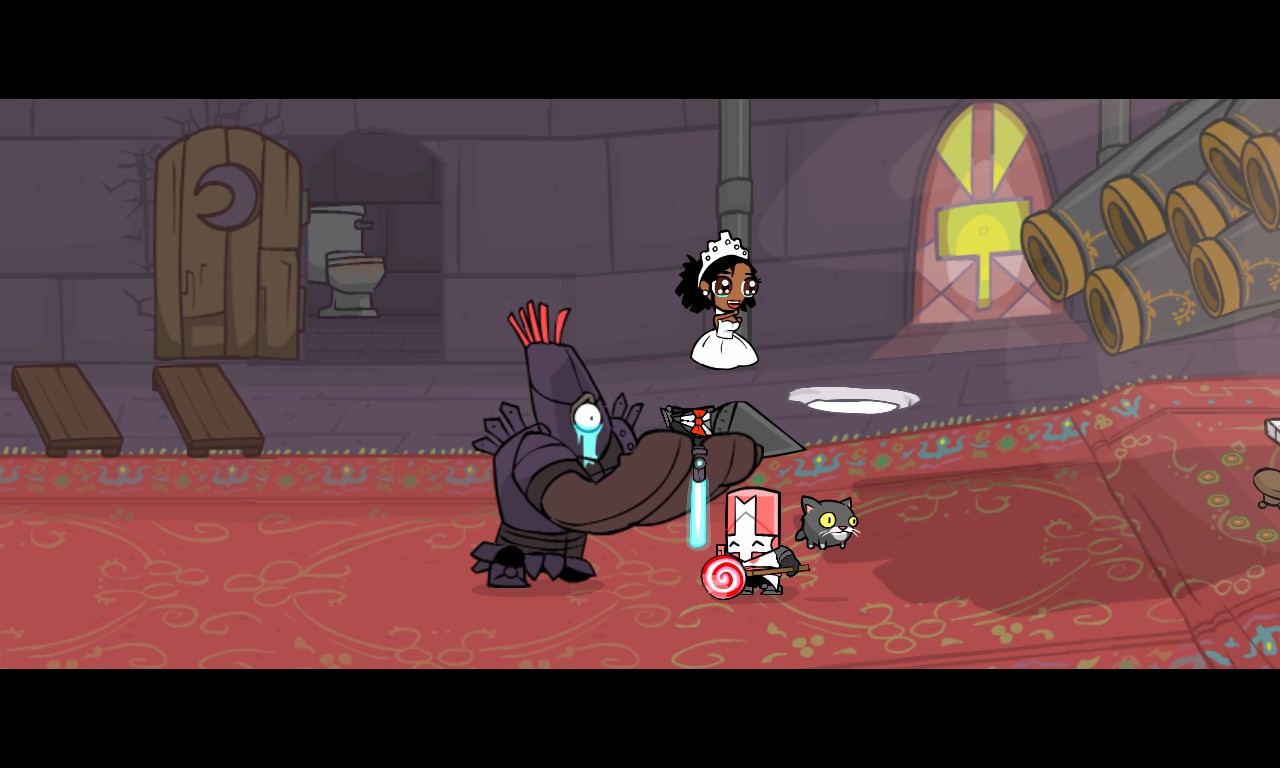
After a while, the Cyclops will take the Conehead Groom and the Green Princess and make a way to the fire exit. The Cyclops will be more important later on…
On Insane Mode, the Conehead Groom moves a lot faster. This does not affect his firing speed on the organ, though…
Troll Boss
It’s him again!
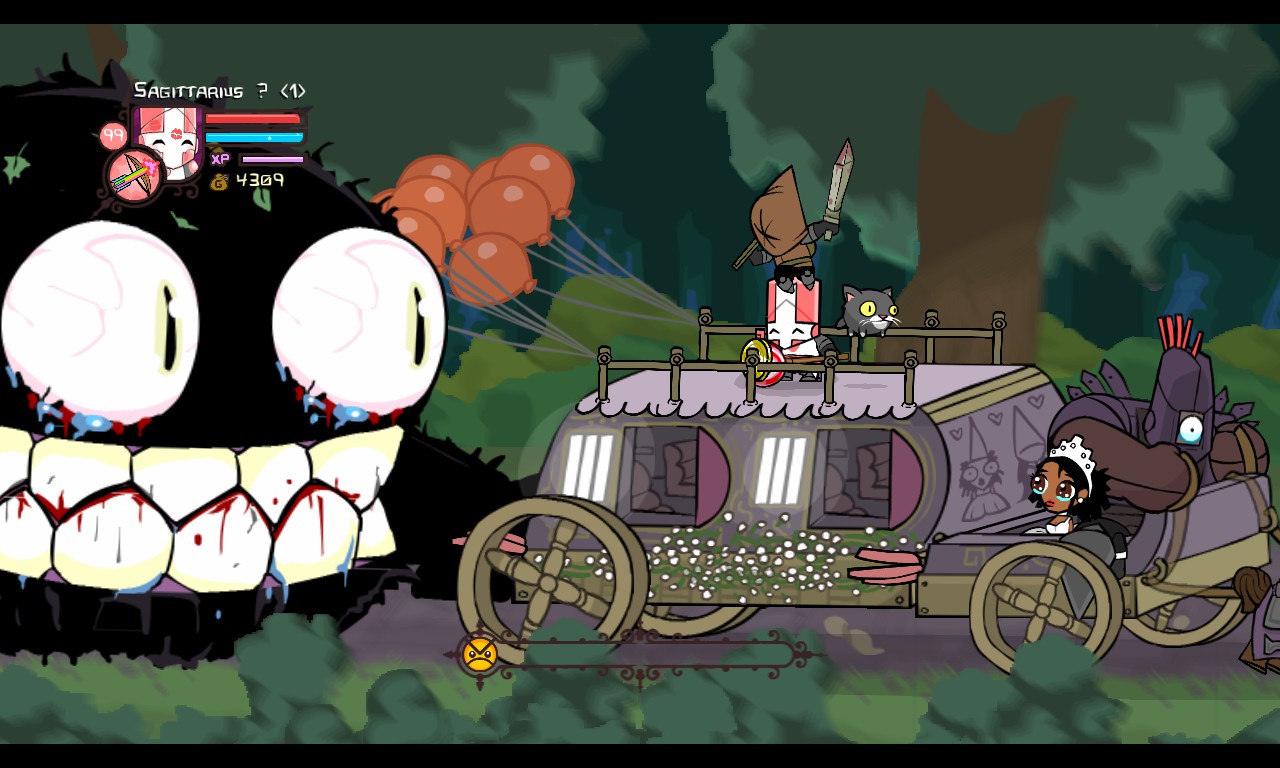
It’s the giant troll that tried to eat you back at the Abandoned Mill. It came back!
HEALTH: 500 HP
POWERS: LASER EYES!
DIFFICULTY: EASY-MEDIUM
It’s a parade. Yay! Everyone’s cheering – the groom and bride are married! Well, not really. As you fight on top of a coach, it starts heading towards a forest. One that looks too familiar… Suddenly, the coach is ambushed by Thieves. After fighting for a while, you hear a thumping noise. You turn around and you see it. Again.
The Troll Boss’ eyes will start to glow and after a while, will shoot a laser from its eyes. This can knock you off the coach and anyone else who doesn’t have their shields up.
BZZZZZT! or SPLOOOOOSH! or WOOOSHOOSHOO! Eh, who am I to judge?

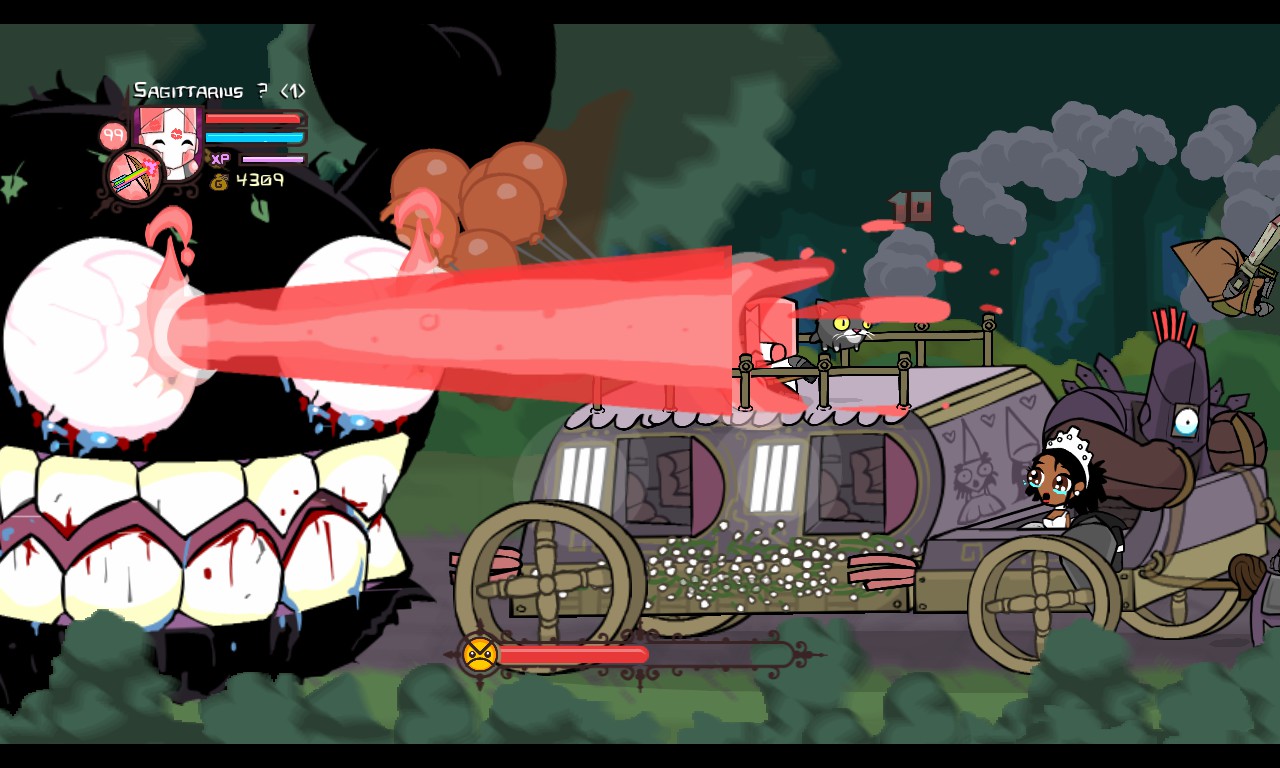
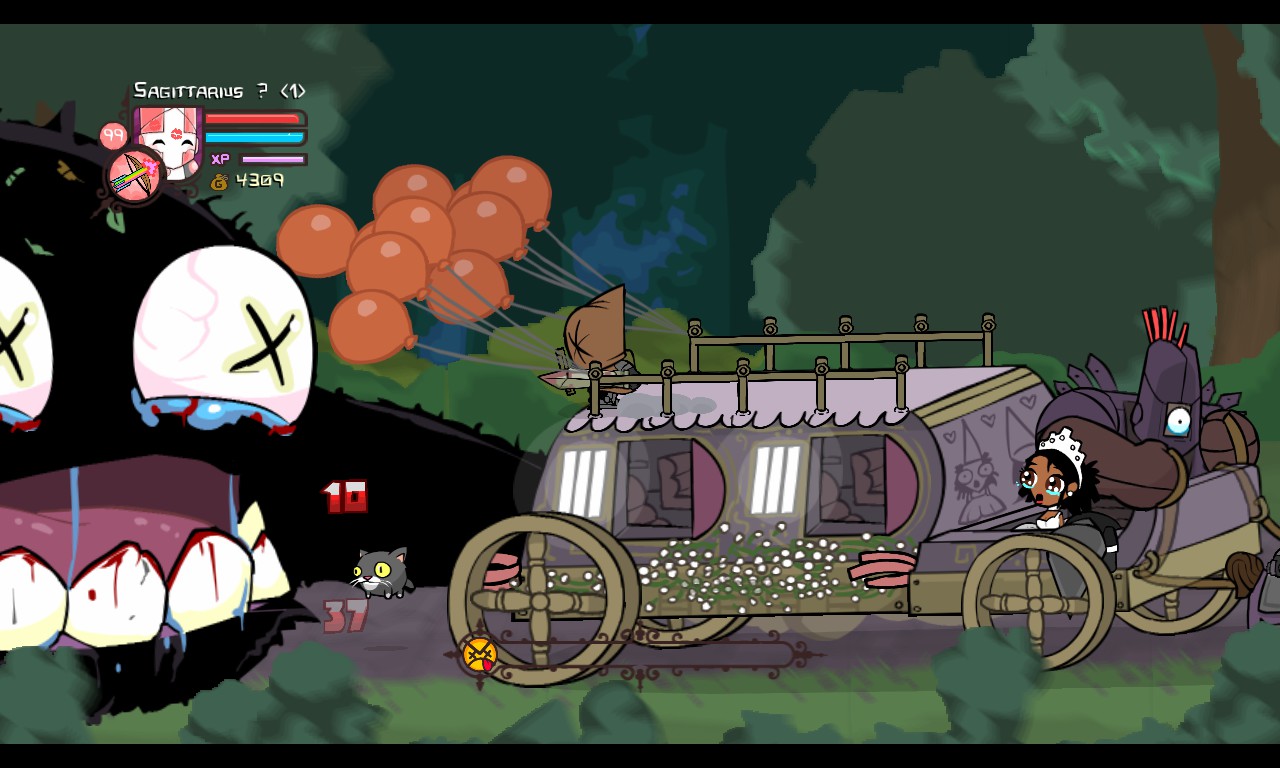
The only thing you have to worry about is falling off the coach. This does quite a bit of damage if you’re not careful. During the fight, Thieves will pop out of nowhere and attempt to fight you. These Thieves serve as a distraction and if you’re not careful, the Troll Boss may finish charging his laser and fire it, knocking you off the coach. To keep a safe distance, fire projectile magic or arrows from the coach, or throw Thieves at the Troll Boss. I prefer the second option, lol.
Or, you could be a loose cannon and just melee the thing.
ded
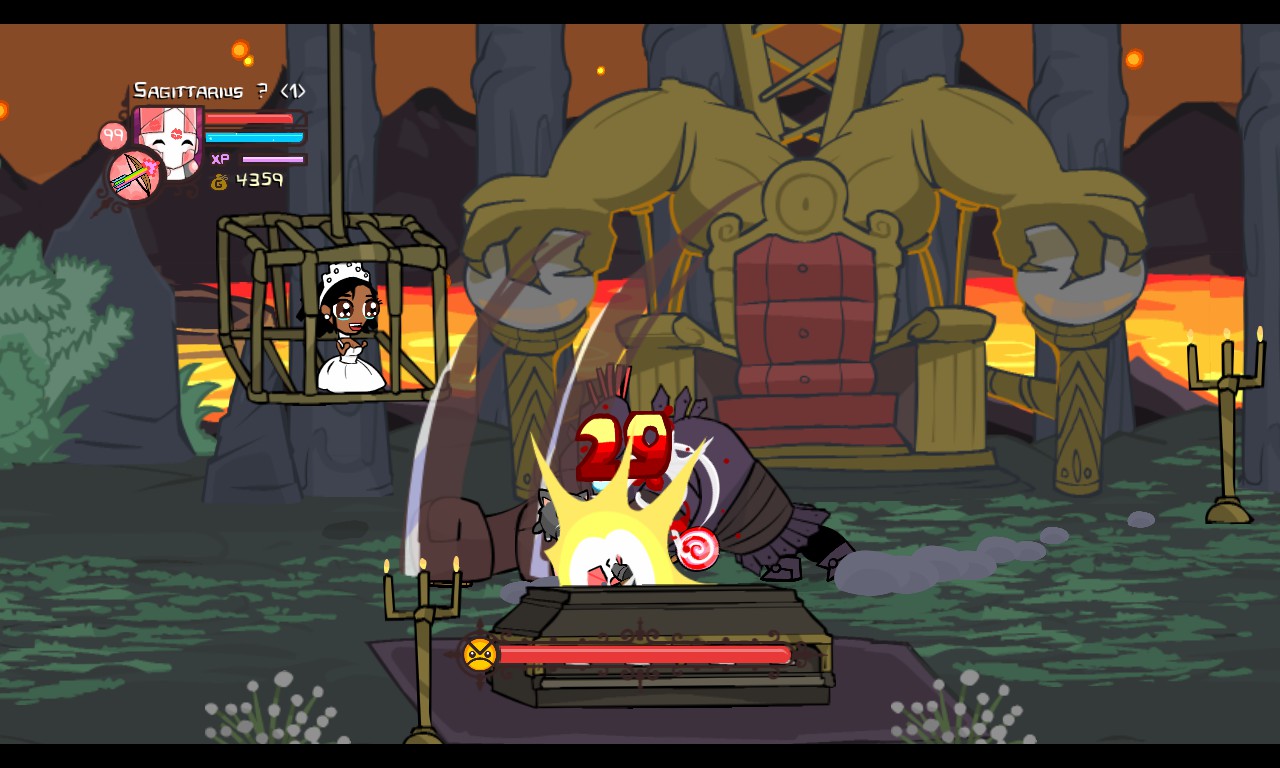
The Cyclops

A giant clad in armor, presumably the Conehead Groom’s best friend.
HEALTH: 800 HP
POWERS: SKILLED WITH TWO KNIVES
DIFFICULTY: MEDIUM
The Cyclops escaped with the Green Princess to his fortress. She is found trapped in a cage, with her wedding gown still on. After finding her, you seem to be interrupting a funeral…
The Cyclops’ main attack is by jabbing you with his two knives. This attack is quick and can’t be blocked. He will do this four times before doing his next attack.

The Cyclops will then move at a distance and throw knives at you. This attack can be blocked.
I thought he only had two…

If he’s low on health, he will move a lot faster as well as attack faster.
HRRRRG!
Run Cyclops run!

The Cyclops has a short period of vulnerability between attacks. This gives you a chance to deal damage to him. His melee attack is very damaging, so you might want to be careful with that. The vases in the area contain fruit, so break them if you need. The Cyclops will jump over anything obscuring him and his target, meaning he will jump over things in order to get a good hit at you.
Hup!
His throwing knives don’t deal as much damage, so you can block them, or dodge them, whatever you feel like, I don’t judge!
After he’s done, he will run to the Conehead Groom’s supposed grave and fall in it.
Will we ever see him again?
On Insane Mode, the Cyclops moves a lot faster. When he’s at low health, he will break the sound barrier.
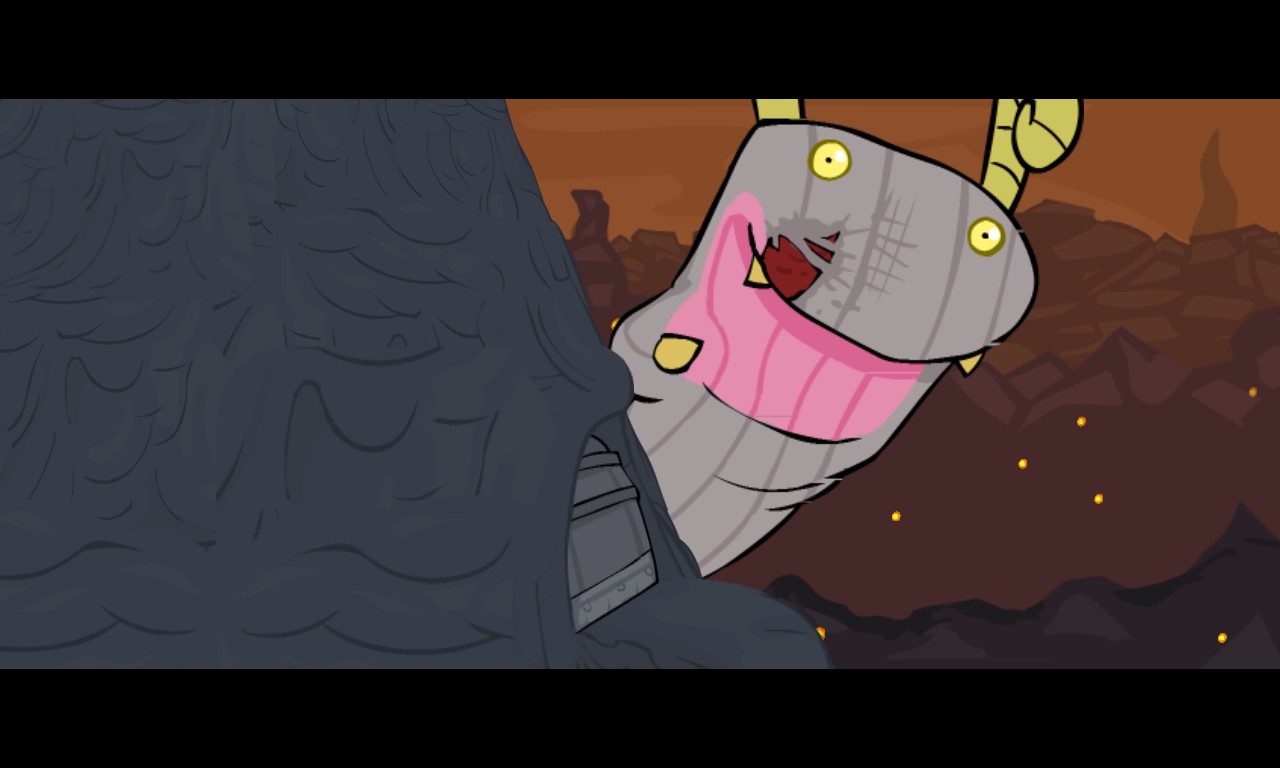
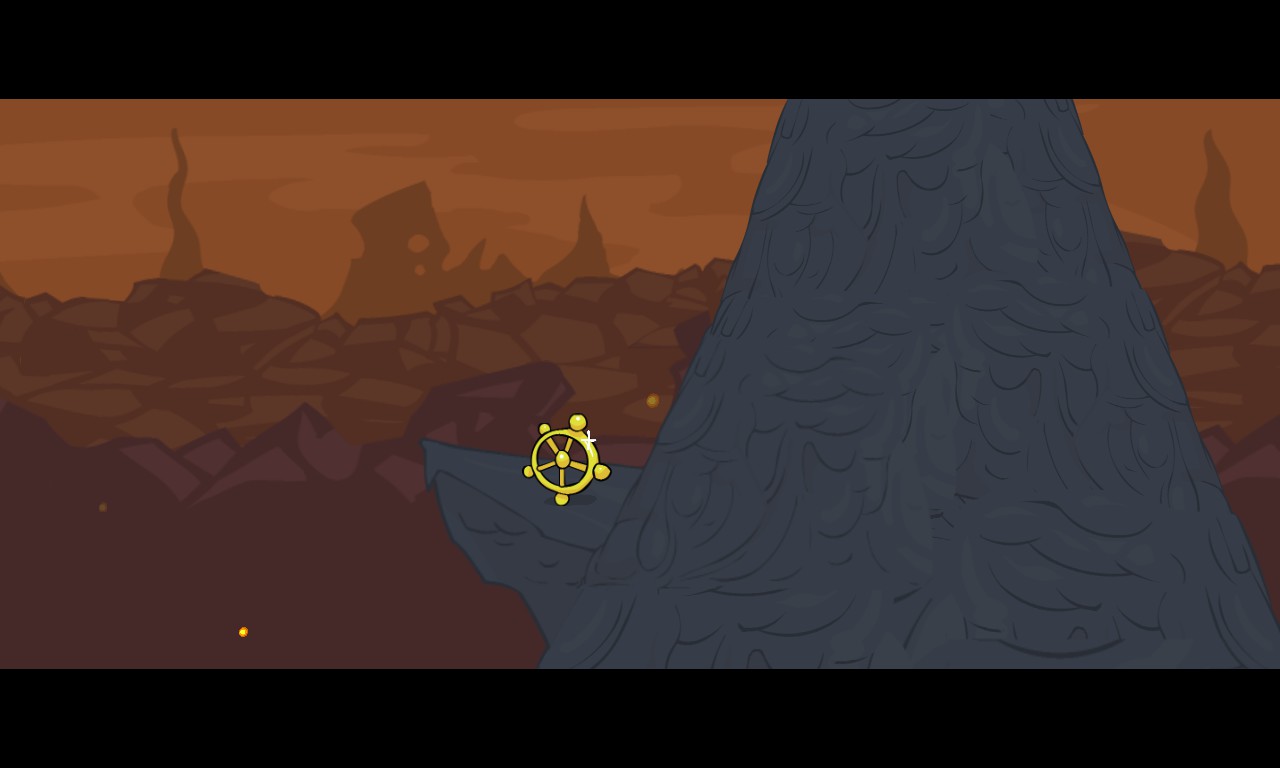
Volcano
Don’t mind me, just walking by – OMG IT’S ALIVE!
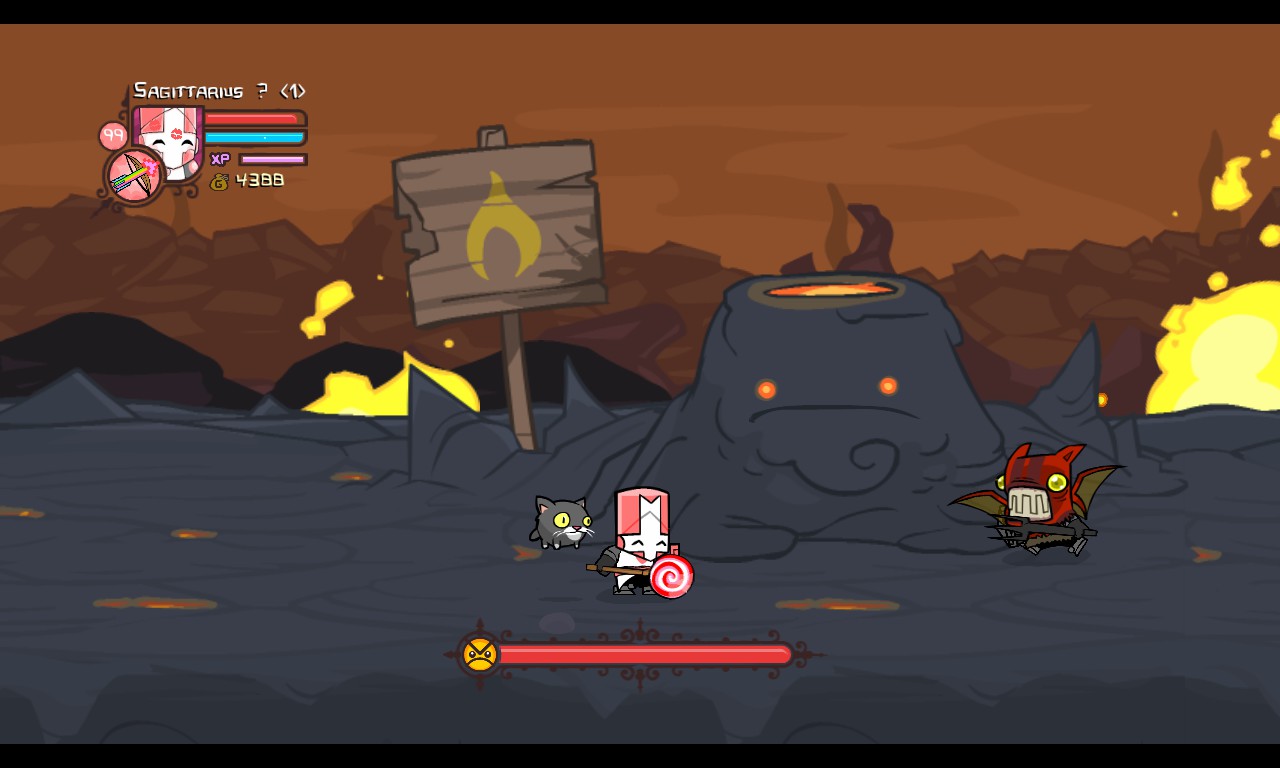
A sentient, living volcano.
HEALTH: Unknown
POWERS: IT’S ALIVE!
DIFFICULTY: EASY
As you progress forward to find the Wheel, you’ll notice a volcano is in the way. As you approach it, it comes to life, and really doesn’t want you to pass.
It occassionally spews out fireballs in the air and land on players, similar to cannonballs. Only they do burn damage, I think.
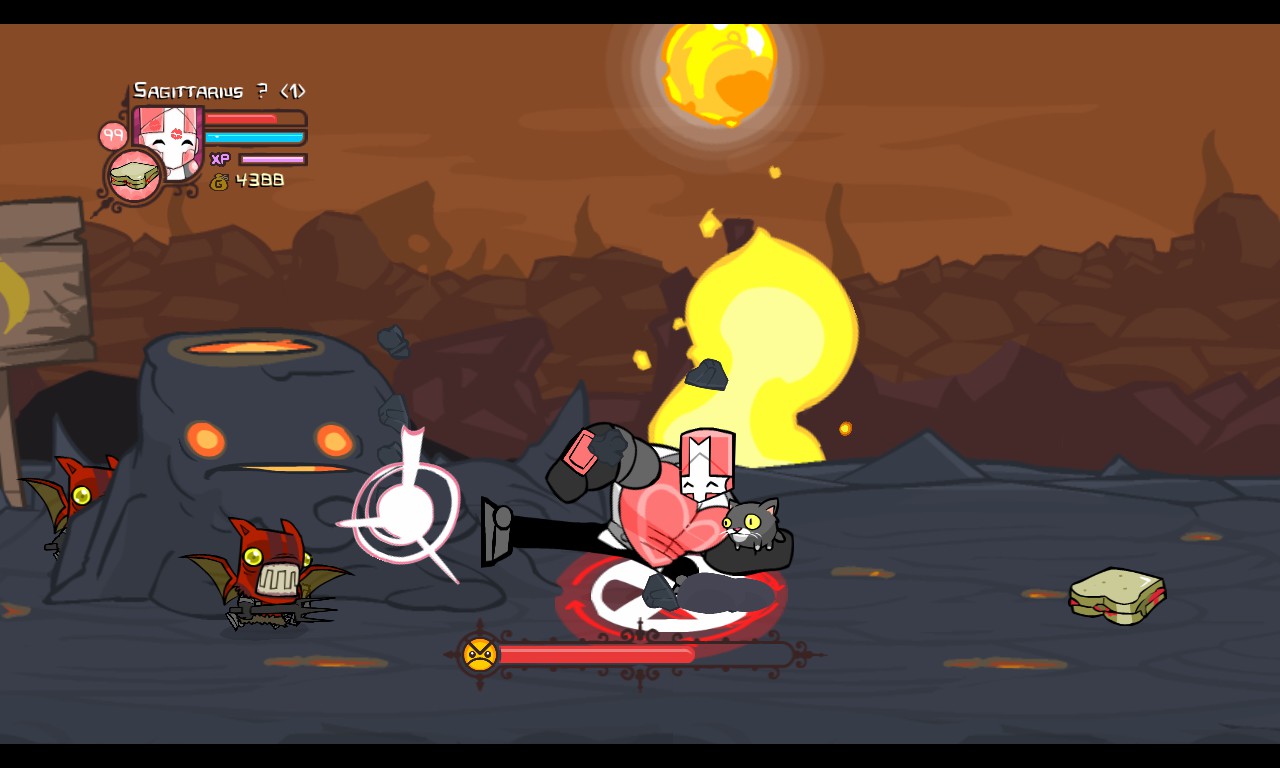
Your sword skills won’t level a mountain, but your sandwiches can. The Volcano can only be damaged by Sandwiches. Thankfully, the Fire Demons that fight alongside the Volcano drop sandwiches.
Sandwiches. A good source of jam, peanut butter, and volcano crushing power.
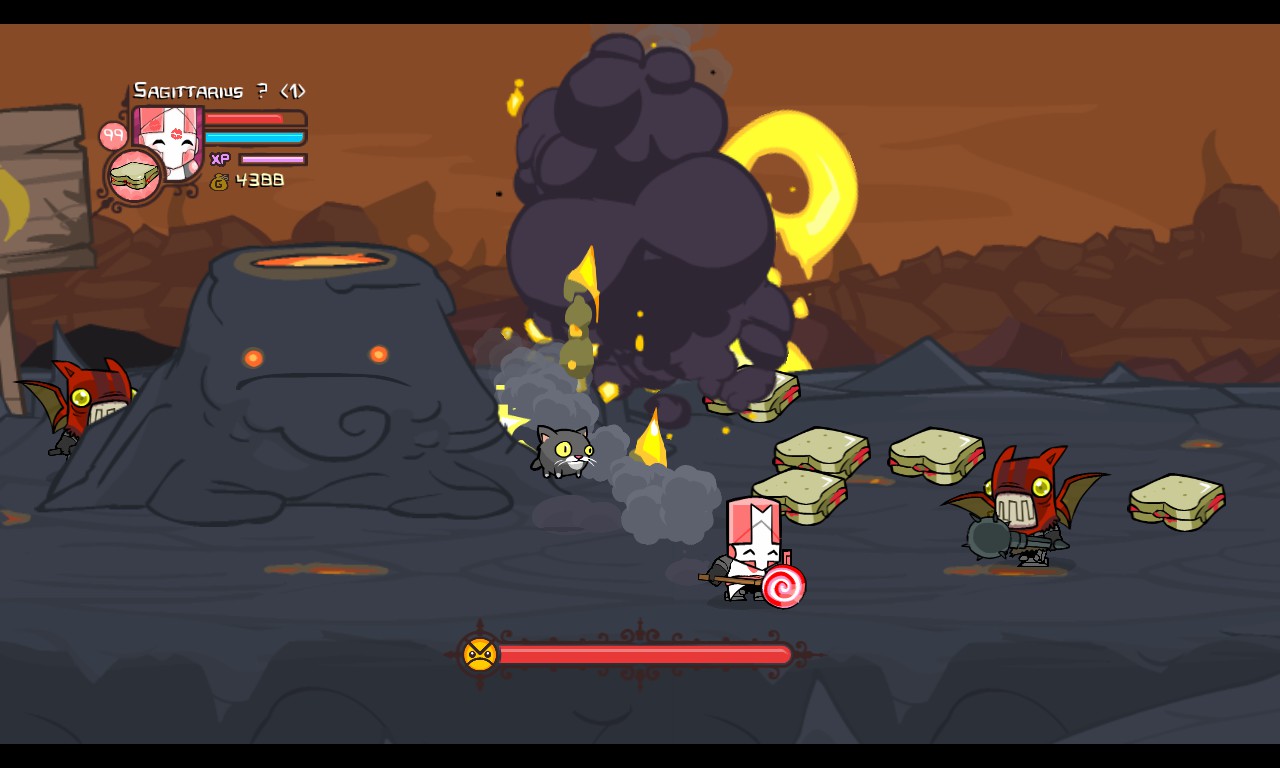
When you use a sandwich, hammer at the Volcano as much as you can. The Volcano will eventually go down in around 2-3 sandwiches.
Dragon and Sock Puppet
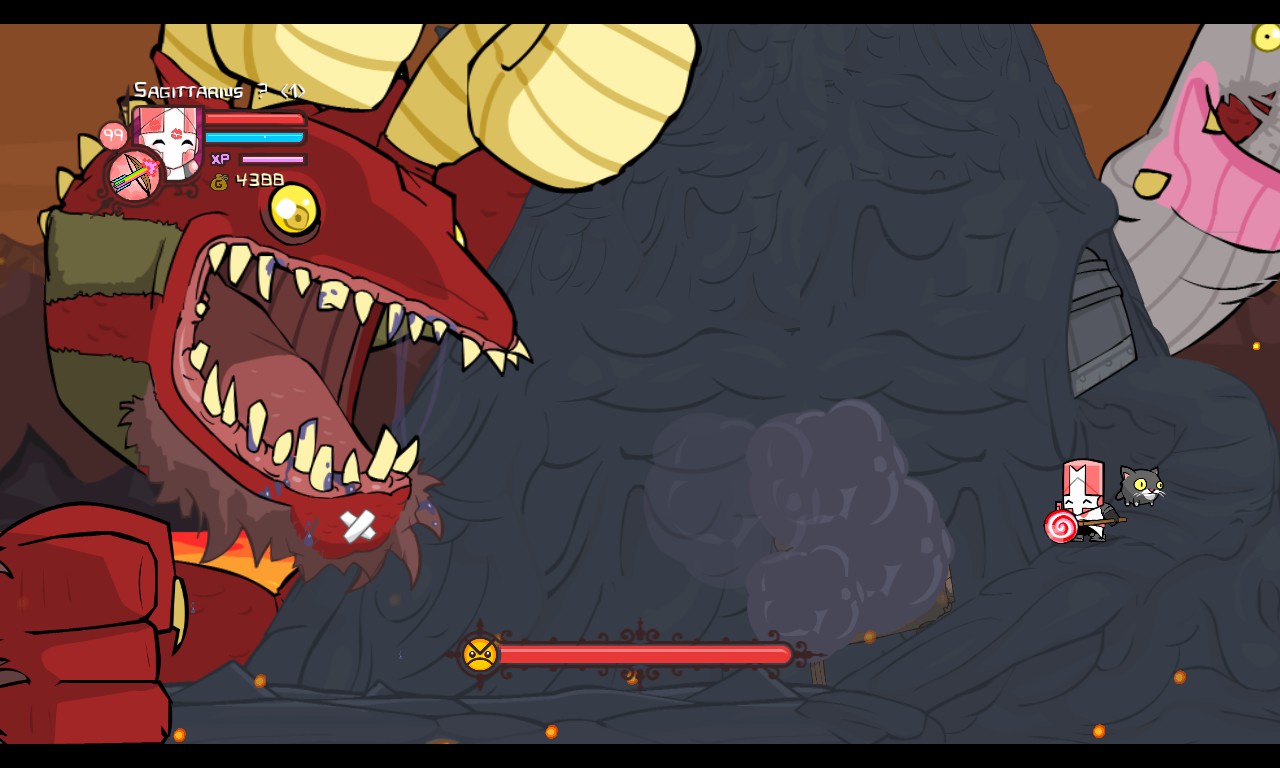
A large, red dragon, the guardian of the Wheel. Carries around a sock puppet.
HEALTH: 920 HP
POWERS: FIERY BREATH AND WONDERFUL PUPPET SHOWS.
DIFFICULTY: MEDIUM
After beating down the Volcano, you find the Wheel, and your quest for it is finally over. That is, until you find the massive, scaly monster guarding it…
The Dragon will sweep the ground in flames. This does quite a bit of damage and knocks players back.
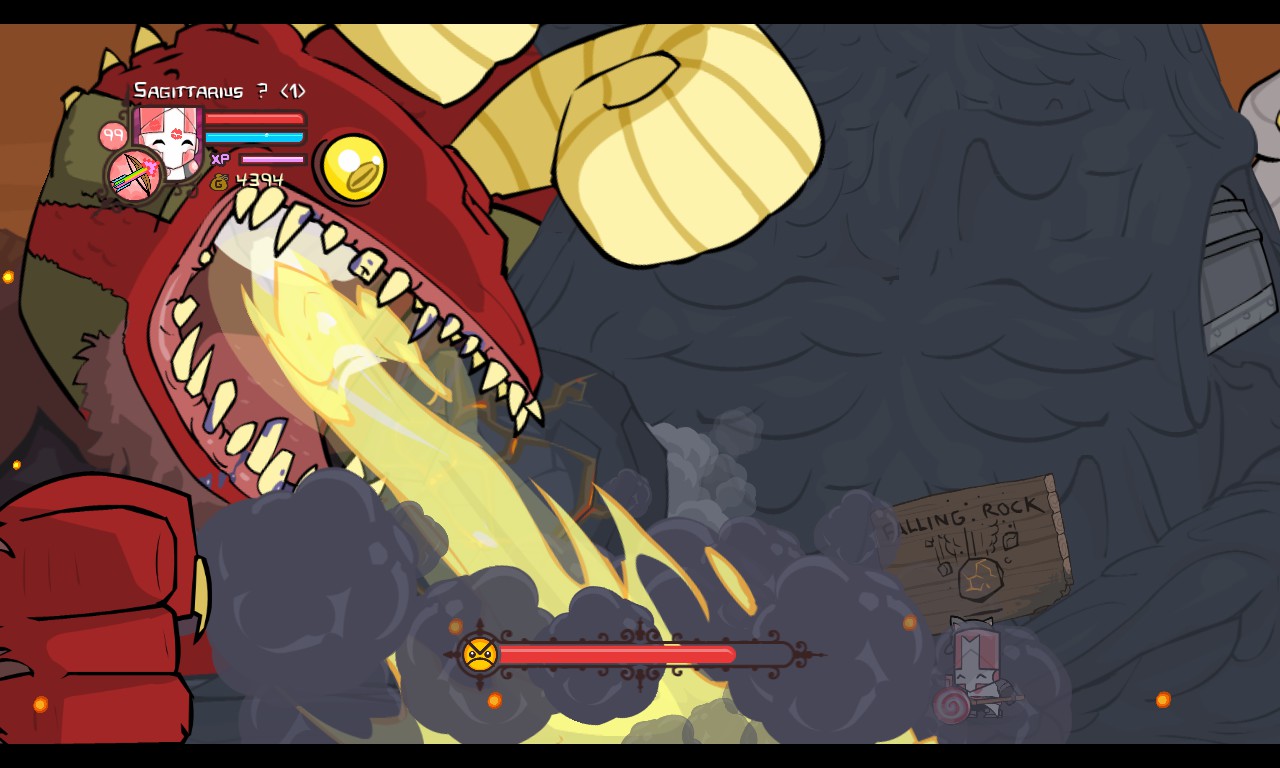
The Dragon’s fist serves as a wall. It will send in a Fire Demon from the right by lifting his fist and lowering it, kind of like a gate.
If you approach the Sock Puppet close enough, it will pound you into the ground and you’ll be stuck there for a bit.
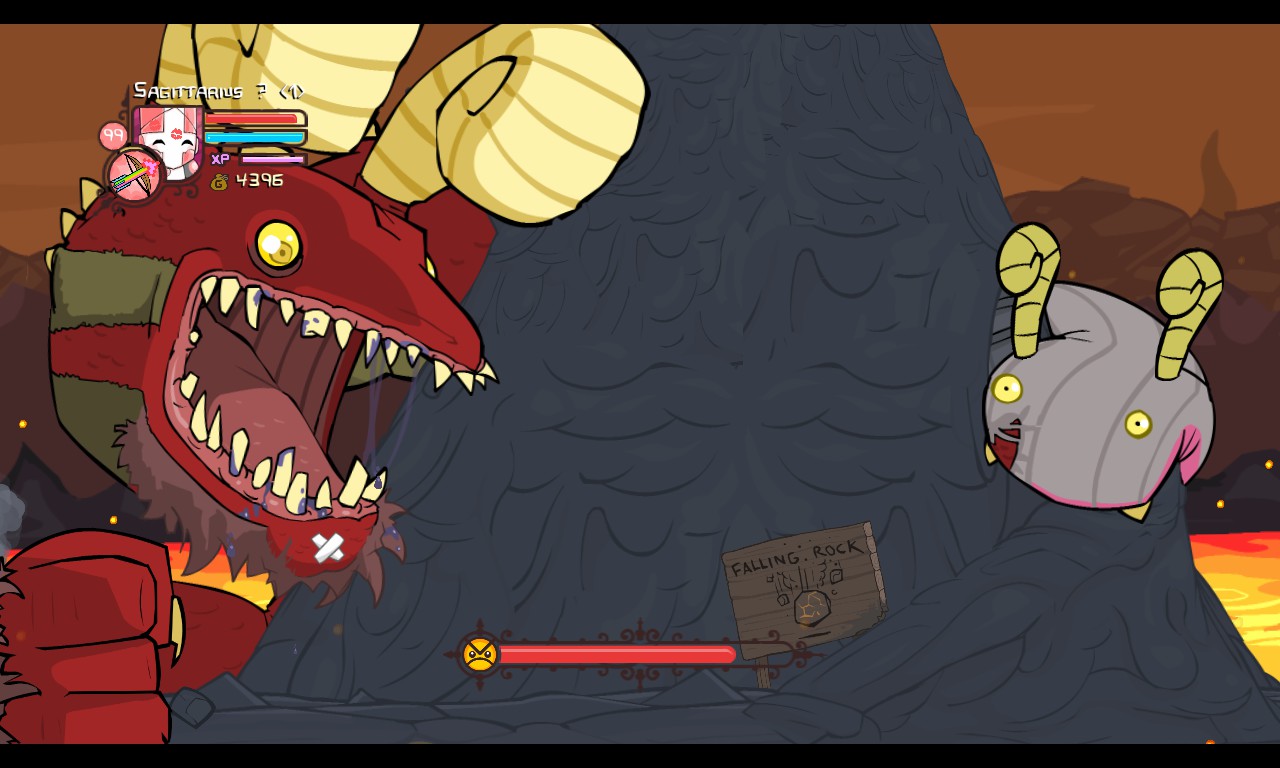
Occassionally, the Sock Puppet will move behind the mountain and pull out a boulder, rolling it down the mountain. This does quite a bit of damage. The boulders bounce on the way down.
While this boss does look threatening, it actually isn’t. Just attack the Dragon’s face with melee or ranged attacks, whatever feels comfortable for you. The only distractions you’ll have are the Fire Demons and watching out for attacks from both the Dragon and his Sock Puppet. The boulders that the Sock Puppet drops bounce on the way down, so you can move under them. Sometimes, using arrows from the mountain may make the arrows travel at awkward angles (arrows move downward or upward for some strange reason), so it’s best to use projectile magic if you feel like arrows are too inconvenient.
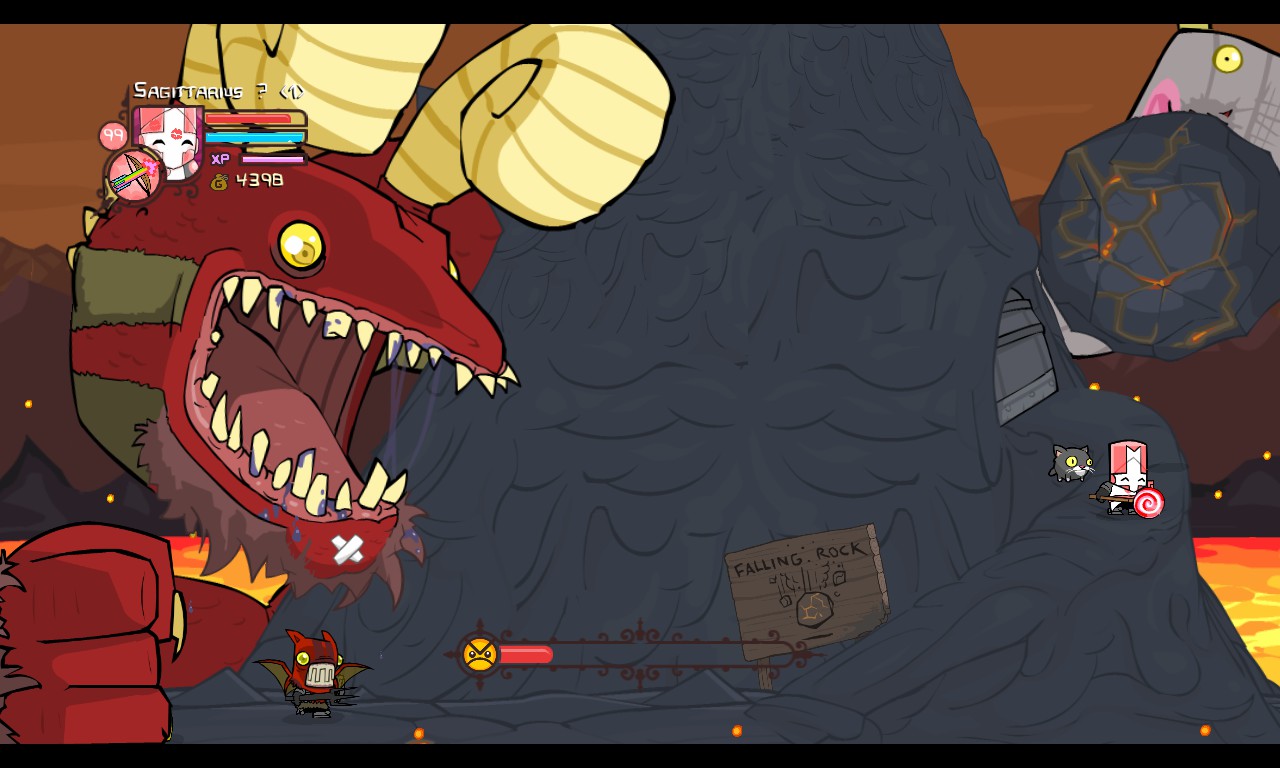
Industrial Machine
A machine armed to the teeth with deadly traps and weapons.
HEALTH (COMBINED): 2000 HP
HEALTH (NODES): 200 HP x4
HEALTH (ELECTRIFIED FLOOR): 200 HP
HEALTH (HAND): 500 HP
HEALTH (GUN): 500 HP
POWERS: LET’S SEE, ELECTRICITY, ICE, POISON, FIRE. HOW’S THAT?
DIFFICULTY: MEDIUM
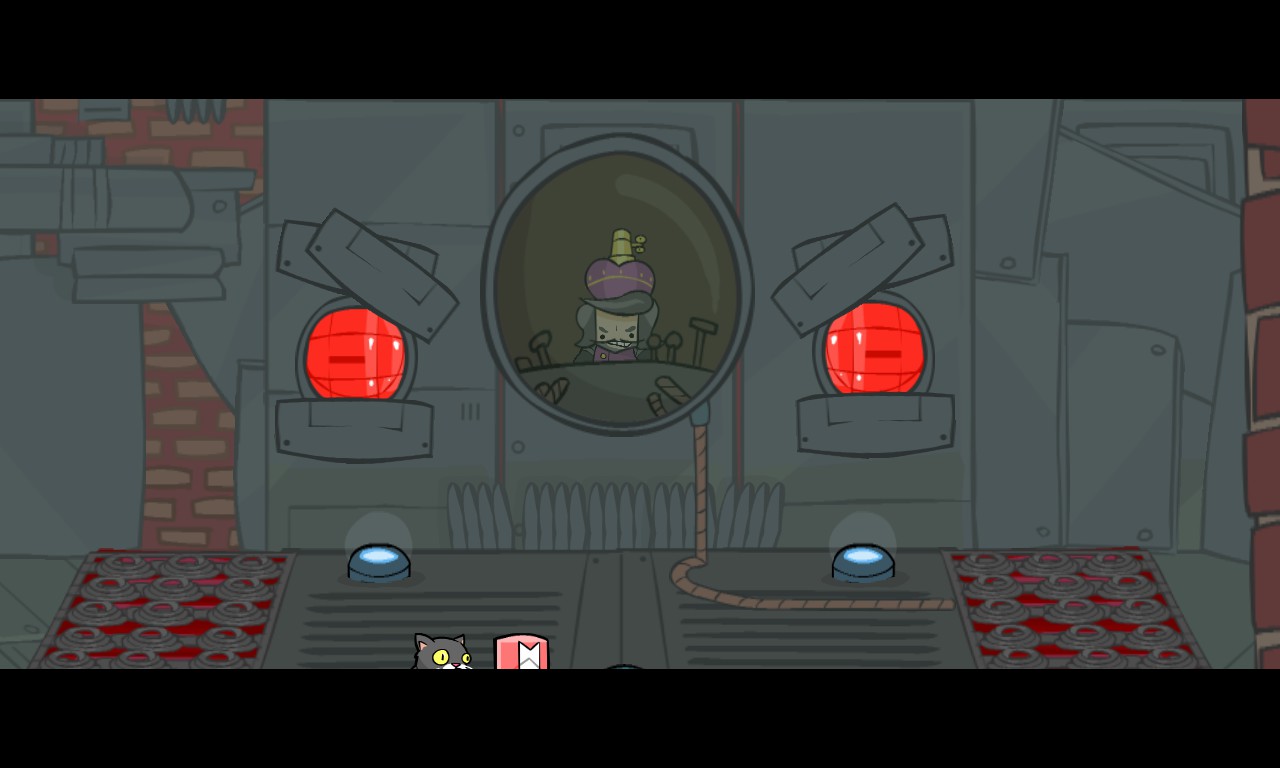
As you journey farther into the Industrial Castle, you find the Industrial Prince operating a very large machine, controlling a variety of weapons. He’s going to use them against you, what a jerk.
The four corners of the area contain nodes that rise from the ground and send electrical projectiles at 90 degree angles. The order in which they pop out:
- TOP LEFT
- TOP RIGHT
- BOTTOM LEFT
- BOTTOM RIGHT
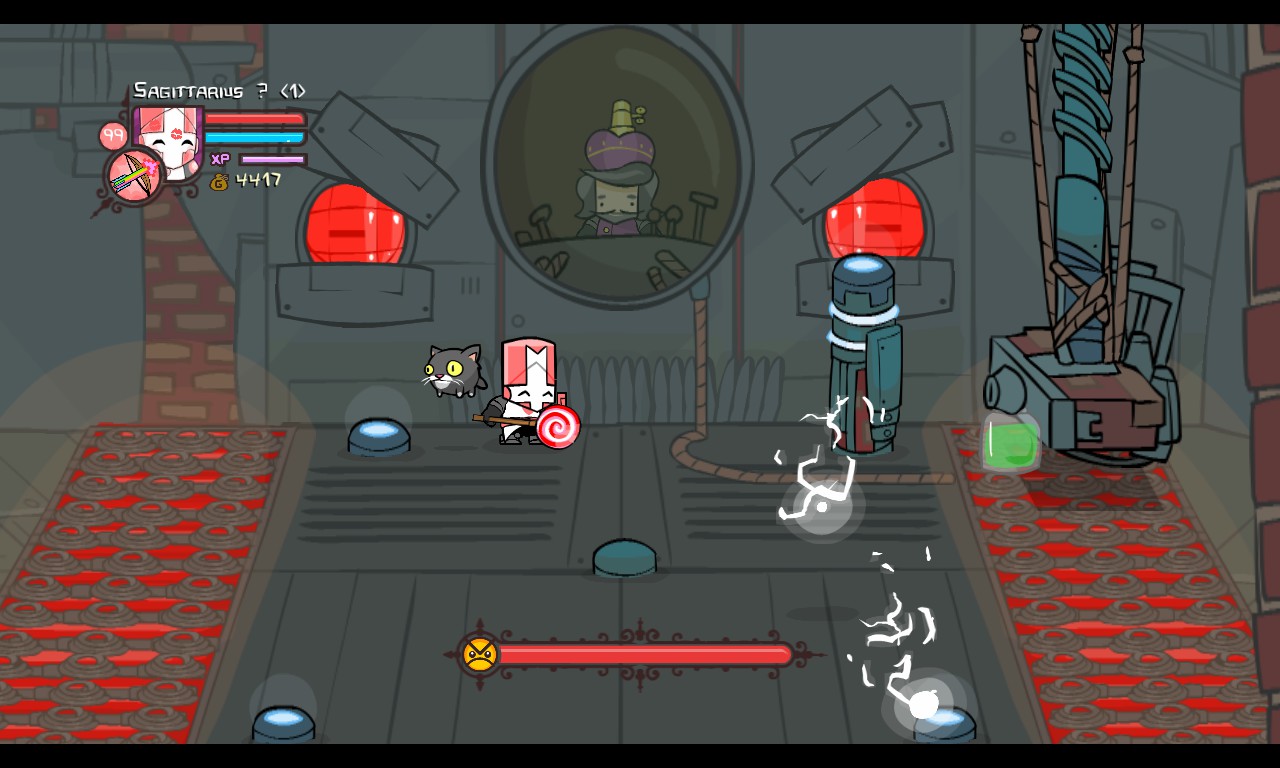
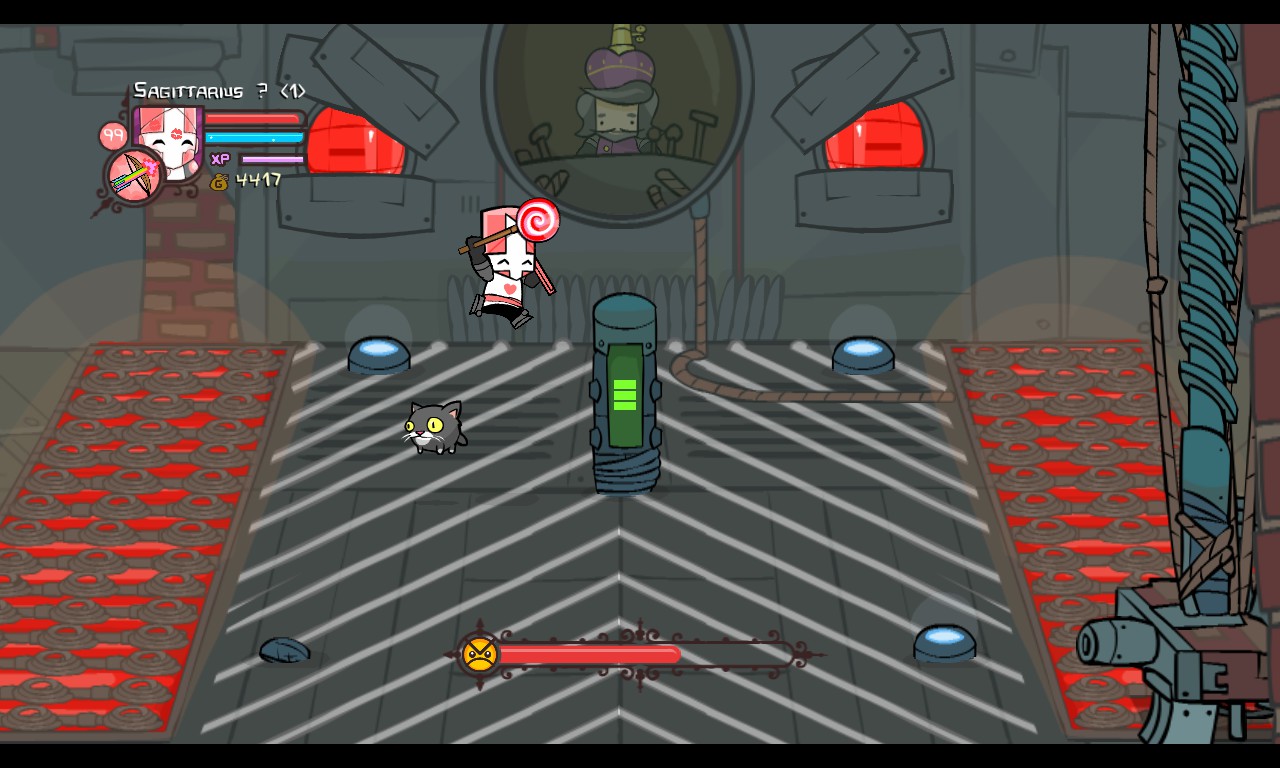
After the four nodes come out, the node in the middle of the area will rise up and begin charging. When the bar fully charges, it will electrify the entire floor. This does quite a bit of damage.
After a while, the Industrial Prince will snicker, and a mechanical hand will appear from the left of the screen, attempting to kick players by walking on two fingers.
The gun that appears on the right of the screen has a variety of attacks. The gun will alternate between these attacks by exiting to the top of the screen and coming back down.
The Poison Gun shoots slow-firing goo balls that deal quite some damage as well as poison.

The Ice Gun shoots salvos of four ice shots. These shots can freeze players.
The Fire Gun shoots a jet of of flames. This deals quite some damage as well as fire damage.

The Industrial Machine consists of seven parts to damage. The nodes have the least amount of health and can be taken down very quickly.
The hand can be quite annoying to deal with. Spam projectile magic and arrows at it to keep it from a distance. Any kind of attack deals a lot of knockback to the hand, which gives extra breathing space between you and the other parts you need to deal with. Otherwise, take it out before the gun if it’s making too much trouble for you.
The gun is suspended above a heated floor – you might not want to touch that floor. Luckily, it’s low enough for you to spam projectiles and magic at it. I wouldn’t recommend attacking it with melee – it moves side to side and you won’t get much air time that way. It it’s equipped with poison, the projectiles are fairly easy to dodge. If it’s equipped with ice, it can be a bit dangerous since the freezing effect locks you in place and you recieve a lot of damage this way. If it’s equipped with fire, jump over the stream of flames.
After you destroy the Machine, he will run off to give the Orange Princess to the Evil Wizard. He will jump on his crystal, but the Evil Wizard will kick him off, leaving him with you. You can choose to let him live or kick him off the balcony.
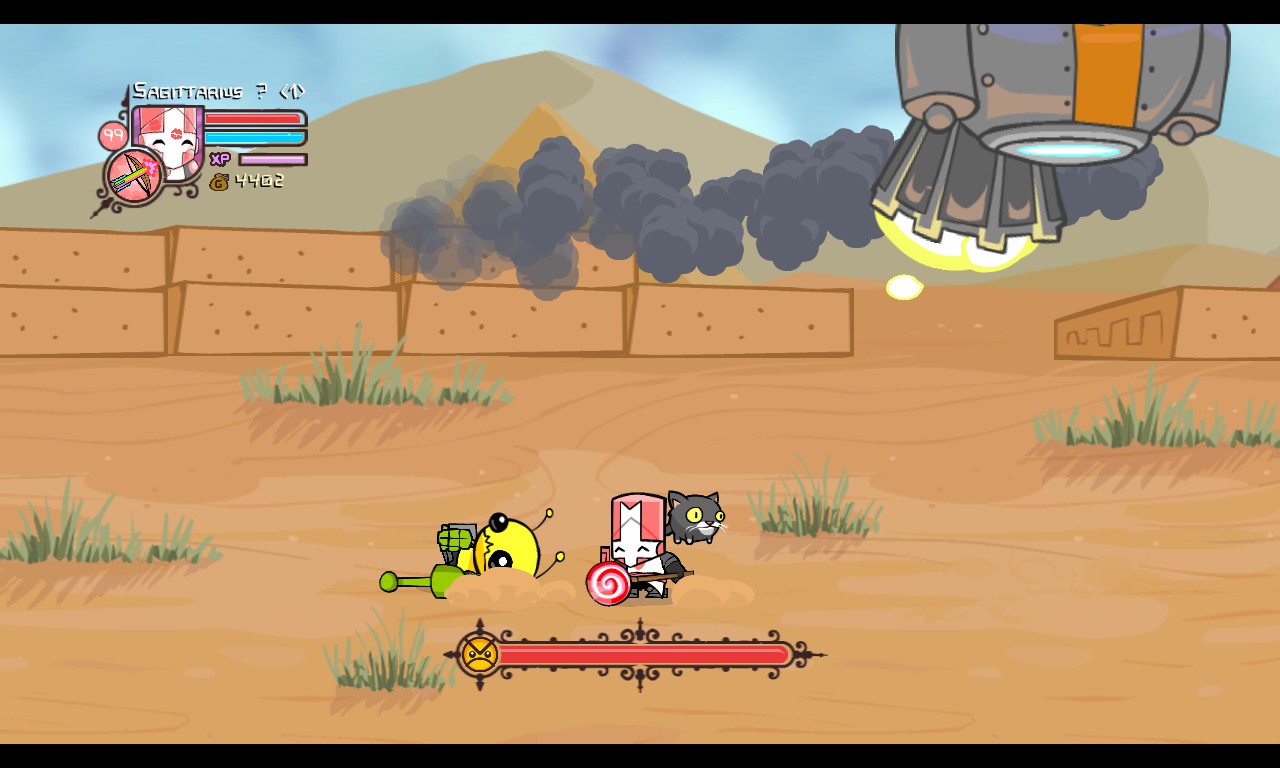
Alien Ship
A strange, flying ship. What’s it doing here?
HEALTH: 400
POWERS: BUILDING PYRAMIDS…
DIFFICULTY: EASY
As you fight your way through the desert, you find some unwanted visitors from somewhere out there. What are they doing here? No one knows for sure.
The Alien Ship constantly spawns Aliens, which isn’t much of a problem since they die in one hit.
After taking some damage, the Alien Ship will fly offscreen and come back carrying a stone that it will drop on players. If it hits you, you’ll be buried in the ground for a bit.
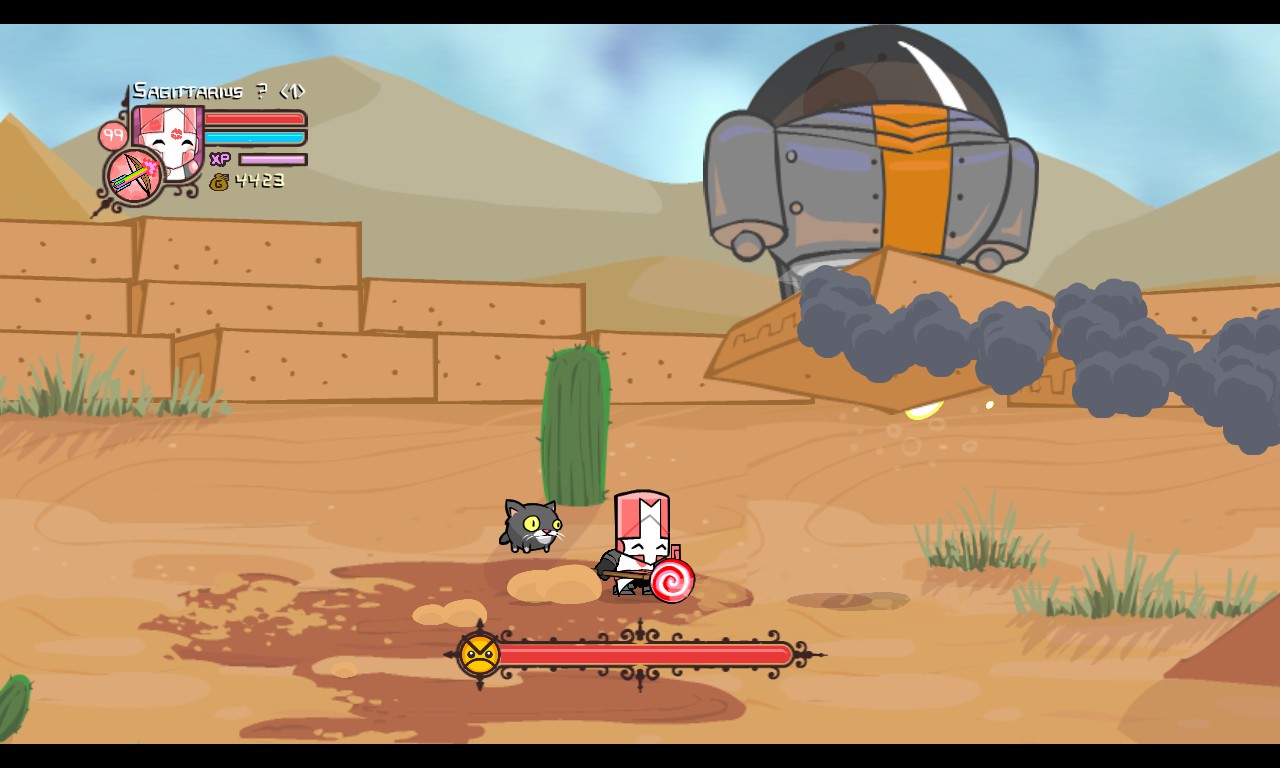
Slap it silly.
After destroying this Alien Ship, you’ll soon find another one with a stone in hand. Otherwise, it acts entirely the same as the one you fought before.
You can find an Alien Ship building a pyramid in the background.

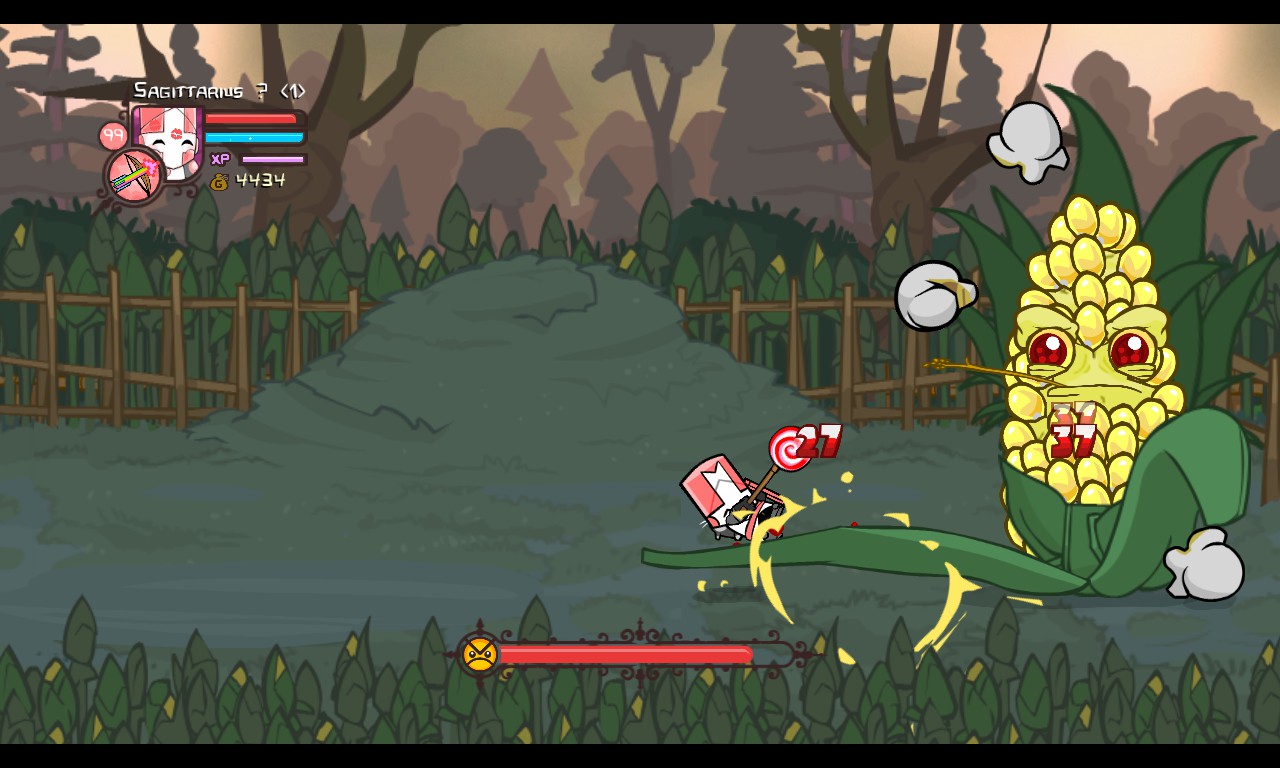
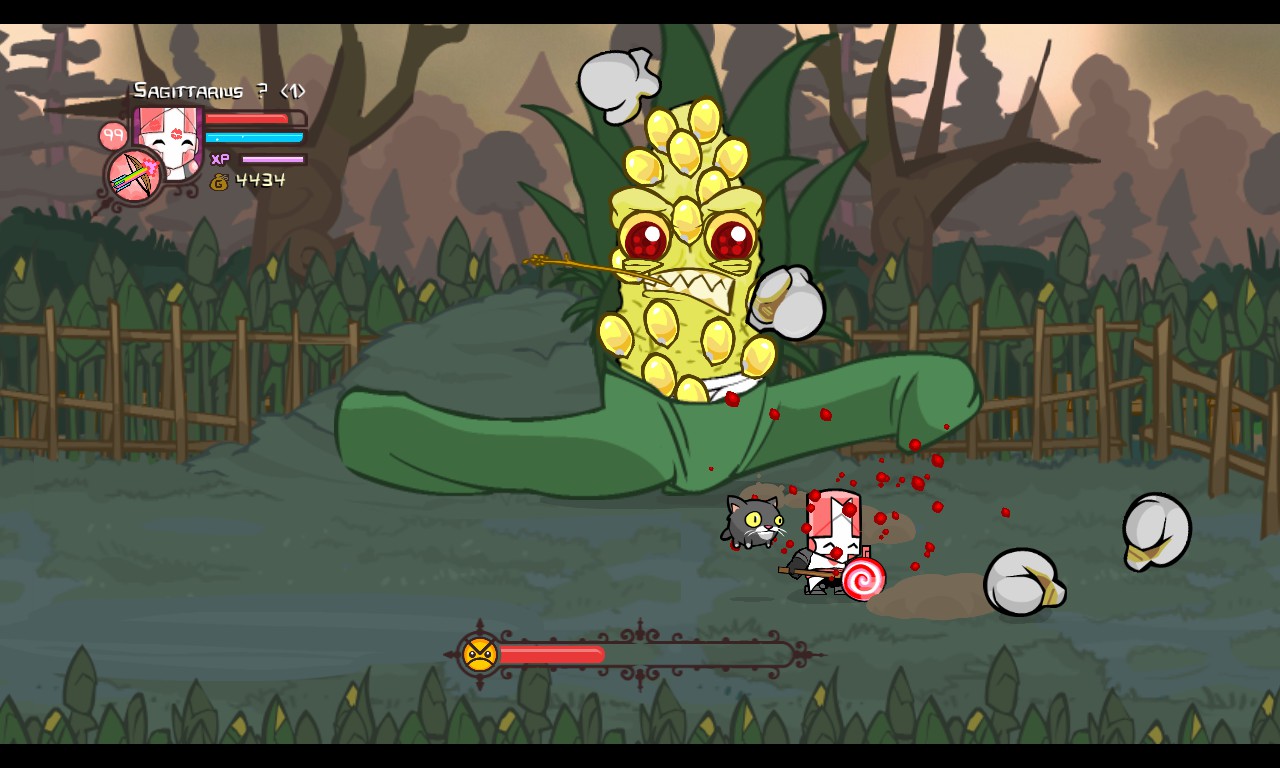
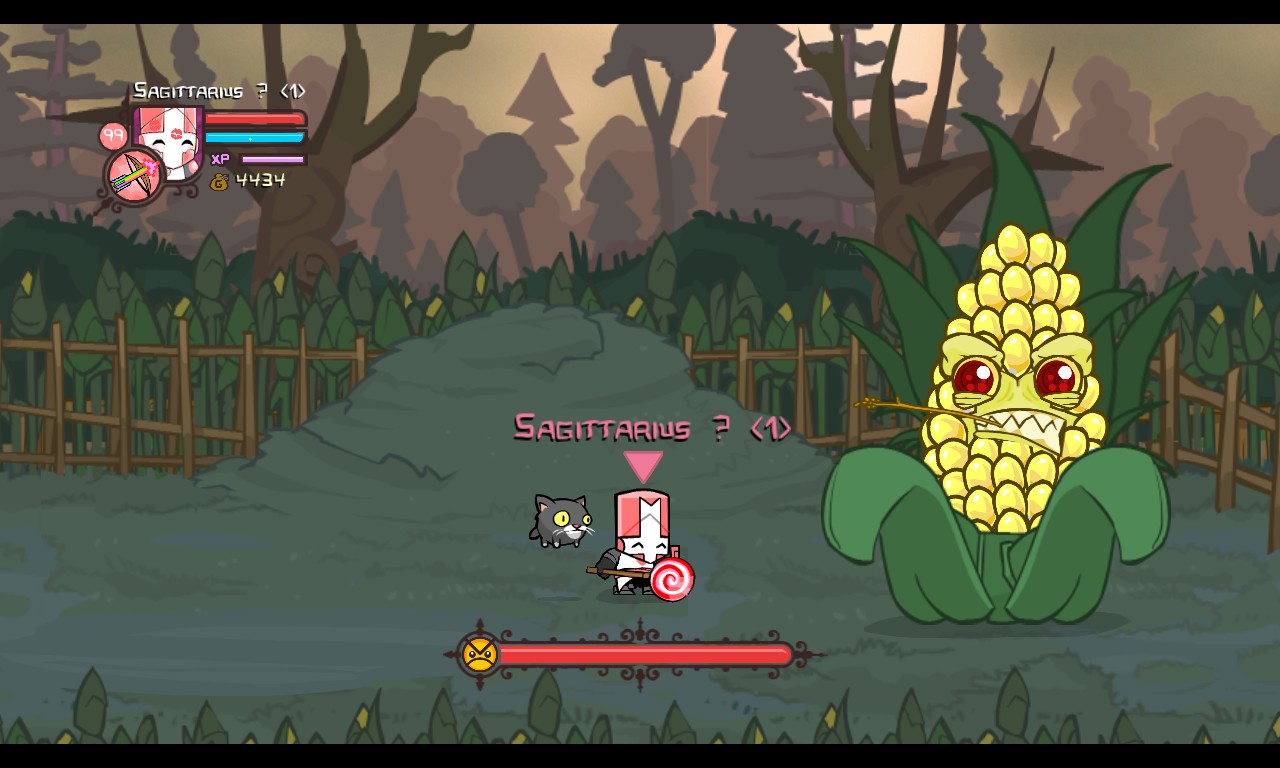
Corn Boss

A giant, mutated ear of corn.
HEALTH: 4100 HP
POWERS: NONE. IT’S A CORN.
DIFFICULTY: MEDIUM-HARD
Deep in the Marsh, you come across a small farm, where the old Horn is. Unfortunately it’s guarded by a giant monstrous corn. Where did it even come from? The Evil Wizard must have had something to do with this!
Up close, the Corn Boss will smack you with one of his peels. If you’re smacking him while in the air, he will do this twice.
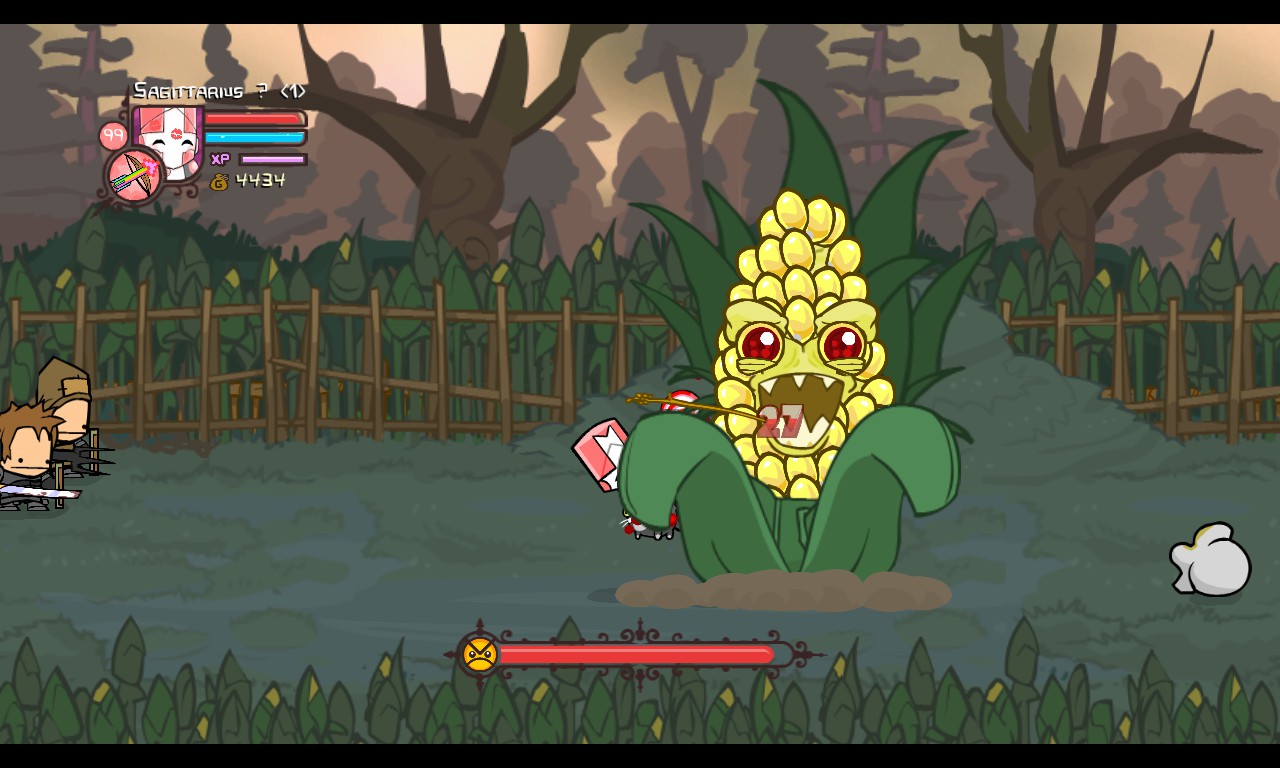
One of the Corn Boss’ primary attacks are burrowing under the ground, then emerging right under you.
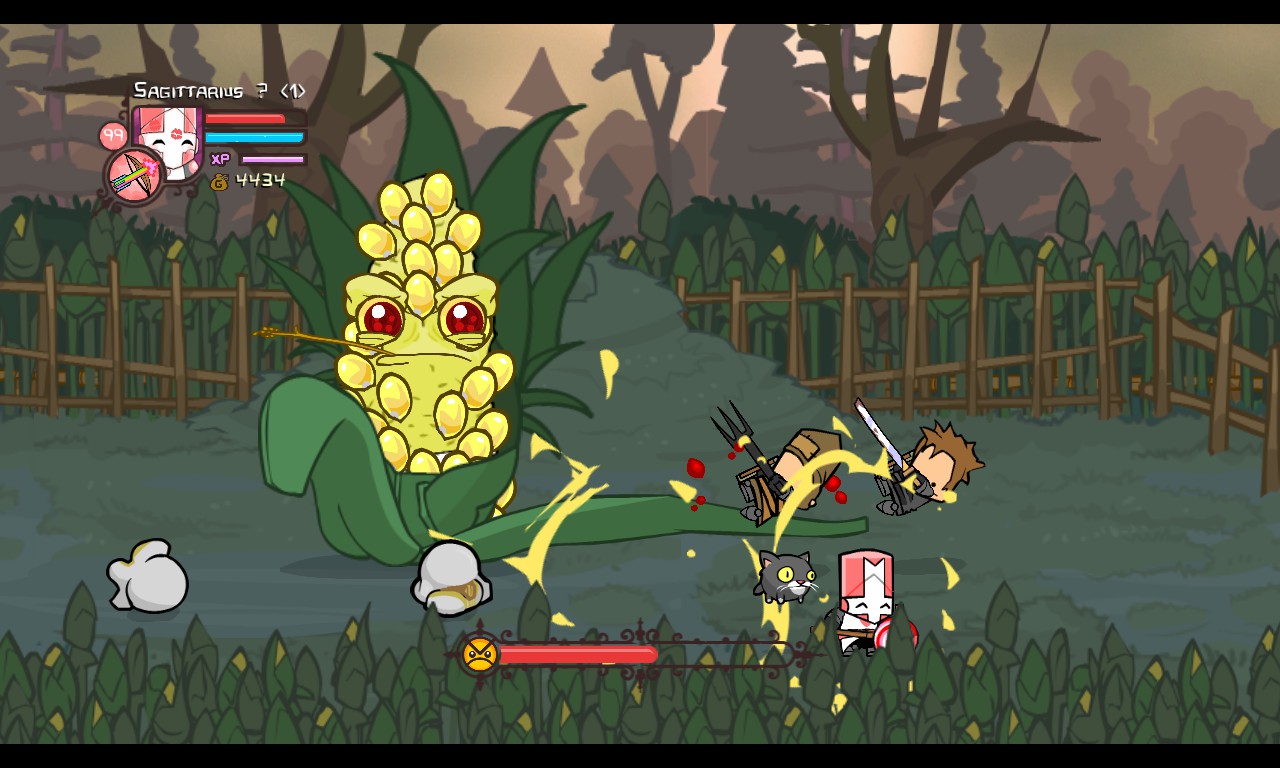
If the Corn Boss is at the right of the screen, he will start rotating like a lawnmower blade and slice to the left in an ‘S’ pattern.
The Corn Boss will pop in and out between places and will do this more frequently the lower his health is. This can be quite annoying, since the oppurtunity for dealing damage against him becomes lower and lower. Do as much damage as possible to him while moving around to prevent him from hitting you underneath.
Every time the Corn Boss takes a hit, he will drop one popcorn. This can be picked up to heal only 1 HP. The healing power of popcorn isn’t effective enough to negate the damage of his attacks.
Another silly strategy you can use is to make the Corn Boss pop out from underneath the Peasant and Civilian that are watching from the top left of the area. If the Corn Boss hits either one, they will start to attack the Corn Boss, helping out in the fight. They also have infinite HP, so you don’t have to worry much about losing them.
After all that is done, the Corn Boss will explode in a shower of popcorn.
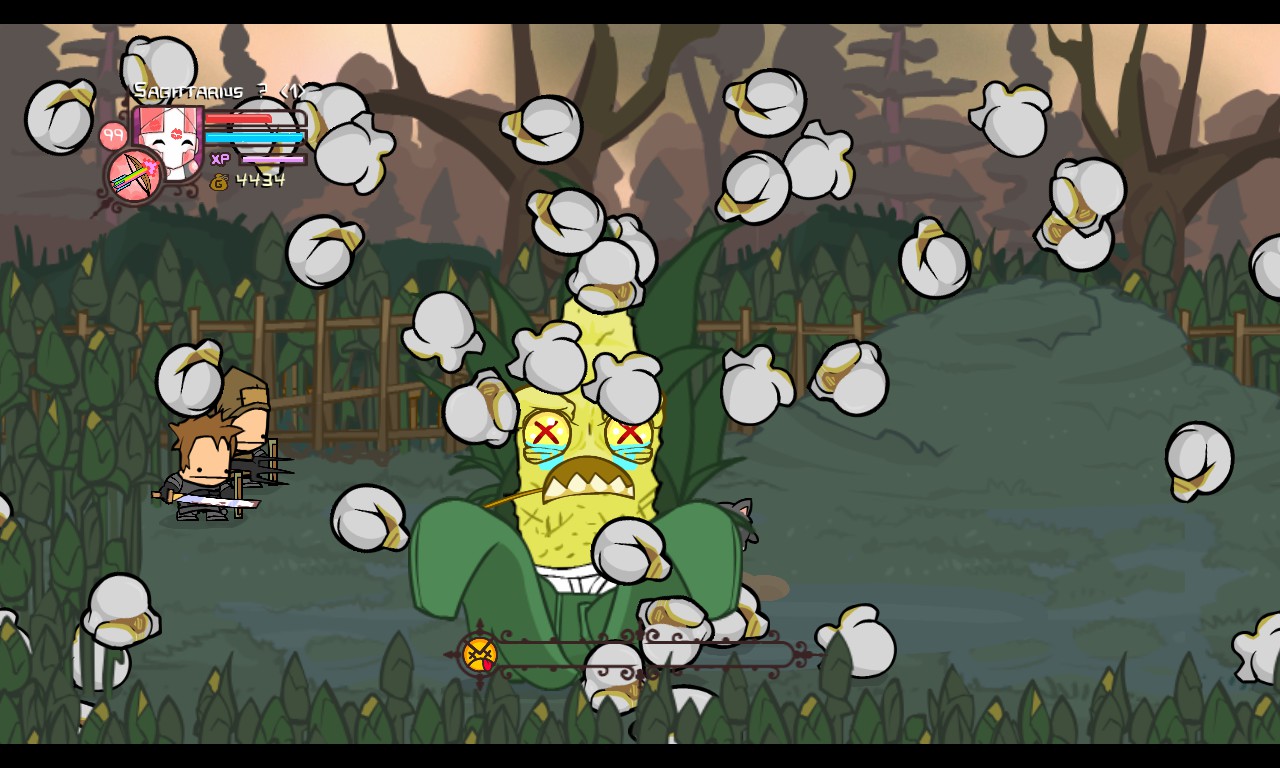
The lower his health is, the less kernels he has on his body. It’s small details like this that make the game shine.

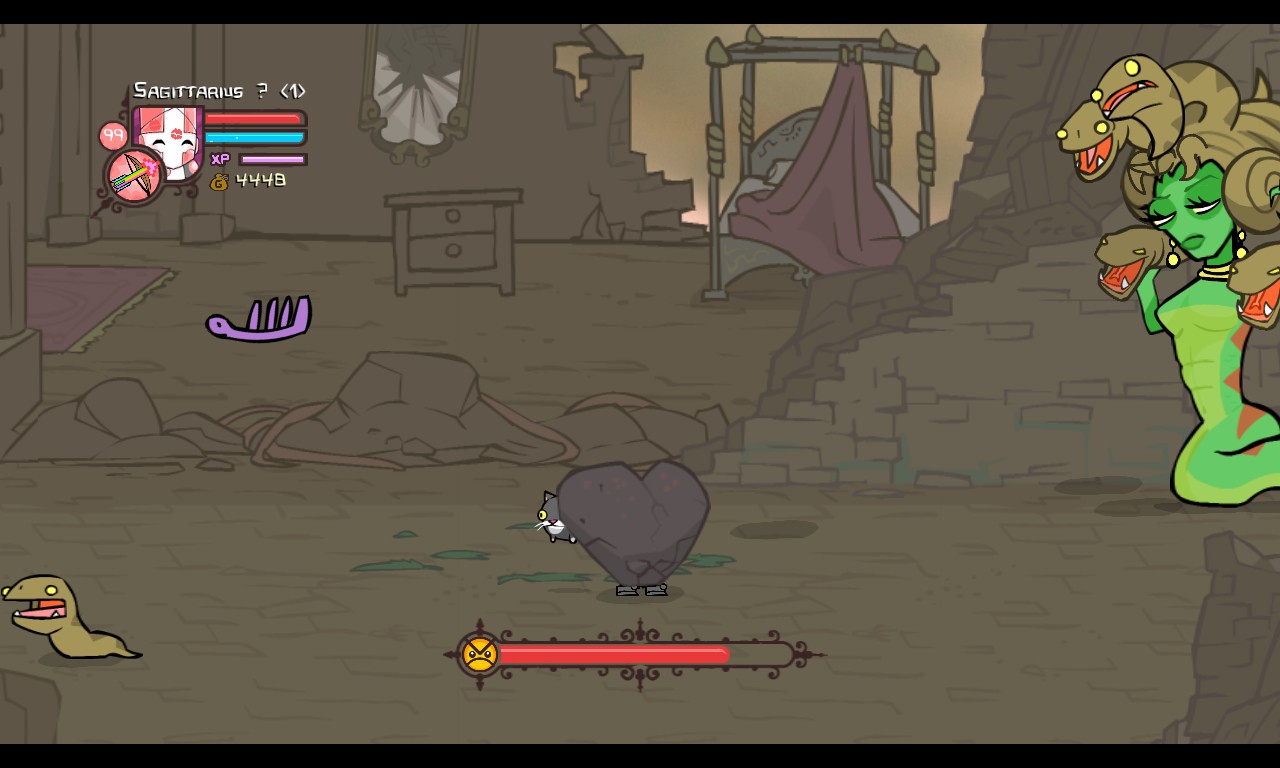
Medusa
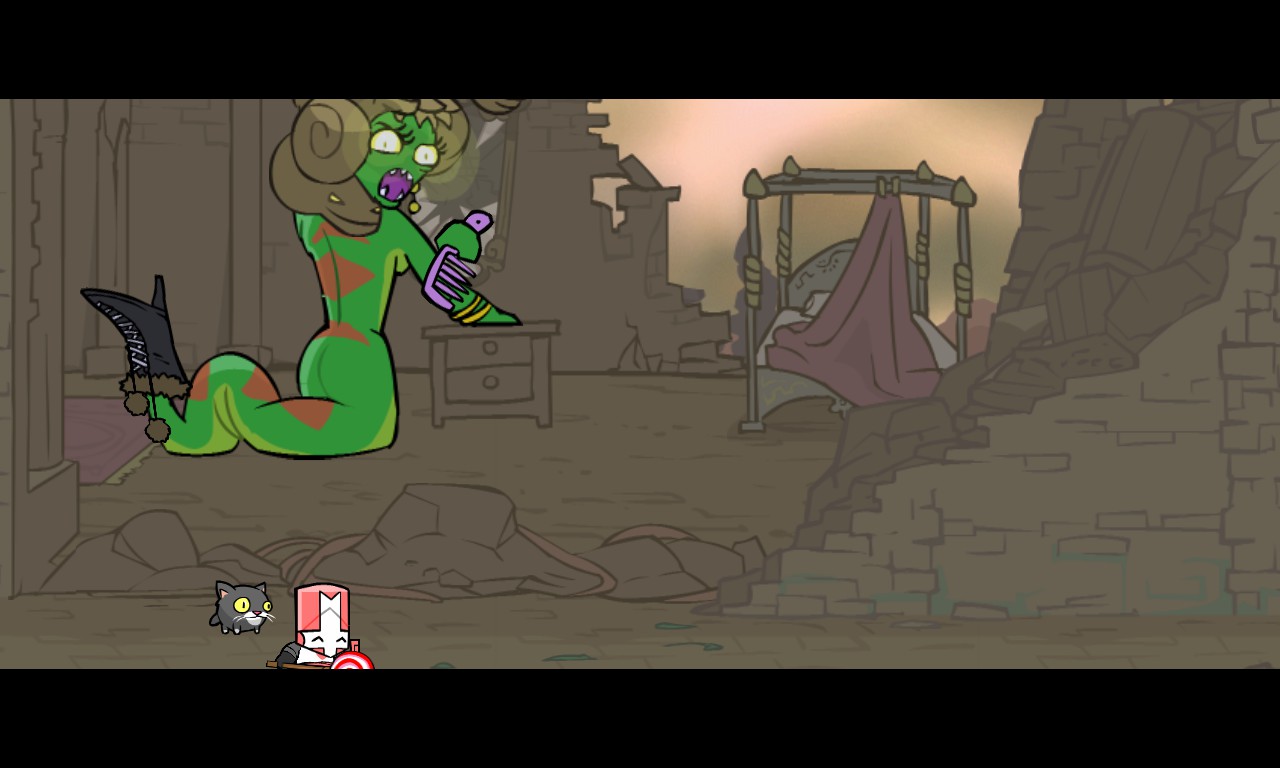
Medusa is a gorgon, snake monsters that turn others into stone.
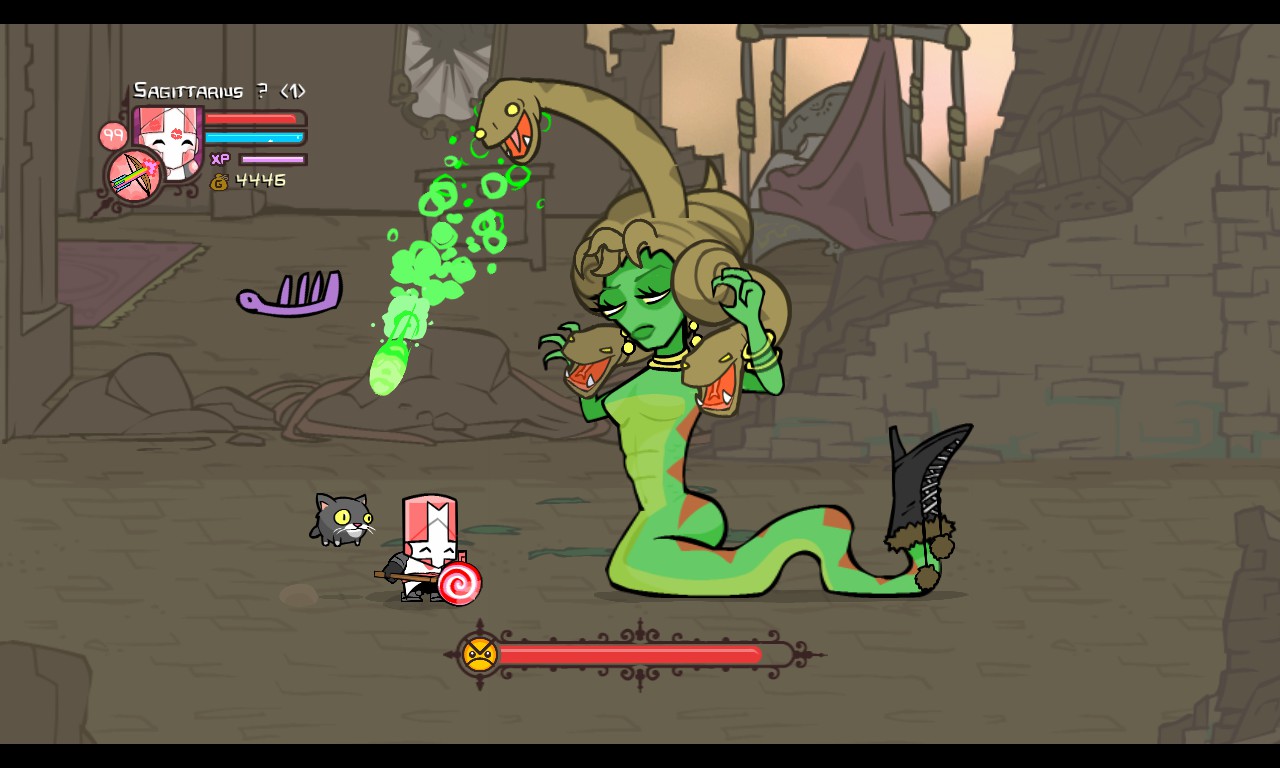
HEALTH: 2100 HP
POWERS: STONE GAZE
DIFFICULTY: MEDIUM
As you enter deeper into this mystical temple, you’ll start seeing stone statues, broken mirrors, and a wardrobe filled with boots. What’s all this? These things allude to the level’s boss, Medusa. The only way you’ll get further is to go through this temple, and Medusa is in the way. So I guess you’ll have to fight her.
The snake on top of Medusa’s hair will spit a poison projectile from above. This attack causes poison damage and can’t be blocked.
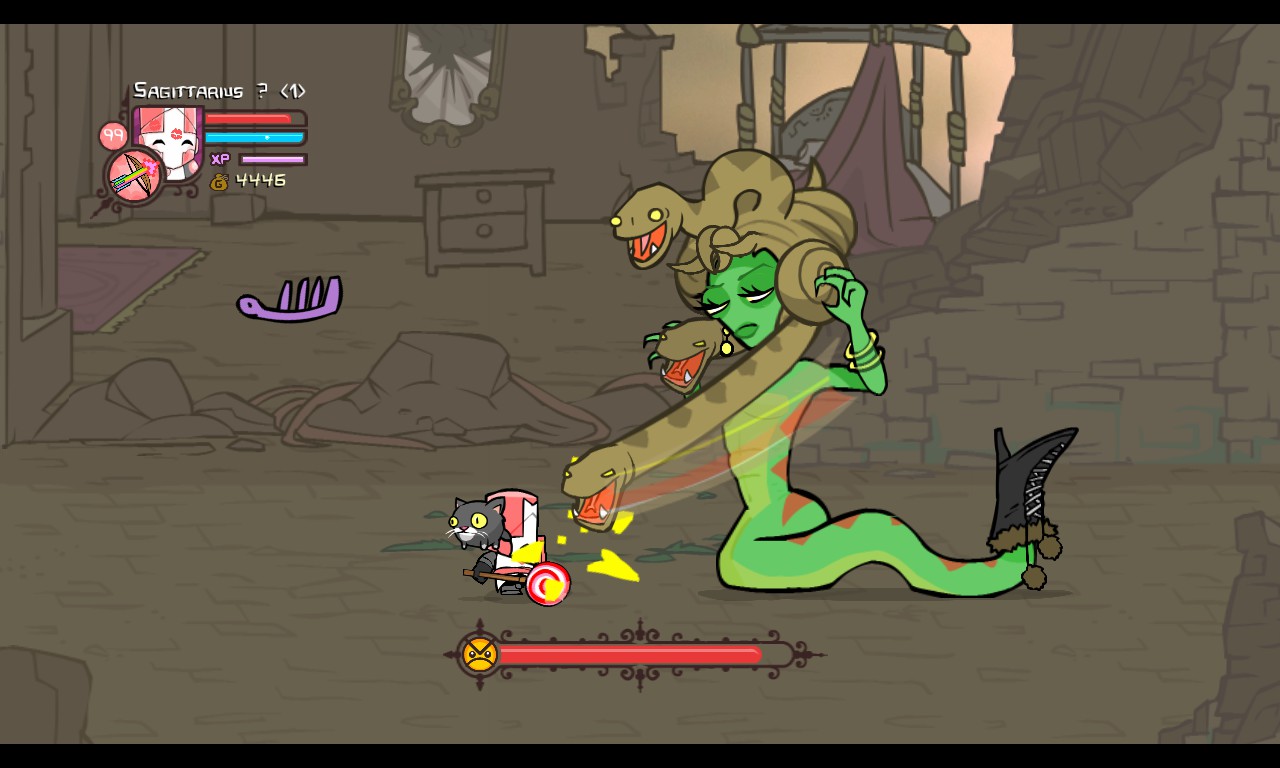
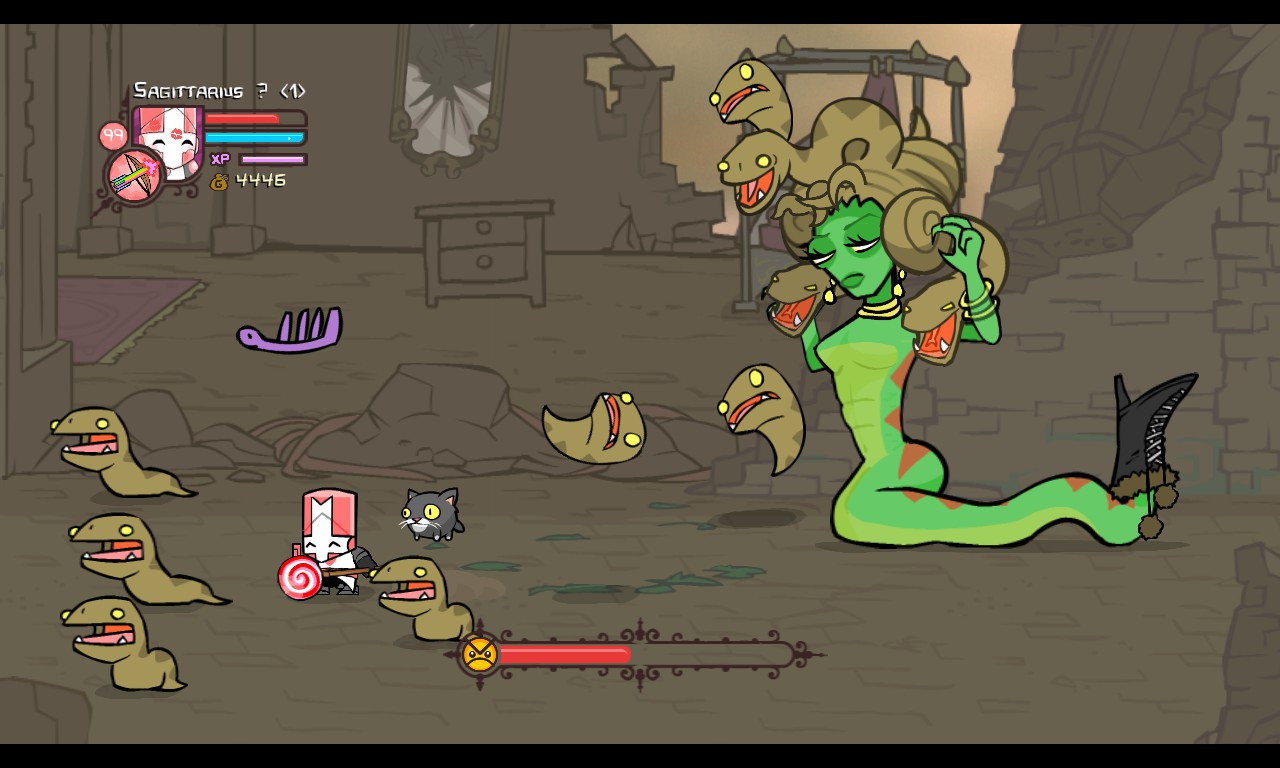
Up close, one of the snakes on Medusa’s shoulders will lunge straight at you. This attack can be blocked.
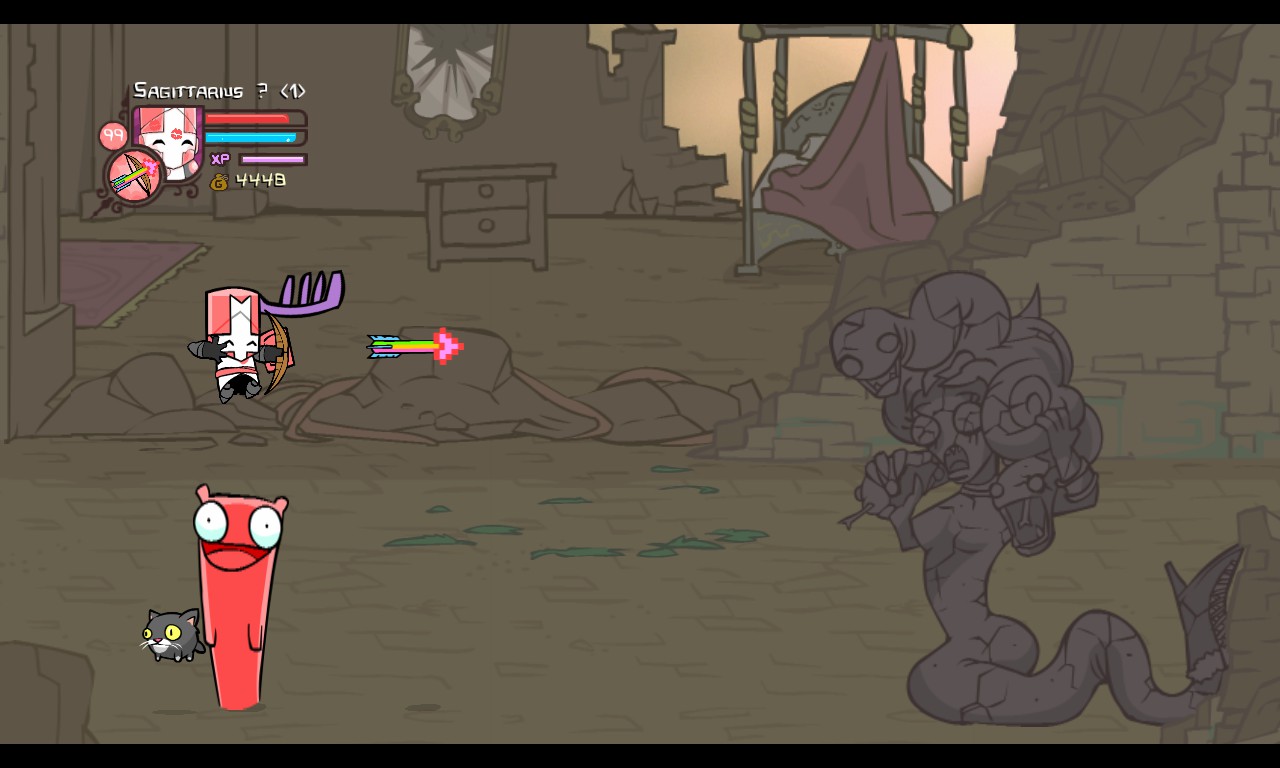
After a short while, Medusa will move to the right of the screen and open her eyes, freezing anyone looking at her from a distance. This attack can be blocked.
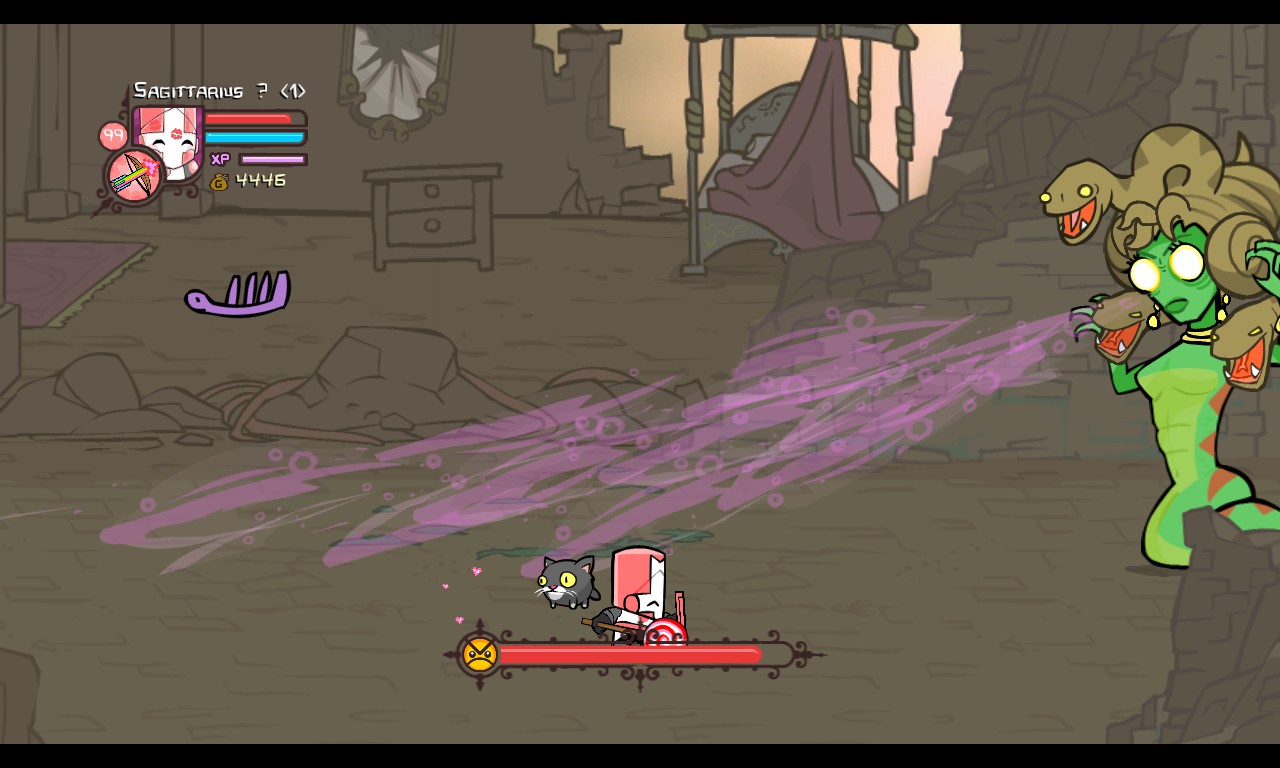
And if you do look at her,
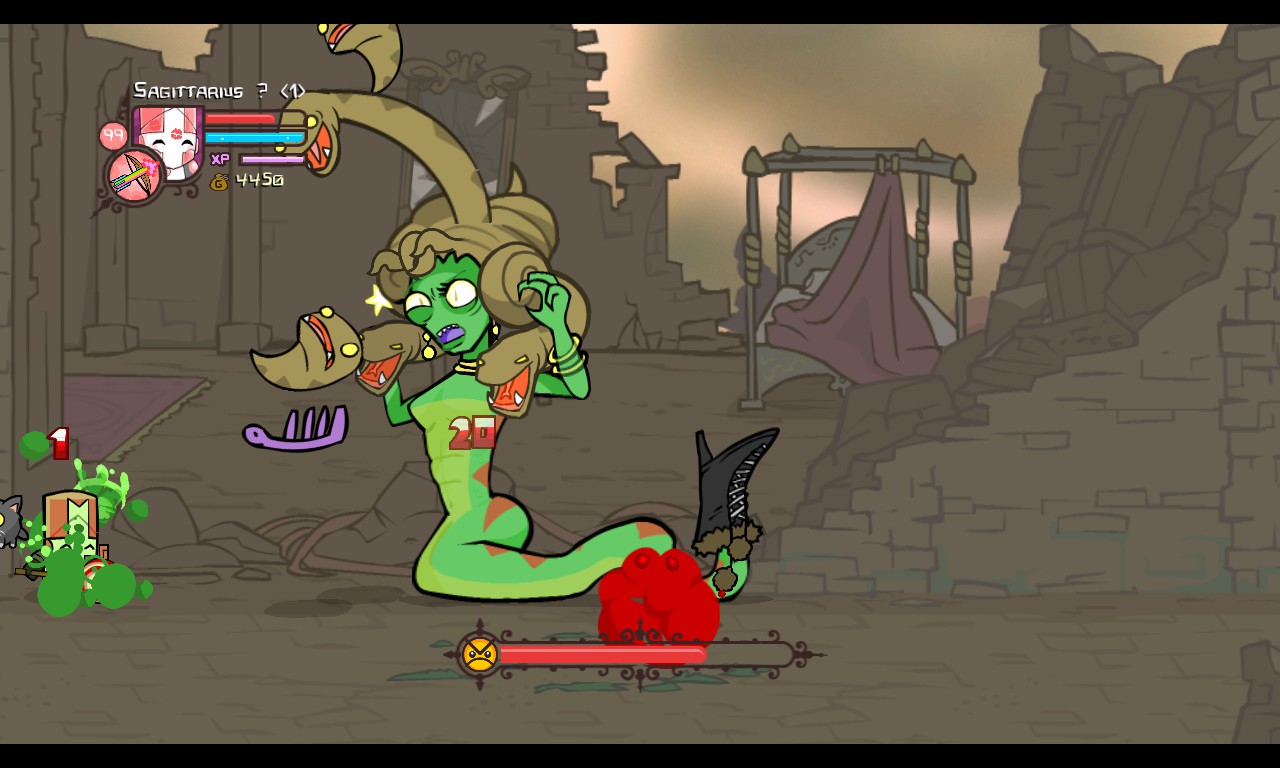
As Medusa’s health gets lower, she’ll start shedding snakes from her hair. The dropped snakes move in a straight line offscreen and will knock players back as well as dealing poison damage when touching them.
Most of Medusa’s attacks deal poison damage, so you might want to take caution. She moves slowly, so you can easily tell when she’s going to use her stone gaze attack. If you get caught in stone, use the arrow keys / wiggle the control stick to break free. The lower her health is, the more snakes she’ll shed, which can swarm the screen with snakes. Use the snakes to your advantage – you can kick the snakes back at her, dealing good damage.
After that’s done, she’ll turn into stone herself, and you can break her statue to reveal the Playdo Pasta Maker.
_____________________________________________________________________
YOU FOUND:
THE PLAYDO PASTA MAKER
Level 15 Sword
+ 3 MAG
+ 3 DEF
– 1 AGIL

_____________________________________________________________________
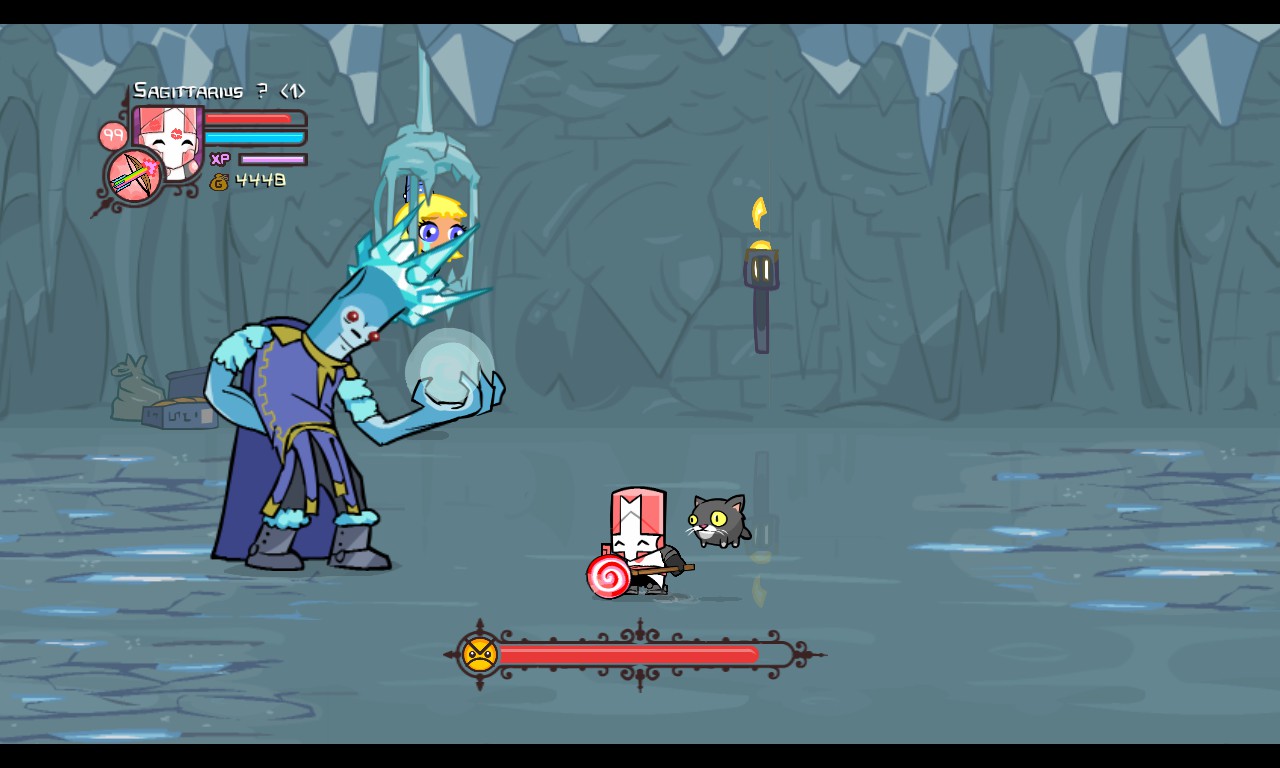
Frost King
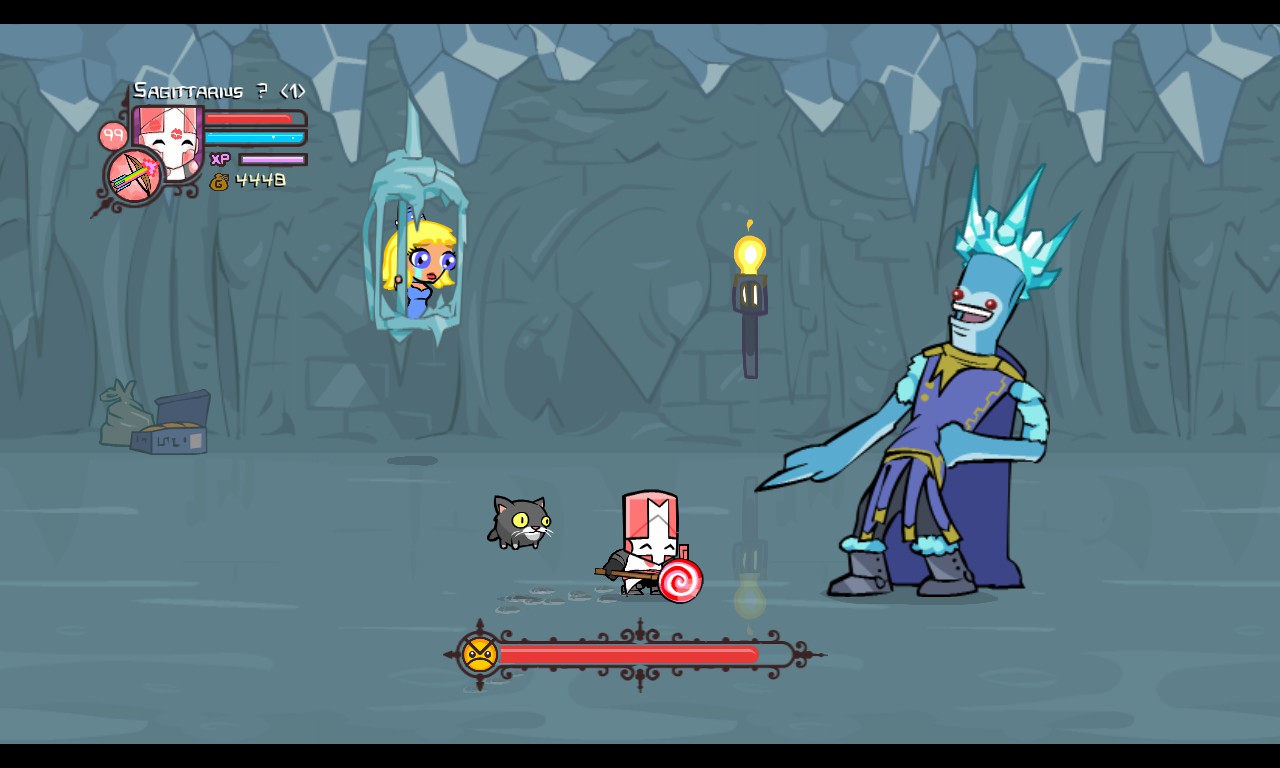
The king of Snow World. He has a very bright sense of humor but is very lonely.
HEALTH: 5000 HP
POWERS: FREAKIN’ ICE MAGIC!
DIFFICULTY: MEDIUM-HARD
I wonder why this guy held the Blue Princess captive? Maybe he just wants a girlfriend, is all… Also, he laughs at people and likes to make a fool out of anyone willing to challenge him.
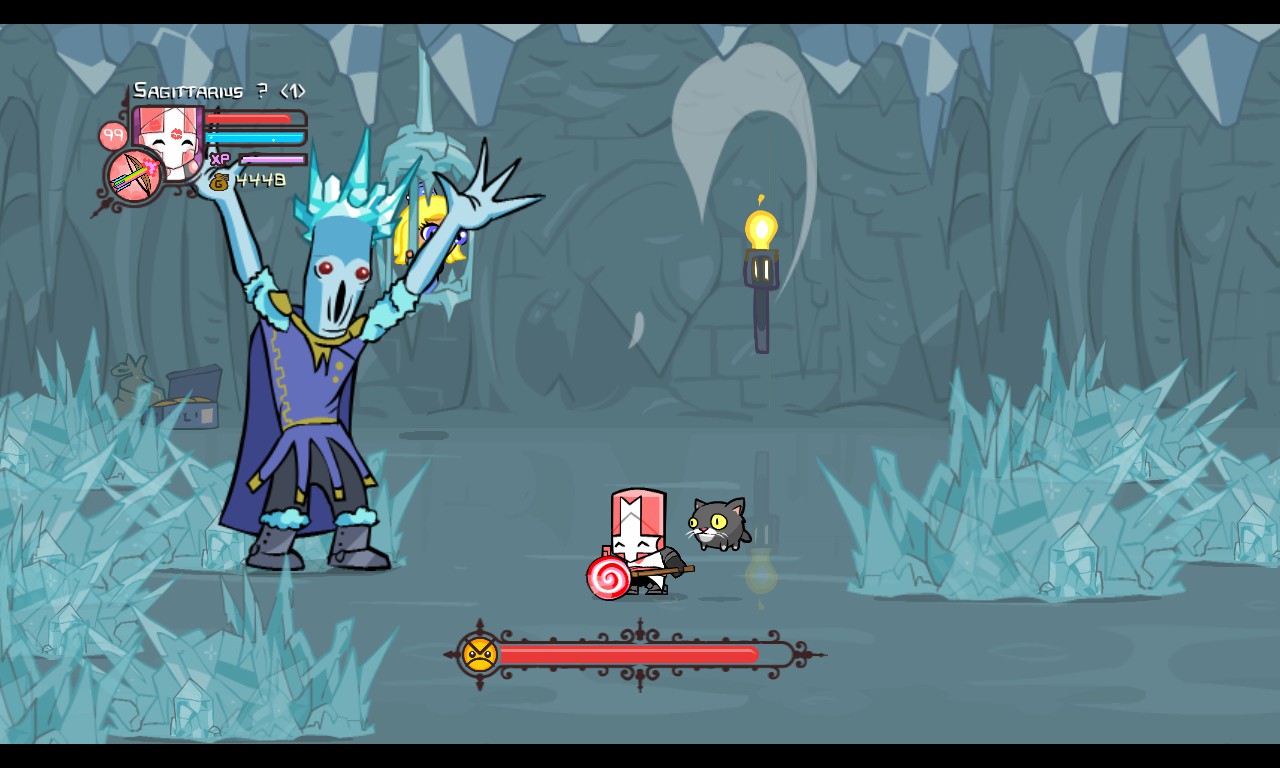
The Frost King charges up a ball of energy with both hands and unleashes a wide line of frost that freezes anyone aligned with him.
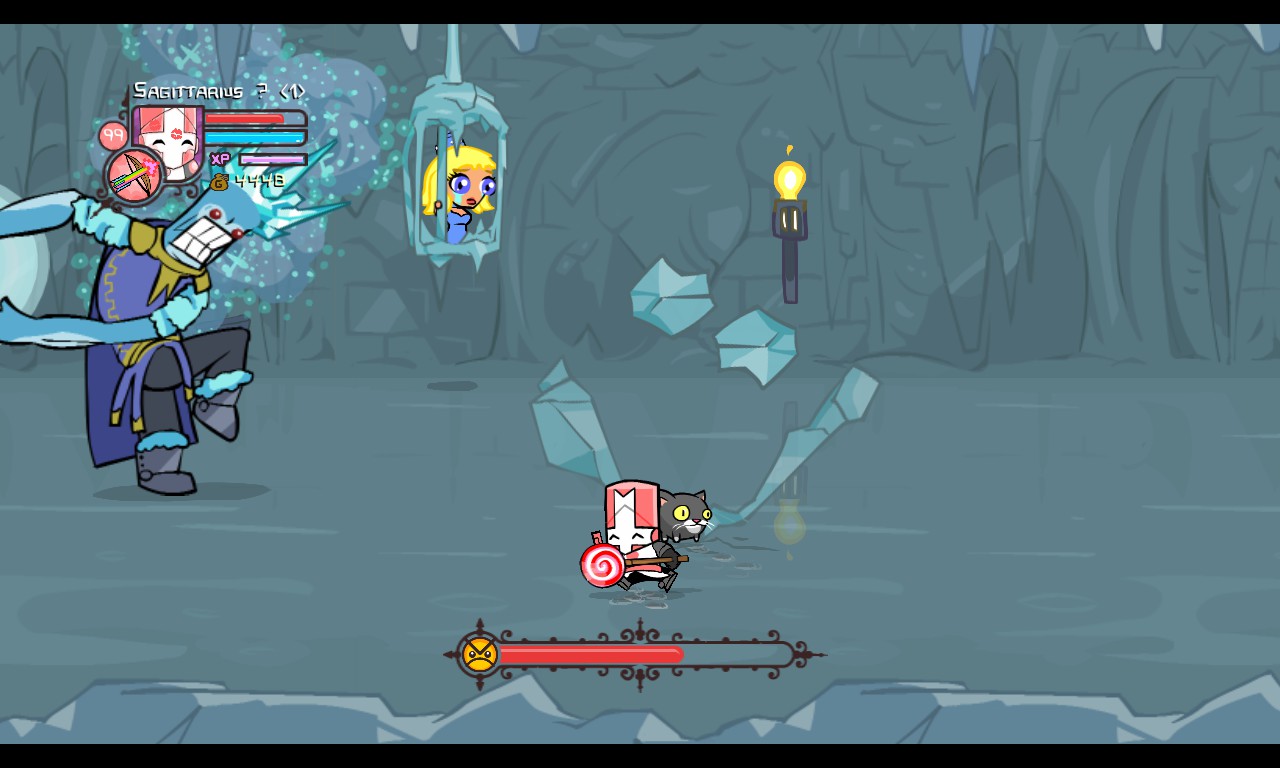
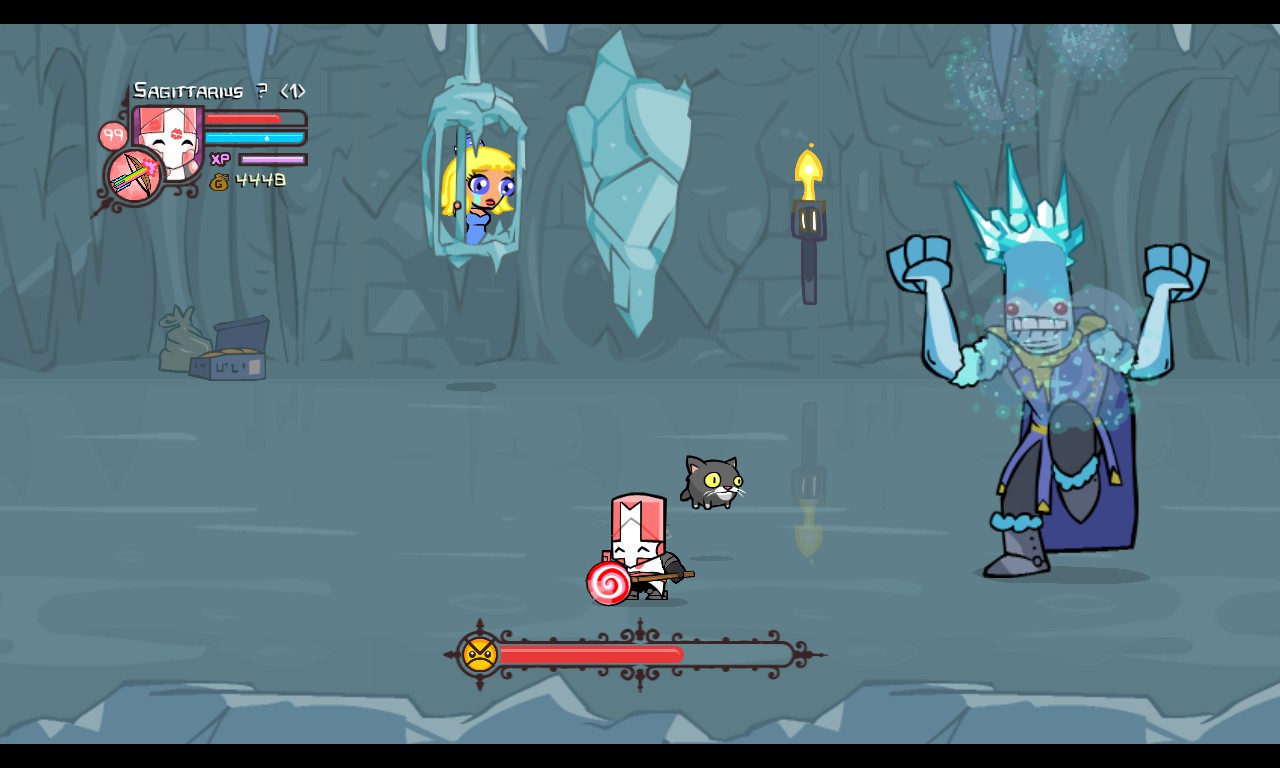
The Frost King charges up a large amount of energy in one hand. Cracks start to form from the ground below and he will unleash this energy, sending out spikes of frost from underneath the glowing cracks.
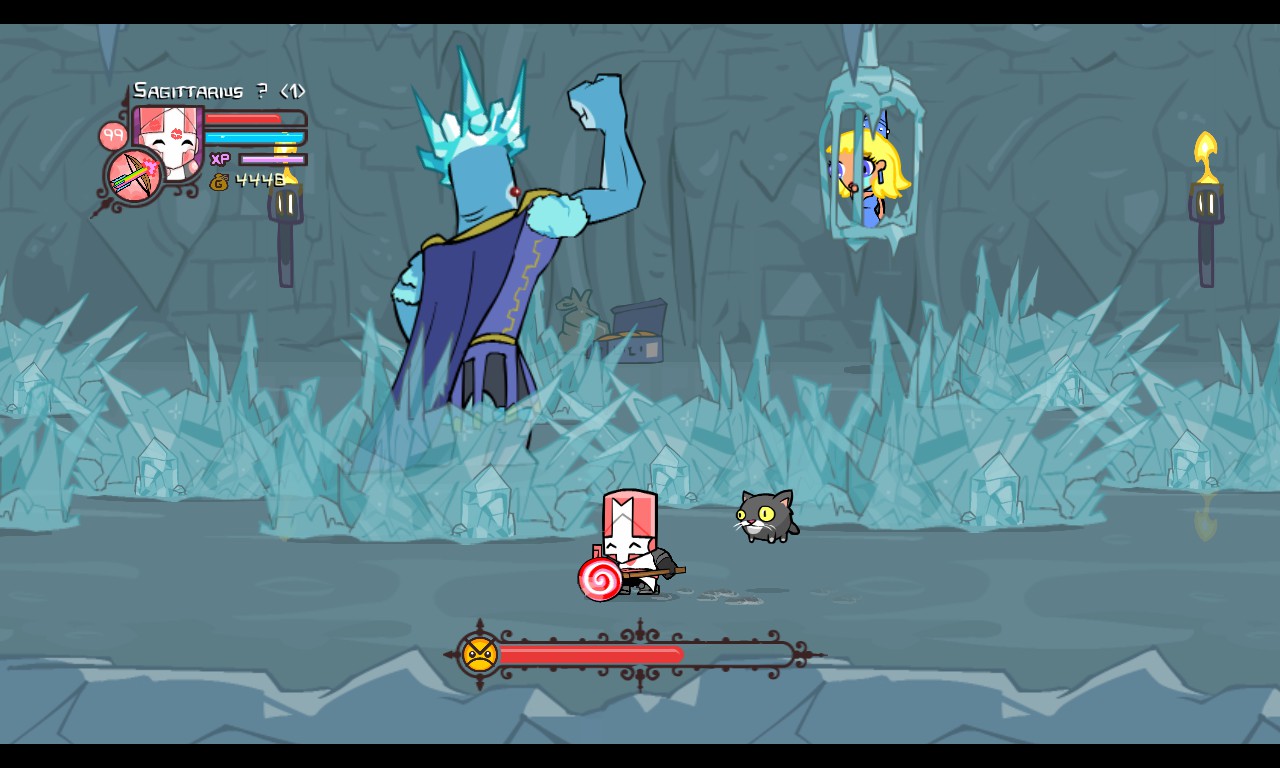
When the Frost King is down to at least 66% of his health, he will summon icicles from the ceiling. The lower his health is, the more icicles will fall. When he’s lower than 33% of his health, he will do nothing but use this attack.
The Frost King will teleport from one side of the screen to the other, similar to the Corn Boss. He will alternate between attacks by laughing at the player, teleporting, then doing a random attack (ice crack attack or ice line attack) then the cycle repeats. If he has less than 33% of his health, he will only do the icicle attack. Most of his attacks freeze players, which cuts the oppurtunity to damage him. However, his attacks ONLY freeze people if they’re on the ground. When he’s about to launch his attacks, jump! The jump won’t freeze you but it can still do damage…
Do as much damage as you can between teleports. You can deal the most damage when he’s using his ice crack attack, since he will stay in place longer than most attacks. When it rains icicles, move as much as you can, especially when it starts pouring.
At low health, I would suggest using SPRINT +
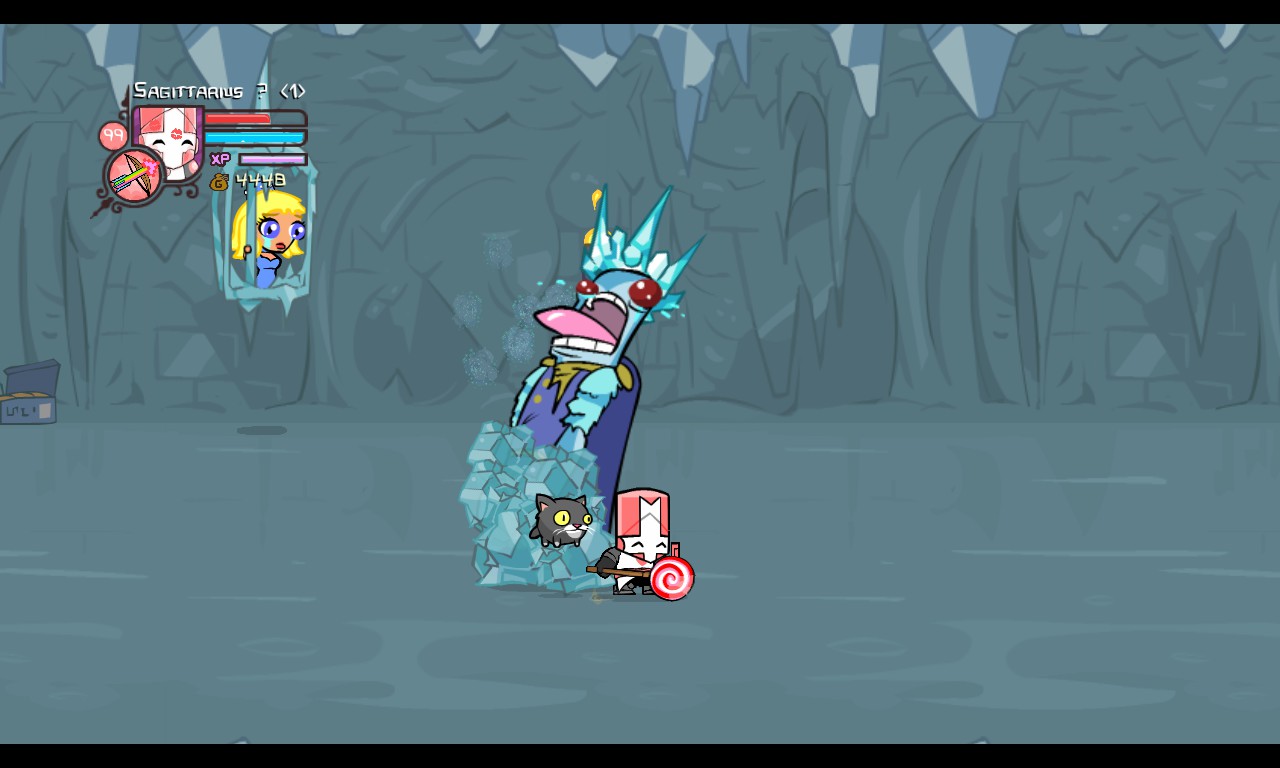
Once he’s done, he will freeze into a statue before getting crushed by a massive treasure chest.
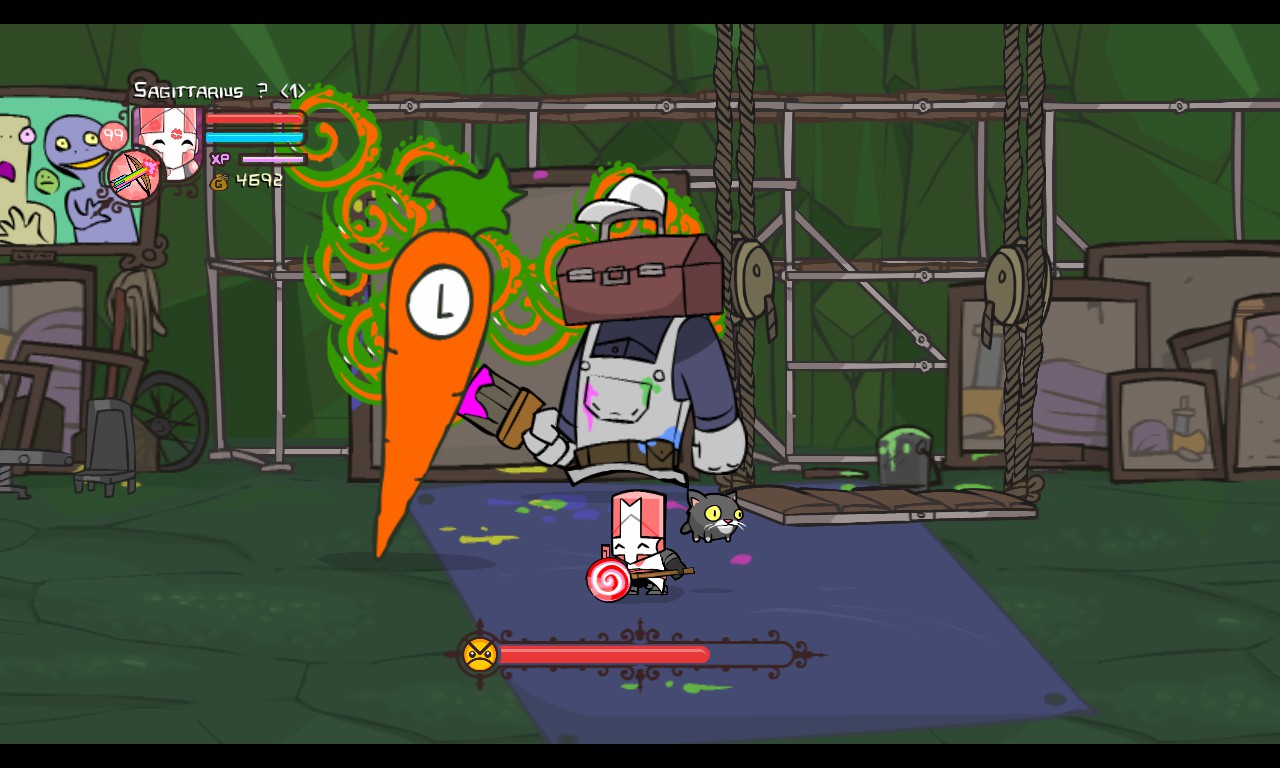
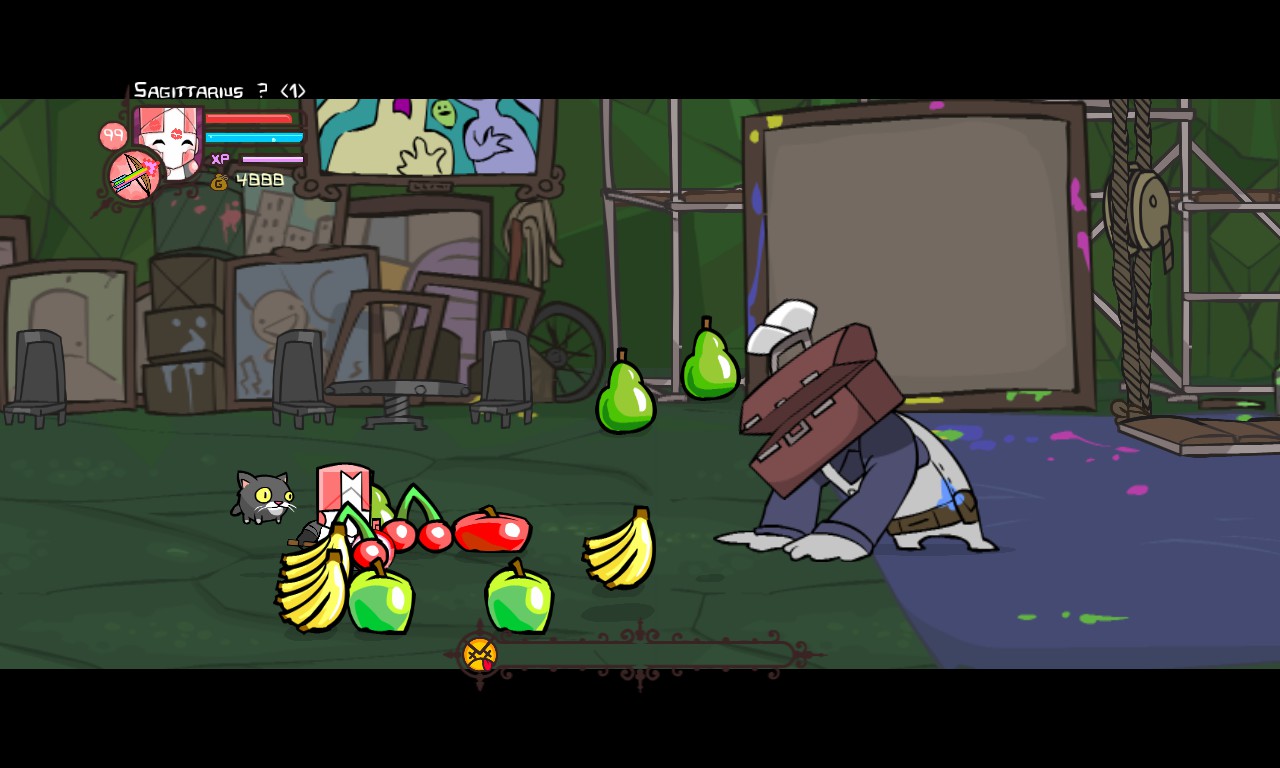
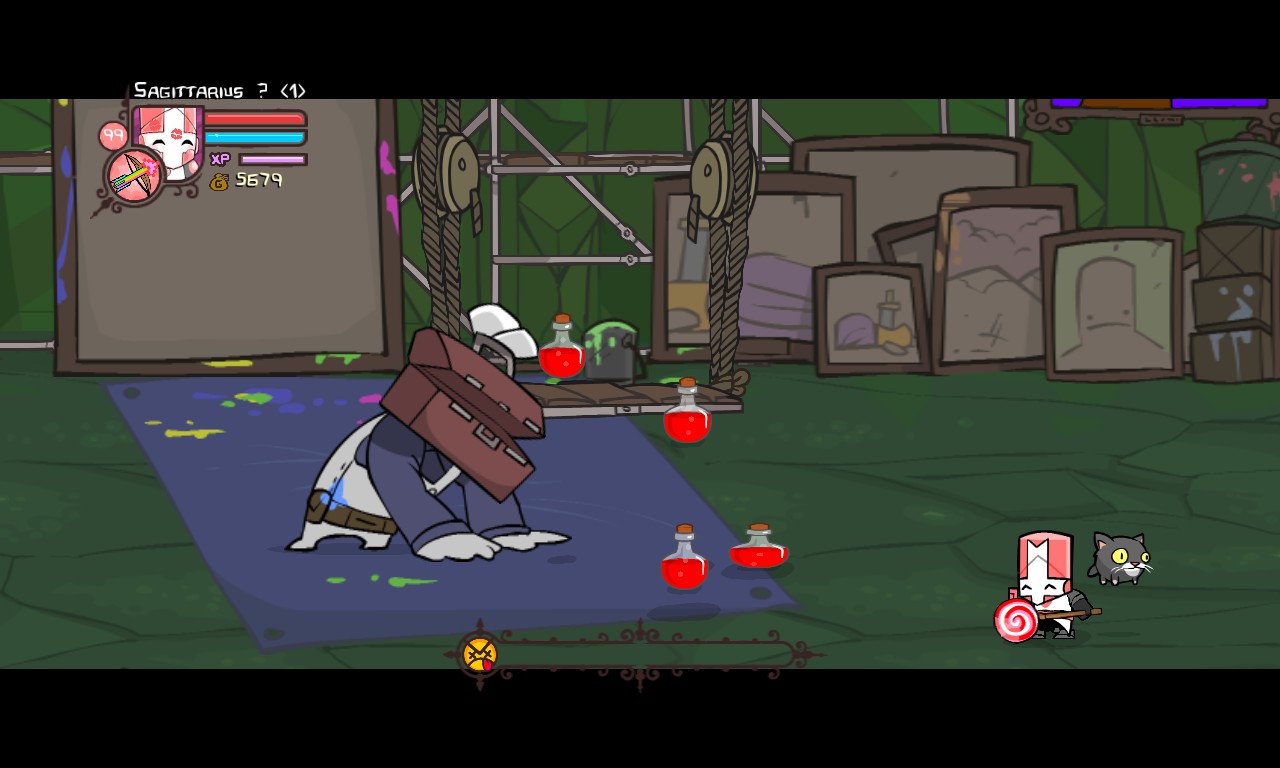
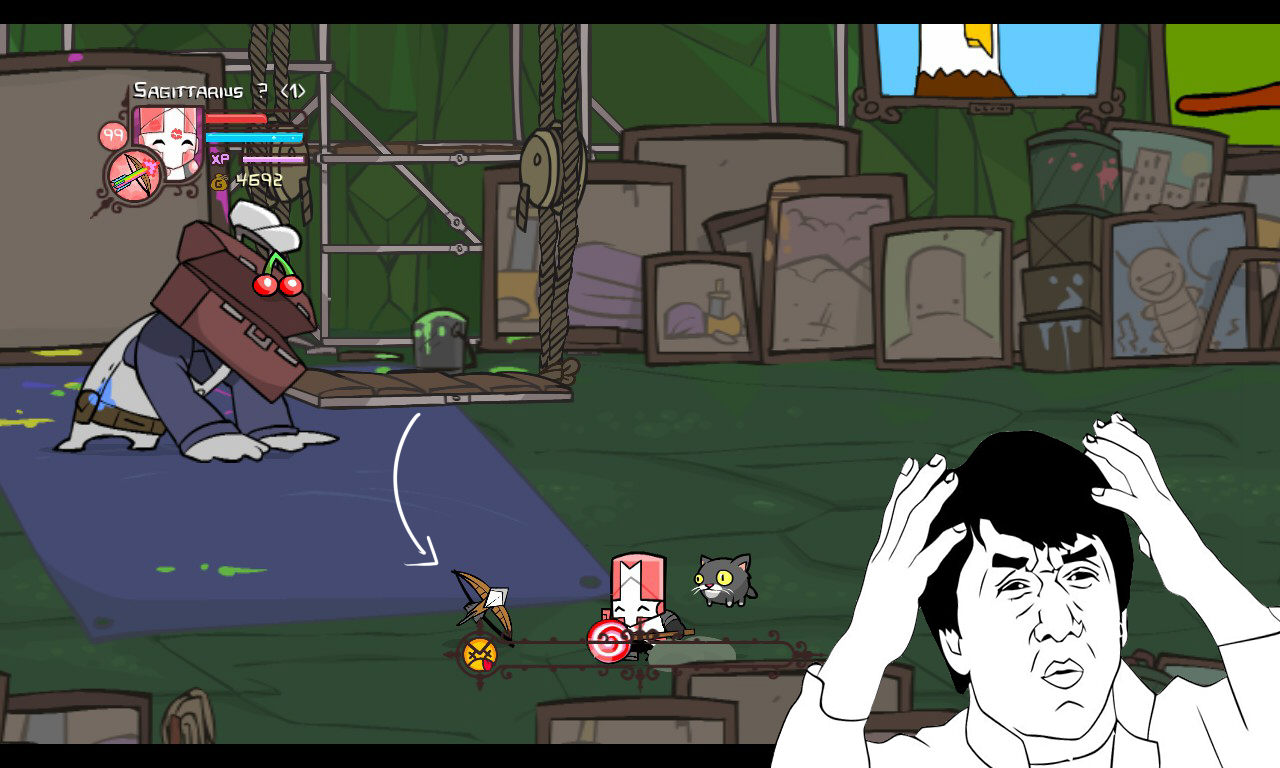
The Painter
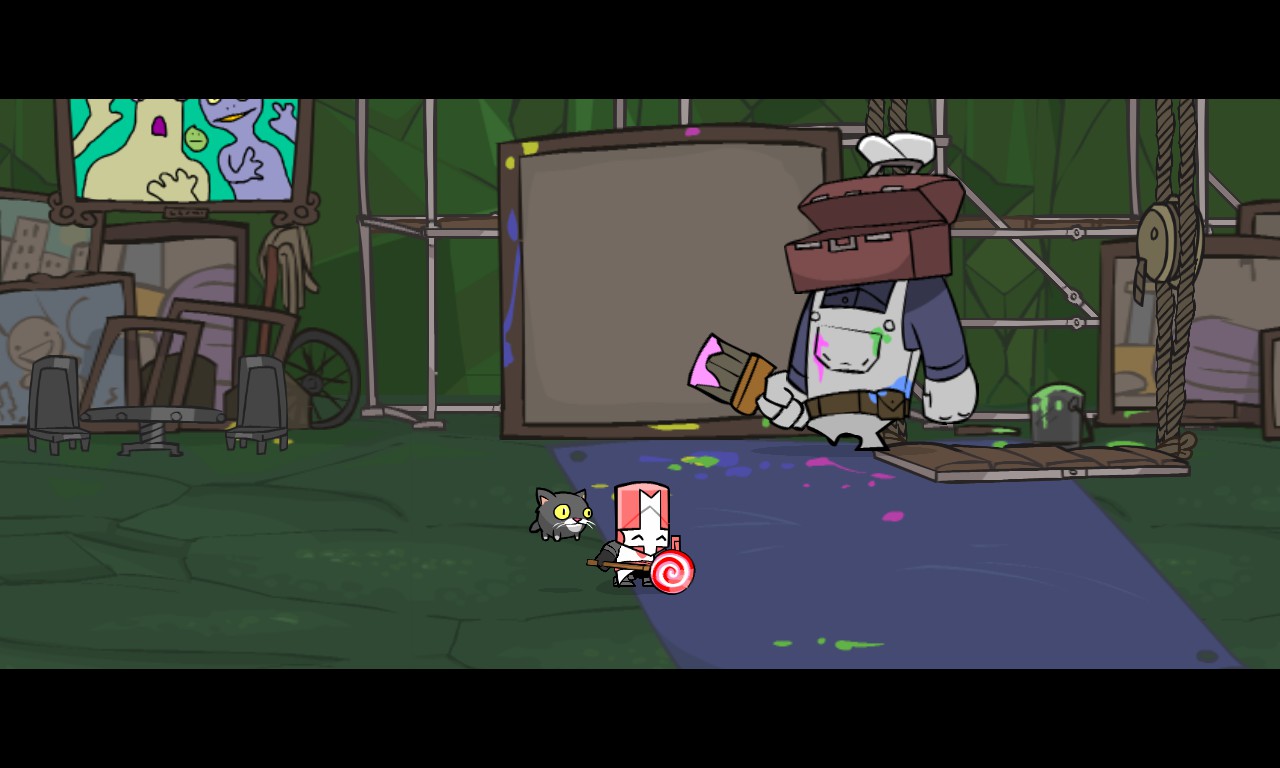
An interior painter with a toolbox for a head and a strange robotic voice.
HEALTH: 3000 HP
POWERS: PAINTINGS COME TO LIFE!
DIFFICULTY: MEDIUM
Deeper into the crystal walls of the Wizard’s Castle, you stumble across a central room with four doors. Doors two, three, and four seem to be locked, except for the first one. You enter a room full of canvases, monitors, and art supplies. What is this room? A lift lowers and you see a strange humanoid with a toolbox for a head and talks in a gibberish, robotic tone.
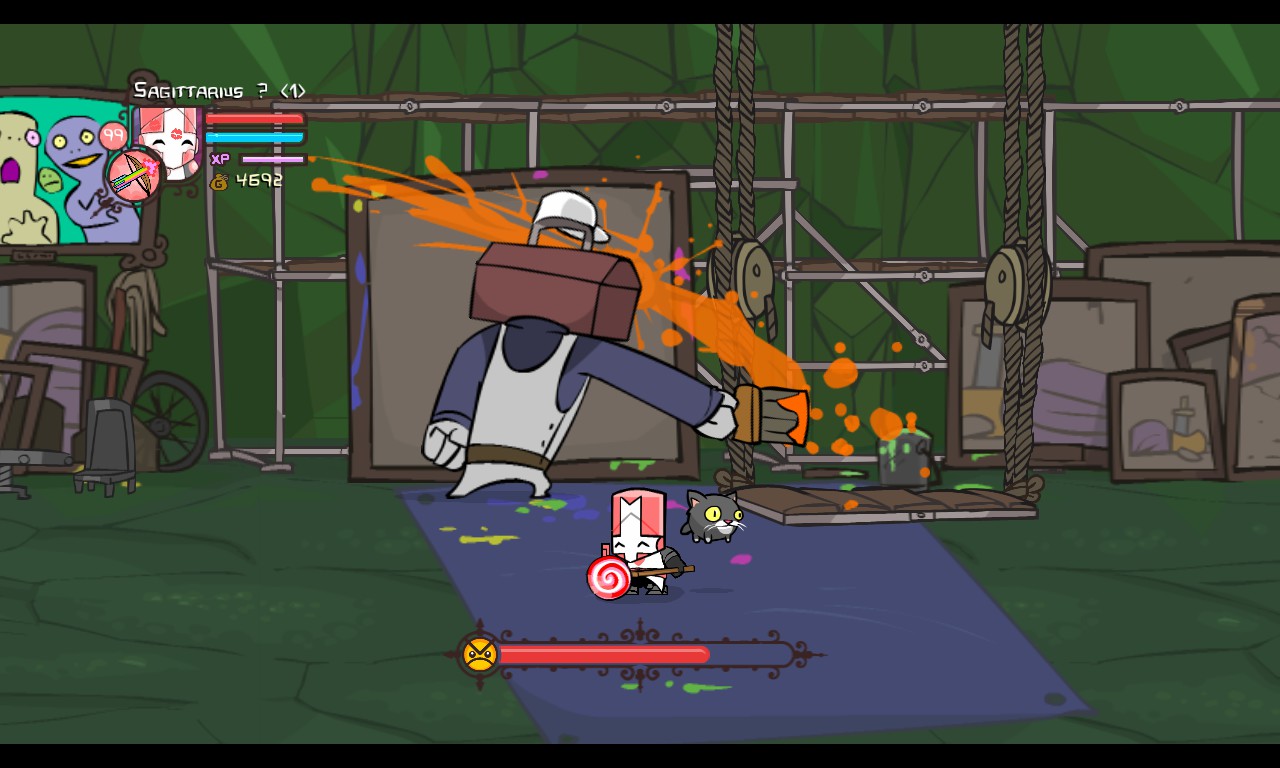
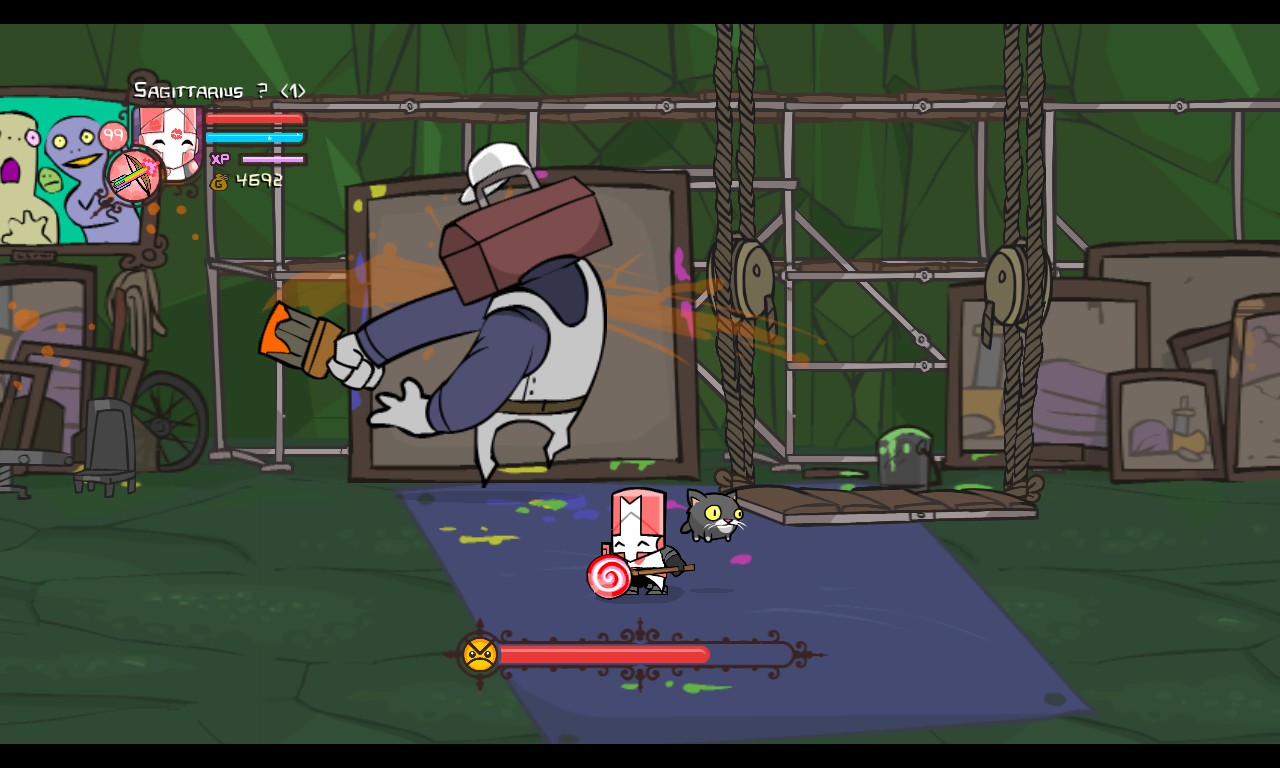
The Painter’s primary attack is drawing on the large canvas in the center. He will start brushing up a crudely-drawn, animated painting that will pursue the player. These paintings explode on contact and deal a lot of damage. Damage, health, and resistances are varied for each painting.
When the Painter is at 70% of his health, he will paint 2 paintings.
When the Painter is at 50% of his health, he will paint 3 paintings.
When the Painter is at less than 40% of his health, he will no longer paint on the canvas and instead run around the place, spawning a painting every time he changes a direction. These paintings are aligned from where the Painter last changed directions and only move straight. They don’t pursue the player and eventually will move offscreen. These paintings only have 1 HP.

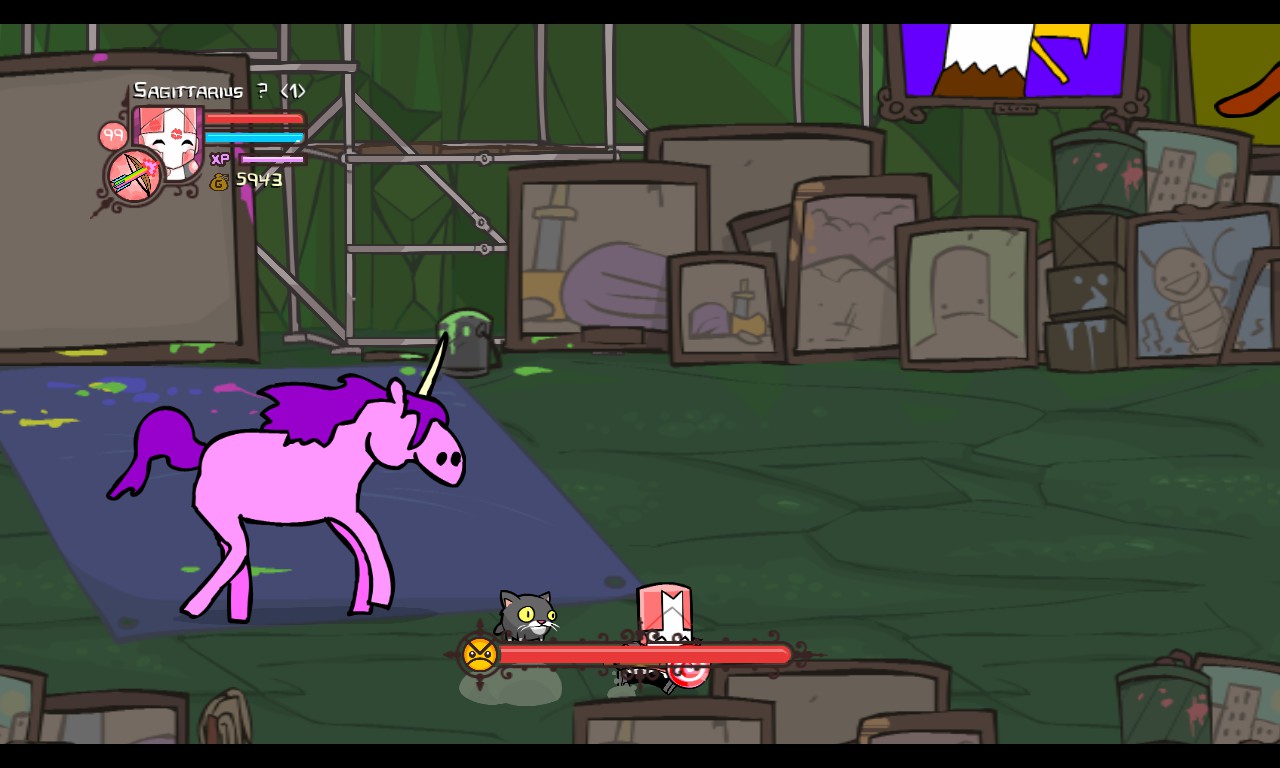
THE UNICORN
HEALTH: 300 SPEED: SLOW STRENGTH: VERY HIGH WEAKNESS: MAGIC
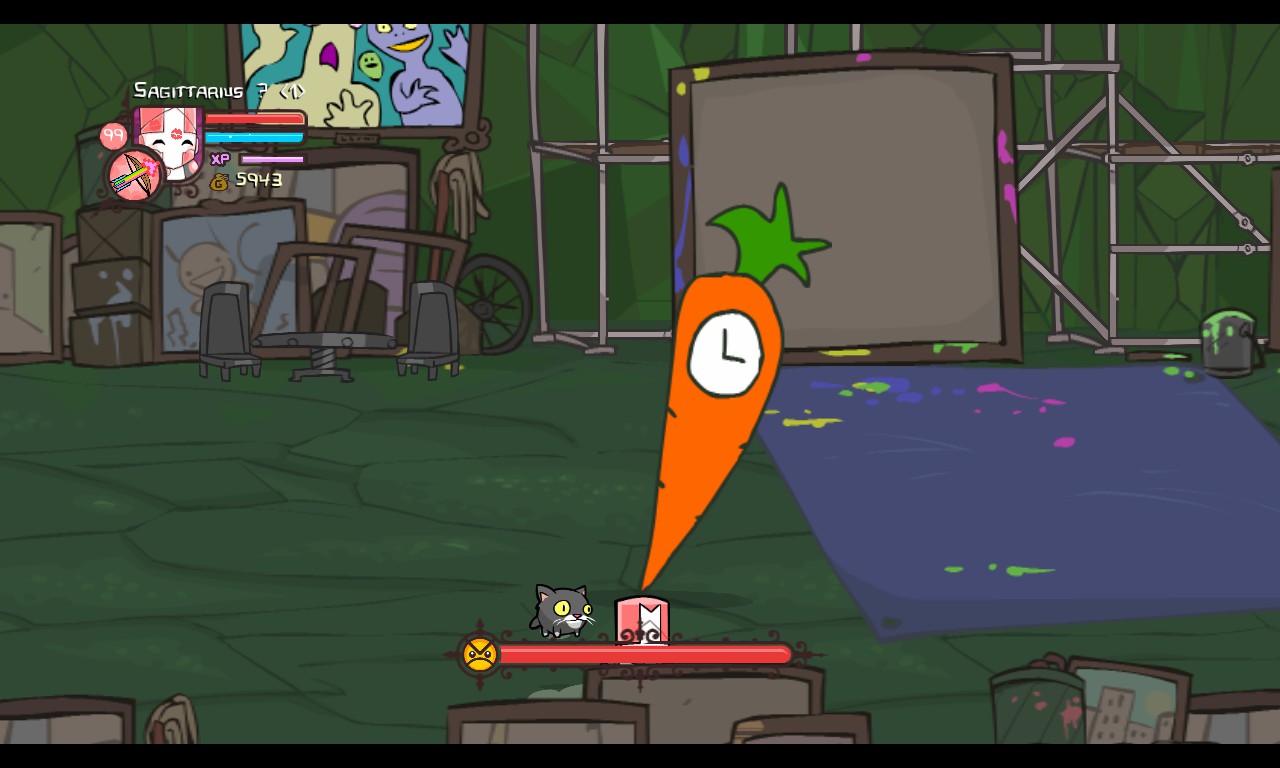
THE CARROT CLOCK
HEALTH: 600 SPEED: NORMAL STRENGTH: HIGH WEAKNESS: FIRE
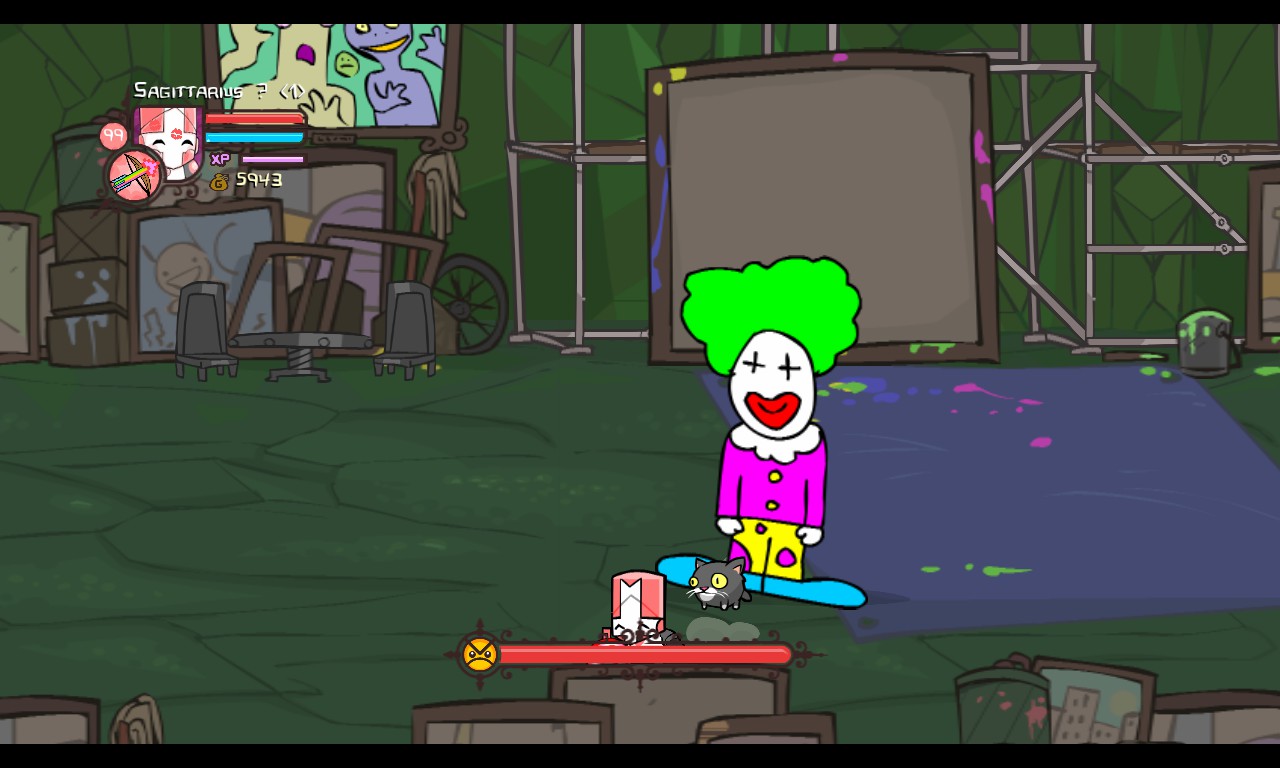
THE CLOWN
HEALTH: RANDOM SPEED: FAST STRENGTH: RANDOM WEAKNESS: RANDOM
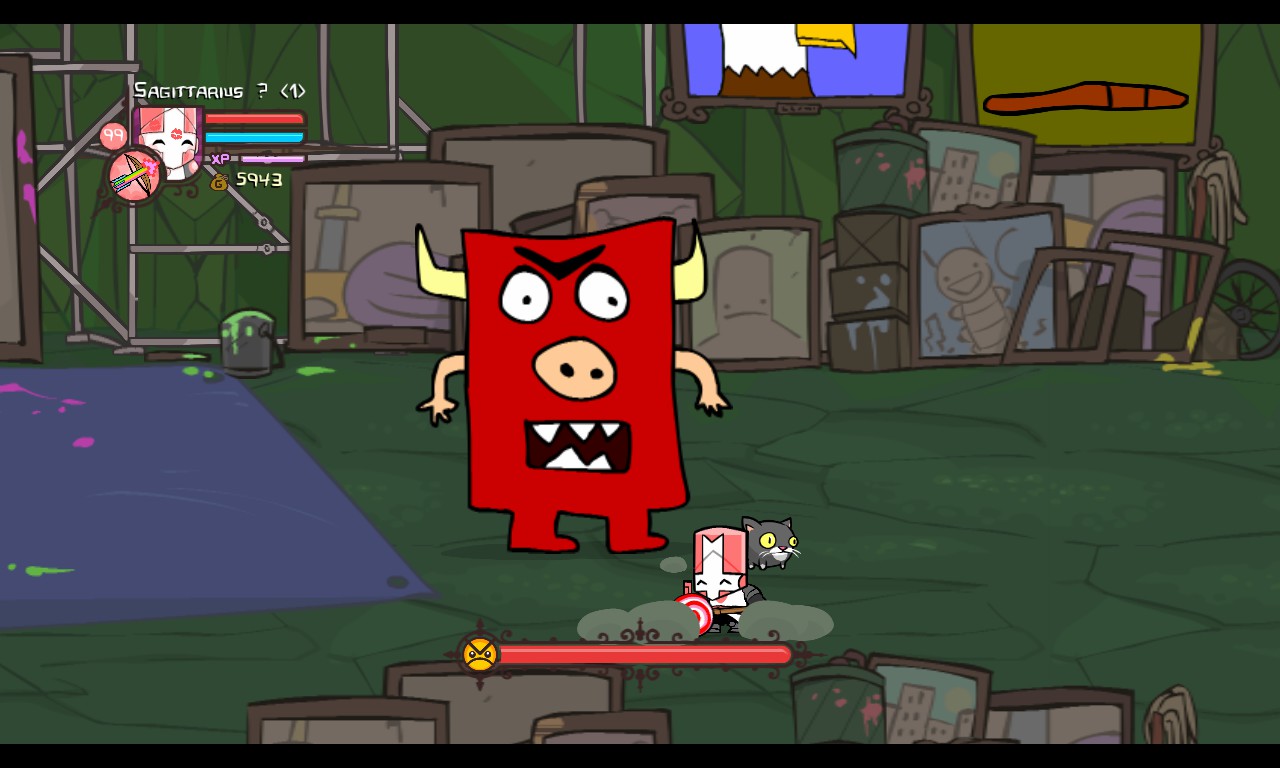
THE RED MONSTER
HEALTH: 600 SPEED: FASTER STRENGTH: HIGH WEAKNESS: ELECTRICITY
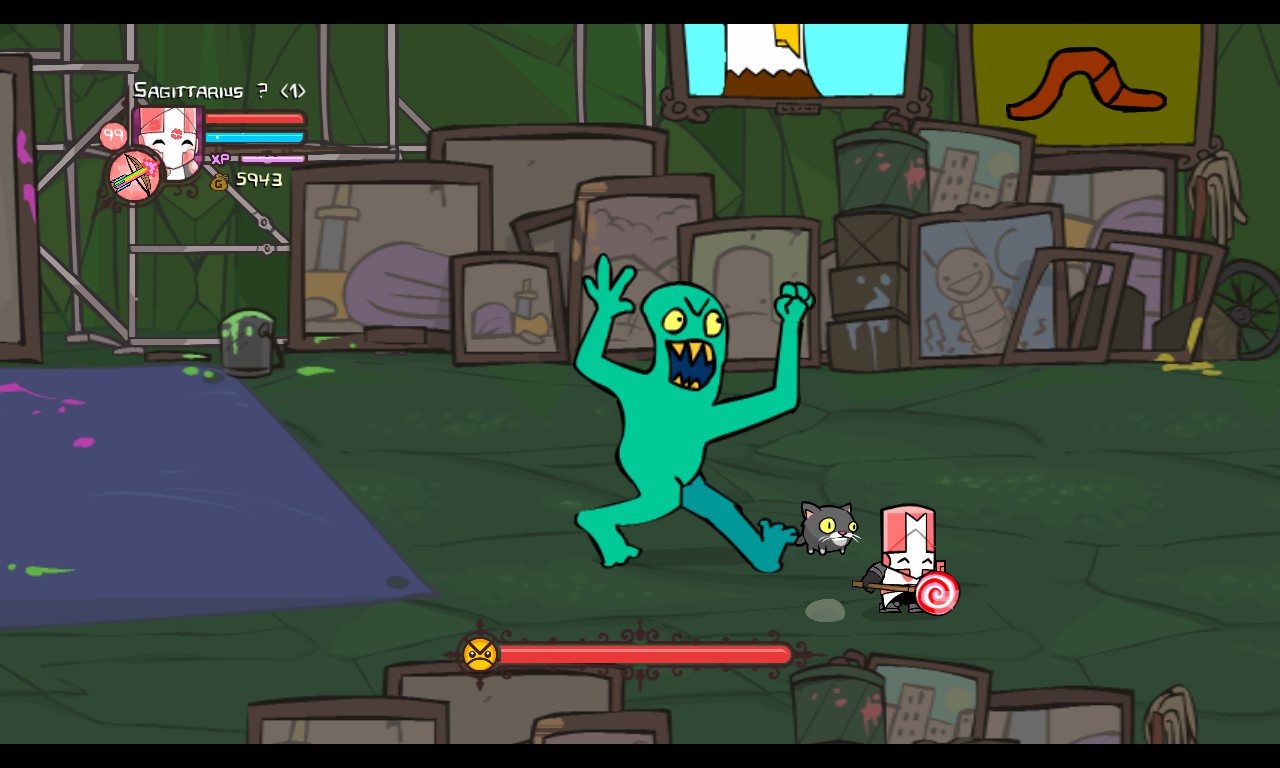
THE GREEN ZOMBIE
HEALTH: 400 SPEED: FASTER STRENGTH: LOW WEAKNESS: POISON
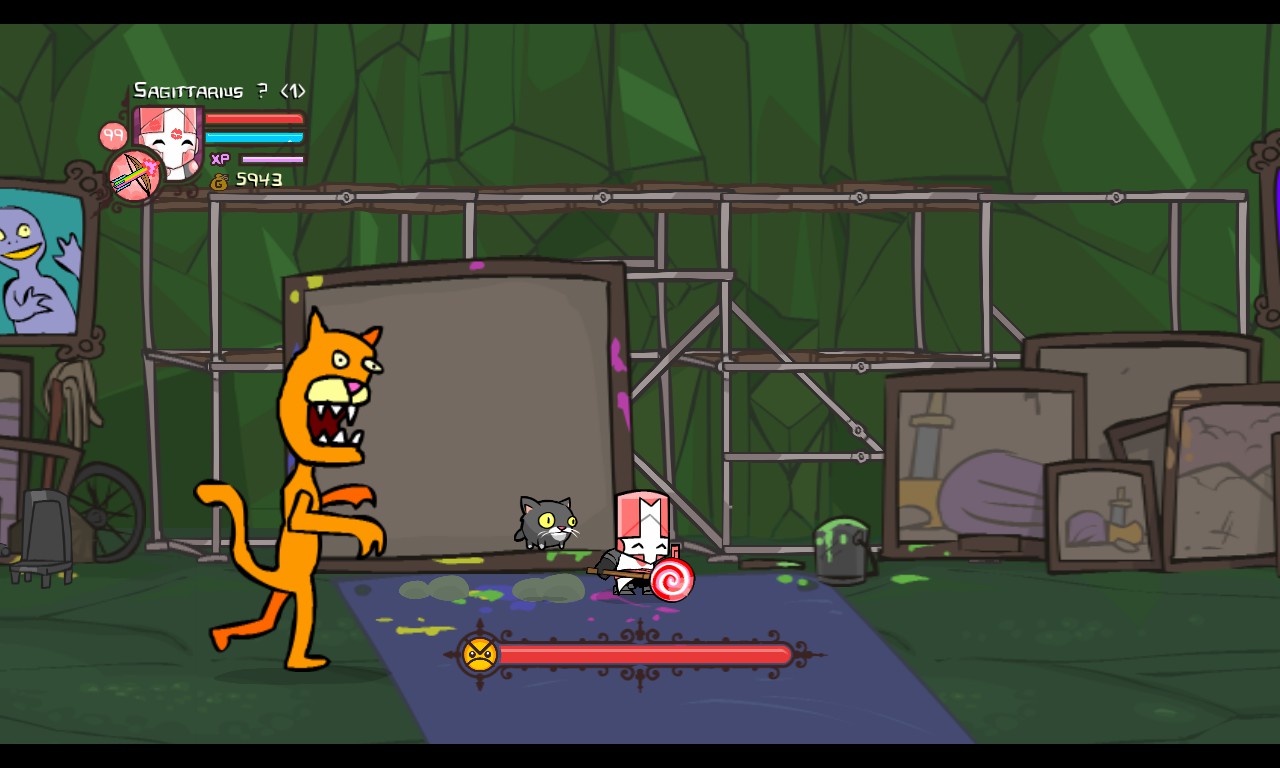
THE TIGER
HEALTH: 400 SPEED: FASTEST STRENGTH: HIGH WEAKNESS: FIRE
THE ANGRY MAN
HEALTH: 400 SPEED: FASTEREST STRENGTH: HIGH WEAKNESS: POISON AND ICE

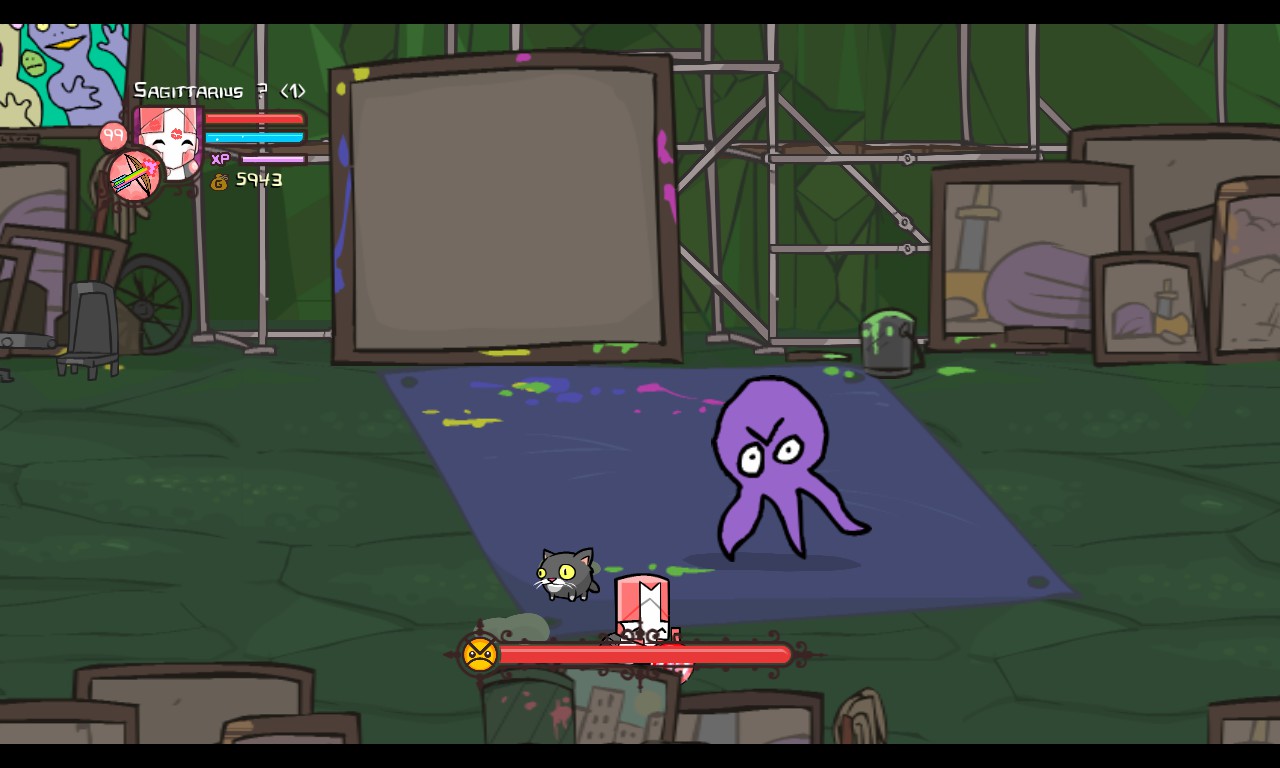
THE OCTOPUS
HEALTH: 300 SPEED: FASTEREST STRENGTH: LOW WEAKNESS: NONE
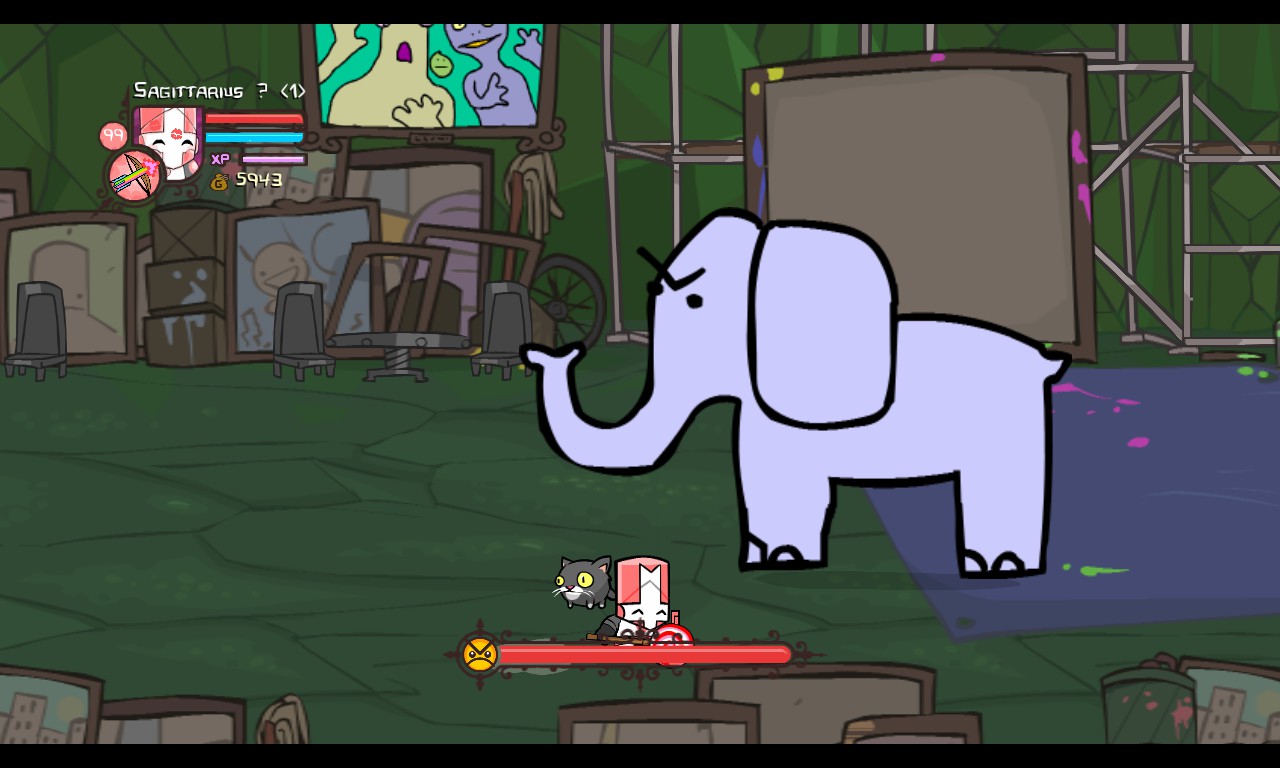
THE ELEPHANT
HEALTH: 600 SPEED: FAST STRENGTH: HIGH WEAKNESS: ICE
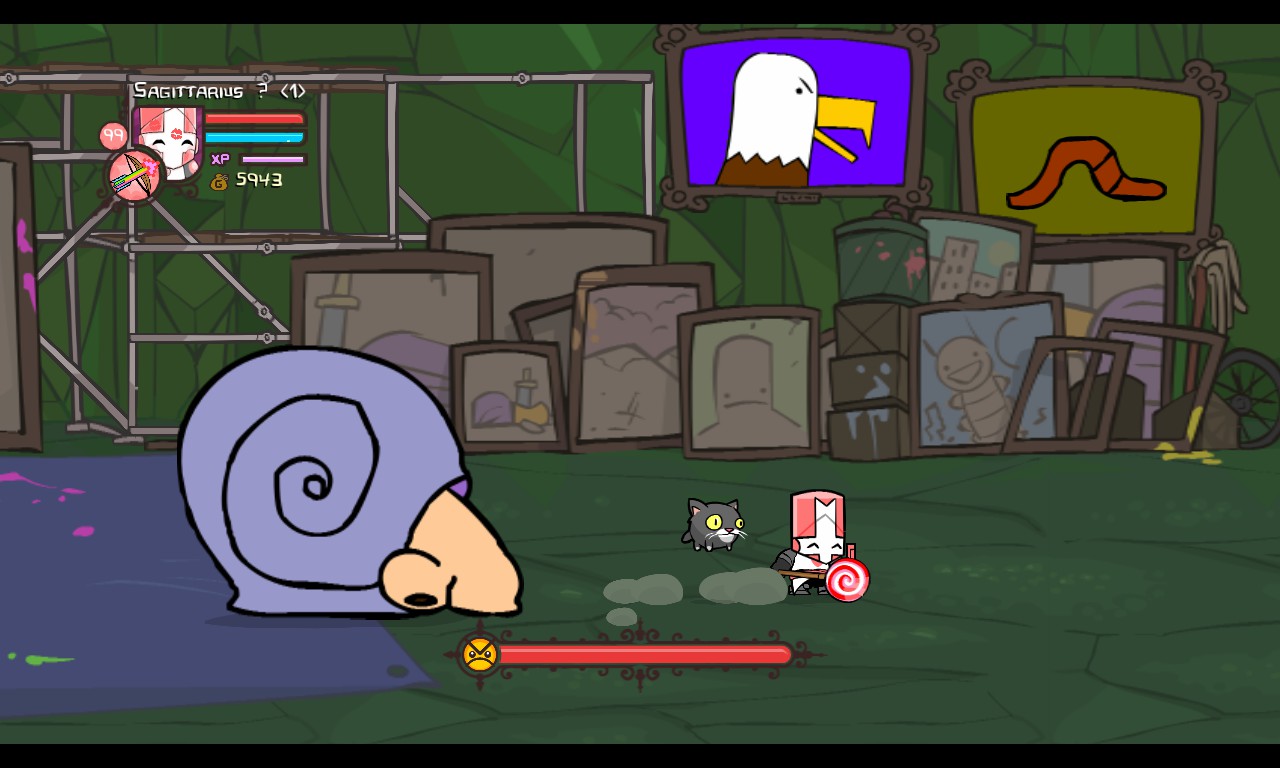
THE NOSE SNAIL
HEALTH: 400 SPEED: SLOWEST STRENGTH: HIGH WEAKNESS: NONE
The Painter will come down from the lift beside the canvas. Once he’s done painting, he will go back to lift and exit offscreen, leaving you to fight the painting. Paintings have more than 300 HP, so remember to use strong attacks. If you plan on using splash magic against the Painter, you might want to save that for him instead of his paintings. If you have high defense, you can just tank the paintings’ damage. I wouldn’t recommend that though…
Once he comes back down, hammer away at him, but try to not to stay too close to the canvas – a painting will hit you right when it spawns. Once he’s a bit low on health, the Painter will start to spawn more paintings. When he does this, he’ll stay on the screen longer, giving you more opportunities to damage him.
He will start running around the screen when at low health. Try not to be distracted by the paintings – remember, they only move straight and won’t come after you. Just try finding the one guy that doesn’t look crudely drawn and is running around the place muttering the word “FOILED!”
Once all that is done, the Painter will begin to barf up fruit. This fruit is helpful for the bosses you’ll fight next.
On Insane Mode, the Painter will barf out potions instead.
If you defeat the Painter and a Unicorn is left on screen, the Unicorn will drop the Unicorn Horn weapon.
_____________________________________________________________________
YOU FOUND:
THE UNICORN HORN
Level 15 Horn
+ 1 DEF
+ 6 MAG
– 3 STR

_____________________________________________________________________
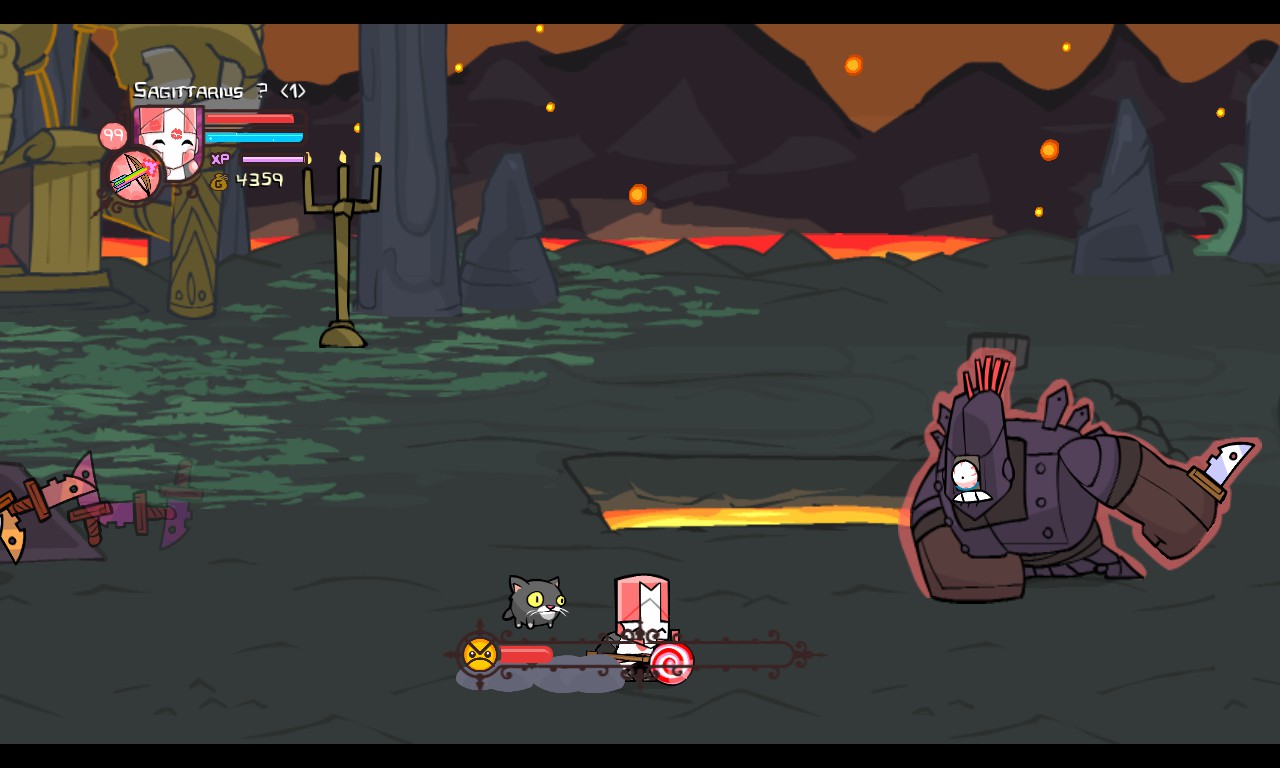
The Undead Cyclops
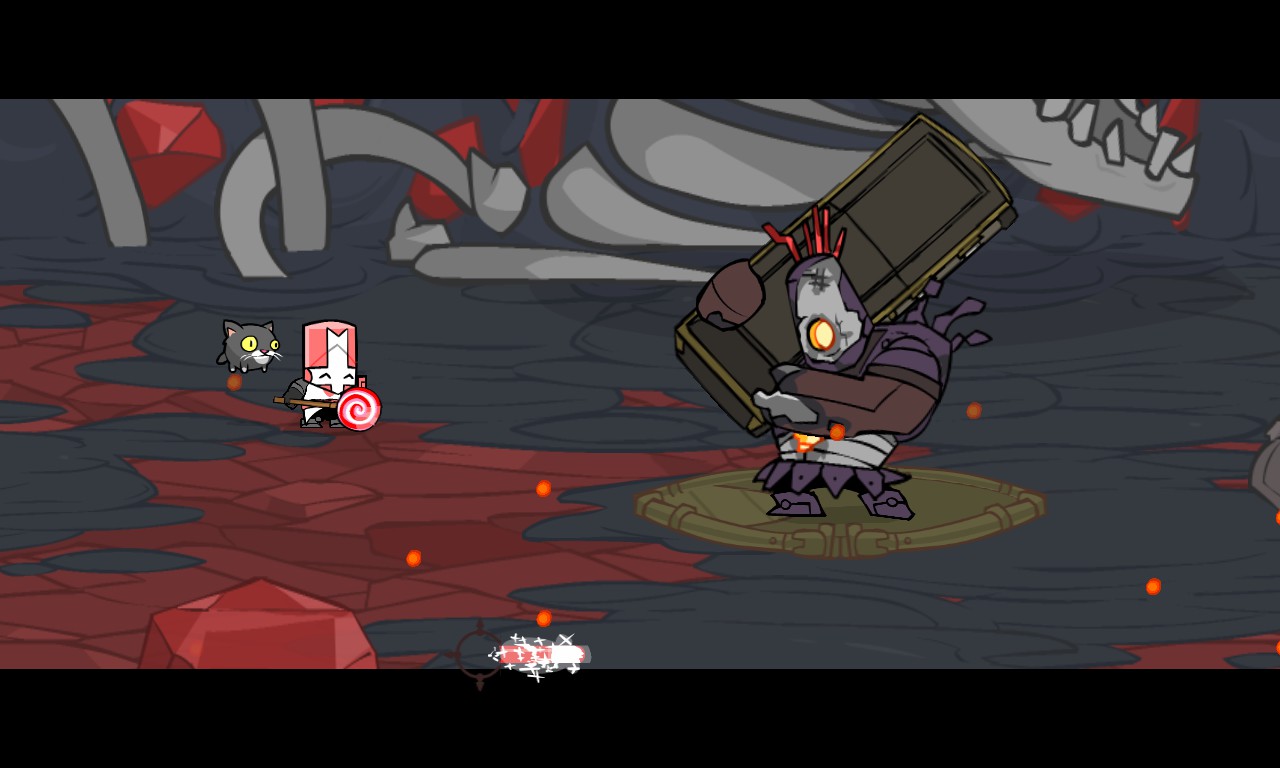
It’s the Cyclops! He’s come back for revenge. This time he’s brought an old friend back…
HEALTH: 3000 HP
POWERS: ENHANCED STRENGTH, BRO POWER
DIFFICULTY: MEDIUM
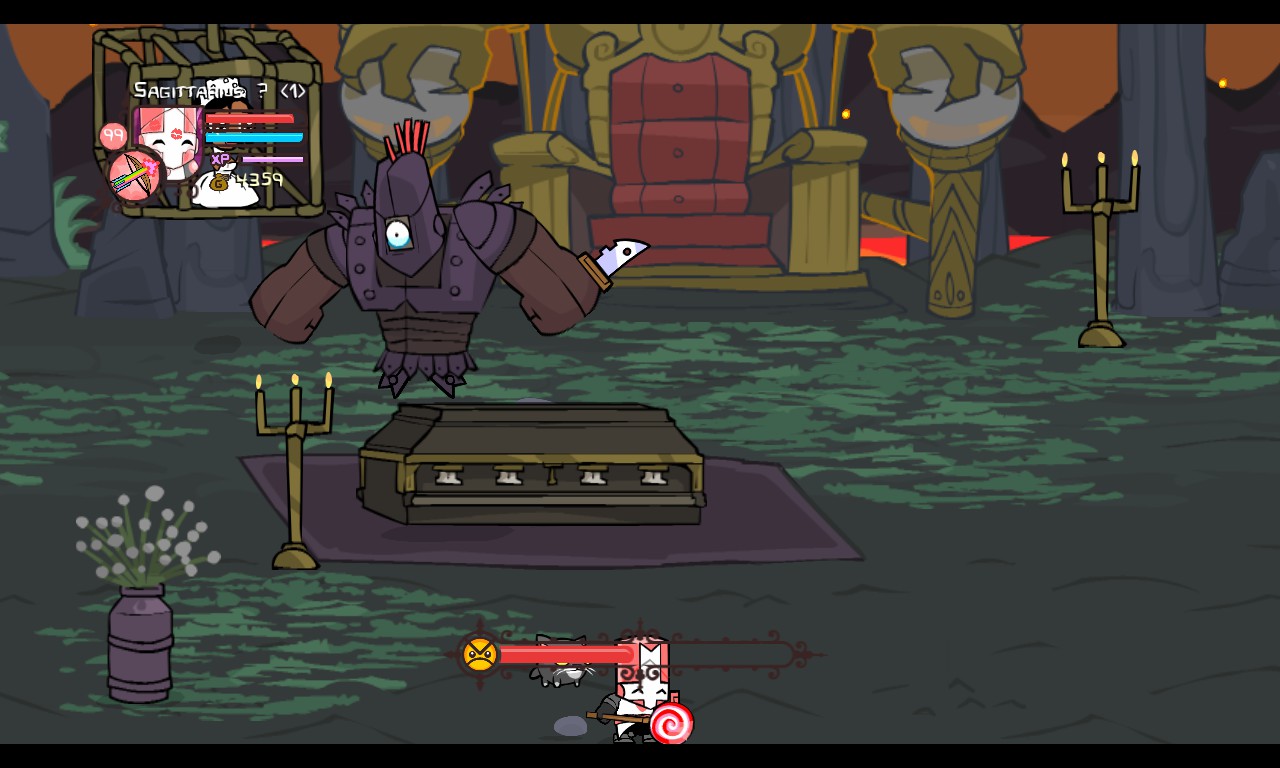
As you enter the second door, you’ll notice something oddly familiar: Haven’t I seen that one-eyed entrance before? Further into the room, a trapdoor opens and something rises from the lava. It’s him! He’s carrying a coffin. I wonder who it belonged to?
The Undead Cyclops will swing his massive coffin at you. He will do this four times before doing his next attack. This attack can be blocked.
The Undead Cyclops will then move from a distance and shoot fireballs at the player. This attack can be blocked.
The Undead Cyclops will then jump on top of the coffin, while the bottom lid opens. The corpse of the Conehead Groom will walk out of the coffin and will charge at the player while playing a very distorted arrangement of organ notes. The Undead Cyclops will also pursue the player, bouncing around with the coffin in an attempt to squish the player. Both the Cyclops and the Conehead Groom are invincible in this state.
The lower the Undead Cyclops’ health is, the faster the Conehead Groom will charge at the player.
After a while, the Conehead Groom will walk back to his coffin and the lid will close, while the Undead Cyclops jumps down from the coffin and the attack pattern repeats.
The attack patterns of the Undead Cyclops are strikingly similar to the attack patterns from the previous encounter. He will swing his coffin four times, followed by using projectiles to hit the player, and finally both him and the Conehead Groom will pursue the player. He is almost entirely the same as the previous Cyclops, only his primary attack can be blocked.
If the Conehead Groom and the Cyclops start pursuing you, stay away from them as much as possible! They can’t be damaged in this state. Stay on the move as well – the Conehead Groom will chase you around. The Cyclops won’t be much of a problem since he moves a lot slower than the Groom. Once they’re finished, the Conehead will go back to his coffin and the Cyclops will drop down, giving you a chance to attack.
A silly strategy you can use is to let the Undead Cyclops squish you. You won’t take any damage from the Groom or the Cyclops while you’re under the ground. You can then come out once they’re finished.
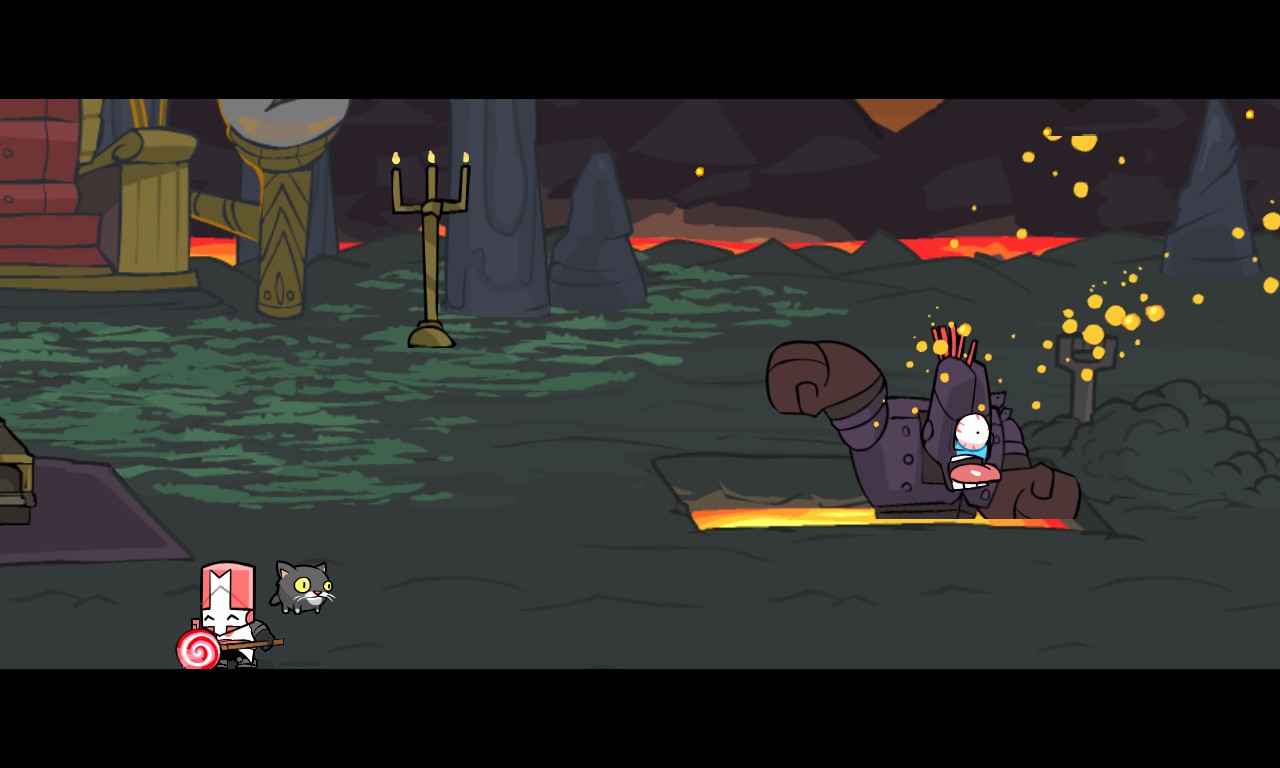
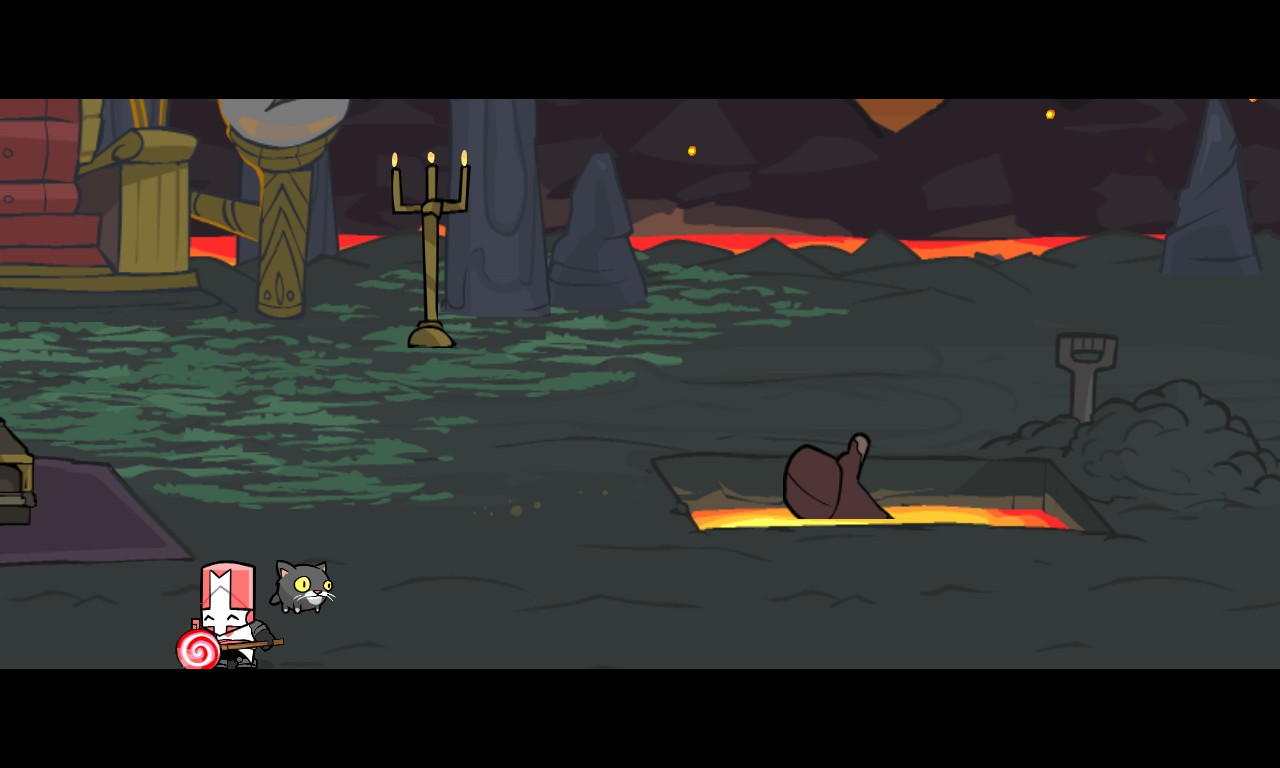
Once all that is over, the souls of the Conehead Groom and the Cyclops rest in peace.

Remember the Dragon that guarded the Wheel? In the background, you can find him right there!
There is a dig spot next to the sock puppet. Dig it up to reveal a new weapon, the Wooden Mace.
_____________________________________________________________________
YOU FOUND:
THE WOODEN MACE
Level 20 Bat
+ 2 DEF
+ 2 AGIL
“BONK!”

_____________________________________________________________________
The Necromancer
A powerful flying knight, whose magic can revive the fallen.
HEALTH: 4000
POWERS: NECROMANCY
DIFFICULTY: HARD
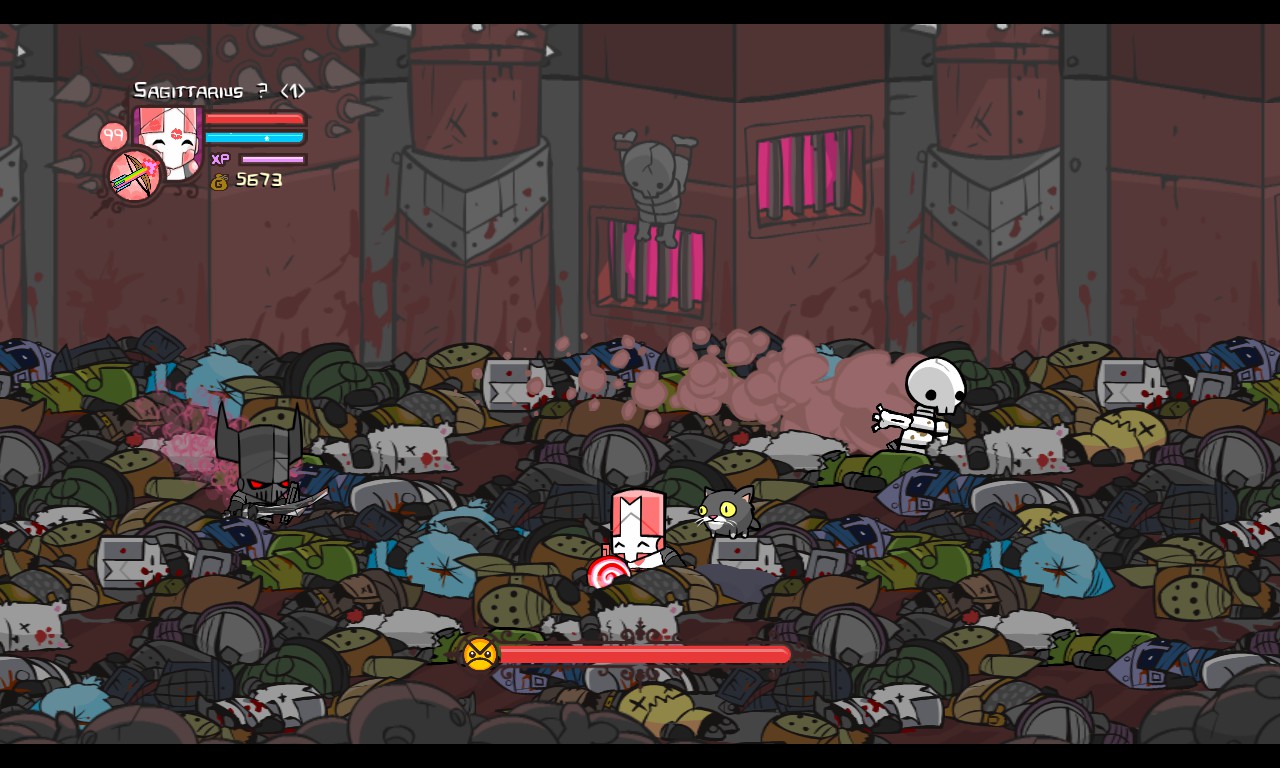
As you enter the third door, you come across a room filled with dead bodies. Eugh! That flying knight you encountered earlier has been waiting for this moment to fight you. As you enter deep into this room, the fight starts as he revives enemies from the past.
The Necromancer will revive waves of enemies for you to fight while he watches.
The first wave consists of:
- Barbarian (uses projectile magic and melee)
- Thief (uses arrows and almost never melee)
- Bear (uses tornado and melee)
- Conehead (uses bombs and melee)
- Fire Demon (spams splash and projectile magic, melee)
- Fencer (spams splash and projectile magic, melee)
- Ninja (spams projectile magic, substitute-no-jitsu, jump flip attack, melee)
Many of these enemies have enhanced health and speed. They will always drop fruit.
The second wave consists of:
- Barbarian (spams projectile magic, melee, almost never does splash magic)
- Beefy Barbarian
- Beefy Bear
- Conehead (uses arrow rain and spams bombs, melee)
- Fire Demon (spams the everlasting
out of magic)
- Beefy Brute (will destroy you)
- Royal Guard (spams arrow rain and melee)
- Saracen (spams tornado and projectile magic, almost never melee)
- Alien (spams projectile magic and almost never melee, has 200 HP instead of 1)
- Snakey (uses splash magic and projectile magic, melee)
- Iceskimo (uses splash magic and projectile magic, melee)
Like the previous wave, all of the enemies will drop fruit.
After clearing this wave, the Necromancer will fly down and the real fight begins. He behaves exactly like any other enemy, except he can’t be juggled (he will forcefully block your juggle), he raises his shield often, and uses magic every few seconds or so.
There are many diverse enemies with varying weights and magic skills. You can easily get overwhelmed by things flying every which way. Try taking down one or two enemies at a time – remember, they will always drop fruit. Pick up some fruit and continue fighting. You might also want to take note of each enemy’s magic.
The Bear uses his splash attack. It’s a tornado that can juggle players. Enemy Bears will move around in their tornado in zigzags, so you can easily predict where they’ll go.
The Conehead uses bombs. You might want to stay away from him for a while.
The Ninja will use his substitute move if you hit him with ground attacks (He will feign his strike as a log then pop out of nowhere and hit you). If he’s far away from you, he will use jump-flips to get closer to you.
Enemies that are far away from you and are chasing you will almost always use their projectile magic. It may be hard to find incoming projectiles since they blend with the bodies on the floor. Just try to keep your distance as you fight them. If you have to switch from one side of the room to the other, run in zigzags. This lessens the chances of getting hit. Try not to bump into an enemy, or they might use their magic jump…
This is the hardest part of the boss fight. There will be enemies everywhere – on the ground, on the walls, on the ceiling, in your pocket, etc. Not to mention there will also be Beefy enemies. Use strong magic and ranged attacks to keep them at bay. Like stated above, focus on one or two enemies at a time and pick up their fruit. I would try to stay away from the Beefy enemies, since they’re usually the ones giving the most hits. The Beefy enemies will also move in zigzags, so it’s a little harder to run from one side of the room to the other. Spam your splash magic to get some breathing room. The splash magic can hit Beefy enemies multiple times and by doing this, you might even take down the Beefy Bear and the Beefy Barbarian without you noticing. Once they’re taken out, you can focus on the smaller guys. If the Beefy Brute is still on the screen, I would suggest avoiding him for a bit.
Think of the Saracen as an enhanced Bear. His movement patterns are similar to the Bear from the previous wave, only he has more health and attacks a bit more often.
The Iceskimo and Snakey will frequently use their projectile and splash magic. They are essentially the same, except the Iceskimo has a freezing effect for his splash attack.
The only thing you might have to worry is the Beefy Brute in this wave. He is resistant to most attacks and delivers loads of damage to players who aren’t careful. He really brings the pain.
The Necromancer can be treated like any other enemy, or arena fighter. I dunno.
He will use basic attacks and will block attacks often, which can break combos. The Necromancer isn’t affected by arrow knockback, so you can spam arrows without knocking him down, if that’s your thing. He also can’t be juggled – he will block you if you do. He doesn’t block magic, however. What you can do is consistently spam projectiles right when he gets up. This deals slow damage but it can be useful if you have high magic.
Here’s a silly strategy:
If you have any sandwiches rotting in your pocket, use one.
When you’re on him, press
Press
Hurry and run up to him before he gets up. When you’re on him, spam
This will keep the Necromancer in the air for a long, long time. Actually, for 10 seconds. Use this strategy to get his health down!
Once he’s done, he will fly up and emit this weird pink gas stuff.
You can then pick up his sword.
_____________________________________________________________________
YOU FOUND:
THE EVIL SWORD
Level 20 Sword
+ 7 DEF
+ 2 MAG

_____________________________________________________________________
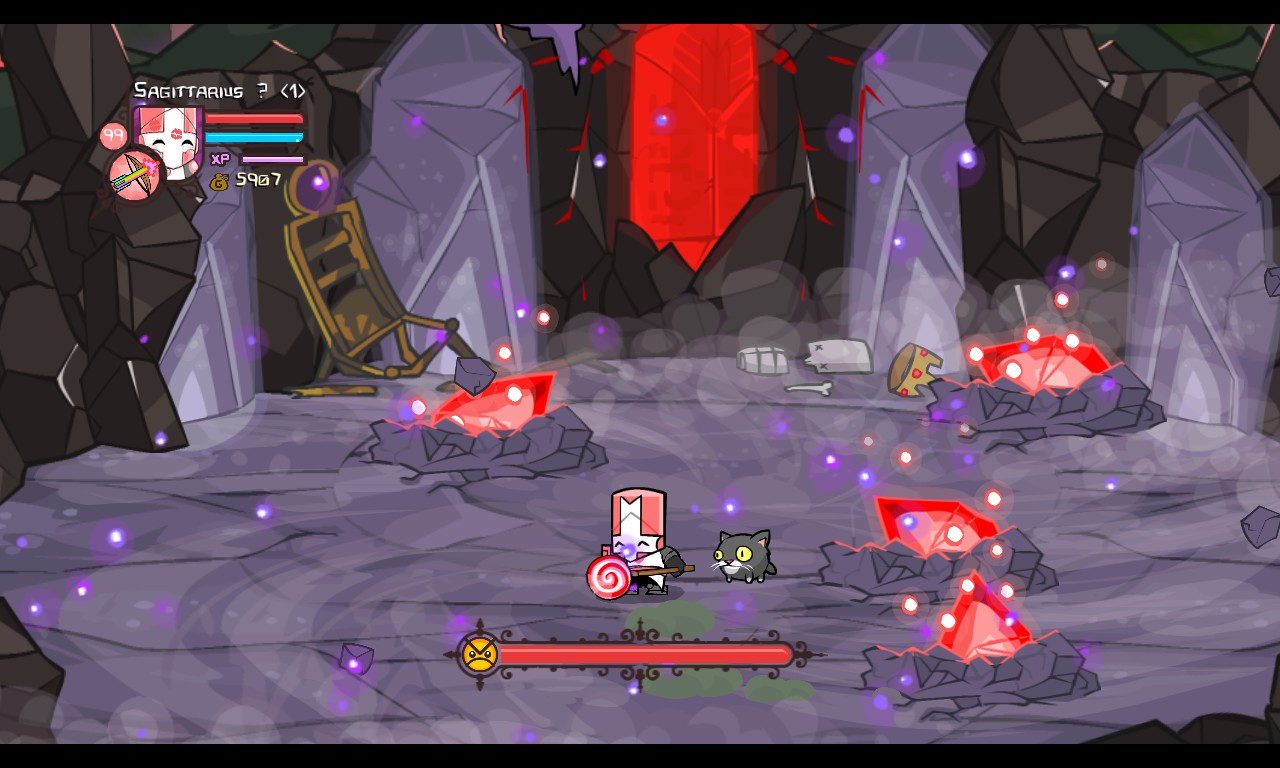
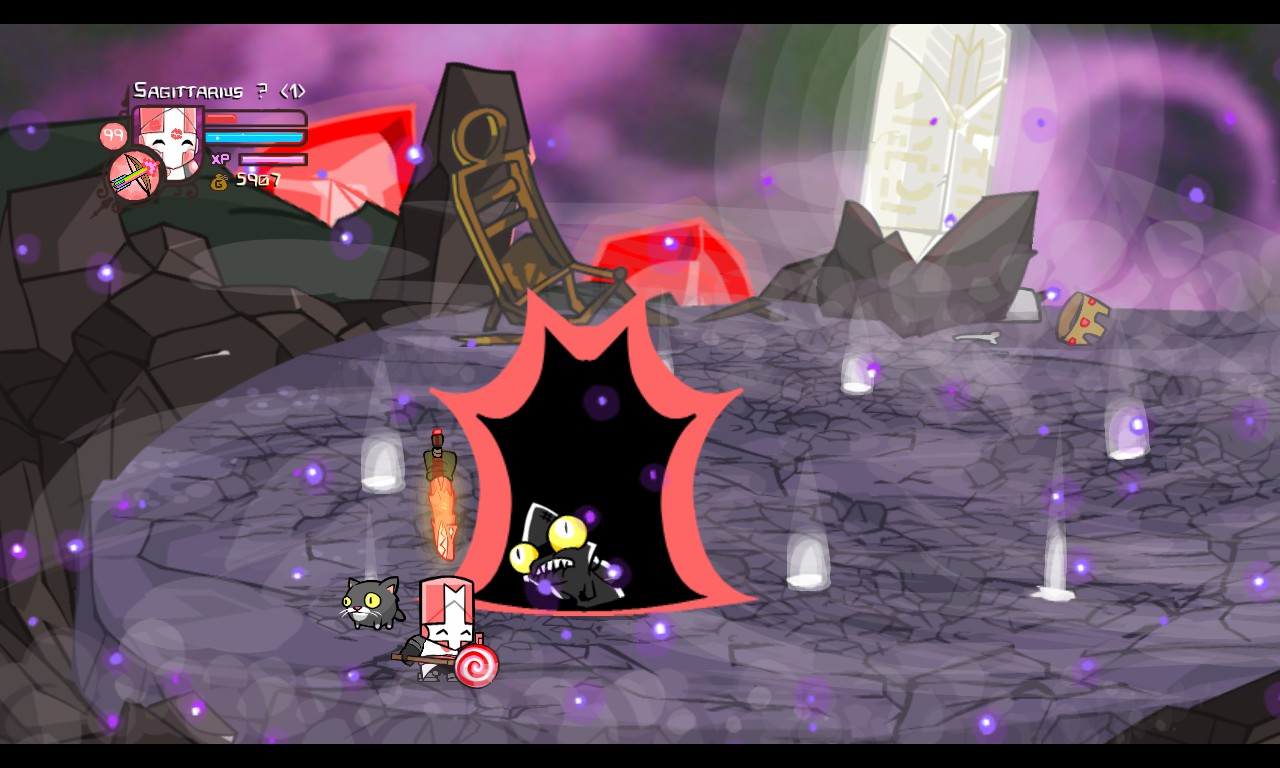
Crystals

A set of four crystals, made by the Evil Wizard’s power.
HEALTH: 400 HP x4
POWERS: THEY SPIN, AND STUFF.
DIFFICULTY: EASY-MEDIUM
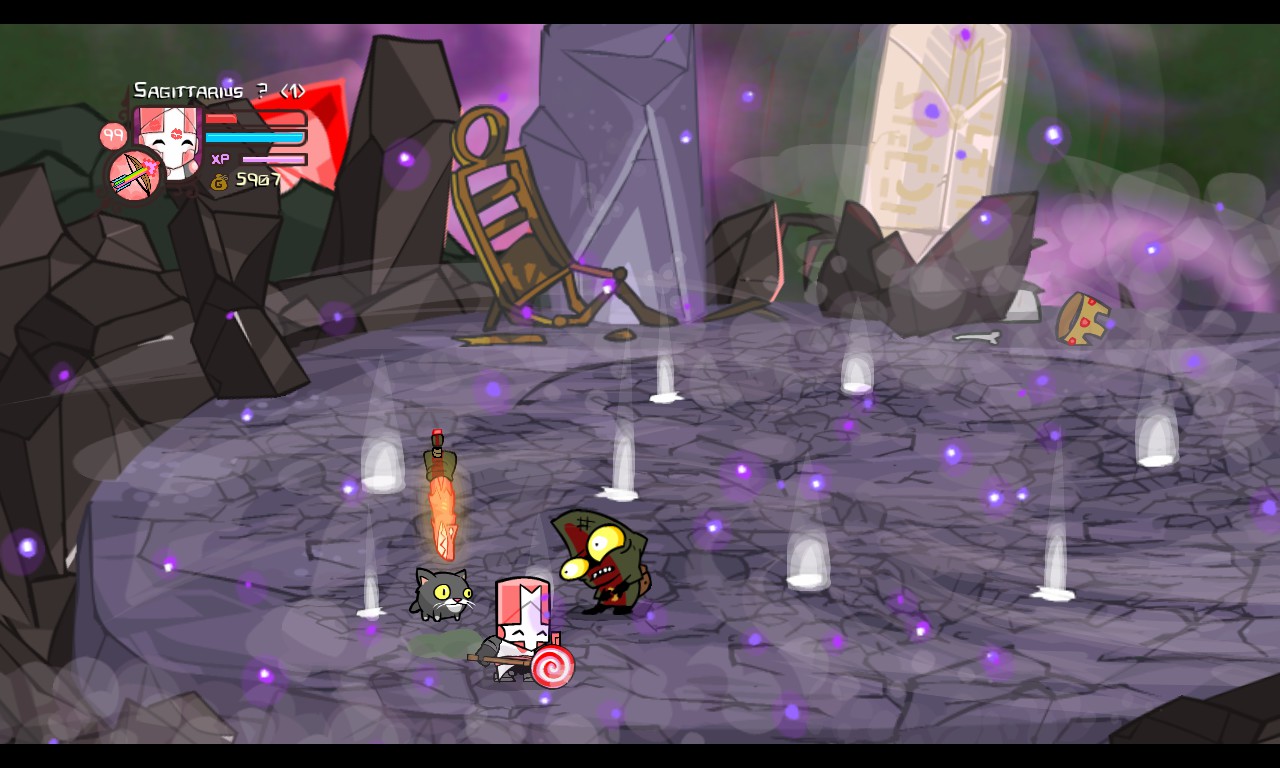
As you enter the fourth and final door, the floor lifts you higher to the roof of the castle. This is where the Evil Wizard is! He will watch as you fight his powers, in crystalline form!
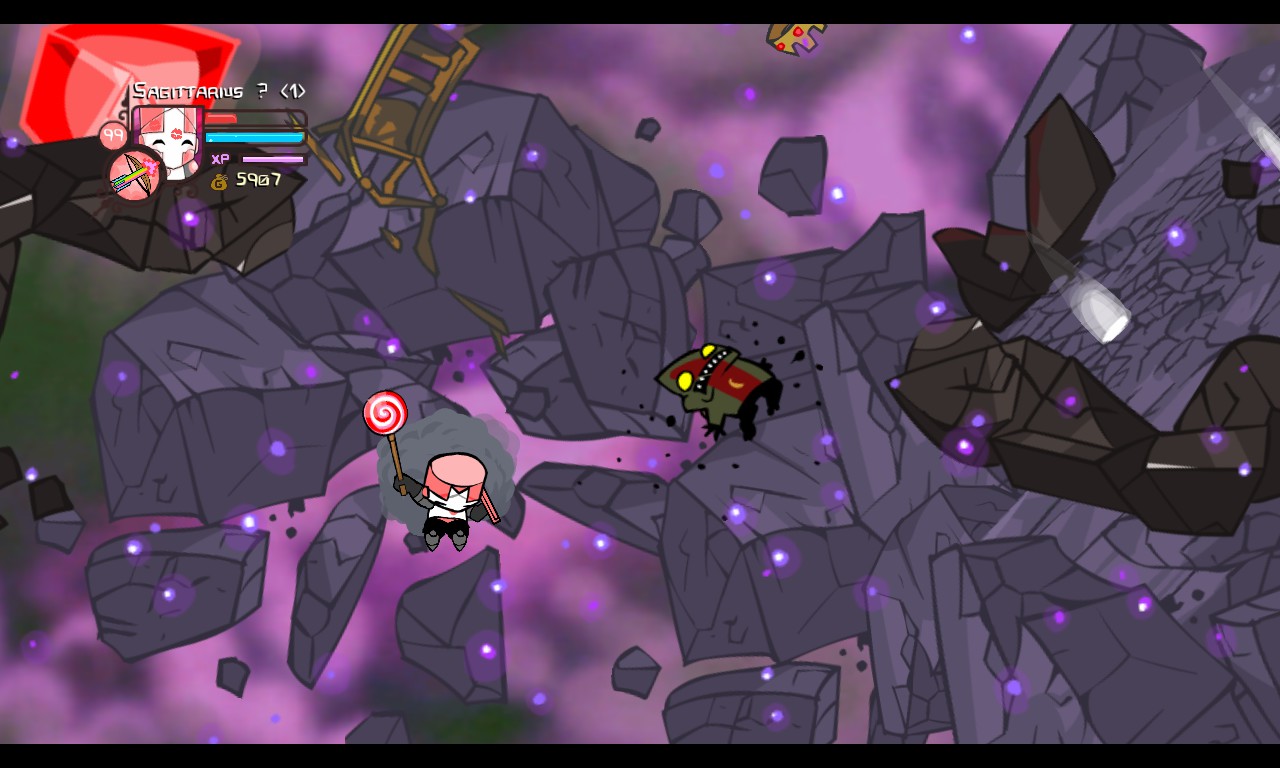
The four crystals will spin in place for a while. When they stop spinning, they will lunge straight for the player, dealing fair damage.
They will be stuck in the ground for a bit, and soon they will rise up and shimmer. The attack pattern repeats again.
Each crystal has 400 HP. Focus attacks on one or two crystals so they won’t be much of a problem later on. Otherwise, their attack patterns are very predictable as long as you’re on the move. When a crystal is grounded, smack it with damaging attacks – splash magic, combos, whatever! You will take damage if you touch a crystal while it’s spinning in the air. Melee a crystal with the tip of your sword so you don’t directly touch it.
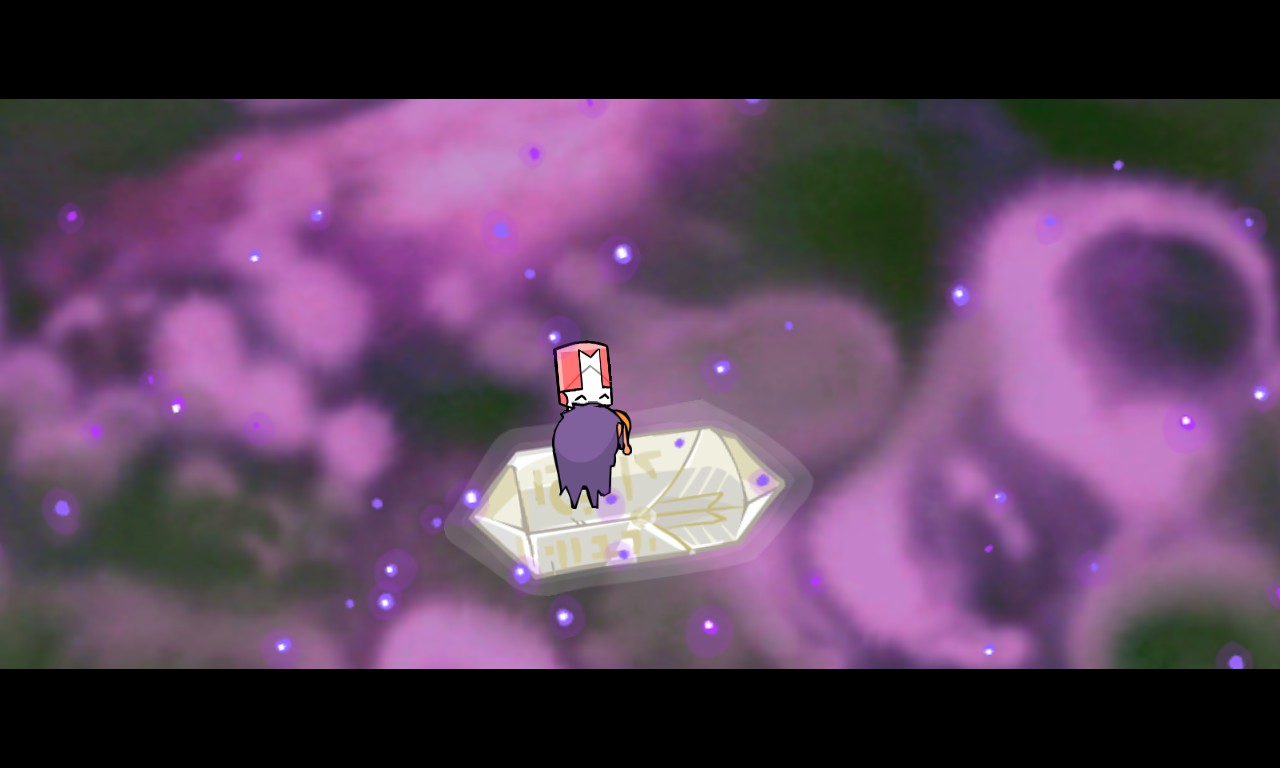
Once you take out the four crystals, the Evil Wizard will gently float down and proceed to fight you.
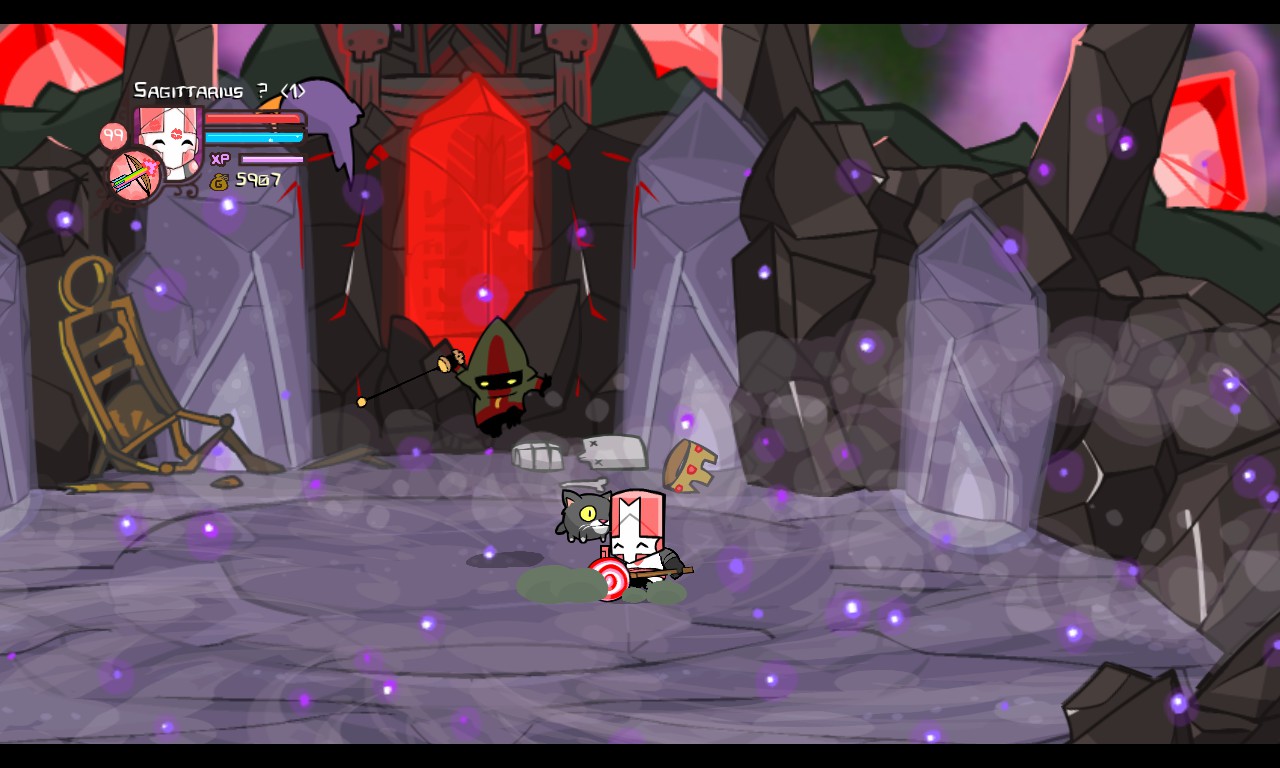
Evil Wizard – Magic Form
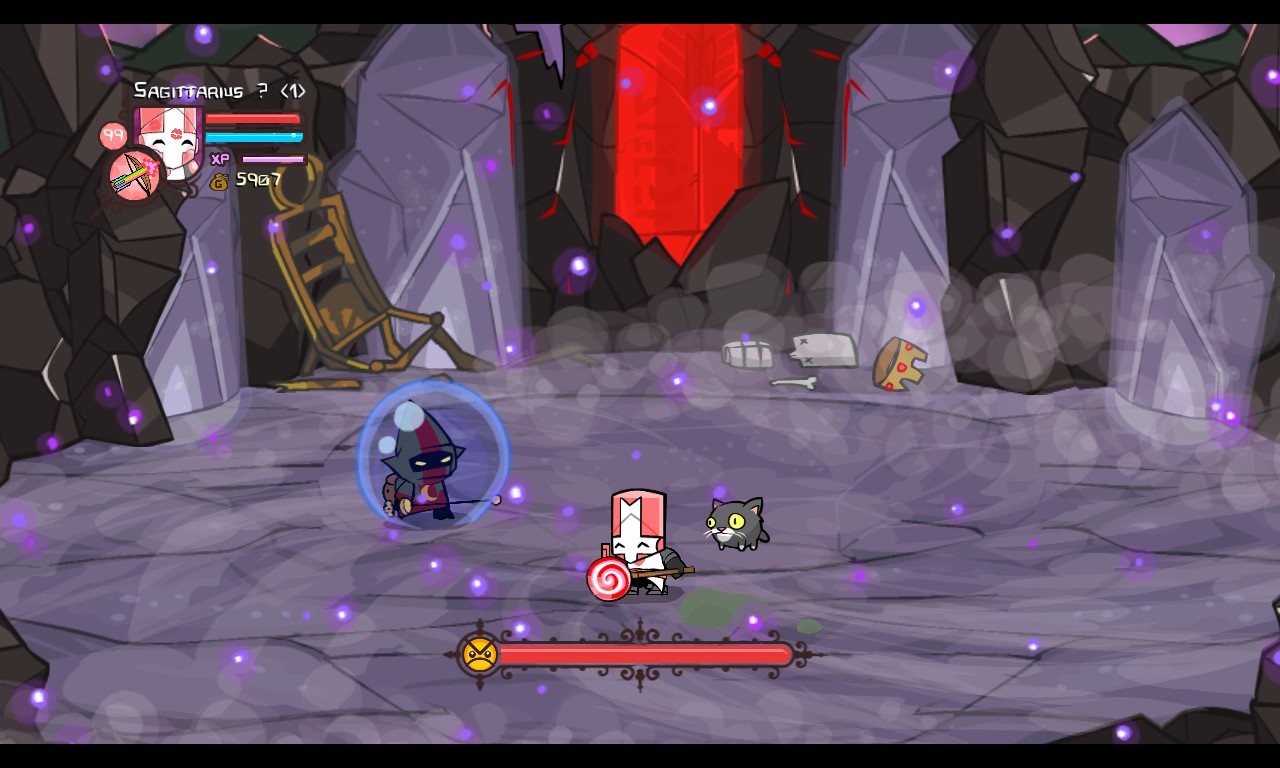
The Evil Wizard, protected by a bubble that reflects magic and physical attacks.
HEALTH: 800 HP
POWERS: DAMAGE-REFLECTING BUBBLE
DIFFICULTY: MEDIUM
This is the Evil Wizard’s first form. As you can see, he is protected by a magical bubble that protects him from most of the Knights’ attacks.
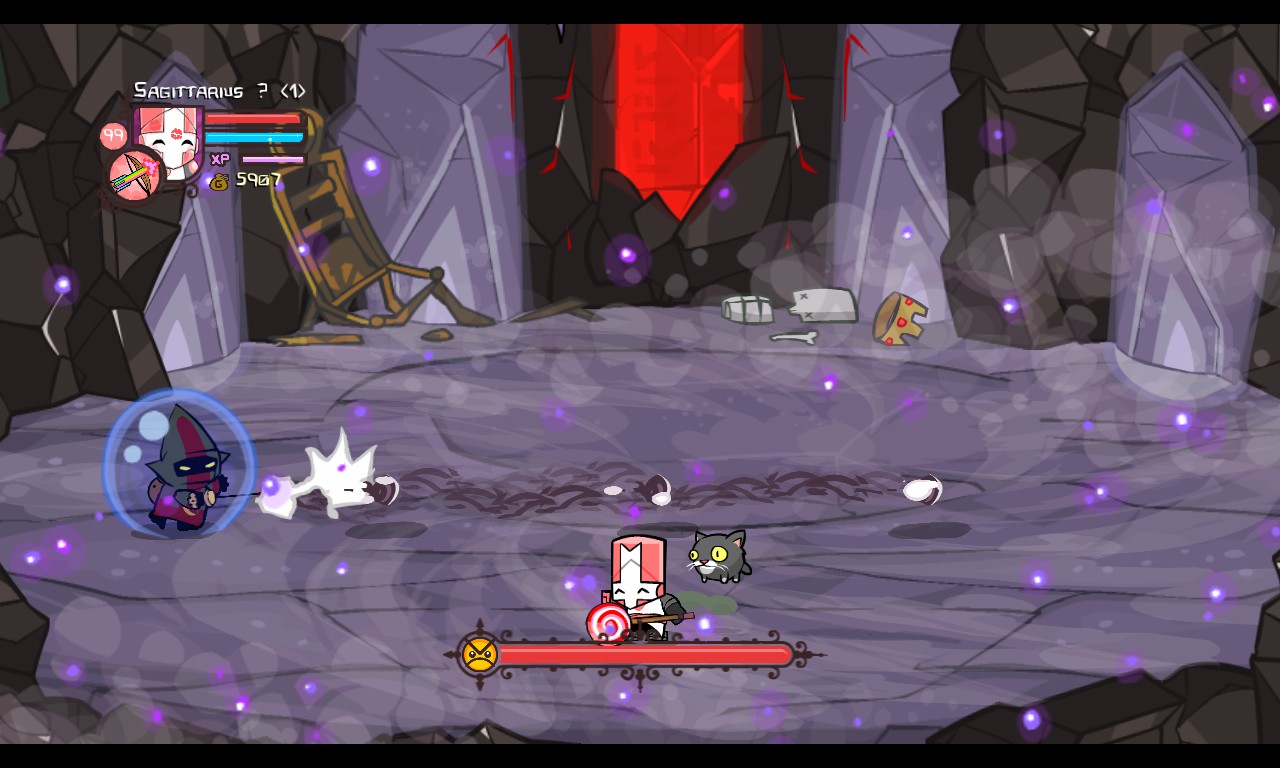
The Wizard will alternate attacks depending on the color of his bubble.
If his bubble is blue, he will shoot three dark magic projectiles.
If his bubble is red, he will use splash magic.
The color of his bubble will change from blue to red after a while, and the attack pattern repeats.

The Evil Wizard moves around the stage in circles. He’s a little hard to hit, so try attacking him when he’s not moving.
If his bubble is blue, he can only take magical damage. Any sort of magic can damage him – splash magic, projectiles, and magic jumps. If you use anything besides magic, you will take the same amount of damage you did to him. In other words, you’ll damage yourself and anyone else who is fighting him.
If his bubble is red, he can only take physical damage. Use your melee weapons or arrows to damage him. If you use magic, you’ll damage yourself and anyone else who is fighting him.
He will move faster the lower his health gets. This makes it a bit harder to hit him.
Once he’s done, he will float up in the air.

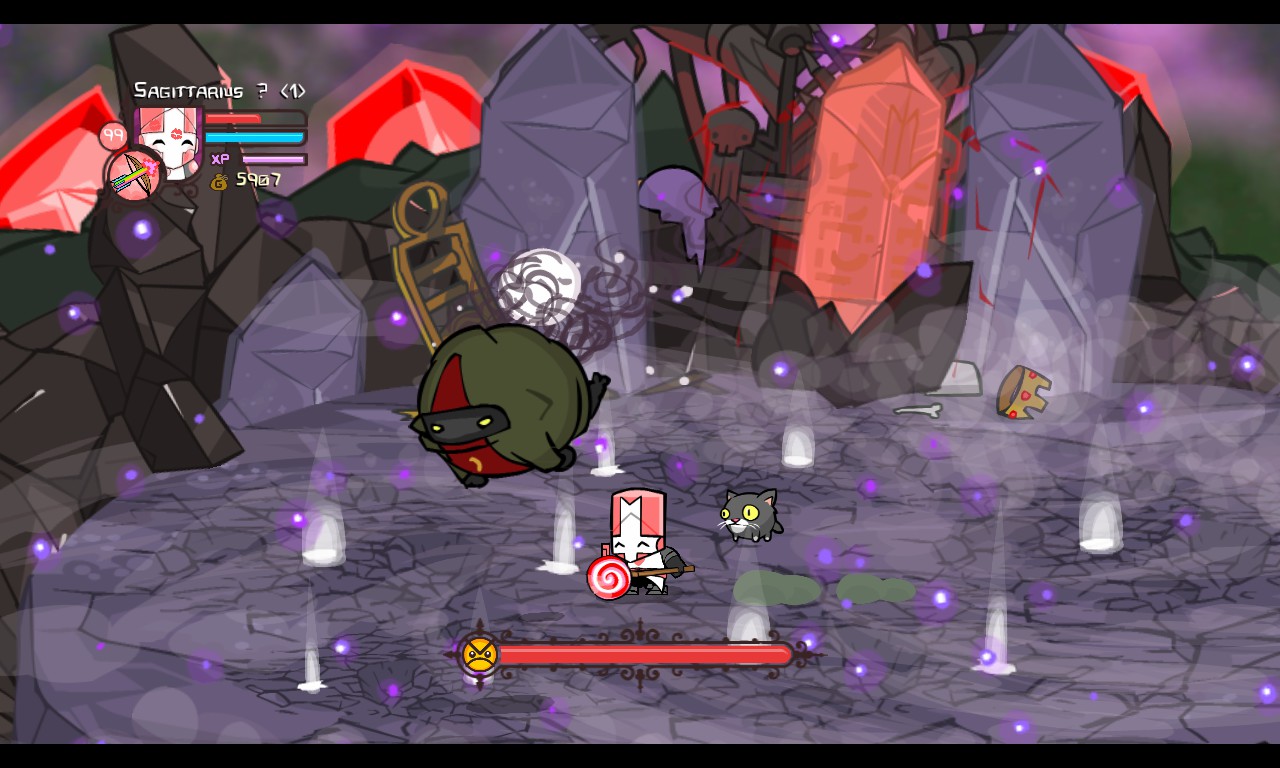
Evil Wizard – Balloon Form
The Evil Wizard, bloated like a balloon.
HEALTH: 700 HP
POWERS: BALLOONOMANCY. ON HIMSELF.
DIFFICULTY: EASY
The Evil Wizard floats up into the air and inflates like a balloon! You’ll have to beat him from up there.
The Evil Wizard will drop balls of energy that split into 8 or 10 dark projectiles that move in separate directions.
The Evil Wizard will orbit around the stage. You’ll have to use air attacks to take him down. He will start dropping energy balls faster the less health he has.
Once that’s done, the Evil Wizard will come down and get crushed by a big chest. Yay!
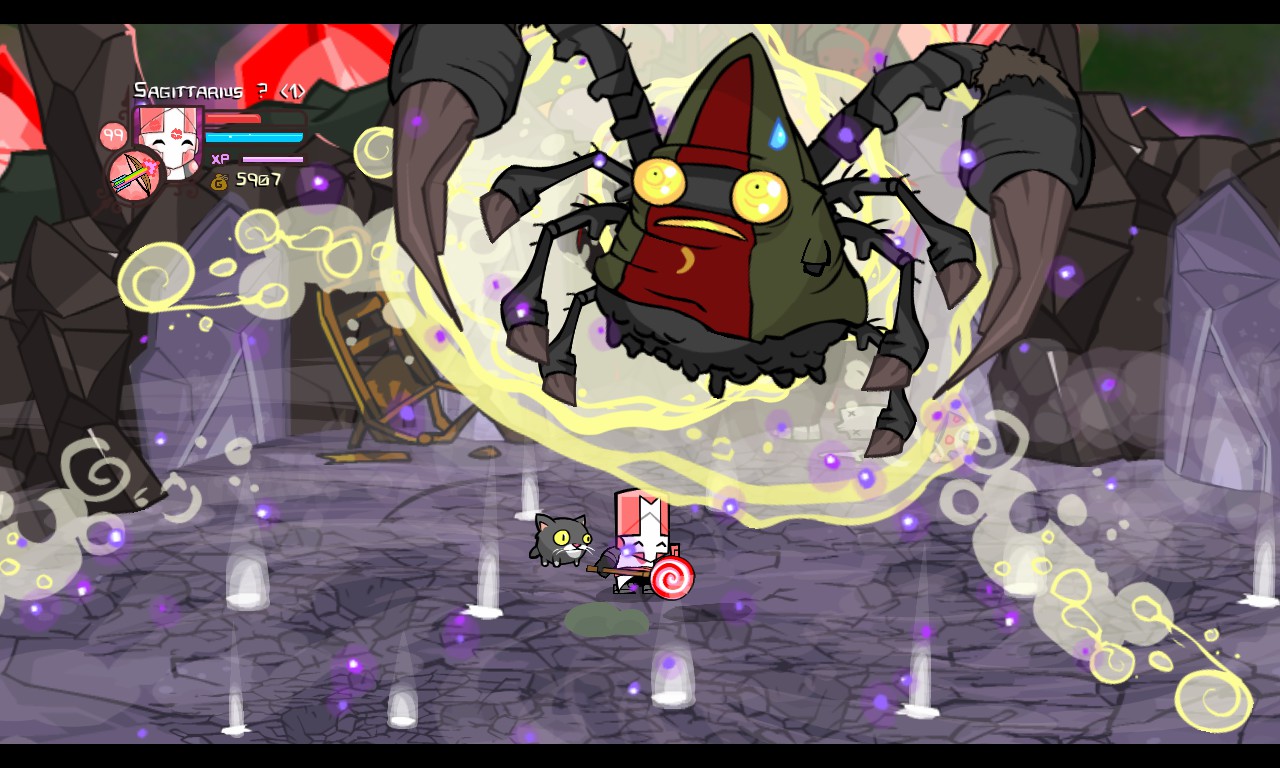
Evil Wizard – Spider Form
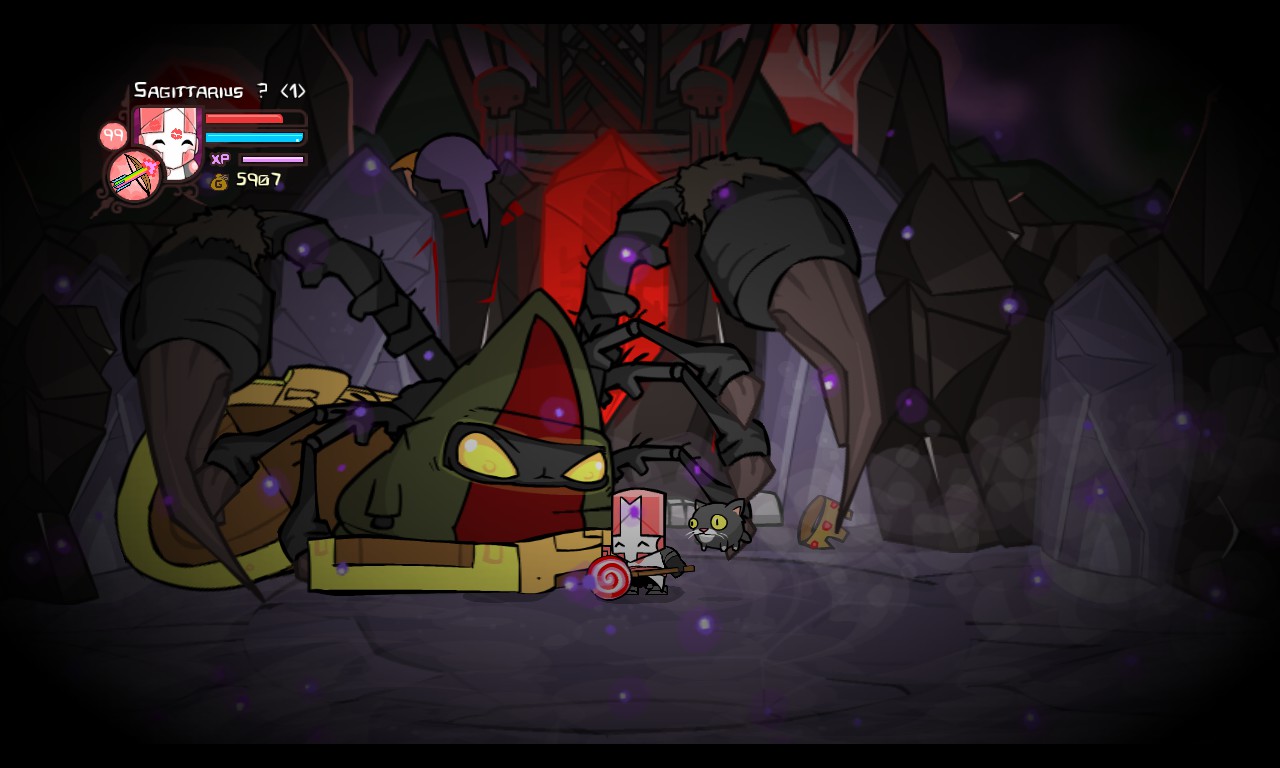
HOLY
The Evil Wizard, in a horrifying, monstrous spider form.
HEALTH: 1050
POWERS: A ONE-WAY TICKET TO NOPE.
DIFFICULTY: MEDIUM-HARD
As you open the chest to claim your reward, the world goes dark and a monstrous thing comes out of the chest. It’s the Evil Wizard!
The Evil Wizard Spider’s primary attack is jabbing players with his larger legs.
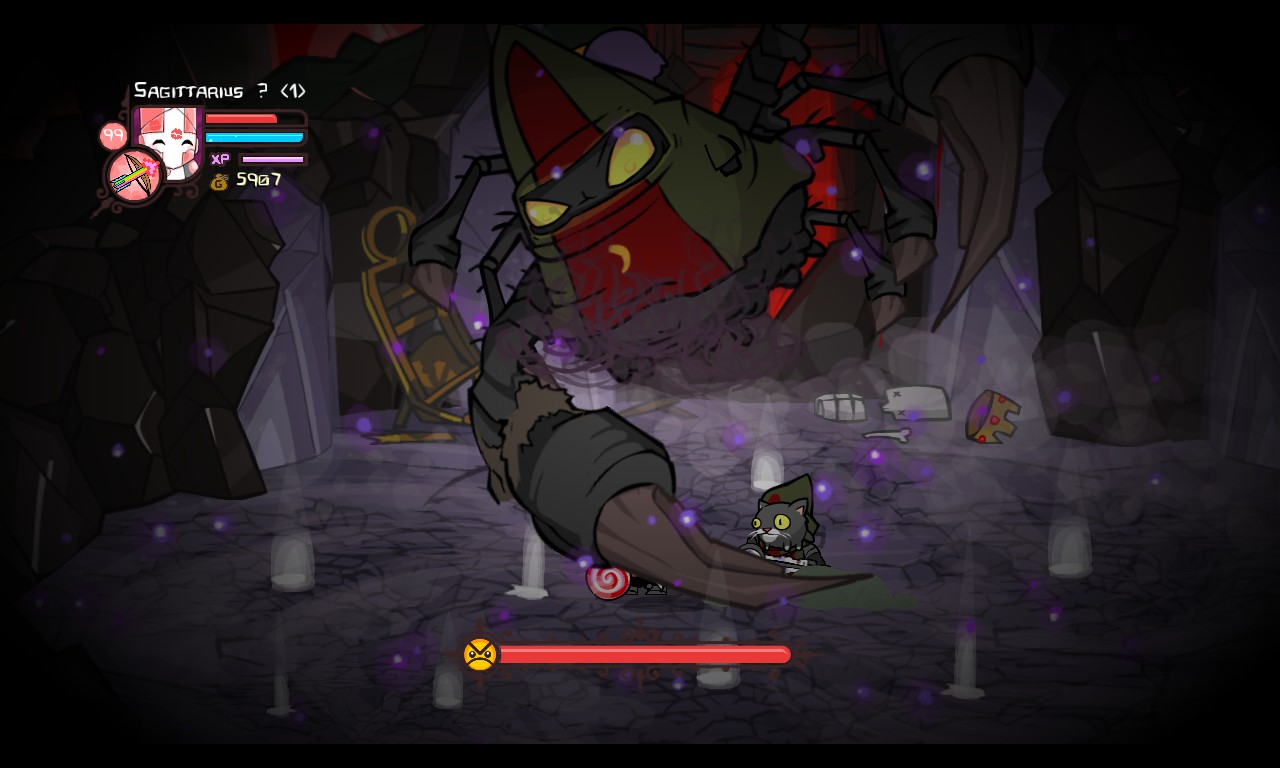
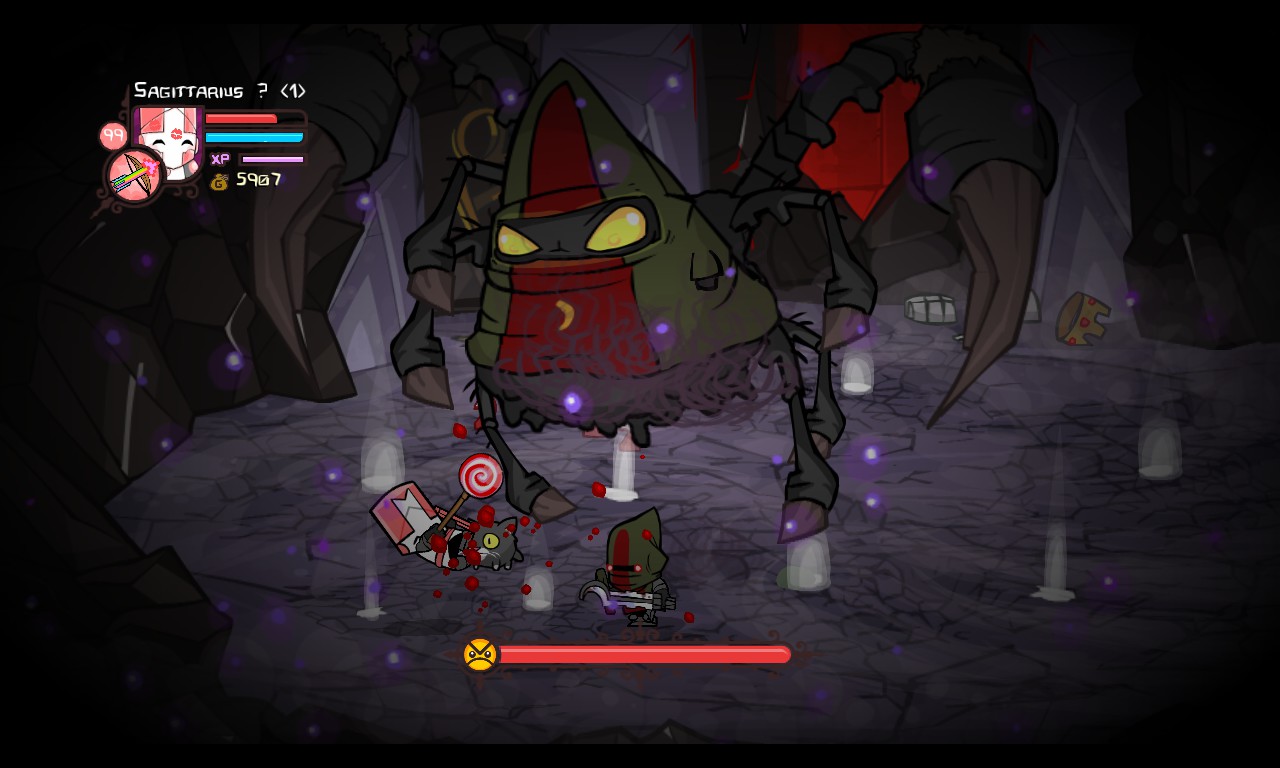
If you’re right underneath the Evil Wizard Spider, he will claw at you with his smaller legs. This attack hits multiple times.
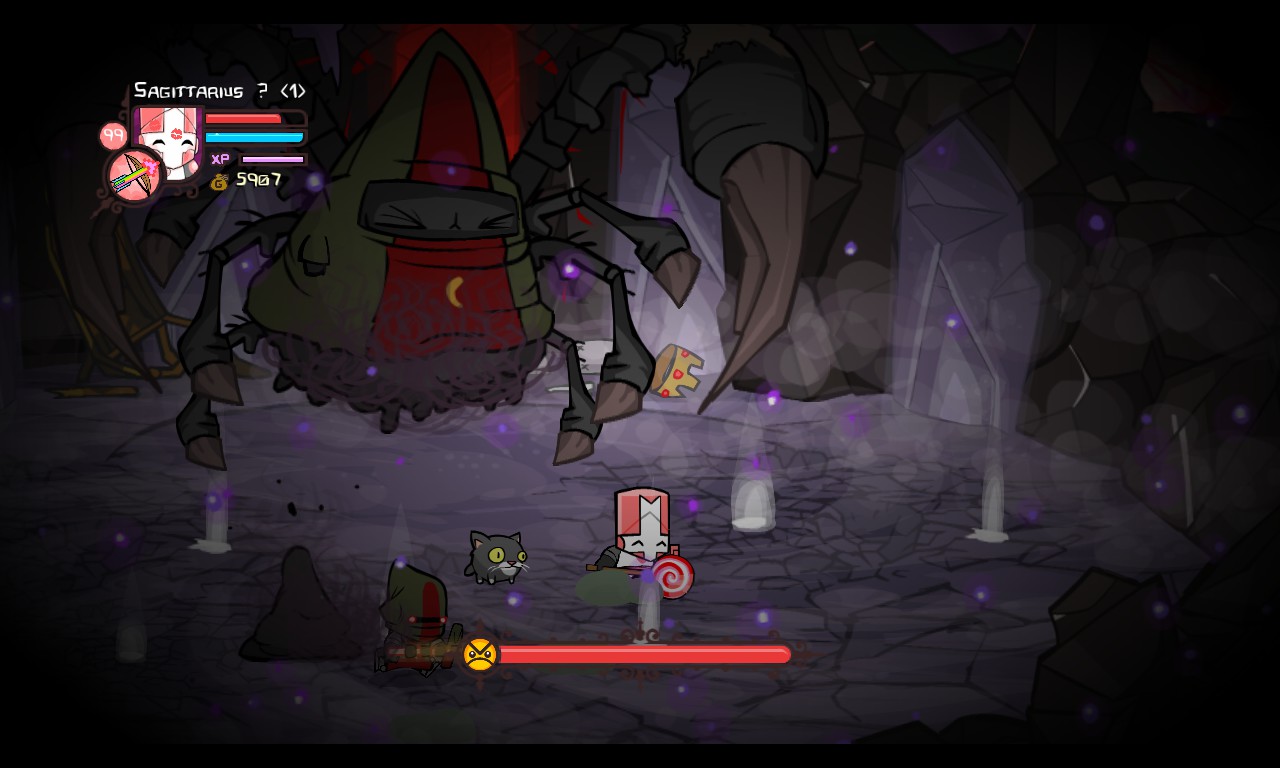
The Evil Wizard will poop two Cult Minions on the stage at one time, joining the fight.
The Evil Wizard Spider is suspended in the air, so you’ll have to use air attacks to defeat him. An experienced player can stay right above his head and land air combos on him while the Evil Wizard Spider constantly uses his clawing attack. If the player is high enough, the Evil Wizard Spider can be stuck doing this attack until the player is on the ground or gets hit.
Something you need to watch out for is his jab attack. It knocks players a fair distance and lessens your opportunity of damaging him. You’ll want to stay above him and land as much attacks as you can.
The Cult Minions that he spawns can be tricky to deal with since they use their magic very frequently. Unfortunately, they don’t drop fruit or anything, making the battle a bit harder. I would suggest taking him down as quick as possible before the Cult Minions become a problem.
Once he’s done, the light will be restored to the entire stage.
Evil Wizard – Balloon Form II
The Evil Wizard, bloated like a balloon. Again.
HEALTH: 800 HP
POWERS: BALLOONOMANCY. ON HIMSELF.
DIFFICULTY: EASY
After breaking out from the Spider Form, the Evil Wizard takes on the form of a balloon again.
The Evil Wizard will drop balls of energy that split into 8 or 10 dark projectiles that move in separate directions.
The same as his previous balloon form. Nothing much, really.
After that’s done, the Evil Wizard will deflate, and telepathically grab a powerful sword to his hand.
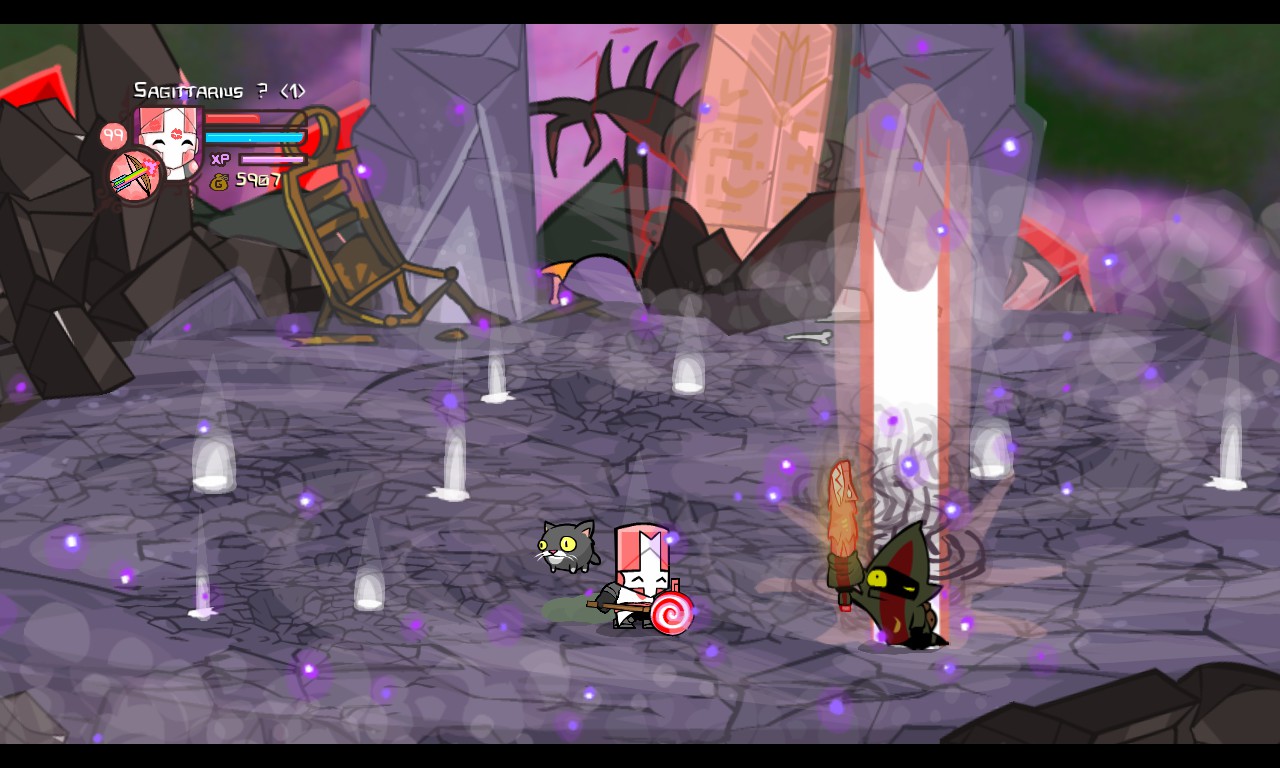
Evil Wizard – Final Form
The Evil Wizard, carrying a sword capable of doing powerful magic.
HEALTH: 1050 HP
POWERS: BEING AN ASSHOLE
DIFFICULTY: MEDIUM-HARD
The Evil Wizard’s got a big scary sword! This must be it – the stage is crumbling and the Evil Wizard is going all in. It all comes down to this!
The Evil Wizard’s primary attack is jumping high into the air and sending down giant fireballs. These have no target markers.
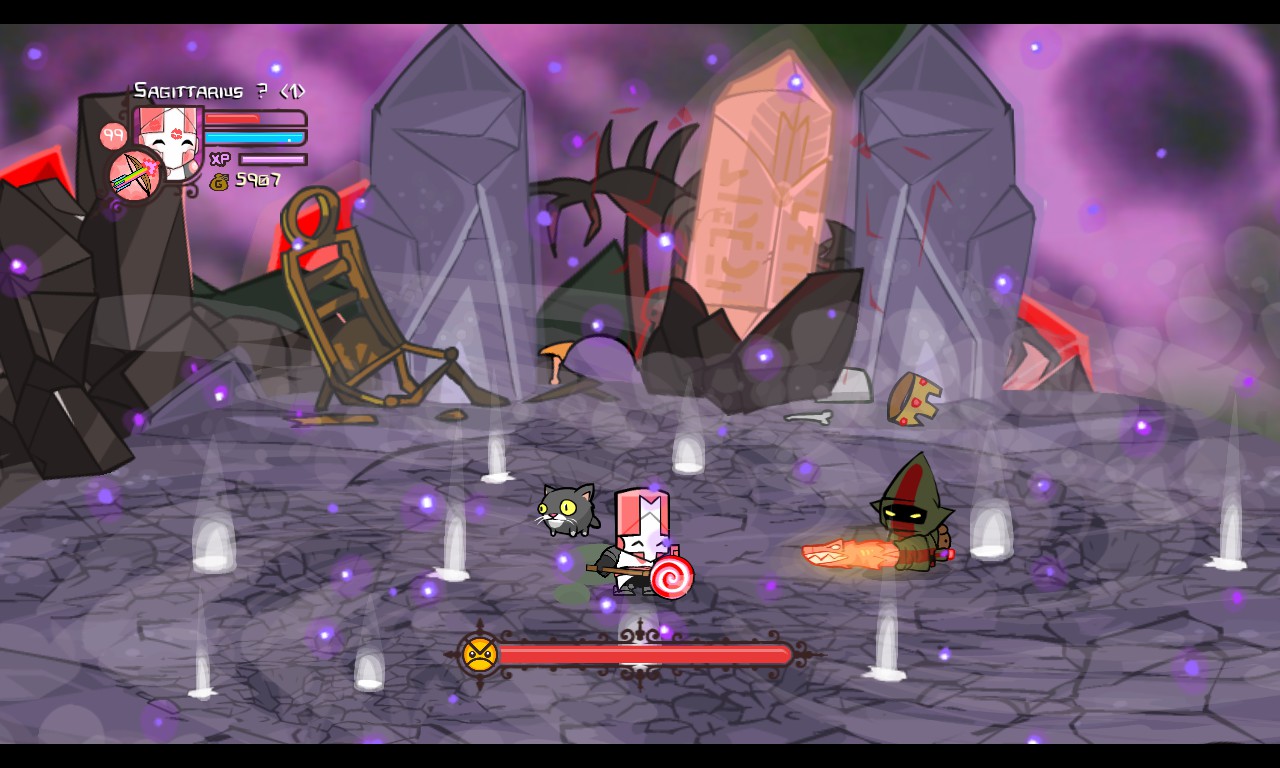
If you’re aligned with the Evil Wizard, he will cartwheel over to your direction and back.
If you’re aligned and close to the Evil Wizard, he will send a sonic-wave fireball at your direction.
Just like his previous forms, the Evil Wizard will move around the stage in circles. When he’s using his fireball rain attack, run around and dodge, or try to attack him while he’s in the air. He’s more vulnerable when not attacking but at the same time he’s hard to hit because of his movements.
When he’s cartwheeling over to your direction, move vertically to avoid getting hit. He moves in a straight direction and then he’ll cartwheel back.
When he’s using his sonic-wave fireball attack, quickly dodge it by moving vertically. He’ll stop for a while giving you a chance to attack.
Once you’re done, the Evil Wizard will drop his sword. YOU HAVE 5 SECONDS TO PICK IT UP.
_____________________________________________________________________
YOU FOUND:
THE DEMON SWORD
Level 20 Sword
+ 2 STR
+ 2 MAG
+ 2 AGIL
+ 2% FIRE DAMAGE
– DOES NOT SHOOT FIREBALLS

_____________________________________________________________________
Conclusion and Additional Notes
This is the biggest guide I’ve made so far. I hope this guide helps you learn more about bosses, strategies, and other things. I hope this guide doesn’t actually bore you to death xD
On Insane Mode, bosses have x10 the health as well. This means that the Barbarian Boss will have 4000 HP and so on. Except the Necromancer, who will still be at 4000 HP. Can you imagine taking him down after an hour of fighting him?
Is your character fit for taking down bosses? Read this guide below to see some of the best characters for taking down bosses!
[link]If you want to see my Experience Grinding guide, click here!
[link]If you don’t mind, I’ll just throw in this random screenshot in here…