Overview
This is a basic guide for building a home in 8bitmmo. It will teach you how to use the Z Axis Lock, along with a few helpful tips to get you started.
Part 1: Picking A Spot To Build
The first thing any would-be builder needs is a place to do your would-be building. This can be one of four locations: a player-owned town, your own town, a pocket universe, or the wilderness. Each has it’s own properties which I will discuss now.
Player-Owned Town: Probably the most common choice for the newbie is the Player-Owned Town. This is a town owned and maintained by another player. By asking “are any mayors accepting new citizens?” you’re giving yourself the chance to become a citizen of a town a mayor is recruiting in. Sometimes a mayor may have requirements for joining, and it’s up to you if you agree with these requirements. Sometimes no one is recruiting, but don’t get discouraged, because you still have three more options.
Your Own Town: That’s right! You too can be a mayor! But it comes with a price. You’ll need to aquire a ‘townstone’. Obtaining one requires a plat purchase, or buying it from another player with gold. This item, when placed, claims a portion of the wilderness for yourself. You can even expand it later (with a plat purchase). Once you own this land, it is yours and always will be. You may name your town, and accept your own citizens as you please. Some players choose just to build neat things in their towns. Some do both. It’s all up to you and how you want to play.
A Pocket Universe: The newest addition to 8bitmmo, the pocket universe is a small subsection of the game that only you (normally) can access. That’s right, so no worrying about other players building over your stuff. It’s possible (if you allow it) to invite others into your Pocket Universe, or even build a town inside it, but once again that’s up to you. Some even use it for storage of items. You pick. I should add that you may expand it once a townstone is placed, just like any other town. Update: With the addition of ‘Pocket Townstones’ you can give your Pocket Universe the properties of a normal town (like adding citizens) without using an actual Townstone and having to buy plat. The disadvantage of this is that it remains the small default size still. You can upgrade it with a real Townstone later.
The Wilderness: This is the unclaimed land of 8bitmmo. The land that belongs to no town, and thus the unsafest place to build. Why? Well, if a player happened to claim the land you built on, that house might be removed. The blocks would be returned to you, but your home would not. Despite this, some choose to build in the wilderness for various reasons. For example: to build some pixel art, or try out a new design. If you do, make sure you place a homestone (covered later). It should also be noted that building too close to a town or blocking someone else is highly discouraged and could result in the removal of your structure.
Now that you’ve picked a location, let’s get started building!
Part 2: Getting Inspiration
The first thing you’ll want to do before buying any blocks is to look at all the different options the game has to offer(Press the ‘h’ key to enter the shop. Blocks are found under ‘construction’). Try to visualize which ones would look the best for what you’re trying to accomplish. A cabin? Try wood. Something more modern? Try brick. Something way out there? Try something like water. It’s all up to you. You may also notice that there are lots of roof and carpet tiles in different shapes. This is because you cannot rotate blocks in this game. So, for example, if you buy four roof corners make sure you buy all four corner pieces and not four of the same piece.
Now one block you’re definitely going to want is the Homestone (found in the ‘Household Goods’ section of the shop). This block has the special property of always teleporting you back wherever it is placed with the command ‘/home’. This is especially handy if you plan on building in hard to reach places. It only costs 1g, and you can only own one at any time. A fun thing to note is you can invite other players to your homestone with ‘/homeinvite playername’.
Obviously certain blocks are more expensive than others, and this may hinder the building process of your first home, but don’t get impatient and buy any old block to “just get it over with”. Try doing some quests, and killing some mobs for that extra gold that you needed. You might even level up while you’re at it, and that means more blocks to buy in the shop.
A great way to get inspiration is to look at other players’ creations. No, don’t copy them block-for- block, but maybe recreate it with your own little twist? The Megamap is useful in this regard. With that you can see all of the cool stuff other players have created, and maybe even your own someday… better get going!
Let’s build that house.
Part 3: The Building Process
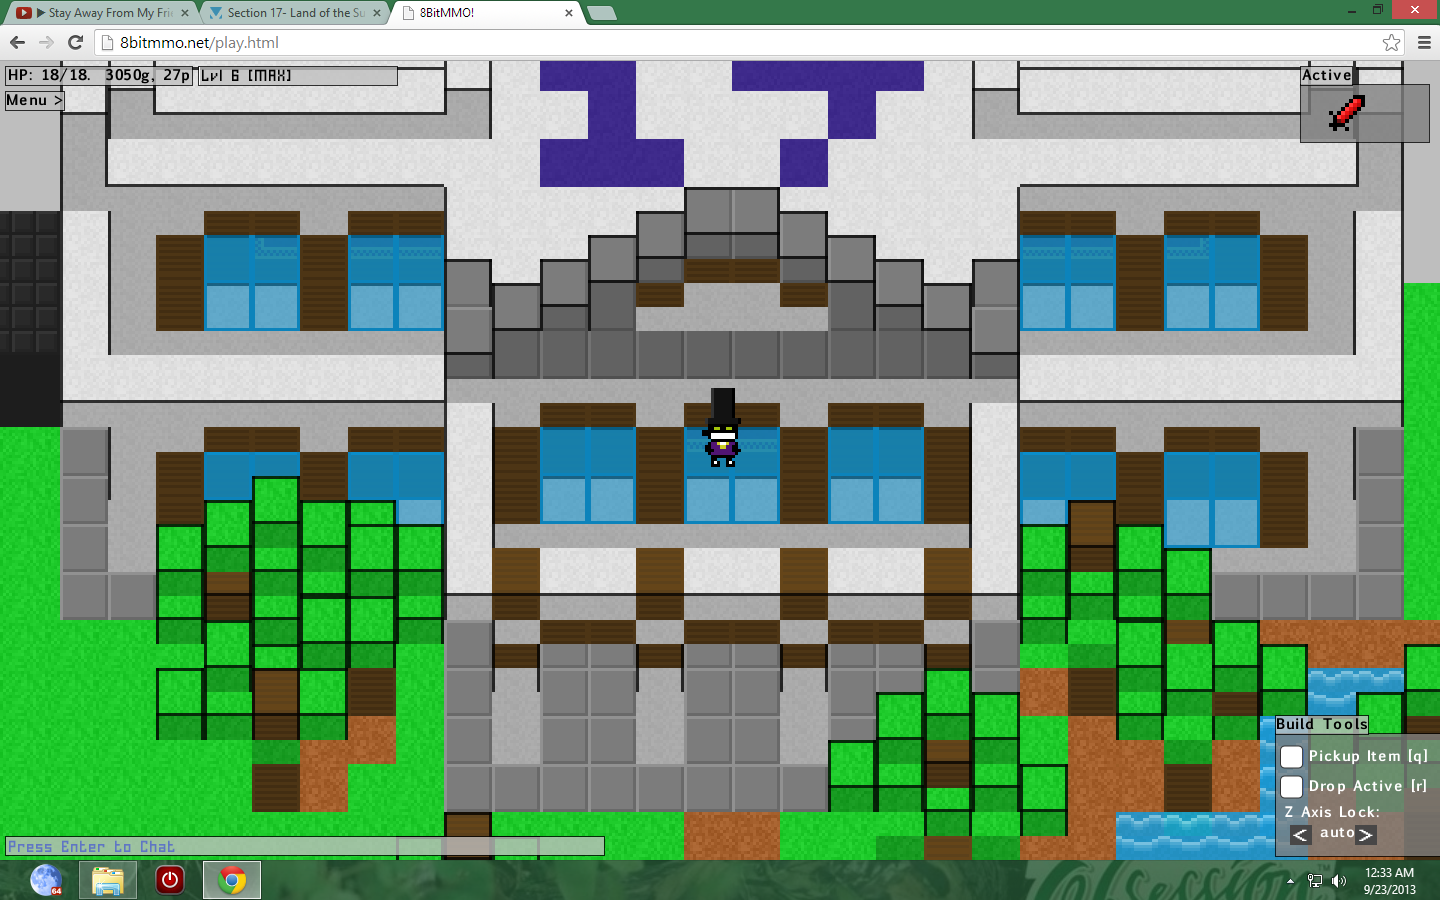
Okay, now it’s time to build. See the build tools in the bottom right corner? If it’s not there for some reason, try pressing the ‘b’ key. They are your best friend. We’ll cover the Z Axis Lock later, but for now make a note of this:
Press ‘i’ to enter your inventory. Click the block you want to use, and it will be selected as the ‘active’ item (shown in the window on the top right). From here you can press ‘r’ to drop an item, and ‘q’ to pick an item up. Keep the Z Axis at auto for now.
First you’ll want to set your boundaries. This means laying some blocks (of the type you’ll want to be your wall) on the floor in the shape of your structure. This makes sure you’ll fit in the area you’re in, and also makes sure you like it that way.
Next, build your ground floor. Remember, this is a 2-D game, so you’ll want to build things one layer at a time in order to see it nicely. It gets hard when you’re trying to build behind a wall you could’ve waited to add later. So place your carpet, or whatever you want to be your floor, and place some furniture as well. Don’t forget your homestone. Optional: Although I said to keep your Z Axis Lock on auto, you can set it one notch over to the right to make it 0 while building your floor. This makes every block you place be placed at the ground level. Make sure you set it back to auto once you finish your floor.
Then, you’re gonna want to build your walls. This is important: build North to South. If you start at the bottom you won’t be able to place blocks behind what you already placed. Always build back to front. ALWAYS. Anyway, place your wall however high you’d like. Add windows if you want. And make it whatever block type you desire. It should be noted at this point that there are two different sized blocks in 8bitmmo. A half-size and full-size. The full-size is the height of two half-size blocks. So if your wall was made of full-size wood, and you wanted windows, you could put half-size wood and half-size glass in those areas to make windows in your wall. Simple and easy.
Well, now you have your floor, and your walls. So next comes the roof. This is where we cover the Z Axis Lock. You’ll notice it says that it’s set to ‘auto’. This means it builds on whatever level the lowest level is that has blocks on it. So building a roof wouldn’t work as you need to build in the air. That’s where changing it comes in. The first notch to the right is 0. This is ground floor level. Nothing lower than 0. Then comes 8. This is equal to the height of one half-block. 16 is the height of two half-blocks, or one full block. And 24 is three half-blocks. Each notch goes up by 8 and each ‘8’ stands for another half-block in height. So if your wall is 16, or three blocks high, you would set your roof to 24 to be one above your wall.
Well, that’s all folks. With the completion of your roof, you should have a finished home. If you wanted to add a second level to your abode, just make another floor instead of a roof, and then add more walls etc. With the Z Axis Lock you can also build stairs, trees, or even dragons! In this tutorial we talked about finding a location, getting some inspiration, and finally building a home. Keep experimenting! Once you understand the Z Axis Lock, you can build almost anything… so go out there and build everything!
Part 4: Useful Links (all found on the official game forums)
Trololo’s Z-Axis Building Guide: [link]
Zloc6’s ‘Stuff To Know’ Guide: [link]
Black_Jack’s Safe Tutorial: [link]
Eld’s Tips & Tricks: [link]
Reap3r119’s Controls & Commands: [link]