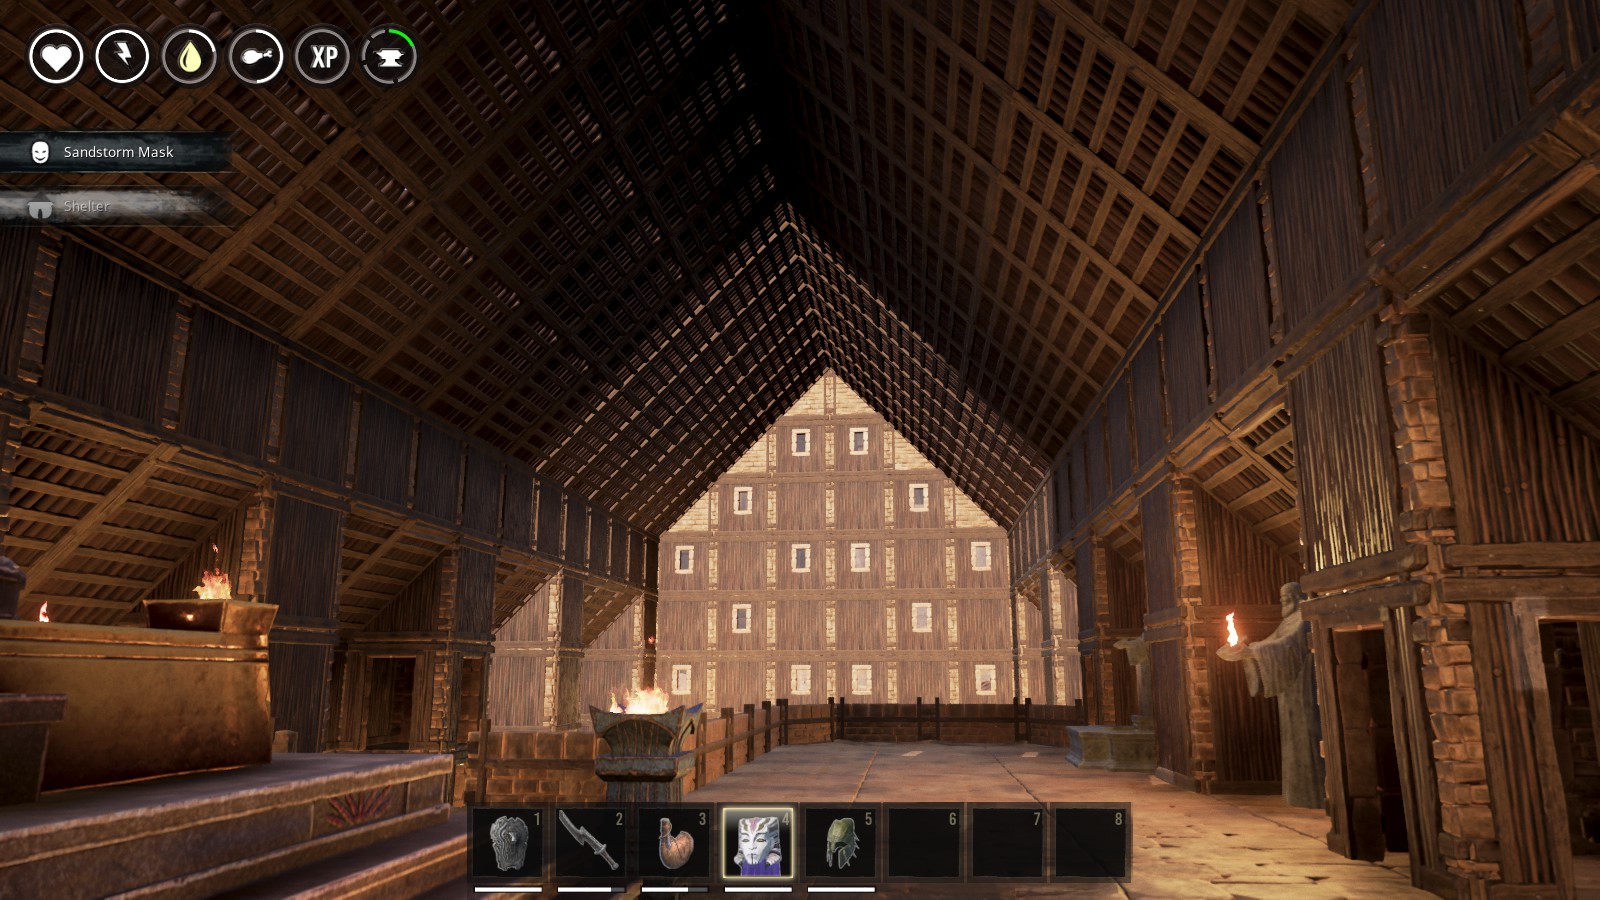
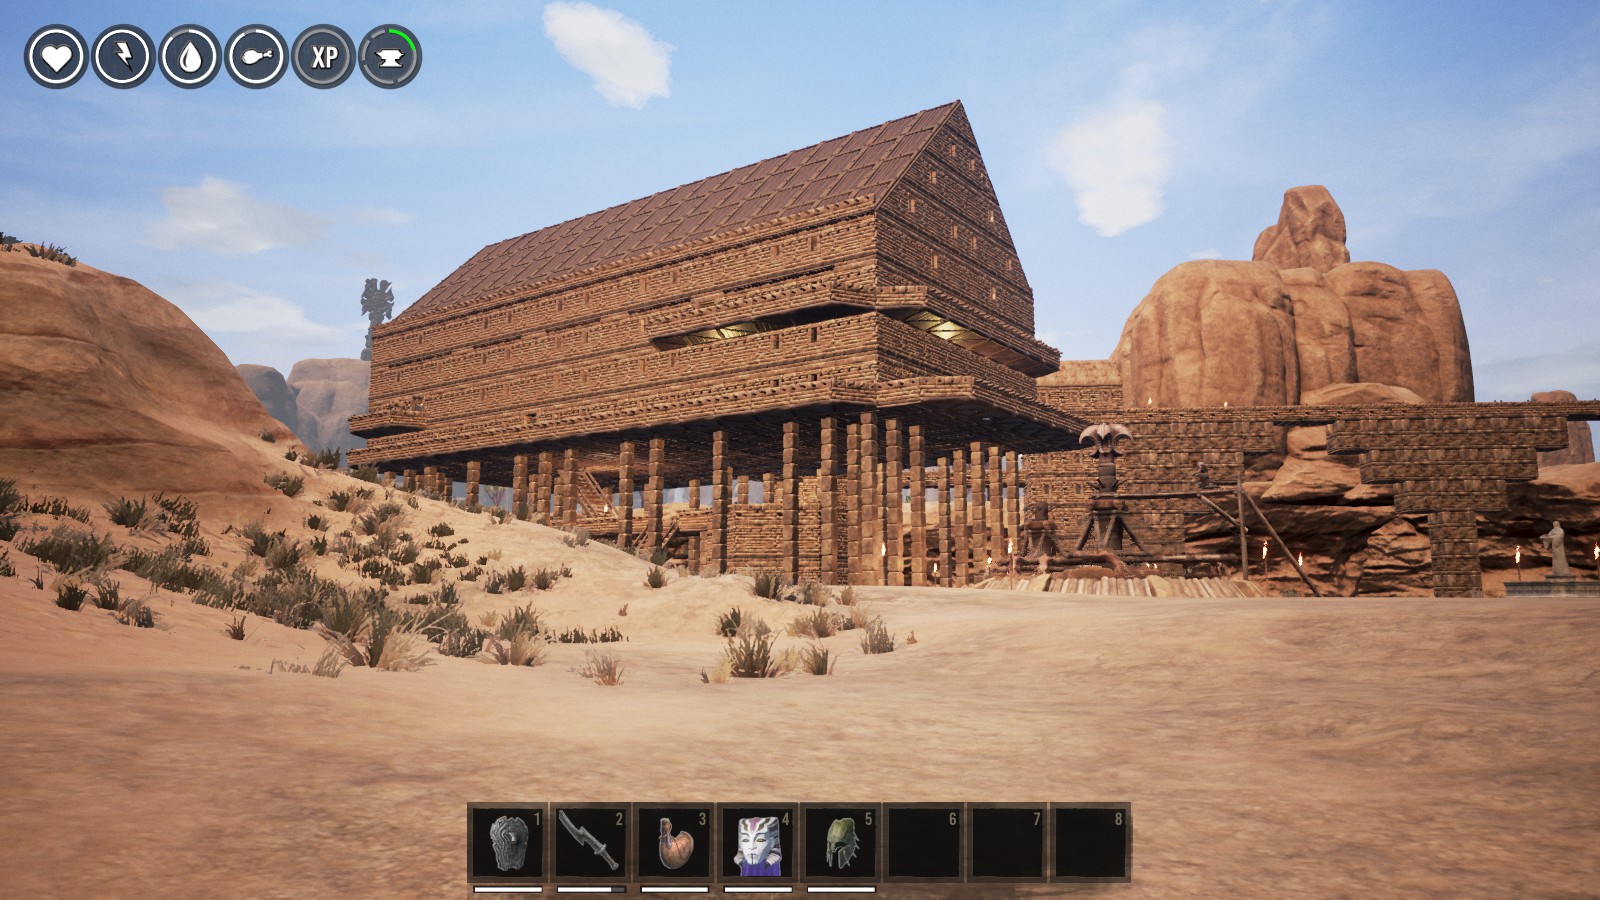
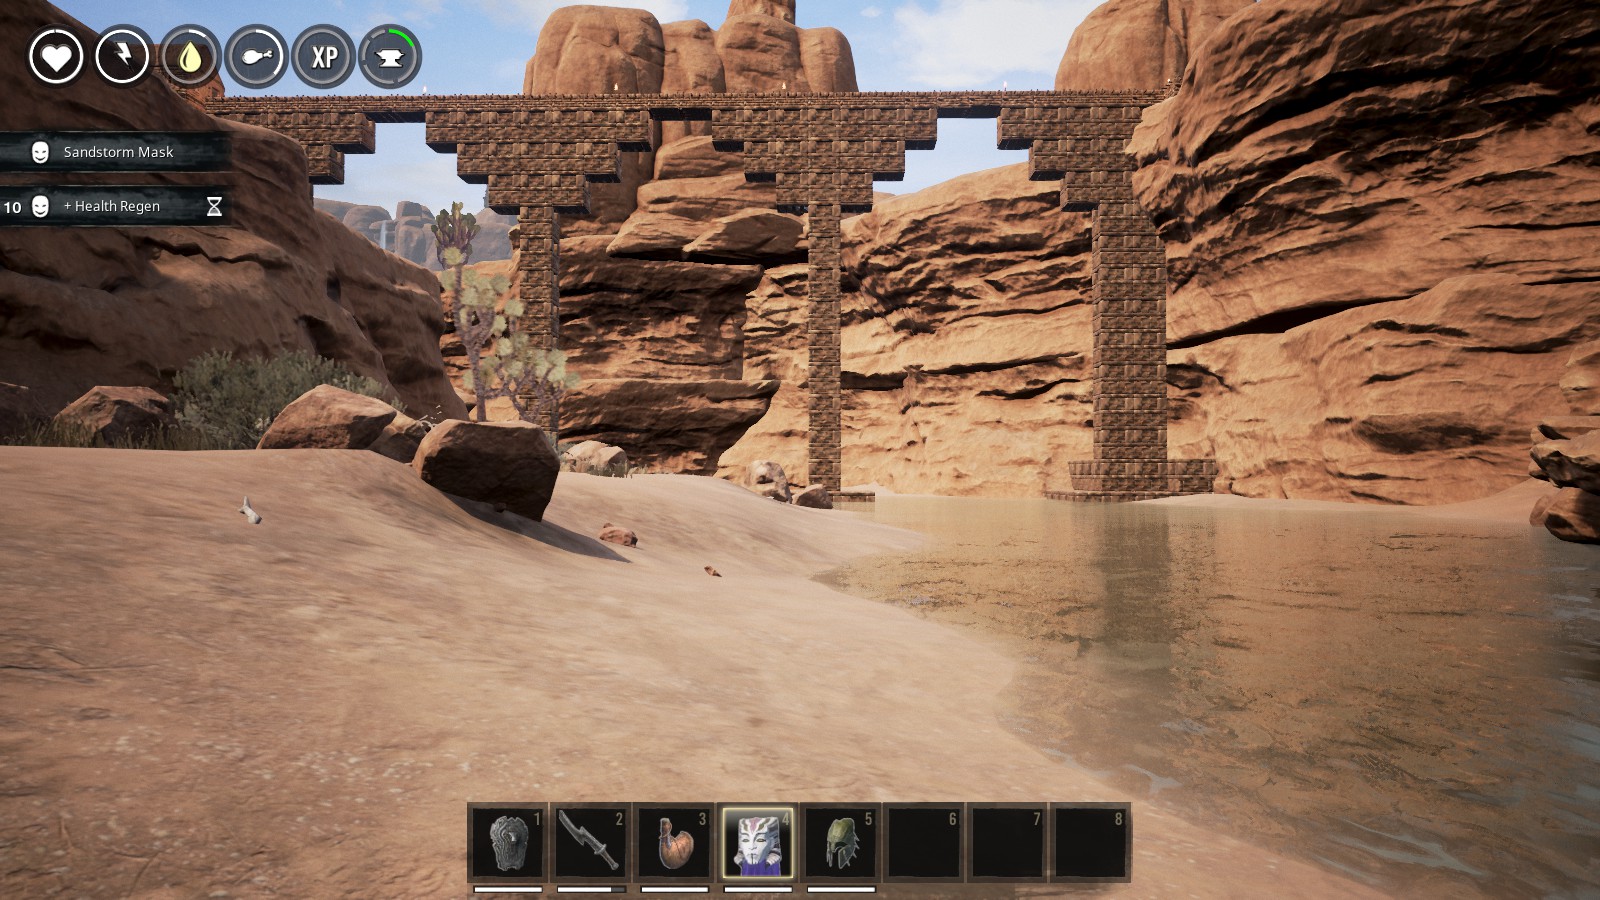
Overview
** I will be updating this guide after May 8th to match the current game building system. ** This guide is intended to help you with building your base with strong buildings. I will show you some things that I have picked up along the way while building my current base in the Single Player game. The same can be done in the multiplayer game if you are in a good location. There are several good videos on YouTube covering how to build your buildings in game. The new building pieces for the Frozen North are esential the same as T3 building pieces and will not be added. Please feel free to translate this to other languages as long as you site this guide as your source. If you need the screens I have not uploaded, please message me through Steam. A video tour of my base will also be done once I finish the main base (hopefully in the next two months).
Your Building Site
The building sites in the game can range from level to vertical based on your location on the map. The building system does allow you to build any where you like as long as the structual pieces will snap into place.
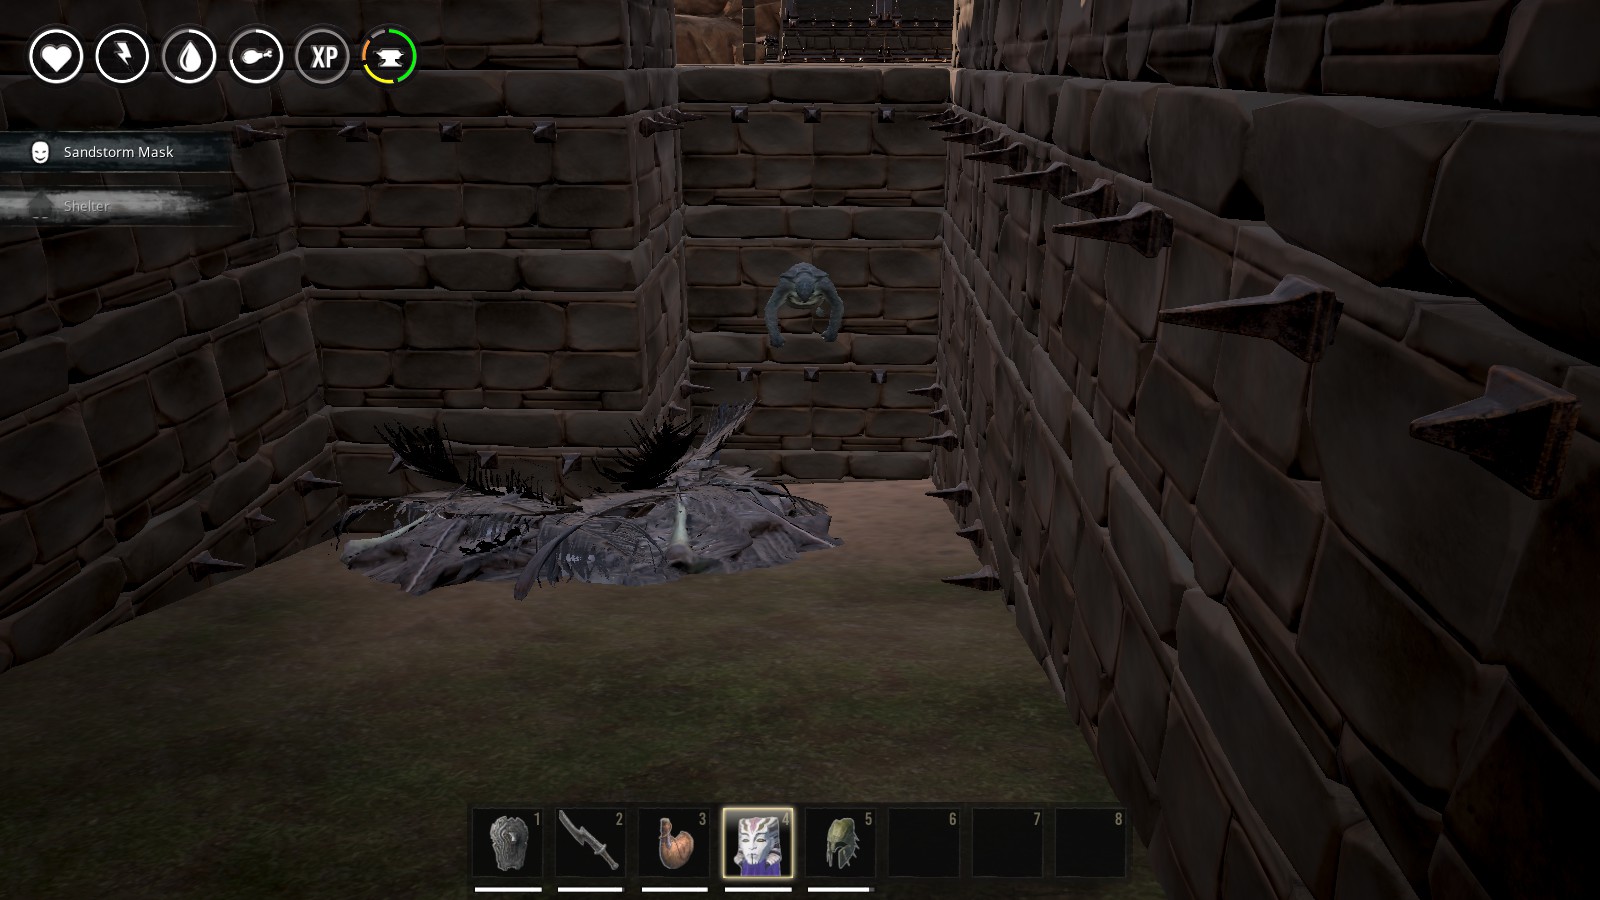
Just ignore the little guy and the nest. For some reason the nest will not go away and the babies are respawning in the foundations.
The area for my chosen base location has almost all of the types of terrain you can build on. The only ones not in the area of my base is where you are building under an overhang or bridge.
This is a very early view of my base that shows where the swimming pool is at. My base is evolving as I build it out and furnish the various areas for a clan of about 16 to 25 members.
Leveling your Site
There actually are several ways to level your site for building on. The cheapest in materials is to use the foundations. This is due to recent changes in cost to make items. Keep in mind that you will need to use more pillars closer together at the base the higher your building is. I will explain this latter here in this post.
I chose to use the foundations to level the site since they made more sense when I started building at the location. From the water level to a flat area on the chosen site for my new building is three foundations deep. In the screen above, I was replacing T3 with T2 foundations to give the new building a unique floor color compared to the rest of my base.
How strong is your building?
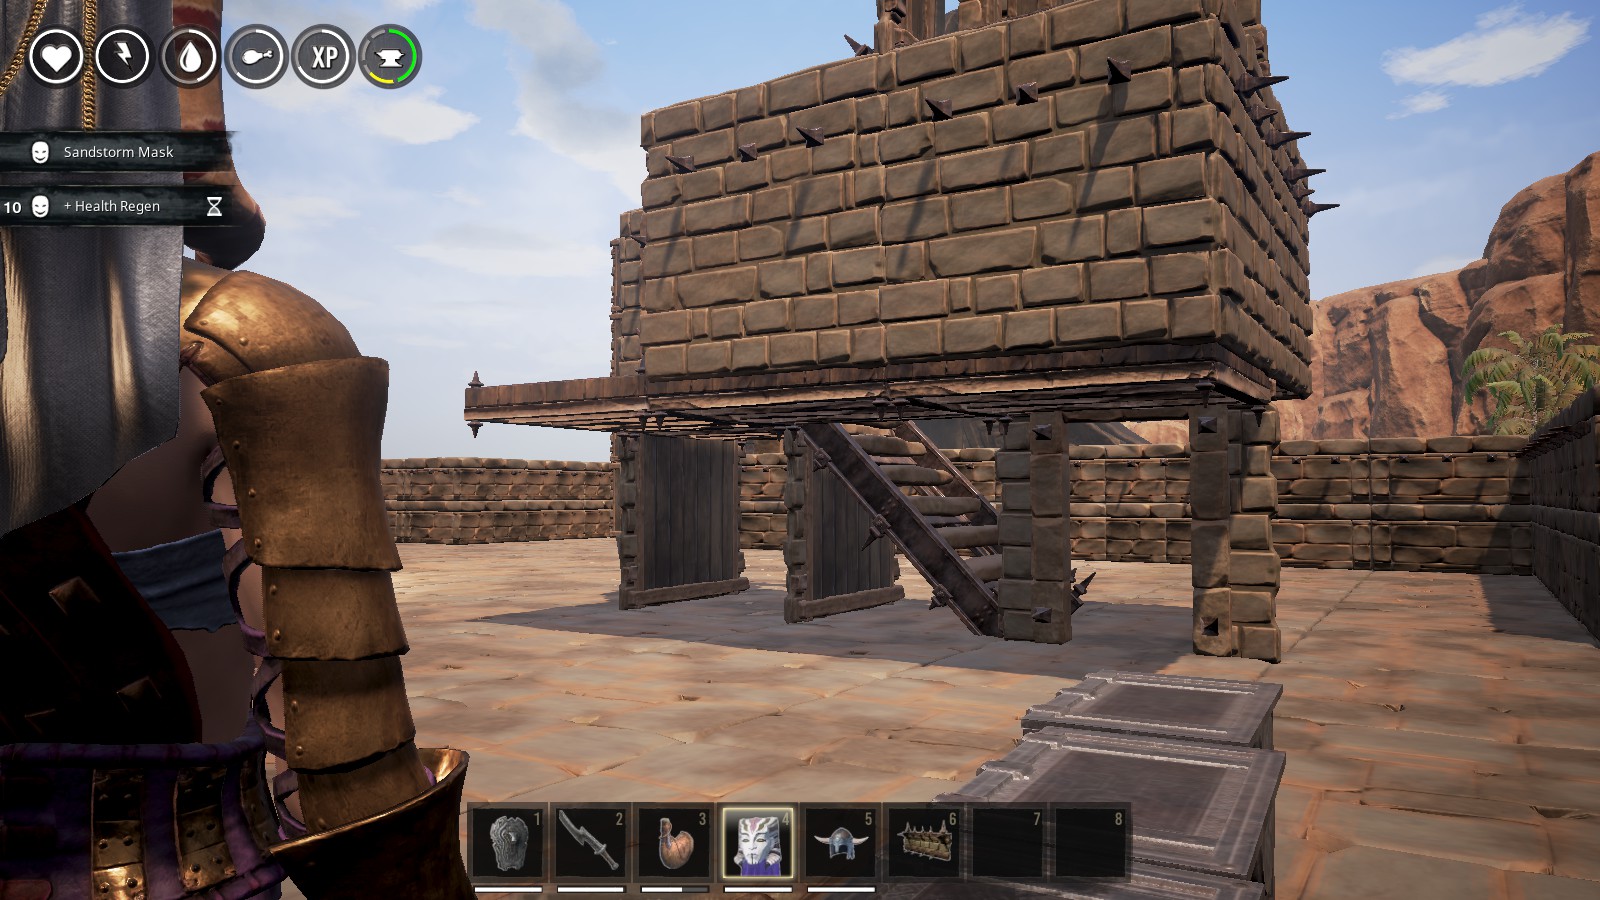
I am going to show you what happened as I removed an unfinished tower in my base. Due to a change in the bases layout, it was no longer needed and in the wrong place. To start, I removed some of the outer walls so you can see the inner structure at the base of the tower.
I started by removing the ramaining outer walls and door frame at the base.
When I reached this point, the weight of the upper structure started to cause the failures to occur that will bring the tower down.
It did not fully collapse until I removed the last part at the base, the stairs.
All though the tower was not finished, it was still strong enough to hold together with the lower outer walls gone.
Another example is what is shown here.
I had decided that the upper two floors of a building I had finished were no longer needed. This is what happened as I removed walls from the lower of the two floors. The roof of the building remaiind longer then the lower floor due to the fences and position of the walls of the upper floor of the building. I will explain this in the structural part of this guide.
Structural Integrity of the Building Parts
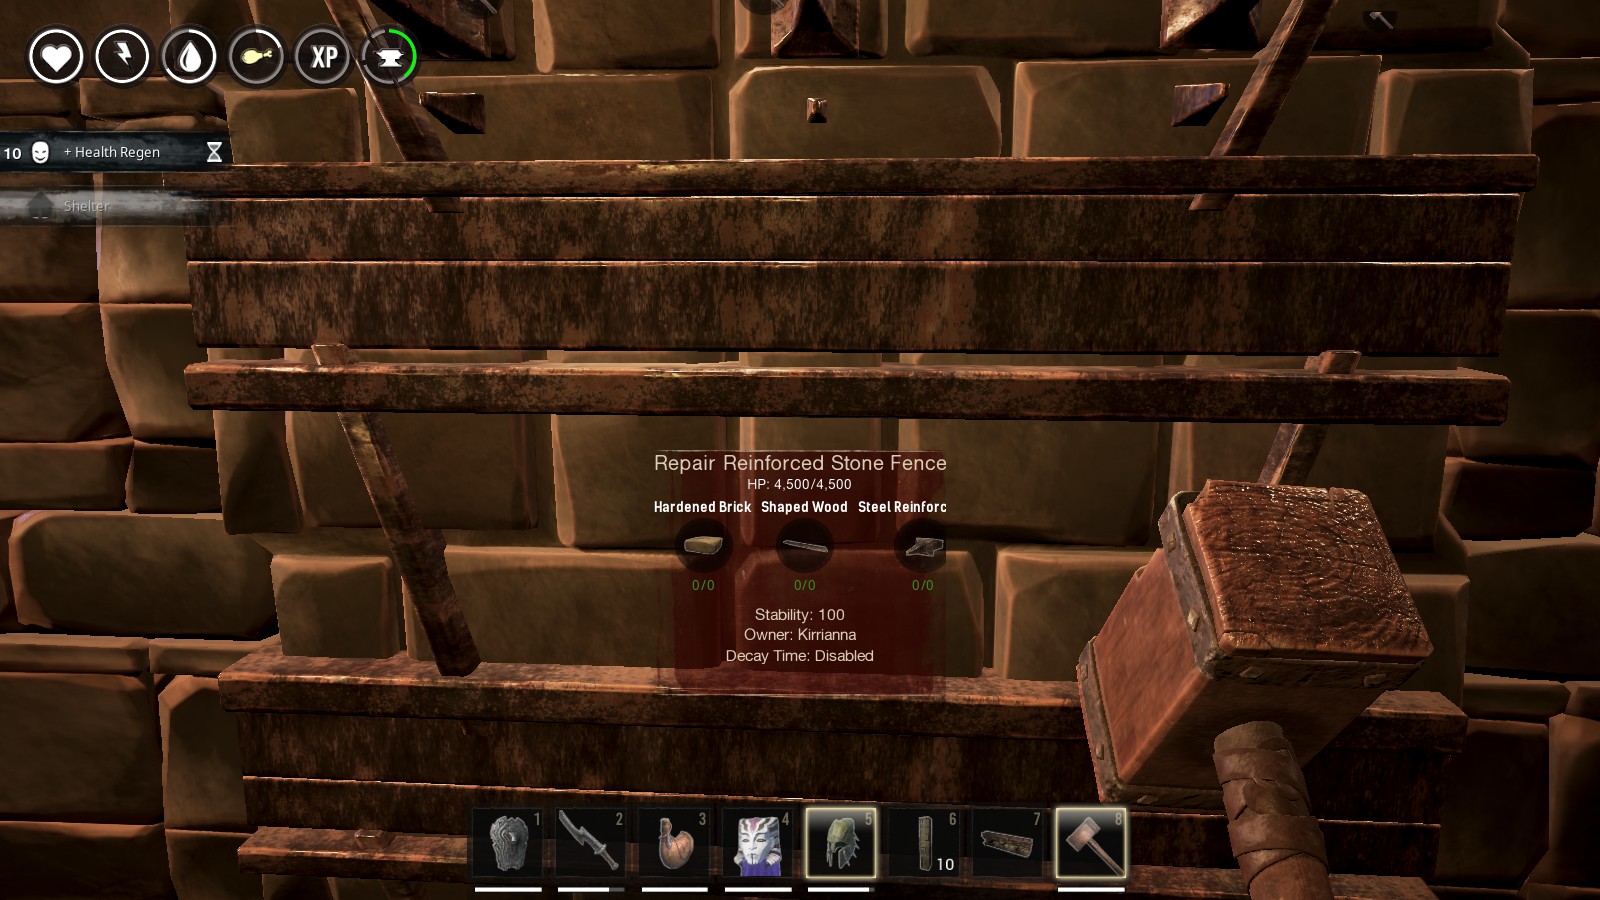
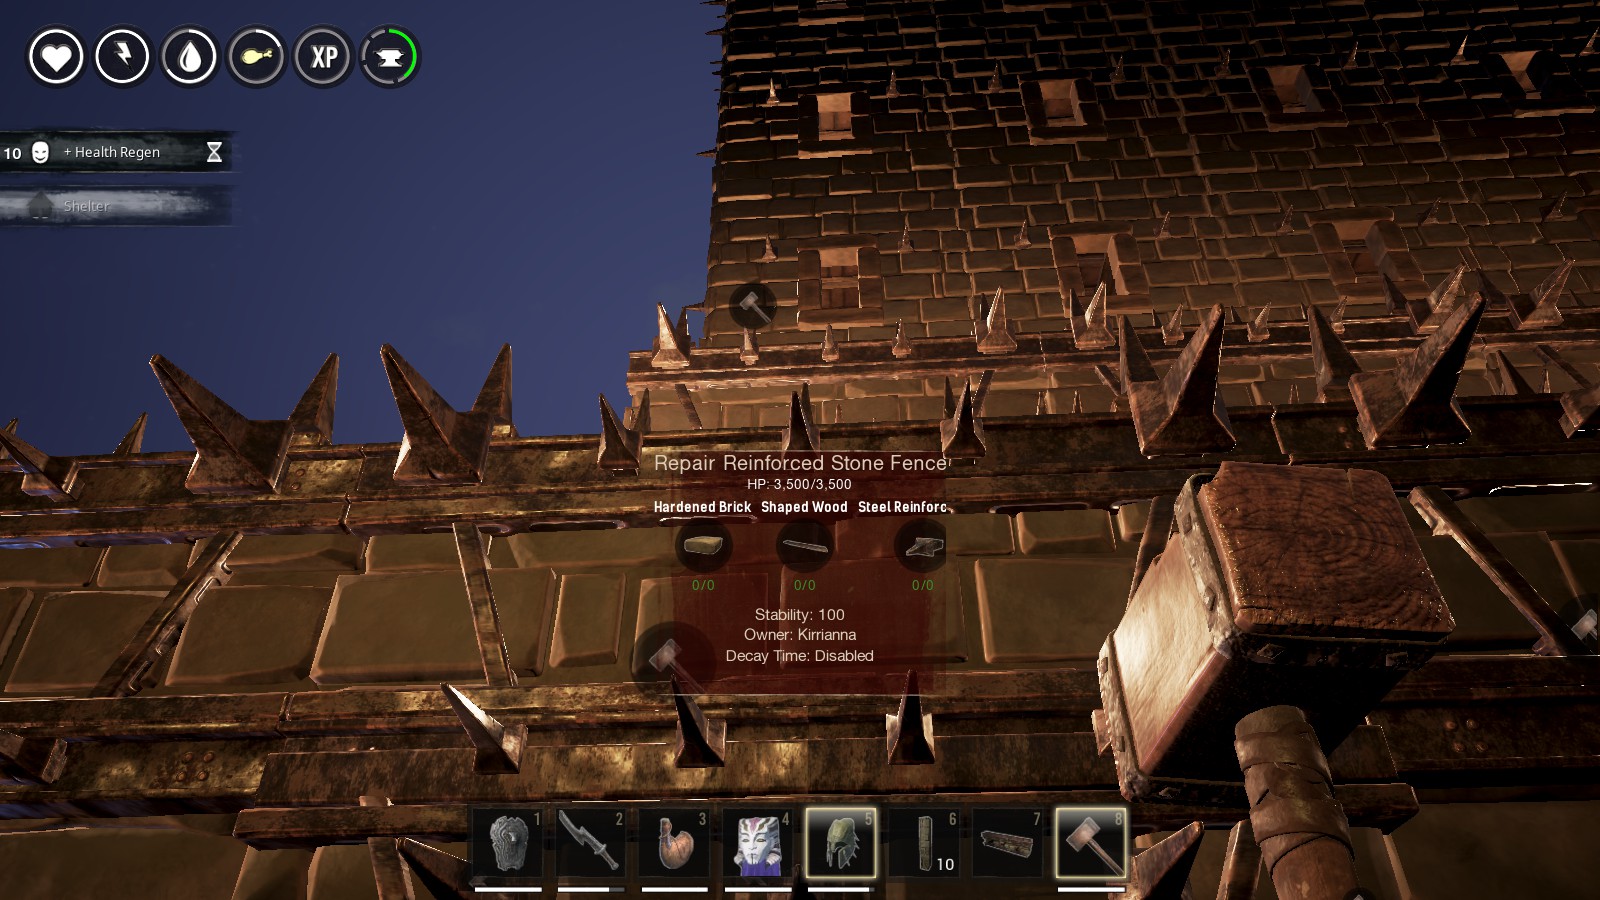
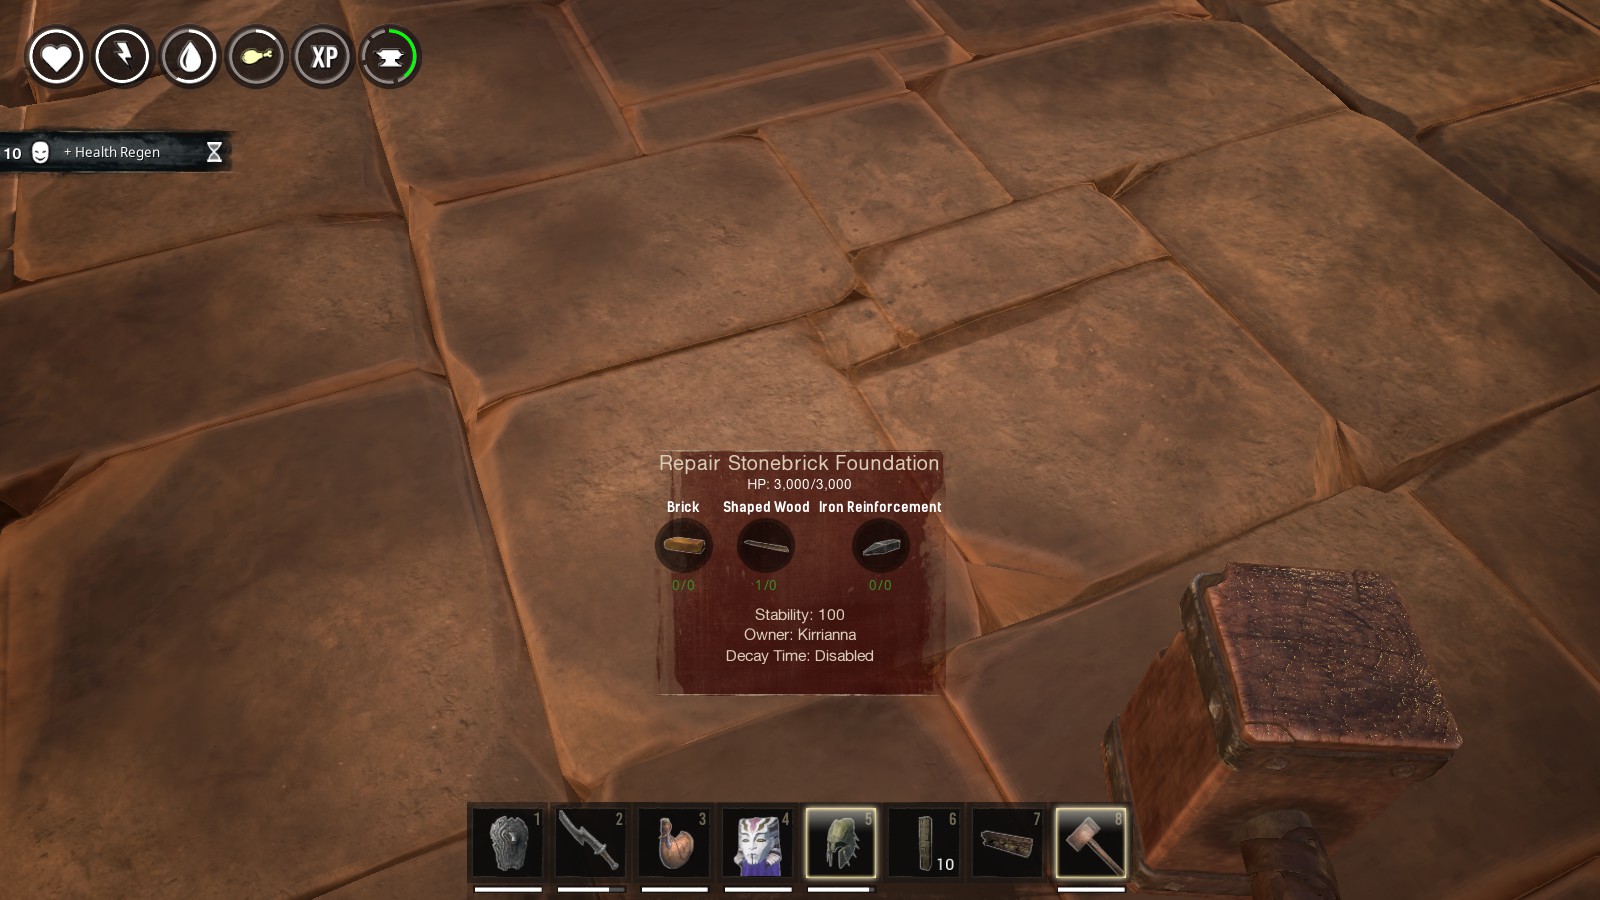
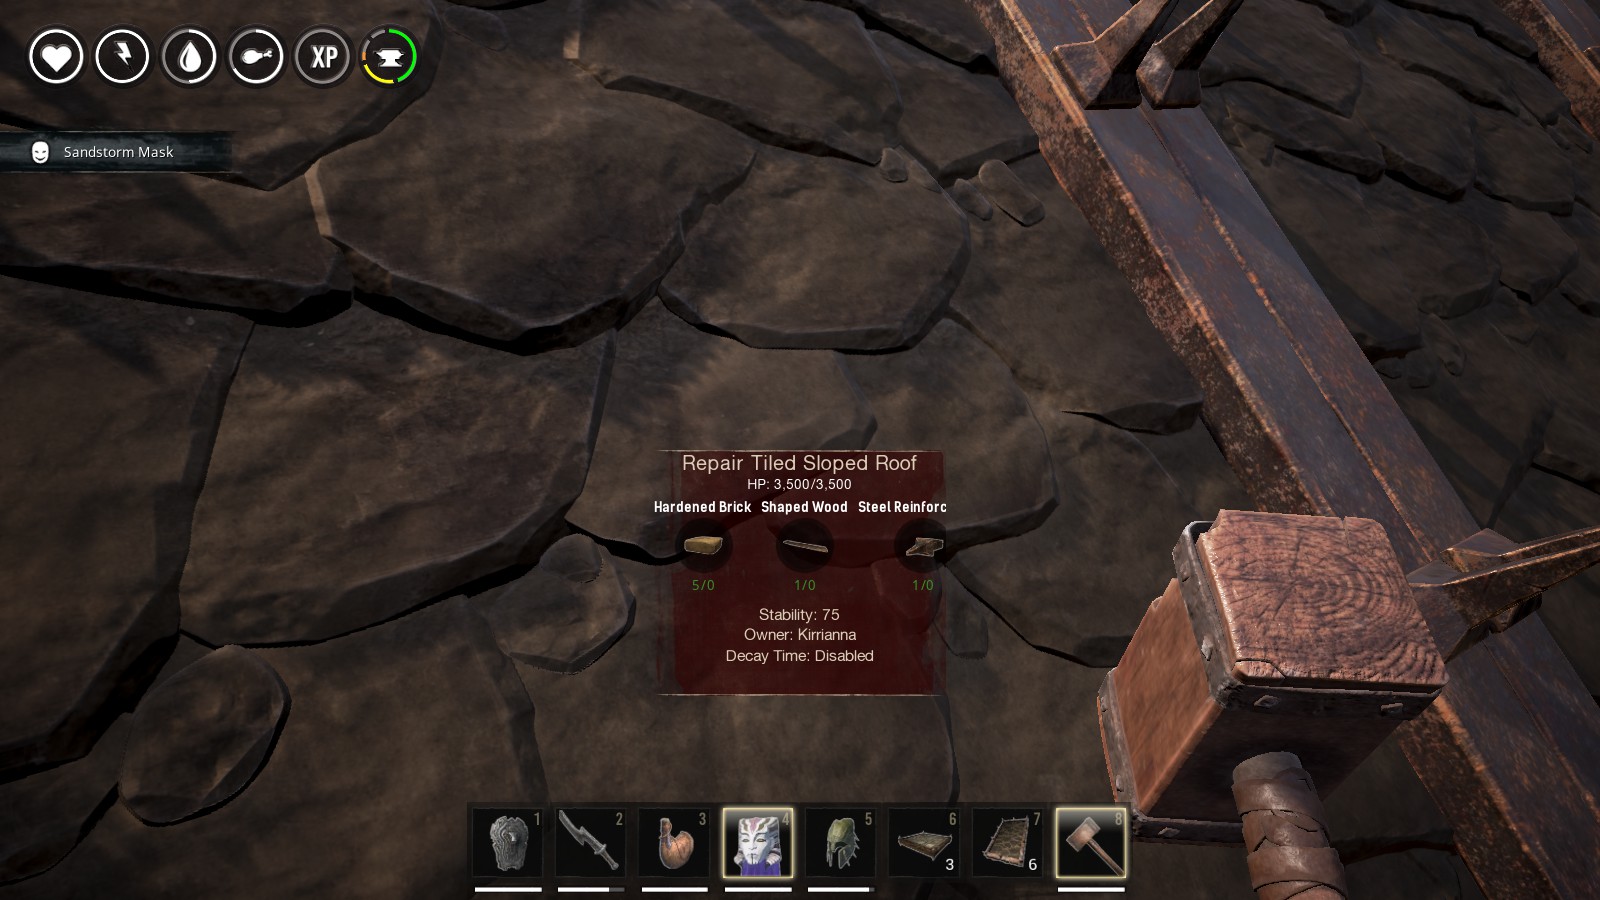
To see where your strutural integrity is at, you can use the Repair Hammer, an equipable gear item that you can craft. In this section, I will show you several screens with the Items showing 100%. Please keep in mind, the lower the Integrity Number is, the higher the chance of not being able to place your building piece.
All of these are at 100% as will be the walls on the lower floor of a building. As you go up and out, this number will go down. This not affected as you build up to qlarify this.
Prior to doing some structural changes, the center of the roof over the pool was at 20% structural integrity. The screen below is prior to making any changes to support the roof over the pool.
After the changes were made, the center was at 40%. Even at 20% your structure is still a strong building and can take some damage before it fails.
Building a Large Roof Span and High Structures
This is where structural integrity comes into play. The higher a structure is or the longer the roof span is the lower your structual integrity will be. Please keep in mind, if you are stacking foundations and wraping stairs around them, your Integrity will not fall enoung to cause any problems.
At the highest point I was no longer able to attach foundations to the rock spire for the tower. I am sure if I built down a little at the top, I can continue to build up. *Note* When elevators were added, I did rebuild the tower all the way to the top of the rock spire.
Here is how the pool looks after the changes that I made to strenghten the roof. You can see part of the rock formation the Trebuchet I show latter in the guide is built on.
These are some errors you can encounter when you have reached the limit of structural integrity.
This error can happen anytime when you are not connecting to a wall or foundation. Even though the placement was at the end of the flat ceiling piece, you can get this error.
This error will occur when you can connect, but the pieces you are connecting to are not strong enough to support the piece you are connecting to them.
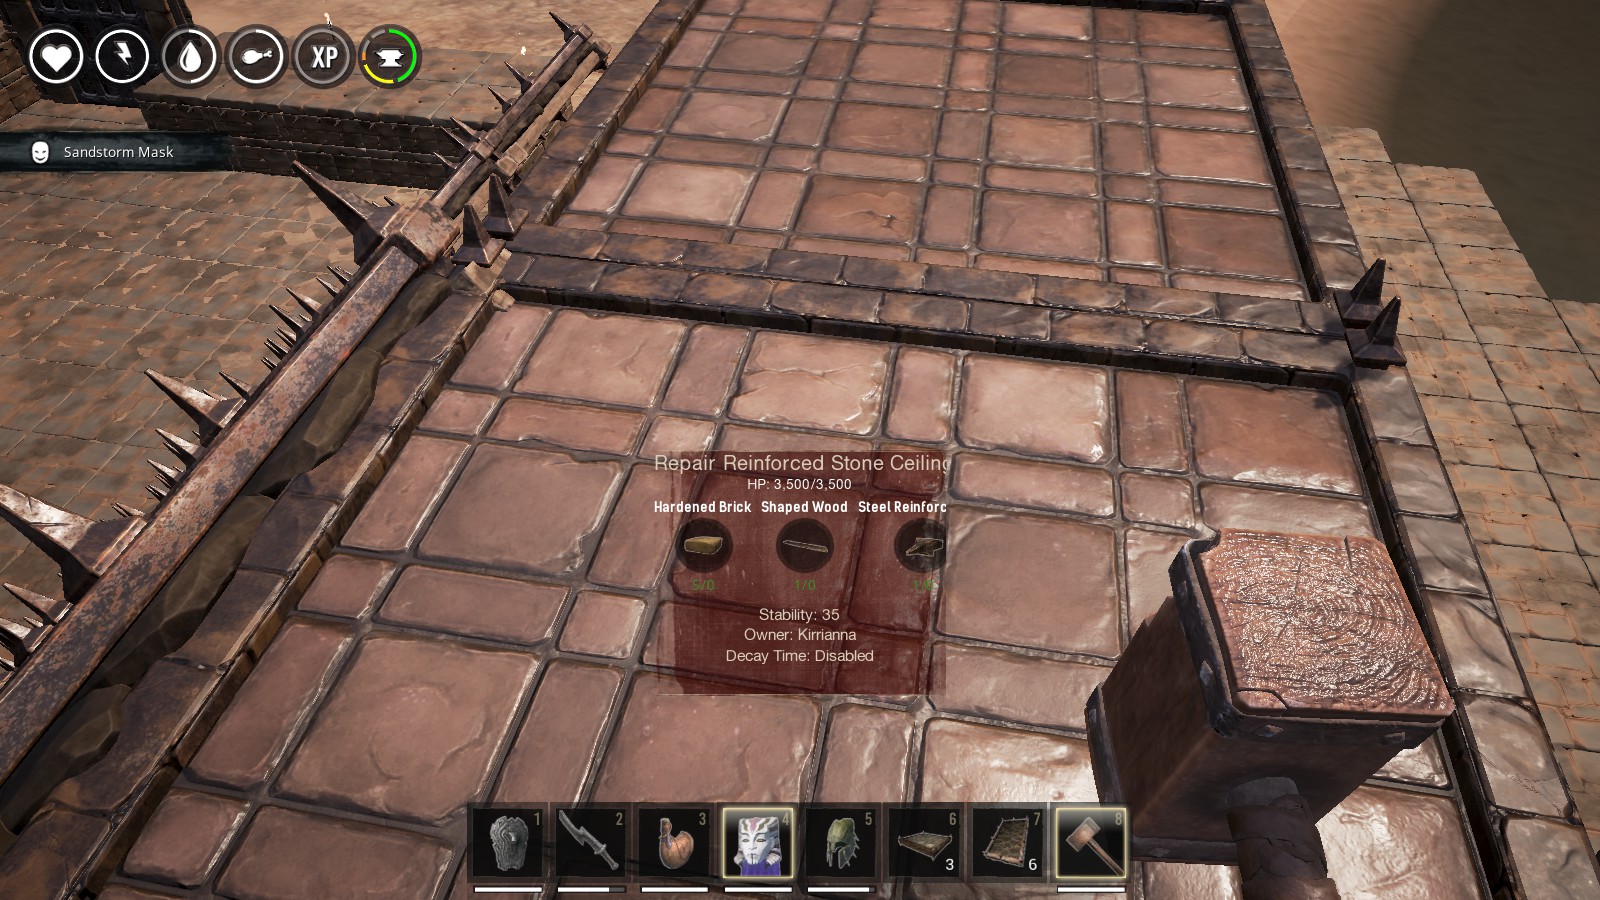
Here is what I saw when I checked the flat ceilings I was connecting to.
This one is the one closest to the supporting slopped roof panels. It is at 35% for structural integrity.
As you can see with the one that is the furthest away, it is at 15%, a drop of 20% making the next one I place at -5% or more which causes the error.
This is what was going on with the Slopped Roof panels.
As you can see, this one is at 10% which will cause the stability error I showed you above.
This panel is right below the one that is at 10%. Notice the big differance you get when they are supported on all four sides.
To prevent getting these errors, you need to properly support your roof. Depending on the size of your structure will depend on how you support it. In my case, the gate I used as a door is dictating the size of my building.
To get past the error messages, I had to place columns spaced two foundations apart on each third foundation. The colums are four high which is just short of the roof. To conect to the roof, I used one flat ceiling panel, one full wall panel, and two slopped wall panels.
As you can see from this screen, the outside roof will be impresive once I add the accent fences to the roof lines.
As you can see here, you can come off of a wall with four flat ceiling pieces. With slopped, the limit is three before addtional support is needed.
This screen shows the last parts of the roof that need to be placed once the tops for the last two columns are placed.
Building Down and Foundations
Building down is a way to get an alignment that you want with the parts of your building. Please keep in mind that some building parts will not match up due to how they are made. There are also some parts that will allow you to place them through other parts of your structure. I have not tried placing them like this, but have seen it done in YouTube videos.
Building down is where you start at the top and work down. The following screens all have had this done with parts of what is shown.
These two screens show the front and back of the same tower. Since the primary foundation is the rock formation buried inside it, building down allowed for the allignmnet of the top with the bottom of the support tower for the Trebuchet that sits at the top. The platform is 5X5 foundations in size for the Trebuchet. To allow for other buildings near a Trebuchet, you need to increase the area to a 9X9 foundation size. You can use ceiling tiles with pillars and walls to support this in a round tower.
It is important to note that on the front view of the tower, the outer foundations do not connect to the rock formation and had to be built up from the ground. I am not sure why, but they would not connect to the foundations already placed that are connected to the rock formation.
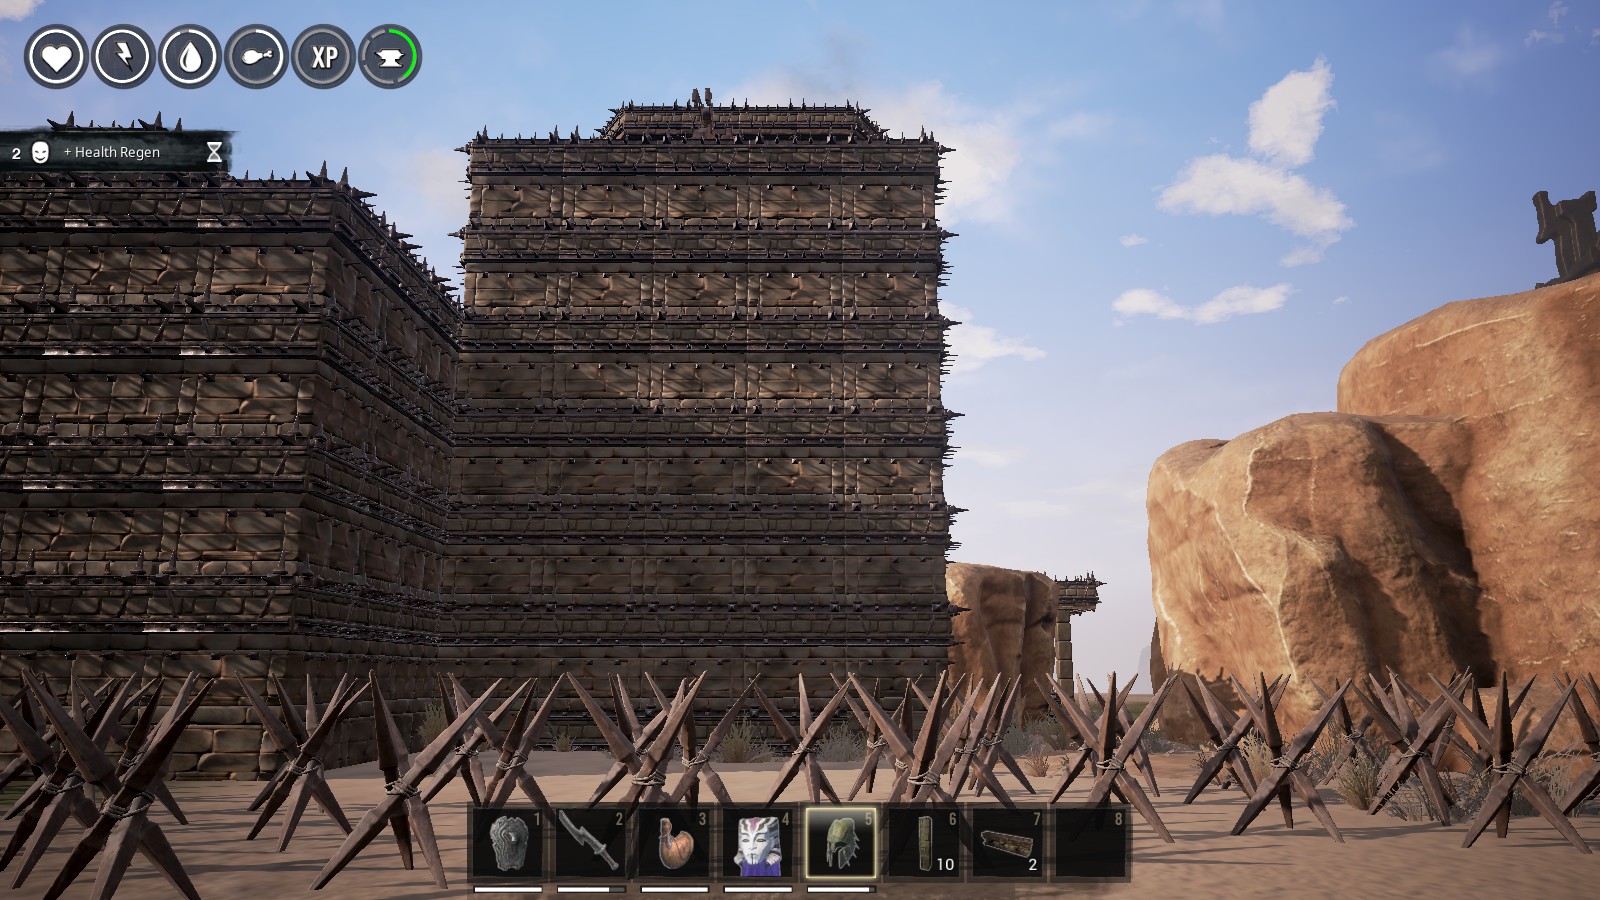
As you can see in the screens, I have attached Fences to the lower half of the Foundations. I liked the porcupine look it gives to my base.
When I Built down here, I was able to get the foundations to meet up in a skewed fashion with those already in place at the bottom of the rock formation.
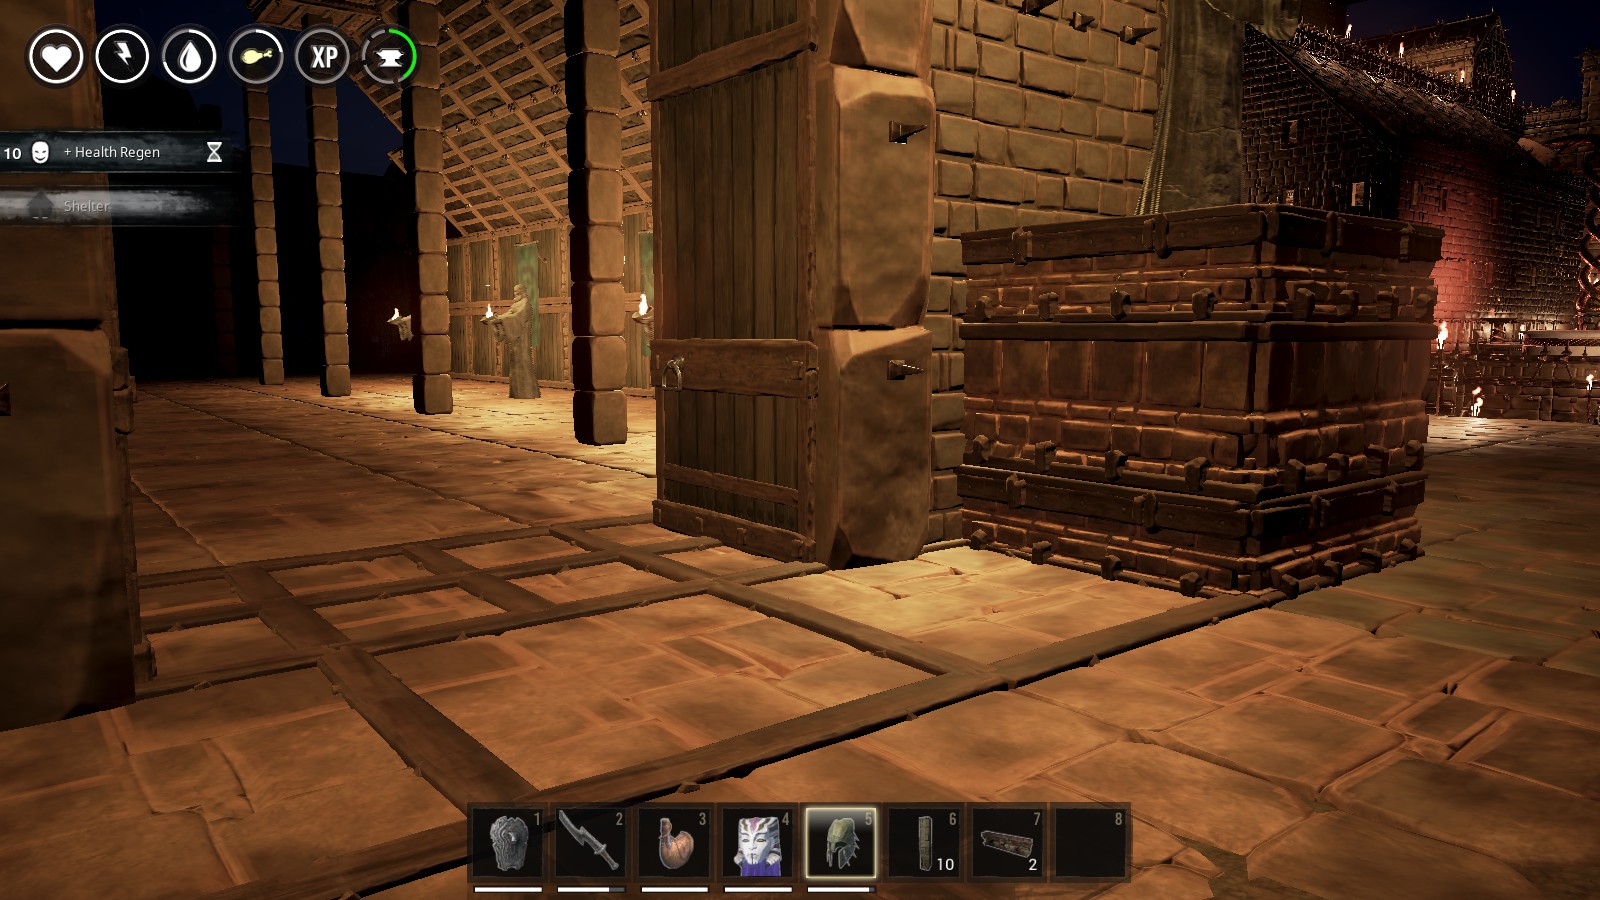
These foundations are very useful for all of us. They can be placded almost any where you have other foundations or ground. As shown with the T2 Fence Foundations, you can make it look like tile joints on the floor. Gates will also attach to the Fence Foundations which is useful to keep them from centering on the Foundations.
To do this you need to have a structurally sound roof to start with. The wall I built down is the one to the right behind the purple banner.
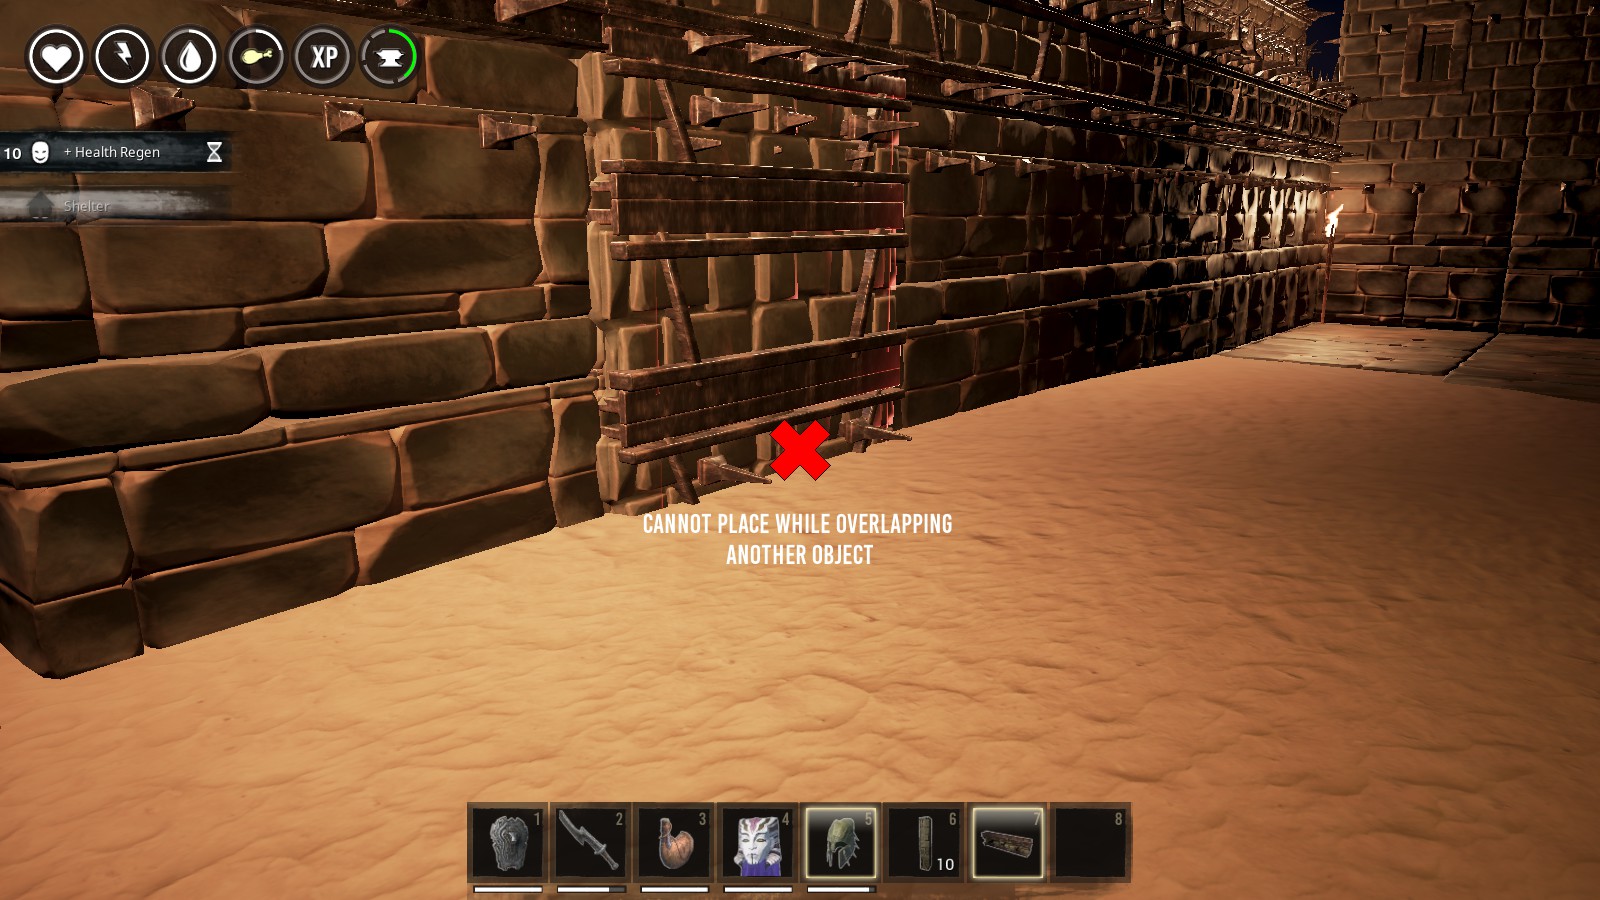
All of these show the same wall. Due to the area it is located in, I had to build down to get the result and additional support to the roof. Due to the gap in the lower foundations, I was unalbe to get a door or wall to snap in place without a ceiling at the top of the opening. As you can see, the walls with frames in them will snap to the foundations. Just to the right of the opening there are some stairs making this a hard spot to build in.
Trebuchets and Your Structures
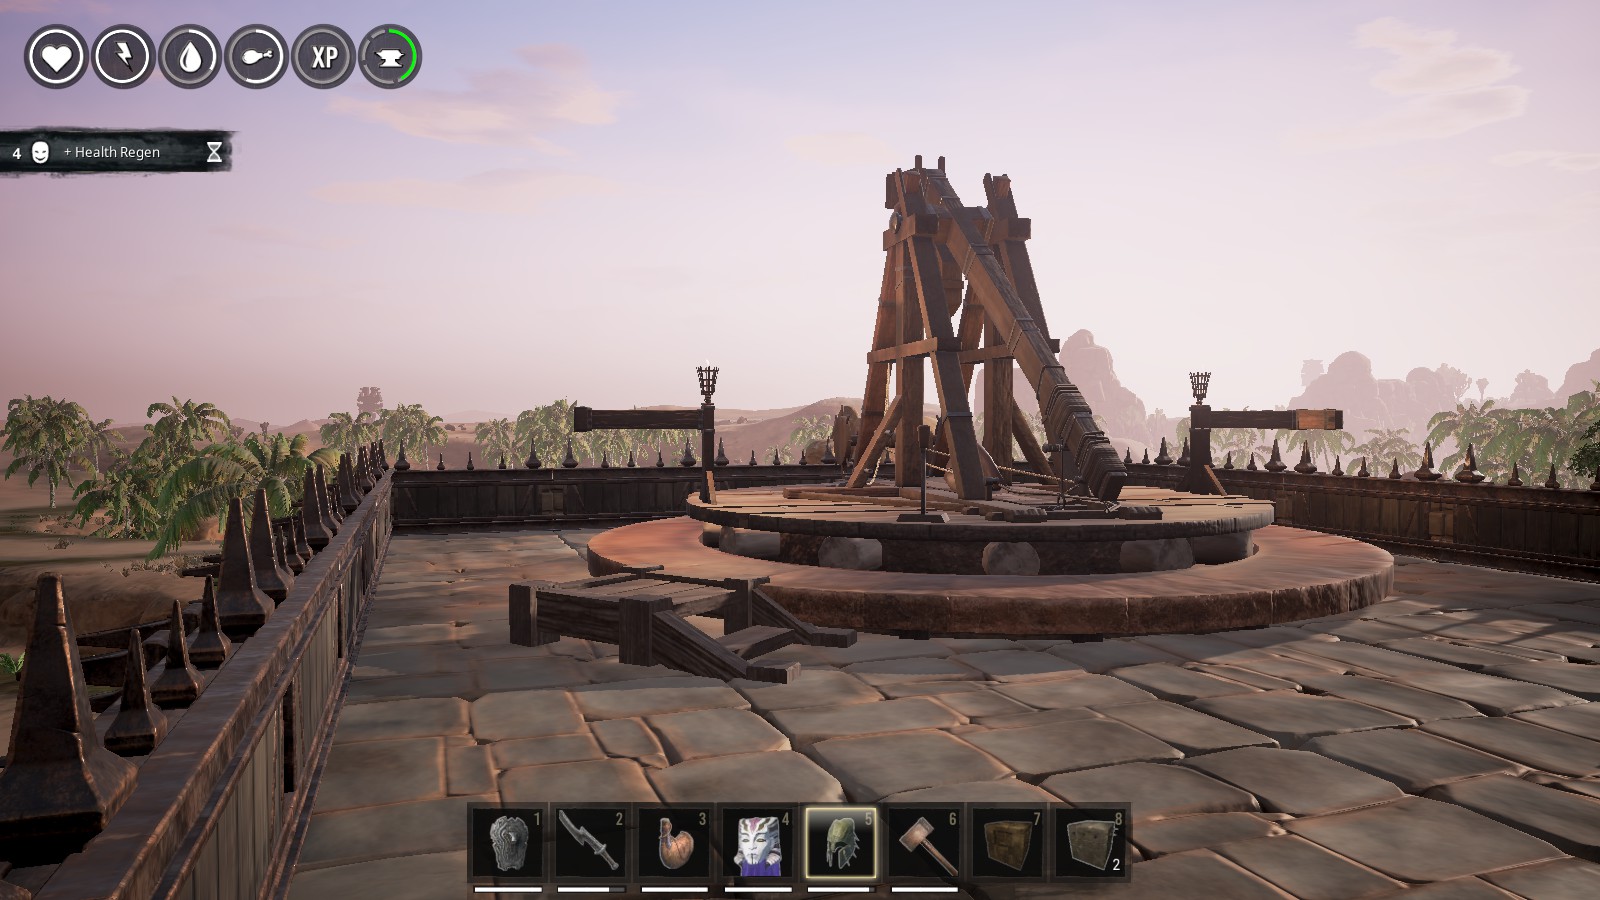
This Trebuchet is sitting on a rock formation buried by the foundations you see. Since it is circular, you can place this on towers or other structures as long as you provide it with proper support. By proper support, you can use walls, pillars and ceiling pieces to support it. Foundations can also be placed on the ceiling panels to add support. If you do not have enough support under the seige foundation, you will be unable to place it. As for the rest of the Trebuchet, if there is not enough room for it to rotate or fire at a target, you will not be able to place it on the base. The same applies if you interact with the Siege Foundation and build the Trebuchet on site. *Note* I have not test this with the changes made to teh Wedge Foundations and Ceiling Panels.
This is what I came back to after placing the foundation and building the Trebuchet in place. After messing around with the foundations pictured to the left and the Wheels of Pain on the right, I was able to get it to stay in place. I had not followed my own rule of thumb and left extra room around it.
Once you have yours placed, it is a good thing to test it to make sure the shots are clearing your buildings and walls. I saw a screen of a really cool castle with one right in the middle of the roof.
In this screen, I am standing on a spotting tower behind the Trebuchet in a previous screen. There is a ledge on the cliff over the neighboring lagoon where my shots are landing with a full load in the counterweight. The Castle I saw was fairly large and it is possible their shots would hit their tower roofs they had placed at the corners of their castle.
The Finished Large Space Roof
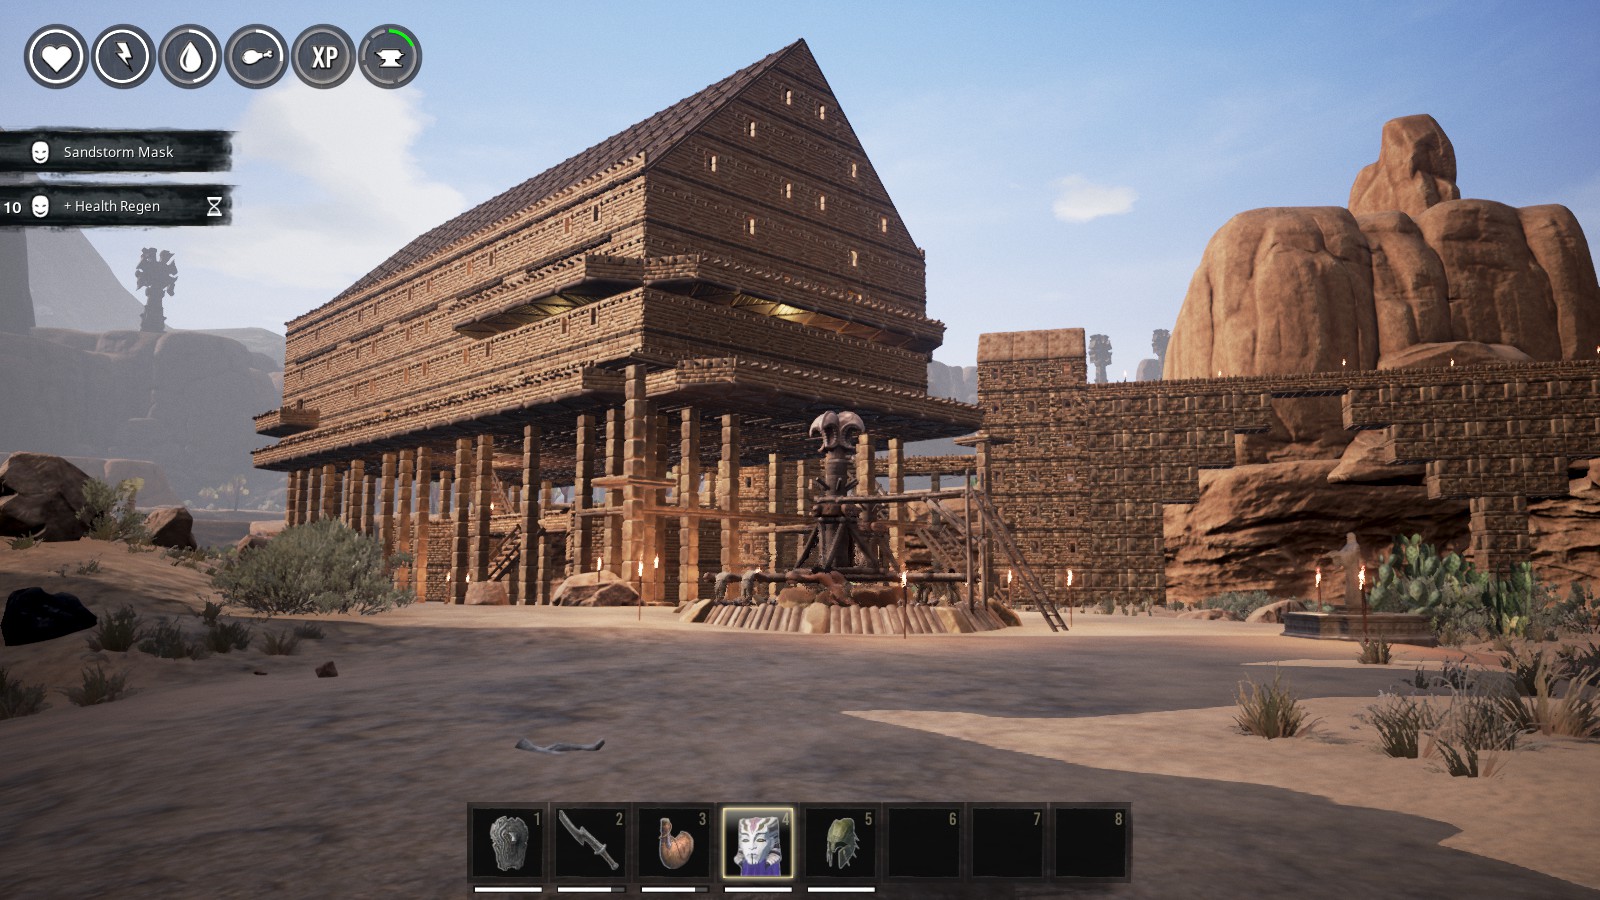
I still have some detaill work to complete on the outside of the building and surrounding area of my base.
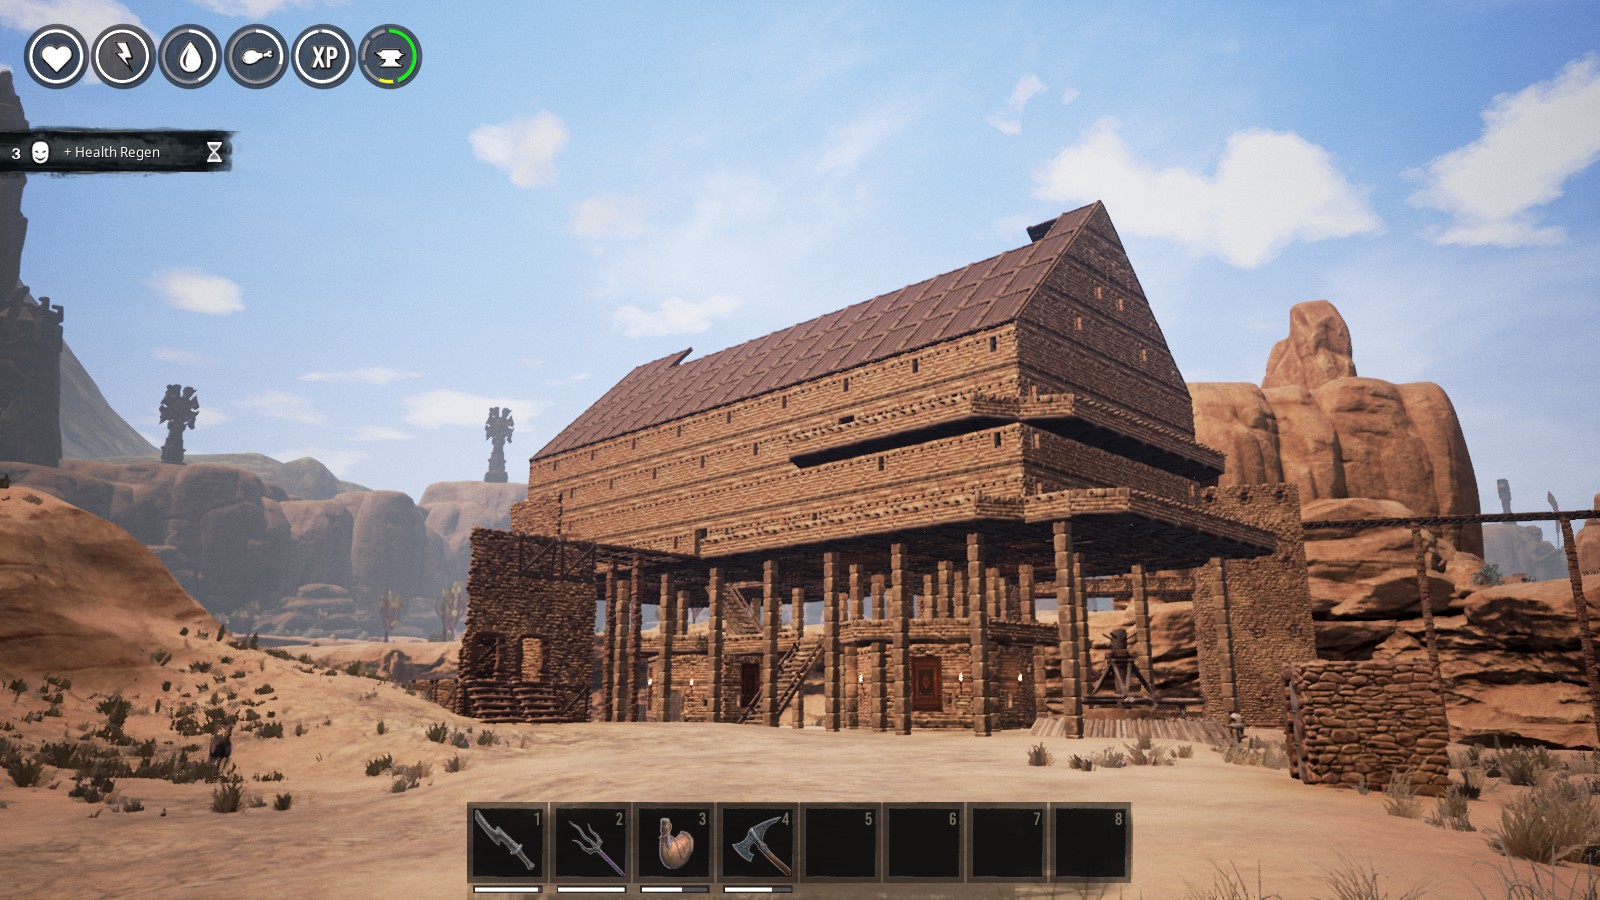
This is the finished view of the top of the roof. I will add fences along the lower edge of the roof when I have more time to work on that. Forty fence panels were placed along the top of the roof line on this building.
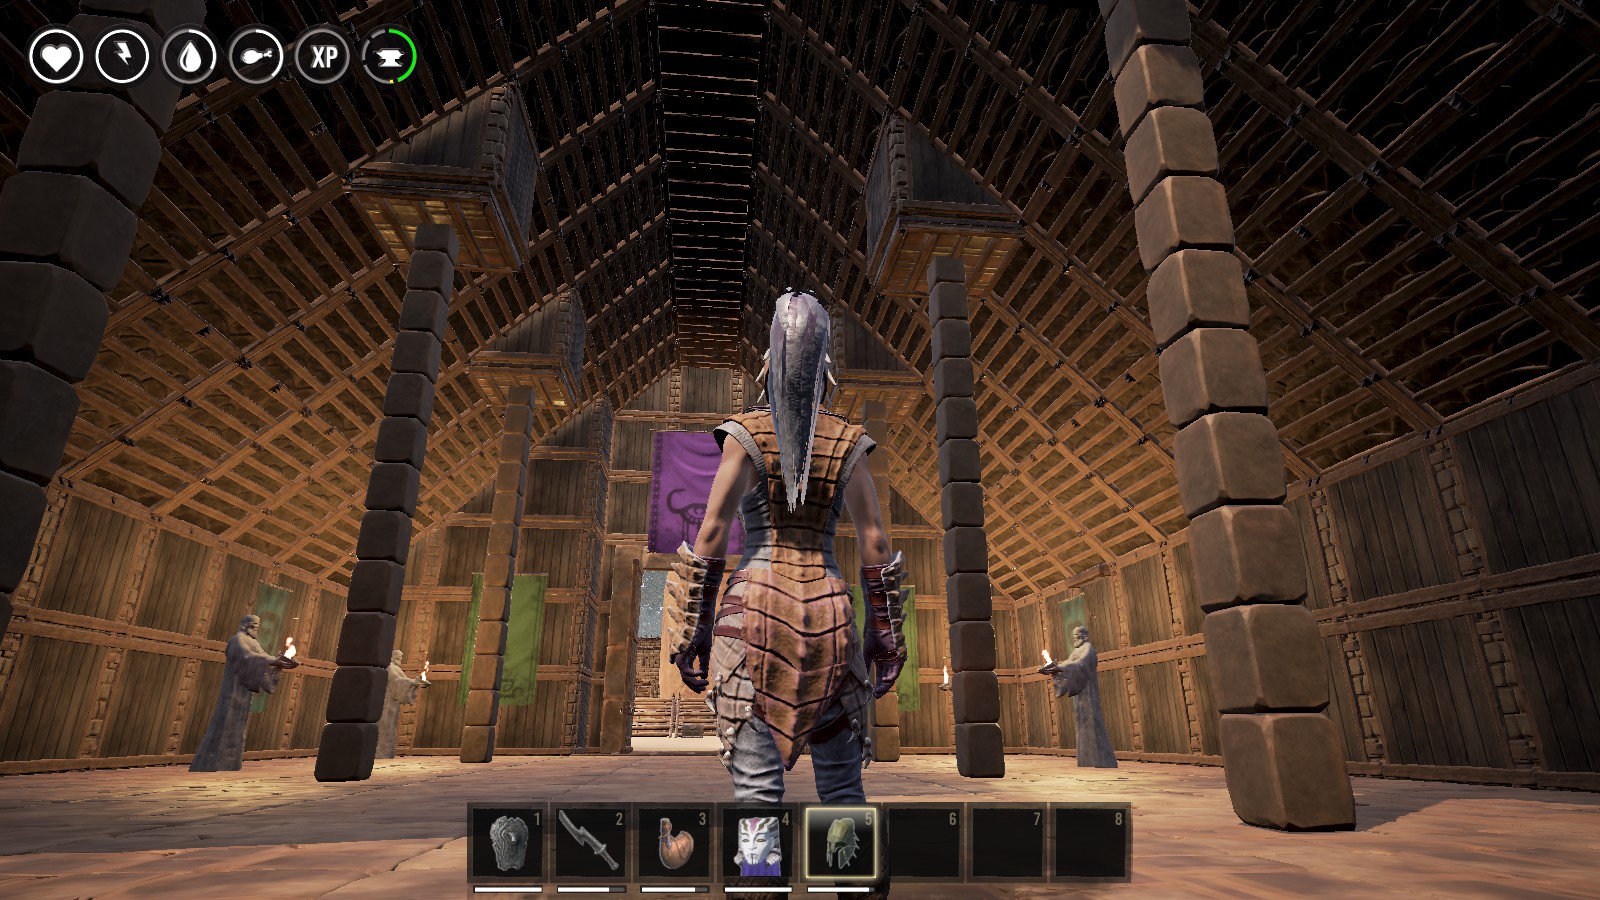
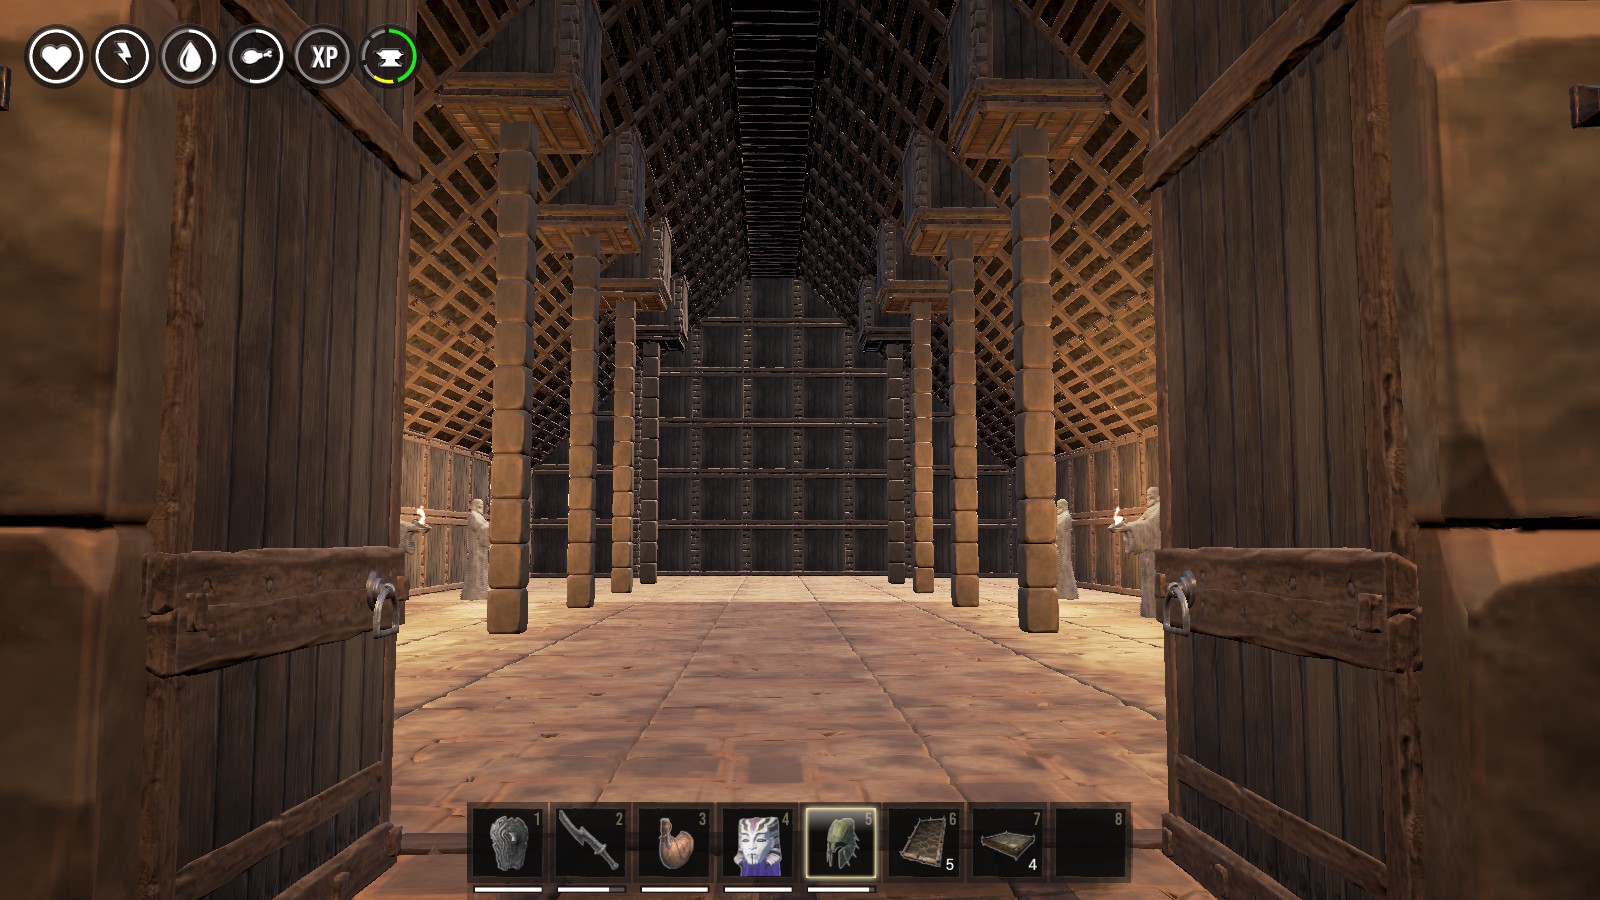
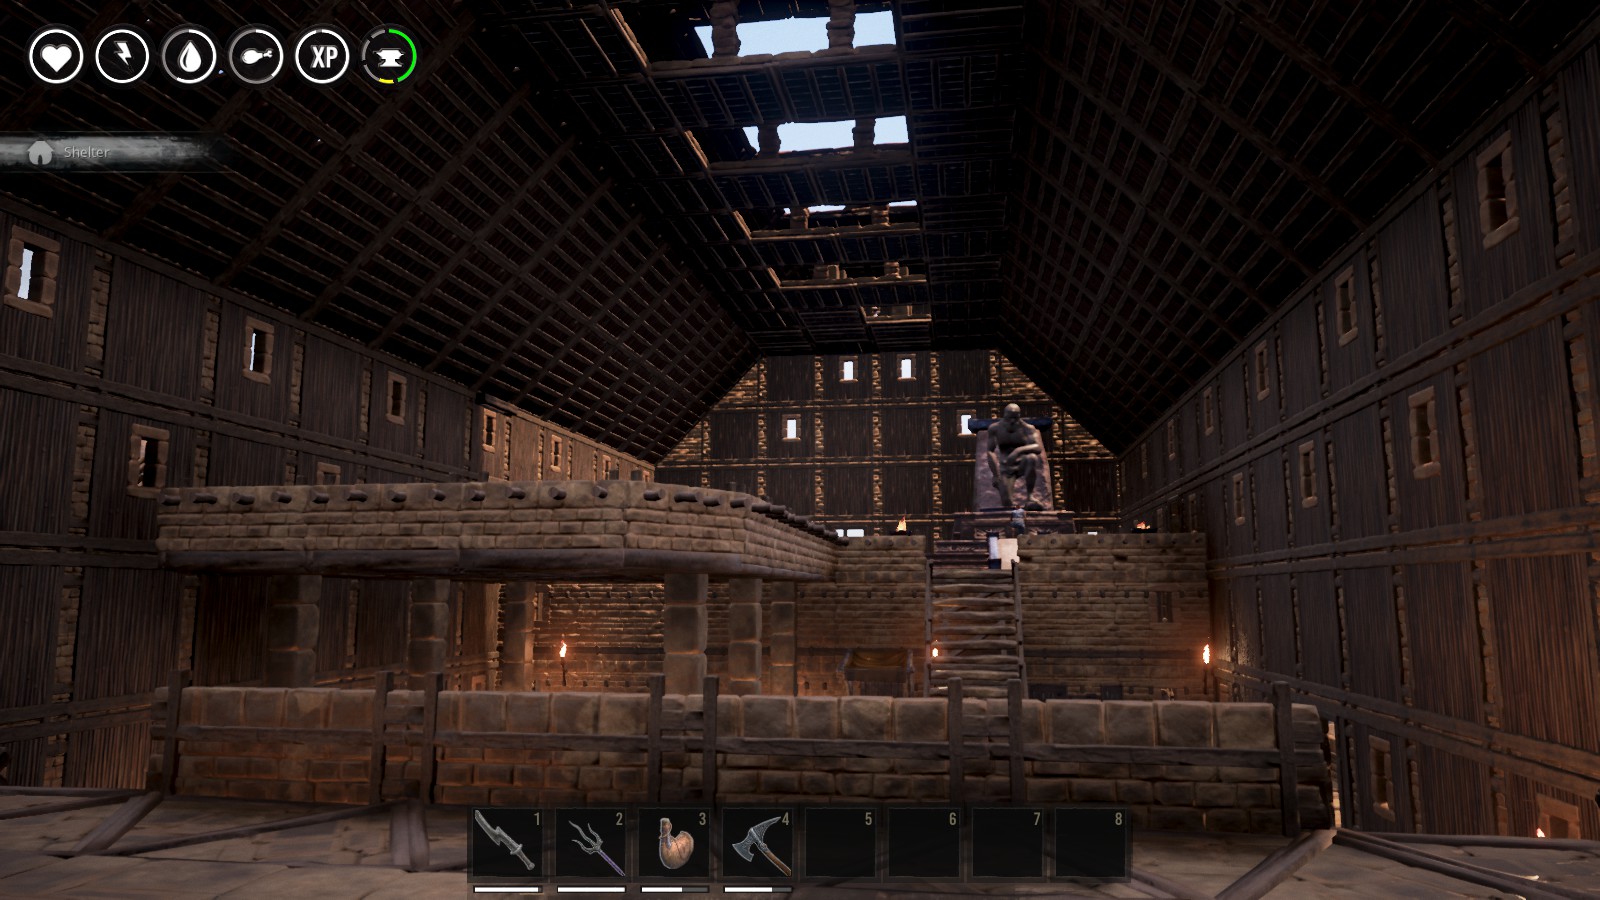
This is the interior space prior to putting in the finishing touches. The view is from just outside the gate that I used for a door to the building.
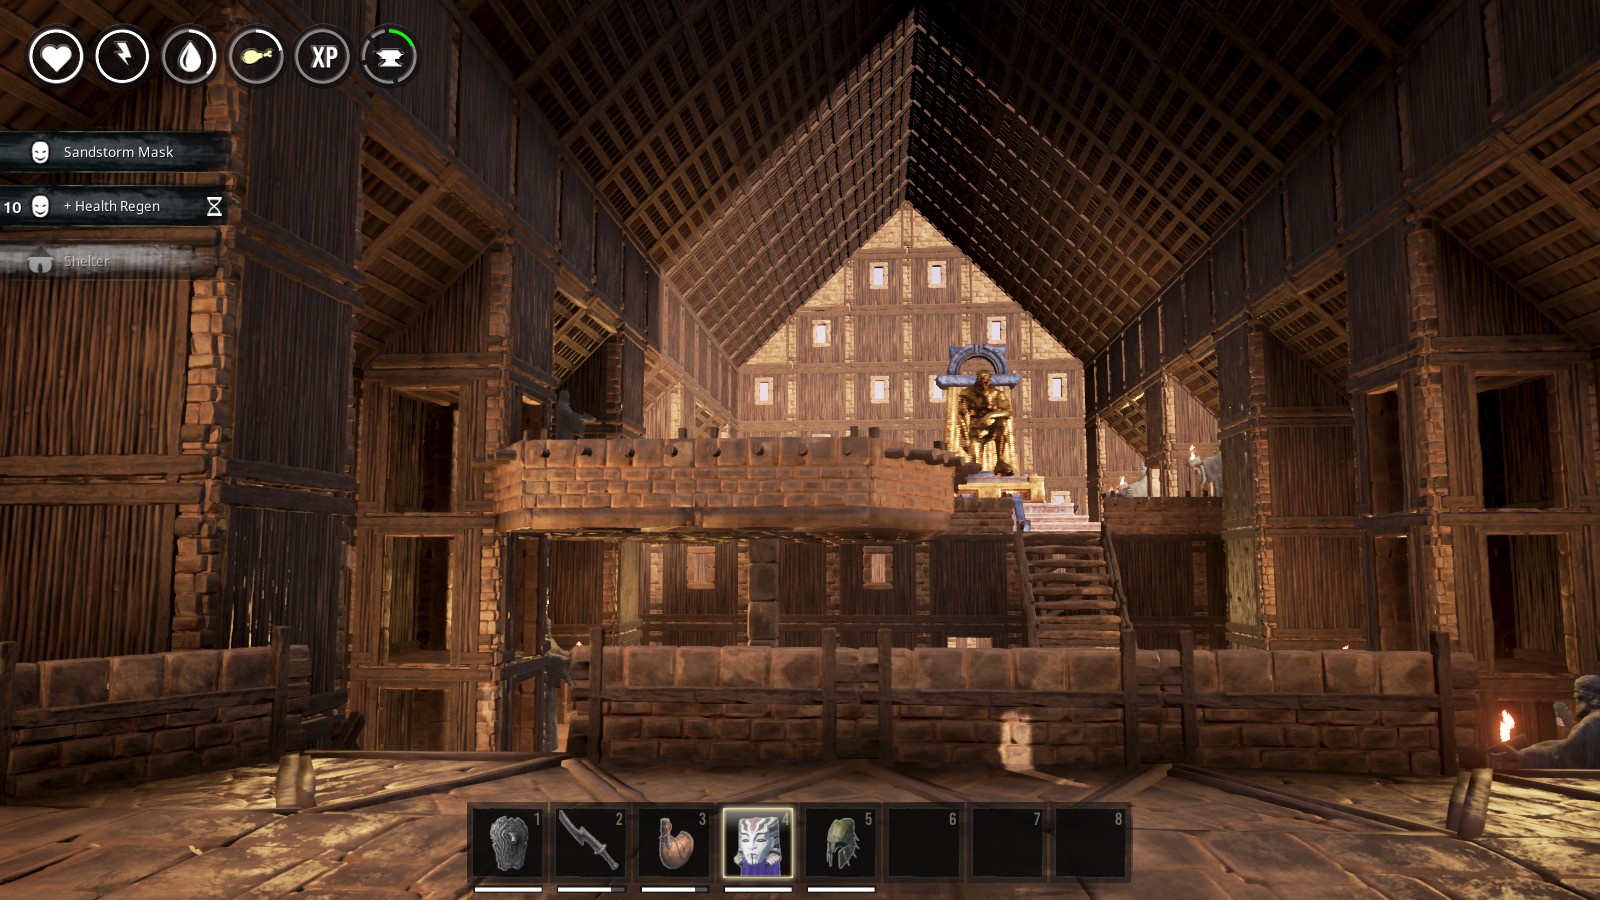
This is a look through the open door at the finished interior space. It is ment to be intimidating to those who have been summoned for an audience. All I need now is a big burly Thrall (bigger than those in the game) to place next to the Gong. *Note* I have made some changes to give the area inside the building more of the appearnce of a court where petitions or trials can be held (will be part of Video Walkthrough when base is completed).
Better Than Foundations
I saw this video in our forums. I did contact the originator and I am including it here to help you all out with a better type of foundation to help protect your base and or vaults. This is from Steam user polorbear1147 who also has a YouTube account under PolorbearIgloo.
Thank you agian for allowing me to add this to my guide. I do recomend following his YouTube channel. He does have a lot of excellent videos on how to build trap bases and small bases to protect your loot.
Fixing a Broken Roof
This all started when I responded to a post in the game forums. Interigty has already been explained in a previous section of this guide.
After joining the server, the fellow player escorted my new character to the location of the building. As you can see in this view, parts of the roof are missing. The building itself is structurally sound and a very good design. After joining the clan, the two of us went up on the roof to look at it and check the integrity. The building has an 8 X 18 footprint for its size.
This is what the attempted fix by my clan leader looked like. For all intents and purposes, this will work in the real world.
A view from the other end the building.
After setting up a duplicate base on in my single player game, I nicknamed the roof “The Pig.” This is due to the huge amount of resources that were used trying to fix it on the server.
This is the building after I fixed the roof. Some of my construction scaffolding is still visable in this screen shot. I will explain my bridge in the next section of the guide. I told my clan leader that the fix was like “Putting lipstick on a pig.”
This is the view from the north end of the building with the fix in place. The boxes shown for the roof fix do not have any support value for the roof. They were constructed using ceiling, wall and sloped roof panels giving the building the look of a cathedral. The support value for the roof comes from the box pillers constructed with wall panels and door frame panels. in order to center the Temple of Mitra, I need to move a doorway to the left first. *Note* Since the building is four pillars off the ground, I did not test to see if a Wheel of Pain will fit inside of it.
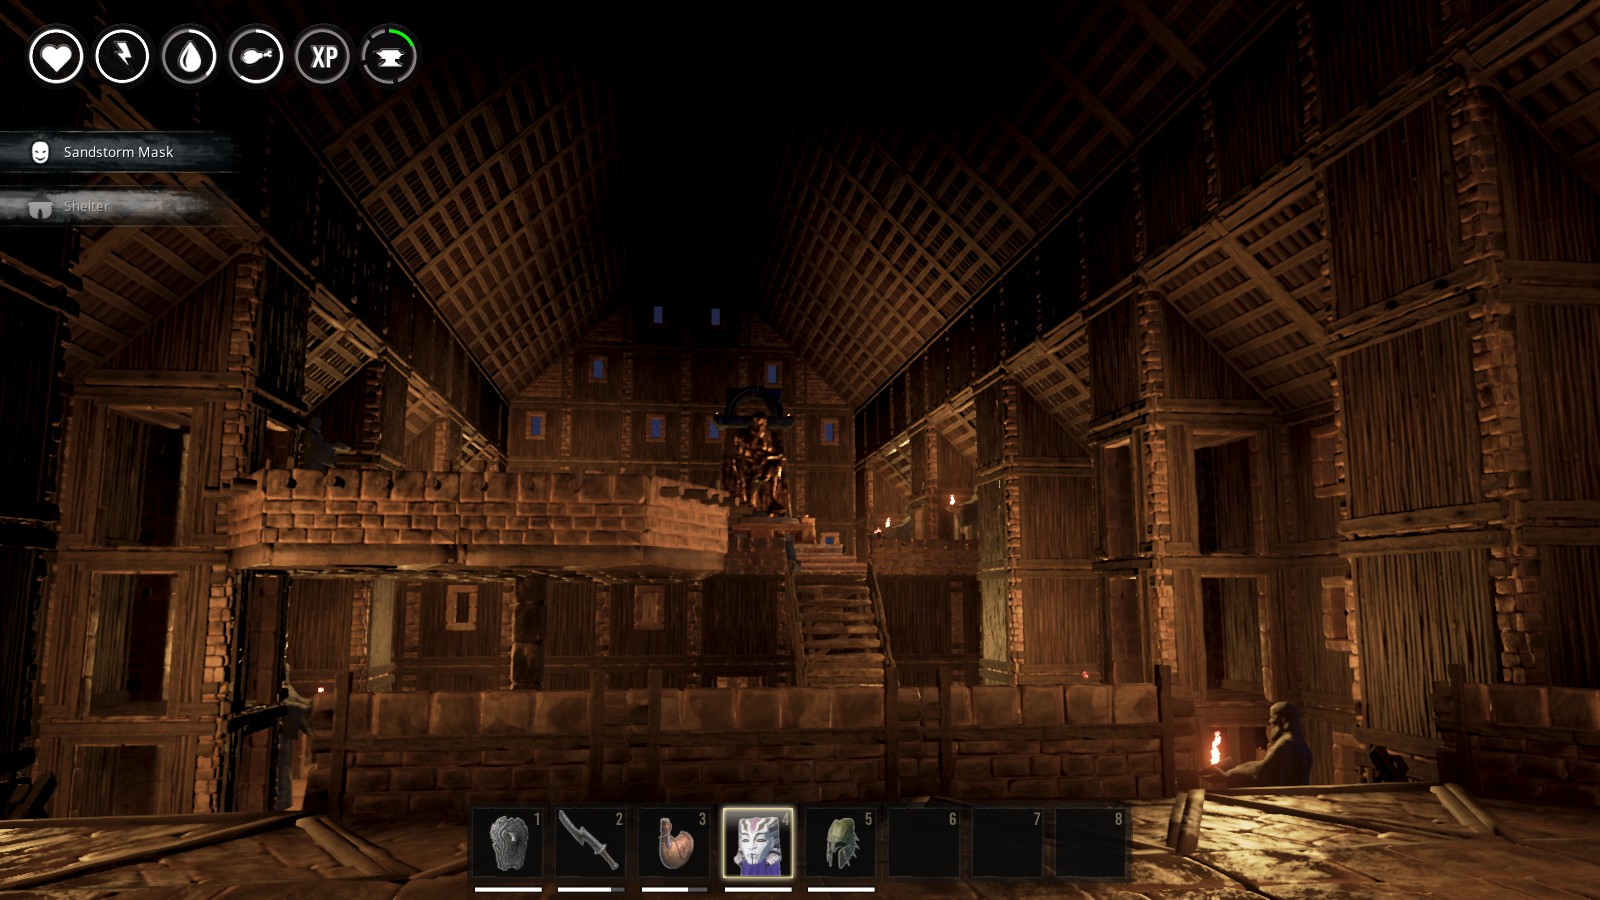
This is a view at night. The Statues of Guidence are for crafting in game with an arch priest and fully upgraded temple of Mitra. I have decided to keep this as a second base and will replace them with torches and brazeers when I have time.
A view from the south end of the building of the roof fix.
To build the samller hexagonal buildings underneath is easy to do. They actually support the access to the main building above them. The mistake I made here was starting the main building at the low point of the terrain in the location. This prevented me from placing foundations for the north hexagon to allow use of the interior space. The midpoint for the location is actually the north left corner of the building. The high point is the south left corner with the entire right side of the building as the low point for the location.
This shows the building after I removed all of my scaffolding that I used to access the roof and build the test building. One last thing I need to mention. In the event you do decide to move a door or add a frame, make sure you properly support the wall above the change. I am human I did goof. One of the Sloped Roof panels fell out of the roof when I moved a door. Fortunately, I had not yet removed my access to the roof when I discovered the missing panel, so it was an easy fix to complete.
Building a Corbel Arch (False Arch)
The following is quoted from Wikipedia, the free encyclopedia.
“A corbel arch is constructed by offsetting successive courses of stone (or brick) at the springline of the walls so that they project towards the archway’s center from each supporting side, until the courses meet at the apex of the archway (often, the last gap is bridged with a flat stone). For a corbeled vault covering the technique is extended in three dimensions along the lengths of two opposing walls.
Although an improvement in load-bearing efficiency over the post and lintel design, corbeled arches are not entirely self-supporting structures, and the corbeled arch is sometimes termed a “false arch” for this reason.”
Cobel Arch[en.wikipedia.org]
This is the technique I used to build my bridge. This actually sidesteps some of the issues with building away from pillers where the integrity limit is reached faster.
With pillers, you are limited to how far you can build away from them since the starting point is in the center of a ceiling tile. With ceiling tiles, you can build up to three away from the piller before you hit the integrity limitation. This is because the integrity drops faster when you build away from a piller. The last ceiling tile actually has a decent integrity, but the next one drops below 0 which will prevent you from placing it.
By using the Corbel Arch, I have side steped the issue to create a longer span between the supports. This bridge was built with Tier 2 components. For the construction scaffolding, I used Tier 1 which I removed prior to taking the screen shot.
There are eight spans between the supports that I built using foundations. It is possible to build the supports using other components. The neat thing about this type of structure, you can build a fairly large space by placing several of these within the building limit of the ceiling panels.
Achitecture and Using the Terrain
Architecture
This is the style of building you are using for your buildings. Pick a style and stick with it. If the parts that come with the base game do not meet your needs, there are Mods that will add building parts and other placeables to the game for your use.

This screen shows the style that I used for the area of my City known as the Keep which is part of the Upper City.
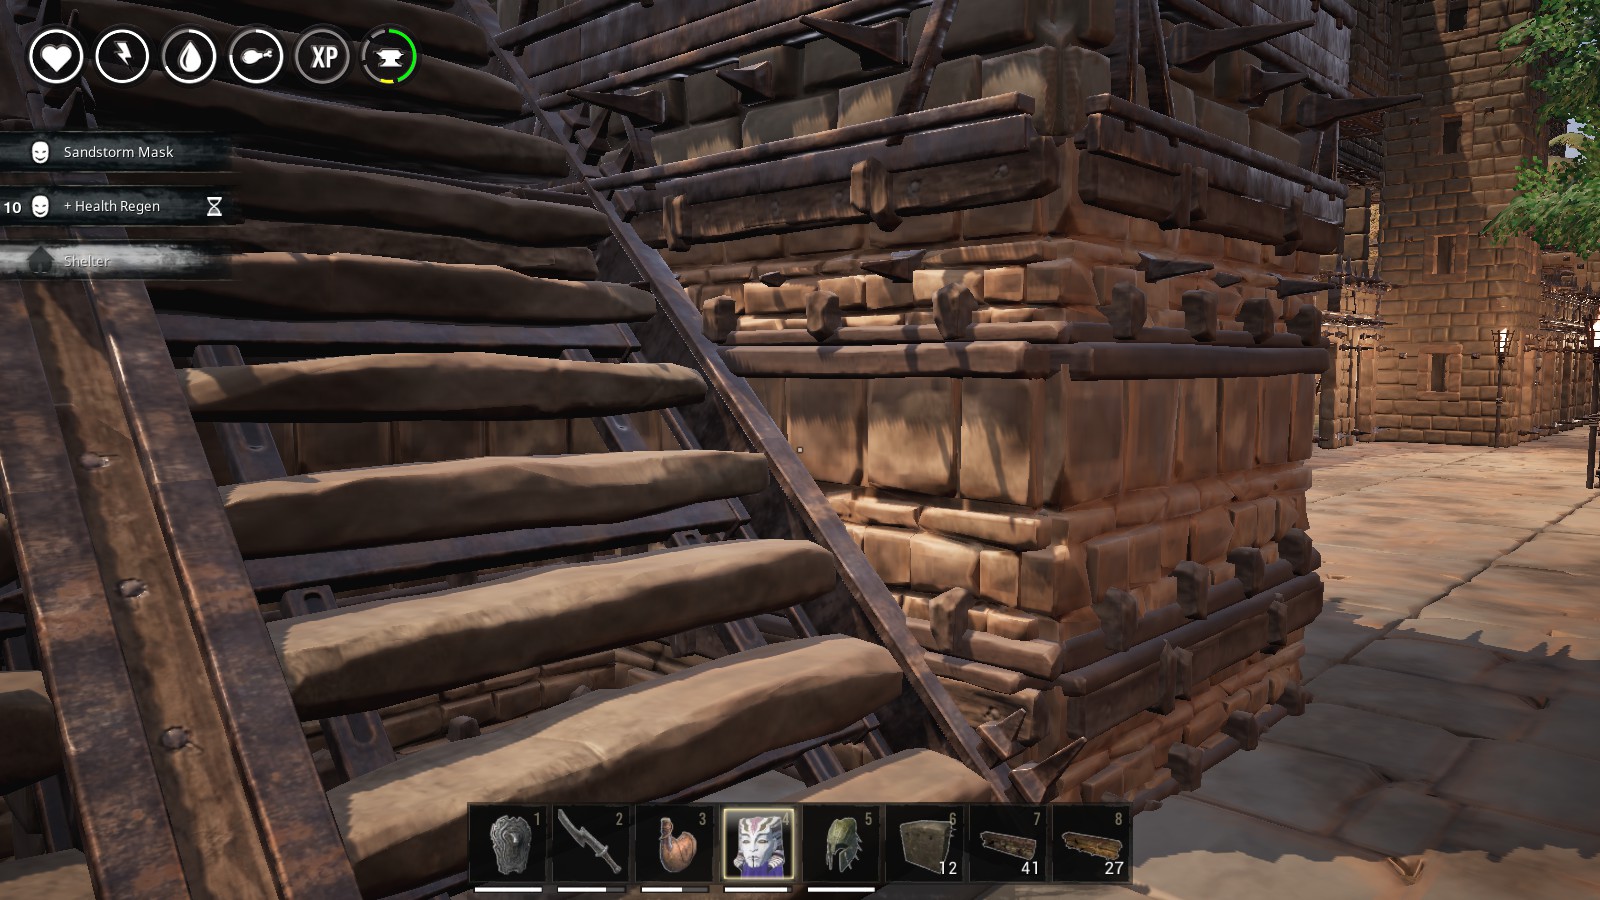

The first screen here shows the transition from the Upper City style to the Keep style. The second Shows the style that I follwed for the part of the base known as the Upper City. I will cover the style of the Lower City in the next section.
Using the Terrain
The area where my base is located is far from flat as you have seen if you have read the previous sections of this guide.
As you can see from this view, the area is far from level where my base is at. There are actually two ways to level your chosen site.
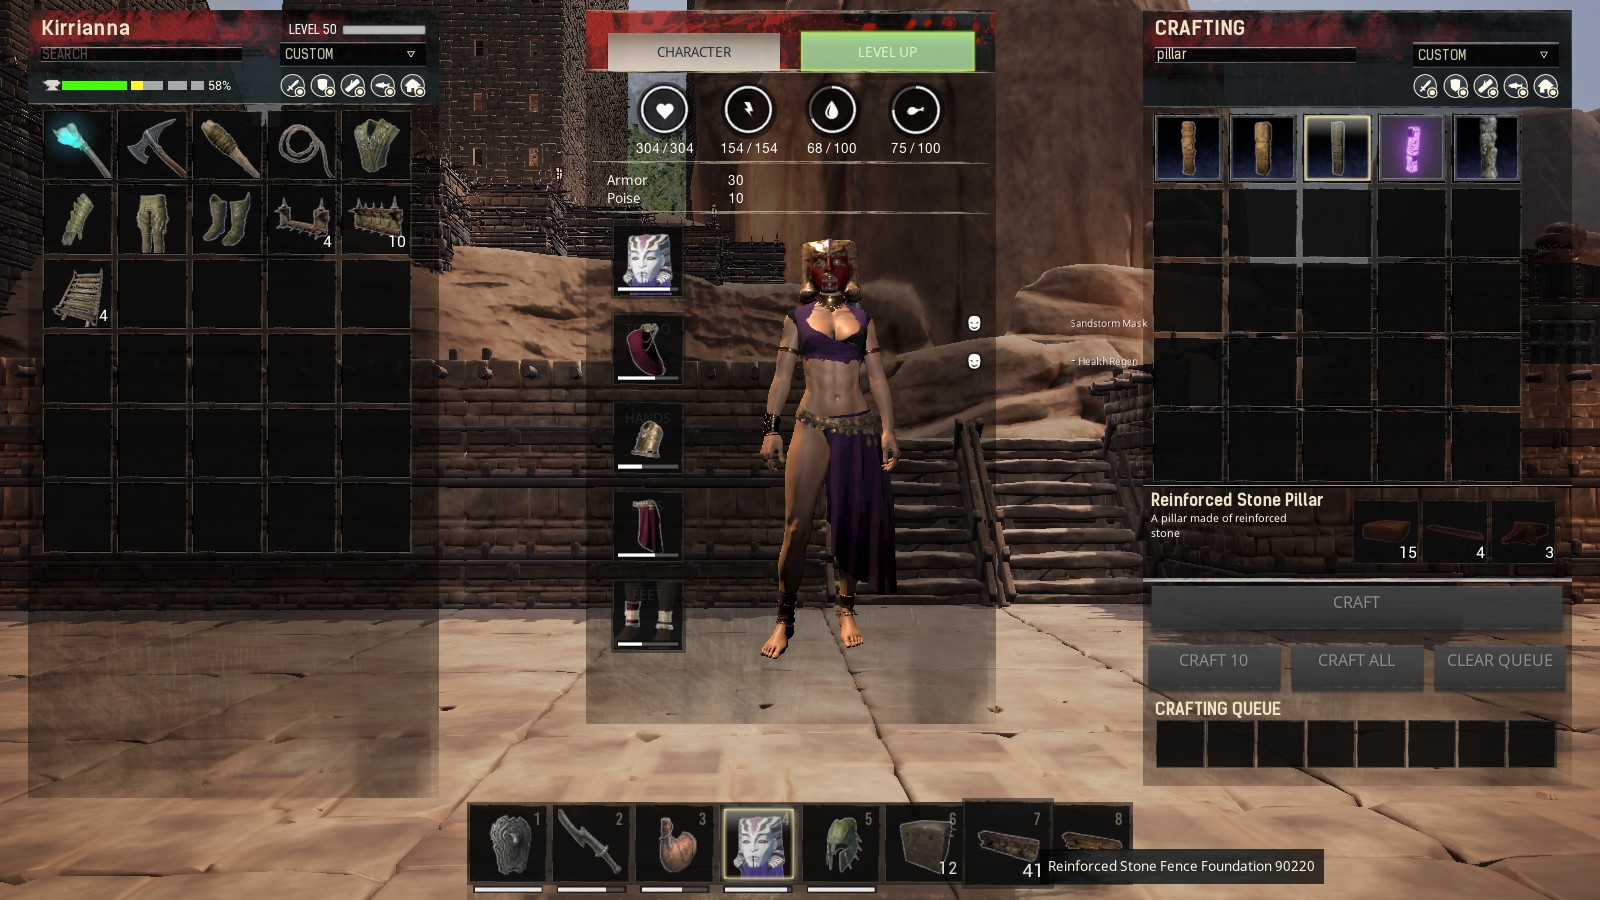
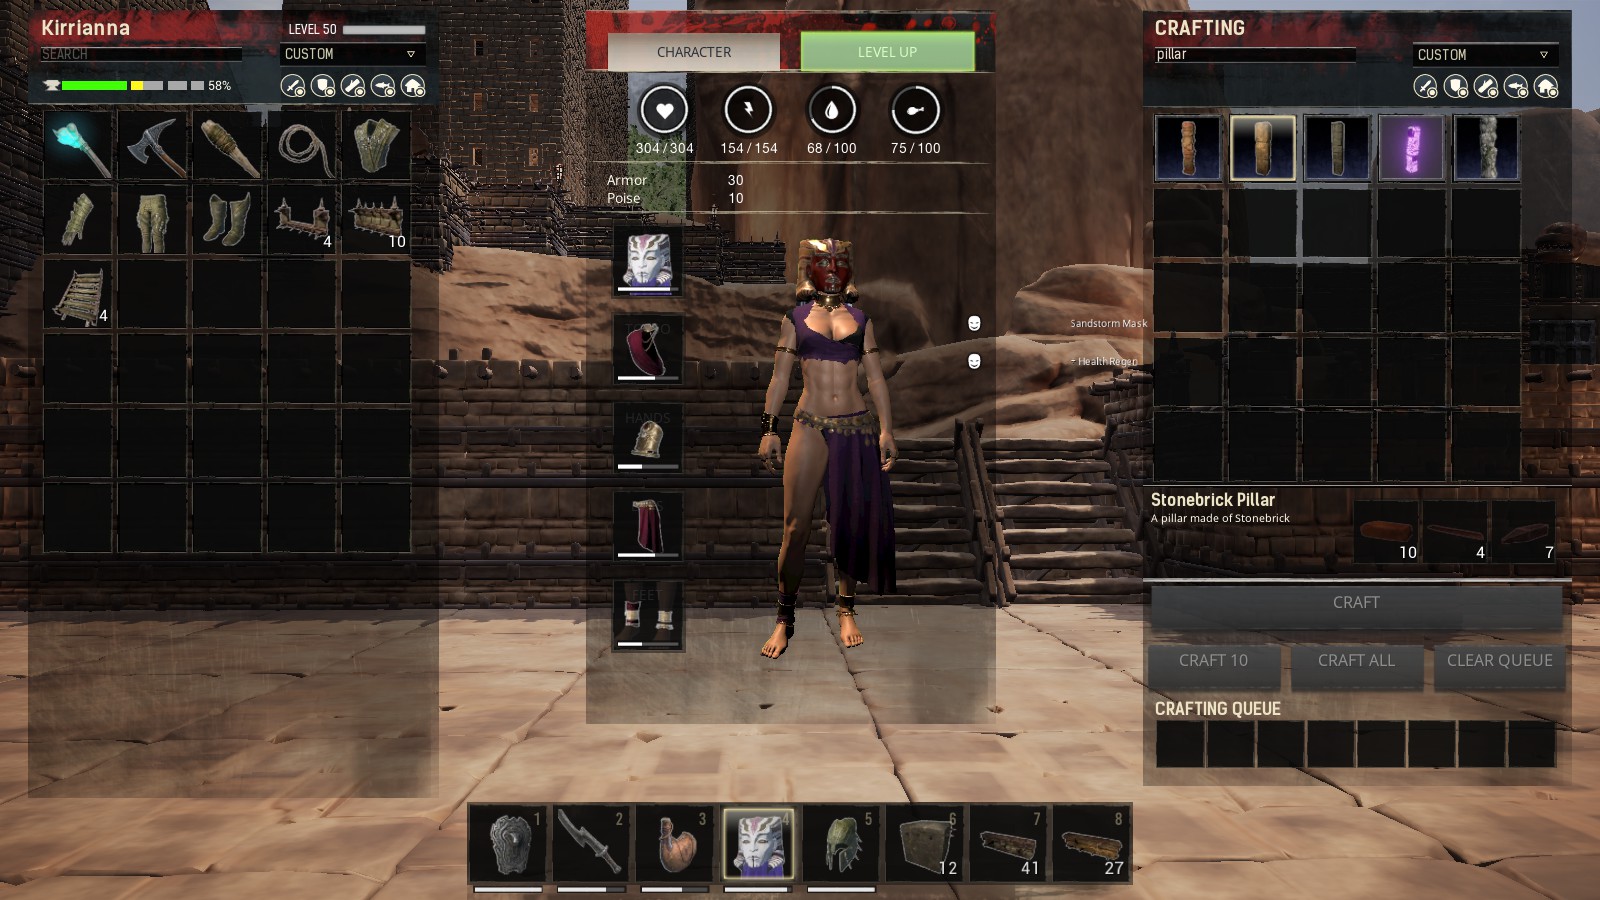

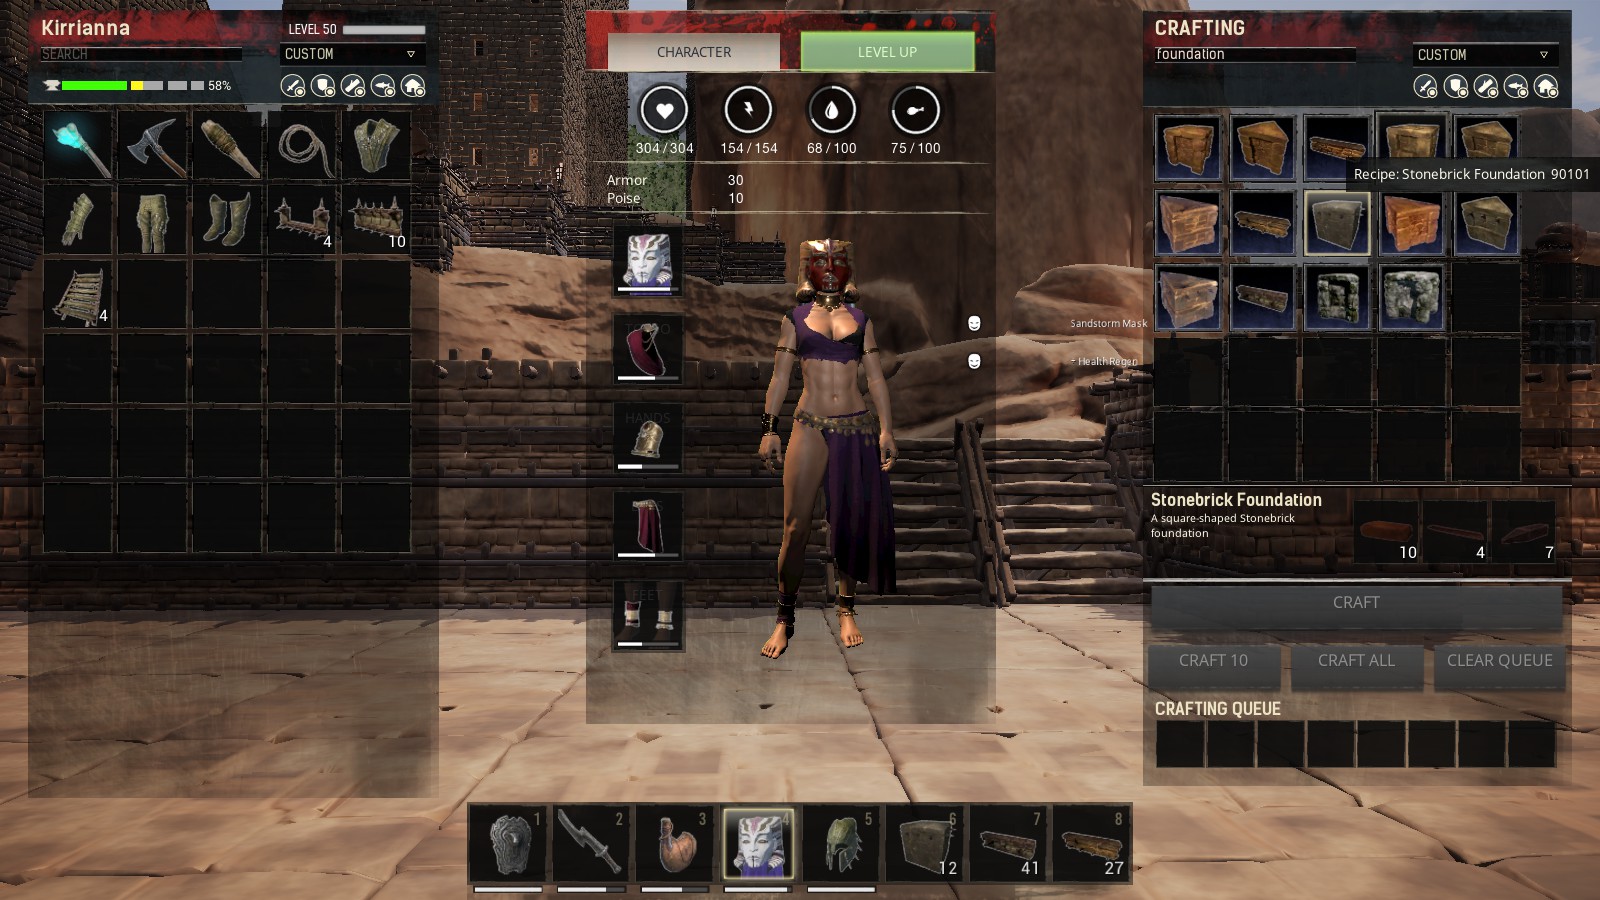
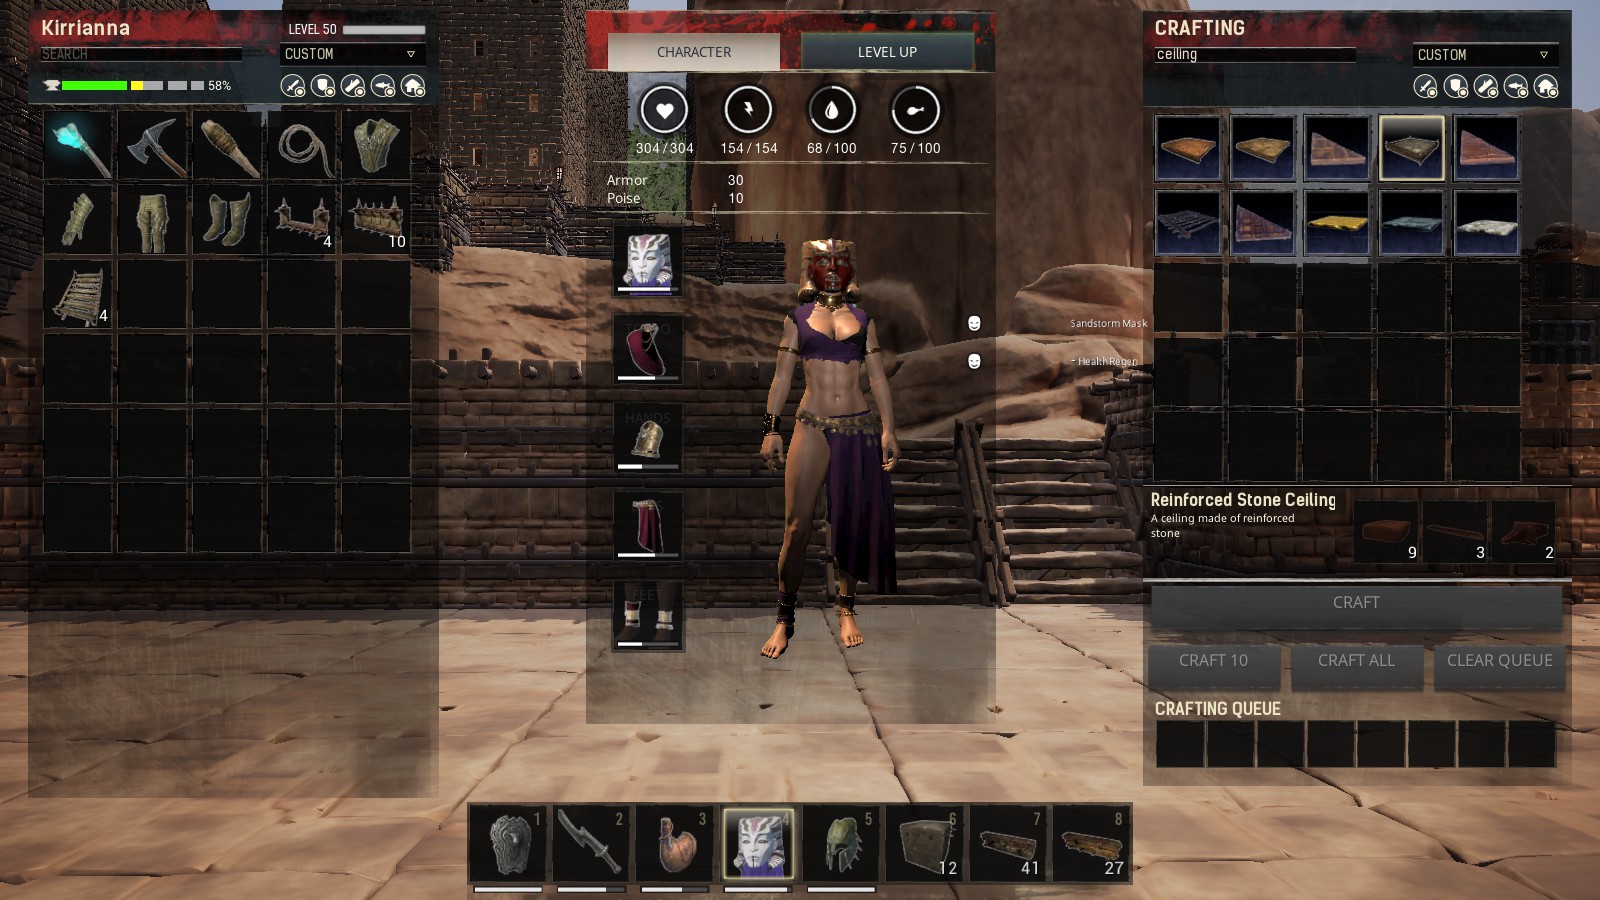
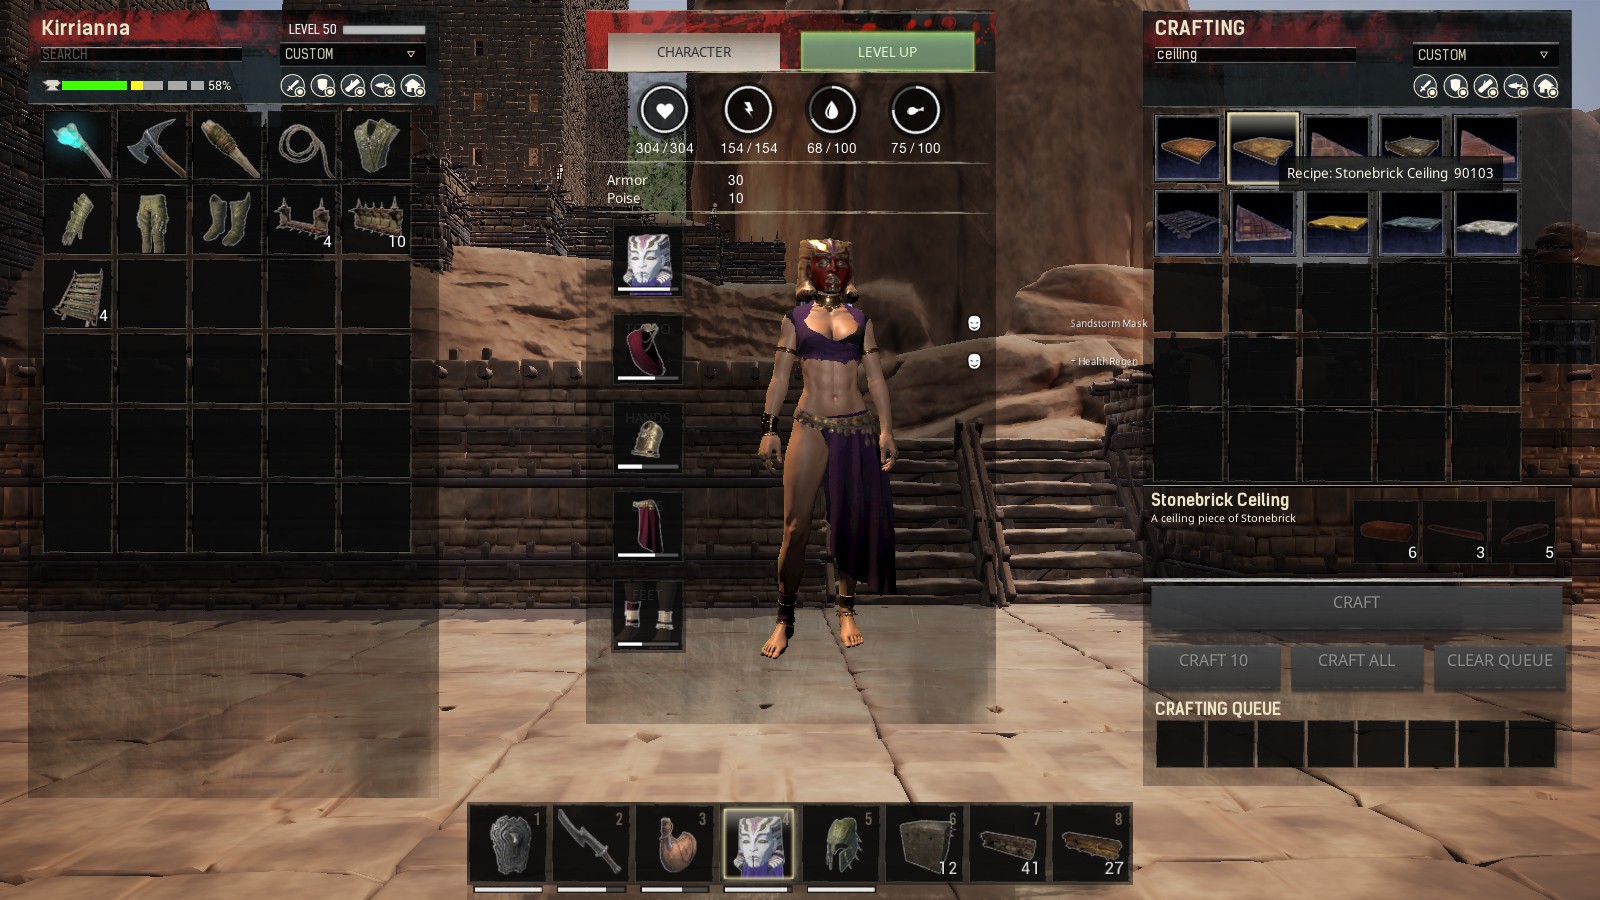
These screens show the cost of the building parts you can use to level your site, I did not show the the Wedge Foundations and Ceiling panels since they have the same ratios as the square ones. Just by looking at the screens, the cost of foundations is less than using pillars and ceiling panels.
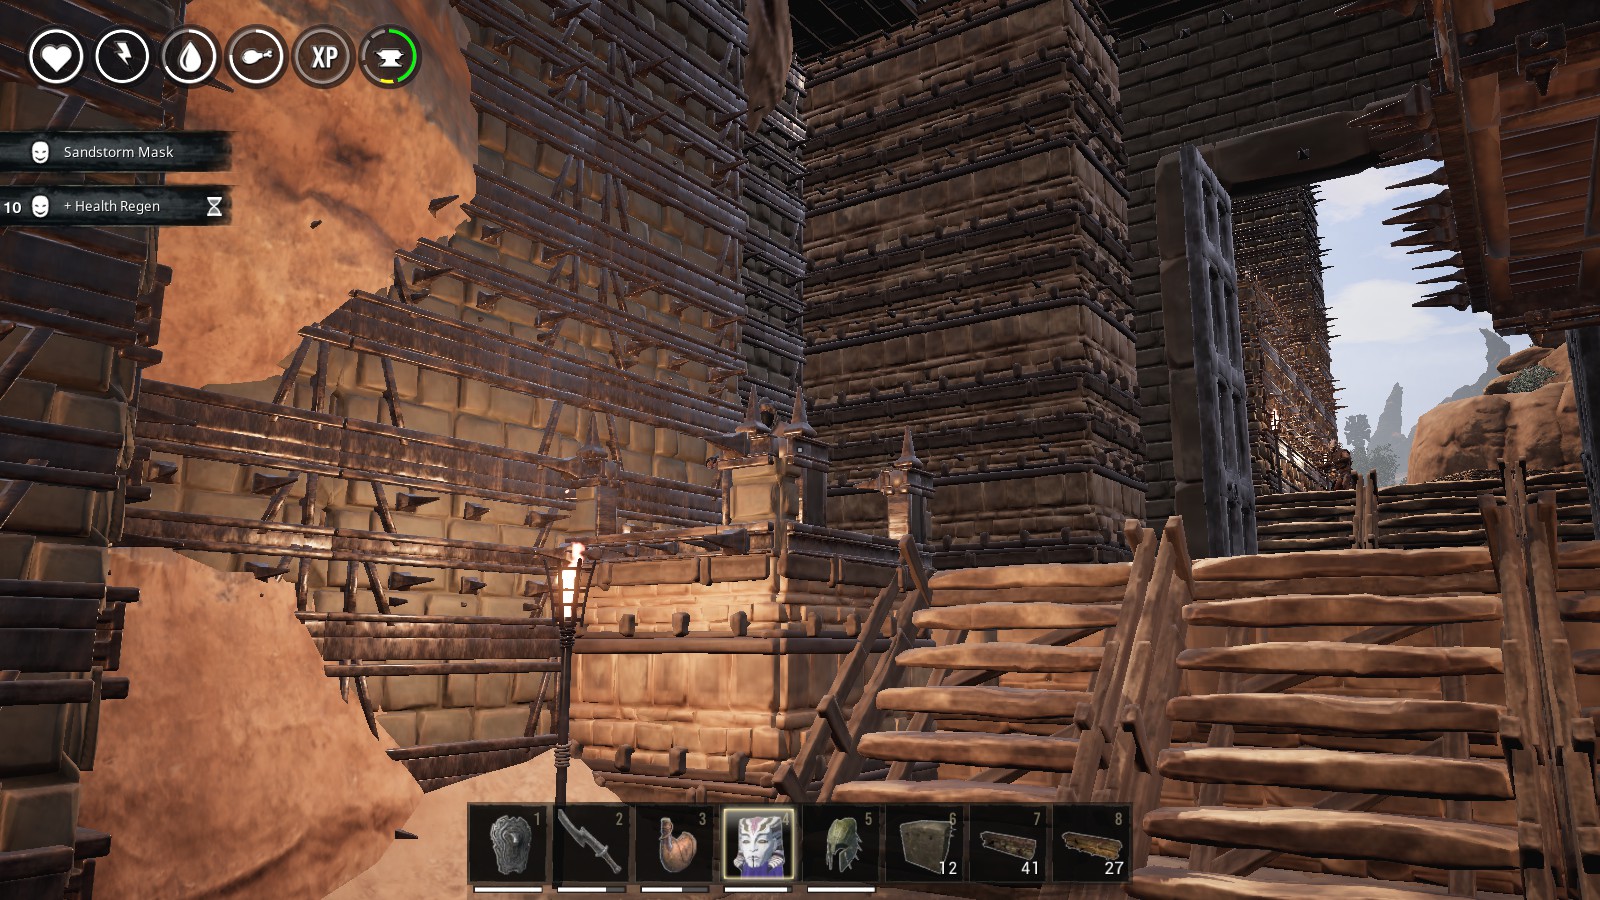

As part of my defenses, as you can see from these screens, I used the cliffs. The area my base occupies also has several rock outcrops that were also used to save on building costs.
You can also see that the style I used for my Lower City was to cover all of the supporting foundations with fence foundations.
Recap
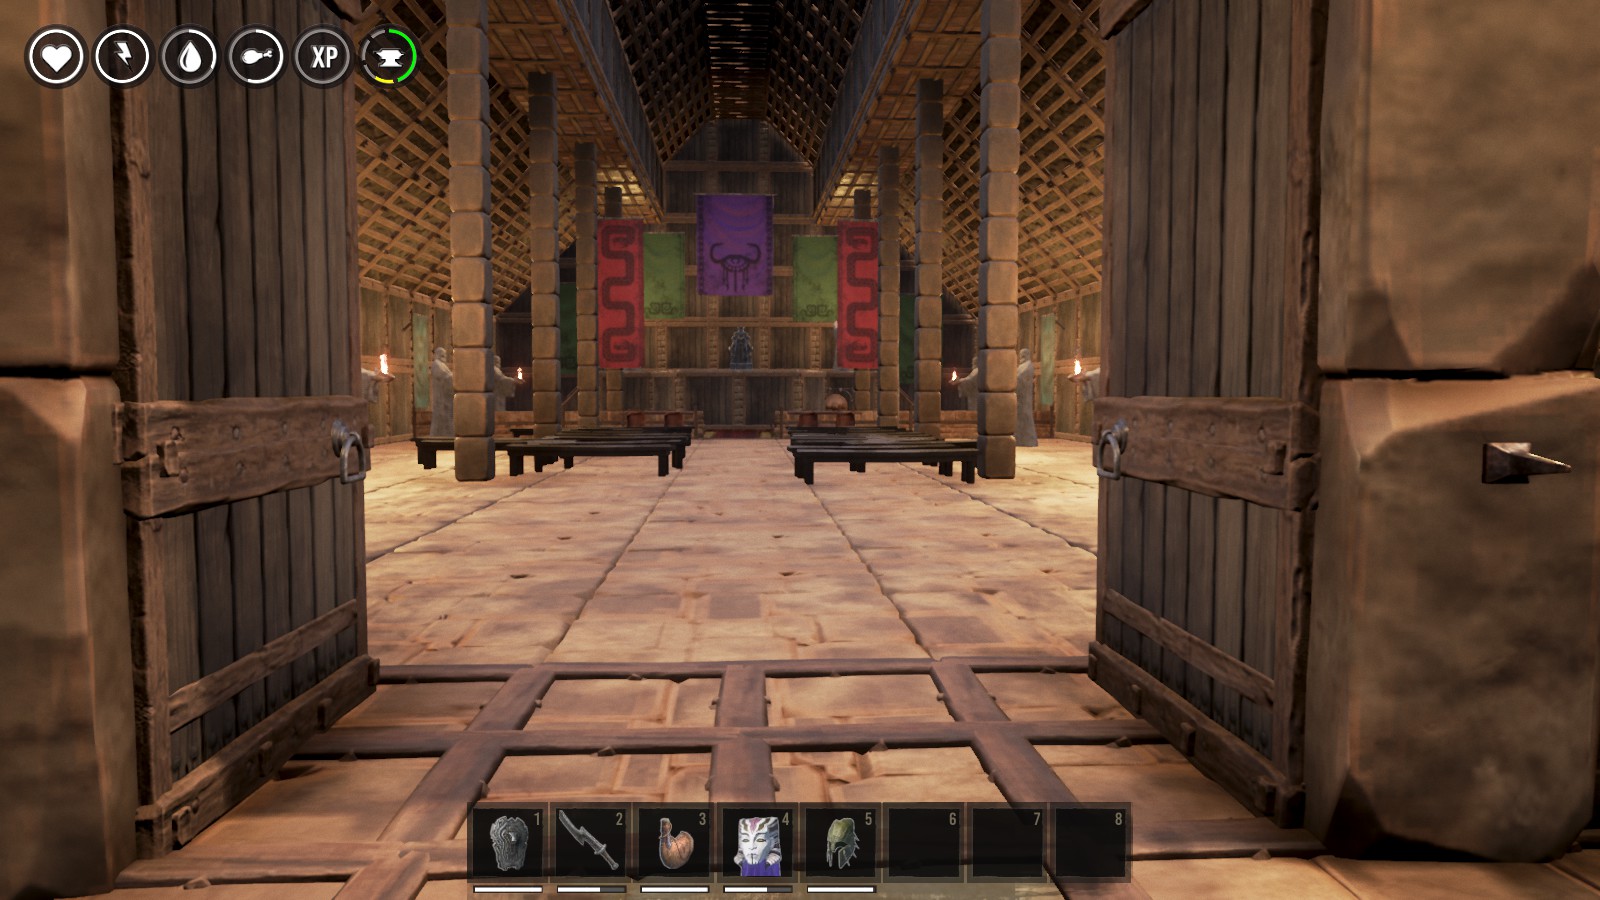
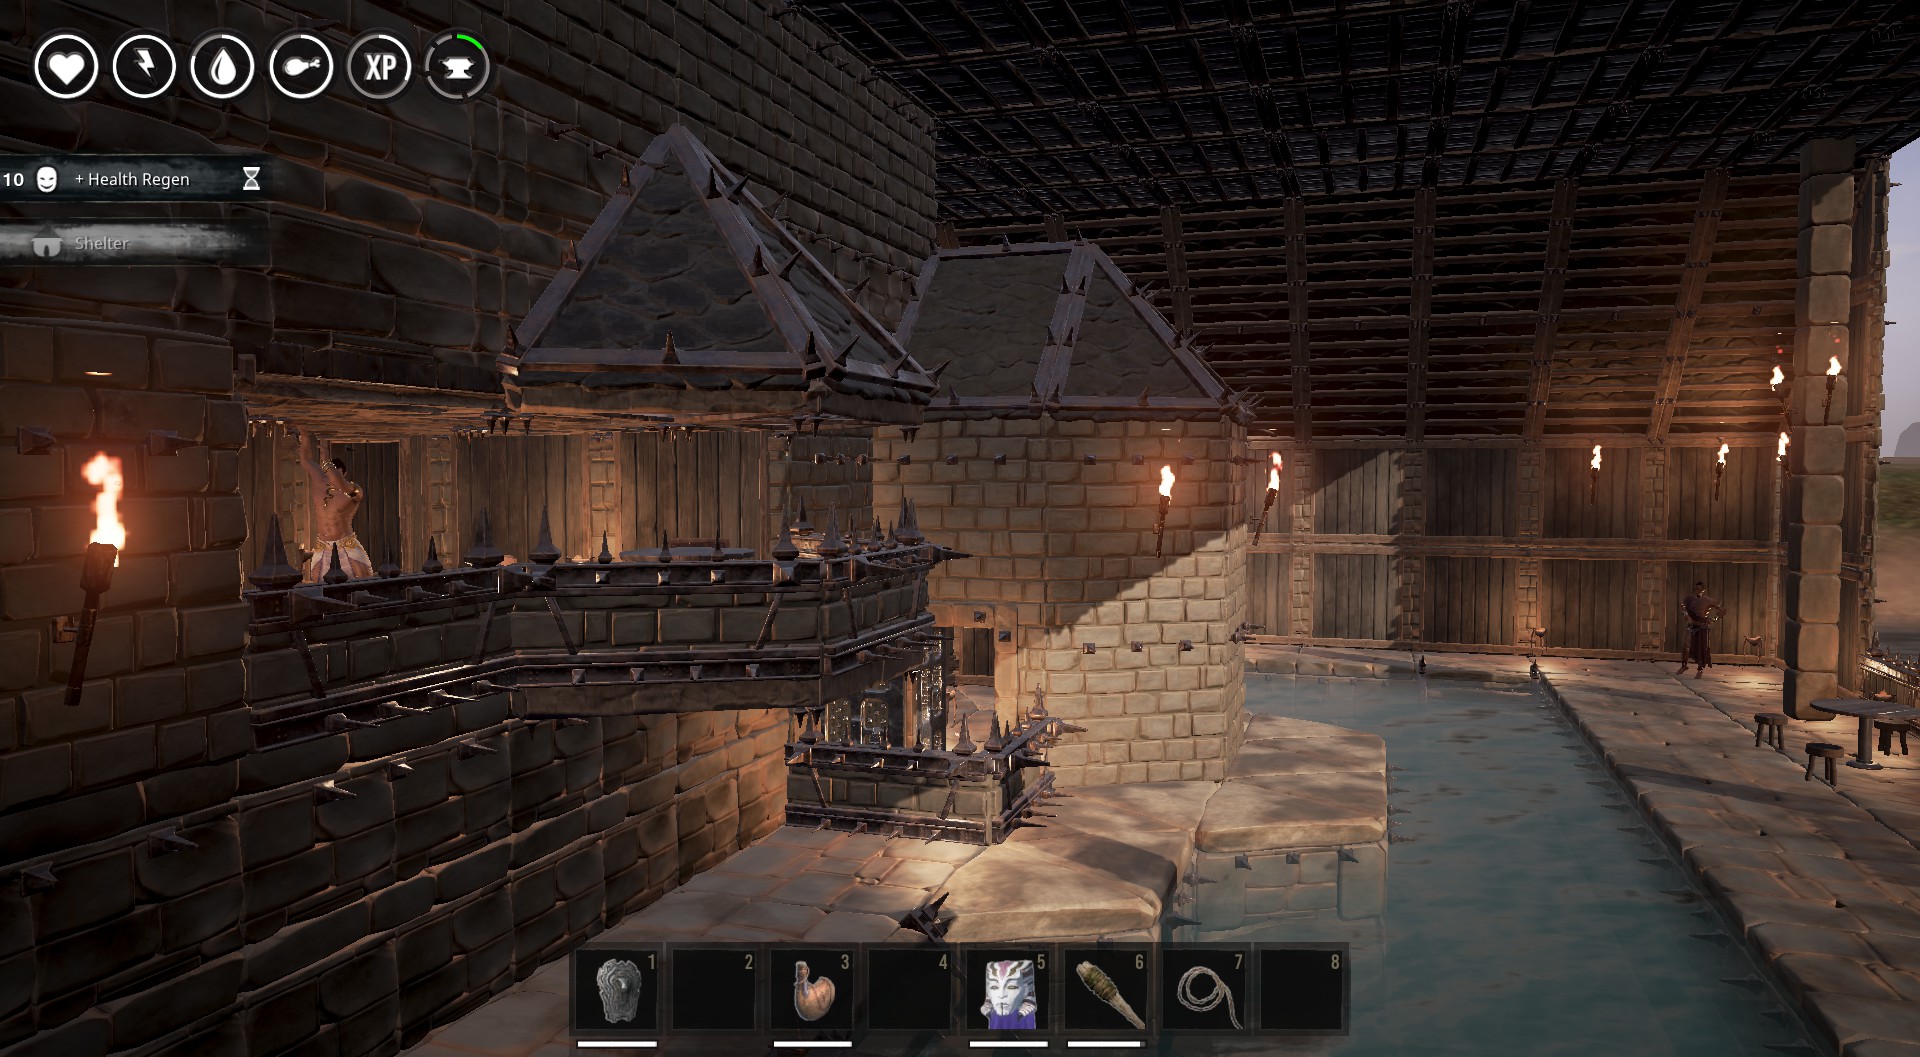
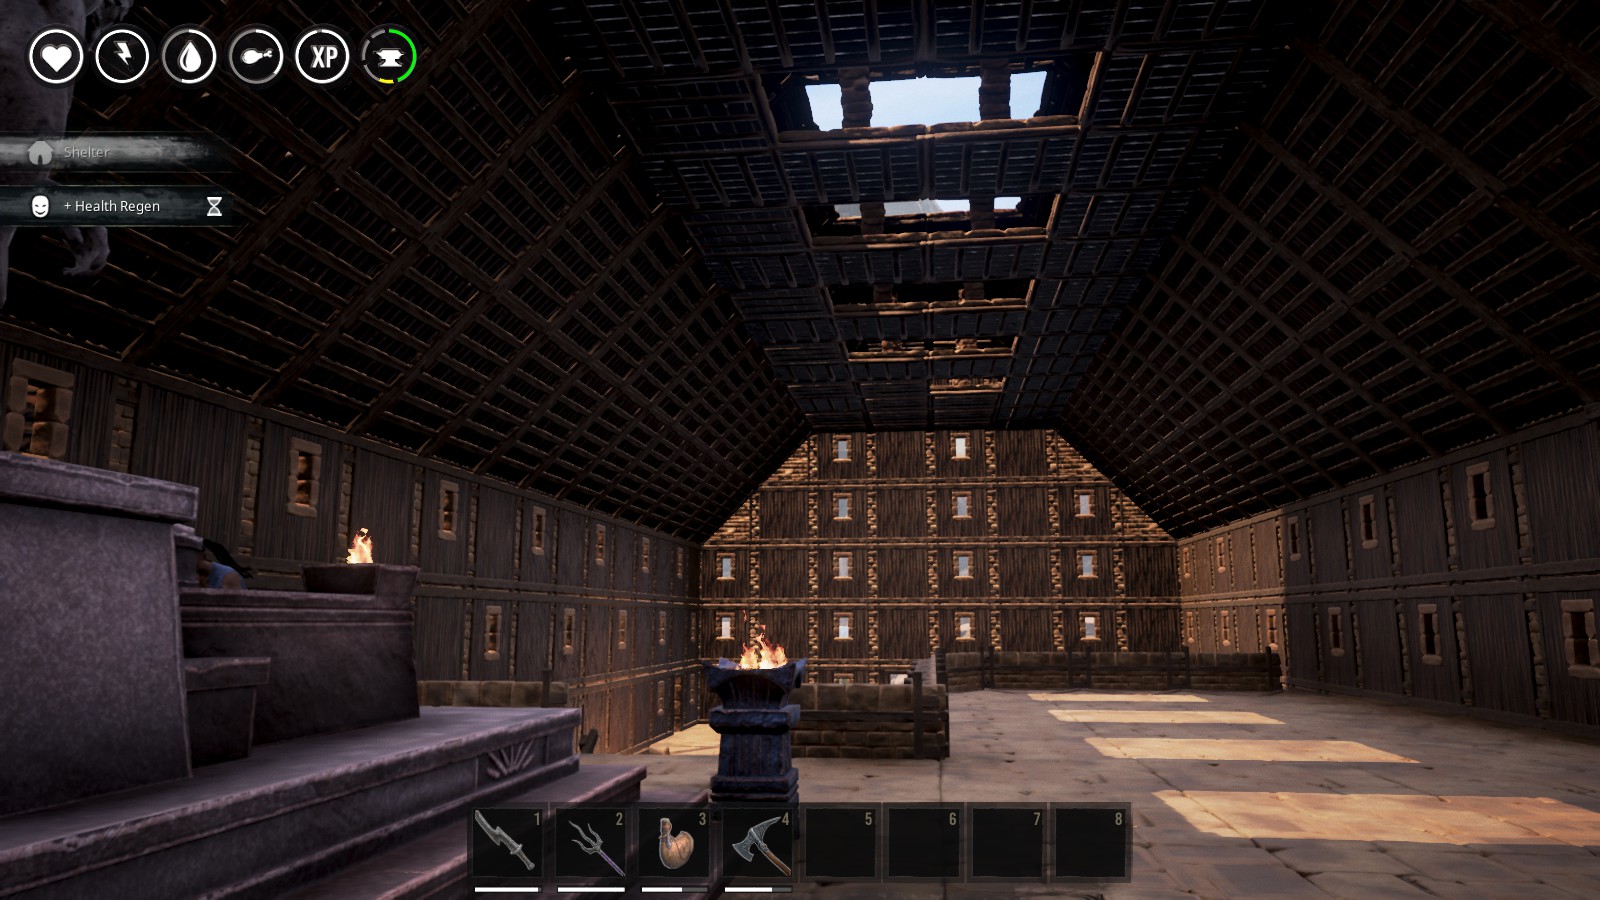
I used the Tier 2 building parts for the Lower City and a mix of Tier 2 and Tier 3 for the Upper City and The Keep. This is mainly noticable inside the Upper City buildings. This is the finished interior of my large space building.
Revisions
Revison 1
- Corrected spelling errors
- Added section on Corbel Arches and building Bridges
Revison 2
- Added information to the Better than Foundations section
- Added sections on Architecture and Terrain
Revison 3
- Corrected spelling, typos, and gramatical errors
- Added notes where need due to changes in the game.

