Overview
Case: Animatronics is not an easy game. This is partially because it isn’t always clear what you are supposed to be doing. This first attempt at a guide will tell you what you need to know and how to beat the game step-by-step.
Introduction
The first and most important thing to note about this game: You cannot defend yourself.
That’s right, this game follows the rules established by games like Amnesia: The Dark Descent and Outlast. There is no way to fight your enemies and getting caught is an instant-kill, the only way to survive is to evade and hide from them.
But how do you do that? Well, first you gotta know your tools and how your opponents operate. After that will come instructions on what to do.
Your Tools
The Tablet
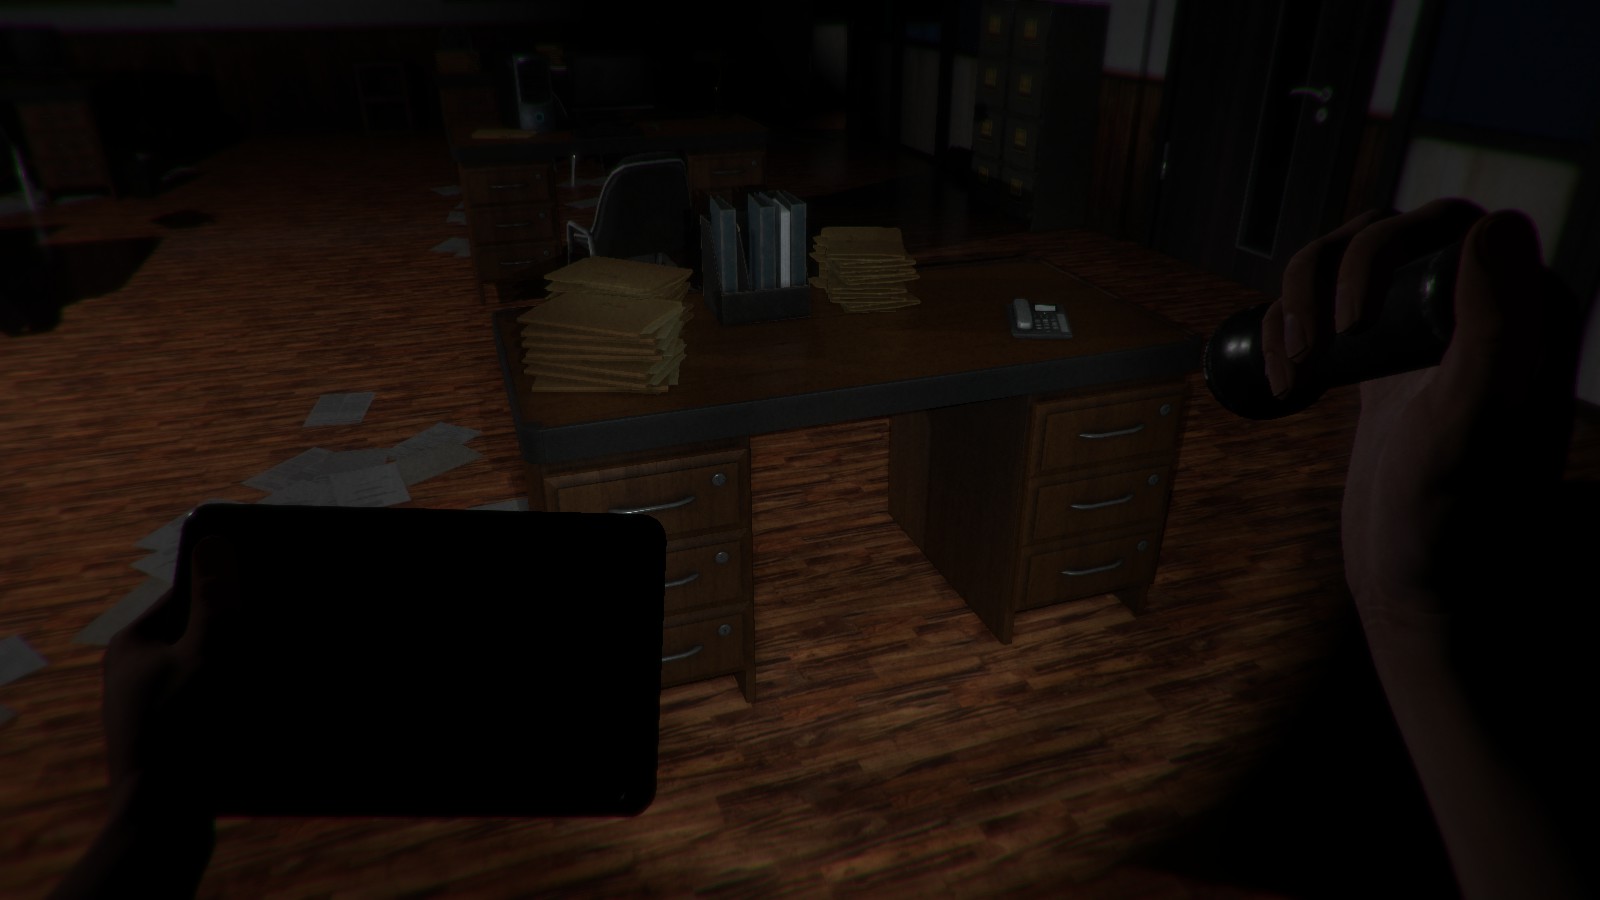
The tablet is the most important tool at your disposal, as it gives you vital information on the locations of the animatronics roaming the police station. Turning the tablet on (standard keybinding is the left mouse button) gives you a live-feed of whatever camera you have currently selected. You can use this to keep an eye on an animatronic in a safe area away from you, that way you know when it leaves.
By pressing space you bring the tablet closer to your face, giving you a clearer look at the layout of the police station. You can select any available camera by simply clicking on it. It also marks the room you are currently inside of and the room you have to reach next, which is very useful for orientation.
But be wary of your tablet usage: The tablet can and will run out of batteries. When this happens: Don’t worry. There is a way to recharge it. Partway through the game, you will gain access to Room B2. On the desk inside of the room is a tablet charger and the desk itself a hiding place. Place the tablet on the charger and hide under the desk. The tablet recharges relatively quickly, so you won’t have to wait too long. The text on the charger will turn green once the tablet is at 100%. (Do note however that the battery will slowly drain even if you have the tablet turned off completely.)
The Flashlight
Hardly needs explanation. Turn the flashlight on by clicking the right mouse button so that you can see where you are going. Don’t worry about it alerting the animatronics to your presence while you are hiding: It doesn’t! While the flashlight has infinite battery, it will occasionally start to flicker and turn off entirely. However, it will work again shortly after.
Lockpicks

Hiding Places
There are three different kinds of places you can hide in to keep enemies from putting an end to you:
- Desks: The most abundant type of hiding place found in the game, though not all desks can be hidden under. Only desks without a chair are viable (with exception of your own desk in Office B1).
CorrectWrong
- Wardrobes: These can be found in the corners of Office A1 and A3 and take the longest to climb inside.
- Lockers: These can only be found in the changing room next to the showers. Only two of the lockers allow you to climb inside, as the rest are locked shut. Warning: These are the only places where you will be unable to use your flashlight and tablet.
Your Enemies
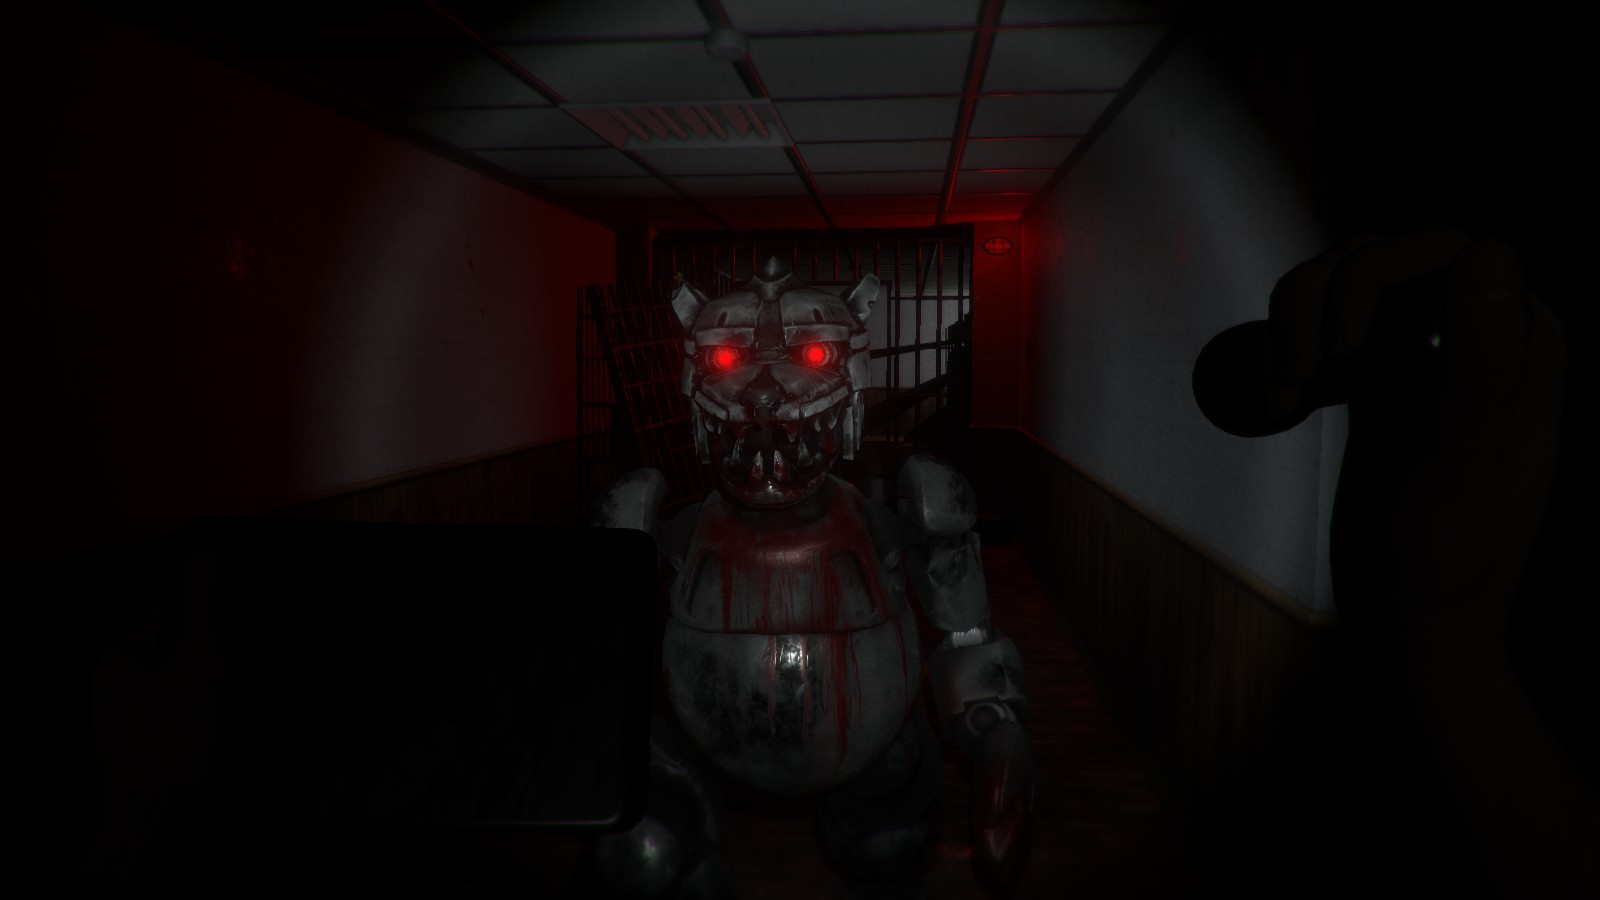
The Wolf roams the three office rooms, the shower and the entrance area trying to find you. The only place he doesn’t go to by himself is the back of the police station, i.e the Archive D1, the Warehouse D2 and the hallway leading to them (this does not count for hard mode however, where he will search anywhere). He’ll immediately give chase upon making line of sight with you, so do whatever you can to avoid that happening.
But if he does find you, run to one of the many hiding spots scattered throughout the police station to escape him, but make sure he doesn’t see you entering one or it won’t work. This is far easier said than done though, so it’s best to just avoid him entirely.
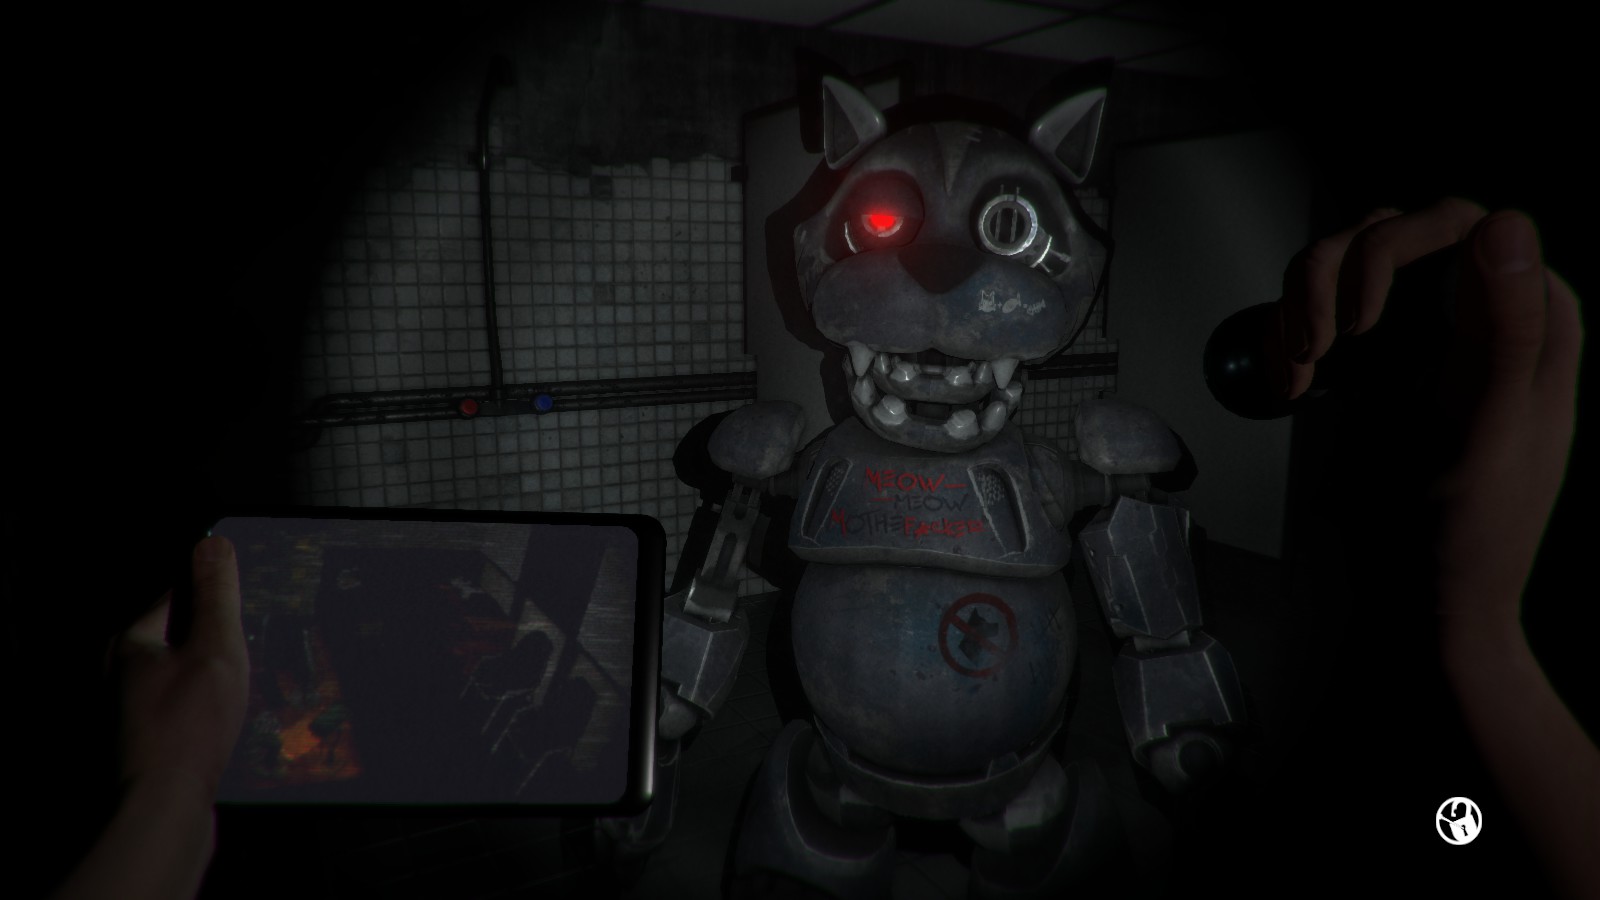
The Cat is the only enemy capable of traversing the air vents, its movements indicated by metallic banging sounds coming from the roof. It will occasionally exit the vents to check a room when it thinks you are in it, making a loud metallic rumbling when entering or exiting. In this case, same rules as the Wolf apply. Be sure to stay far away from vent openings on the ceiling when you hear its sounds! Making noise near these vents such as running around and opening drawers seems to increase the likelyhood of the Cat coming out to investigate.
Unlike the Wolf, the Cat will enter every single room in the police station while looking for you, so no place is completely safe once it is active.

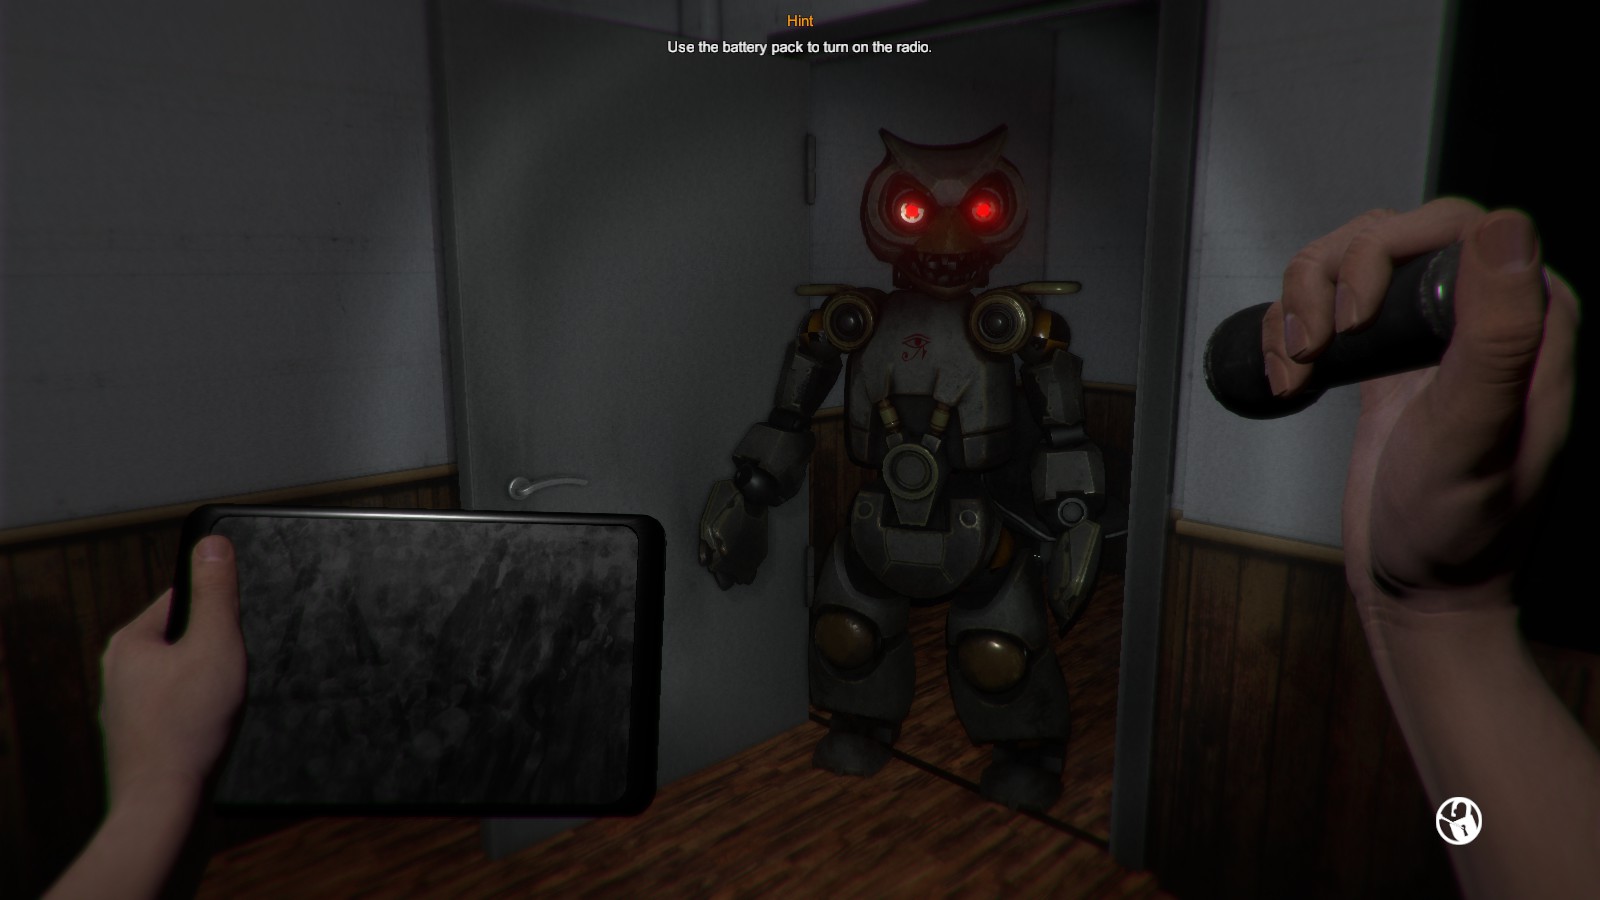
Unlike the Wolf and the Cat, the Owl does not actively pursue you or roam the building. Instead, it appears in a random room and stands absolutely still. If you happen to be in a room with it (you can tell by the piercing red eyes staring at you from the darkness), do not turn your back to it. Doing so will result in an immediate game over, as will touching it.
Instead, keep your eyes fixed on it and exit the room. Get a wall between you and it, but beware of running into the other two animatronics as you do so since they will still be looking for you. It should disappear and show up in a different room shortly after.
Walkthrough
Now that we know what we are dealing with, time to jump into the fray. I will seperate this part of the guide into three seperate parts, each new segment beginning when a new animatronic becomes active.

- Get out of the office space and into the main Hall C1.
- Move down the hall towards Hall C2. At the end of the hall is a deactivated Wolf along with a code written on a note between his legs.
- Memorize the code and go to Control Room B7. This room requires that you enter the code you got from the note.
- Enter the room, move around the shelf and interact with the maintenance panel. Warning: This will trigger a jumpscare you cannot avoid.
Bishop will now awaken at his desk once more and receive a call from a stranger. You are now required to repeat the steps as above. Be wary that a random jumpscare that is completely irrelevant to anything that is happening and will never be mentioned again appears at the entrance to Control Room B7.
- Once you have restored the power again, no jumpscare will happen this time. Make your way back to where the Wolf was.
- The Wolf has now disappeared and the telephone on the desk will ring; interact with it.
- Once the stranger finishes talking, quickly move away from the door and find a hiding spot, ideally one of the lockers in the nearby changing room. The Wolf will open the door shortly after and officially start its hunt for you.
- If you chose a different hiding spot than the changing room, make your way there. You need to find a keycard lying on the floor somewhere in that room. The exact location is randomized, so you’ll have to look around a bit; make sure you also check the showers.
But be careful that the Wolf isn’t nearby. If he goes inside the room while you are in the showers, you’ll be at a dead end as there is nowhere to hide. - With the keycard in hand go outside the changing room and back to the end of the hall. Use the keycard to open the closed door next to the desk, opposite of where the Wolf came out of.
- Go inside the newly opened Office A4 and head to the back of the room. Here you’ll find another maintenance panel; interact with it. Things are about to get a whole lot worse.
Your tablet now has access to the entire police station. John will automatically take out the tablet, just in time for the camera feed to show the Cat animatronic standing up and entering a vent. From this point onwards the Cat will also hunt for you.
- Regardless of your tablet usage, its battery will automatically become nearly empty. Make your way to Warehouse D2, the same room the Cat just activated in. In the shelf near the light on the right side of the room is a small safe. Open it and take the lockpicks inside.
- Now that you have the lockpicks, get back to Office A1 where the game started and open Office B2.
- Before you can charge your tablet with charger on the office desk, you’ll need to play a short memory game on the computer to bypass a virus. It’s not particularly hard, simply find matching images. Now you can charge your tablet whenever you want.
- Search the file cabinets inside Office B2. One of them holds another keycard. Take it, go to Office A4 and open the Director’s Office B6.
- Once inside, the door will lock behind you and Bishop starts monologuing. Once he finishes, the Cat will jump out of the vent so hide underneath the desk before it sees you.
What follows is perhaps the most tedious part of the game. You get another call from the stranger, after which he will turn off the police station’s ventilation system. You need to survive for roughly 5 minutes.
- Be sure to move from room to room, as staying in one place for too long seems to call an animatronic directly to your hiding space. Bishop will notify you of the halfway point.
- OPTIONAL: Once the stranger turns off the ventilation system, your vision will become increasingly distorted. Although it’s not necessary for escaping (You even get the Survivor achievement for doing so without it), you do have the option of turning the ventilation back on. Go to Office A2, the room with the projector. Hidden somewhere on the projection is a 4-digit code (this code is randomized every time you reload a save). Put this code into one of the computers in Control Room B7. This will reactivate the ventilation system.
- When Bishop says “I need to hold on until 3 AM. I need that key!” a second time, move back to the Director’s Office B6. The safe on the file cabinet will now open.
- Take the keycard inside of it and use it to open Interrogation Room B8 next to the changing room/showers.
The stranger will once again call you on the phone inside the Interrogation Room B8. When he finishes talking, Bishop will automatically turn around and look at the Owl animatronic that just opened the locked door next to the glass window. The Owl is now active.
- Get out of the Interrogation Room B8 and into a different one to make the Owl leave. You won’t need to worry about the Wolf, he has moved to the back of the police station, but beware that the Cat is still roaming about.
- Once the Owl is gone, go into the room it just appeared out of, open the right desk drawer and take the battery in it.
- Take the battery to the desk at the end of the Hall C2. On the desk is a small radio; interact to put the battery inside it. Go hide immediately, as this will cause the Wolf to come running and then return to his usual route.
- Go to the Archive D1 and use your lockpick to open the cell door. Step in and get another call from the stranger.
You are nearly there, but the most difficult and frustrating part of the game is about to begin.
- The stranger will turn off all the lights inside the police station, but you can turn these back on again. Just flip the light switches inside each of the rooms and go to the Control Room B7, where the switches for the main hall, the control room itself and the Lobby B9 are.
- Each of the three animatronics will randomly deactivate for a brief period of time. This is why it is crucial that you turn the lights back on. Two of them will have a keycard on their back, only one of which is the correct one to your escape. Find them on the cameras, wait for them to become inactive and then take their keycards from them!
- Once you have a keycard, go to the Lobby B9 and attempt to exit the building.
- If you have the wrong keycard Bishop will remark that the keycard doesn’t work. Find the other keycard.
- Get back to the Lobby B9 and escape.
Conclusion
Congratulations! You have successfully bested the stranger and fled his death trap. What an adventure full of twists and turns. Now you’ll just have to do it all again in one go in hard mode.
This was my very first attempt at a guide, the short length of the game lended itself well to that. I hope it was able to help you get to the end and should i have missed something or gotten something wrong, be sure to let me know and i’ll update it accordingly. Keep safe, everyone!

