Overview
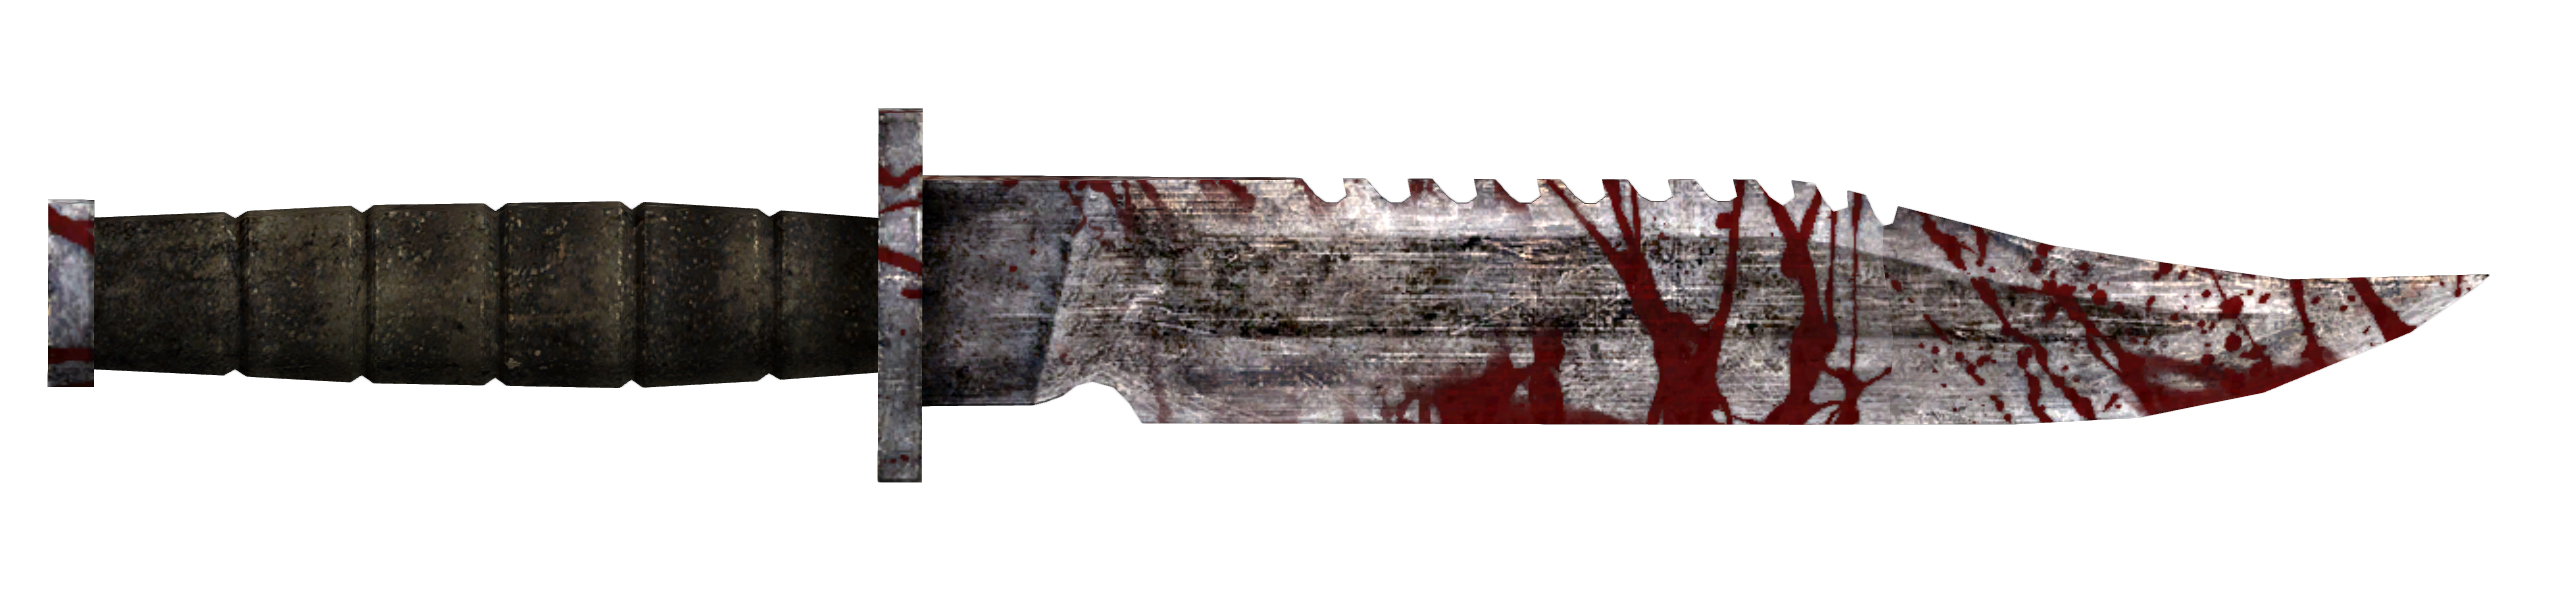
Short guide to acquiring Chance’s Knife, (A unique and powerful Combat Knife) at level 1. Which is normally particularly hazardous due to the infestation of “Cazadors” in that particular area North of Goodsprings, the opening town.
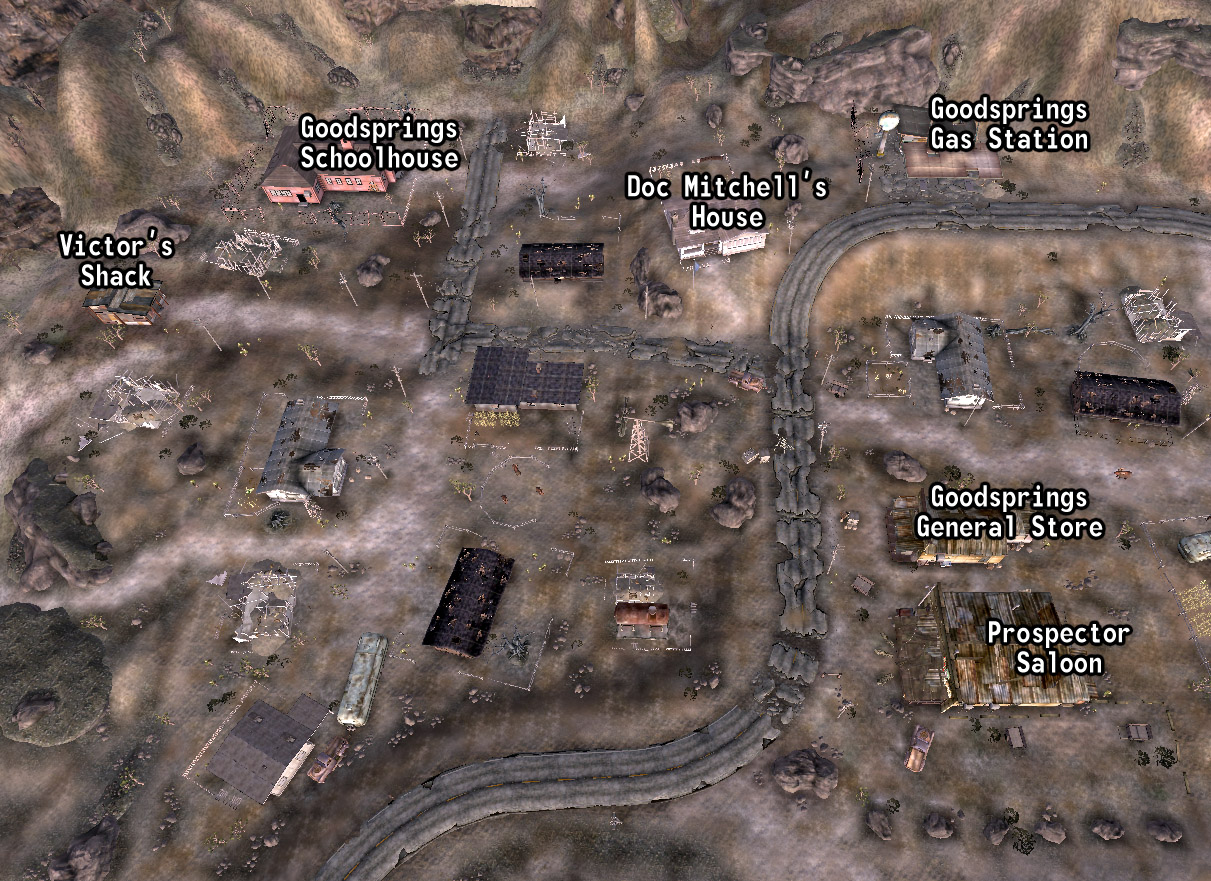
1. Exit Doc Mitchell’s House
Exit Doc Mitchell’s House, pause here for a moment [Pictured Below].

This is essentially where character creation ends. Although, you will still have one last chance to correct some, if any attributes you don’t feel strongly about regarding your character incarnation.
There are very few prequisites that come to mind for this to be done correctly & effieciently.
A Shovel. Which can be bought from the General Store or found next to one of the water troughs down by Goodsprings Source to the South (next to some Geckos).
A Stealth-boy. Which can be found among the contents of a safe in the Goodsprings Schoolhouse. This will be detailed in #3.
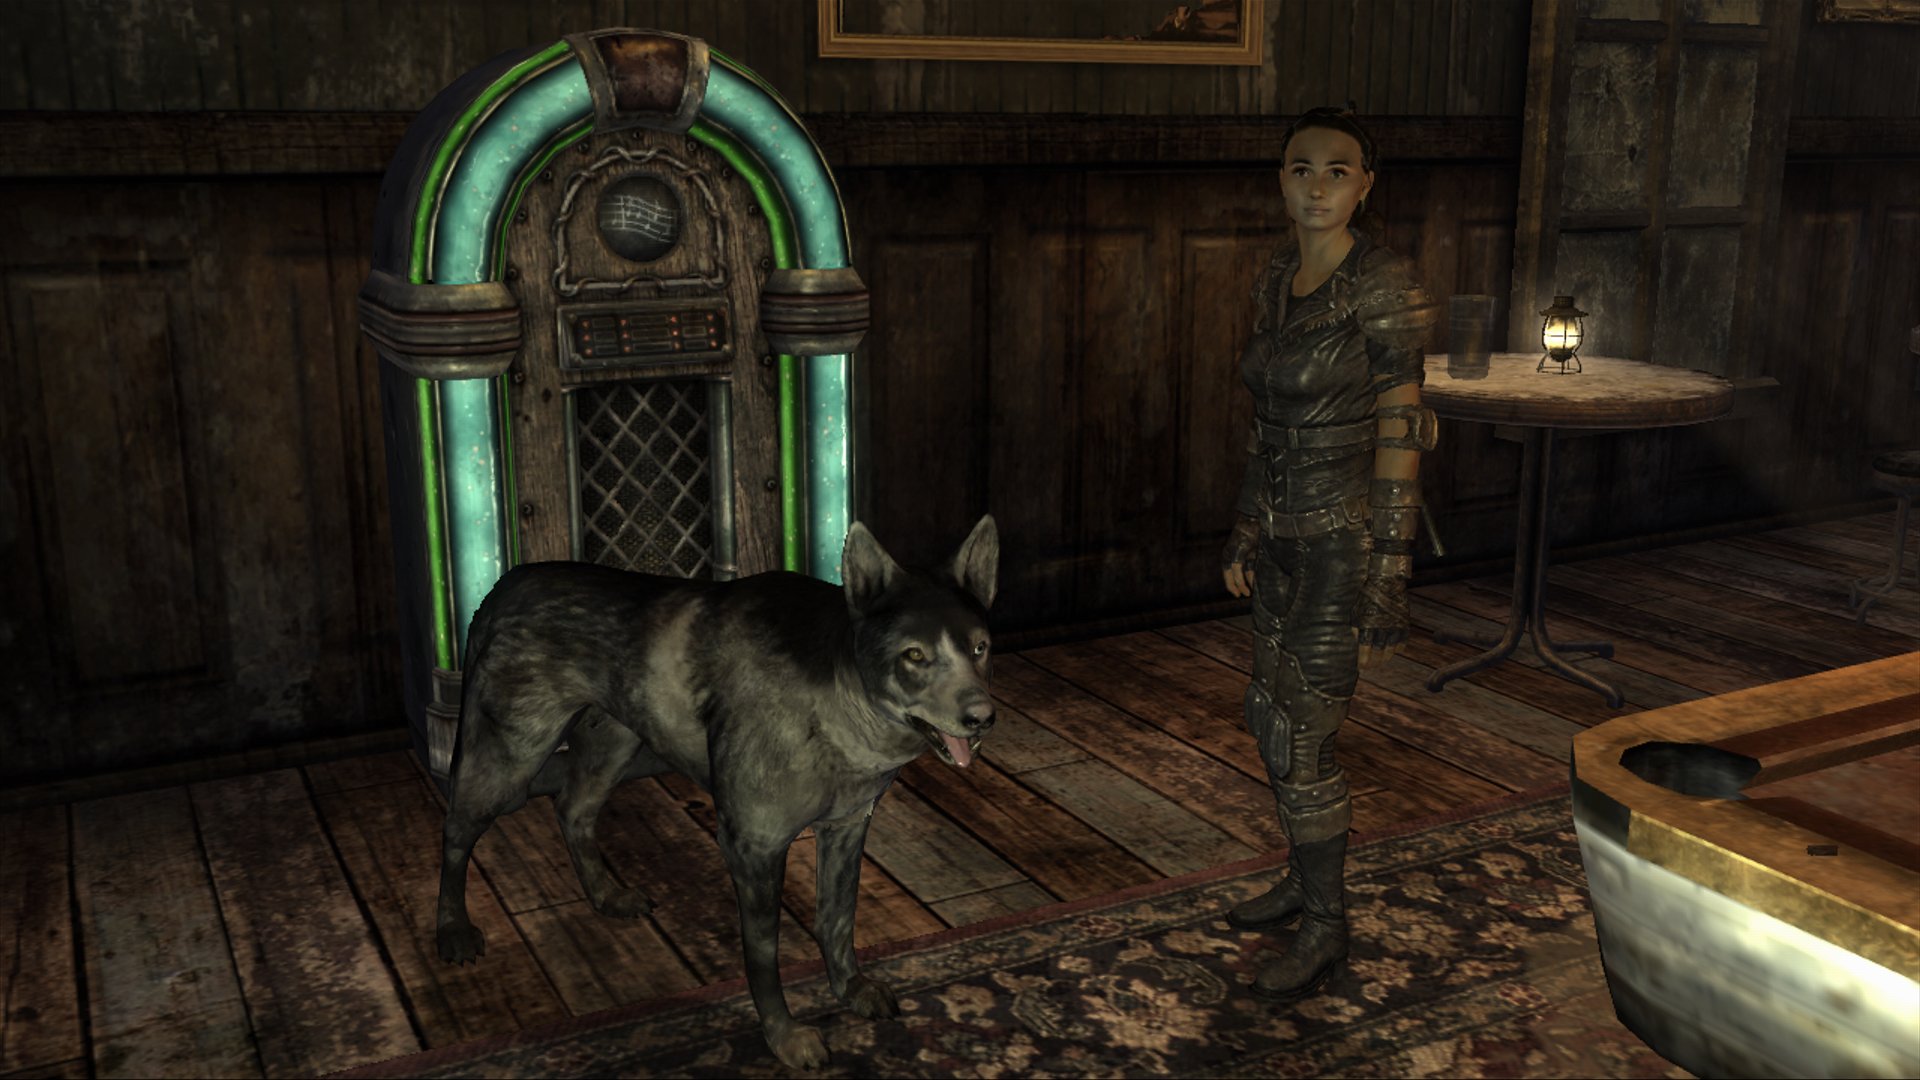
2. Find Sunny Smiles At The Prospector Saloon.
Find Sunny Smiles At The Prospector Saloon [Pictured Below].

Situated just a few meters NorthWest of the player after leaving Doc Mitchell’s House [Pictured Below]. Refer back to this later if you’re having trouble understanding the layout of Goodsprings.
Converse with her, and inquire to if there is any work available [Pictured Below].
After doing so, Sunny will procede to give the player a copy of a magazine entitled “Locksmith’s Reader”. Which will give the player a temporary 10+ bonus to the “Lockpicking” skill for 60 seconds. Aswell as some lockpicks.
3. Acquiring A Stealth-boy From Contents Of The Safe In The School.
Acquiring A Stealth-boy From Contents Of The Safe In The School [Pictured Below].
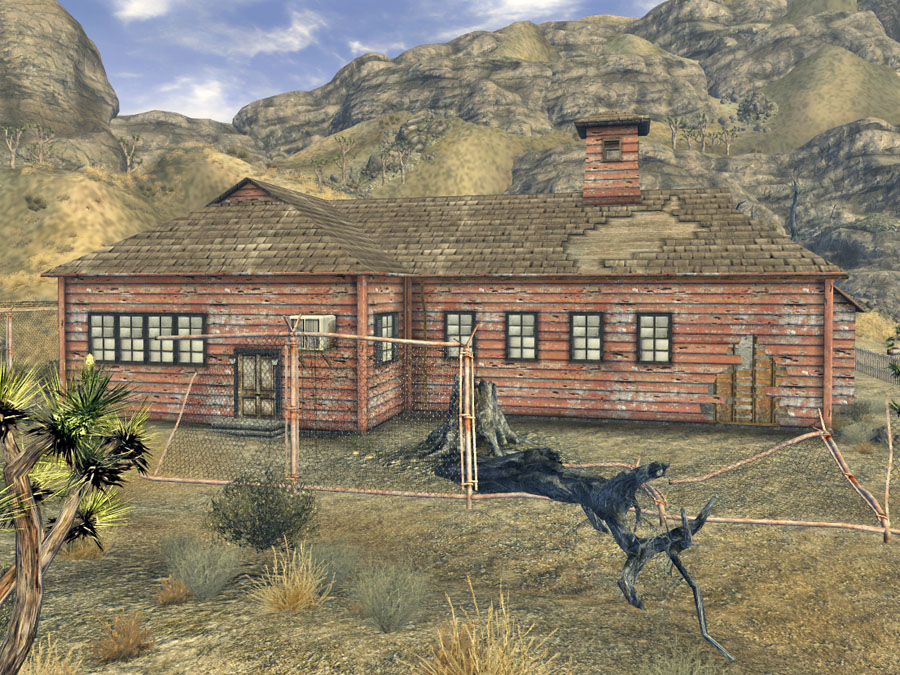
Watch out for the 7 or so Mantises that infest the School-house. 2 out front, and 5 inside. Once inside, and the Mantises have been “taken care of” resume your searching for the contents of the safe located to the left of the school-house from the entrance. If you have the skills needed high enough, that being Science & Lockpicking. One piece of advice would be to hack the computer. Then, instead of choosing to unlock the safe from the computer just log off, after that proceed to unlock the safe yourself with the lockpicks you gained from Sunny Smiles. This way you earn “experience” points for BOTH the computer hack & the safe. Whereas one would normally just earn that for the hack.
From there, take the Stealth-boy. You’ll be needing it!
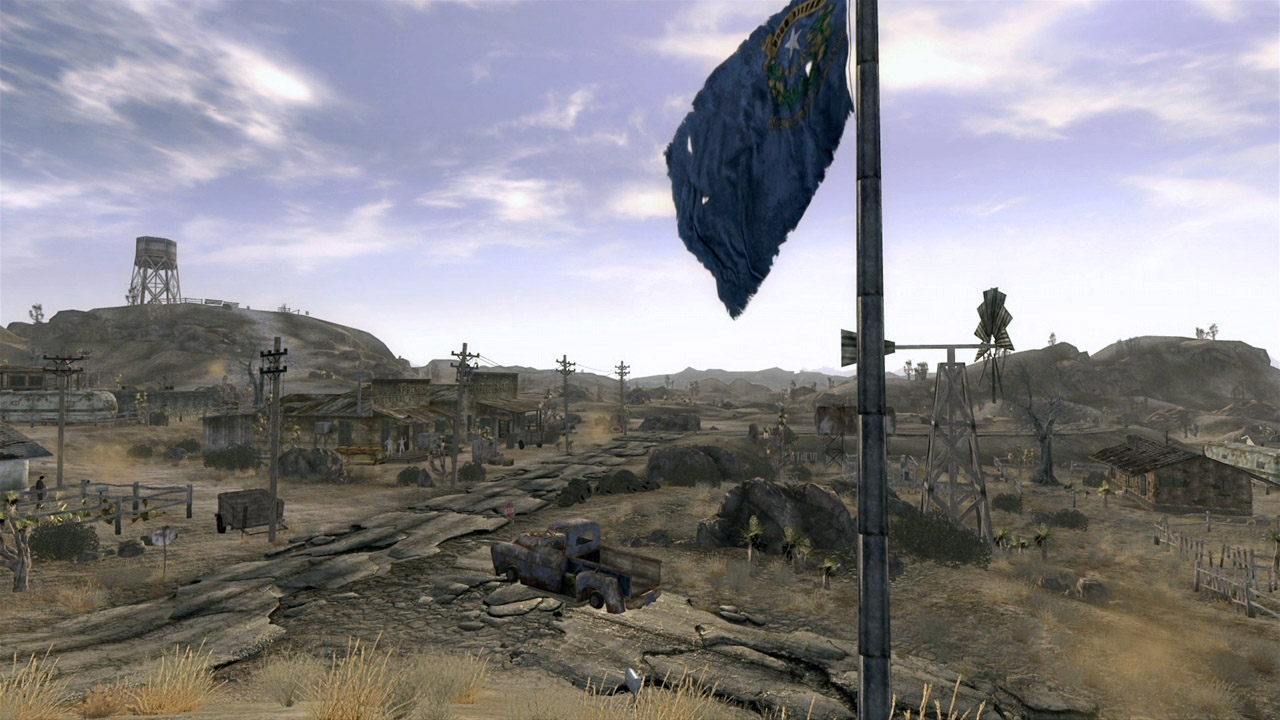
4. Head North. Out Of Goodsprings, Carefully.
This is where it begins to get tricky.
Follow the road to the North out of Goodsprings. That’s to the left if leaving from the exit of Doc Mitchell’s.
As you are leaving you should see a “crack or split” in the pavement. STOP a good few meters before this. This signifies 2 things.
The 1st being your last chance to edit your character. As you draw nearer to that “crack” you will eventually be prompted with a message. Much like in previous iterations of Bethesda games, this signifies you are straying from the “tutorial zone” for lack of a better term. Such as the Dungeon Pass of Oblivion or the Vault of Fallout 3. You will then have one final chance to edit your character, unless of course you play on PC, then you can use “Console Commands” to change your character whenever you will it. Although these are not without their complications.
The 2nd being the “point of no return” per se. This is the point at which “Victor”, the giant mechanical robot you may have seen rolling around town, will try to interact with you. You CAN NOT let him talk to you, if he talks to you before the Cazadors aggro to him he will disengage chasing you & return to Goodsprings. DO NOT let this happen.
Once you see him coming, RUN. Keep him in your sightline, but not so close that he can interact. Keep moving North, at which point you will see 2 “Cazadors”. Essentially giant Hornets. These will kill you in 1-3 hits at your current level so attempting to engage or even aggro is not advised.
Now would be the time to drop into a stealth crouch & activate your Steath-boy. Note that this is NOT 100% sure to disengage the Cazadors from you if you engaged them. If everything goes as it should the Cazadors will aggro to Victor. Who is “essential” at this point in time in the game, meaning he CAN NOT be killed, but CAN however be knocked unconscience.
If they aggro to Victor then that’s the hard part over with. Continue just a few feet until you come to a split in the road. You now have a choice. North or West? Instead of continuing North, head West (left). Upon traveling a short distance you will come to another split in the “path”. A trail that continues slightly uphill to the South (left when moving West along the path). Or, a settlement just ahead to the West. Avoid this, there are many more Cazadors there you CAN NOT deal with this early. Take the trail to the left.
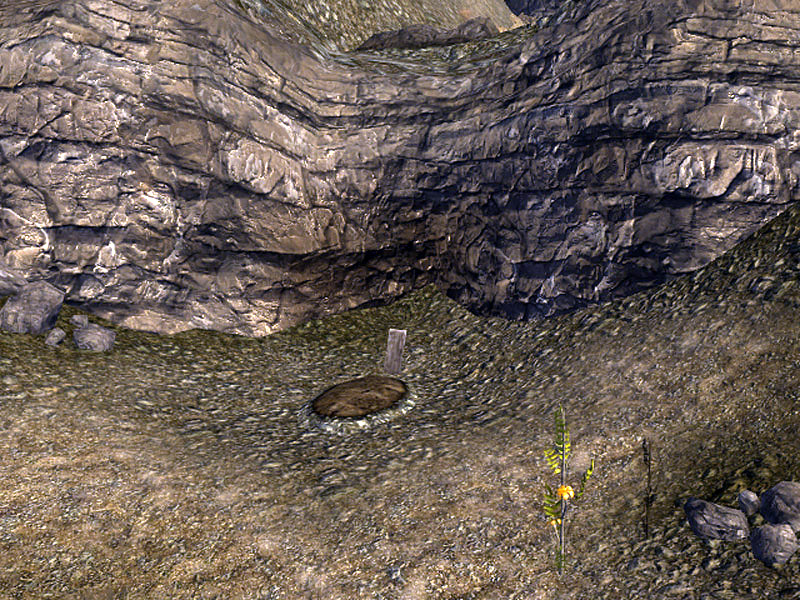
At the top of the path you will find a grave [Pictured Below].
This is where the aforementioned “shovel” is needed. Use that to dig up any contents in the grave. Low & behold it’s Chance’s Grave. This is his final resting place, which bodes well for you since he was buried with his knife. TAKE IT!
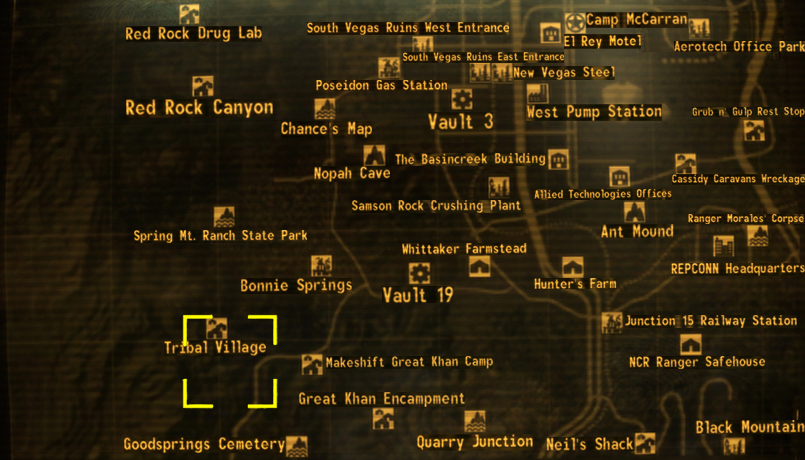
By this point your Stealth-boy will be nearing it’s 2 Minute limit. Which means you can’t get back the way you came past those pesky Cazadors. Don’t worry about it. From here open your map (default F3.) & fast travel back to Goodsprings.
This concludes my guide.
Hope you enjoy your new Knife.
As always comments/critiques are appreciated.