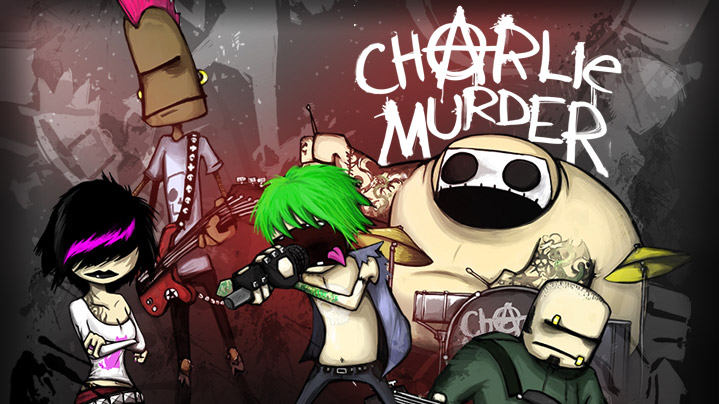
Overview
This guide will provide a good start to enjoying Charlie Murder. The game leaves a lot of discovery to the player using the in game Windows Phone. In fact the How To Play Section only tells you to press X and Y to fight and to press right on the d-pad to learn how to play. If you’re one who can’t be bothered figuring out the control scheme and game-play basics in this manner then this small guide is for you.
Character Select Screen
Left Stick Up or Down — Band member choice.
Left Stick Right or Left
- Alternate class or skill sets for band member.
- Finishing each difficulty unlocks an additional set of alternates.
- Note: All character ans class items and attributes carry over to the next play through.
A — Select band member.
Inventory
Back — Inventory
- Right or Left Bumper to cycle through Categories.
Inventory Categories
- Clothing — Hats / Eyewear, Jackets / Sweaters, Gloves — Each gives varying amounts of attributes such as Strength, Defense, Anar-Chi and possibly skills.
- ANAR-CHI — List of your skills. Four can be mapped to one of AXYB.
- Food — Attribute boosting (permanent) or Health.
- Beer Ingredients — Use to Ferment and then Brew beers. Beers temporarily restore health and permanently boost attributes.
- Relics — May be equipped for boosts. How many depends on the upgradable Relic skill. If you want to get the good ending on your first play-through you will want to enable five simultaneous Relics before you get to the end of the game.
Controls / Game-play
A — Jump
X — Punch / Shoot / Pickup / Throw (Contextual such as weapon without ammo)
Y — Kick (Throw weapon when jumping)
B — Grab (Additional Grab skill(s) when acquired)
Left Stick & Right Stick. Prompted to revive teammate in multi-player.
dPad Down — CAMERA
The camera is for taking pictures of items in the environment which net you free loot, social media followers (XP) or cash. Mostly UPC symbols so you’ll need to look closely though an item that sticks out in the environment, take a picture and you may be rewarded.
dPad Left — REVELER — Skills and Level points allocation but only one of will show at a time.
If skills are not listed it’s only because you have no skill points to spend. If you cannot see your attributes it’s because you need to spend any skill point(s). To spend skill points you are given a choice between several and when all used you see your attributes. Not all attribute points need to be spent at once.
dPad Right — EMAIL — Your Inbox. Email messages serve as a metaphor for game instructions.
dPad Up — SQUIDD.us — Social Media Followers used as a metaphor for XP. The more followers the more gained experience. There is an XP bar at the top indicating amount of XP to gain a level.
Right Trigger — ANAR-CHI — A super skill of sorts and of which you obtain as you progress with the opportunity to map four to your ABXY buttons and usable while holding Right Trigger and a button. Holding the Right Trigger by itself will show you the readiness of each skill or the degree of cool down (which can be temporarily lowered with a cool down pet using the left bumper).
Left Trigger + Left Stick — Dodge or Roll. Hold to chain.
Left Trigger — Block. If timed correctly you will be prompted to execute ANAR-CHI.
Left Bumper — Activate a cool-down item. These are animals that facilitate the activation of super skills activated with the Right Trigger and A, B, X or Y.
Right Bumper — Activate the next item shown on the upper left screen.
An item that gives health or attribute points. Beer for one can be brewed from ingredients picked up during the game. Specifically mashed and fermented. Attribute points obtained from such items are permanent. If you’re looking at an item with that says 0-Strength 100HP it means that you cannot level the Strength attribute at this moment in time and gain a 100 health.

