Overview
How to make your own citizen assets.
Introduction
I’ve spent hours trying to figure out how to create custom citizen assets. Now that I’ve created and uploaded my first citizen model, I’m going to teach you how.
[link]Note: I am working on Maya 2016
Step 1: Skeleton Template
Open the skeleton template file that corresponds to the citizen you want to make. You can find the templates at this location: C:Program Files (x86)SteamsteamappscommonCities_SkylinesFilesTemplatesCitizens. This is the educated female skeleton. The main skeleton is for the citizen. The joint off to the side is for the prop (bag).

Step 2: Create Your Model
Create (or import) the model you want to use.
If you’re creating an LOD (a lower poly version of your model when zoomed out), it’s best to put it in a middle of a walking cycle so that it doesn’t look weird when it’s sliding across the street.
(Once you’re finished with the LOD, export it (yourmodel_LOD.fbx), go back to your main model and move on to the next steps).


Step 3: Alignment
Line up the limbs with the skeleton. Make sure to delete all construction history afterwards.

Step 4: Skinning
Bind the model to the skeleton.

Step 5: Skin Weights
Paint the skin weights accordingly.

Step 6: Scaling and Pivot Location
THIS IS IMPORTANT. Select the root joint (which is the pelvis/hip joint) and scale it down to 0.1. (Note: When you select the model, the pivot point should be at the origin (0,0,0) of the scene.
Unnecessary and could lead to issues. Skip this step.
Step 7: Export
Export all to the import folder as an FBX (C:Users[USERNAME]AppDataLocalColossal OrderCities_SkylinesAddonsImport). Include the texture files and LOD model, as well.

Step 8: Asset Editor
Run the game and go the the citizen asset editor. Make sure you have ModTools activated in the Content Manager.

Step 9: Select the Citizen Asset
Select the citizen of the skeleton that you used.

Step 10: Select Your Model
Select your imported model. If the model takes up most of the viewport, you’ve done everything correctly.

Step 11: Property Adjustment and Testing
Adjust the properties to your liking and test the animations for any errors (warping, etc.).

Step 12: Making the LOD Work
For your LOD to show in the main game, you must have ModTools activated. Press F7 and paste this code[pastebin.com] in the text box and click run. (Credit goes to BloodyPenguin for providing this code. Thank you!)
Note: If you’re having trouble applying the script and getting an error message, try disabling and unsubscribing from ModTools, and delete the config .xml from the game’s installation path. Then resubscribe and enable the mod. You should be able to apply the script then.

Step 13: Save
Save the asset. (Note: Don’t worry about the preview image. You can’t take a snapshot in the editor)

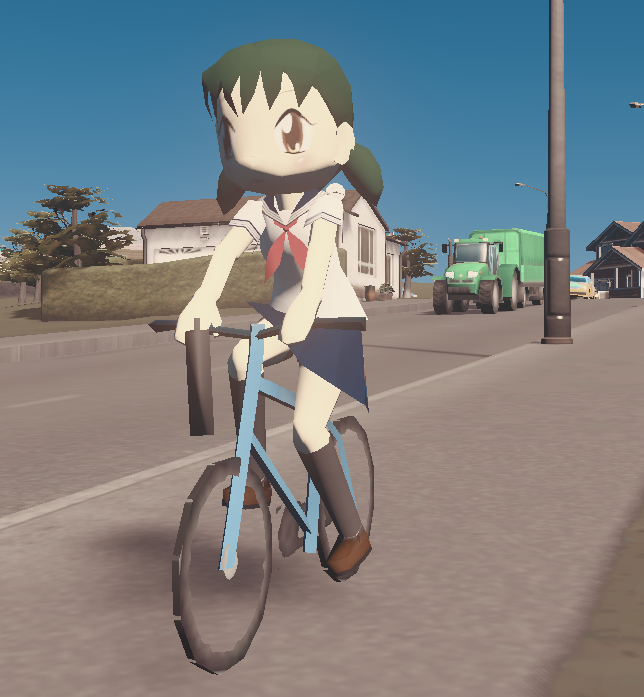
Step 14: Final Test
Test the asset.


End
And you’re done! Feel free to upload your asset after you’re done. I hope this guide was helpful to you.