Overview
Tired of being 1 shot by plasma or railguns? Want to know how to build to survive a big shot? All you gotta do is clamshell yourself. Learn how here!
Requirements
To complete this armour, you need 300-450 CPU for the blocks, guns and movement. If you do not meet this one requirement, then you must go battle and gain levels. However this armour can be made for any tier and is well worth making.
REQUIRED:
250+CPU Structure
50-150+CPU Movement/Attack
200 Inner
50-100 Prism
1 Pilot Seat
Propulsion Wheels/Hovers/Thrusters
Weapon Plasma/SMG/Rail
OPTIONAL:
2 Tetra
5-7 Thrusters
1 Radar
1 Radar Jammer
Shields
You may want to also check out the Ejection seat guide for more details on the optional build.
Link to the guide here Ejection Seat Guide

Core
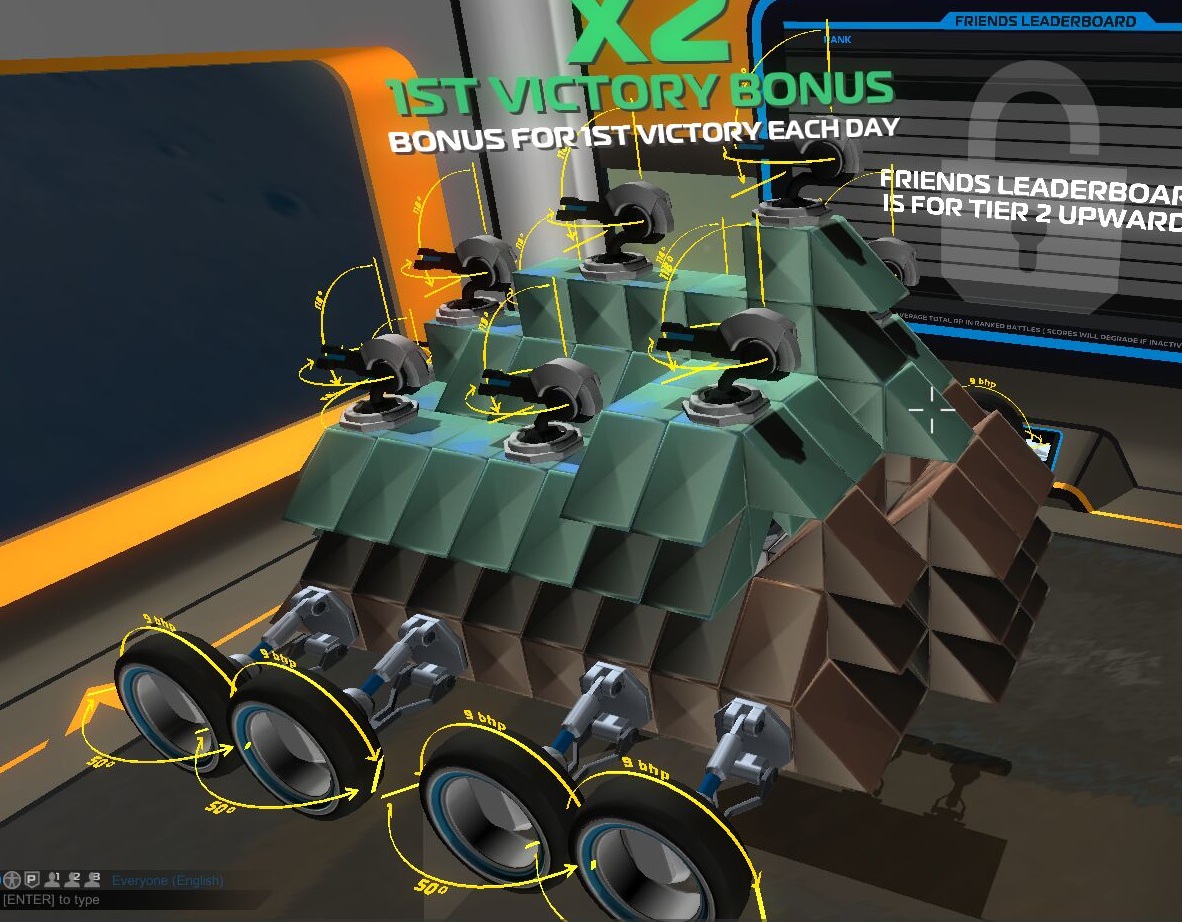
I HIGHLY recommend using only inners, rather than cubes. Inners attach on all sides, are lighter and have the same armour as cubes. Now you move faster.
USE THIS!!
I’ve used cubes to make it easier to see where to build. Secondly different colours to show the direction changes for damage. Any blocks will do when you make it.

Now to begin. Make a small tower and build off to the side, then erase the tower. This will give you more freedom while building.
>


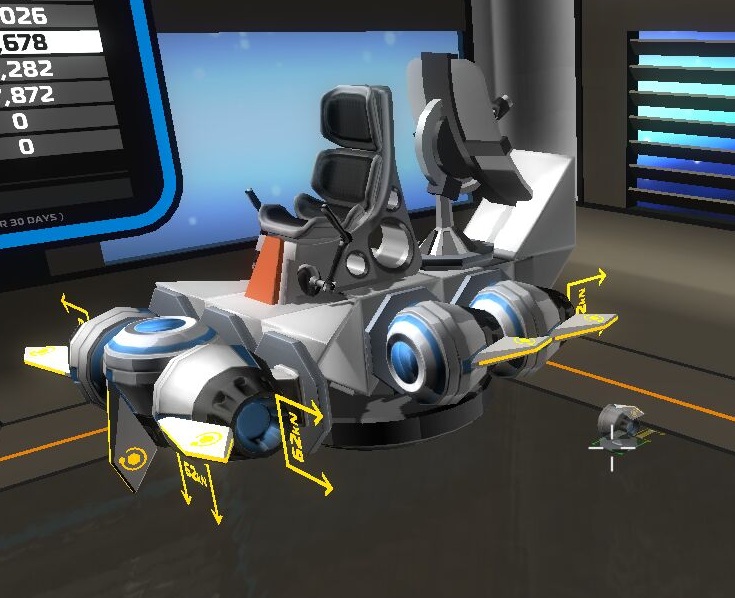
Place your seat and radar. Then extend the platform back with an inner and a prism. At this point, if you have the optional parts, add them on like this for a pro style ejector seat.

Middle Layer
Be VERY sure that you go around the core and do not connect anywhere but the back. Damage spreads through blocks and you want it to travel as far as possible.
When edges only touch, damage doesn’t spread. Remember, if it wouldn’t hold the block up, it wont spread damage to it.
Block: X
Core: –
Space: 0
XXXXXX
X00000X
X0——-X
X00000X
XXXXXX
Build from the back of the core, out both sides and connect at the front. You can also add a little extra protection with another clam.


Top Layer
Now begin to build from the front upward, then create 3 lines backward. Connect them at the back and add cross struts. Make sure that you do not connect anywhere other than the front.
>
>
>


Take a good look around at this point to double check your work.
Front

Back

Movement
You should now add on what is going to make you move around. Here are some ideas:


Closing the Shell
This part can get a little tricky. I’m sure you will get the knack of it in no time.
We’ll start between two of the top layer struts. Add two prisms so that they appear solid from the outside. Do this again above.


Dont worry, there is a reason for all this. Yellow marks blocks that are structure, red means temporary.
Now build out a row of blocks so you are able to angle the next two prism’s correctly. I removed blocks so you can see the position.

>
>

Doing this results in a solid looking outer part, that damage wont spread through. Delete the red marked cubes and it should look like this when you’re done. Now move over to the corner and add 3 prisms like so:

>
>

While you’re at it, add 3 prisms to the middle layer. Then close up with two prisms on the top layer. (Note, the teal and brown do not actually connect)

>
>
>
>
Now add on some temporary blocks for placement.
Place the remaining prisms. It doesnt totally matter if there are slight holes, though you are welcome to close this up as you see fit.


>

Continue this on all sides and corners until there is nothing of the core showing.
Move along all parts and remember, you want it to hit the top part wherever possible. You can even close the top all the way down over the middle layer if you choose. You should add weapons now so you can build around them.
>
>
>
>
>


It may take a bit to get this right. Constantly check to see if you have connected anything. A good way to do that, is to remove the connection piece at the front or back. Everything should go red beyond the connection.

>
>
>
>
>
>
>


Final Thoughts
Using this sort of armour I am nearly impossible to 1 hit. Any large blast hitting the top or front has to travel along the front, up the sides and then to me. With a single shot! Usually some or all of it breaks off.
If you make the core out of higher tier blocks, it will be more likely to end up as a pod.
Reinforce the connection points as much as possible and protect with shields if you have them. The crux of this design is taking a shot underneath or to the back. Though for most scenarios, this design will keep you from being blown to bits in one shot.
Please rate and leave comments with suggestions. I would like to fine tune this guide and feedback is appreciated.
I did not come up with this style of design all on my own and therefore cannot take full credit for the concept. The idea came from many people and places. However I did put this guide together. I hope it helps!
Happy gaming
DrSillyusFlux