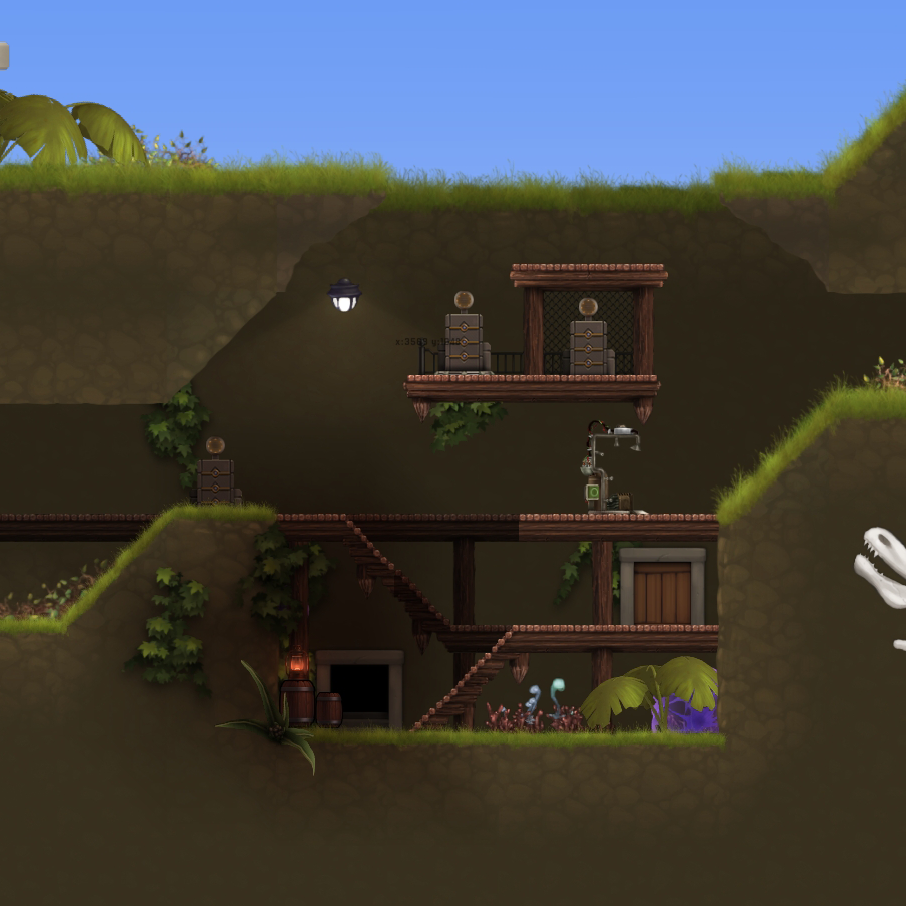
Overview
(This is a work in progress guide!) Having trouble making a level? No problem! Take a look through this guide to find some tips to improve, or incorperate it into your level!
Getting to the Level Editor
Survival Gamemode Tips
Spawning Enemies at Doors
- Place a door facing forward on a layer with collision.
- That’s it! Just make sure you do not connect it to a door though.
Setting up Shops
- Place six Shop Materializers anywhere you like.
- Change the catargories of each one by right clicking the shop, and selecting the “shop:” button. Choose what you like and select “OK.”
- If you do not place all six shop materializers and change the catagories of each one, the level will not load when you test it.
Wiring Tips
Hanging Wire Effect
- Place the first “nodeFixed” in the “Wires and Plumbling” section.
- Then place the “nodeFree” anywhere you like, and choose the fixed node (Node#, meaning a number) under the target list by right clicking it.
- You can also select the “wireConnectWall” option instead of the default “wireConnect” if you want to connect it to the ceiling.
Breakable Node Unlocking a Door
- Place the “nodeBreakable” found in the “Wires and Plumbing” section, and attach it to a fixed node (see above) or to the ceiling.
- Set it’s destroy action to “toggleSequence” and select the toggle to “lock”.
- If you want to unlock the door once destroyed, change it’s “startsAs” to On, and keep the “mode” to Toggle.
- Exit the menu and pick the target door’s id.
- Now to lock the door! Right click and select “lock” on the door you picked. Select the “simple” tab, and change the settings there to lock the door.
Requiring 2 Inputs for an Output (AND Gate)
- This is going to be a lengthy one…
- First you want to place two things. Then set it’s on destroy action to “trigger_Activate.”
- Check flag “a” for one and flag “b” for the other. Then place a Trigger tile found in the “Sensors and Triggers” section.
- Set the trigger to “onActivatedFlags.” Keep the settings the same. Change the “Set Action Action” (no typos here) to toggle sequence.
- Make the trigger target the thing you want in the “target” menu. Then make sure that both switches (or whatever) target the trigger.

More Than 2 Input AND Gate (>2 Input AND Gate)
- After reading the section just above, you can now create a 2 Input AND Gate. Now, you will learn how to make two type of a >2 Input AND Gate!
- Make a 2 Input AND Gate, but be aware that you will be changing some settings later on.
- First, you want to place another trigger and set the trigger to “onActivatedFlags.” Exit and set the trigger’s action to anything you like. You do not have to change anything else.
- Go to the first trigger and change the action to “trigger_Activate.” Set the flag to “a” or “b,” not both.
- Place a third switch/button anywhere you like and change the settings to match the two other switches. Change the flag(s) so it’s the opposite of the first trigger’s flag. Then instead of setting the target to the first trigger, connect it to the second trigger. A good example of a >2 AND Gate is three breakable nodes unlocking a door (see “Breakable Node Unlocking Door” to see how).
- Place 3 triggers (1, 2, 3) with the trigger being “onActivated” and the action being “trigger_Activate.” Place three switches.
- Place two more triggers (4 & 5) both with the trigger being “onActivatedFlags.” Set one’s action to “triggerActivate.” Make the second one’s action anything you want.
- Connect the inputs to triggers 1, 2 and 3.
- Set flag “a” for triggers 1 and 3, then set the flag “b” to trigger 2 (“a” to one and three, flag “b” for two). Set triggers 1 and 2 to trigger 4. Then set that to trigger 5. Set trigger 3 to 5 next (one and two to four, four and three to five).
- Connect trigger 5 to anything you want to activate.


Everything in the picture has a 1 at the end, don’t let it confuse you. This set starts from the left and goes towards the right. Once the last trigger activates, the safe is unlocked. Triggers First and Second go to Combined1, that then goes to Combined2, then it finally reaches the safe. Third trigger goes straight to Combined2.
Button 1or2 -> Trigger 1or2 -> Trigger Combined 1 -> Trigger Combined 2 -> Safe
Button 3 -> Trigger 3 -> Trigger Combined 2 -> Safe
Everything in the picture has a 1 or 2 at the end, don’t let it confuse you. The second set of triggers start from the bottom and go upward. Once the triggers activate, the lights do too.
Button -> Trigger -> Light
Door Tips
Locking Doors
Right click and select “lock” on a door. Select “simple,” and change the settings there.
Set if it’s locked, the combination length, or the cipher.
Spawning Enemies at Doors
Place a door facing forward on a layer with collision. That’s it! Useful for making enemies spawn at in a survival map.
Link Doors
Place two doors with seperate ids (creates ids automatically by default). Then target the other door by right clicking and opening up the the “Target:” list.


