Overview
This guide covers everything you’ll encounter during Zone 3 of Crypt of the Necrodancer. With the exception of Bosses & Minibosses, which are covered together in another guide.
Video Guide [4:00]
This guide is also available in a short video.
Overview
Zone 3 is ice and fire themed. The rooms are huge open spaces and have no corridors. This makes it easy for multiple enemies to attack from various directions, all at once.
Traps
We’ve got two new types of trap in this zone.


Floor Hazards


Monsters
The Fire Beetle has a protective shell that prevents all weapon damage from all direction. When its shell is attacked, it leaves five hot coals in a plus shape and is knocked back. If the beetle steps next to you, it will remove its shell permanently, leaving hot coals on the ground and becoming vulnerable to attack. The beetle moves every second beat. The Ice Beetle is the same as the fire beetle, except with ice instead of hot coals.
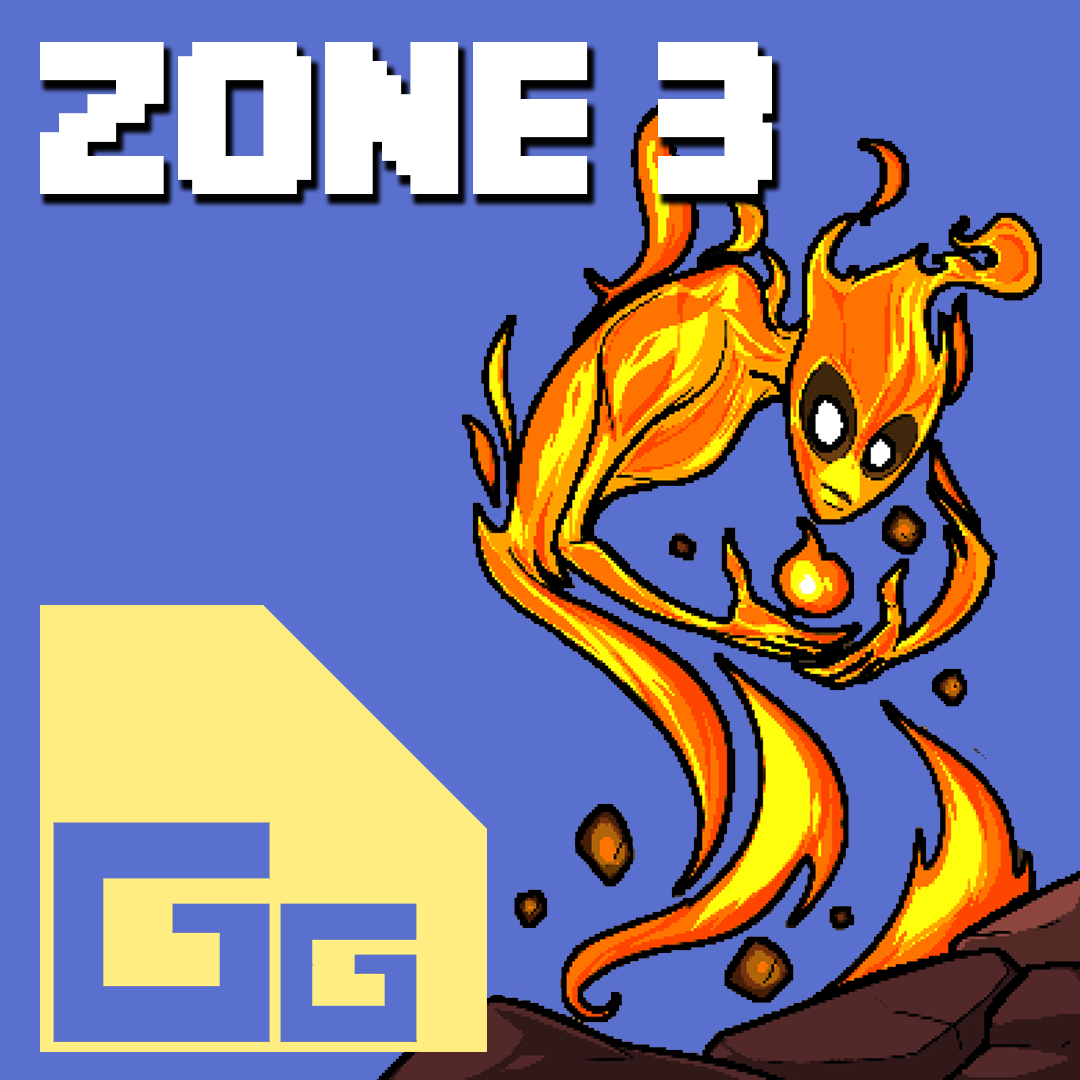
Elementals move every third beat. They leave a trail of either Hot Coals or Ice behind them depend on the type of elemental. They have two health.

The Ghast is the next step up from Wraith and Wight. It moves through walls like the Wight, except now when you attack it, it teleports behind you. Each Ghast can only teleport once.
The Goblin is a sneaky one. When you’re facing it, it runs away, but turn your back and it’ll pull out it’s daggers and chase you every single beat. Digging is one of the easiest ways to get these Goblins to come close so you can attack them. They only have one health, but the grey Goblins have two health. The grey Goblins will be knocked back when you hit them.

The Hellhound can move diagonally, always taking the shortest route while chasing you. It moves every second beat. And once killed, it leaves a patch of hot coals behind.
The Shovemonster will chase you and shove you in a straight line. If you cannot be shoved, then it will deal damage. It has two hearts and will move every beat. Our new model, the iShove 5s, comes in a beautiful polished grey. We’ve improved the durability, so it now has three hearts. We really hope you’ll love it, as much as we do.
The Skeletons have horses now! These Skeleton Knights can now move every single beat. Once it takes damage, the Skeleton is dismounted and becomes a normal Armored Skeleton. Yellow knights become yellow Armored Skeletons, and black knights become black Armored Skeletons. Simple!
The Fire Slime moves diagonally every beat in a diamond shape. It always moves counter-clockwise. It has one health, and when killed leaves hot coals on the ground. The Ice Slime is the same except it moves clockwise. When killed it leaves ice on the ground.

When the Yeti moves, it claps its hands together, throwing snow across all eight squares around it. If you’re in the snow, you’ll get hurt. The Yeti moves every forth beat and only has one health.

There’s always a new Mimic, this time it’s disguised as a cauldron. Remember to look for the bouncing animation. Once killed it leaves hot coals on the ground. Everything else works just like the chest and wall Mimics.
More Guides
[link]
[link]
[link]
Bosses and Minibosses will be covered in another guide (coming soon). If you found this guide useful, then be sure to rate it. Thanks!


