Overview
Guide to cover basic gameplay tips, complete walkthrough including 100% achievements, and a few other bits that aren’t obvious when you first pick up the game.
Intro
There are in-game Tutorials on the ‘TUT’ tab of your PC – worth reading first, as this guide won’t recover too much of this basic ground. You can follow this guide to obtain 100% Achievements, although I won’t explicitly detail each one with requirements as there’s another perfectly good guide that does this.
Note this is just one way of playing the game focusing on quality over quantity in the early game, in order to increase customer spend & bring in good reviews.
Starter Tips
Achievements:

Bully
Thief
- Sleeping is the only way to save the game… though not strictly necessary, it’s safest to sleep every night due to bugs etc.
- The pawn shop sells 3-4 items at up to 50% discounted rates vs. Zamazor, but you’ll have to know which items are worth getting since there are no ratings / full retail prices. More on this later in the ‘Pawn Shop’ section
- Food is sold from the merchant outside your hotel (behind the pawn shop). You can either eat directly, or buy to restock your fridge
- Use the baseball bat to club the homeless or thief only when they’re inside your shop, or to hunt down non-paying customers to collect your fee. Any other use with result in a hefty fine. Non-paying customers will make a distinctive sound when leaving the shop, and display a ‘cash with line through’ icon at close range. There’s another guide on Steam that goes into homeless and thief in more detail
- Flip the sign on your door between Open/Closed. Closing the door has no gameplay effect
- Bills need to be paid within 3 days. Leave every bill at least 1 day for the cashflow benefit and build it into your income/outgoings to pay it off on Day 2.
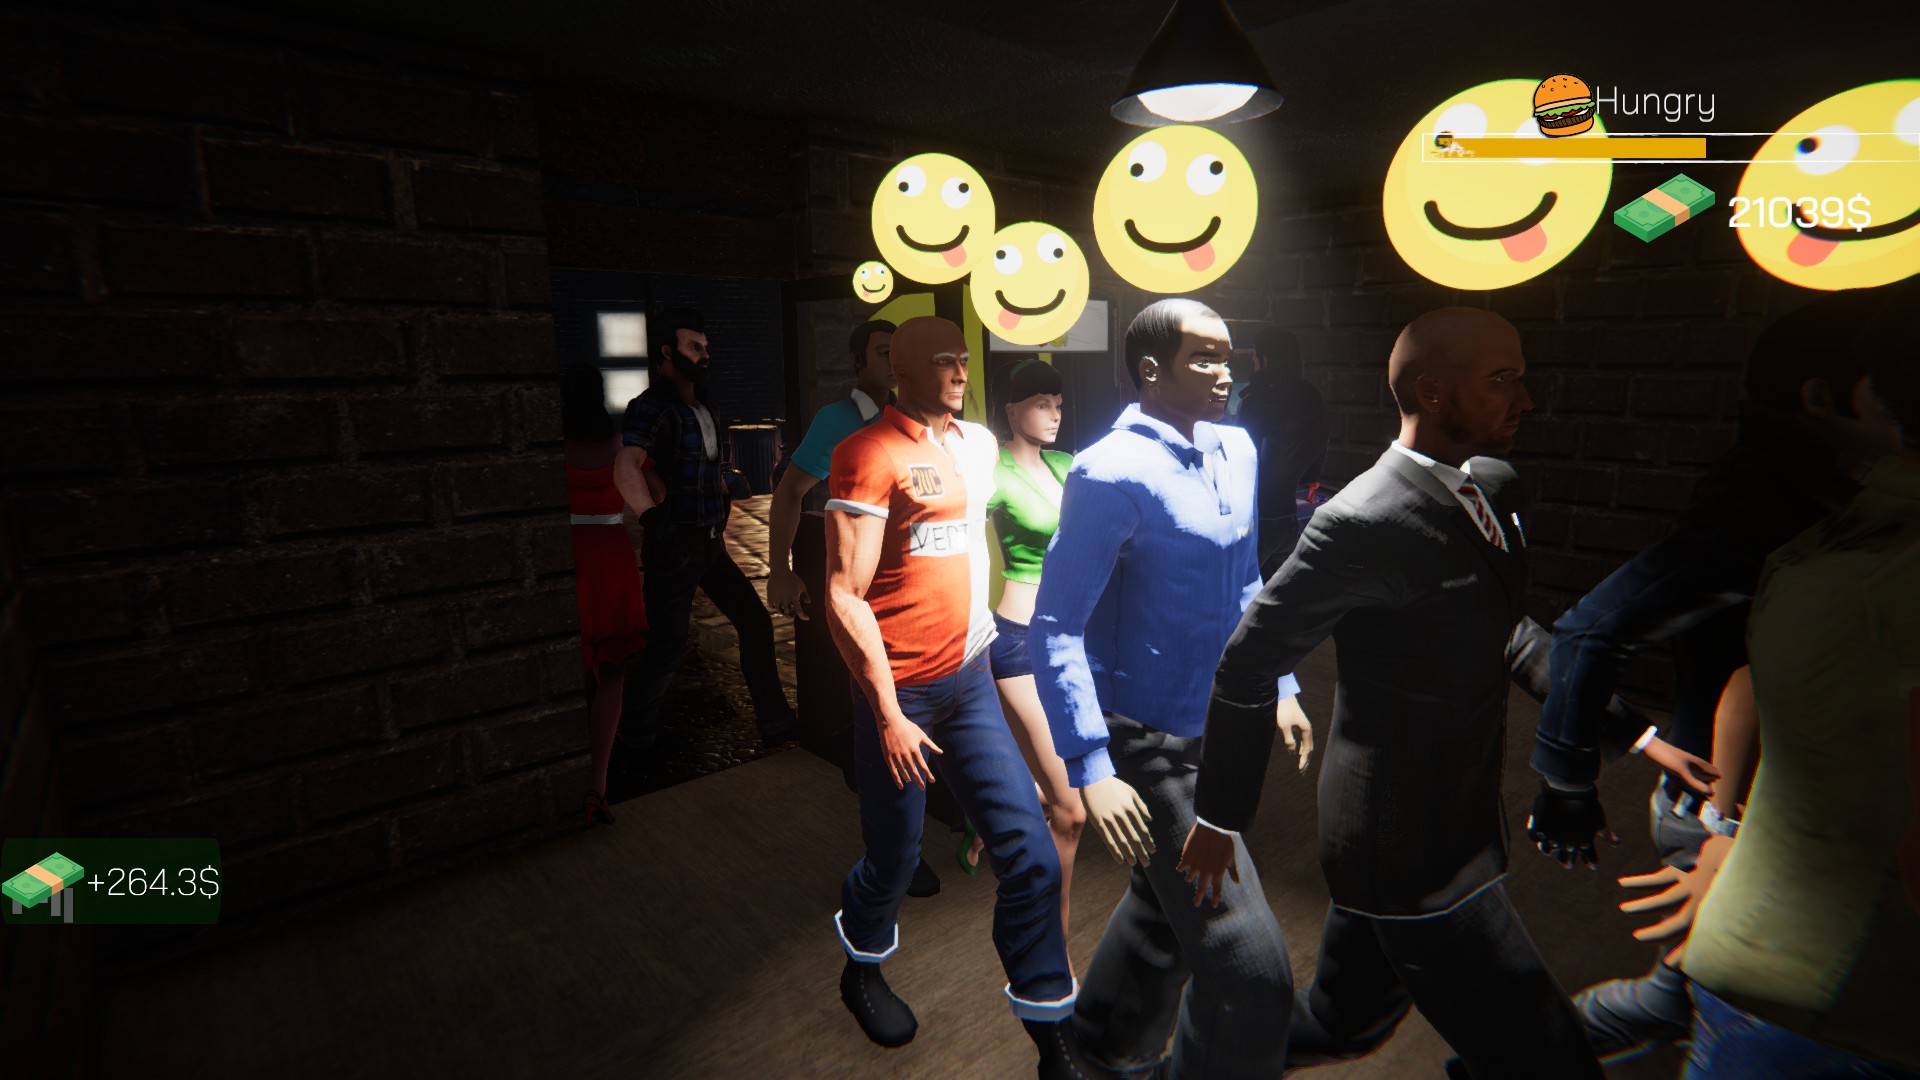
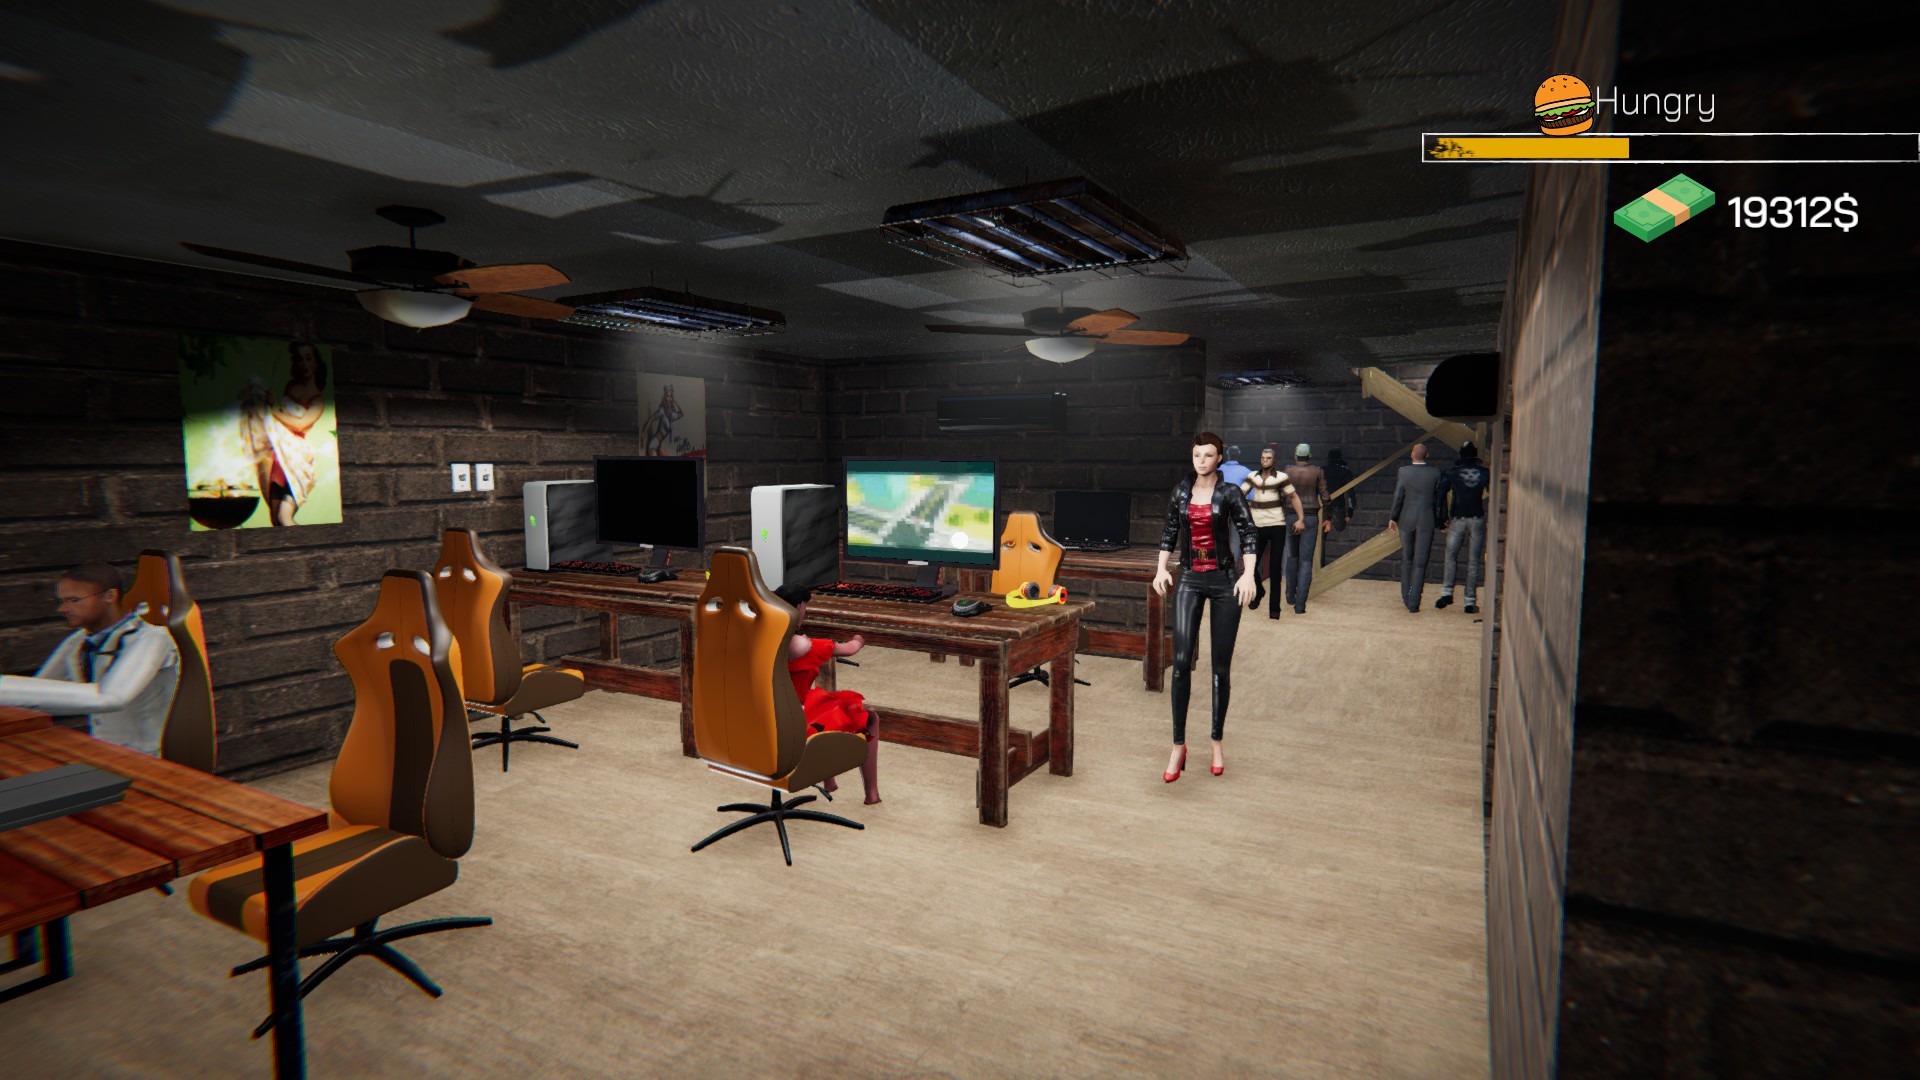
- Try to keep the main walkway through your shop relatively wide (at least 2 people) and clear from obstacles – you’ll be grateful later when your footfall picks up, and NPC pathfinding isn’t great at times!
- Also try not to place tables/arcade machines back-to-back over a large area… you’ll only need to rip it all up and put it back item by item if there’s an unlucky trash spawn.
- Monitor reviews using your PC to pick up anywhere you’re going drastically wrong, i.e. too hot/cold, not enough games etc.
Daily Routine
- Your alarm goes off at ~08:30 and customers can enter your shop from 10:00, providing your shop is open. You should close the shop each night to prevent customers entering while there’s still trash on the floor. Run straight from the hotel to the shop, scanning the pawn shop on the way past and eating if you need to, and start sweeping up trash. If you avoided placing tables back-to-back then you usually will be able to get all the trash without moving anything, but sometimes there’s no avoiding it.
- The Broom falls to your right when you drop it – stand in the kitchen and look at the counter to store it against the diagonal wall out the way, or simply behind your desk if you haven’t unlocked the kitchen yet.
- By now it’s likely 10:00 already, so time to open up.
- The ambient temperature changes every day, so grab the Temperature Meter and run through each room ASAP. You’re aiming for ‘Warm’ in every room, so make adjustments to ceiling fans / air con as required (see ‘Temperature’ section below).
Early Game
Achievements

Bodyguard
Game Collector
- In the early game you’ll focus on building up the default plot to increase customer volume and revenue, whilst minimising outgoings.
- The starting area is more than sufficient to get a decent foothold in the game and start turning a reasonable profit, so do not expand too early! This will only increase your rent and put you in financial difficulty before you can kit out with decent equipment to pull in happy customers.
- Before you buy any gear, buy 2-3 Games from the Game tab (pick any). Customers will complain early on about lack of game variety, but given they’re cheap and a one-time purchase you should aim to buy one each day until you have them all (also unlocks the ‘Game Collector‘ achievement).
- Starting gear:
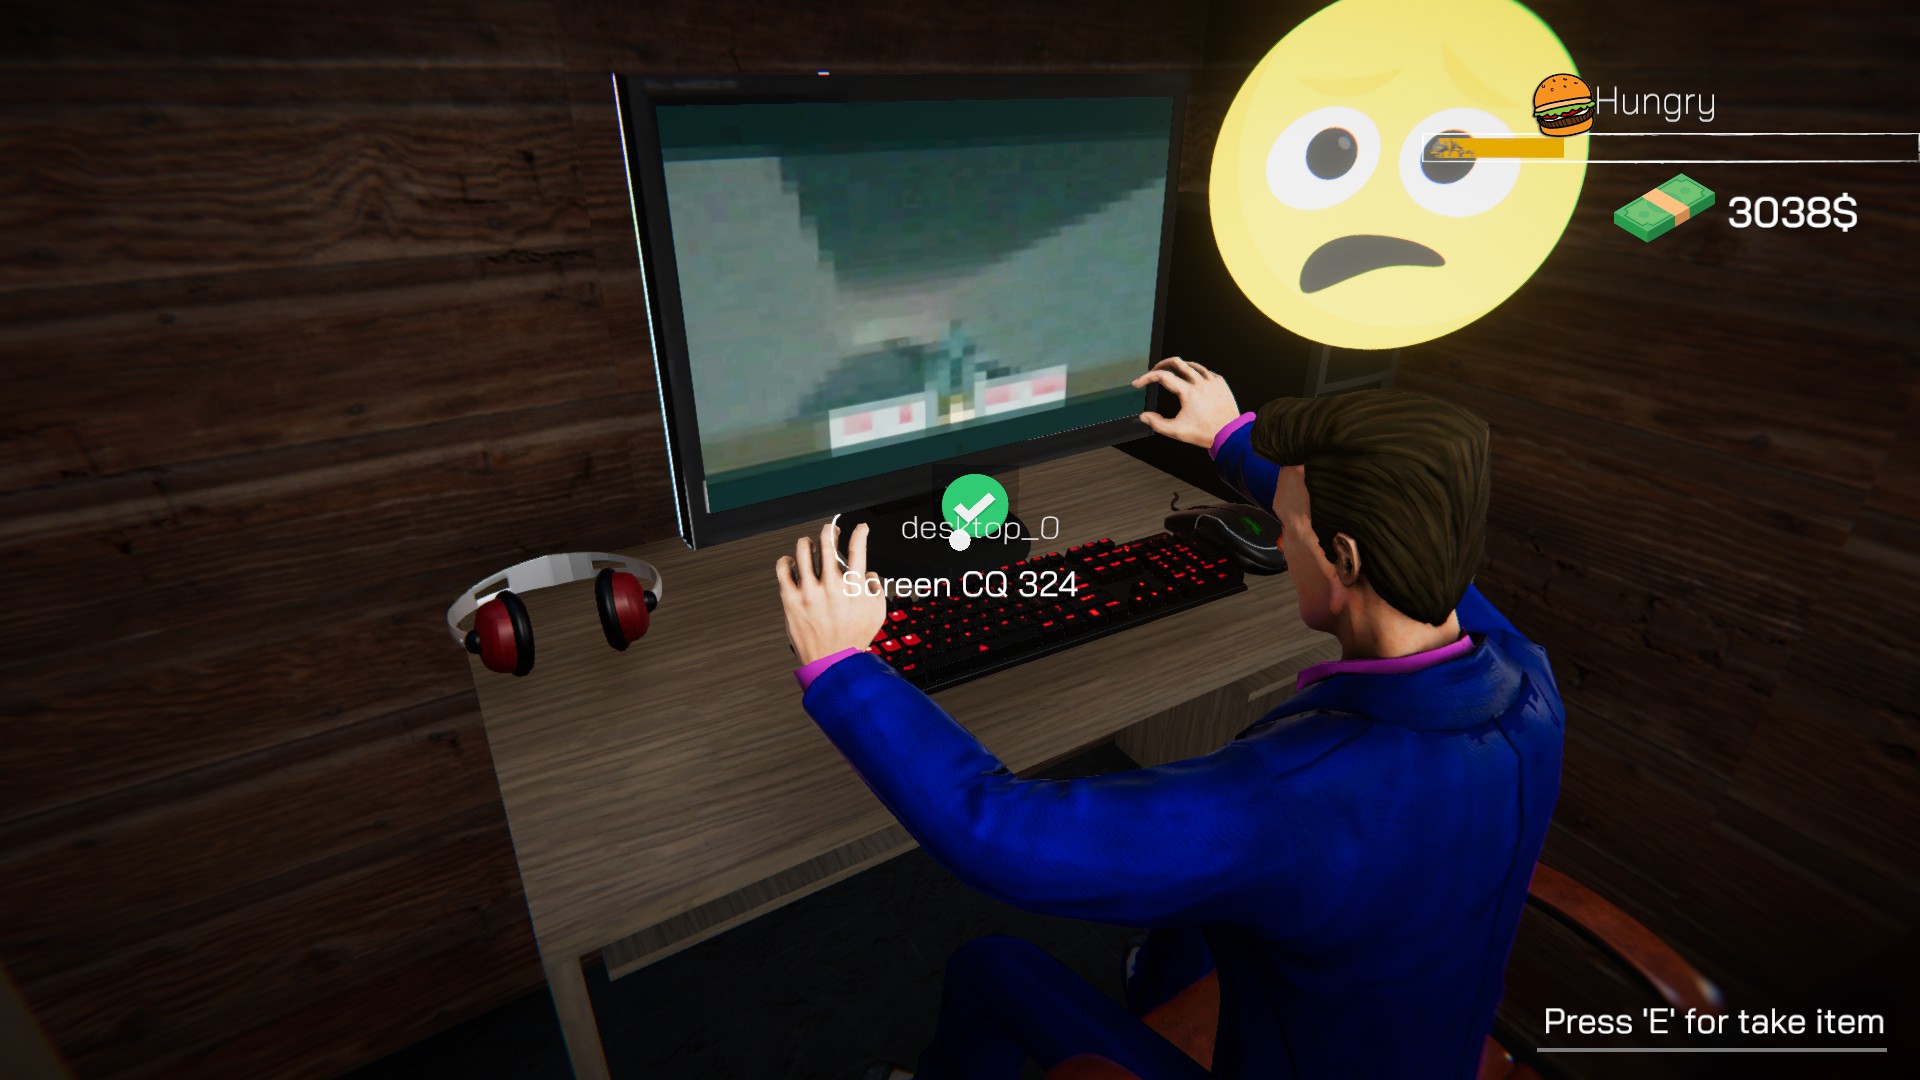
TypeNameZamazor $TableWood Computer Table299ChairBoss Chair 13780Computer CaseRB 4002,470MonitorScreen CQ 3241,290MouseMouse KLP4F256KeyboardKeyboard 5DA350HeadsetN/A05,445
- You can comfortably fit 4 Desktops with this setup in the default ‘back’ room (one blocking the onward route that can later be moved), and 2 Desktops in the side ‘cupboard’ room. Feel free to switch one or two setups for a Gaming Z6 Laptop at similar cost (especially when they appear at the pawn shop), but avoid Console Tables for now as they’re unnecessarily bulky until you can afford to wall mount the best TV.
- I prefer to keep the entrance area free of Desktops for a number of reasons:
- Firstly, to avoid congestion in what will become a very busy pedestrian area – Desktops are bulky and customers need space to get in/out, and you can break the setup and piss them off if you knock any part of it accidently.
- Secondly, it’s a good space for Arcade machines in the mid game to pull in quick $$$ whilst minimising walking time and avoiding clutter. Put 3 against the wall behind the entrance door, and one opposite your desk positioned so no one stands in the aisle.
- Linked to #2; in my experience Arcade machines were never targeted by the thief, meaning he had to creep-walk slowly to the second room, resulting in his capture every time without fail. I’m guessing the Thief targets a random object, and given a typical Desktop setup has 6-8 items each they’re far more likely to be hit.
Split your time between building, and monitoring your entrance (one eye on the PC, one eye on the door) for non-paying punters & homeless/thief. Buy the Bodyguard upgrade (unlocks the corresponding achievement) once all 6 Desktops are complete, and make sure you have all Games.
Mid Game
Achievements

Arcade Machine
- In the mid game you’ll steadily replace all the equipment in your default area with top notch gear, whilst buying some of the other nice-to-haves. If done correctly, by the time you do eventually expand you’ll soon be making money faster than you can spend it.
- The Kitchen tends to be more fuss than it’s worth, and around the mid game there’s a slim window of time where you can now afford the upgrade/rent/wages hit, but the profit is still just about worth your time. Use the Kitchen tab to put 3 of each component in stock, then order one of each item and keep them on your desk – they won’t de-spawn unless you quit and re-load, and it’s far quicker than fussing with the slow animation to get on/off the PC, by which time the customer has already left… It’s also quicker & easier to run through the shop while doing other tasks to see what customers want, than to constantly monitor the Messages & Order tabs.
- Upgrade each part of your 6 Desktops in turn as below, selling the old components using the Sales Gun (always let the auction run). Start small (Mouse/Keyboard) and you’ll begin to see marginal gains. Replace items whenever the Desktop frees up to minimise customer (and therefore, revenue) disruption. Replacing Tables is a huge PITA, so aim to save up and get at least one done each night after opening hours. Leave Headsets until the end.
TypeNameZamazor $TableWood Concept Table2,799ChairGamer Char C992,999Computer CaseBest Of 9994,999MonitorZasuz R792,999MouseMazer C66499KeyboardKeyboard Colourful899HeadsetHeadset Yellow-Red1,79916,993
- Mix in 4 Arcade Machines for the entrance area (locations detailed in ‘Early Game’ section) as and when you can afford them – stick to the Cyber Territory 2077 and Vort 7957.
- I started buying the ad blocker and anti-virus upgrades some time during the mid game once money starts coming a bit easier (make sure you’ve clicked on an ad at least once if you haven’t got the ‘Hacked‘ achievement), and you can also start buying fake reviews. Don’t neglect upgrading your Ceiling Fan / Air Conditioner items to the best too! (see ‘Temperature’ section)
Late Game
Achievements

Builder
Rich
Very Rich
- The ‘late’ game starts when you’ve maxed out quality in all your default starting rooms and buy the first rent upgrade, as it’s plain sailing from here on out.
- Buy each subsequent rent upgrade one at a time, and buy the 7 best components (see table in previous section) to complete each new Desktop in turn. You should start mixing in Console Tables at this point too (you need 3 for the achievement), especially against walls so you can mount the TVs – price and item table in the ‘Pawn Shop‘ section below. Your requirements for ‘finishing’ a room should include both an Air Con & Ceiling Fan too, as detailed in the ‘Temperature’ section.
- I chose to use one end of the second ‘cupboard’ rent upgrade as a storage for spare Ceiling Fans / Air Cons that weren’t required on certain days due to the fluctuating temperate – not essential but I would recommend. You can fit a Desktop / 2 Arcade Machines the other side.
- Fill any smaller leftover space with Arcade Machines to maximise profit output without cluttering walkways too much.
- Place Posters to your taste – not sure whether this impacts customer reviews but it can’t hurt now you’ve got the money.
- Race against your own bank balance to kit out all rooms before you hit $100,000 for the ‘Very Rich‘ achievement, and get the ‘Miner‘, ‘Police Raid‘ and ‘X King‘ achievements (see ‘Misc & Bugs‘ section) if you still need them!
Pawn Shop
- Check the pawn shop daily and save up to buy any top-quality items from the table in the ‘Mid Game’ section or from the list below – the discount will always be worth it:
TypeNameZamazor $TableGame Console Table1,499ConsoleGame Console White3,299ControllerJoystick White899TVLCD LED Z93,999LaptopGaming Z63,399Ceiling FanConcept Ceiling Fan2,159Air ConditionerAir Cond 4571,200
- Note: buying pawn shop items to sell on auction uses the pawn shop price as a base, and therefore can’t be used to turn a profit.
Temperature
- The global temperature changes each day, and each room must be managed accordingly. You’re aiming for ‘Warm’ in each room – anything else will negatively impact customer reviews and lead to early walk outs.
- In the early game buy one or two Plastic/Metal Ceiling Fans and switch them between rooms as required – note that cheaper items have a lesser effect on cooling, but it shouldn’t be too difficult to manage with only 3 small rooms.
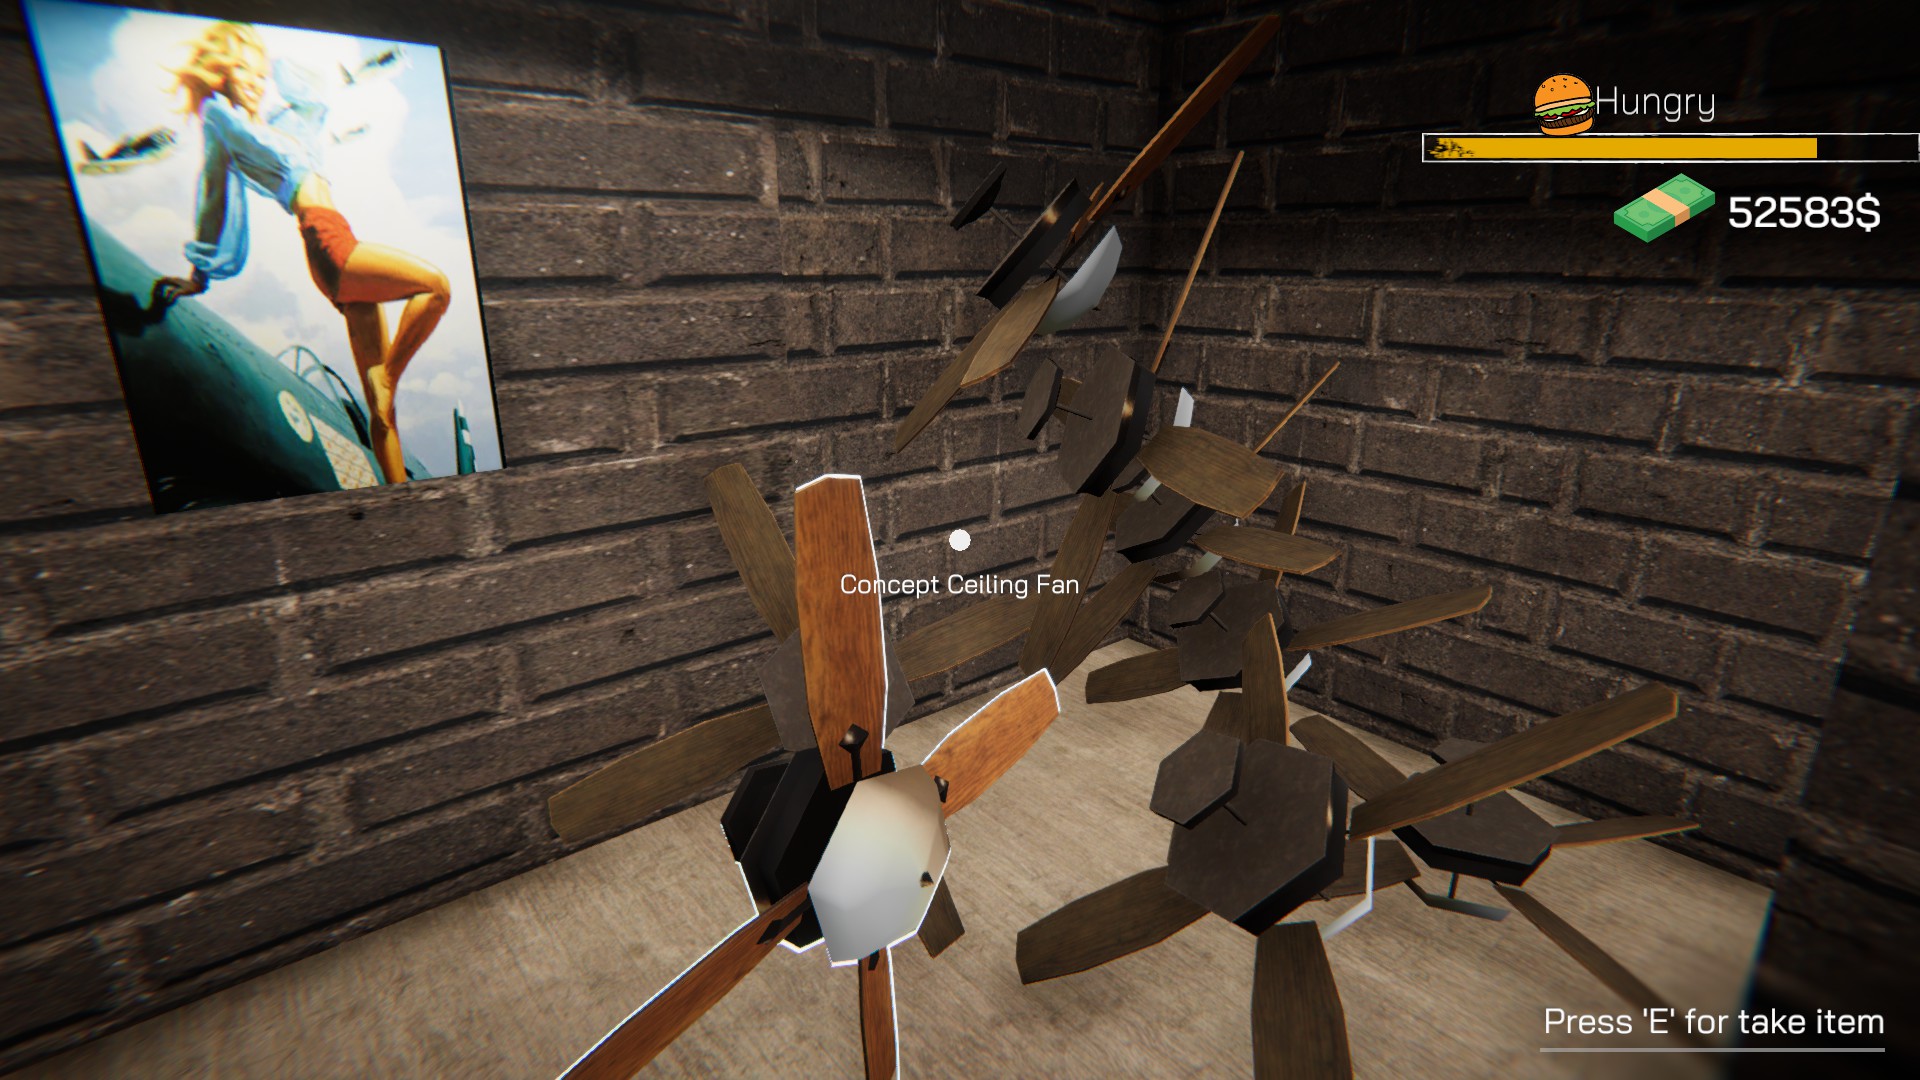
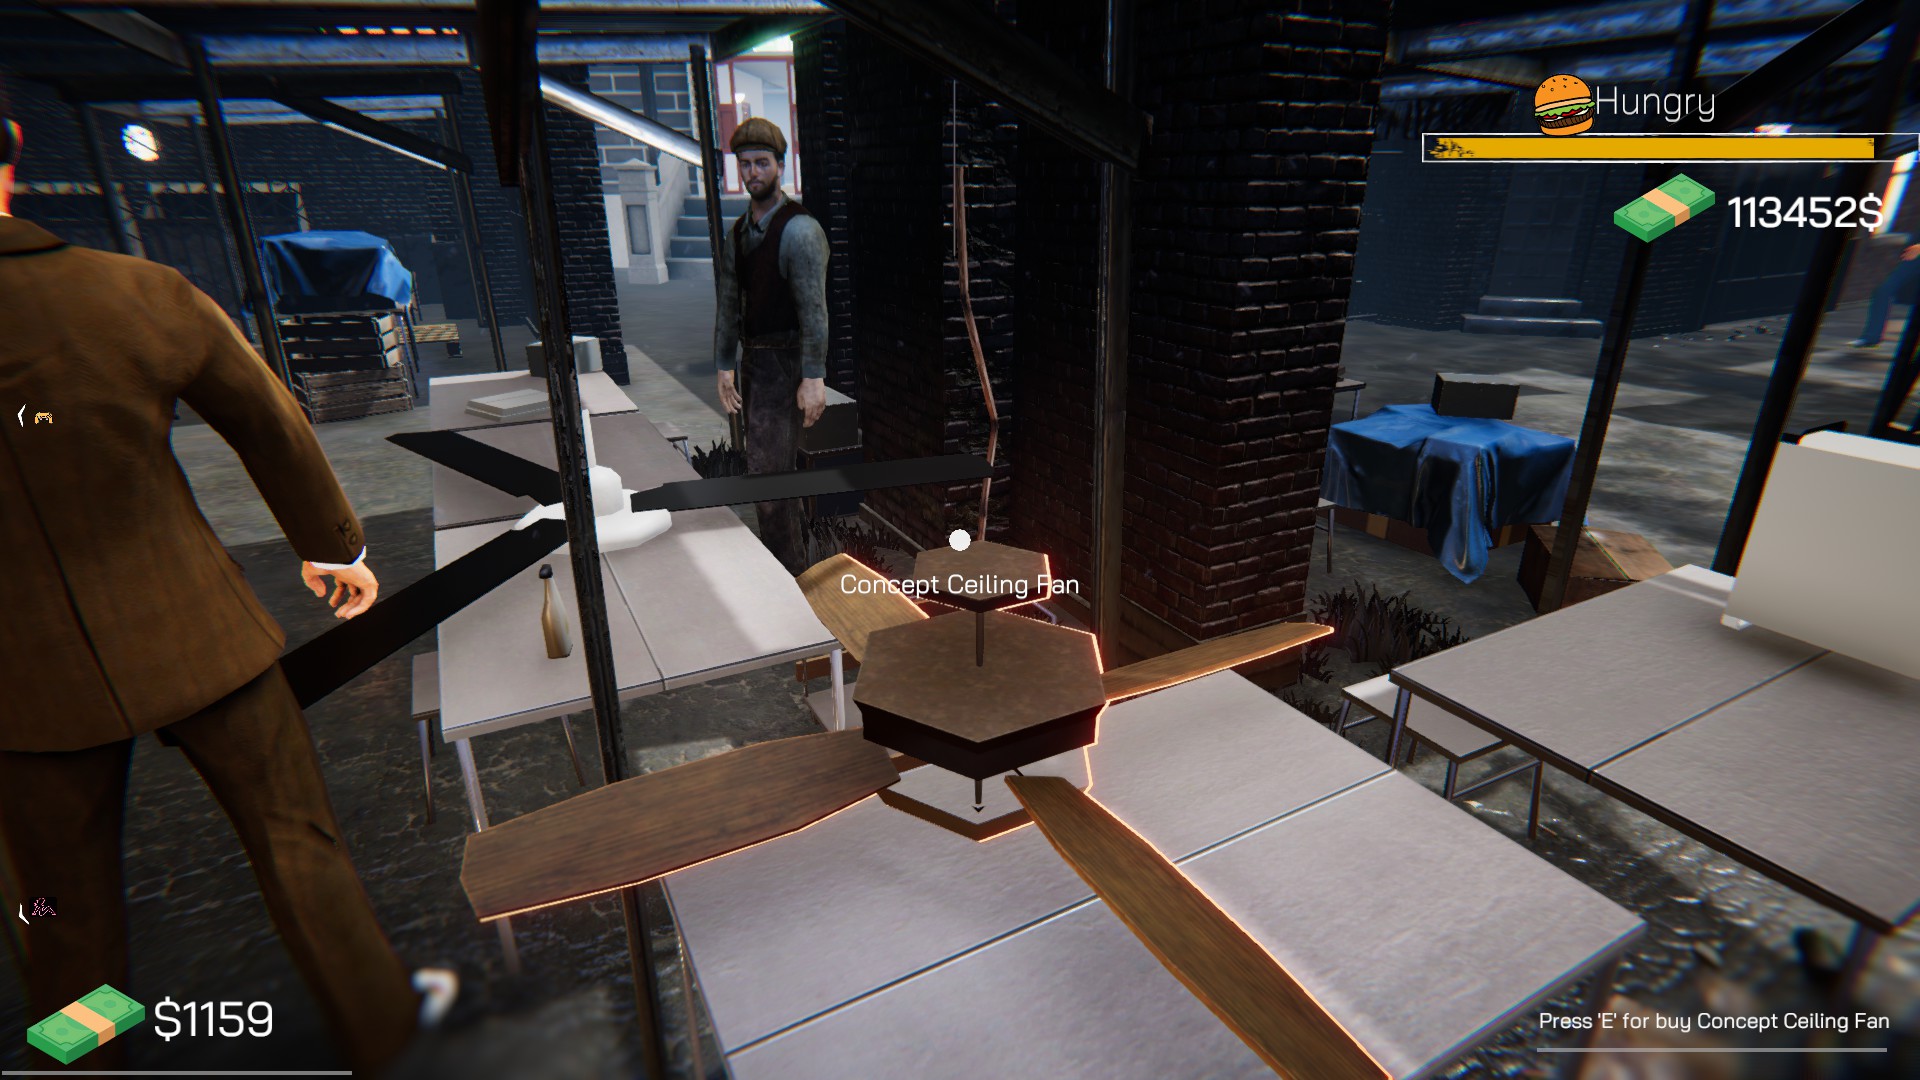
- Once you hit the mid game make purchasing a few Air Cond 457s a priority. I found that with one of these in each room (the large 27m2 room will need two) you barely ever have to move them to achieve the right temperature, but you may need to add a Concept Ceiling Fan on extra hot days, so add these in when you can afford them.
- Shove the extra Concept Ceiling Fans in one end of the second 13m2 ‘cupboard’ rooms one days they’re not needed, as mentioned in the ‘Late Game’ section.
- Personally, I never used the individual desk fans, as I found they weren’t needed to achieve the right result and I worry that it would influence the temperature in a way I couldn’t measure using the Temperature Meter.
Misc & Bugs
Achievements

Police Raid
X King
- Headsets can be placed on Desktop tables… the customers don’t directly interact with them and therefore they should be the last item added to any table, but they do improve the customer experience. They can’t be used with Console Tables.
- BTC Miners can be purchased for $680 from an alley near the hotel (turn left as you come out, past the food vendor and follow it around). I didn’t find too much value in this personally as there’s enough to keep you busy and make money without worrying about the cop inspections blowing the entire operation. My advice – buy one in the late game, mount it to a wall and turn it on (switch in the bottom left), wait for the cops to find it, pay the fine and be done with it. Two achievements unlocked, job done.
- Some items might occasionally fall through the floor or the side of the map – this most commonly happened to me with Console Controllers… I put a food item down where the Controller technically was placed, but it wasn’t there since it was in the customer’s hand. This pushed the Controller through the floor and instantly dislodged the pissed off customer… they didn’t even eat their hotdog ☹
- Upon loading game some of your Computer/Monitor items may duplicate… their spawning will often jostle Desktops into being unviable setups, so take the extra items as compensation for the agro. You may even get your lost Controllers back (see point above)
- Any food items spawned from the Kitchen via the Order menu but not delivered to the customer will de-spawn when you load game.
- Quitting without saving will save your bank balance anyway, but lose any items placed since the last proper savepoint… usually a crippling blow.
- The ‘Arcade’ achievement for placing an Arcade machine doesn’t seem to be trigger from the best 2 rated options. You can stoop the 3rd rated Barcade ASX, or place a real cheapie one just to get the achievement and sell it after.
- The ‘X King‘ achievement might unlock during normal gameplay simply by letting a customer watch porn (thanks Killdrax)… this didn’t work for me, but it did seem to unlock when I clubbed some dude during the act with the bat, so who knows… not recommended if avoidable! If you still don’t get it, just pop to the strip club in the late game and buy a dance – you’ll be earning more per second by this time anyway.
Thanks!
Thanks for reading – hope this guide is helpful and let me know any comments/suggestions! 😊

![Complete Walkthrough, 100% Achievements & General Tips [ENG] for Internet Cafe Simulator](https://steamsolo.com/wp-content/uploads/2021/07/complete-walkthrough-100-achievements-general-tips-eng-internet-cafe-simulator.jpg)


