Overview
A guide for players on how to use my Control Module mod.
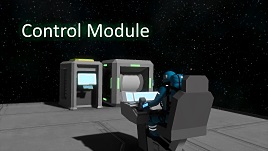
Using the mod
Open the terminal and look at the panel for a PB or timer block, scroll down to see the mods’ UI controls.
The buttons and sliders are explained in the tooltips.
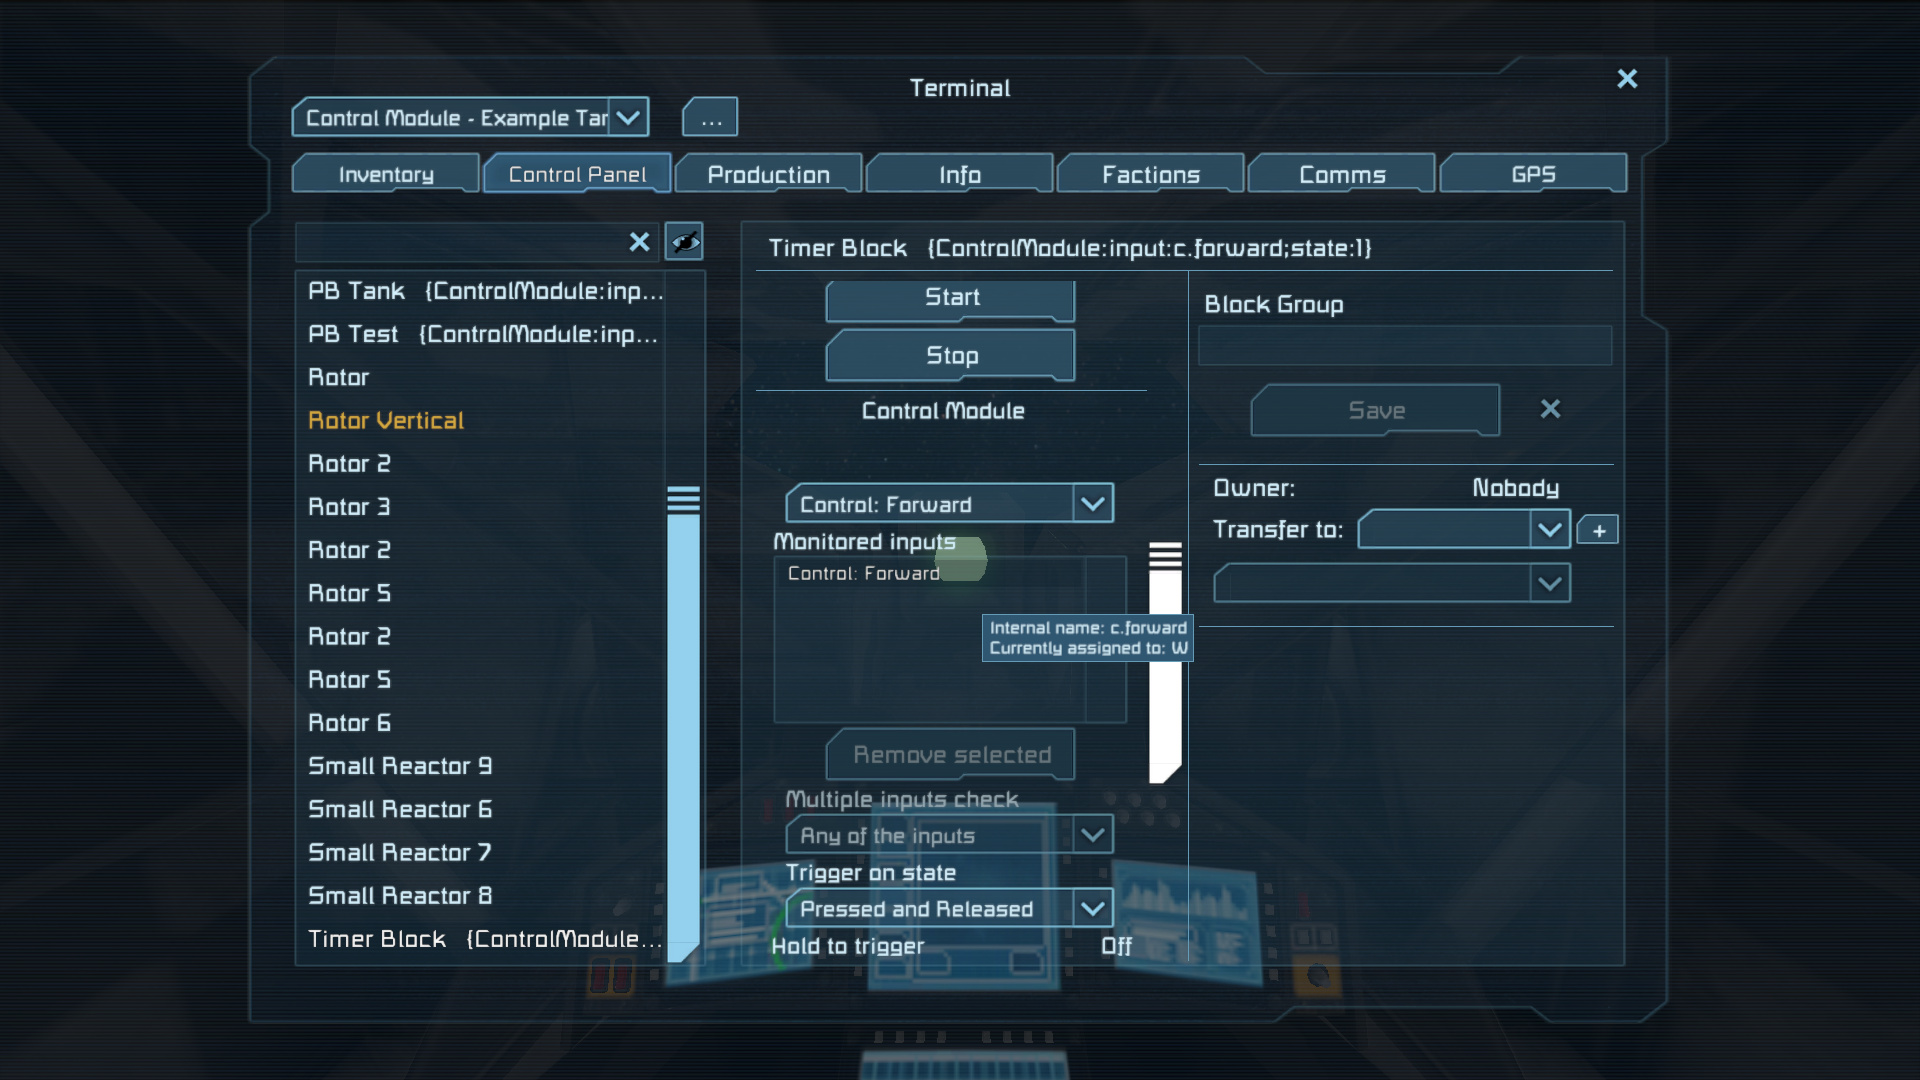
To be able to control the block with the specified inputs you’ll need to be in a cockpit, passenger seat or controlling the ship via remote control block.
The PB/timer and the cockpit need to be in the same control panel list to be controllable and the player sitting in the cockpit needs to be able to access the timer/PB to be able to control it (should not say “(ACCESS DENIED)” in the control panel list).
Your game controls won’t be overwritten by this mod, if you use forward you’ll go forward and trigger the timer/PB.
You should totally ignore the {ControlModule: … } thing that’s being added to the block names, it’s the settings data stored by the mod.
You can edit the block name and anything around that string but do not edit the string itself.
The reason it’s there is that there’s no better alternative, only least preferable invisible alternative would be to store the data in the world file, but that would mean blueprints won’t be able to store settings, therefore saving in the name will allow things to work regardless of how they’re stored as long as the name is completely intact.
Using it with in-game scripts
You can get more advanced stuff by using a PB script to read inputs, especially useful with analog ones.
If you don’t know how to use the PB you can skip this guide section and have a look at the practical examples, even ones involving PB since it’s just copy pasting 😛
To get the list of pressed keys and analog values use:
Alternatively, you can handle the mod missing better by showing an explicit error or make the mod optional.
Both ways give the same variable type.
This dictionary will only contain keys that are pressed but analog inputs are always present.
It will also only contain inputs that are defined in the PB’s control panel and the dictionary will only update when they’re pressed.
Then you can simply check if a key/button/control is pressed by checking if it’s in that list:
To find the internal name either hover the input in the list or type /cm help in chat.
To get analog values you can just access them directly:
But you can always make sure it exists by first checking
if you want to handle errors better, like people removing inputs or not adding them properly for your script.
- Vector3: “m.analog”, “c.view”, “c.movement”
- Vector2: “g.lsanalog”, “g.rsanalog”
- float: “m.x”, “m.y”, “m.scroll”, “g.ltanalog”, “g.rtanalog”
Everything else either exists or does not exist in the dictionary depending on press status, use with ContainsKey().
For working examples, see below in the practical examples section.
In case you can’t remember the inputs getting method, you can just load this base script ingame: Control Module – Base Script.
Configuring it with in-game scripts (properties)
You can also set/get the terminal controls added by this mod within a PB script.
First get the block, either use “Me” to get the PB running or search for the PB or timer block that starts with the name you want (because of the storage being in the name you can’t guarantee an exact name match).
-
Add input to the monitored list
ControlModule.AddInput is type string
Set only, use “all” for the all special input. -
Remove input from the monitored list
ControlModule.RemoveInput is type string
Set only, use “all” to clear inputs. -
Get all possible inputs and their types
ControlModule.AllPossibleInputs is type ImmutableDictionary<string, Type>
Get only, use ContainsKey() for fast check, values can be null if the value is null in ControlModule.Inputs. -
Get the monitored list
ControlModule.MonitoredInputs is type ImmutableArray<string>
Get only, check array.Length == 1 && array[0] == “all”[/b] for the special all-inputs case. -
Multiple inputs check
ControlModule.InputCheck is type int; values:
0 = Any of the inputs
1 = All combined inputs -
Trigger on state
ControlModule.InputState is type int; values:
0 = Pressed
1 = Pressed and Released
2 = Released -
Hold delay
ControlModule.HoldDelay is type float
-
Repeat delay
ControlModule.RepeatDelay is type float
-
Release delay
ControlModule.ReleaseDelay is type float
-
Cockpit name filter
ControlModule.CockpitFilter is type string
-
Run on input
ControlModule.RunOnInput is type bool
Does not exist on timer blocks. -
Show behavior on HUD
ControlModule.Debug is type bool
-
Pressed inputs
ControlModule.Inputs is type Dictionary<string, object> (read-only)
This is the internal dictionary filled with pressed inputs, which means you only need to get the reference once.
It also means you can edit it but don’t 😛
Some examples:
Practical examples
-
Using mouse scroll to adjust a piston height
1. You’ll need: 3 timers, a piston, a cockpit and power
2. Timer 1’s actions: Piston ON and Piston Extend
3. Timer 1’s inputs to “Mouse: Scroll Up”
4. Timer 2’s actions: Piston ON and Piston Retract
5. Timer 2’s name: “Mouse: Scroll Down”
6. Timer 3’s actions: Piston OFF
7. Timer 3’s inputs to “Mouse: Scroll (analog)” and “Delay release trigger” to 0.25. -
Mouse controlled turret
1. You’ll need 2 rotors (or 1 rotor and 1 hinge), programmable block, cockpit, power and gun/camera/whatever to put on the turret.
2. Place one rotor pointing up and the other rotor on that rotor but on its side (screenshot example).
3. Name the first rotor “Rotor Horizontal” and the second rotor/hinge “Rotor Vertical”.
4. Place the PB and paste this code in it: [link]
5. Set up PB with inputs: “Mouse: X,Y,Scroll (analog)” and “Mouse: Right Click”.
6. Set PB’s Trigger on State to “Pressed and Released” and Repeat Interval to 0.016.
7. Place the cockpit, get in and hold right mouse button when you want to control the turret with the mouse. -
Signal lights when steering left/right
1. You’ll need a car with suspension wheels, 2 timers and 2 lights.
2. Make the lights blink then turn them off. Maybe also make them yellow/orange.
3. Set Timer 1’s actions: Light Left – ON/OFF
4. Set Timer 2’s actions: Light Right – ON/OFF
5. Add to Timer 1’s inputs: “Control: Strafe Left” and to Timer 2’s inputs add “Control: Strafe Right”.
6. To both timers set Trigger on State to “Pressed and Released” and Delay Release Trigger to 0.1.
Blueprint Examples
-
Tank Example
This blueprint is of a basic tank prefab that’s clearly not ready for combat since it’s quite open, that’s to allow further customization.
It shows how you can control a rotor-wheel tank with movement keys and using a rotor-based turret which you must hold “secondary mode” (usually right click) to move with the turret with the mouse.
The blueprint: [link]
Chat commands
-
/cm help
Shows all inputs (keys, mouse buttons/axes, gamepad butons/axes and game controls).
-
/cm showinput
Toggles printing in the HUD the inputs you’re currently pressing, very useful for quickly finding the name of something specific.
-
/cm updatetype
Testing command, this changes how the code executes internally, before or after simulation. By default it’s set to before simulation and I left it there for people to experiment. Please try it and let me know if input feels laggy with before or after sim.
About comments
Please keep comments only about the guide. If you have anything to say about the mod then say it on the mod page.