
Overview
Learn how to convert maps to work in Source Filmmaker with a bare minimum of fuss.
Introduction
There are a number of reasons a map might not be working properly in SFM. The most common one is a lack of HDR (High Dynamic Range) lighting information. To skip as much technojargon as possible, HDR is an updated version of Source’s old 2004-era lighting system that contains more information that SFM really, really needs to work properly.
Another reason is format changes – some Source engine games like CS:GO use modified versions of the map format to better fit their games. Fixing these is a lot trickier since there’s a lot more room for error, but it’s a similar enough process.
The process for fixing these issues is decompiling. Long story short, it tries to convert the map back into a Hammer file so that you can open it up and recompile it with HDR enabled. This is not a perfect process. Sometimes things can be broken or damaged by the decompiling process and they’ll need to be fixed before recompiling will work. A general rule of thumb is that the newer and less documented the game is (especially if there’s no mod SDK), the more potential there is for decompiling issues. A working knowledge of Hammer (or at the least a willingness to read the Developer Wiki) can be very helpful.
Requirements
You’ll need the following to do this:
- Source Filmmaker. Obviously.
- A map that doesn’t work in SFM for whatever reason.
- The latest version of Java.
- BSPSource[github.com].
- Knowledge of how to use Hammer (optional but HIGHLY recommended)
Got all that up and ready? Good! Let’s go.
Using BSPSource
Open the BSPSource folder and double click bspsource.bat. If you’ve installed Java properly, a window will pop up. Drag and drop the map(s) you wish to decompile into the white box.
(For the purpose of this tutorial, I’ll be working with a map from Half-Life: Source.)

If the map contains BSPzipped content (ie. models and materials embedded in the map), click on the “Other” tab and check “Extract embedded files”. You can then shove these files into your SFM folder.
Once you’re done, click the big bold “Decompile” button and give it a useful filename and location.
Enter: Hammer
Once you have your .vmf file ready, run Source Filmmaker and choose to run the SDK. A little launcher program will pop up with a variety of options. Choose “Hammer Editor”.
Once Hammer loads, click File > Open and load your VMF file.

Compiling The Map – The Quick Way
Once you’re ready to roll, press the F9 key. This window will pop up:

Leave “Run BSP” and “Run RAD” at their default values. You can set “Run VIS” to fast, it doesn’t seem to make an enormous amount of difference beyond compiling a little faster.
Make sure you tick the “HDR” box! It is, after all, the entire reason you’re doing this.
When you’re ready, hit “OK”. A command line box will pop up and automatically go through the process of map compiling. This will take a little time (especially if the map is large and detailed), so go browse the web or watch TV and come back in around, say, 10 minutes to check on it. Don’t worry, I’m not going anywhere.
Compiling The Map – The Right Way
While in many cases the Quick Way will work fine, you’ll typically want to do the Long Way before releasing your video, to improve shadow quality and fix some serious shading bugs.
Hit F9 again, and this time click “Expert”. You’ll be faced with this:
Don’t panic too much! Just set the drop down box to “Full compile”, uncheck the last option, hit “Go!” and go do something else for a while – this is going to put a lot more effort into calculating lighting, so it’s going to take a while longer. But if you’re going to keep the map’s lighting settings, this is well, WELL worth it to avoid shadowing bugs.

Testing
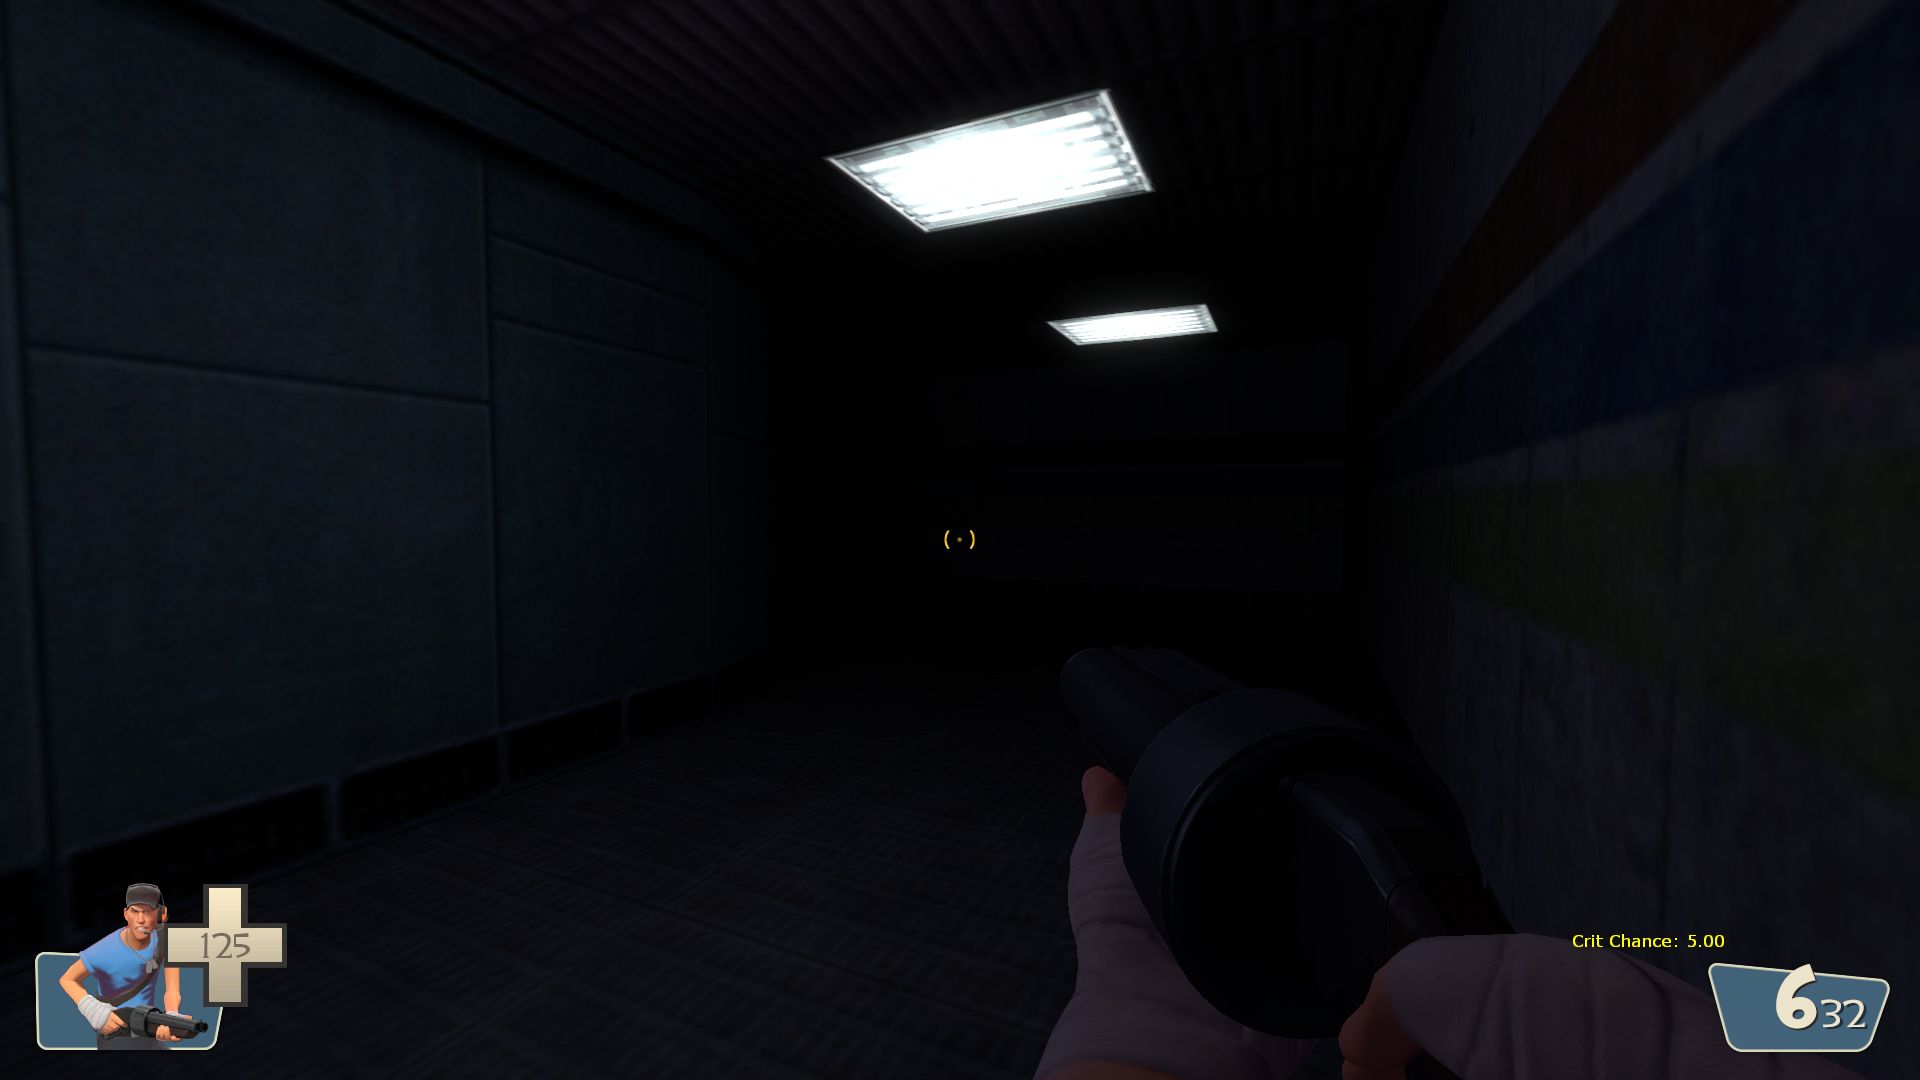
Should everything have gone right with the compile, the map will be sitting comfortably in your usermod folder, so go boot up SFM and give it the once over.
In this case, the map lighting was very dark. I’m not enormously bothered by that since SFM has powerful lighting tools on it’s own, but its an example of how things can change throughout the decompiling process.
Congratulations! You’ve converted a map to SFM! Now, with a little more practice, you can start getting a bit more ambitious and adding and removing elements to fit your shot…
Have fun!
BONUS: Little Quality Of Life Things
These are generally optional, but they can make life a little easier when using your map in SFM and solve potential problems before you run across them. They may require a little knowledge of Hammer, so consider this a chance to pull up the Developer Wiki and learn a bit on your own.
- Place an info_player_teamspawn (the default entity in the Entity Tool) somewhere memorable. This is where the camera starts when the map loads, and without it you’ll start somewhere in the dark void outside the map.
- Check on any climbable ladders in the map. Odds are, CS-style ladders will be covered with a nodraw brush that will mess with lighting a bit instead of a proper ladder brush (which doesn’t exist in SFM). You can delete that safely.
- Check for func_brushes. Sometimes these stop the engine from rendering the other side of, say, a door, until you pass through it. (Sometimes they’re important though! You’ll get a feel for which is which quickly).