Overview
This is the English version of my first guide, that was warmly welcomed by the community.>>Русская версия здесь<< Please notice that the guide is not fully translated yet! I'm totally working on it! The guide only covers main game, DLC sections are in the development. Stay tuned!If you know some neat tricks and details that are not present in the guide, feel free to say so in the comments section. Best of those will be added to the guide.Guys, I'm Russian, so yeah, you might have already noticed that my English most likely needs two crutches. So sorry in advance. Try not to bleed from your eyes too much.I cant help mentioning my Ukrainian friend and colleague Alex 'Galifey', who did enormous job helping me with the guide.Also big kudos goes to ForumZap, who gave me the final impulse to start working on the translation.Please don't forget to rate the guide if you find it useful!If you don't – please suggest in comments whatever new info you would like to see here!Please notice: unfortunately, I don't have enough time to translate the guide at the moment. Any help is appreciated.
Frequent tips
You can find a lot of CtW guides all over the Internet, and those are usual tips given there:
- Find and destroy cemeteries scattered across the surface as soon as possible. It is usually a group of 3-5 tombs stuck together, could be to the both right and left from your starting location. Tombstones spawn skeletons every night (even during the monster wave), so the sooner you destroy them – the better. As the tombstone is destroyed, it spawns one last skeleton, which instantly dies, if you do it at day. If it is night, the skeleton will attack and can be killed normally.
- Almost every type of block can be used to make walls and barricades for obstructing monsters’ movement. If you put some effort in it, you can build impregnable fortress almost at the very beginning of the game. Even if monsters manage to destroy sever blocks, they hardly will be able to get inside before the dawn, which kills most monsters instantly.
- Sand and snow need support to lie on. If the support is destroyed, any amount of sand or snow blocks lying on it would fall down after a short delay. Using that knowledge you can build wall of sand or snow that would “heal” itself if breached.
- Water slows down attackers. Dig wide moats around your camp and pave them with a simple stone (the best material for artificial water bodies). Skeletons might try and make a bridge over the moat, but they wont be able to make it until the dawn if the moat is wide enough. Thus you can severely lower the amount of attackers and give yourself a pond for fishing needs. You can deny skeletons’ bridge building, blocking the certain spot with a torch or something like that.
What do all these tips have in common? They are bad for ya! Dont use em!
The only good time for those tips is endgame, when most of your gnomes dig depths looking for portal pieces, and when monster waves come from 3 and more portals at once.
Why wait, you might ask? Arent those tips effective and simple? Well sure they are.
But as long as your gnomes are capable of stopping monster waves without spells, moats and turrets, you should order em to do so. Every time your gnome slays an enemy, his/her combat skill grows in addition to getting player xp. By all means you can sit behind thick walls, but when it comes to fighting Portal Guardians (one of the most dangerous opponents) for portal scrolls, you do not want to end up commanding half-blind “four shots, one hit” archers and callow swordsmen who don’t know which end is pointy.
Gnomes’ combat skill is priceless, and one should seek and use any opportunity to get more of it.
Skills and gear
- Every gnome must get one of three possible combat skills ASAP. Every gnome has one skill as he arrives, but if that is not a combat skill – find or buy a skill book. Buying is preferable, because
books are cheap, and you can pick the exact skill you want. Got enough money to buy an according equipment too? Great, do it. Money is rarely worth saving, and gnome’s combat skill wont grow if he uses an unsuitable weapon. - You should find your own allotment scheme for warriors, archers and magi ratio, but my personal recommendation is 1/2/2. E.g out of ten gnomes two will be warriors, four – archers and another four – magi. Sure, skilled warrior is able to one-hit a skeleton, but archers can easily shoot from behind doors, and magi sometimes shoot through walls. Also, archers can be boosted by using special arrows, while magi can throw bottled spells. Sure, warriors have shields and the boosting statue, but thats just not good enough (for me though).
So IMHO you will never need more than 3 melee fighters. Another upside of having few warriors – they must be equipped with top-notch armor – preferably mithril – while ranged troops will be content even with fatuous golden one. However it does not apply to weapon – every gnome must have the best available weapon for his class. - All the mithril you find should go to weapon production at first. As soon as every gnome is equipped with the best armament, start making mithril armor for your warriors and spend some of the mithril on alchemy. Your third priority should be armor for ranged fighters, and the fourth – tools. You will be fine even if your gnomes meet endgame with silver tools. Sure, the bottom layer of the map is hard to dig, but speeding it up isn’t worth lowering your troops’ combat capabilities.
- There is a booster item for every skill in game, except for hunt and stonecutting. Booster gives your gnome 30% more of his current skill. Thereby, the higher the skill – the more the bonus. Hunt, by the way, is pretty useless skill during first three worlds, so no worries about not boosting it.
All boosters are good, but one you should pay special notice to is “handsaw”. It boosts two skills at the same time – lumberjack and carpenter.
Nevertheless first booster item every gnome should get is a booster for his combat skill. It can be explained with the fact that cutting a tree twice as faster is not as good as killing twice as more goblins.
However, mage booster – elixir bag – only becomes available near the endgame (unless you buy it), so you can give you magi a booster item for some other skill until then. - The most useful non-combat skill is miner. Second to it are smith and carpenter, third place goes to lumberjack, stonecutter and cook. Millers and fishers are not too useful, but is not a bad idea to have one around. Climbers, swimmers and hunters are next to useless, so feel free to get rid of gnomes who has one of it as a starting skill. Another way is buying or brewing the potion of obliteration, but it is not always convenient.
- I hope it is obvious for everyone that every gnome must have one and only one combat skill.
Crafting and disassembling
- If you want to create an item you have crafted before, ingredients don’t have to be manually placed in the recipe. Just pick the recipe, and press “craft’ button twice. First press will fill the recipe, second will commence the process.
- Many items can be disassembled. To do so, place an item in an output slot and press “craft”. You will be refunded about 75% of ingredients. You can disassemble obsolete gear, default hats, furniture, useless spoils of war, petrified gargoyles etc.
- You can never disassemble an item that is crafted in batches only: food, walls, some furniture types, torches etc.
- Disassembling is instant and doesn’t require neither workbench, nor gnome, nor technology.
- Some items will not look desirable for crafting at first, but will turn out to be very useful as ingredients later (e.g. barrels, clay, cloth)
- Some items should not be disassembled even when obsolete – they will be used for craft later. The most important are: iron tools, simple bows, simple tables.
Battle
- Goblins are the only non-animal type of enemy that is not stopped by an opened door/hatch.
They are stronger than they look and rather dangerous in combat because of their numbers.
What’s more, they move fast and place numerous ladders whenever they need to climb.
Good thing is goblins cant attack blocks until you reach Underground world, so it is not impossible to completely block them off.
Goblin camp can spawn at any time and place, including uneven and/or occupied ground. Whenever it appears, the green horde is spawned almost instantly. Goblins usually wait before attacking, so it might be wise to make a preemptive strike against em, so they couldn’t join the monster wave.
If your gnomes aren’t ready to fight attacking goblins just yet, you can simply seal your hideout – manually close all doors and hatches, goblins wont attack them. There is another way of using doors – let a little group of goblins enter your shelter and close the door behind them, so your troops can fight small groups of enemies one by one instead of trying to defend against the whole horde at the same time.
There is always a goblin shaman beside the camp. At the moment his purpose is unknown, shaman doesn’t defend himself or attack. His role in spawning new goblins is not confirmed either.
Destroying goblin camp doesn’t stop goblins for good – a new camp might appear on a new place after some time. If you want to forget about goblins for the rest of the game – don’t destroy their camp, just completely seal it with blocks. New goblins wont be able to get out of their new prison, and new camp wont appear since the old one is standing. Such scheme is effective, but it robs you of experience and booty, so I recommend against it. - The “Hunter” skill is useless until you reach Underground world. But you might be wondering which enemies are considered animals. You can easily tell one from another by looking at creature’s hp meter. If “hearts” are yellow – that’s an animal alright. Otherwise hearts are green.
Another animals’ distinction – they can walk through opened doors and hatches.
Thus animals are: boars, sheeps, birds (including their analogues from later levels) and dragons. Cave beasts (Underworld’s “boars”) and dragons are only reasons to ever have hunters.
Its unimportant, but snails are not considered animals despite their ability to come through doors. Goblins’ relatives maybe? - Gargoyles are relatively weak, but very fast and numerous enemies. They tend to attack weak spots on your roof (like a wooden hatch), but wont mind attacking doors alongside other monsters as well. Their quirk is they don’t die at the sunrise, but turn into “gargoyle statue” items. These statues can be disassembled for stone and/or massive mace. But I still recommend good old slaying those stone beasts at night, because disassembling doesn’t yield you any xp.
Have in mind that uncollected statues will turn back into gargoyles at night! Whats more, if night ghosts manage to get to your stockpile, they throw away gargoyle statues first (if you have any), and those reanimate instantly! - Bigger enemies, when stuck near smaller passage, can sometimes climb through it chasing a gnome who came too close.
- Your archers can be forbidden from using special ammo – just click the check mark in the equipment screen. Sadly, you cant forbid your magi from using potions that way.
Knowing that, don’t order any potions if you don’t plan on using them right away – your magi will waste precious ice bolts on ticks, spiders and trifles like that. - Any underground monster can easily be slain using manual control. Simply block enemy’s movement with earth tiles (you can place blocks twice as far while manual-controlling). You will be able to manually kill a trapped enemy scot-free. Sometimes your magi will attack such captives by themselves.
Notice that you cant kill a Guardian that way (but you still can trap him).

Also notice the “checker” wall. It is invulnerable, because there is something growing on every block. Thus bigger enemies can neither get inside the shelter nor help their smaller buddies to attack doors.
Shelter and surroundings
- Don’t place unnecessary beds. The number of beds should always be equal to your level.
- Notice that even if you have a 100% comfort in your shelter, a newly placed bed can lower it, so pay attention to the comfort meter.
- What affects the comfort meter:
- Walls material
- Doors material
- Hatches material
- Windows and furniture
- Level of light
What does not affect the comfort meter:
- Back walls and finishing
- Absence of roof tiles (wall tiles will do better)
- Furniture with 0 comfort
- Certain decoration types: columns, crafted gargoyles, spires etc.
- If two shelters are touching walls, you can combine them in one bigger shelter by placing door in the middle wall. The comfort level will be evened between those two. Notice that sometimes it might be against your interests.
- It is not shelter but totem that fends off night ghosts. They can get to the storage if the totem is placed too far away from it. The best place for the totem is directly above the storage. Totem protects the storage even if the shelter is not completed.
- If you have multiple storages, secondary ones are best protected with turrets instead of totems. If you place totems away from your main shelter, some gnomes might try and go to them when you use the shelter exit prohibition, and that will hardly be good for you.
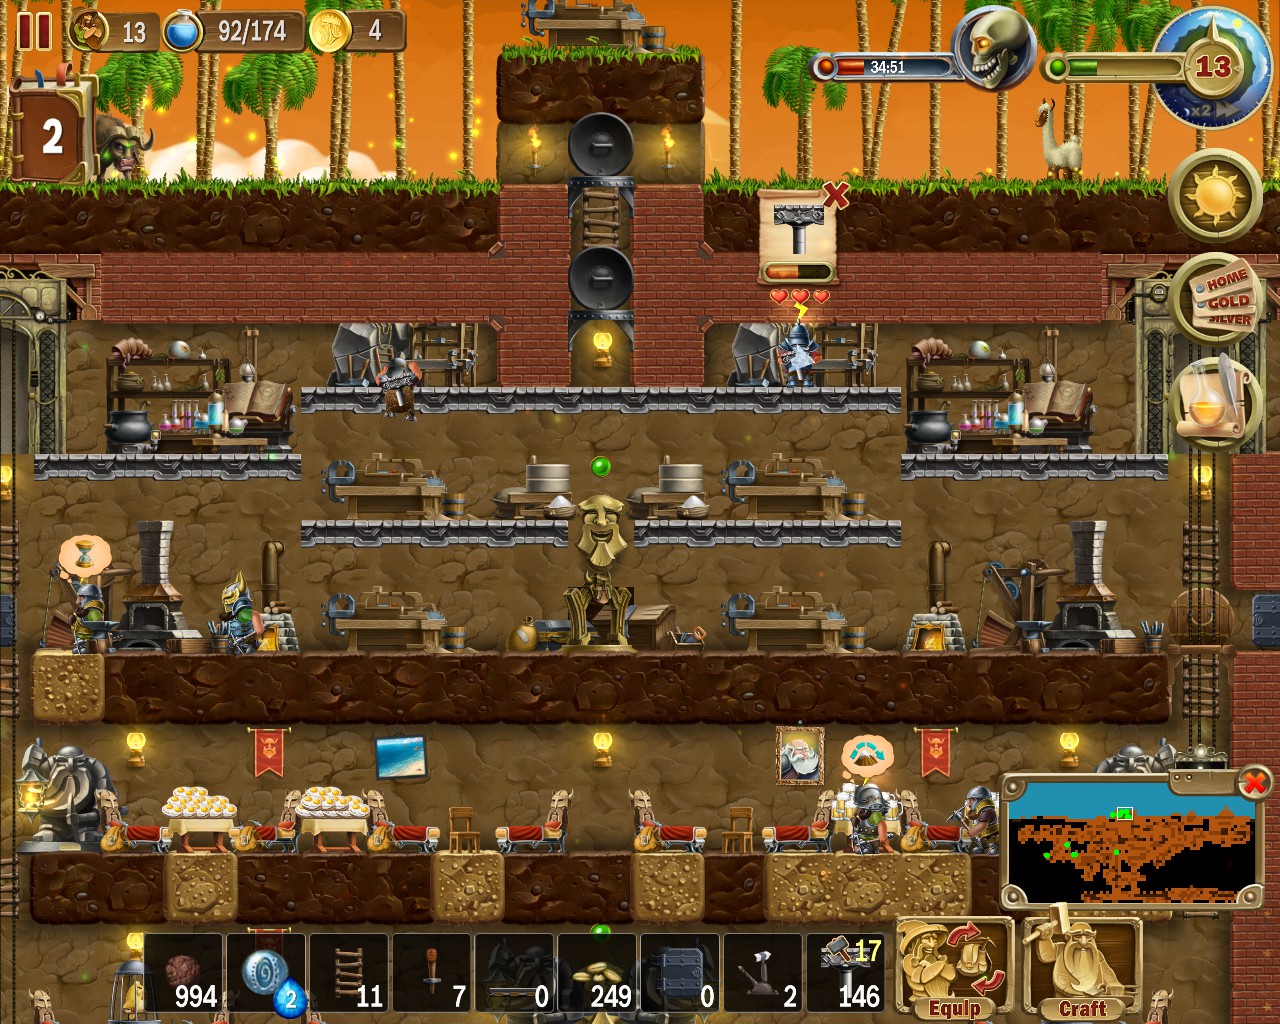
- Ladders and bridges are the only types of passable blocks that can support a furniture. Notice that if the central of three blocks supporting the workbench/smithy/etc is passable, any items – including newly created – will fall down through it. It might cause inconvenience, but you can also utilize this feature. If you put workplaces on ladders/bridges right above the storage, the production will fall closer to the it, thus saving time your gnomes gonna need to get goods to the storage. Like this:
- The best kind of bridge is the stone one, don’t waste time and resources on wooden ones – gnomes risk falling from it. Also you will unlikely run short on stone before wood.
The best way of utilizing simple bridges is using em to support your rail road. That way gnomes wont fall from it (in case the gnome uses a cart, of course).
Переместитесь на край карты и посмотрите, где находится уровень окружающего моря. Также этот уровень всегда разделяет “красивый” И “чёрный” задние фоны. Так вот, ниже этого уровня растительность (сама) появляться не будет. Теперь отсчитайте от этого уровня 9 блоков вверх – это будет максимальный уровень, где может что-то вырасти. Используйте это знание, если хотите создать собственные сады или высокие землянки.Исключение: растительность может появиться под влиянием заклинания озеленения на любом уровне (проверено только вверх) при условии наличия подходящего основания.
Исключение в квадрате: даже заклинание не заставит вырасти что-либо над или под начальным складом, а также над или под магазином.
Исключение в кубе: пшеницы это не касается, её можно посадить (в землю) где угодно.
Пример землянки, которая заросла самостоятельно:
На трёх блоках прямо над начальным складом ничего вырасти не может. Можно сделать там примитивную защиту от гаргулий, а можно просто поставить верстак – повредить блок под верстаком/кузницей/итп тоже невозможно.