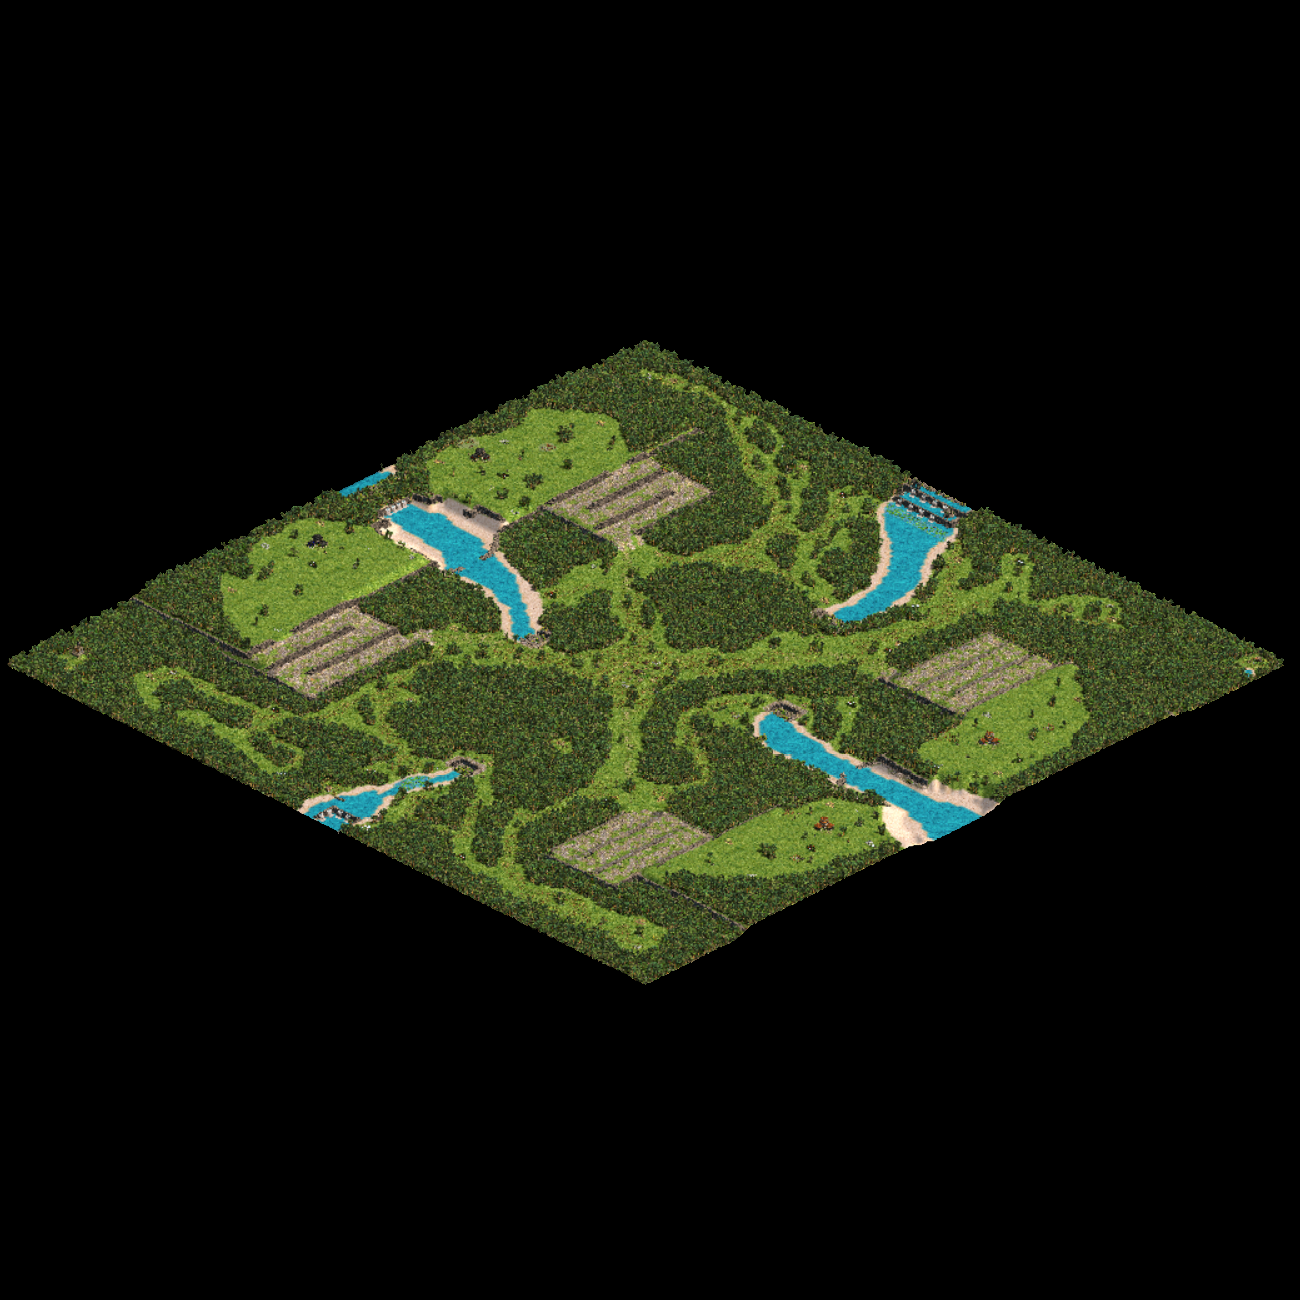
Overview
How to create a full map screenshot by using Age of Empires II Definitive Edition.
Intro
This guide covers how to create a full map screenshots for AOE2HD by using the AOE2DE version.
Having these full map screenshots can be helpful when posting steam workshop items. I could not find a guide how to create one so thats why I made this guide. I dont know if there is a better way of creating a full map screenshot, but this is the way I always do it.
What do you need
You need:
1. Age of Empires II HD.
2. Age of Empires II DE: [link]
3. Download and install capture age.
[link]
4. Paint 3D (or something equil, I prefer this one).
[link]
Transferring your map file
First we need to transfer your map file to the AOE2DE scenario folder.
Copy your AOE2HD map file
This should be in a folder like this:
SteamLibrarysteamappscommonAge2HDresources_commonscenario
Screenshot copy.
Paste your AOE2HD map file
Put your map file in the following folder:
C:Users(user)GamesAge of Empires 2 DE76561198003726208resources_commonscenario
Taking the screenshot
Startup capture age and AOE2DE.
Start a skirmish in AOE2DE:
Single player > Skirmish
– Select your custom scenario.
– I suggest to set your game speed to slow.
– Check box record game.
Start the game and record for +/- 1 minute. After this leave the game and go to:
Single player > Load game > Replays (loading time can take a bit longer).
Load the last replay.
Screenshot loading replay.
When you clicked the replay, open Capture Age and press “Connect to game”
Screenshot connect capture age.
Now if you zoom out you can take your screenshot using the “Prtsc” (Print screen) button on your keyboard.
Screenshot your map in capture age.
After pressing the print screen button you can press paste (or Ctrl+V) when you have paint 3D open.
Editing the map screenshot
First clean up the image. Get rid of all text etc.
Screenshot Cleaning up the image.
After we did this we most know that the color black surrounding the image is not the same black color as used in the steam workshop. Using the correct color black makes sure it looks like 1 image on the steam workshop. I will call this color “steam black”.
Getting this color steam black
Go to a random steam workshop item. Make a screenshot of it and copy it to the paint 3D where you are working on your screenshot (just paste it on top of your map screenshot).
Using the pipet copy the steam black color .
Screenshot get the right color black.
When you get the right color press Cntrl+Z to remove the random steam workshop item screenshot.
Now before filling the color steam black set the tolerance on 1%
Screenshot tollerance 1%.
Screenshot finished.
Now you can put your image in the right folder. Note: make sure the file is saved as a .jpg file with the following name: _preview-icon
Screenshot folder.
I hope it helps 🙂


