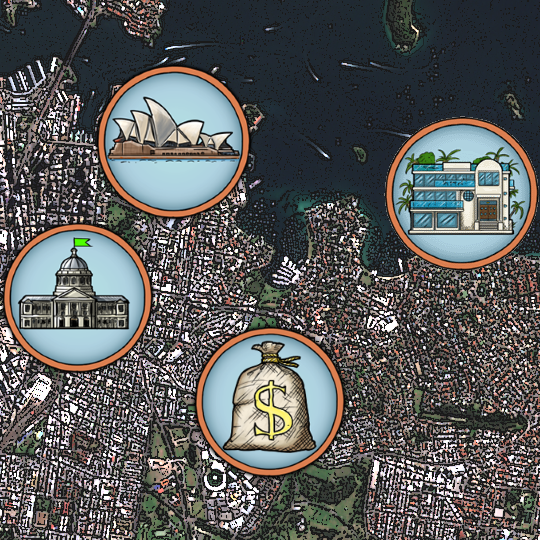
Overview
These are the steps to create city maps in This Grand Life. All the tools used are freely available on the internet, which means you can create your own maps!
Prerequisites
Before beginning:
● Make sure you are doing this on a computer with at LEAST 8 GB RAM and have a
decent internet connection (the satellite data is massive).
● Have an image manipulation program (e.g photoshop), or download
[link] which is the one I will be using.
● I will assume you have basic image manipulation skills like creating layers, adjusting
brightness/contrast, etc. If not, you can always google the answers.
Downloading the raw satellite data
The first task is getting the satellite images from the European Space Agency’s website.
Step 1. Go to this website [link] and create an
account (you need an account to download any images).
Step 2. Follow these excellent instructions for downloading data from the Sentinels Hub
[link]
arching-and-downloading-images/
I will use Berlin as an example. Highlight the area that you want and then go into the
advanced options and make the settings as follows:

Then press the search button, and you should get a list of results. I know it looks
intimidating – we want a file that starts with “S2A_OPER_PRD_MSIL1C_PDMC….” like the one
highlighted in red below:

Click on the ‘eye’ icon to view product details, and make sure you can see the city in the
image that appears. If there is too much cloud cover, the image is useless.
Once you have found a suitable image, click the download icon to download it.
Creating the raw map image
Now we have the raw satellite data, it’s time to create the raw image.
Step 1. Download the toolbox, which is needed to look at the data
[link]
Step 2. Unzip the raw satellite data you downloaded above
Step 3. Follow this video to use the toolbox and manipulate the data
Step 4. In the toolbox, Go to File -> Export -> Other -> View As Image -> Image Region (Full
scene), Image resolution (Full resolution) -> Change format to .png -> Save. This can take a
few minutes. You will end up with a huge .png image with a lot of irrelevant terrain:

Step 5. Using paint.net (or your alternate program), crop the saved image to desired size.
The width dimensions is in multiples of 96, height in multiples of 104 (E.g for a 32×16 tile
map you would crop to 3072 pixels x 1664 pixels). You should have something like this:

Manipulating the image
Now we want to turn the raw image into something that matches the game’s style.
Step 1. Open the image in paint.net
Step 2. Create a second layer that is an exact copy of the first layer.
Step 3. For the top layer:
● Go to Layer Properties -> Blending Mode set to Multiply
● Effects > Artistic > Ink Sketch (outline and color set to 0)
● Effects > Artistic > Pencil Sketch (pencil tip 2, range 0)
● Make a copy of the top layer only and paste it into a new image.
● On the new image ONLY – Effects > Blur > Gaussian Blur (radius 2)
Step 4. Save the new image as a .png file (e.g BerlinSketch.png). This will be the image
displayed when the map is zoomed out in-game. The result:

Step 5. Go back to your multi-layered image and merge the two layers together.
Step 6. Adjust the brightness and contrast depending on whether the image is too dark or
too light. This will vary depending on your satellite image and requires some
experimenting. Here is a closeup of part of the final map:

Step 7. Save the image (e.g Berlin.png) and that’s it! Now you have the two images that
make up the game map.

