Overview
Follow this step-by-step guide on creating your own personalized skins!NOTE: This guide is intended to be as basic/simple as possible. Some things may appear very obvious 🙂
Before you get started…
You’ll need an image editing program such as photoshop or pixlr. Personally, I would recommend [link] as it is free, powerful and capable of supporting multiple file types. However, this isn’t required – you can even use microsoft paint, but you’ll need to convert your skin into different file formats.
STEP 1
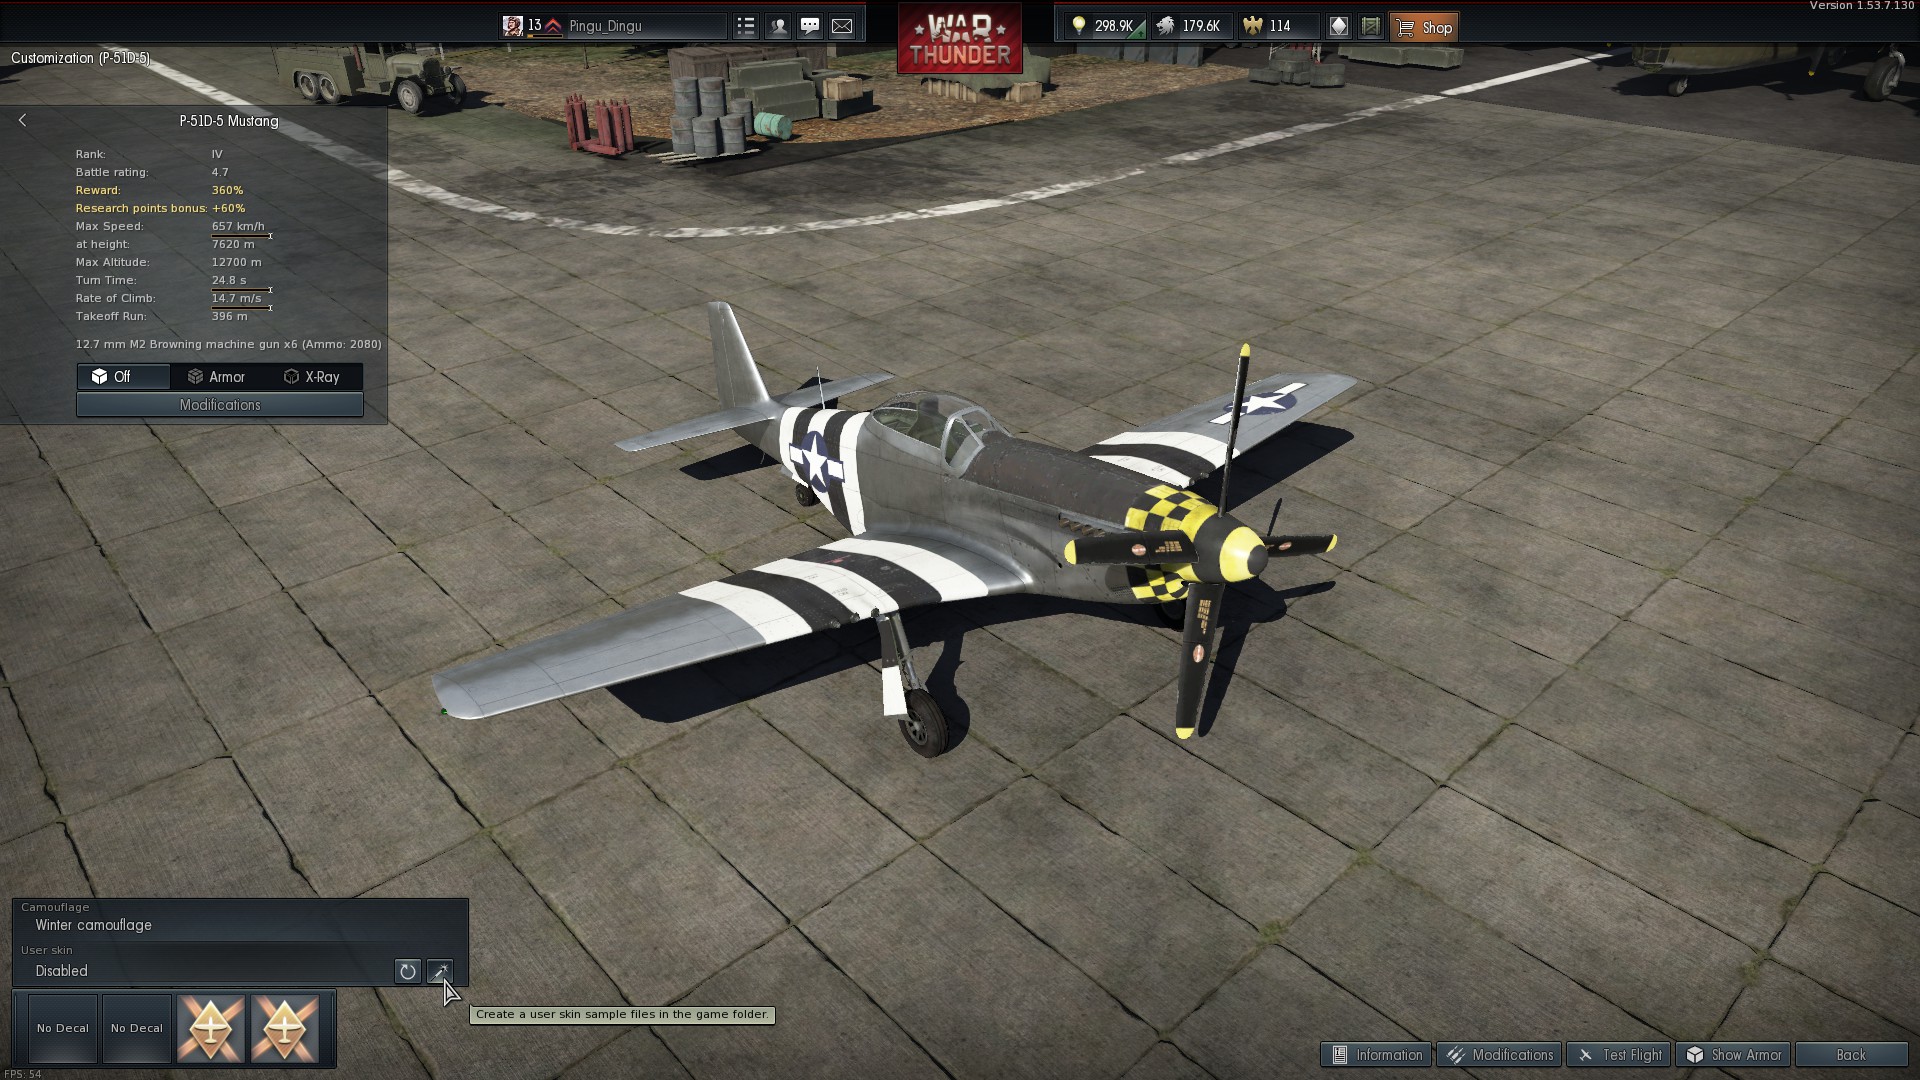
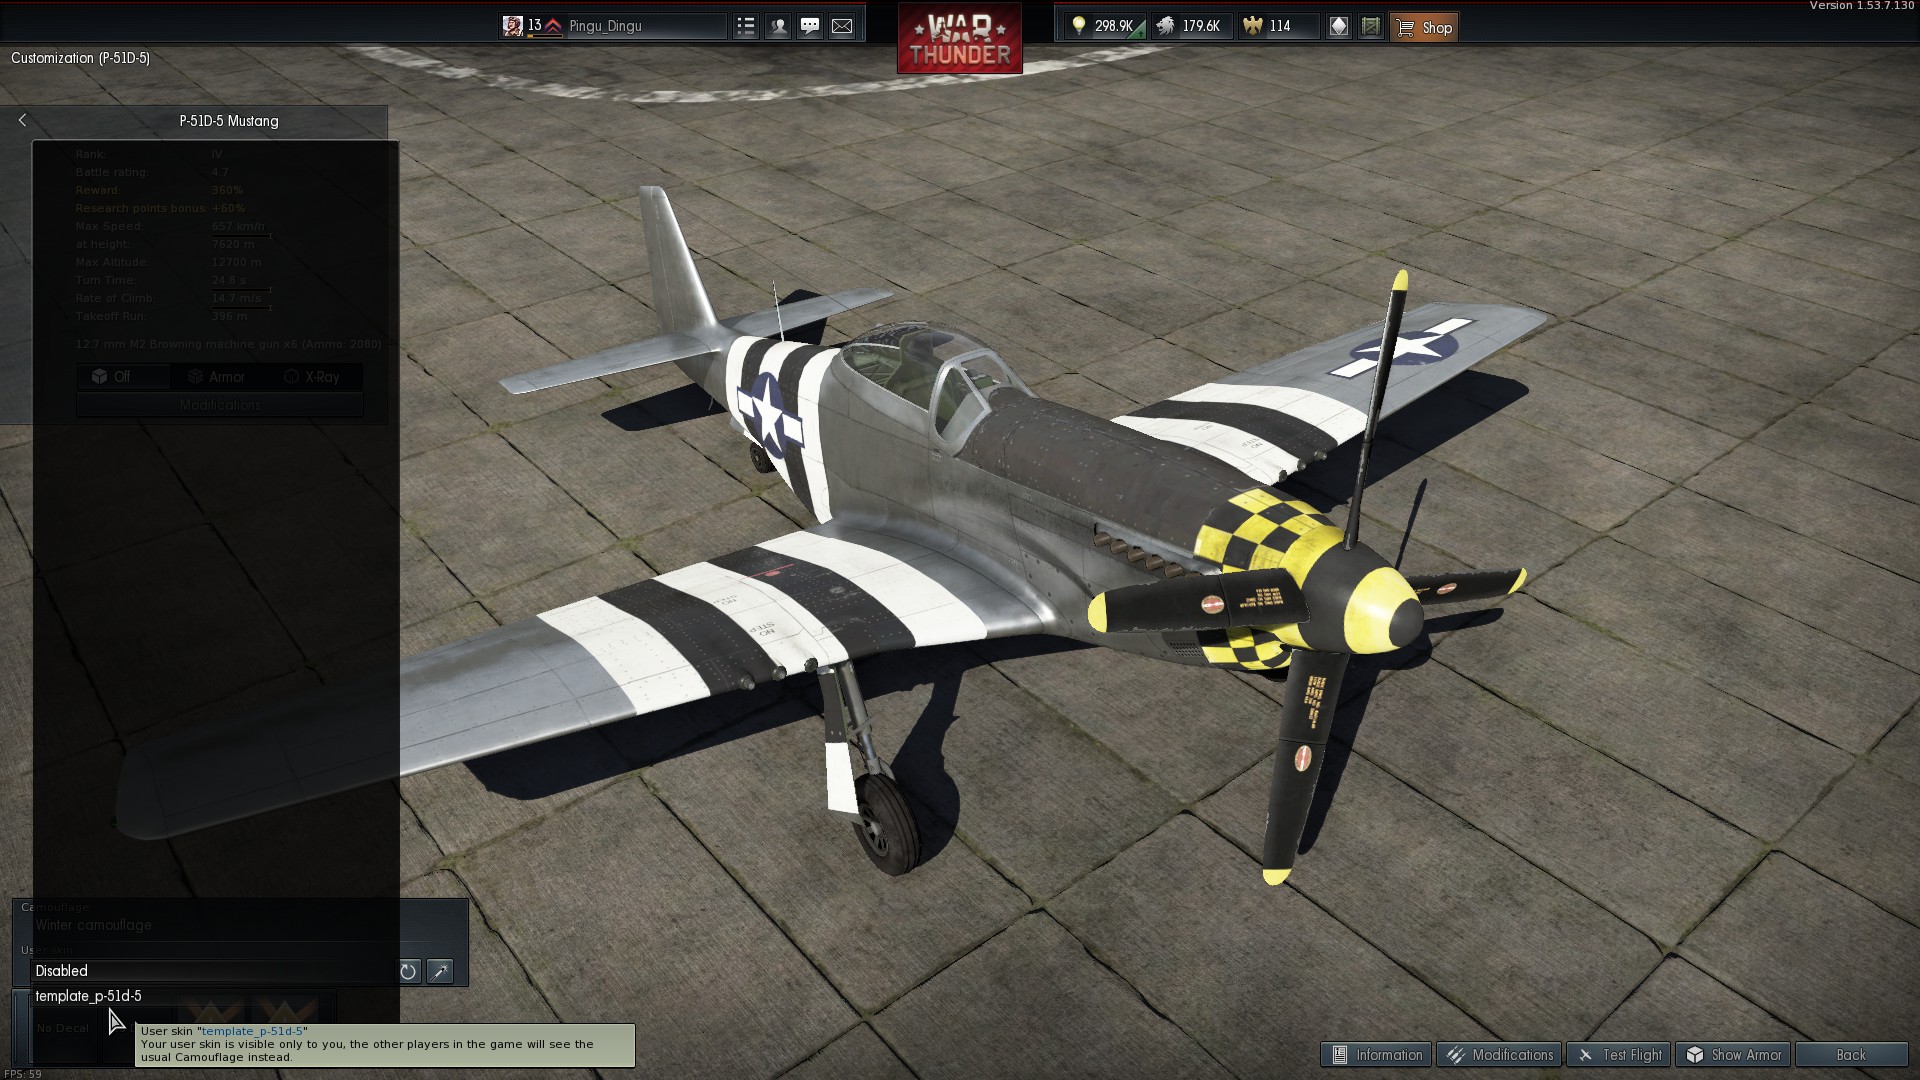
Go to your plane/tracked vehicle and go to customization. Click on the magic wand thingy located above the decal slots. This will create a new template for your skin.
STEP 2
Go to your games library (you can leave War Thunder open) and right click on War Thunder. Left click on properties.

STEP 3
Click on the ‘local files’ tab then select ‘browse local files’.

STEP 4
The main directory for War Thunder should show up. Click on the ‘UserSkins’ folder.

STEP 5
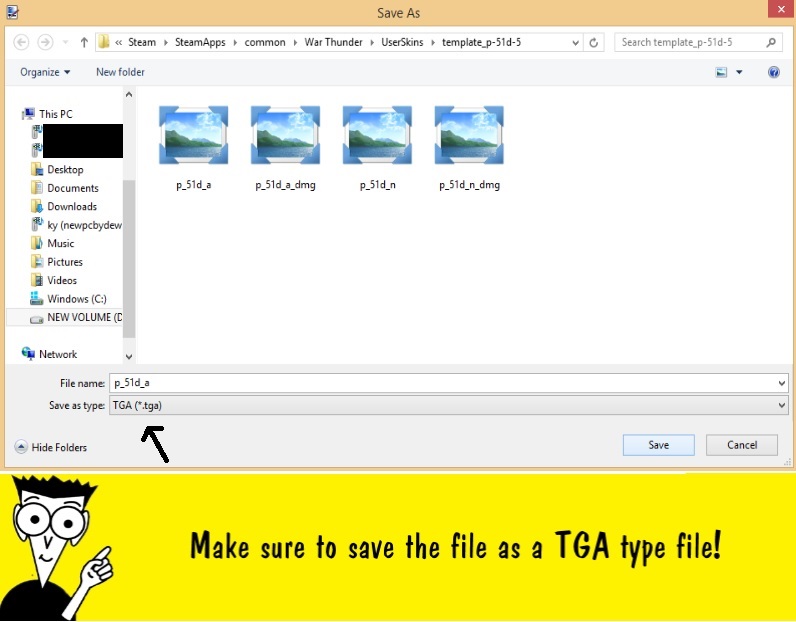
Click on the folder with the name of your vehicle. In this instance we shall use the P51 D5. You should see a ‘BLK’ file and two or four ‘TGA’ files in your aircraft folder.

STEP 6
Right click on the top TGA file and select open with- {your editing software}. If your editing program cannot open TGA files, use online converter[image.online-convert.com] to change your TGA file into a png.
STEP 7
The skin of your vehicle should appear in a 2D format. Go ahead and make what you want 😀
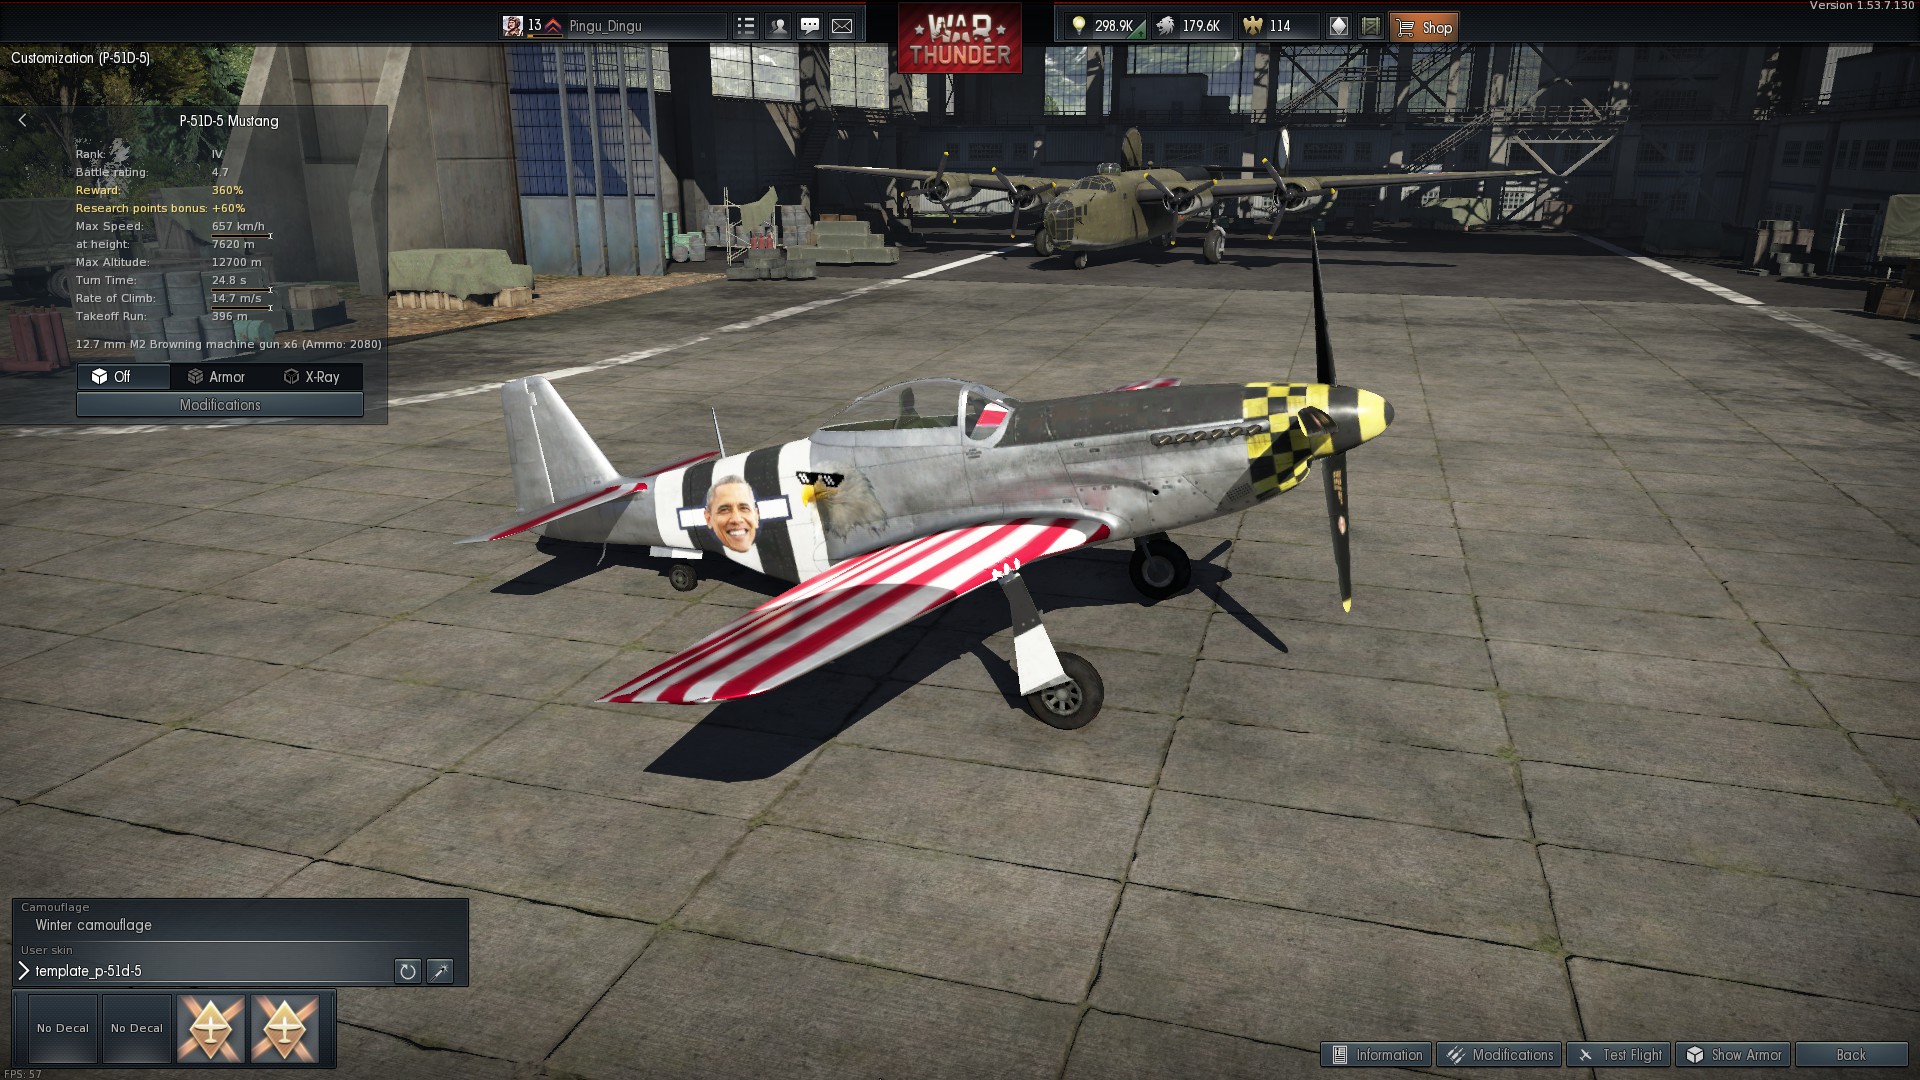
We will edit the P51, as the stock skin has inadequate levels of freedom.
Keep in mind a few things you should remember when editing a skin:
- Always check the orientation of the skin – Some parts of a skin can be inverted of upside-down. Make sure your decals/inscriptions are the right way up!
- I recommend you keep War Thunder open, so you can use your vehicle as a reference to which part goes where.

2 mins later…
Glorious! This extra freedom will account for a +10% speed bonus!

STEP 8
Go ahead and save your work of art. Remember to save it as a TGA file. If you used image convert, go back to the website, convert it back to TGA format and pop it back in your UserSkins folder.
STEP 9
Go back to War Thunder and click on customization again. Click on ‘User Skin’ and select the template of your skin.
STEP 10
Profit 😀
Now with the extra freedom, we can kill bf109’s with ease 😀
Yes, I know this skin looks horrendous, but it’s the best I can do in a couple of minutes 😛
Have a question, or want to correct me on something? Feel free to ask in the comments 😀