Overview
A guide for the traditional Thorn, and a new perspective on our beloved angry space Elf. Come on inside to learn how to become the ultimate huntress!
Introduction
Howdy, and welcome to Ivan and Näfty’s guide to Thorn. In this guide we will present to you two builds; the classic Thorn and Näfty’s interpretation of Thorn, respectively the Vaulting Deathbringer and the Curseweaving Huntress. We will cover the gameplay basics, builds, and traits and skills of Thorn.
Thorn is an Eldrid Battleborn and incredibly dangerous in the right hand. Her high-damage bow, amazing wave-clearing and small frame makes her both highly deadly and an elusive target for any foe to pursue. She is, however, hard to play and takes a lot of practice. This guide will provide an overview of her characteristics and hopefully help you, dear reader, on your way to becoming the ultimate curseweaving huntress!

Authors’ note
This guide is for presenting Ivan and Näfty’s Thorn playstyles rather than an in-depth meta analysis of every Thorn build, gear setup and playstyle out there. Please keep this in mind whilst reading this guide.
Other than that, this guide will do you well in all PvP gamemodes and PvE story.
Traits and skills
Teshka Elessamorn—nicknamed “Thorn” for her short temper—was the last child born to her homeworld before the Varelsi claimed it. Armed with her longbow, Kreshek, she now ranges the wilds of Ekkunar, fueled by her own boundless fury.
Tags:

- Agile
- Sniper
- Advanced
Basic information at level 1:
Health: 1130
Shields: 0
Passive:
Nature’s Curse: Enemies hit with a charged arrow are highlighted and cursed for 8 seconds. Skills and charged arrows deal 25% additional damage to cursed targets.
Weapon:
Kreshek: Thorn’s devastating Ekkuni longbow can be augmented to increase damage, range, and accuracy. Ready and hold an arrow to charge it.
Talent:
Eldrid Vitality: Thorn carries no shield, relying instead on rapid health regeneration to survive in combat.
Skill 1 (Q):
Volley: Fires a horizontal swath of 5 arrows, each dealing 61 damage. Volley arrows ricochet off of world terrain.
An excellent skill for finishing off enemies. Best used at close-to-mid range where the arrow concentration, and thus damage output, is greatest. However, if the enemy is on sufficiently low health where a single or two arrows are enough for finishing them off, a long-range volley is also an option.
Skill 2 (E):
Blight: Summons a field of corruption for 4 seconds. Enemies caught within this field take 60 damage every 0.5 seconds.
A very versatile skill. By default, this is an excellent skill for minion wave clearing, but upgraded it is also useful for slowing down targets, making them easier targets for Kreshek.
Ultimate (F):
Wrath of the Wild: After a brief charging period, hurls a massive energy bomb that explodes for up to 500 damage.
A powerful ability useful for taking out fleeing, groups of or low-health enemies. Basically a big bomb.
Helix choices and why for Vaulting Deathbringer
In this section I will go over the helix choices and why for the Vaulting Deathbringer build for Thorn.
Why: Slowed targets mean easier targets; what’s not to like? Whilst Piercing Volley is good if the enemy bunches up, Swampfoot is good for slowing both enemies and minions for easier kills.

Why: A speed boost for Thorn allows her to escape and get into action faster.

Why: Burst Propulsion is arguably one of the best early-game helixes, although it takes practice to use. Aim in the opposite direction that you would like to go, and hit quick melee; you will be thrown in any desired direction. Useful for getting out of range of a melee Battleborn and double jump to otherwise inaccessible locations, Burst Propulsion is a must for any mobile Thorn.
With practice, you will have as much aerial mobility as Benedict.

However, it should be noted that if the enemy team has a Toby, you should pick Draw Strength as it goes right through his shield.
Why: Being ambushed by a melee Battleborn is a terrible situation for any Thorn. Picking Kreshek’s Judgement allows Thorn to put Nature’s Curse on a Battleborn with ease, giving all of her abilties and arrows a 25% boost in damage. This allows her to defend herself against melee Battleborn much more efficiently whilst keeping the ability to execute low-health enemies with ease, giving Volley even more utility.

Why: The constant bleed damage on Hexsanguination allows you to pin an enemy in place who would otherwise be able to run back to base. And who knows; it might even kill them!

Why: This increases Blight’s already considerable damage, making it even better for clearing minion waves. Volley is best used to execute low-health enemies and it is therefore adviced that unless you constantly run into those, the extra cooldown reduction is wasted.

Why: This is a must for any mobility Thorn. Vaulting Hunter allows you to jump twice as high as other Battleborn, allowing you to jump and dodge enemy fire much better along with reaching ledges in a single jump. Combined with Burst Propulsion you have even better aerial control than Benedict.

Why: This one is situational. If you are running a sniper Thorn build, pick Distant Blight. But since we are not, pick Enduring Blight for the extra Blight duration.

Why: Archer’s Boon grants very little life steal to Thorn, and as Volley is best used for finishing off low-health enemies, this life steal becomes even less. Pick Kreshek’s Wrath for extra damage.

Why: Wrath of the Wild is a powerful finishing tool, but sometimes the enemy might escape with a sliver of health. The extra Blight field will more often than not be enough to finish a wounded enemy off.

Pros and cons for Vaulting Deathbringer
Pros:
- Hard to hit with level 3 helix
- Hard-hitting bow
- Good minion clearing abilities
- Excellent for finishing off low-health enemies
- Very good aerial control abilities
- Excellent without mutations
- Jumping enables quick escapes
Cons:
- Difficult to hit targets during jumping
- Squishy, requires a healer
- Poor for backdooring the sentry in Incursion
- Weak against melee Battleborn
Levelling for Vaulting Deathbringer

Level 3: You should now have Burst Propulsion, making you arguably one of the most mobile Battleborn on the field. Your newfound mobility will allow you to escape most enemies with ease, allowing you to engage them much more safely.

Gameplay for Vaulting Deathbringer
As Thorn has a powerful ranged attack, it is recommended that you employ a mix of flanking and sniping with Kreshek. Your initial lack of mobility necessiates a more conservative playstyle in which you first clear minions, another talent of Thorn. Upon reaching level 3 you are much more free to engage the enemy on your terms as Burst Propulsion allows for quick escapes and reaching sniper ledges easily. By level 7 you are a pain to hit for any enemy ranged character, and this is important to remember as Thorn; your squishiness is compensated for by your mobility!

To summarise your role:
- Engage and harass enemy players
- Kill minions
- Execute low-health enemies trying to escape
- Destroy buildables
- Flank those enemies! Make them split up
- Volley loves low-health enemies
Practice, practice, practice! Thorn is not an easy character to master, and her bow takes a lot of time to get a proper feel for. Even with the game’s dubious AI, private multiplayer matches against bots is an excellent way to practice your aim before you try your luck in a real match.

And should all else fail, remember that Thorn is a character with powerful abilties and can still be an asset to her team; capturing thralls, clearing minion waves and finishing off low-health enemies with Volley are all viable tactics.

Gear recommendation for Vaulting Deathbringer
Note on gear
All Eldrid characters have zero-strength shields. This opens up new pieces of gear for them, but it also excludes other gear. For Thorn, this is gear which activates upon her shield reaching 0, reload speed gear, recoil reduction gear and shield regeneration gear. This means that Thorn can take cheaper gear with shield penalties since she doesn’t have any shield strength in the first place. It should also be noted that attack speed does in fact affect Thorn, making her draw her bow faster.
This does also mean that taking a maximum shield boost item will give her exactly that in shield strength, being an alternative item to a maximum health boost item.
Gear 1:
Drained Survivor’s Eldrid Bio-Weave: Thorn’s low health means that should she get into trouble, her low health will become a problem. This item allows you to stay in the fight longer. The cheaper activation cost is just icing on the cake as the penalty doesn’t affect her.
Alternatives: Anything which increases maximum health
Synthaline Tonic
A shield

Gear 2:
Drained Survivor’s Regrowth Serum: As Thorn already has some of highest base health regeneration in the game, a health regeneration item will greatly boost her ability to re-enter combat quickly without the need of a healer.
Alternatives: Any health regeneration item
Talon of the Hawk
Attack damage

Gear 3:
Aelfrin Memory Band: Increasing Thorn’s already considerable damage is good, as you should already be going for headshots with her. Having more health regeneration is always helpful, and with your first item you should now have a whopping 21.8 health regeneration. Getting faster Curse on your enemies is just icing on the cake. Available from completing Thorn’s lore challenges.
Alternatives: Attack damage
Talon of the Hawk

Helix choices and why for Curseweaving Huntress

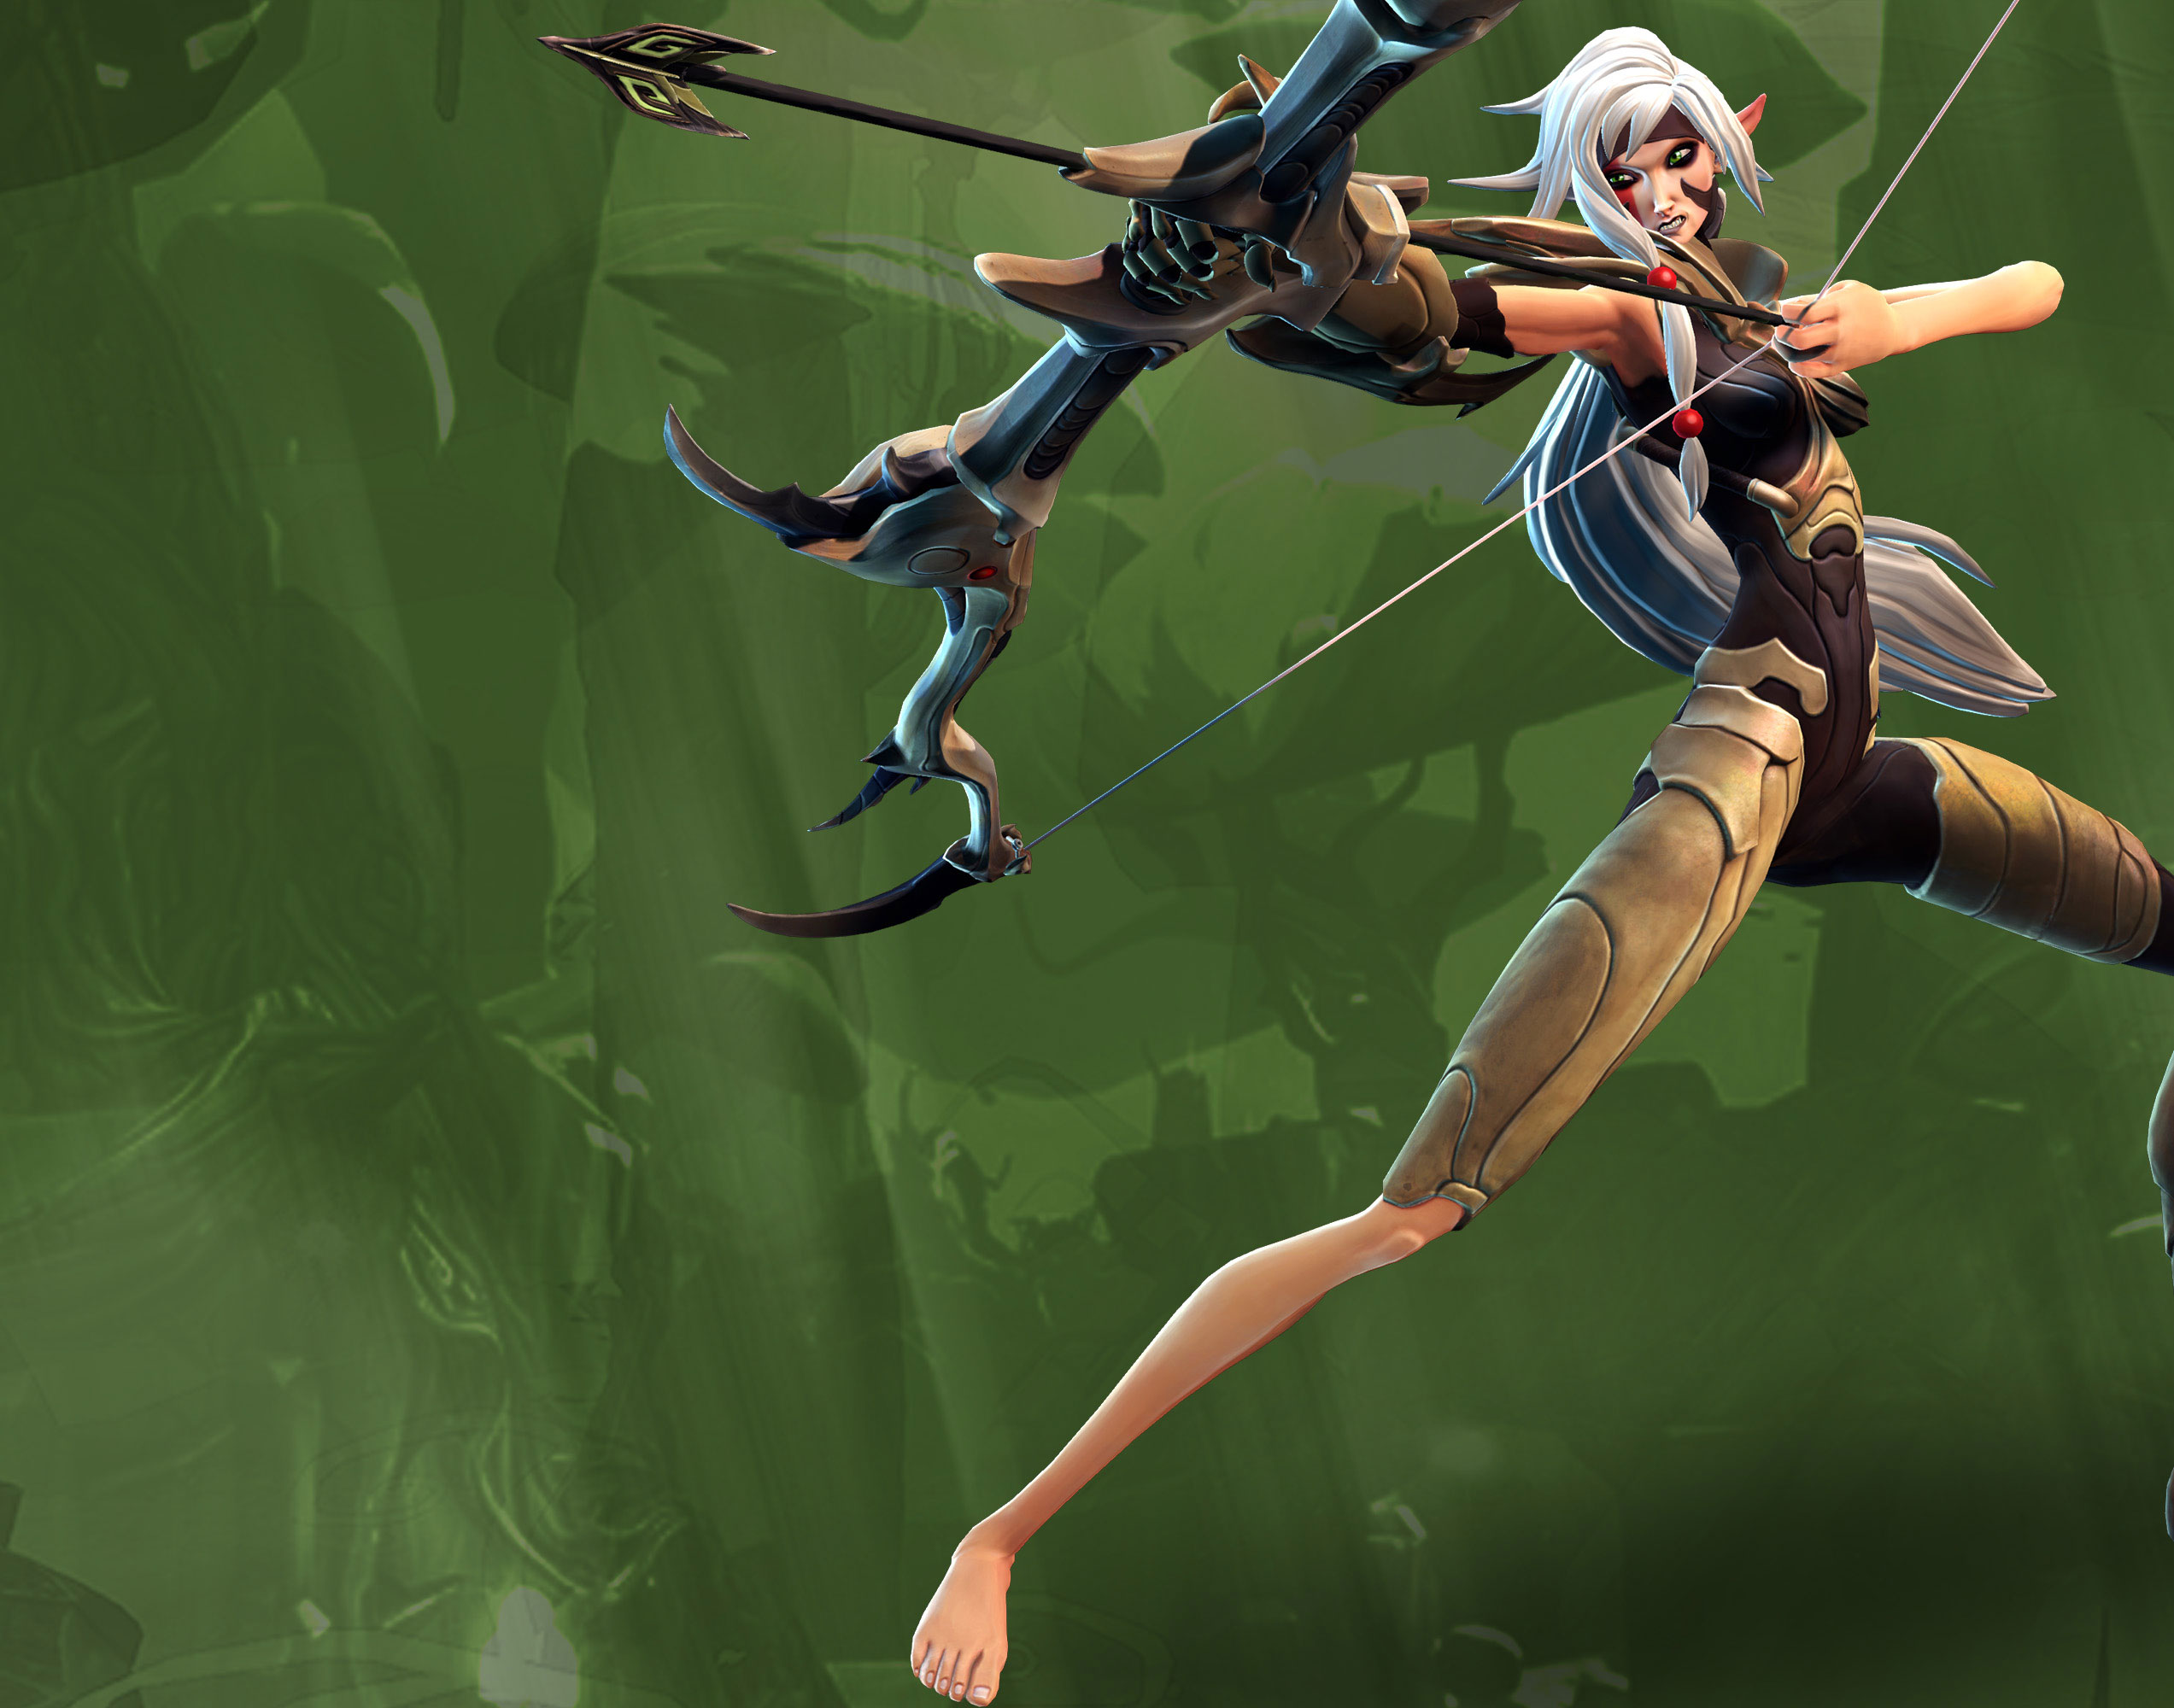
The Curseweaving Huntress in her natural form
In this section we will cover the helix choices and reasons for taking them with the Curseweaving Huntress build. And in case any of you should find the build weak, we present to you evidence to the contrary:
Why: As said in the build above, this is to make enemies slower and therefore easier targets.


Why: A speed boost to allow Thorn to quickly enter or exit combat. A good escape in a pinch.
Why: Since you will be playing Thorn as a mid-range ranged character rather than a mobile skirmisher, it is recommended that you take Penetrating Arrows in order to maximise the amount of enemies you can hit with one arrow. Also penetrates Toby’s shield.

Why: This is up to personal preference. Both Kreshek’s Judgement and Nockout are good, however, Focused Volley allows for greater accuracy at range, allowing you to deal greater damage to a fleeing target without the arrows spreading apart.

Why: The damage over time allows you to Curse a fleeing enemy in lieu of Volley, thereby denying them the ability to return to base. This gives you more time to hunt them down.

Why: Blight is good for clearing minions. Brutal Blight is even better. Volley is also best used to finish off enemies. Therefore, unless such opportunities arise constantly, there is no need for the increased cooldown.

Why: Since this Thorn build is a ranged Thorn build, you want more accurate arrows. The enemy should not be getting close to you under unfavourable circumstances, and we can therefore allow us the luxury of picking Eagle Eye.

Why: Staying at range means that we are less likely to engage the enemy up-close-and-personal. Pick Distant Blight so that you can stay at range.

Why: As Volley is best used for executing low-health enemies, the life steal you will get is miniscule at best. Pick Kreshek’s Rage for extra damage against enemy targets.

Why: Whilst Wrath of the Wild is a powerful ability, the enemy might just survive it with a sliver of health. The additional Blight field is more often than not enough to finish them off.

Pros and cons for Curseweaving Huntress
Here we will cover the strengths and weaknesses of the Curseweaving Huntress build.
Pros:
- High-damage ranged attack
- Excellent without mutations
- Excellent minion wave clearer
- Powerful ultimate
- Good executioner of low-health enemies
- Effective from a low level
Cons:
- Lacks a quick escape
- Poor melee
- Lacks agility
- Poor frontline skirmishing abilities
Levelling for Curseweaving Huntress
This build has much the same playstyle at level 1 as it does at level 10; providing ranged supporting fire and clearing the occasional minion wave. Therefore, there is not much to be said about the levelling for this build.
Gameplay for the Curseweaving Huntress
The gameplay of the Curseweaving Huntress is not much different from Whiskey Foxtrot; you function primarily as a mid-ranged support character. Your lack of a quick escape and any noteworthy agility necessiates the clever use of ledges and your team as a distraction from you.
To summarise your role:
- Mid-range support
- Killing minions
- Hunting down low-level foes
- Destroying buildables
- Did I mention stay at range?
- It’s dangerous to go alone. Stay at range
Teamwork is important! Your lack of a quick escape means that a charging Boldur, or any melee Battleborn for that matter, is a death sentence for you. Teamwork is your lifeblood as your lack of agility compared to the Vaulting Huntress will get you killed should you overextend. Only pursue the kill if you are absolutely sure that you have an escape route; otherwise Boldur will introduce your face to his axe.

It is also not recommended to backdoor the sentry in Incursion, as your lack of a shield means that you will take direct health damage, and you lack any ability to quickly damage the sentry significantly once its shields are down.

So remember; stay at range, and stay safe!

Gear recommendation for Curseweaving Huntress
Gear 1:
Aelfrin Memory Band: Thorn’s legendary gives her a small health regeneration bonus, boosting her already considerable base health regeneration. However, the purpose for which we take this item is for its hefty critical damage boost. Provided that your arrows hit the enemy’s critical spots, you will do considerable damage to them. The instant curse upon fully-drawing a bow is just icing on the cake. Available from completing Thorn’s lore challenges.
Alternatives: Synthaline Tonic
Critical hit damage increasing item

Gear 2:
Scoundrel’s “Stinger”: More attack damage. More attack damage after landing the critical hits one should be pursuing as Thorn. What’s not to like?
Alternatives: Talon of the Hawk

Gear 3:
Healthy Regrowth Serum: Thorn already has considerable base health regeneration. Adding to that with a health regeneration item enables Thorn to re-enter combat rapidly after taking minor-to-medium health damage.
Alternatives: Drained Survivor’s Regrowth Serum
Any health regeneration increasing item

Credits
Our thanks go to -AG- psychopath13 and TheScottishGuy for being awesome and encouraging people, to StalinGradulations for providing the build and gameplay techniques of the Vaulting Deathbringer build and to Cha0tic Gam3rs for being an awesome server.
And of course to Gearbox, without whom this game would not have been possible to enjoy.
We hope that you enjoyed the guide, dear reader, and may you enjoy many screams of agony in your future!
