Overview
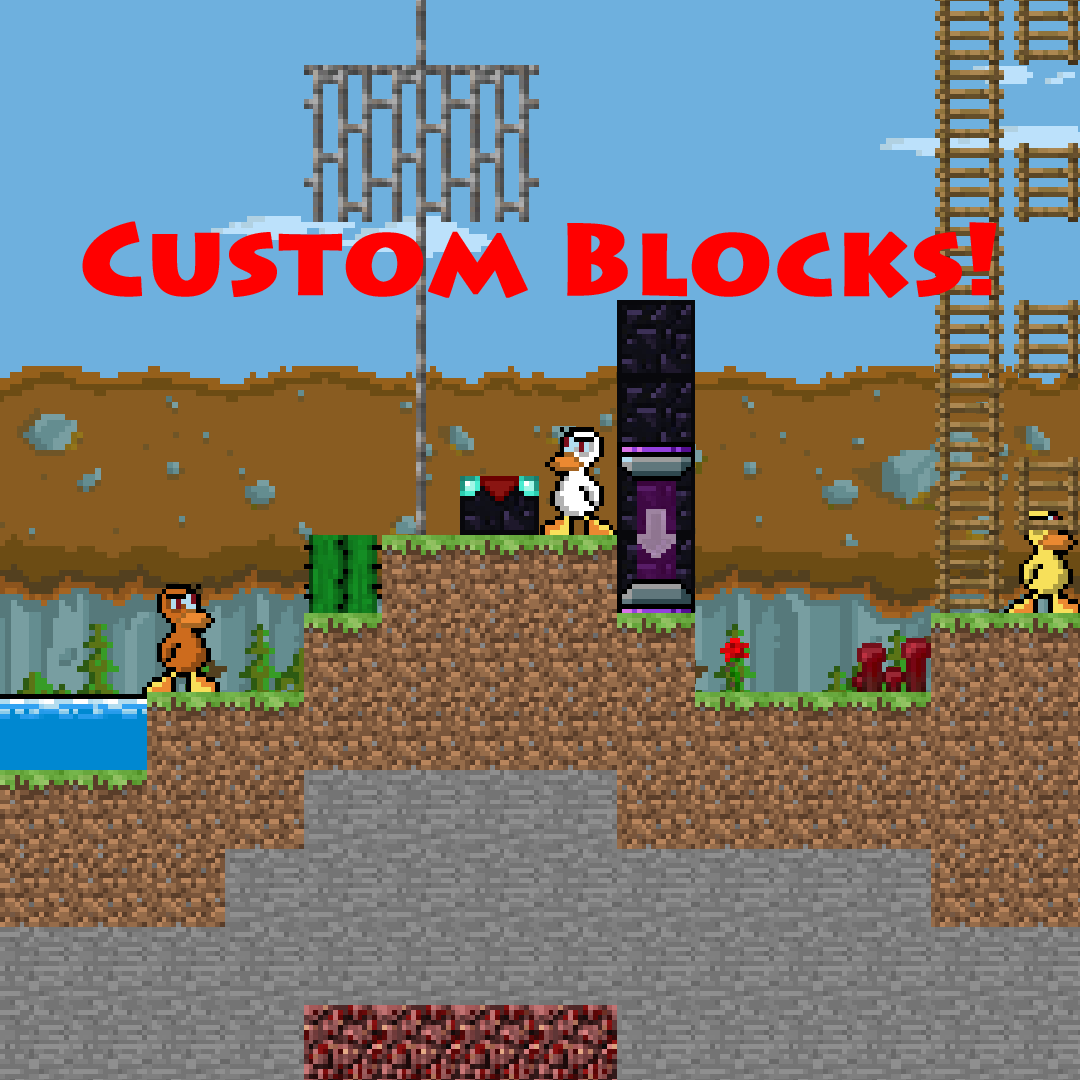
This guide will show you how to create and share maps with custom tilesets.
Intro
In this tutorial, I will show you how to get a template for a tileset and how to make your own tileset. Then, I will show you how to use your new custom blocks to make maps for multiplayer. I will also share some tips and tricks I have learned while making these tilesets.
Here is a collection of maps I have made that use custom textures:
[link]
Preparation

You will need an image editor to make your new tiles, I use photoshop but there are free programs like [link] or Gimp[www.gimp.org].
Making the new tileset
The way a tileset works is by looking for blocks around it to pick which grid in the .png it will use. Tilesets are 128×128 pixles with a transparent background. There are 64 tiles in each tileset which are 16×16 pixles.
Open the template to get started.
Make a new layer above the base layer which you will put your custom images on. At this point, you can start to draw anything you want.

Download link[www.dropbox.com]
Blocks and platforms use the same template and image settings so you can make both types now.
Backgrounds

Download link[www.dropbox.com]
One thing to note: you can load a larger texture but it will say that is invalid, just press continue. I haven’t experimented with what sizes you can actually use but I would stick to multiples of 16, idealy multiples of 128.
Where it all goes
By default, you will have a Duck Game folder and a Custom folder under Documents. For me it was at C:UsersAndrewDocumentsDuckGameCustom. There are folders for your Blocks, Platform, and Background images. Within each of those folders is a Downloaded folder (don’t worry if there isnt) which is where your computer will download any custom tilesets from online or local maps.
Using your tileset in-game
Once you have your custom images in the correct folders, launch Duck Game and go into the editor. Select Custom Block 1 and place a few blocks.
Press your edit button (X for Xbox controller) then select which will bring you to the file selection screen. Choose the file you want then back out of the menu.
Now that your file is loaded, you are free to make your map! So pretty…
You can follow the same steps for Platforms and Backgrounds as well.
Tips and tricks

Download link[www.dropbox.com]
Backgrounds tend to be a bit darker than regular blocks so it may help to increase the brightness of your images.
While working on a new tileset, it may help to use this test map I made that shows most cases of blocks. There are some errors in Duck Game though that make it imposible to be perfect as you will see.
[link]
Downloads
Minecraft Textures:
Minecraft Dirt[www.dropbox.com]
Minecraft Iron Bars[www.dropbox.com]
Minecraft Ladder[www.dropbox.com]
Minecraft Background1[www.dropbox.com]
Minecraft Background2[www.dropbox.com]
Minecraft Background3[www.dropbox.com]
Other:
Subway[www.dropbox.com]
Template(1)[www.dropbox.com]
Template(2)[www.dropbox.com]
Transparent[www.dropbox.com]
Transparency Guide[www.dropbox.com] – I recommend using this when setting the background so you can see where the transparent blocks are
*Anyone can use these assets as long as you credit me in any publishing*


