Overview
This guide will go through the process of making any gmod playermodel into a chell playermodel replacer. Crowbar is required for this. Notepad++ is recommended.
Setting up the model
Grab a addon from your Gmod addons (usually a .gma) that is a playermodel. How? Go to these files Steam/steamapps/common/GarrysMod/garrysmod/addons. There you should find your addons. Copy the playermodel you want onto your desktop. Then go back to these files Steam/steamapps/common/GarrysMod/bin. Send the gmad program to your desktop as a shortcut. Then, drag your addon over gmad. Your addon should now be in folders.
Getting the animations and decompiling/compiling
First off, you need the ValveBiped Anims pack, here is the link: gamebanana.com/gamefiles/3946
Download that, then we can head back to our addon’s folders. Find your playermodel (usually in a models/someguy/player/playermodelnamehere.mdl type of line-up with the folders.) then, using Crowbar, decompile the .mdl. Once done, you should find a new folder where the .mdl sits called decompiled 0.19. Open it up to find the qc. Open the qc in Notepad or Notepad++. Find the line: $includemodel m_anm(or f_anm).mdl and backspace it out. Put this line into it: note* do not include the parentheses. ($includemodel “player/male_anims.mdl”)
($includemodel “player/female_anims.mdl”)
Once that is done, scroll backup to the $modelname line and change the model name to player/chell.mdl. Then, save your work and compile for Half Life 2. Your model should be found in Steam/steamapps/common/half-life 2/hl2/models.
Finishing up
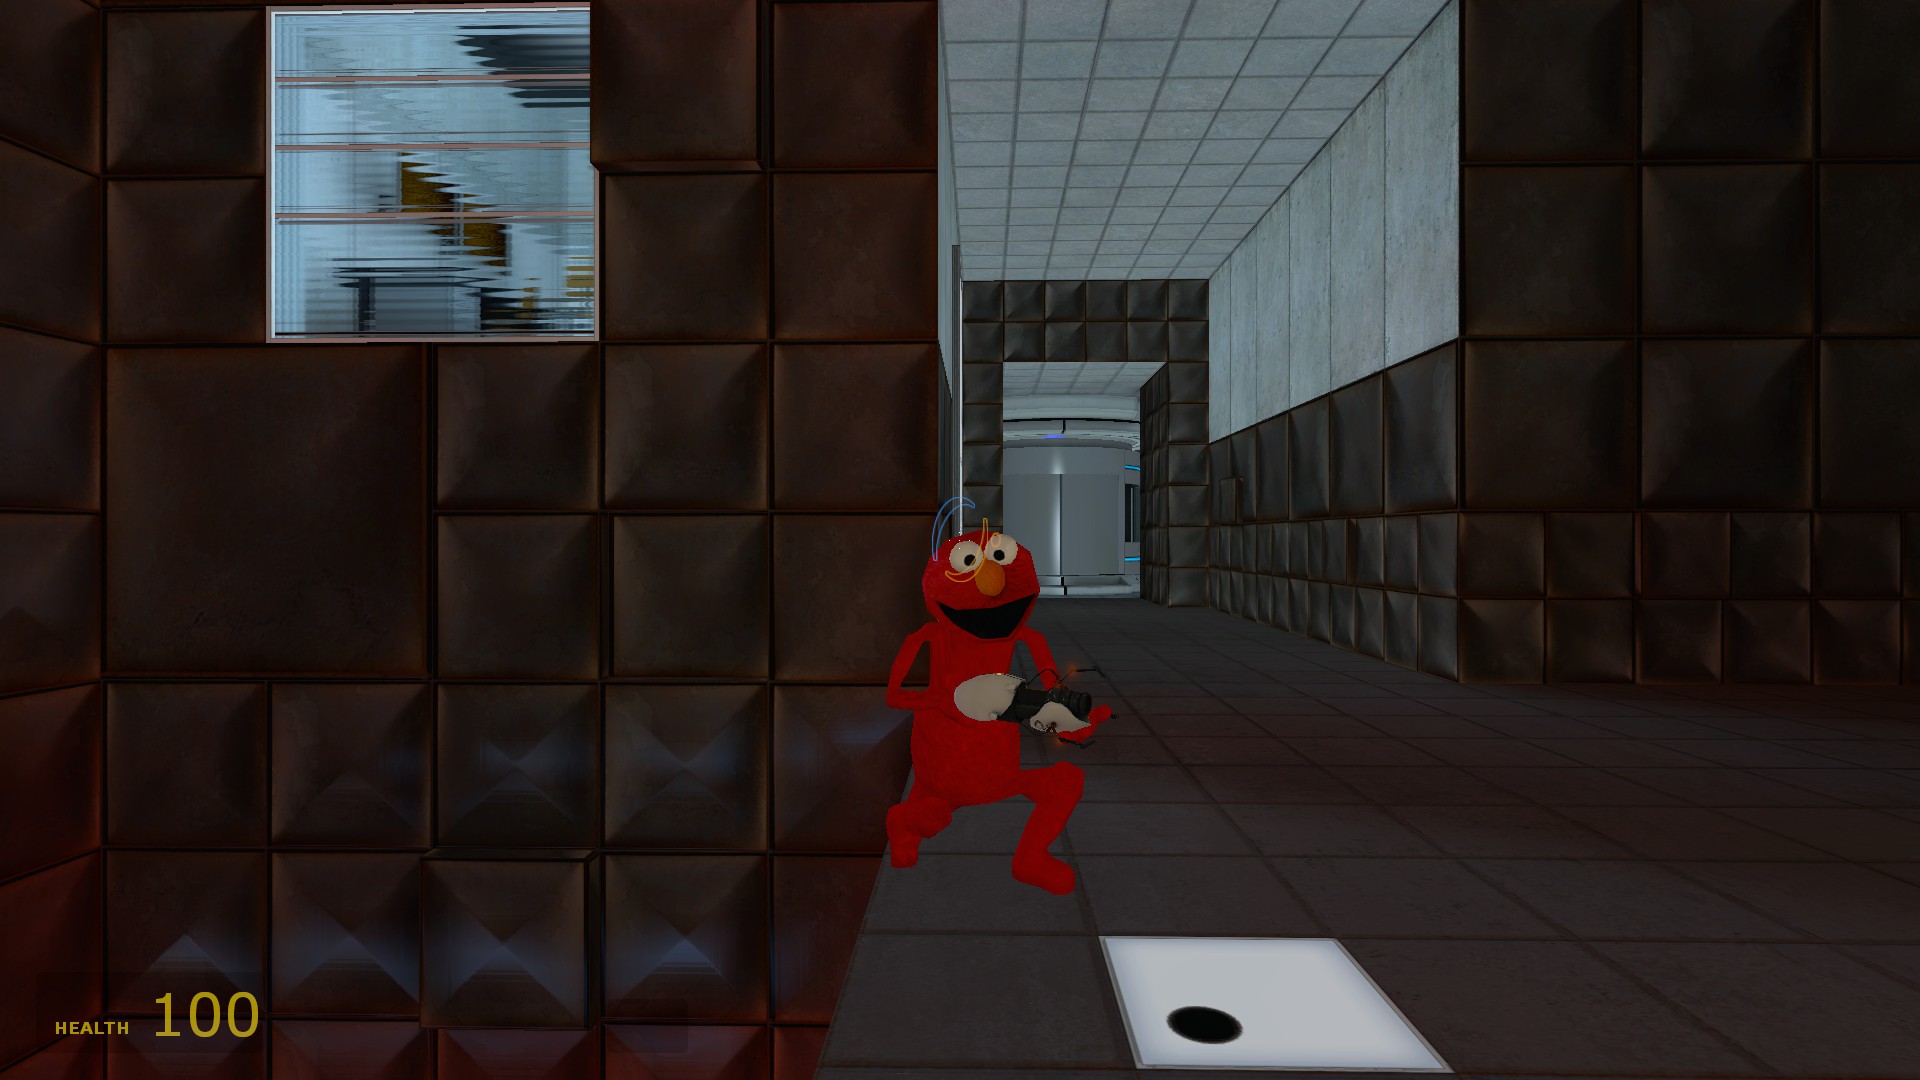
Make a new folder for your model and title it something like “cool chell replacer”. Then make this folder line-up: models/player/chell.mdl (chell being the model you compiled). Oh, right quick! Let’s fix the model (as in change it’s directory in Notepad++ via hex-editing.) Change the directory to player/chell.mdl. That way, the game knows what it is replacing. Save your work, then put the materials for your model in the folder as well. Once everything is done, navigate to these files Steam/steamapps/common/Portal/portal. Make a folder titled custom in there then drop both the anim pack from earlier and your model in there. Done! Your model should now be in Portal! Here’s my first time trying this with the Elmo model—>


