Overview
A guide on adding your own images as Graffiti to use ingame as sprays!
Jet Set Radio Custom Graffiti Manager
Download here.[github.com]
This program allows you to replace your custom graffiti slots ingame with any image you want. Bear in mind that you can only hold one custom image for each size at a time, so you’ll have to fully exit the game and run the program again each time you want to use a different image.
I take no credit for this program.
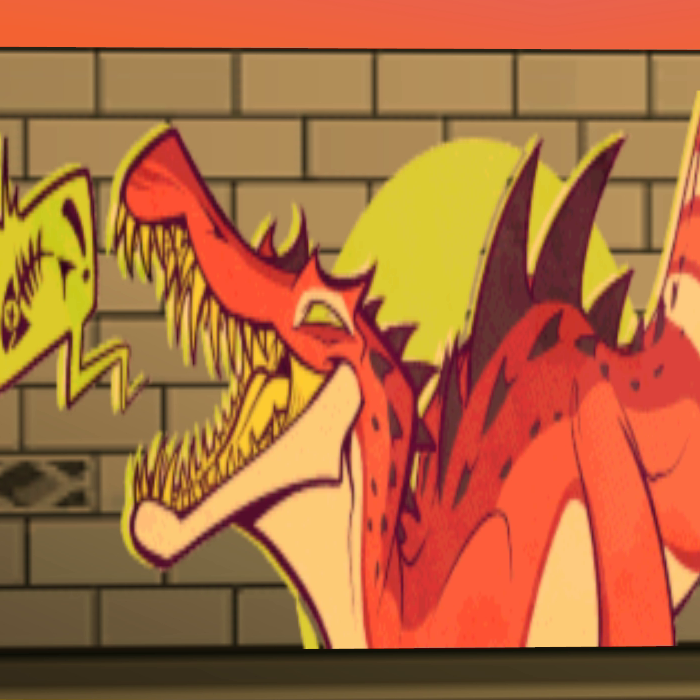
Art by Squeedge.[www.deviantart.com]
Prep Work
For the tool to work, you first need an existing Custom Graffiti for each size. After loading your save, choose the Graffiti option, then “Create New Graffiti”. For all three sizes, throw down some text, select Paint, then the save option on the far right.
Once all three sizes are filled, close the game.
Preparing your image
The tool will only accept images in the exact dimensions required for each size. These are:
Small: 128 x 128 pixels
Large: 256 x 128 pixels
Extra Large: 512 x 128 pixels
These sizes are rather limiting. Unfortunately the majority of images will look pixelated no matter what you do, but there are some things you can do to slightly improve the result:
Preserve your sanity: Don’t even try to use MS Paint for this. There are free alternatives like Paint .net or Gimp that’ll make your life significantly easier.
Avoid using very large or highly detailed images. Their quality will be destroyed after shrinking and they’ll look terrible. The smaller the better.

Hard boundaries and solid rectangles don’t look great. Use the magic wand tool or eraser, to remove as much of the background as you can. Keep only the main subject showing and leave everything else as transparent.
Use the Image Size option in your editor to shrink to the correct size. Often it’ll have some form of built in AntiAliasing that should alleviate some of the pixelation.
If it still looks too pixelated, try applying a slight Gaussian Blur or Edge Feather effect to smooth things out a bit.
Remember, it doesn’t have to be perfect! The majority of the time you’ll be flying straight past your sprays, focusing on the police, or be too far away to even notice most of the imperfections.
Art by Squeedge[www.deviantart.com]
Importing your image

Navigate to your Steam folder, and open the userdata folder. There should be some folders with multiple numbers as their names, these are the folders for your Steam Cloud saves. Open each one until you find one that contains a folder named 205950, for Jet Set Radio’s saves. Hold shift, right click it, and copy the path to that folder.
Run JSRCustomGraffitiManager.exe and accept any warnings. Click Open in the top right and paste the path you copied to load your save file. Don’t forget to select the correct Save slot afterwards!

Click Replace underneath the preview for the size you want to change, and navigate to the image you want to use. Accept the confirmation that appears, and the preview should change to the image that you selected. If you get an error, make sure your image is the exact dimensions required for the size you’re trying to select.
Once you’ve set your images, start JSR again and check your Graffiti menu! Your custom Graffiti can be chosen by selecting the E icon in the grid. It will now be used whenever you spray on an area of that size!


