Overview
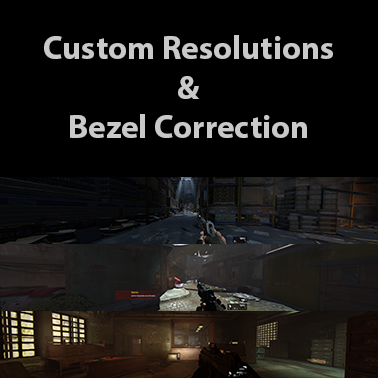
Play the game at any resolution including custom resolutions created by using bezel correction.
Introduction
So you were taking a look at the available resolutions for the game and you couldn’t find your resolution? Do you want to play the game with a triple monitor setup using bezel correction and couldn’t find your bezel corrected resolution in the game? Well this guide should help you.
Before you begin, you are going to need a hex editor. However this guide will be focusing on the hex editor plugin for notepad++ since I didn’t want to download a new program and already had notepad++. If you want to use a different hex editor, you may be on your own as I have never used a different hex editor and have no idea how they differ.
Step 1: Getting The Hex Editor
If you are using a different hex editor than the one I’m using, skip this step. If not, keep reading.
If you don’t have notepad++ you can get it from here: [link]
The version I was using when creating the guide was v6.8.3.
Once you have notepad++ installed, launch the program and open up the plugin manager. The screenshot below will show you how to get to the plugin manager.
Once in the plugin manager, you will need to look for the plugin, “HEX-Editor”. You will find this plugin in the available tab. The screenshot below will show you what it looks like. In the screenshot, you will see it listed under the installed tab since I already have installed it. However you will be looking in the available tab.
Once you have found it, select it and click “Install”.


Step 2: Opening the Settings File
So now that you have a hex editor, it is time open the settings file with it.
The path to the settings file is “C:Users<username>AppDataRoamingDay 1 StudiosFEAR3SharedData.settings”
If you are using a different hex editor, open the file with what you are using and then go to the next step. If not, keep reading.
Once you have found the file, open it with notepad++. However you currently are not viewing it with the hex editor. In order to do that you will need to navigate to the “View in HEX” option. Look at the screenshot below to find out how to get there. You can also press Ctrl+Alt+Shift+H as a shortcut to view with the hex editor.
If everything turned out fine, you should see something like this.


Step 3: Getting the Hex Values
Now that you have the settings file opened with a hex editor, you will need to get the hex values for the resolution you want to play at.
Go to the following website: [link]
Type in your resolution width as a decimal value and click “Convert”. You will then get the hex value of your width. Write down this value so you don’t forget it. Now do the same thing but this time for your resolution hight. You should now have two hex values.
Step 4: Editing the Settings File
Now it’s time to edit the settings file and apply your custom resolution. Before you do that however, make sure all other video settings in the game are set to how you like as after you apply your custom resolution, you won’t be able to edit the video settings without reverting back to an old resolution.
Below is a screenshot with 2 sections highlighted. The red section is for your resolution width and the blue section is for your resolution height. These are what we will be editing so find them in your file. These values may be different than mine since I have already applied my custom resolution.
I’m going to be using my custom resolution as an example. I’m using a bezel corrected resolution of 6050×1080. This means my hex value for my width would be “17A2” and my hex value for my height would be “438”.

If you take a look at the screenshot above and what I highlighted, the red section (width) is the same as the hex value for my width. The difference being that the first 2 characters are after the last 2 characters. This means it should be typed as “A2 17” instead of “17 A2” For my height however, I only have 3 characters for my hex value. If that happens to you, add a 0 to the beginning so it looks something like this, “0438”. The same process is done to the height (blue section) as the width (red section).
Following the screenshot above and the example I used, edit the hex values of the hightlighted sections so they match your custom resolution. Make sure to save the file after you are done. If everything went well, the next time you launch the game, the game should be using your custom resolution.
Conclusion
I hope this guide has helped you with being able to play with custom and bezel corrected resolutions.
If you have any questions, please let me know in the comments.
As this is my first time ever using a hex editor, please let me know if you find any errors or if I have used any wrong terms in the guide.